Ever wondered why pressing is the secret weapon in sewing? Hint, it’s not really about getting rid of wrinkles. Instead, pressing the seams as you go is absolutely crucial to the finished result of your sewing project. It reduces bulk, smooths out seams and can even improve the fit! So that’s why pressing is an important skill to learn.
Now this fact is not new. In fact, all my vintage sewing books have entire chapters dedicated to the art of pressing. But for the longest time, I ignored this advice. I was busy sewing and telling myself I could always press later. Now I do know better, and in this post, I will teach you when and how to press seams to reduce bulk, shape garments, and get even nicer-looking clothes.
The difference between pressing and ironing
Before we start, let’s clarify what I mean by pressing and how it differs from ironing.
Ironing
Ironing is what you do to remove wrinkles from finished garments. Sliding the iron back and forth, covering a larger area, and focusing on getting the fabric wrinkle-free (or at least reducing the wrinkles, hello linen fabrics, I’m talking about you!). By the way, check out my tutorial on how to properly iron a shirt.
Pressing
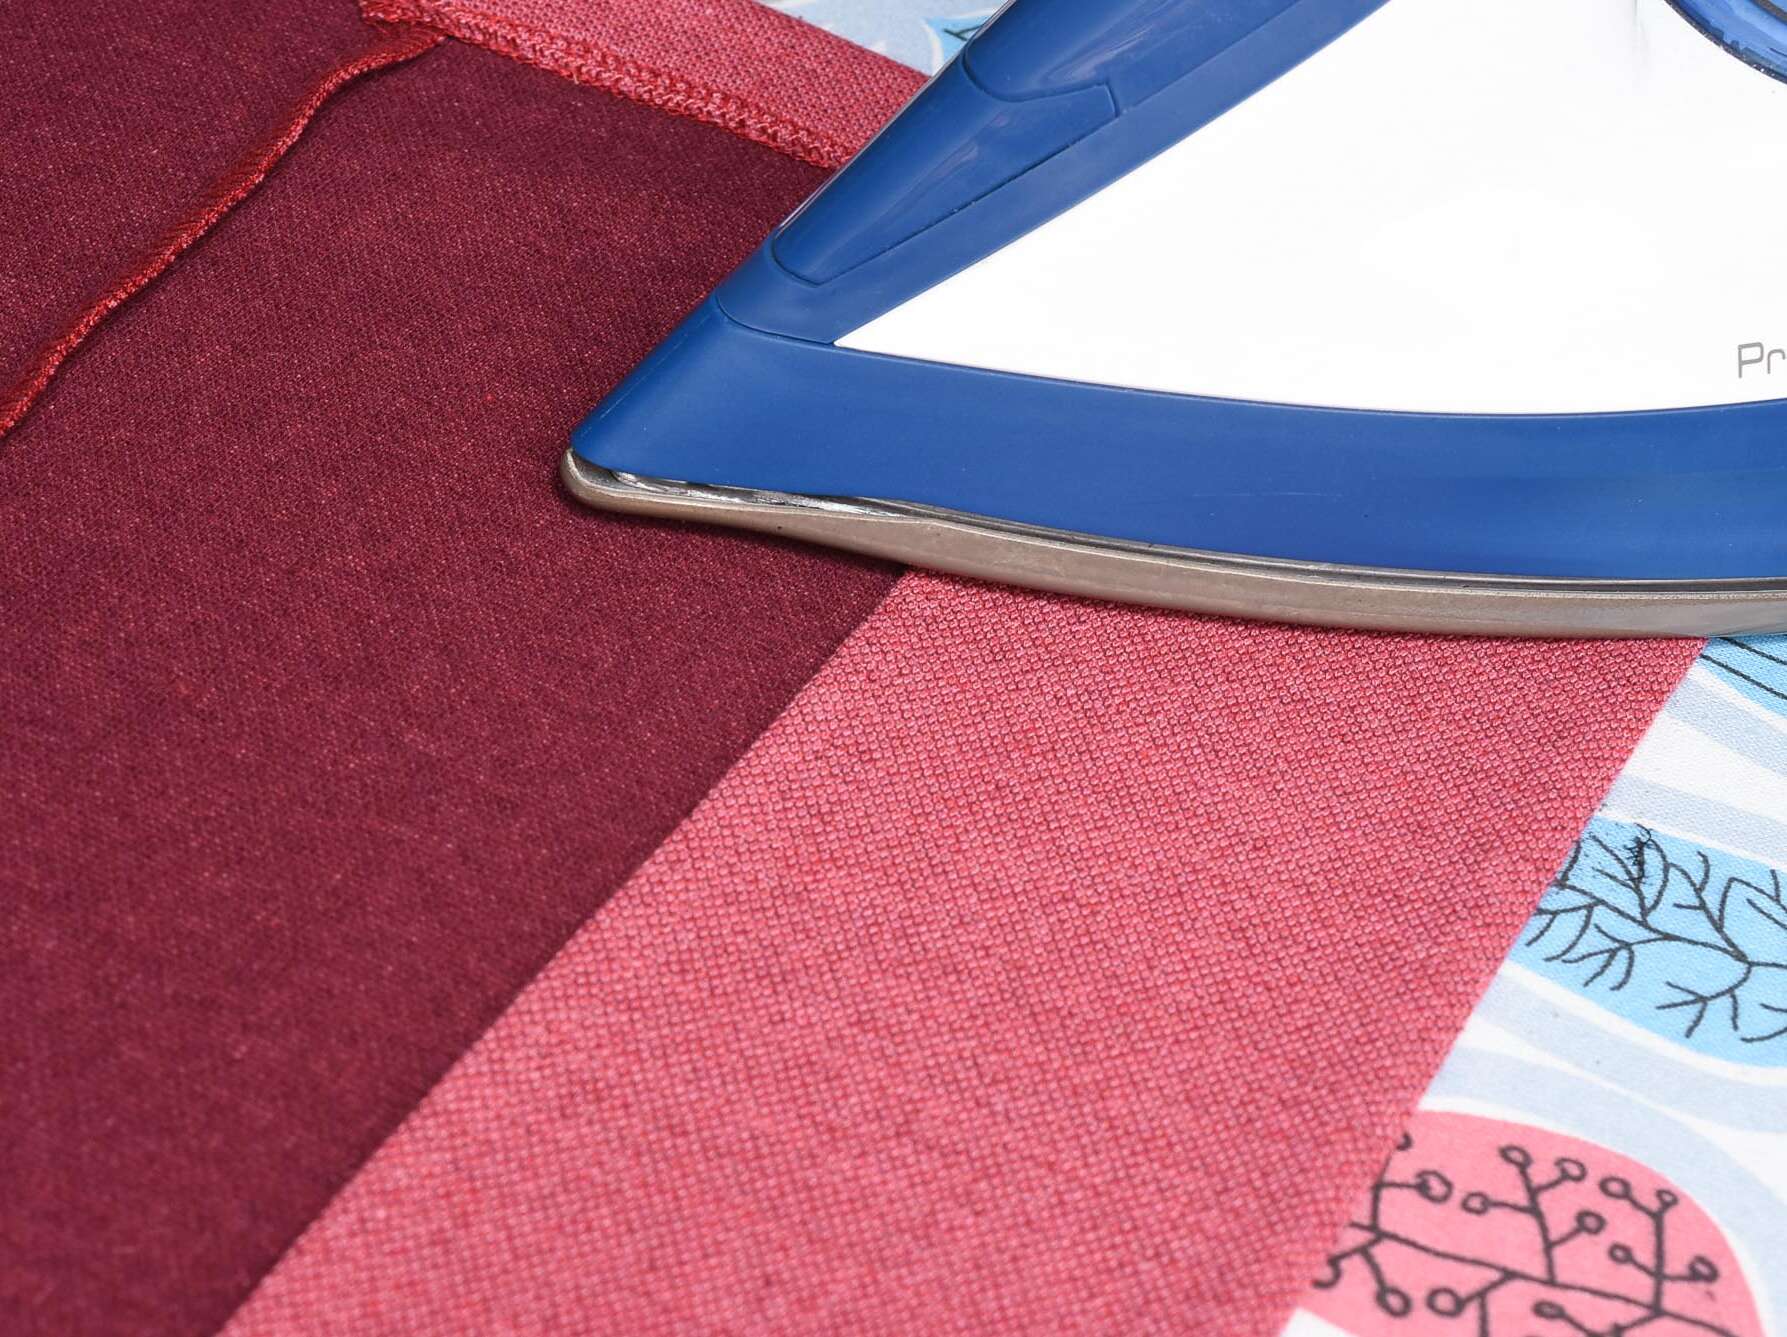
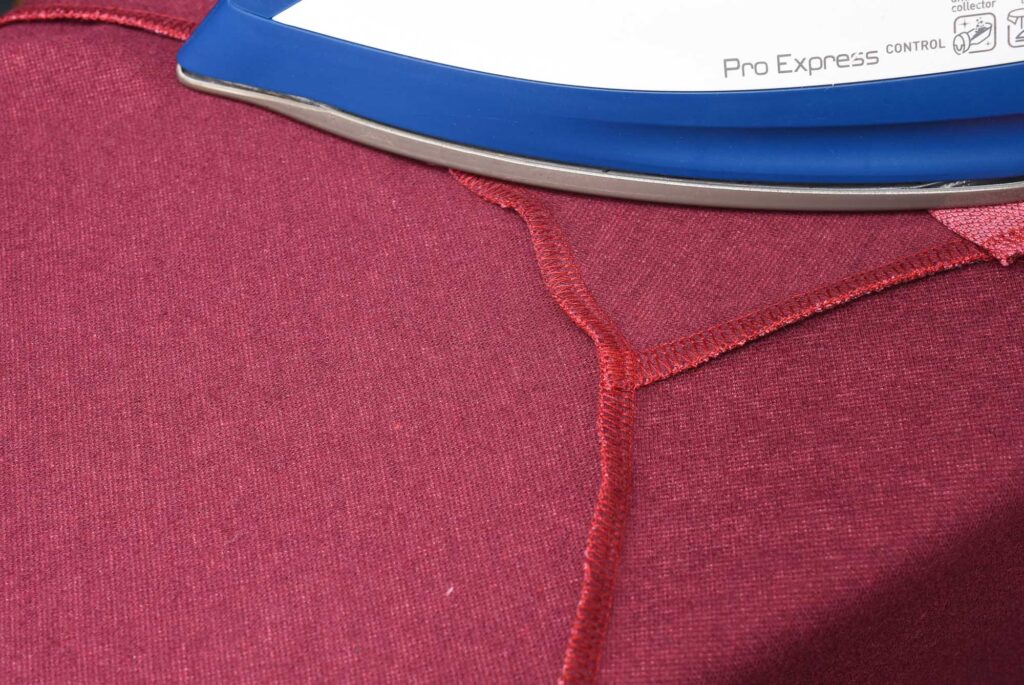
Pressing, on the other hand, is a construction step. You place the iron down on a seam, let heat and sometimes steam work their magic, then lift the iron away without sliding back and forth. Instead of chasing wrinkles, you are setting seams, smoothing puckers, and shaping the garment into its intended form.
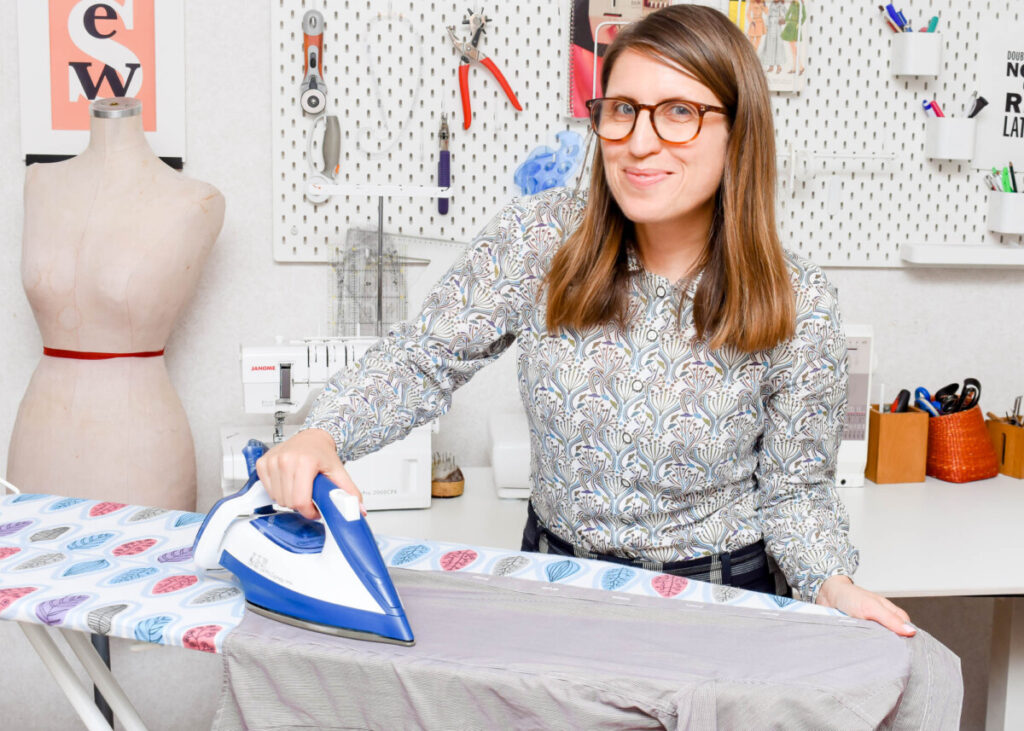
Set your iron station up for success
Always set up your ironing board and iron before you begin sewing. Doing this minimises the temptation to skip pressing. Trust me, I know. Plus, it’s often necessary iron the fabric flat before you cut it, so perhaps you have already prepped your iron is ready to go.
Press as you go
Pressing seams flat is a breeze when the garment is still open. For example, smooth out the shoulder seams before joining the side seams, or press the inseam on pants before sewing up the outer seam. While you could wait until the end, trying to press seams after everything is stitched together turns a simple task into a battle with a bulky maze of overlapping fabric layers.
Always press from the inside first
Since we are pressing seams, it’s way more effective to do it from the inside. This also helps prevent those annoying pressing marks that can be really hard to remove. If an inside press does not quite do the trick, go in for a second round on the outside, but always protect your fabric with a pressing cloth.
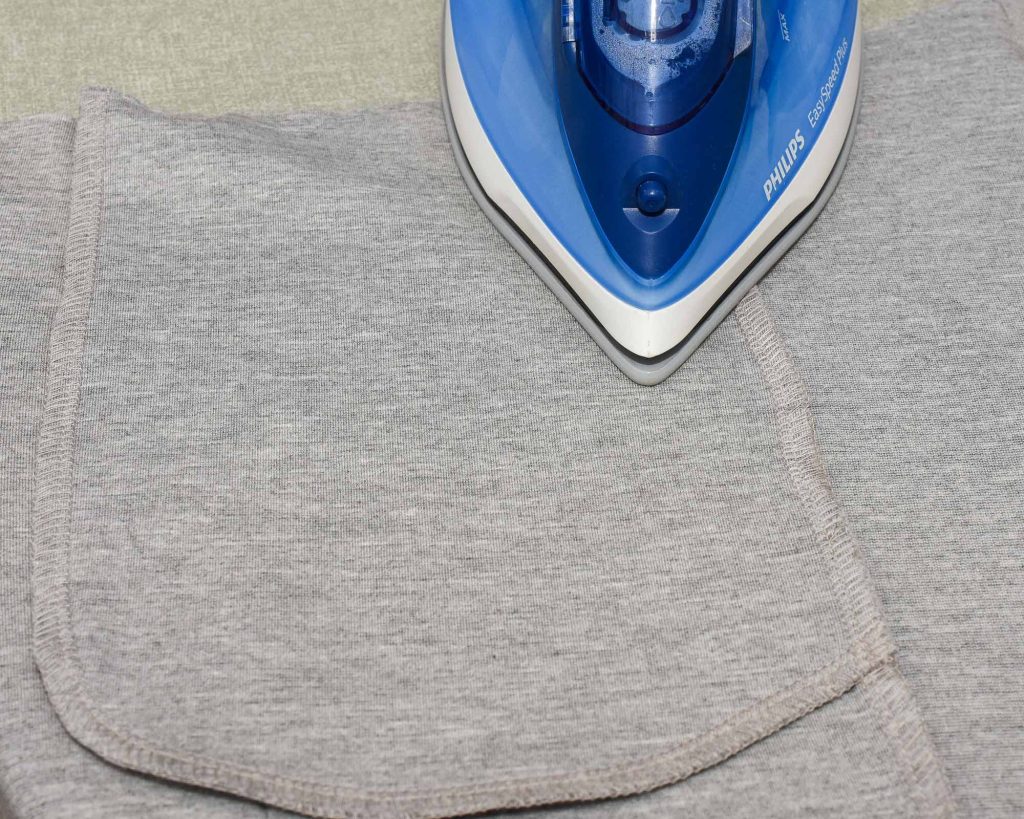
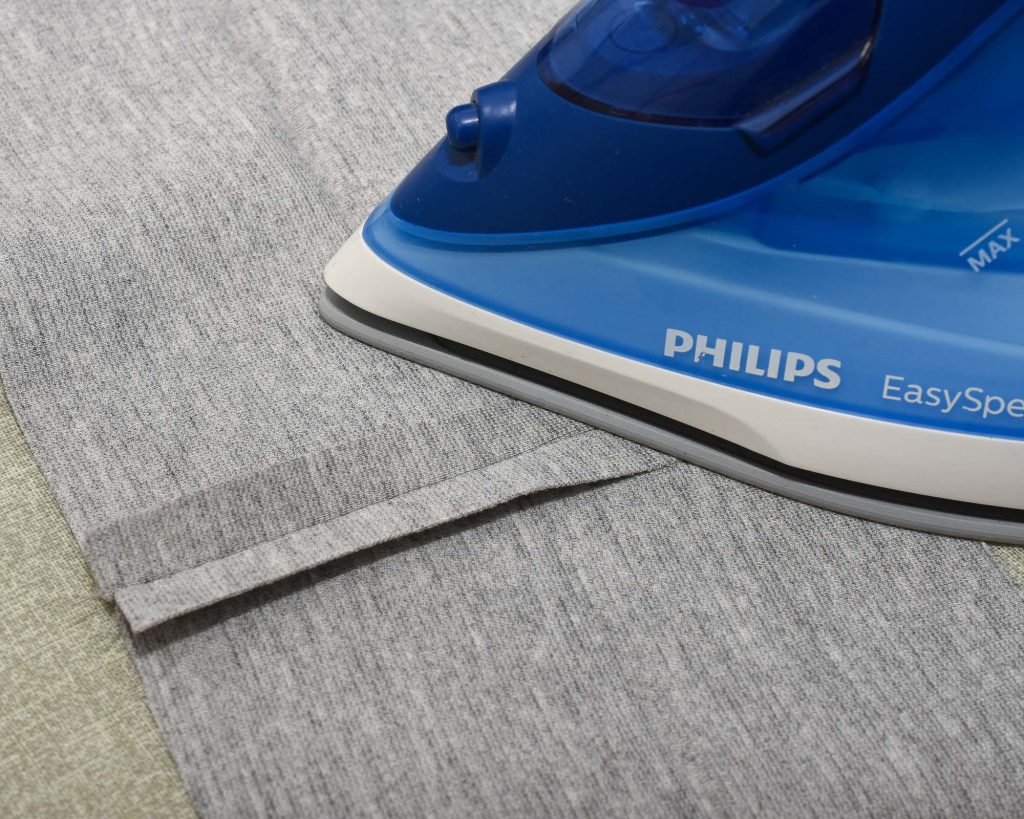
Press hems and folds before you sew the side seams
Have you tried folding up and pressing a narrow hem on a pair of leggings or a long-sleeve knit top? It’s hard! Instead, press up the hem fold before you start sewing the side seams. I also press the fold before I stitch together the neckbands on knit tops and sew the waistband on pants.
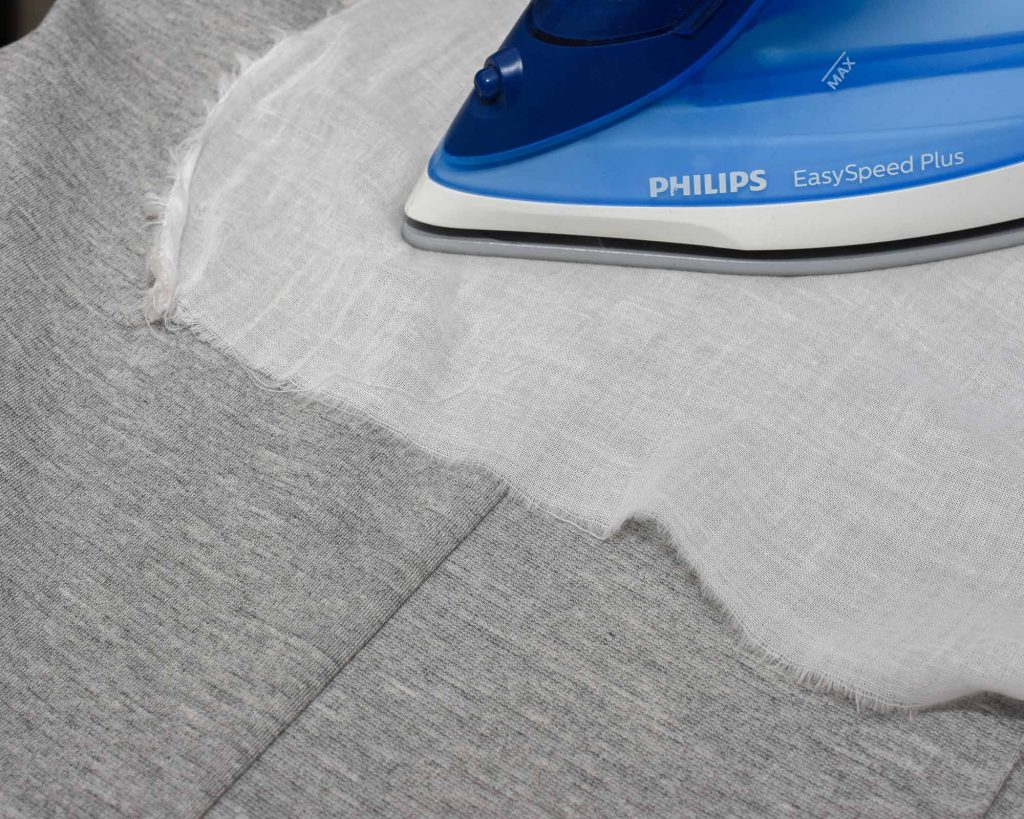
Steam can save a garment

Don’t like the shape of the sleeve head? Has your neckline grown out of control? Does your t-shirt neckband have puckers? Do what they do in the garment industry –use steam to coax your garment into perfection. A regular iron with steam will work just fine; you don’t need a special steamer for this.
A light pressing and lots of steam are usually all you need. Just remember that steam works best on natural fibres, such as cotton, linen and wool. You won’t get the same magic on polyester and nylon.
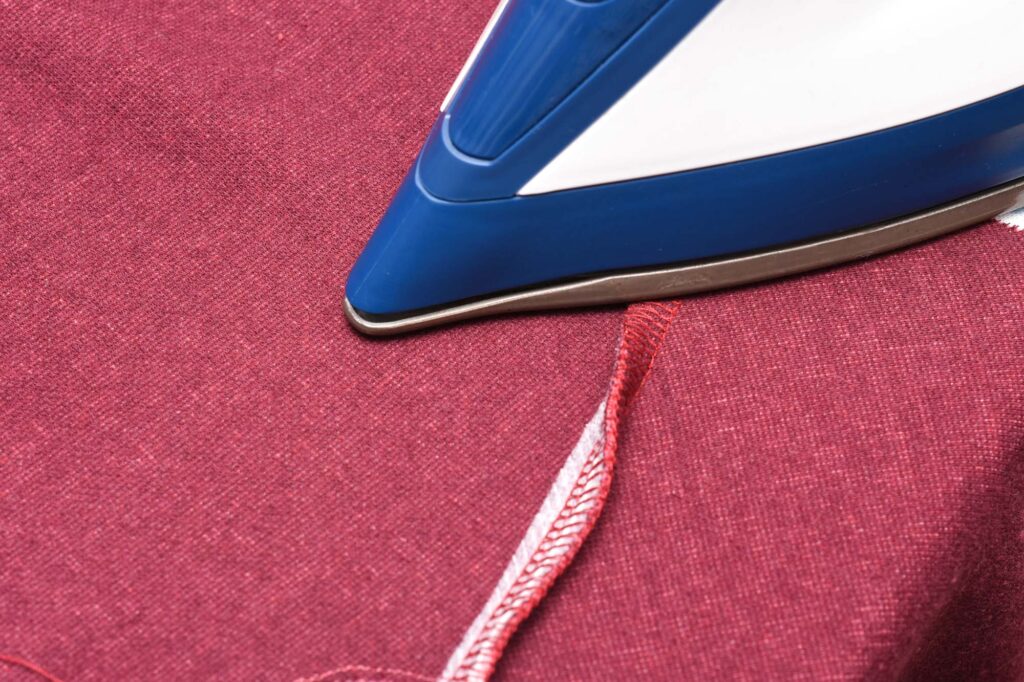
Press seams in the right direction
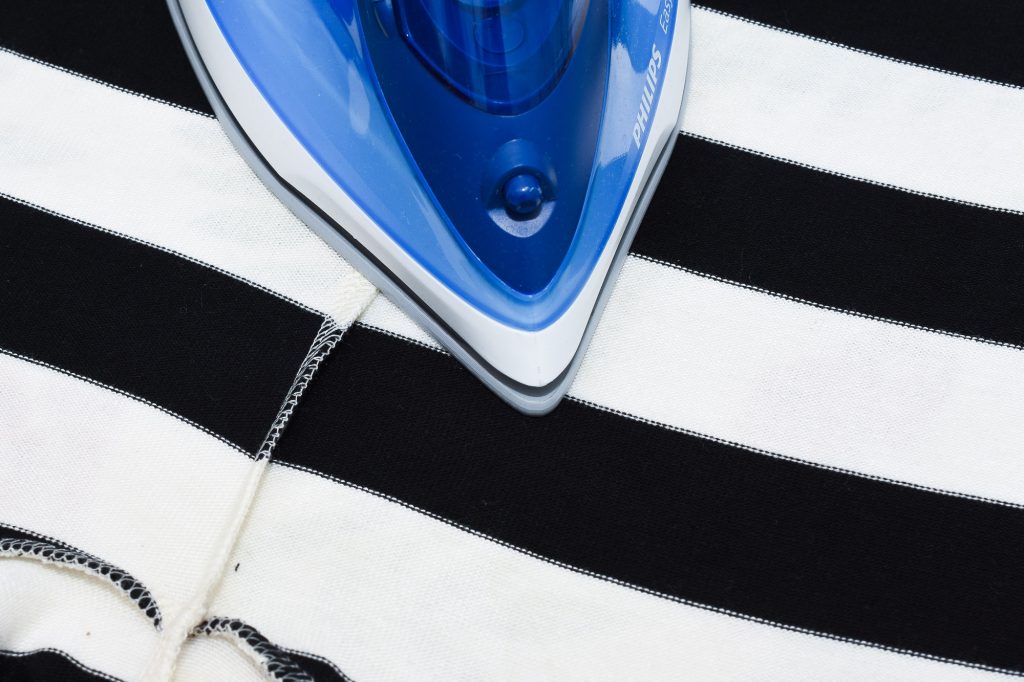
Did you know there are industry standards for which way to press seams? If you check the inside of any store-bought garment, you’ll notice a pattern, especially with seams finished by a serger. The usual rule of thumb is to press seams in a way that reduces bulk. Of course, there are exceptions, but these are some common practices.
Outer seam on pants
Press the seam towards the back leg, which reduces the number of layers and bulk caused by the pockets.
Sleeve cap seams
Press towards the sleeve to avoid the extra layers from the shoulder seam. The exception is if you are topstitching the sleeve cap seam, which you’ll see on some dress shirts and jackets.
Side seams on tops
Press towards the back for a neat silhouette. If you press the seam to the front, it might be more visible
Shoulder seams
The shoulder seams are usually pressed towards the back piece to make the seam allowance less visible. Now, some manufacturers do the opposite, so you can try and see what works best for you.
Darts
Vertical darts, such as waist darts, are usually pressed towards the centre of the garment. While diagonal darts (like bust darts) are usually pressed downwards, they are sometimes pressed upwards too.
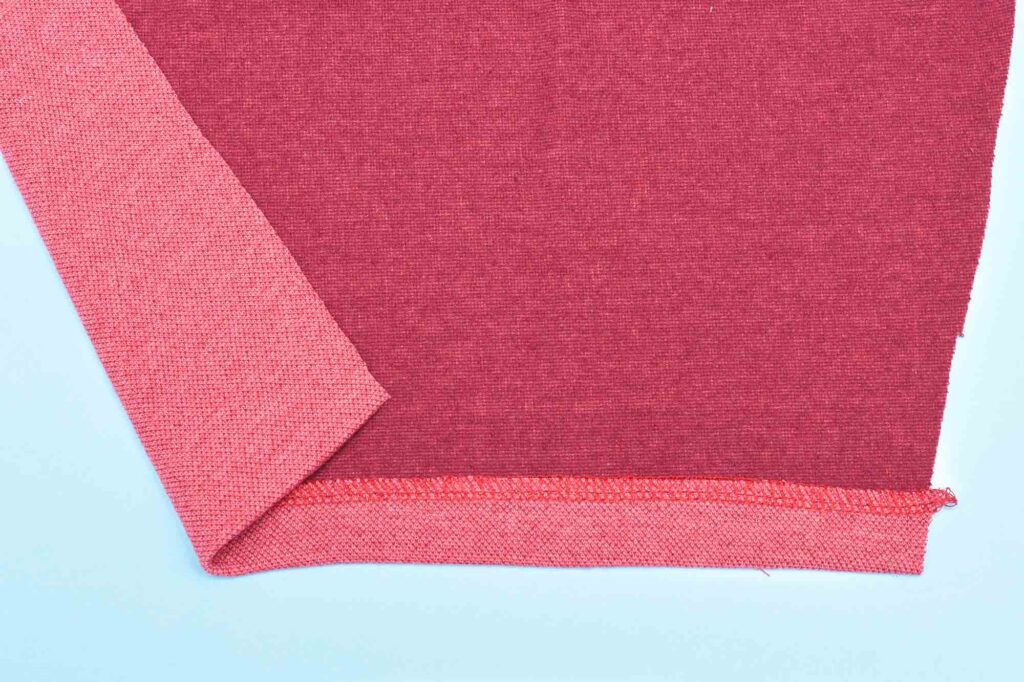
Neckband and cuffs
To reduce bulk neckband and cuffs on knit tops and sweaters are usually pressed towards the bodice, meaning down for the neckband and up for the cuffs.
Press early, press often, sew better
So yes, pressing is truly a key part of sewing. Each time you press, you help reduce bulk, shape the garment, and make the next steps both easier and more precise. If you want your clothes to look and feel great, keep your iron ready, press as you go, and let the magic happen!