Attaching the neckband is often the trickiest step when sewing knit tops and t-shirts. So if you have ever ended up with a gaping neckline, annoying draglines or puckering you know what I mean! Indeed, getting the neckband right is crucial for the overall look of a garment.
To prevent these problems, always use the proper assembly methods and do not rush through the process. You can do this, I promise.
So in this step-by-step tutorial for the Gurli Knit Top Sewing Pattern, I will show you how to sew a beautiful neckband, without the hassle.
Want to learn more on how to sew knit tops like a pro? Then heck out the other knit top tutorials in the Gurli Knit Top Sew-Along.
Preparing the neckband
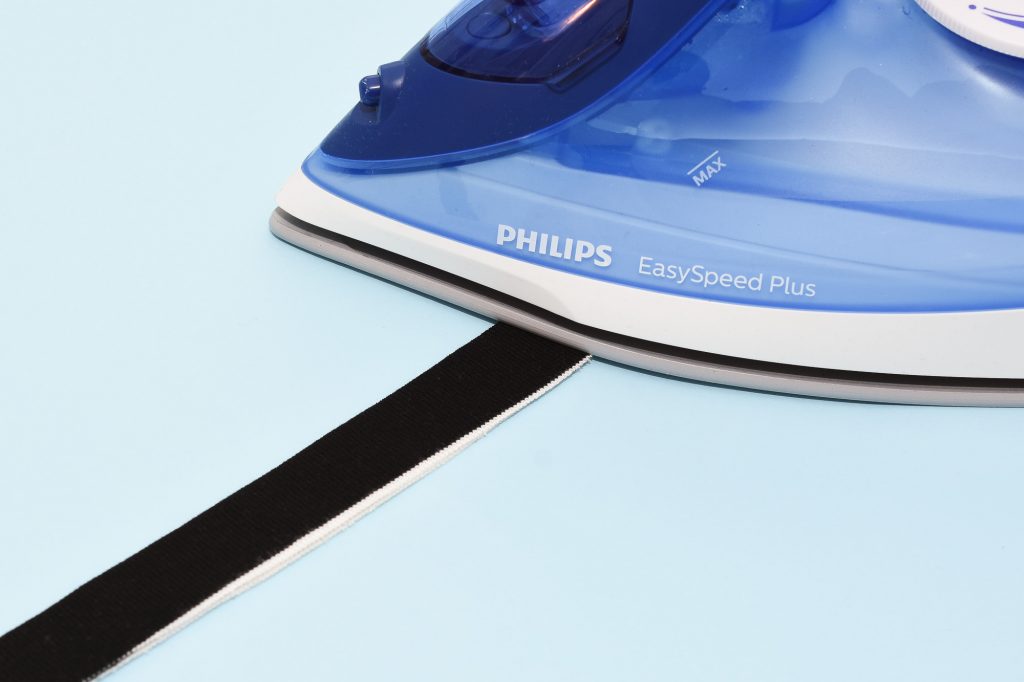
1. Fold and press the neckband
Fold the neckband lengthwise, wrong sides facing, right sides up. Press the fold with an iron set on low heat. If the fabric is very sensitive to heat, use a pressing cloth to protect the surface.
I find it helpful to press the neckband fold before sewing it into a circle, as it is easier to get that really crisp, sharp fold before the bulky seam is in place.
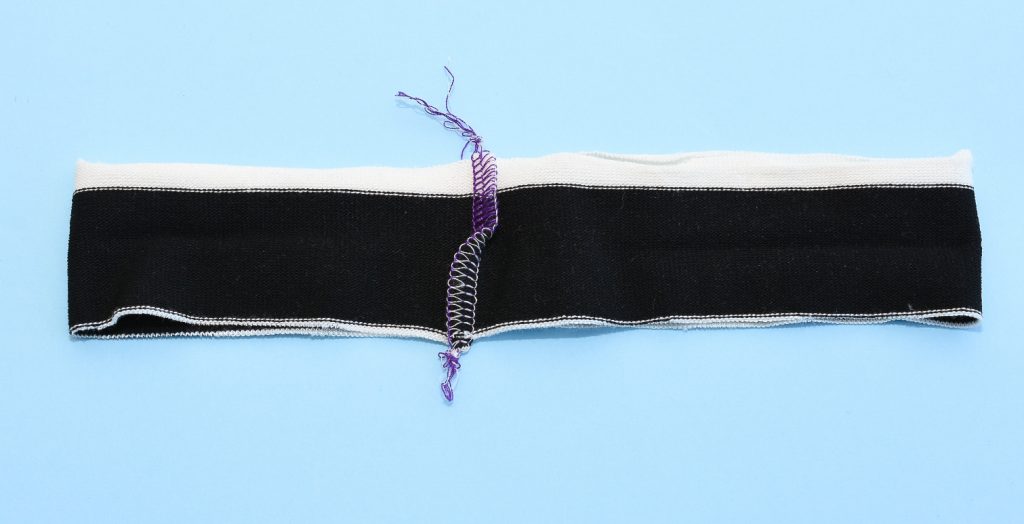
2. Sew the neckband circle
With the right sides facing, sew the short ends together to form a loop. Use either an overlock stitch or a narrow zigzag stitch.
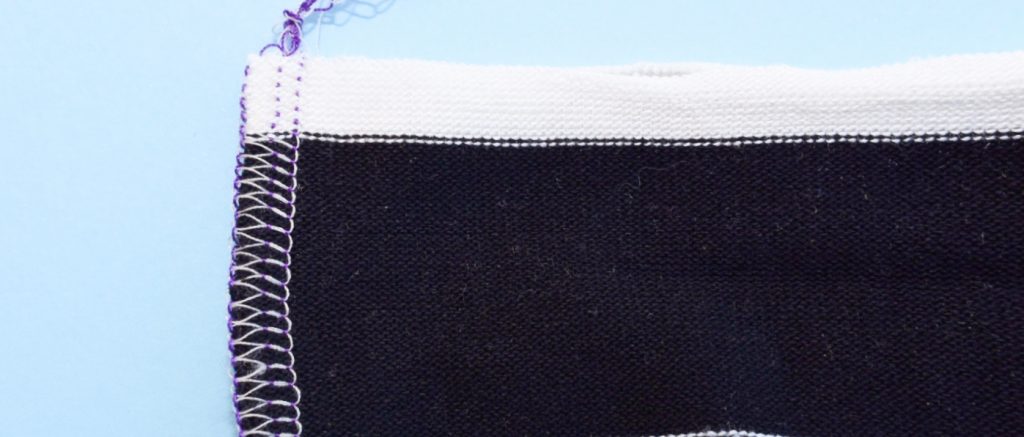
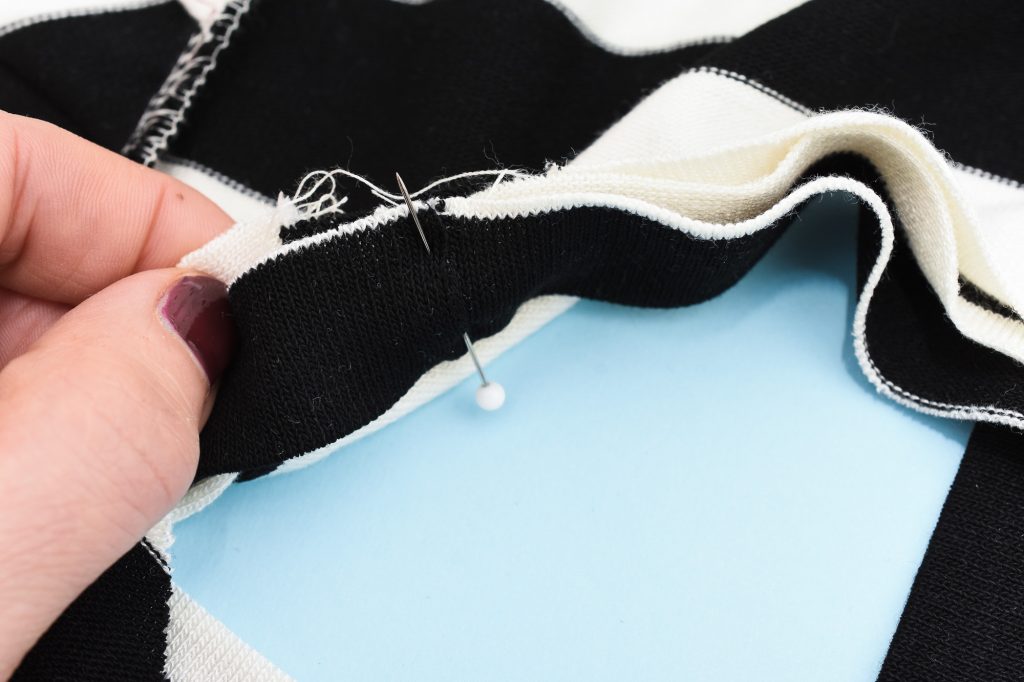
3. Fold the seam allowance to reduce bulk
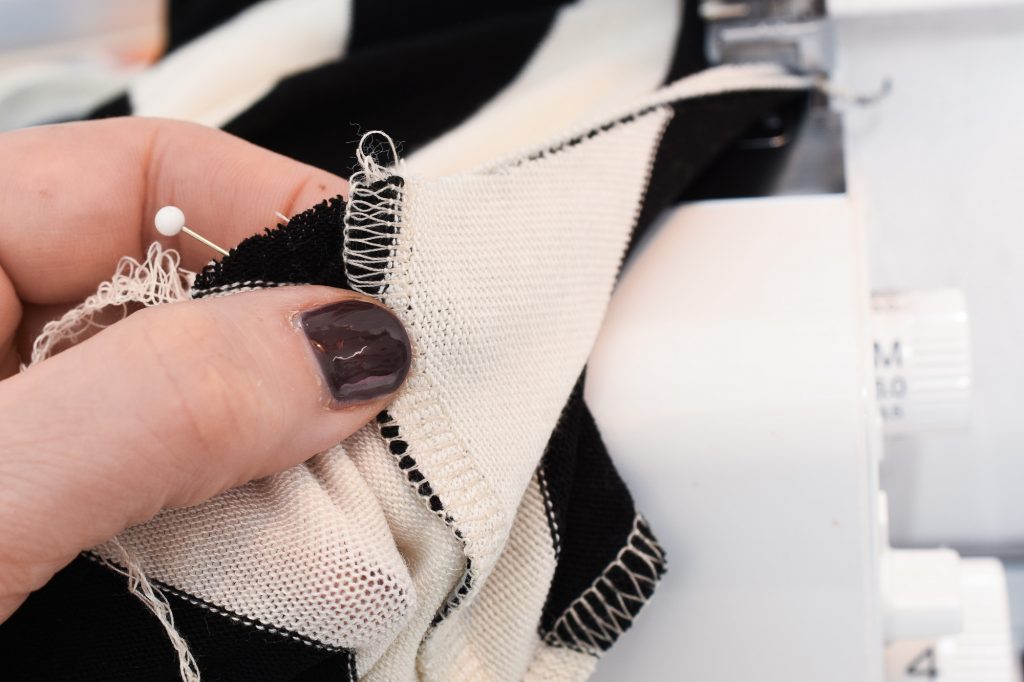
If using an overlock stitch, finger-press the seam allowance in opposite directions at the neckband fold. This will encure that there is no “bump” at the fold.
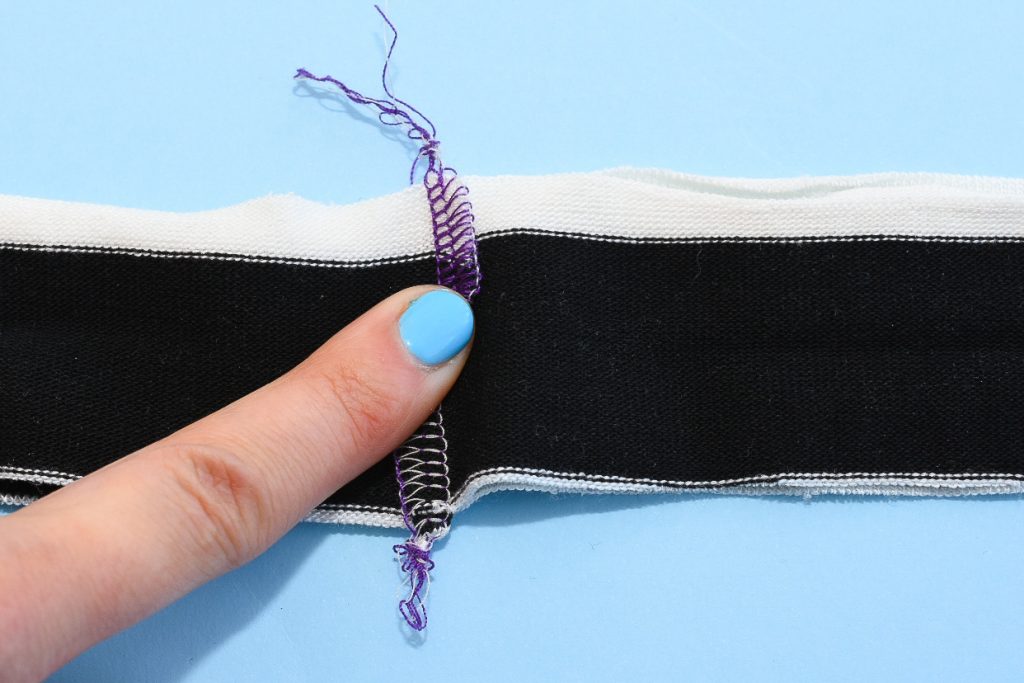
You can also cut a tiny notch into the seam allowance and fold the seam allowances. This is hands down the most effective way to get a really flat fold on overlock seams. But be careful that you don’t break the seam.
On a zigzag seam, simply fold open the seam allowance and press just like you would with a woven fabric.
4. Fold over the neckband
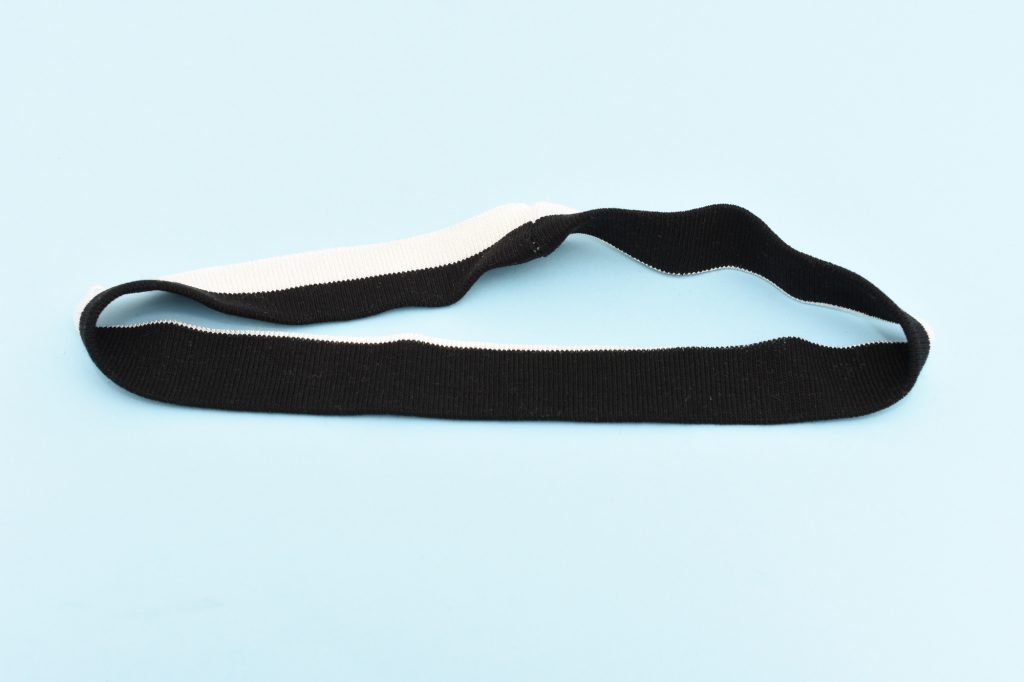
Fold it lengthwise, wrong sides facing, in preparation for attaching the neckband to the neckline. You can do a final light pressing with an iron to get the fold even more crisp.
Attaching the neckband to the neckline
Placement of the neckband seam
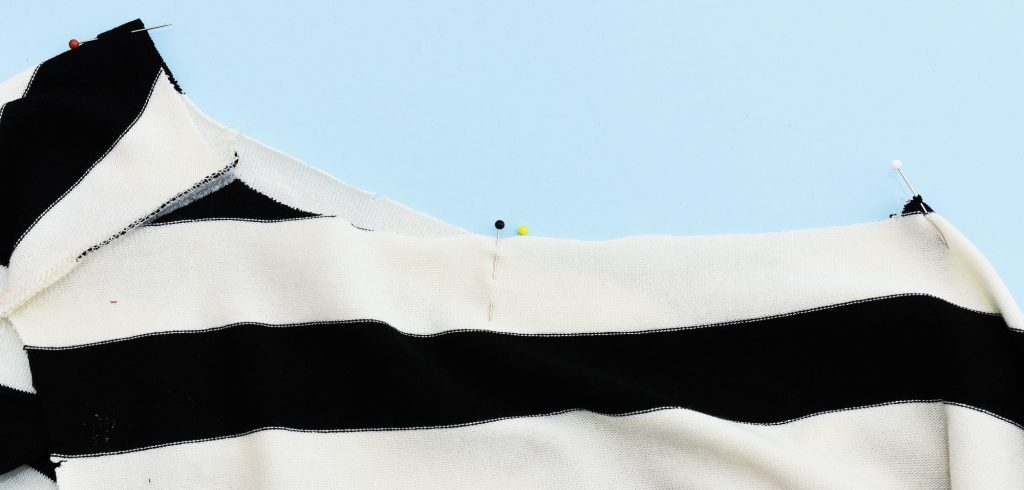
The best placement of the neckband seam depends on both the style and the construction techniques used. In this tutorial we are using an industry-standard for sewing t-shirts and other knit tops where the seam is placed 2.5 cm (1”) away from the shoulder seam, on the back neckline. This method removes bulk at the shoulder and also hides the neckband seam.
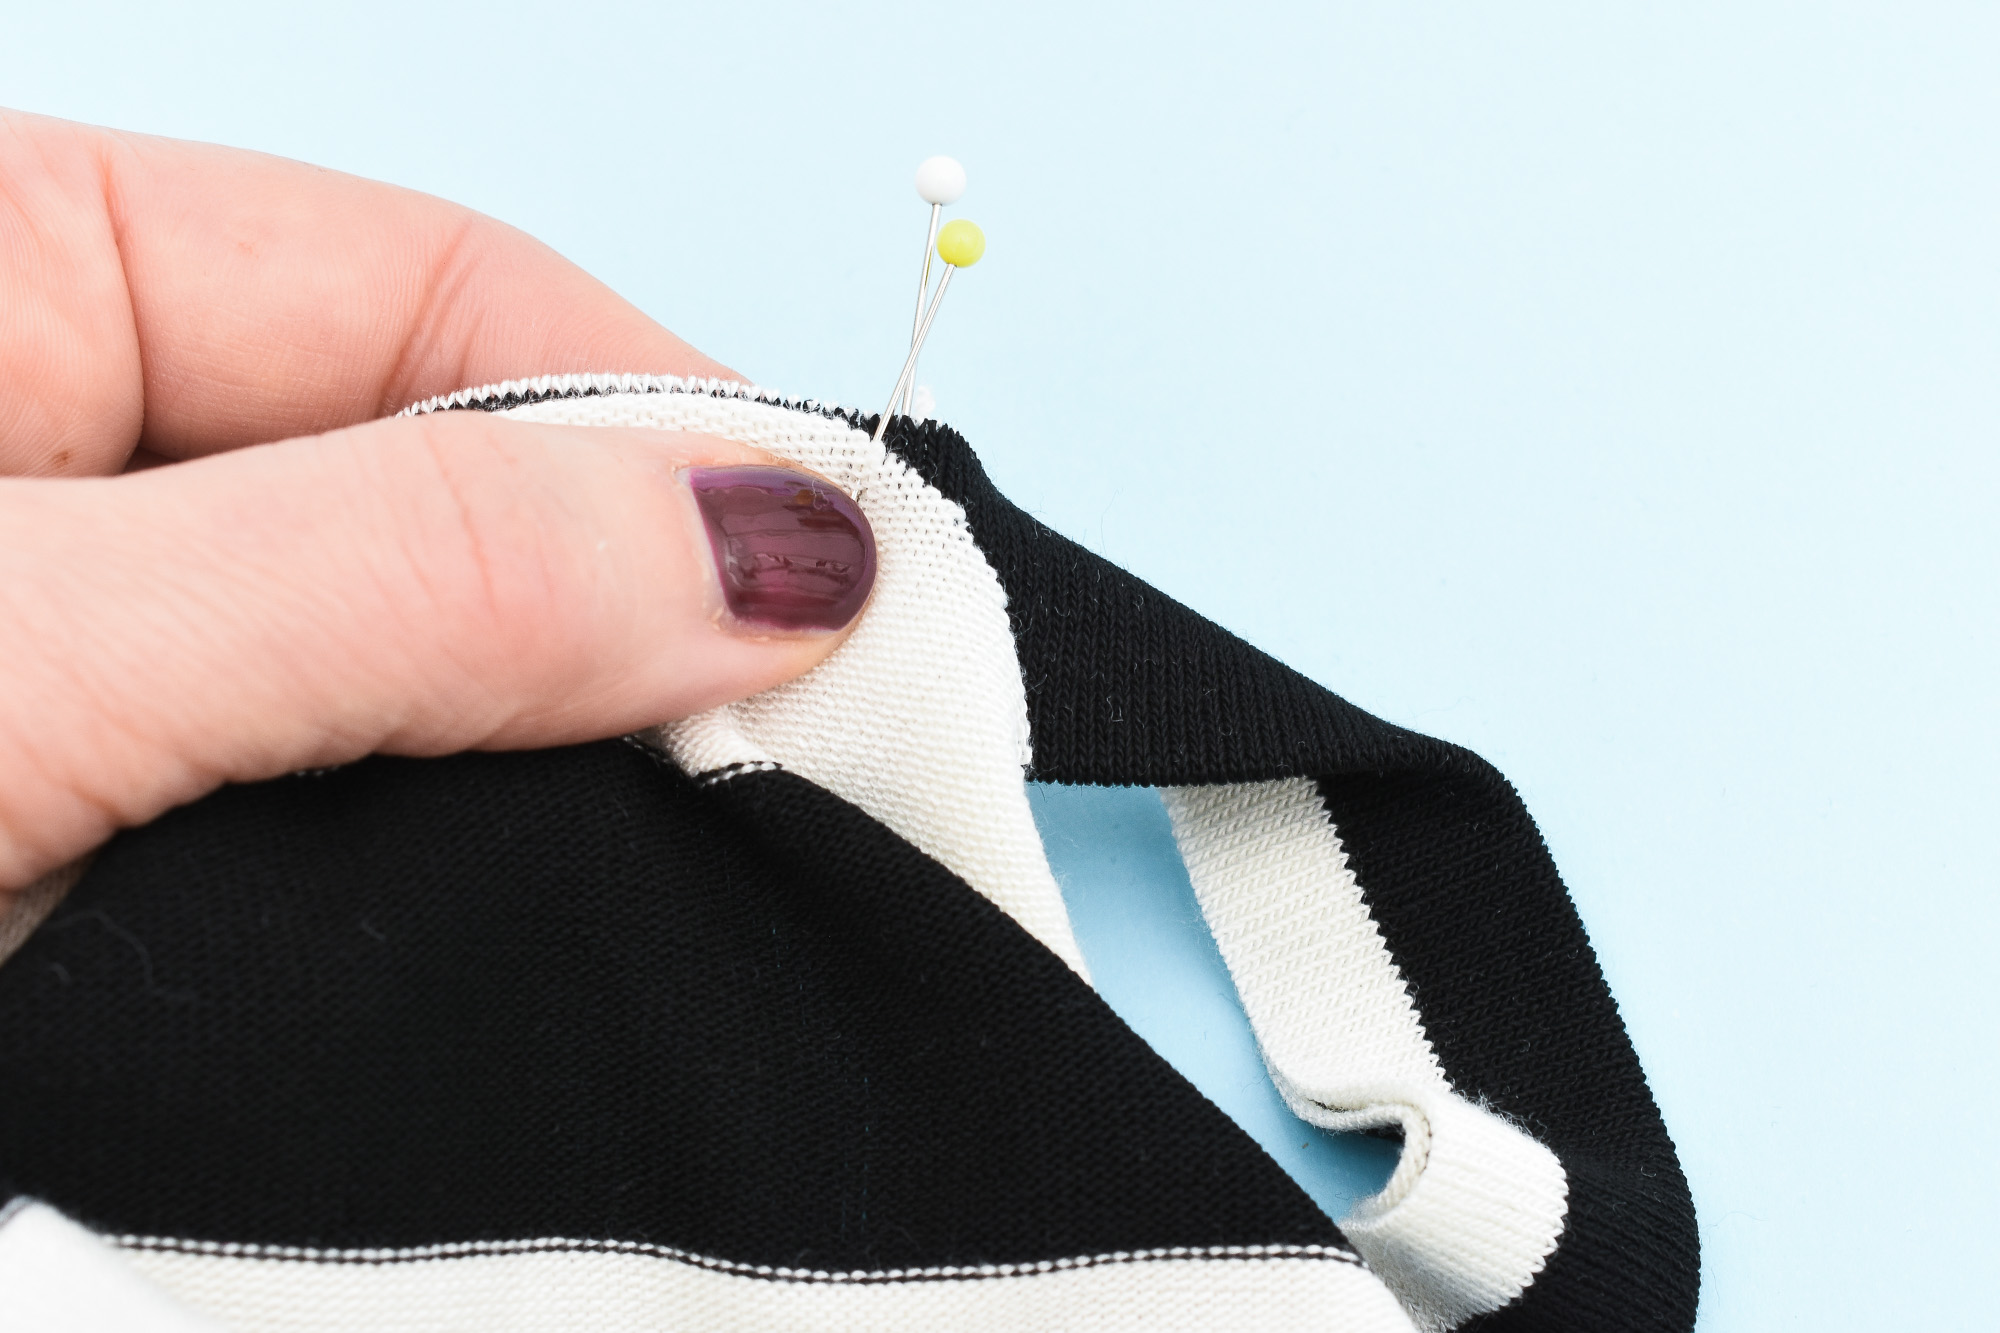
1. Mark quarter notches on the neckband
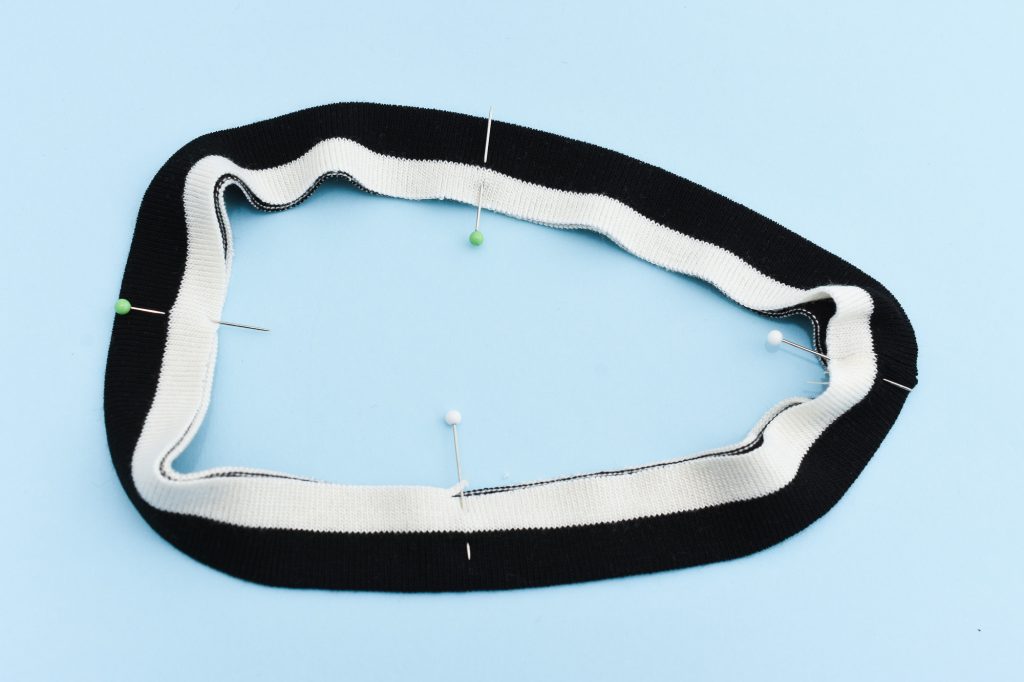
The 1/4 notches should be divided equally between the seam and the mid-point notches. Use pins, tiny clips or a tracing pen to mark them, ideally on the right side of the fabric.
2. Divide the neckline into equal quarters
To make this easier, I like to start by placing the neckband along the neckline where the neckband seam should be placed, in this case 2.5 cm (1”) away from the shoulder seam. Right sides should be facing.
Then I divide the neckline into eqaul quarters, using the neckband seam spot as the starting point. Mark the divisions with pins, a pen or notches.
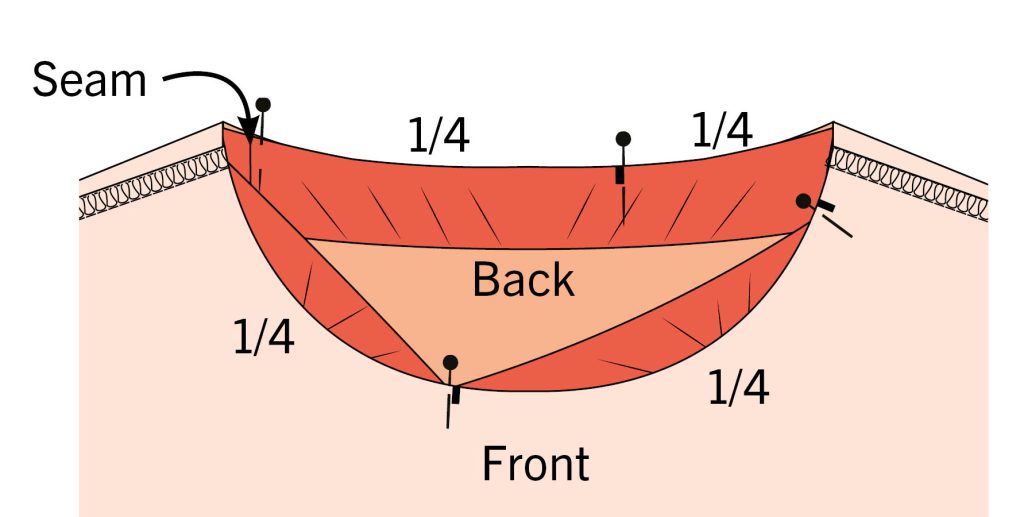
As you can see the notches are not placed at mid-back or mid-front, since the back and front neckline do not have the same length. And because the neckband seam is not at the shoulder seam, the notches will be skewed even more. The only thing that matters when using this method is that all divisions have exact same distance between them.
There are of course other methods too for aligning neckbands. But this in is easy and yields professional results once you get the hang of it.
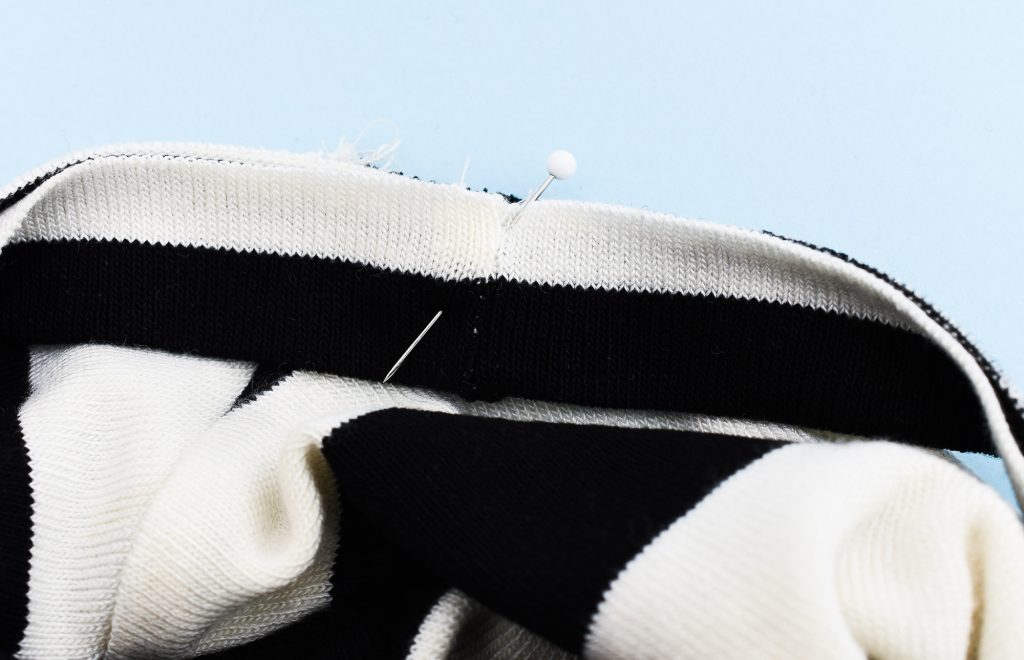
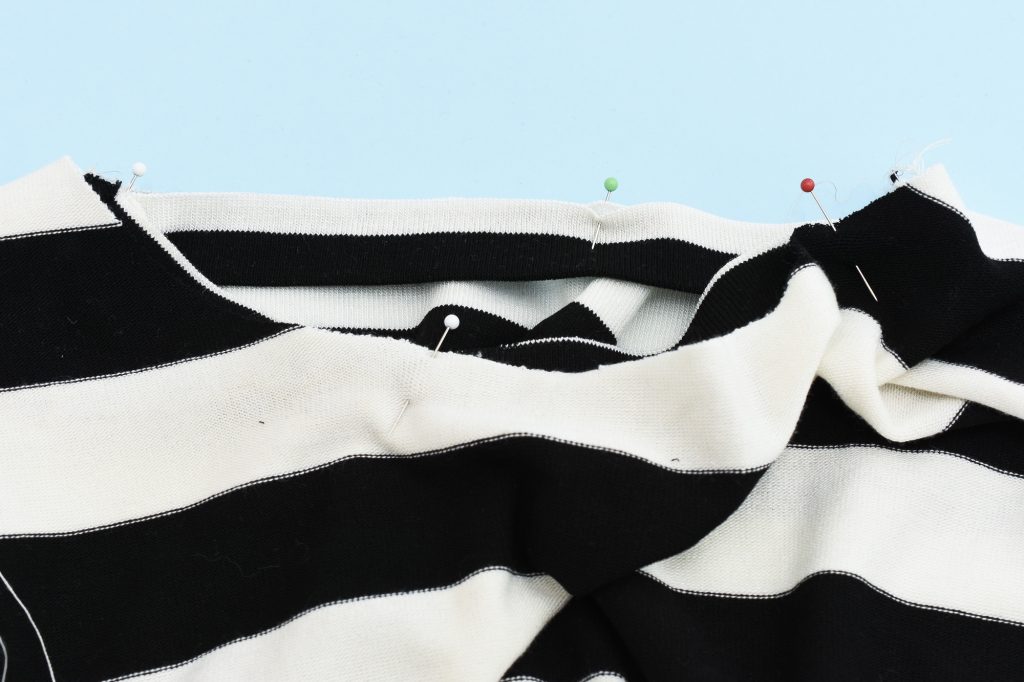
3. Attach the rest of the neckband

Place the neckband on the neckline and stretch out the neckband to match the notches. Pin to keep in place.
Sewing the neckband
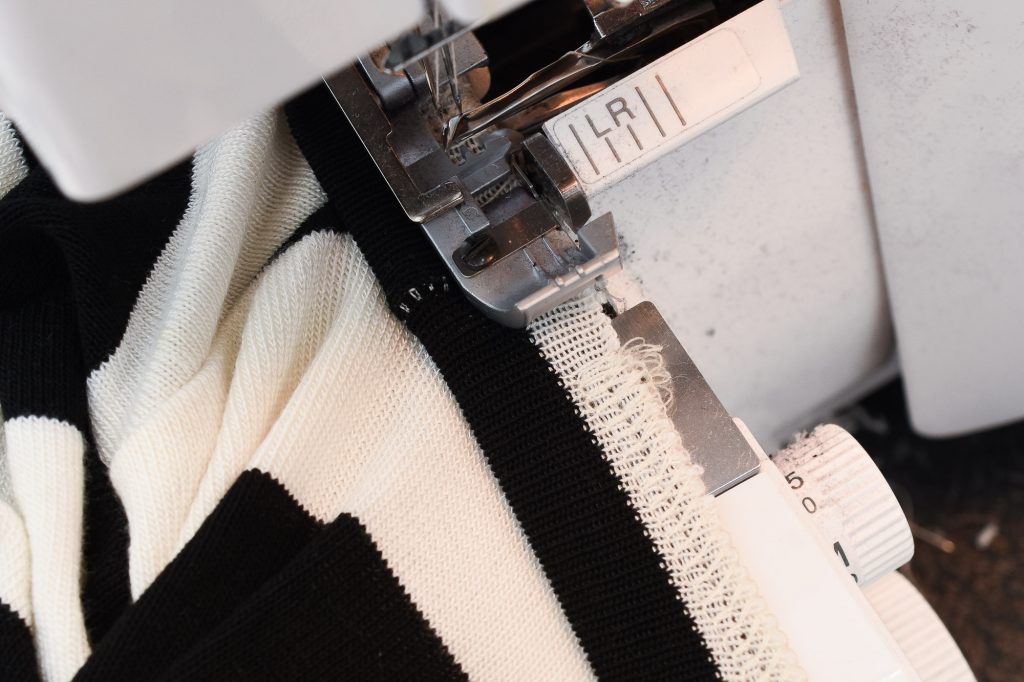
1. Start sewing from the back
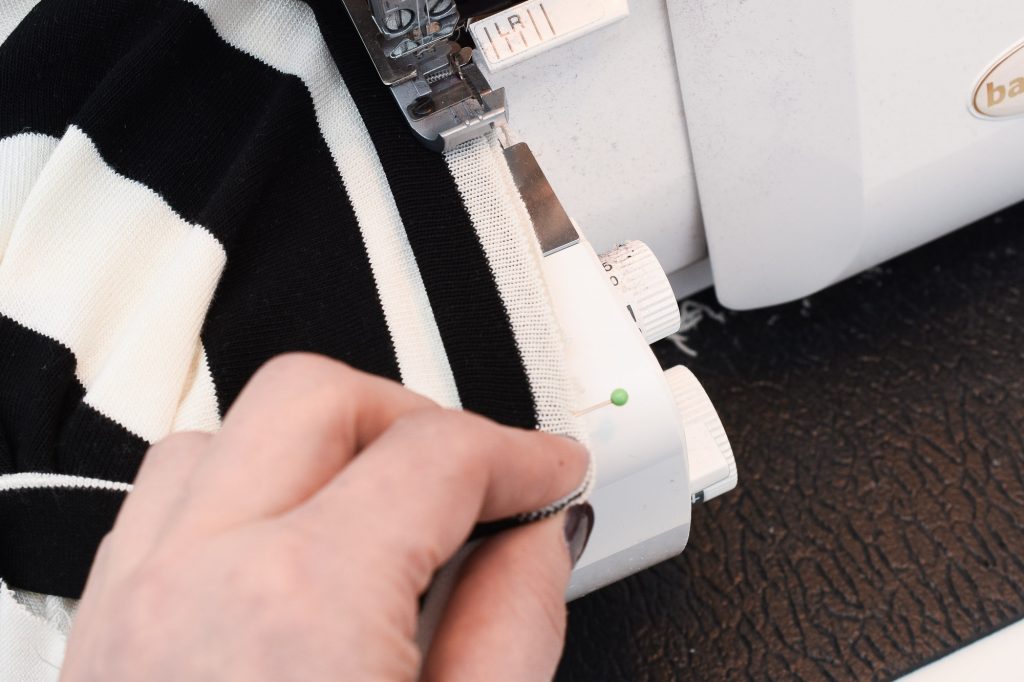
When sewing the neckband always start on the back part of the neckline. You can use either a serger overlock, a sewing machine stretch seam or a narrow zigzag stitch to attach the neckband. Just make sure the stitch has plenty of stretch.
2. Stretch the neckband but never the neckline
With the neckband facing up towards you, stitch along the edge and stretch out the neckband along the neckline, making sure the quarters are evenly distributed. Never stretch the neckline, just the neckband. If you stretch out the neckline, a gaping, wobbly neckline will be the result.
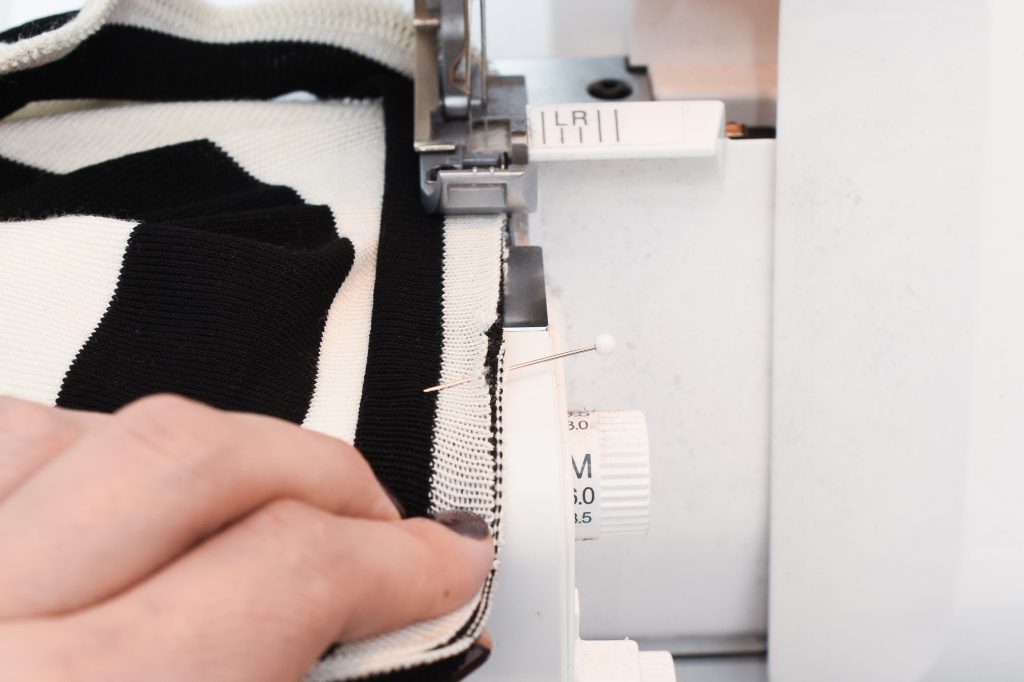
3. Make sure the shoulder seams are folded in the right direction
It’s very common to have the shoulder seams getting all flippy floppy when sewing the neckband, so you might end up with one seam allowance folded towards the front and one towards the back. So always stop and make sure they are folded in the right direction (in this case towards the back piece) before sewing over the shoulder seam.
4. Overlap the seam to secure the neckband
Make sure the overlap is smooth and follows the original seamline. If using a serger, do not pivot out to finish the seam. Instead, overlap and then stop. Release the threads and pull away the garment from the machine.
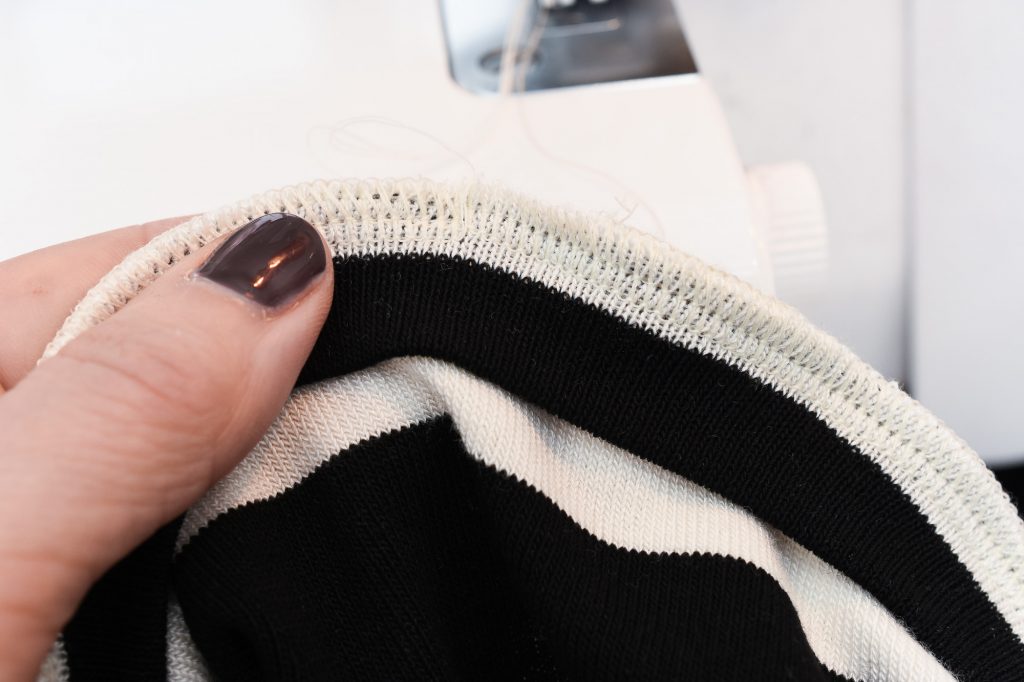
5. Press the neckband

Iron the neckband and neckline from the reverse side using low heat plus steam to even out any wrinkles.
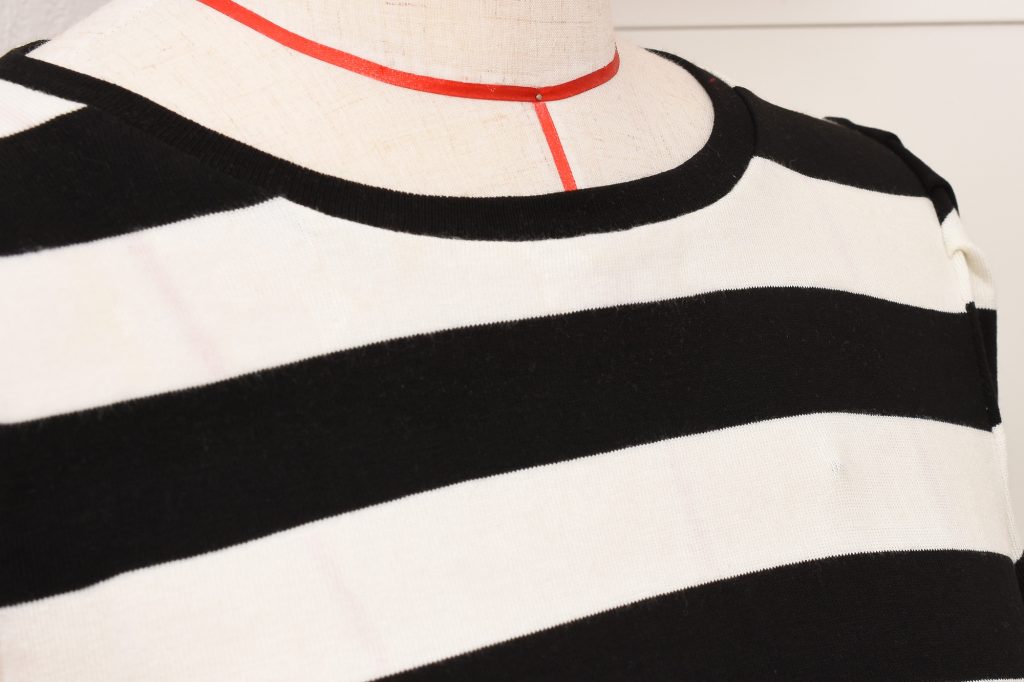
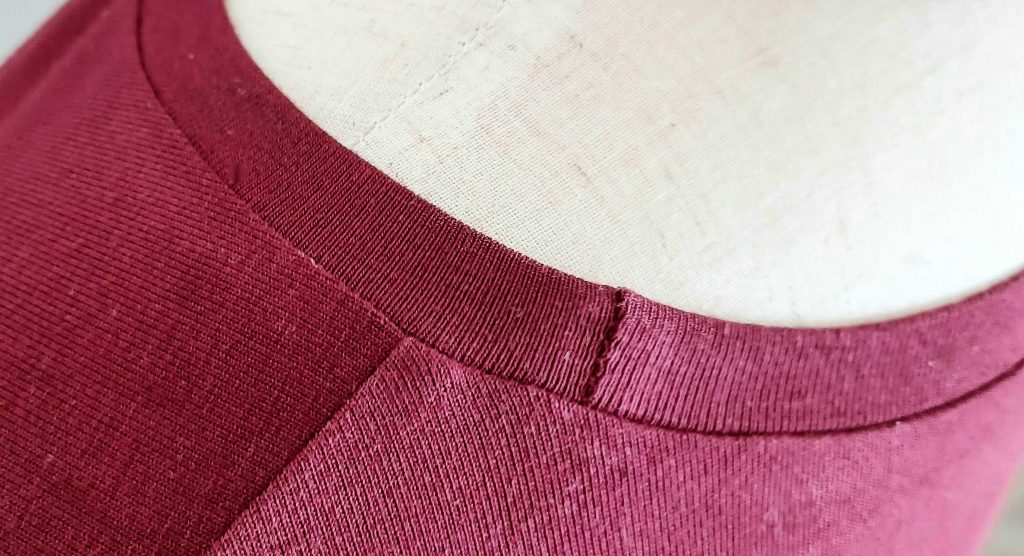
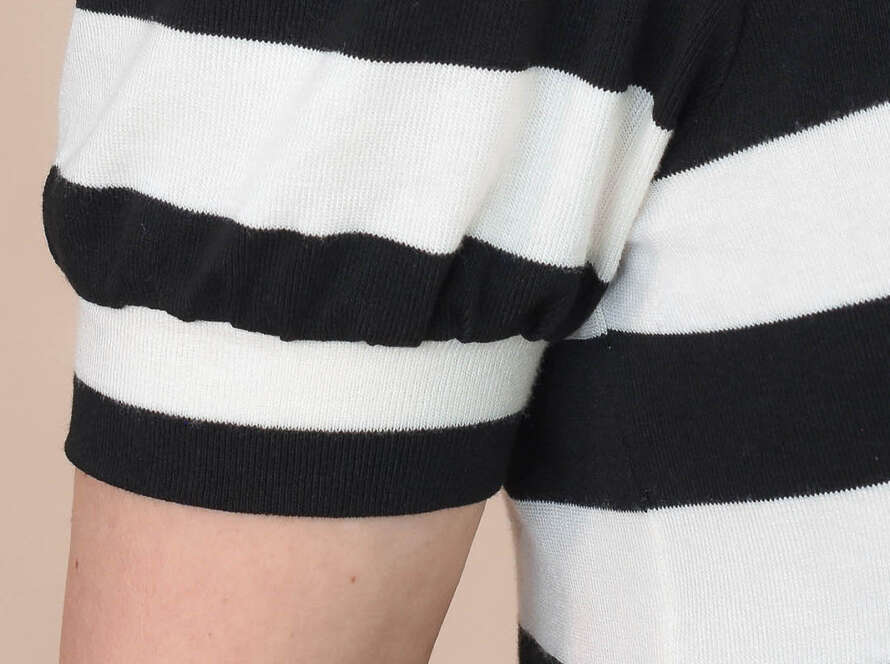
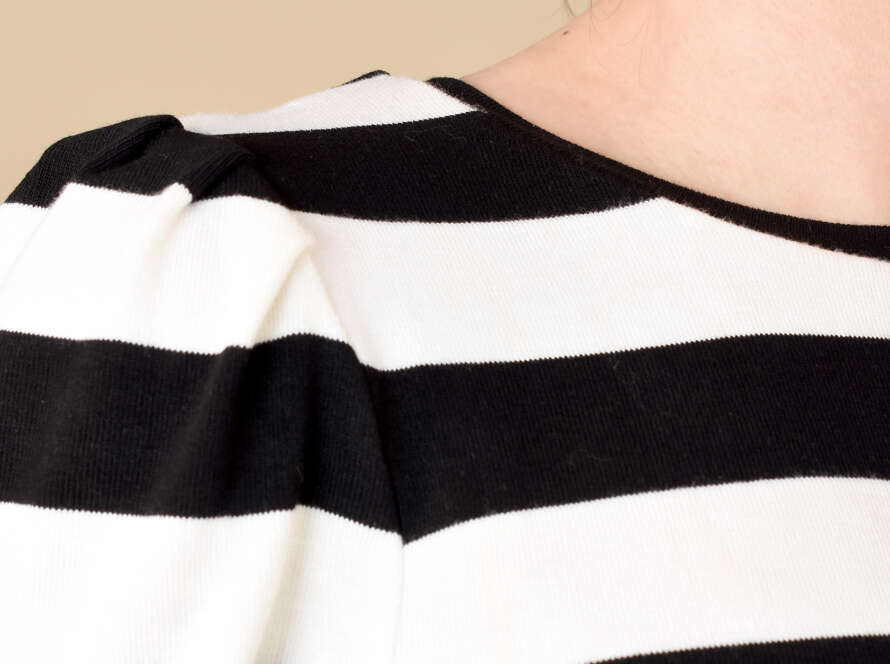
The finished neckband
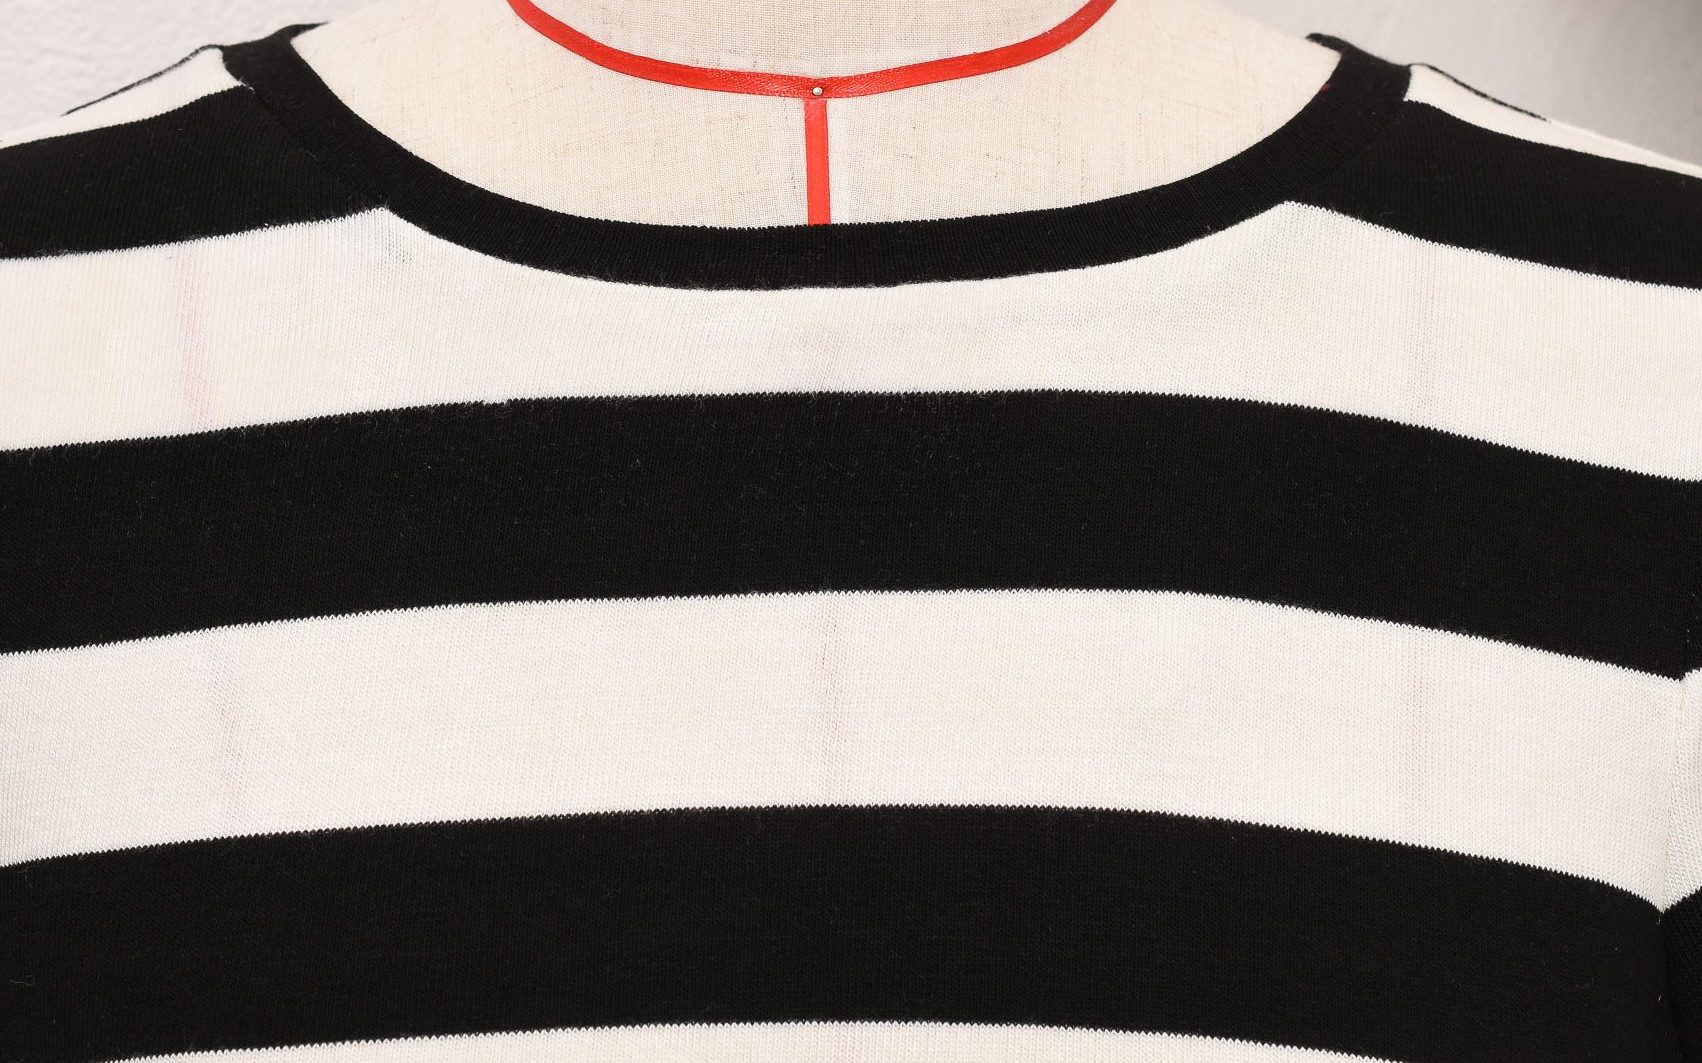
Neat and narrow, with no puckering or gaping in sight. Yes it can be this simple, and trust me this supple jersey was not easy to sew with. In fact if I hadn’t done this correctly, following the steps in this tutorial, the neckline would look like a mess!
Learn even more about sewing knit neckbands
Hope you found this tutorial helpful and of course check out the Gurli Knit Top Sewing Pattern which has step-by-step illustrated instructions that inckudes has even more tips for sewing great knit neckbands.
Want to go even deeper into the topic of sewing neckband on knit tops and t-shirts? Then check out my extensive guide to sewing a neckband the fail-proof way (it’s packed with so much more info and shows some other assembly options too)
6 Comments
Ali
This is a great tutorial! Thanks for putting this together. Saving for the next time I sew a neckband onto a t-shirt or sweater. One thing I struggle with is knowing how long to make the neckband – I feel like often the pattern pieces are either too long or two short and it turns out baggy or puckered and then I have to redo it. Is there any good tips to knowing before you sew it on whether it’s the right length?
Johanna Lundström
Hello Ali
Yes you are correct, the length often has to be adjusted depending on the fabric used for the neckband. I didn’t discuss this in this post since I cover that pattern adaption in the sewing instructions for the Gurli top (and it will be a chapter in the next book I am working on too). But here are some general guidelines:
Rib-knits
Length: 70–75% of the neckline circumference
Supple jersey, such as bamboo and Tencel (often without Spandex)
Length: Approx. 80%
4-way stretch knits (i.e. Cotton/Spandex and activewear jersey)
Length: Approx. 85%
Hope that it gives you an idea 🙂
Judy Kowalewski
When sewing the neckband ends together, I simply use the sewing machine. Once the 1/4″ seam allowance is sewn, I press the SA open. Then, I reduce the width of the SA to 1/8″ about 3/8″ up the top and bottom of the SA to reduce bulk when sew to the neckline. In doing it this way, you reduce bulk at the very beginning just by NOT adding a bulky serger SA to the mix. Knits don’t ravel, therefore there is no need to do a serged SA.
Raj
Hi
Visited your site. I watch video. And tutorials share very nice . I like. . very important information.
Anna Bevaart
Dear Johanna, I have missed you a lot. Wenn I found your channel I was so happy because you are using the same sewing maschine as I have bought 37 year’s ago. I watched all of you videos and I learned so much from you. But then you disappeared and I stopped sewing. By coincidence I found you again and saw that you also wrote some books. I have ordered 2 of them by Amazon. Now I saw that you also have the baby lock, I also have the Babylock overlock and cover maschine but hardly using it because I don’t know how to use it properly. There fore I am very grateful for the video you posted because now I will be able to use my babylock maschine again. Are you also planning online sewing lessons? I would love to participate in an online lesson. Kind regards Anna
Comments are closed.