Making a pom-pom out of yarn is super easy and the perfect companion to your Brisa Beanie or Ullvi Knit Hat sewing patterns. I like mine really thick and plush, so in this tutorial, I’ll show you the best method for that, without having to use a pom-pom maker. In fact all you need is some paperboard to create your own DIY pom-pom maker.
Supplies for making a pom-pom
- Yarn
- Paperboard
- Pen
- A crochet hook (optional)
- A mug, glass, coin or other round objects. Or a circle compass
- Large hand sewing (tapestry) needle
- Scissors
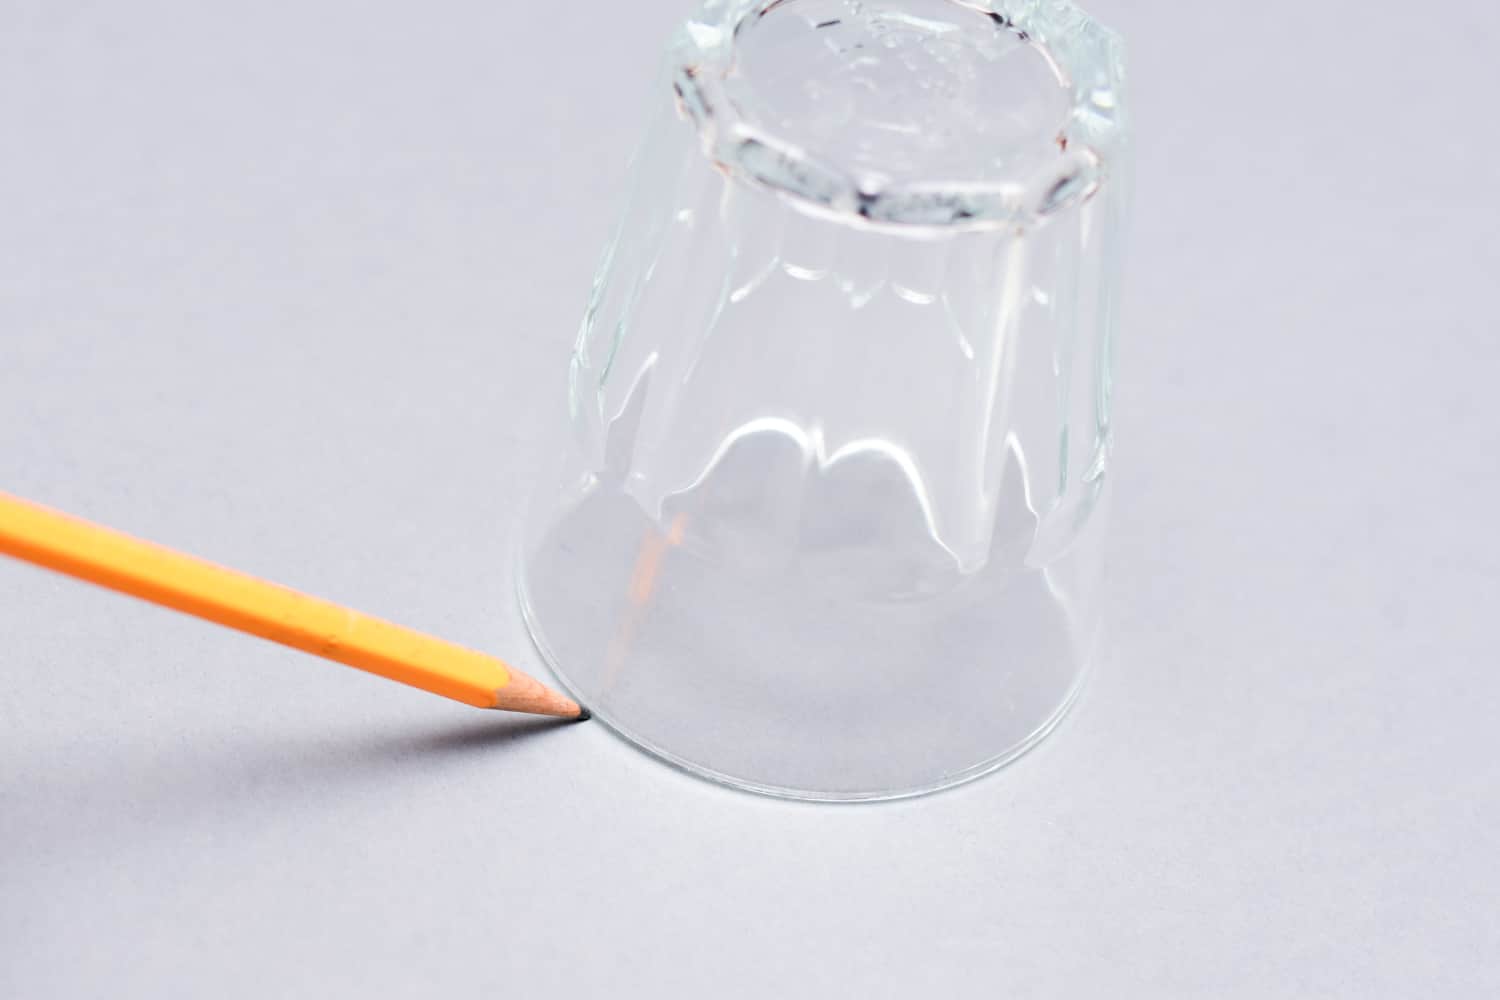
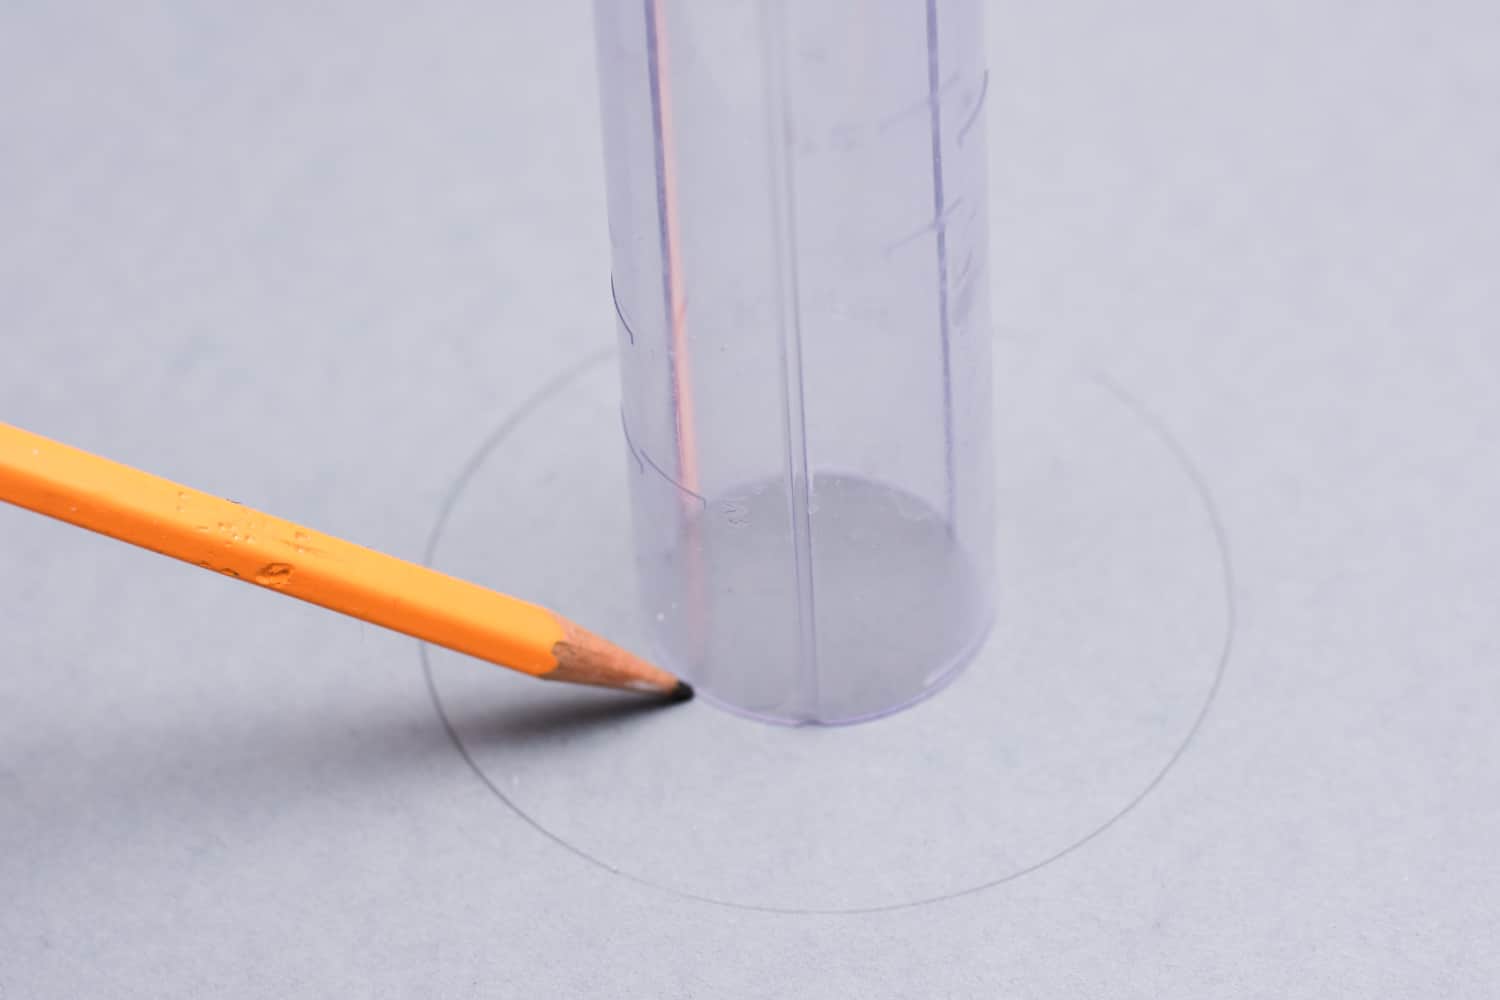
1. Draft two pom-pom templates
A pizza carton, cereal box or the back of a legal pad are all great to use for the pom-pom templates
Outer circle size: The diameter of the finished pompom. Use a glass, a mug or a circle compass to draft the circle.
Inner circle size: The inner circle width should be around the same width as the paper ring once the hole is cut out. You can use a coin for this.
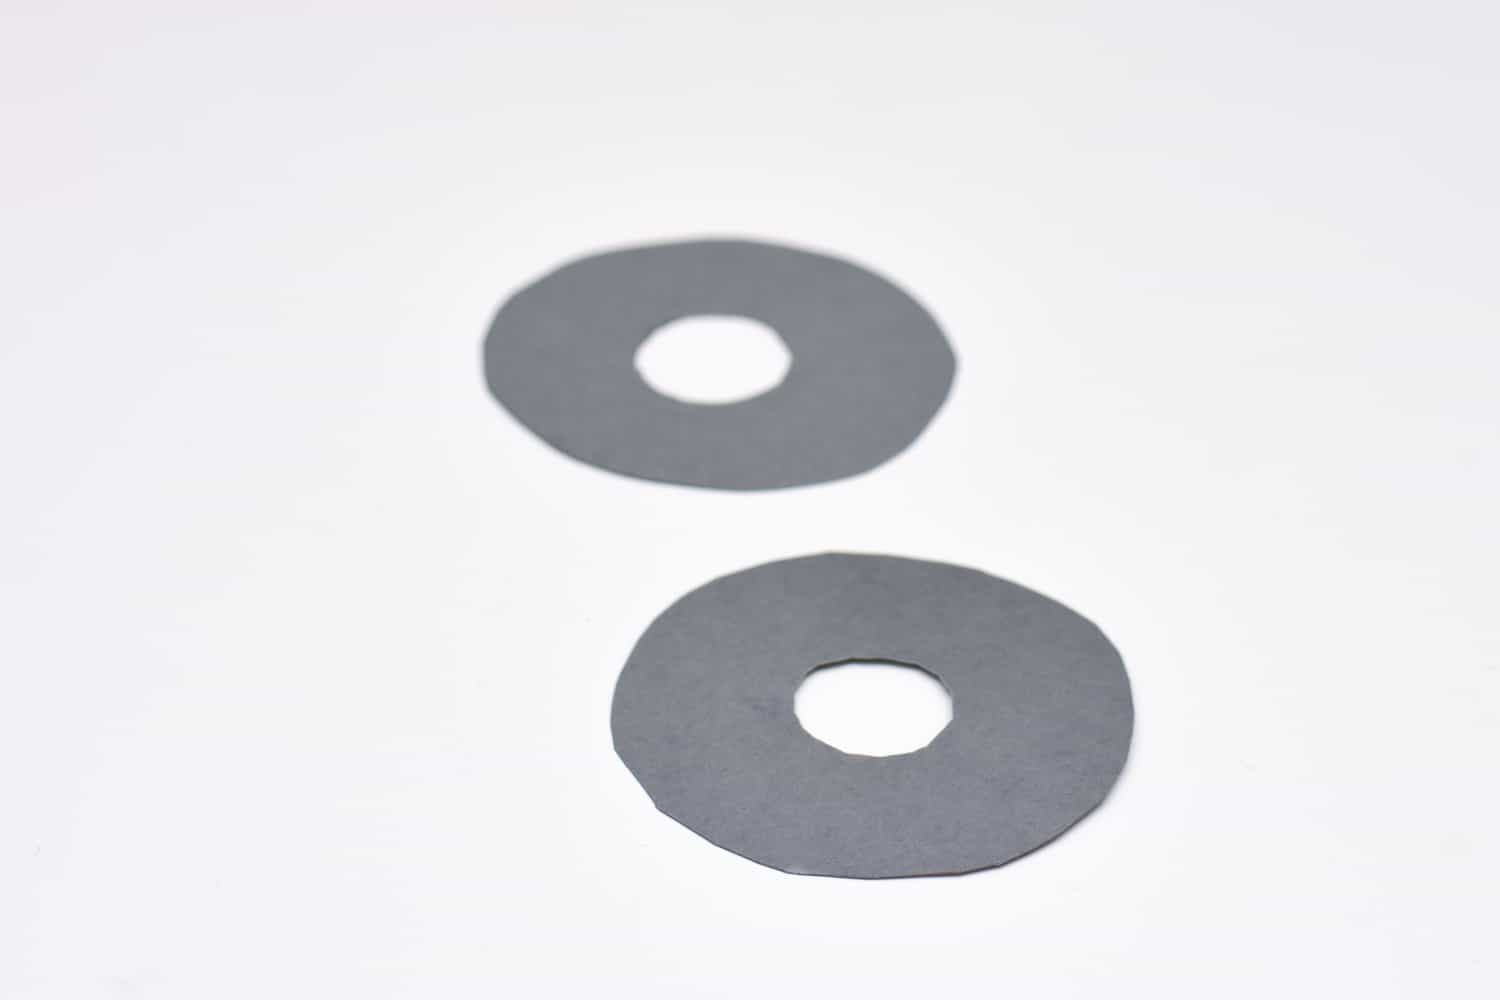
2. Cut the pom-pom templates
Don’t fret about creating even edges, as long as the size is right you’ll be fine!

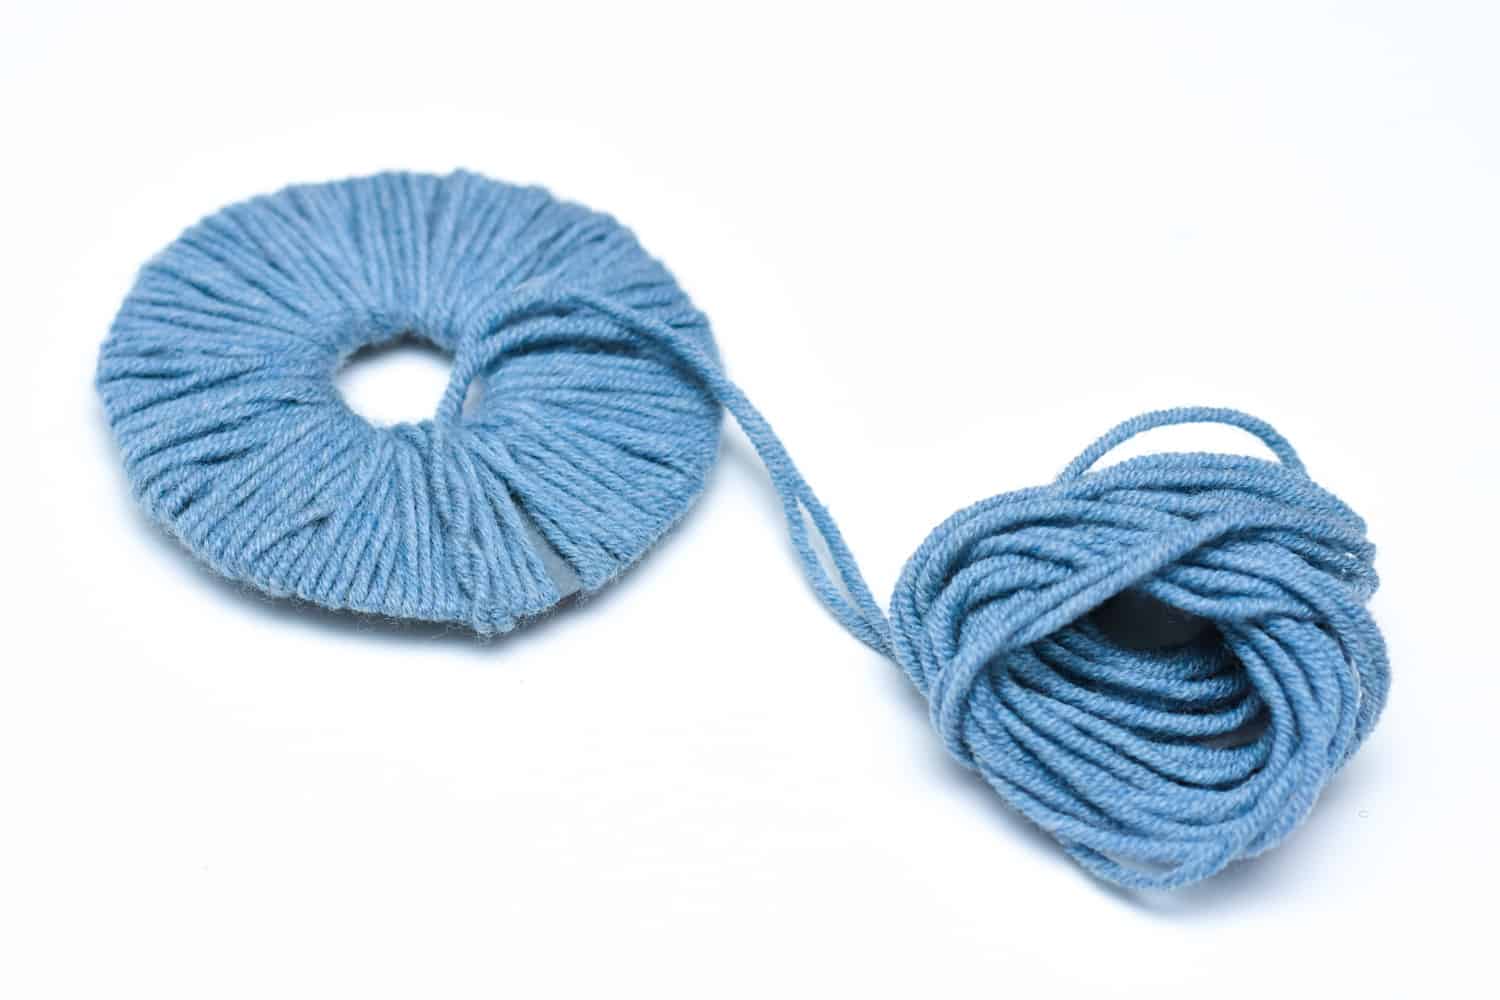
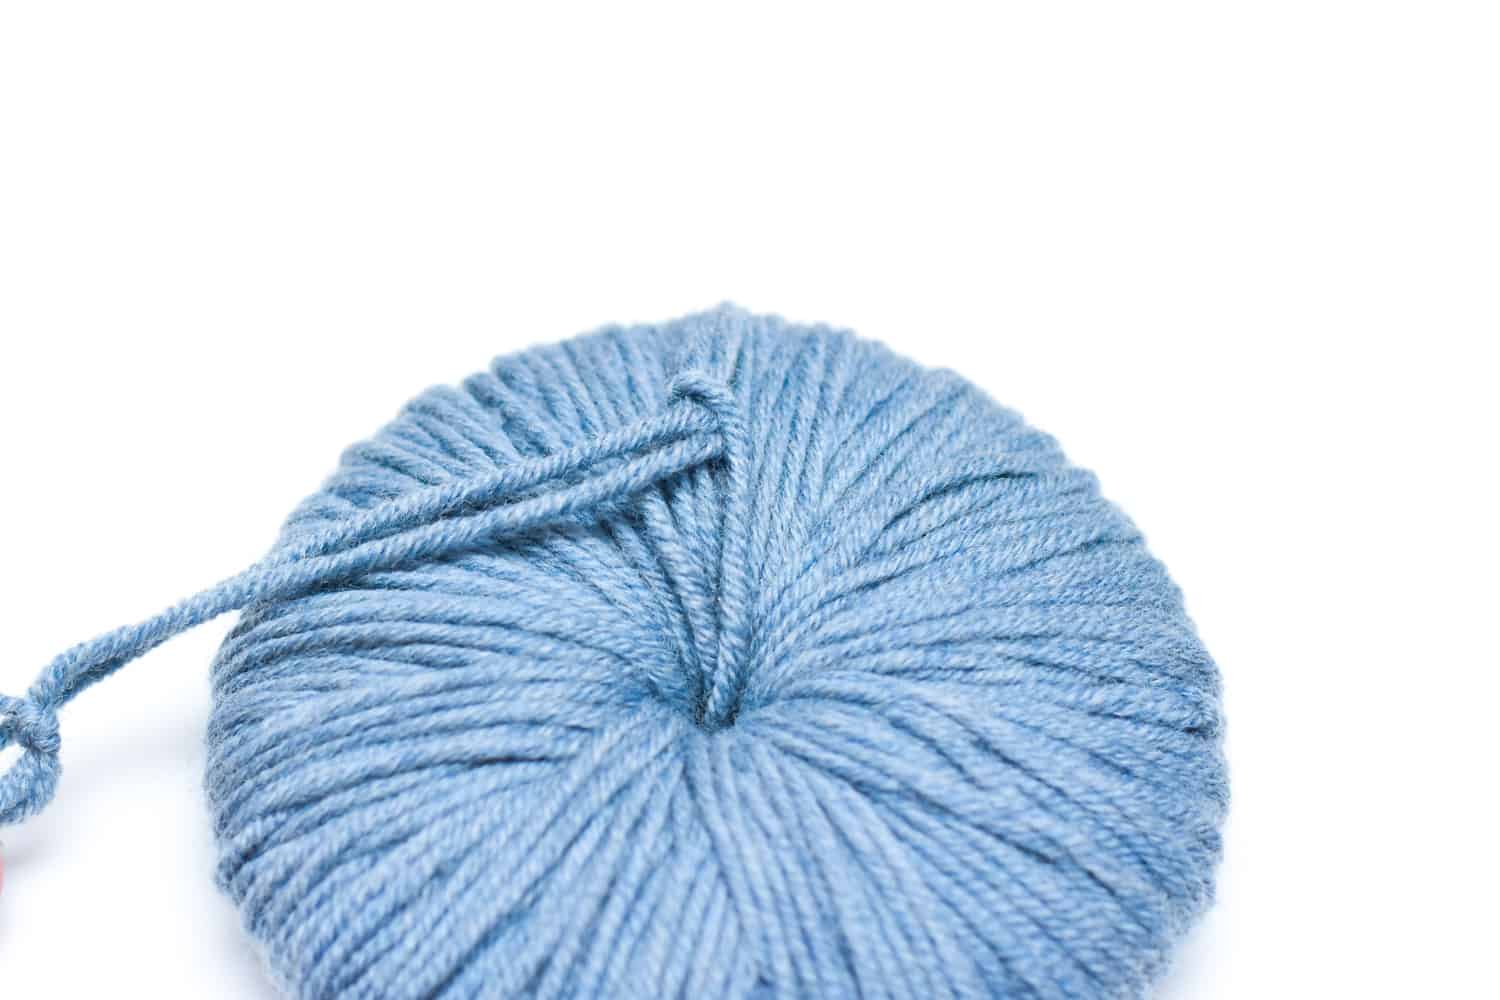
3. Wrap the pom-pom
Put the two paper rings together and start wrapping the yarn around the ring. I prefer to use double strands of yarn as it makes wrapping faster. I attach the yarn by tying the ends and then pulling them through the loop which is created when the yarn is folded in the middle.
Tip. Make sure you are wrapping the yarn tightly for a plush pom-pom
4. Add a new strand of yarn
If you run out of yarn, create a loop and attach the new strand of yarn in the loop to make it secure and start wrapping again.
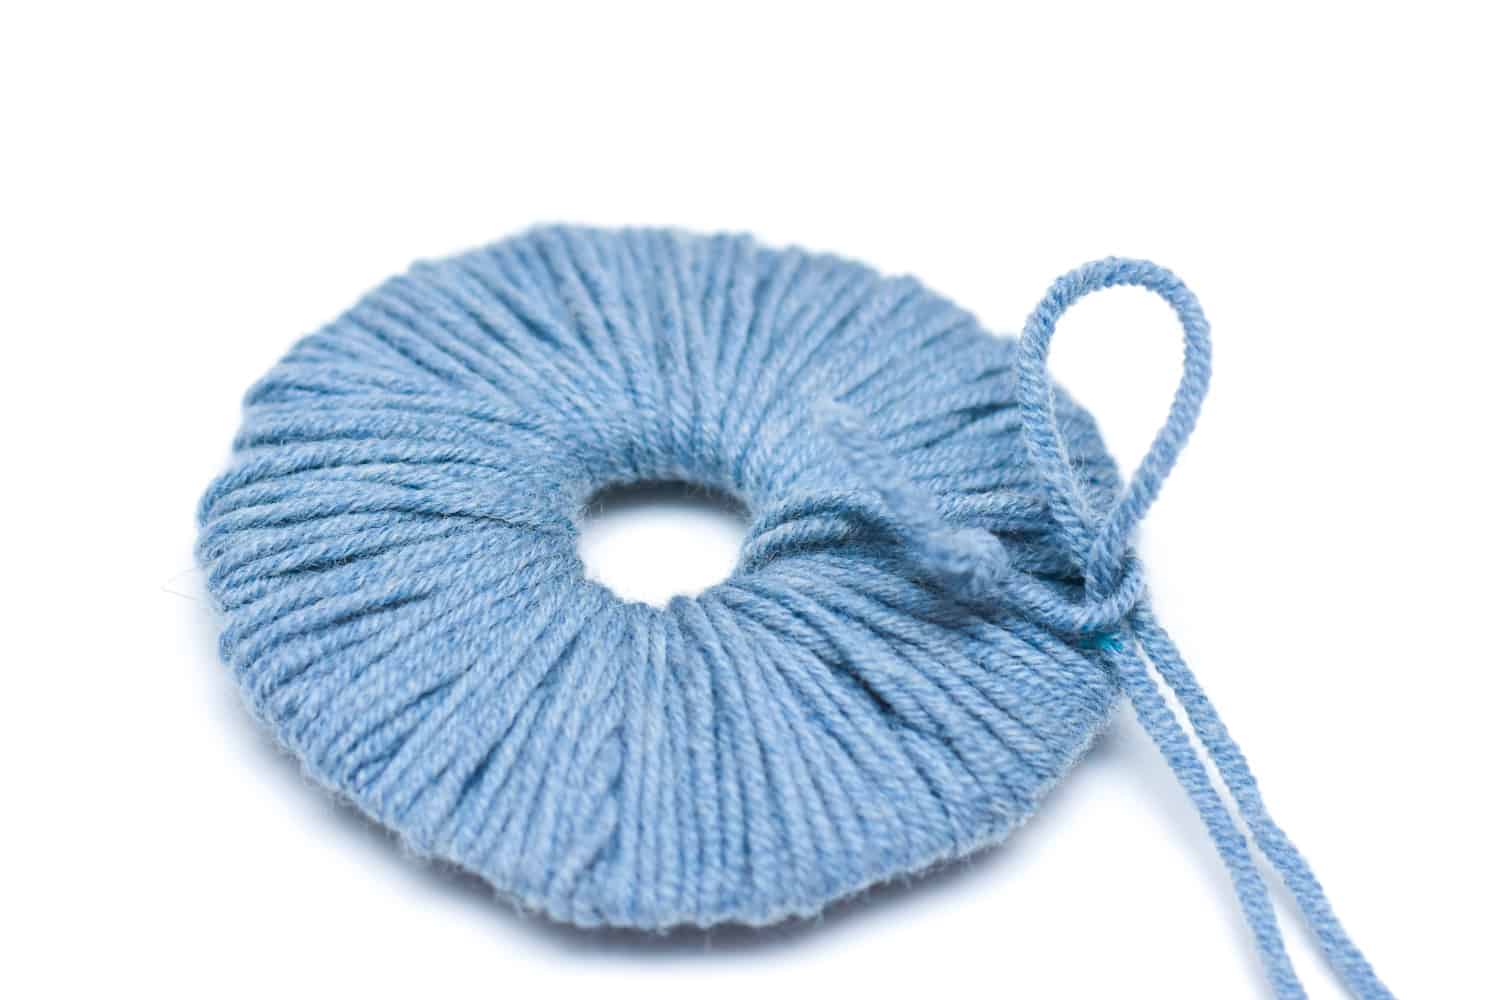
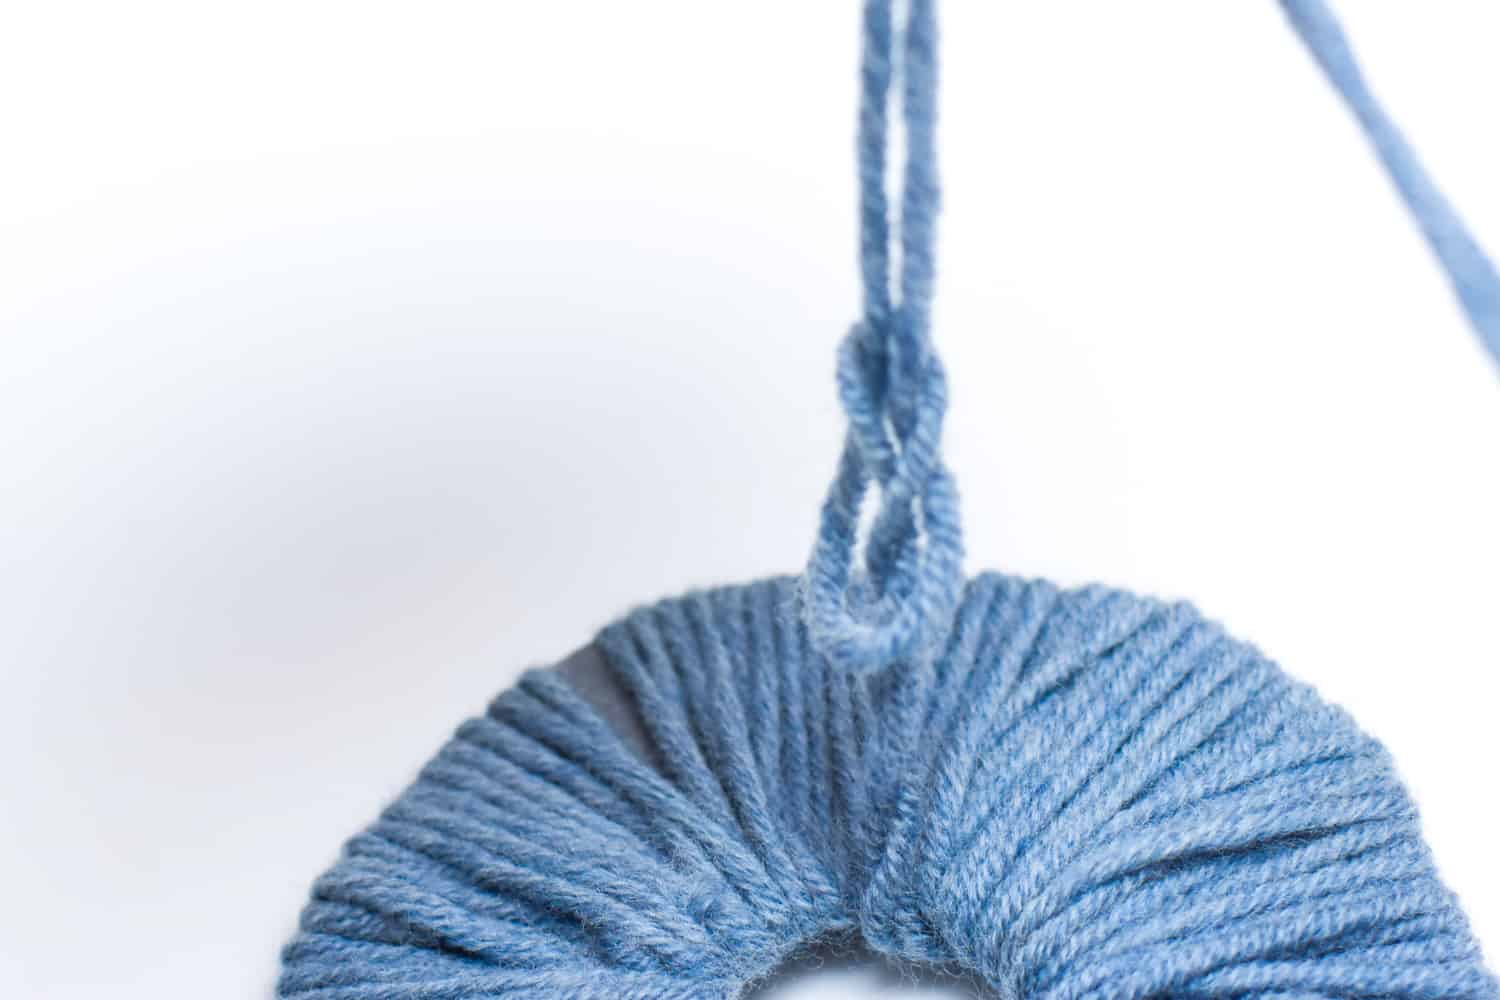
5. Use a crochet hook when the opening is getting smaller
For a round and thick pom-pom, the ring needs to be filled, which can be hard when just using your fingers
6. Attach the strands
Use the loop method again and then attach the strands underneath the wrapped yarn.
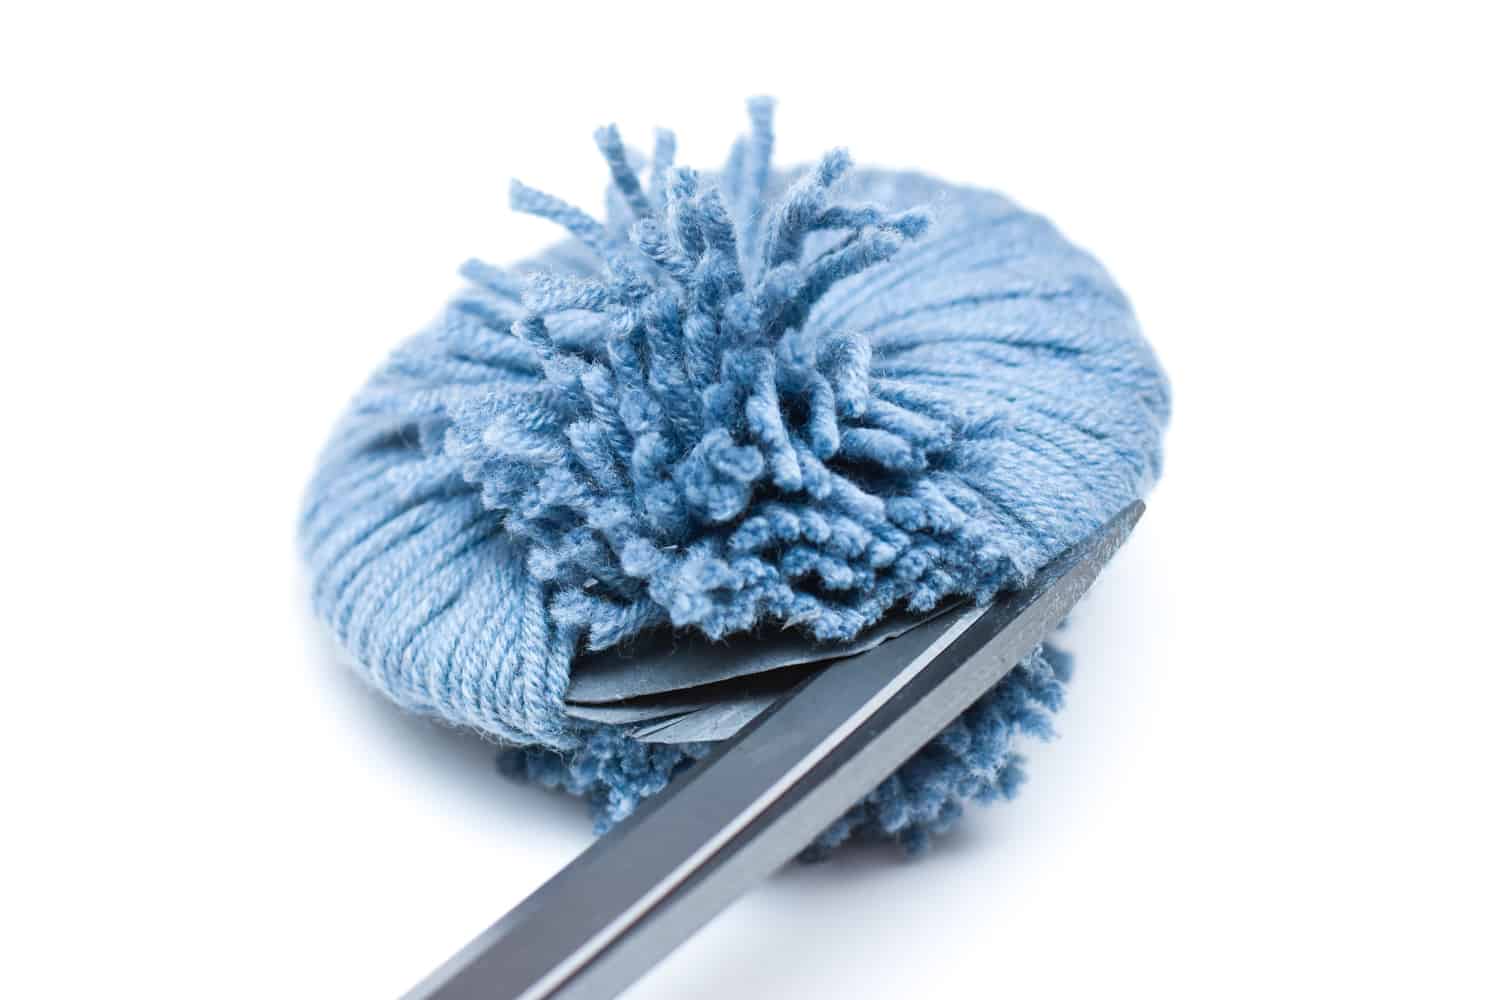
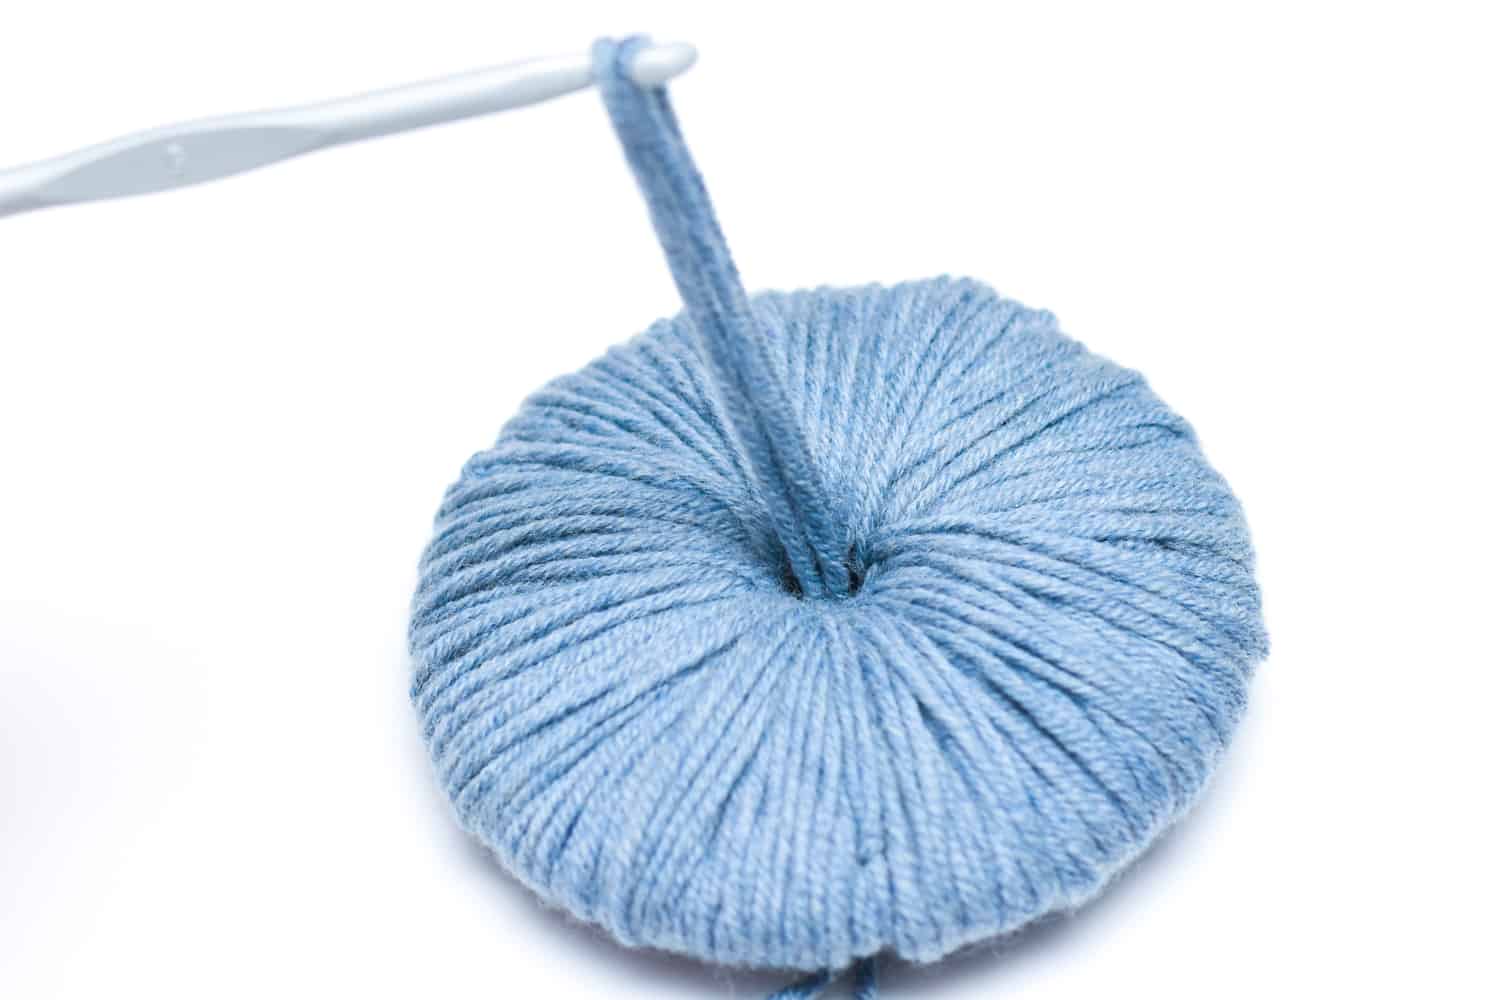
7. Cut the pom pom
Place the scissors in between the paper rings and cut the wrapped yarn, making sure the strands are cut evenly.
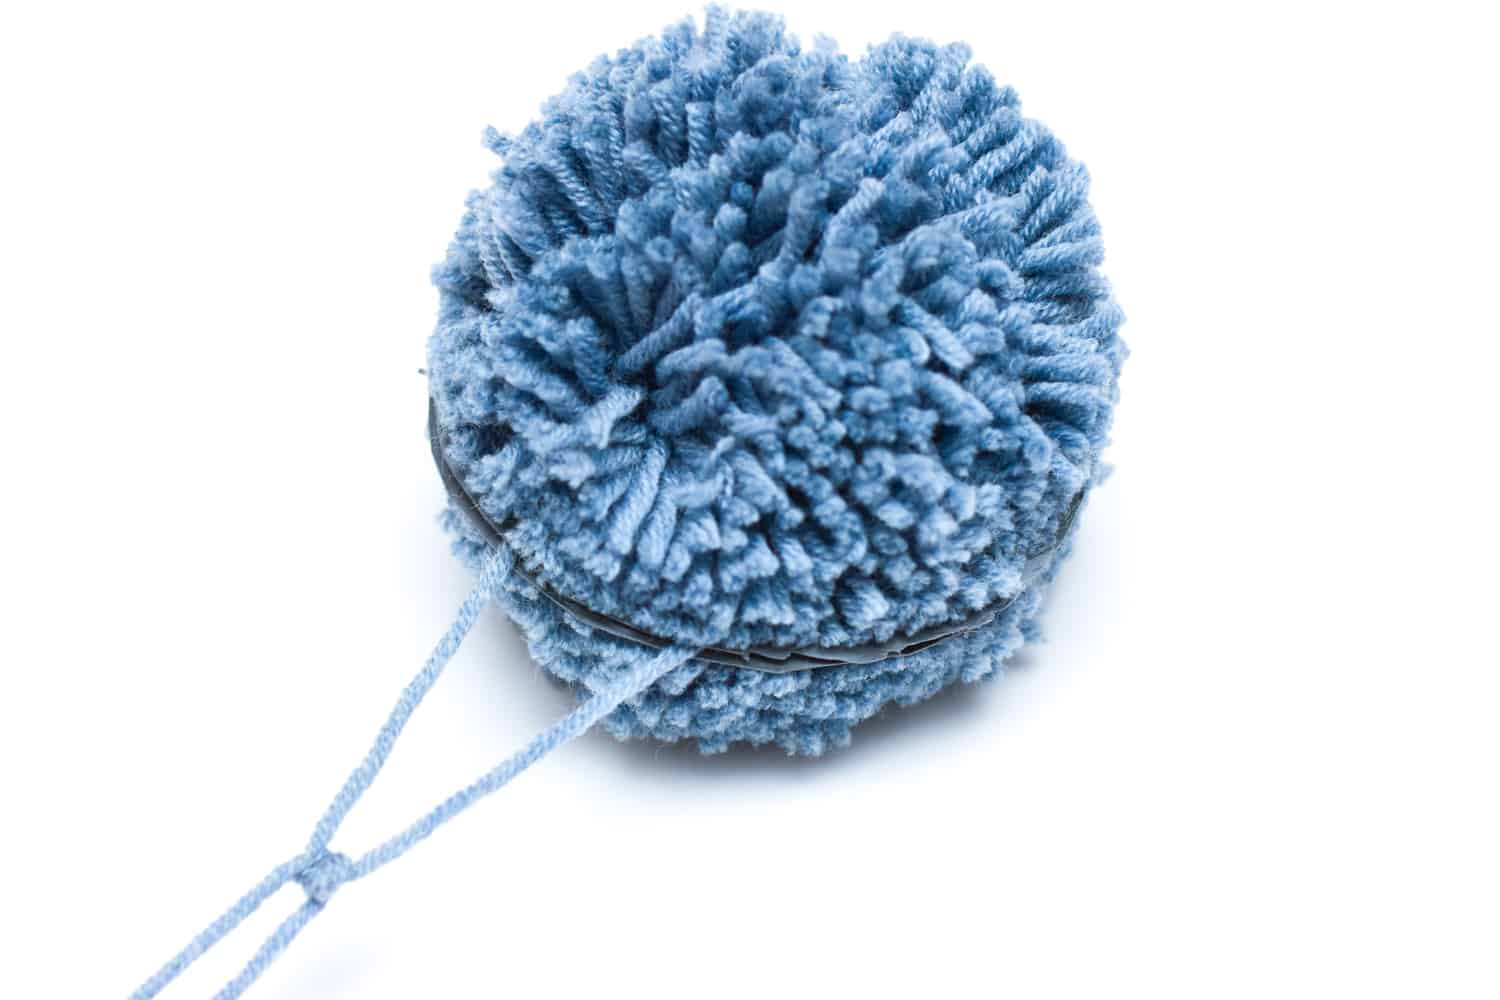
8. Tie the pom.pom together
Tie a piece of yarn around the middle. Do several knots for extra security.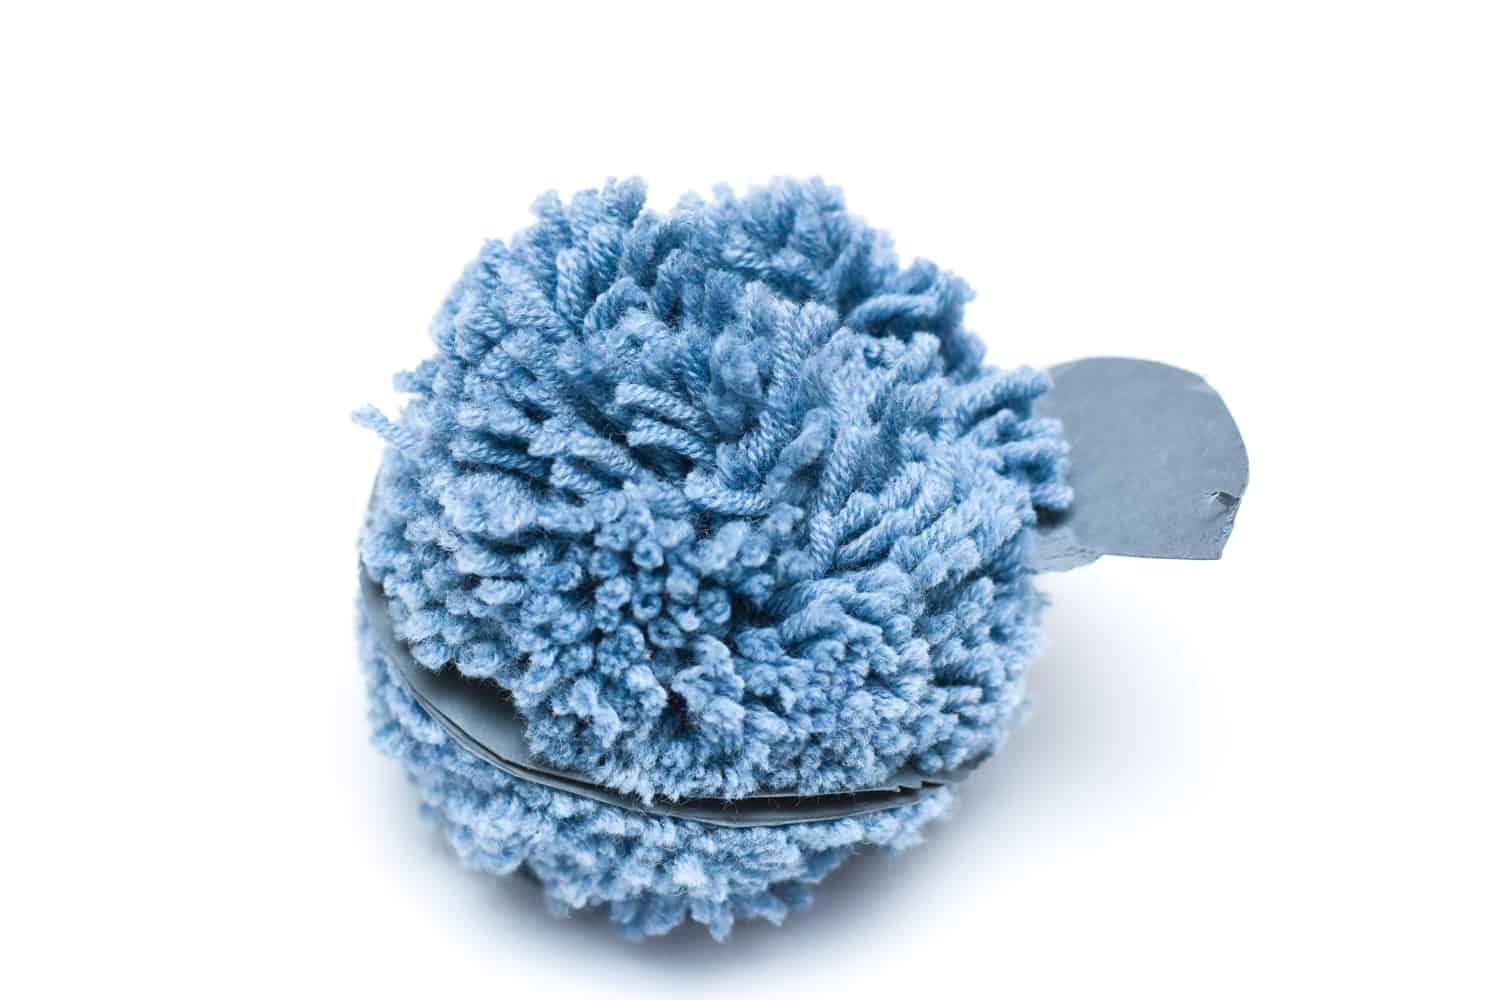
9. Tear the rings apart
This will release the pom-pom.
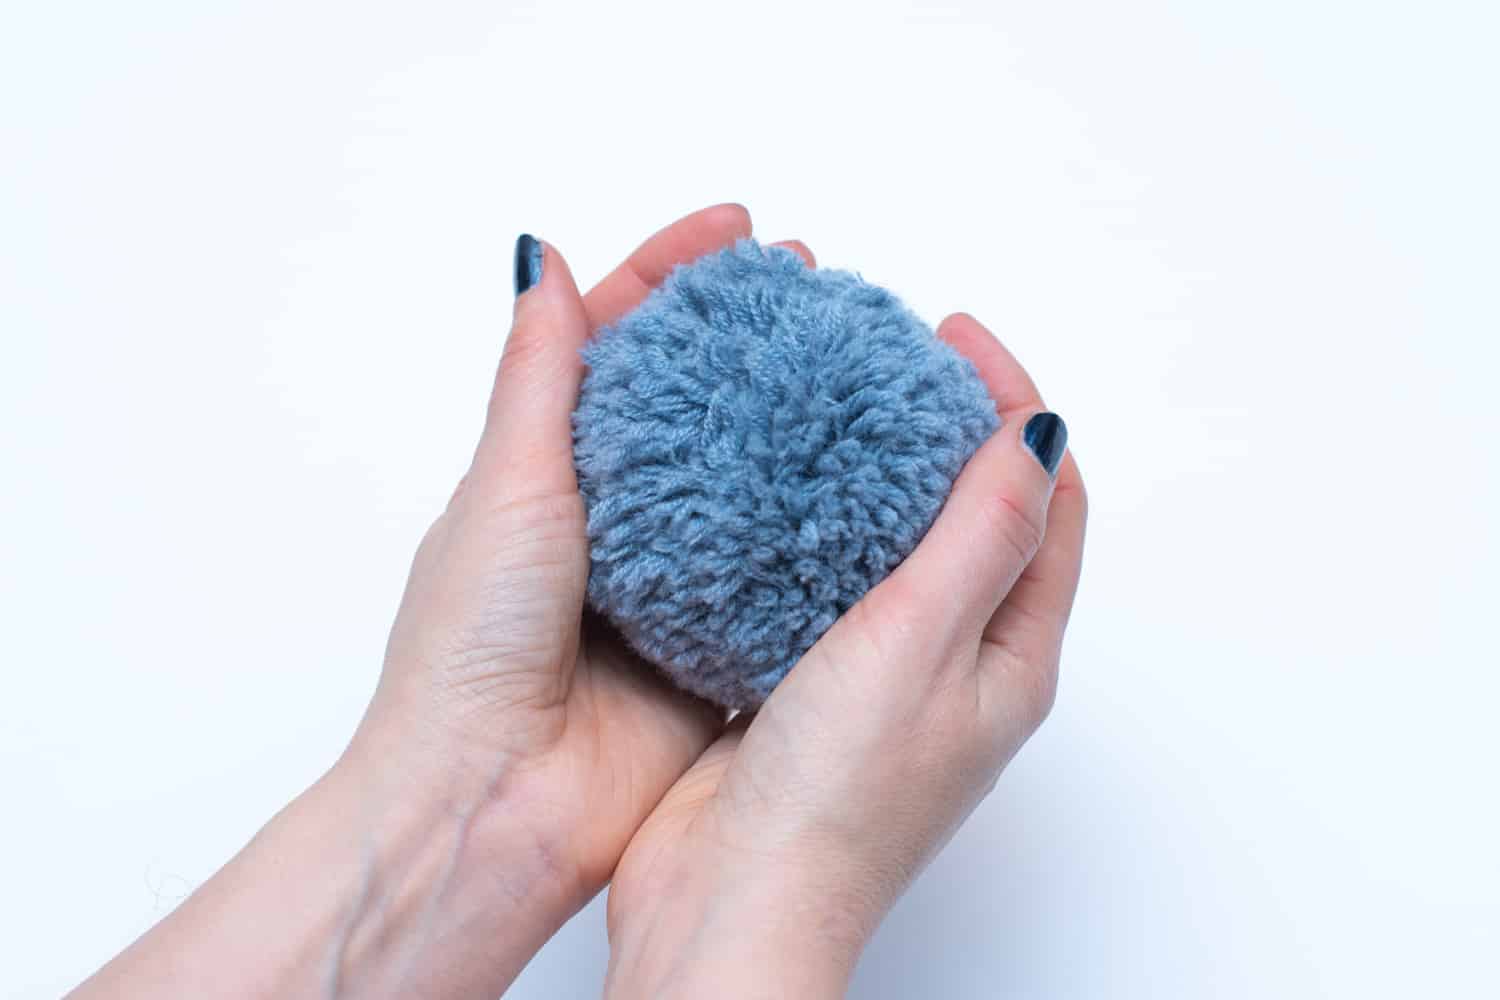
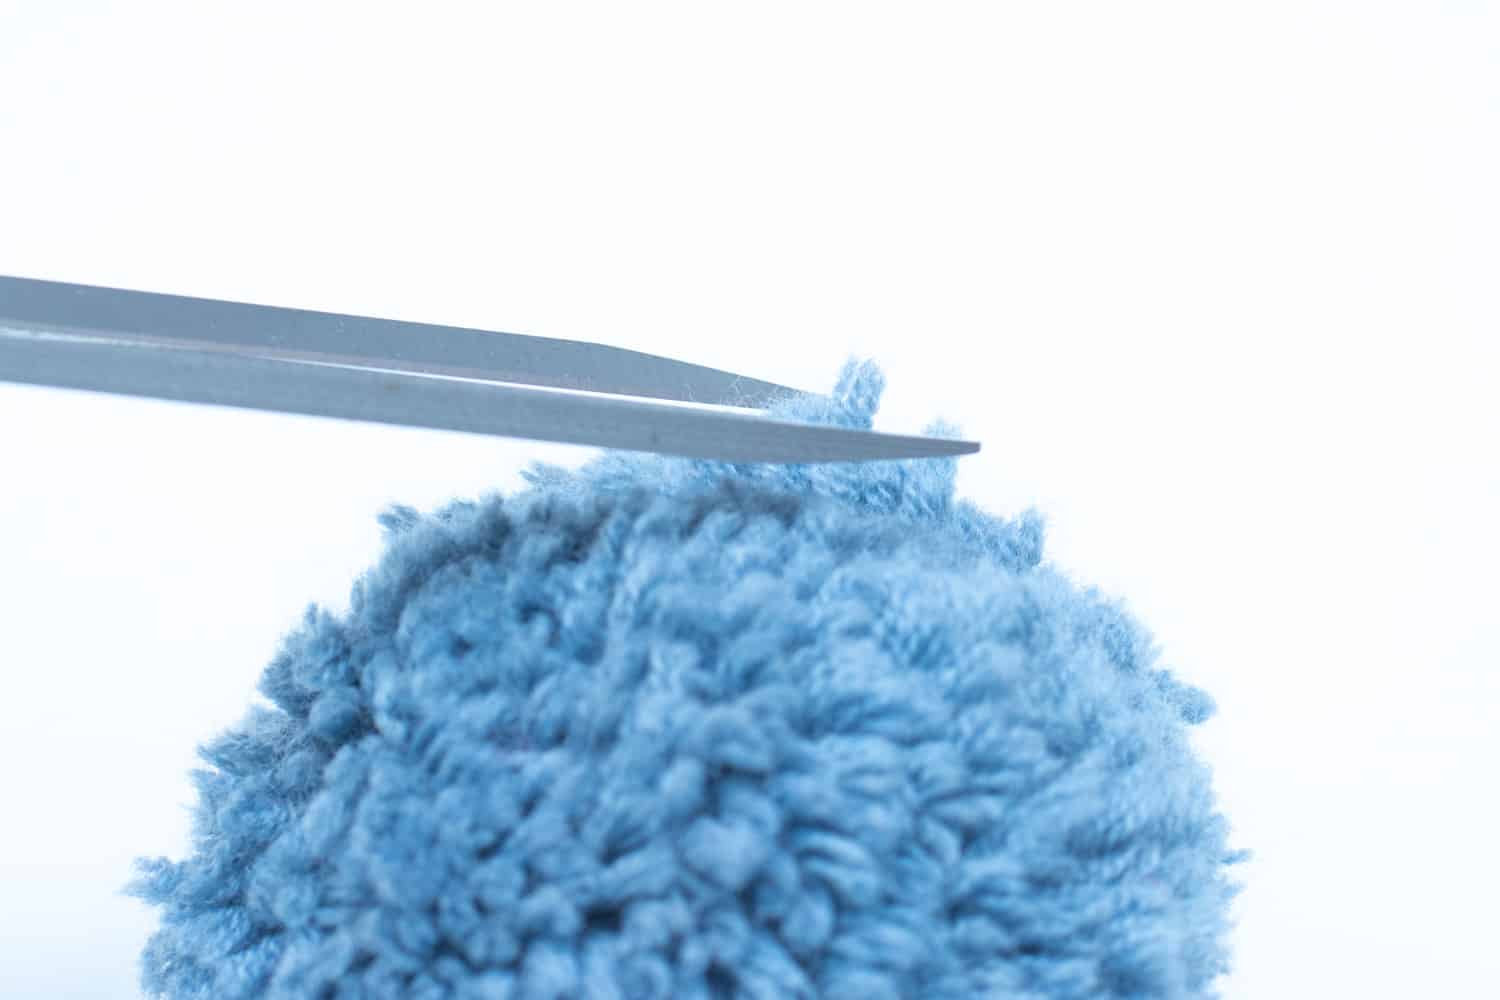
10. Shape the pom-pom
Trim any uneven strands, and fluff the pom-pom by pulling the strands and rolling it gently between your hands
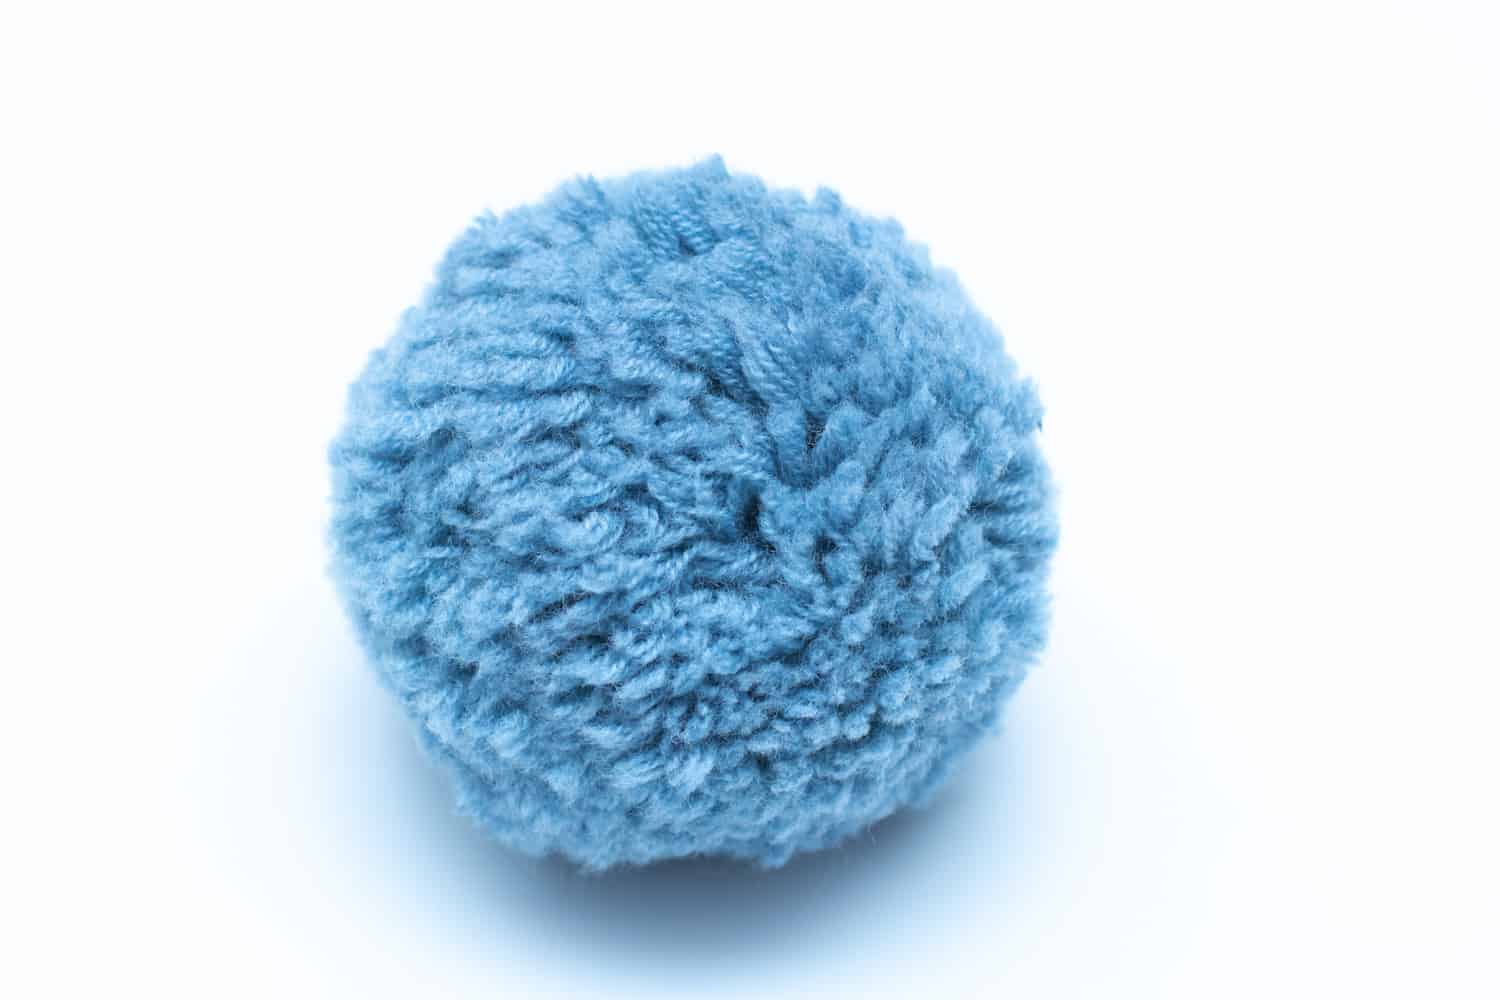
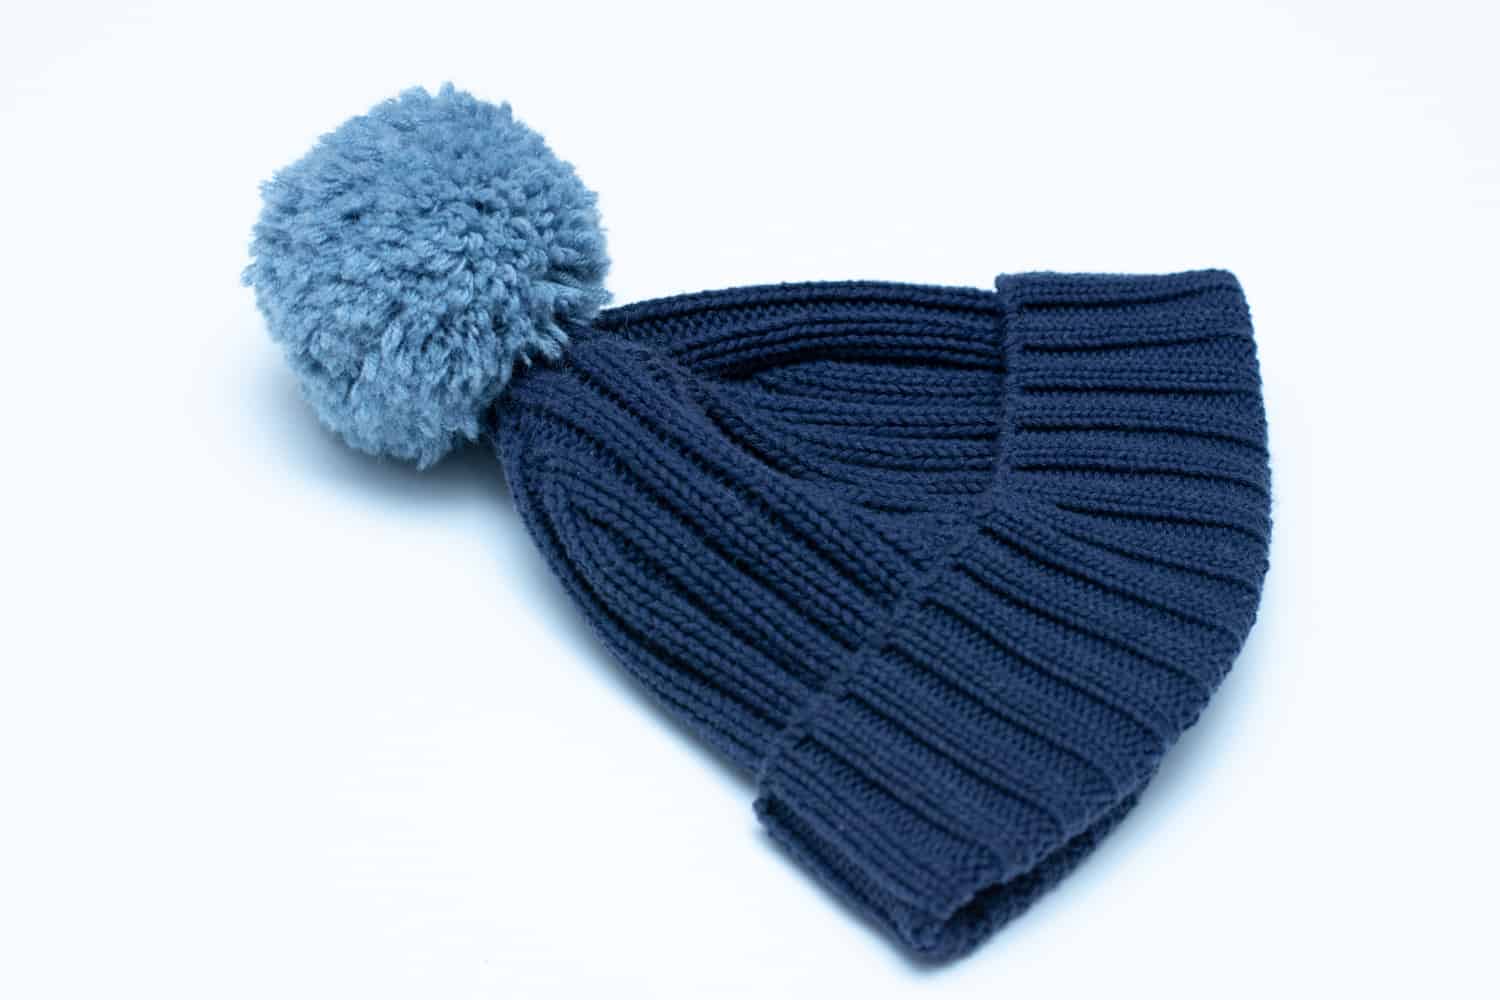
The finished pom-pom
This is how plush it can look when taking the time to really wrap it properly. It almost looks like a fur-ball!
Attach the pom-pom to a hat
The trick for a pom-pom that stays put is to secure it properly. Here is how I do it!
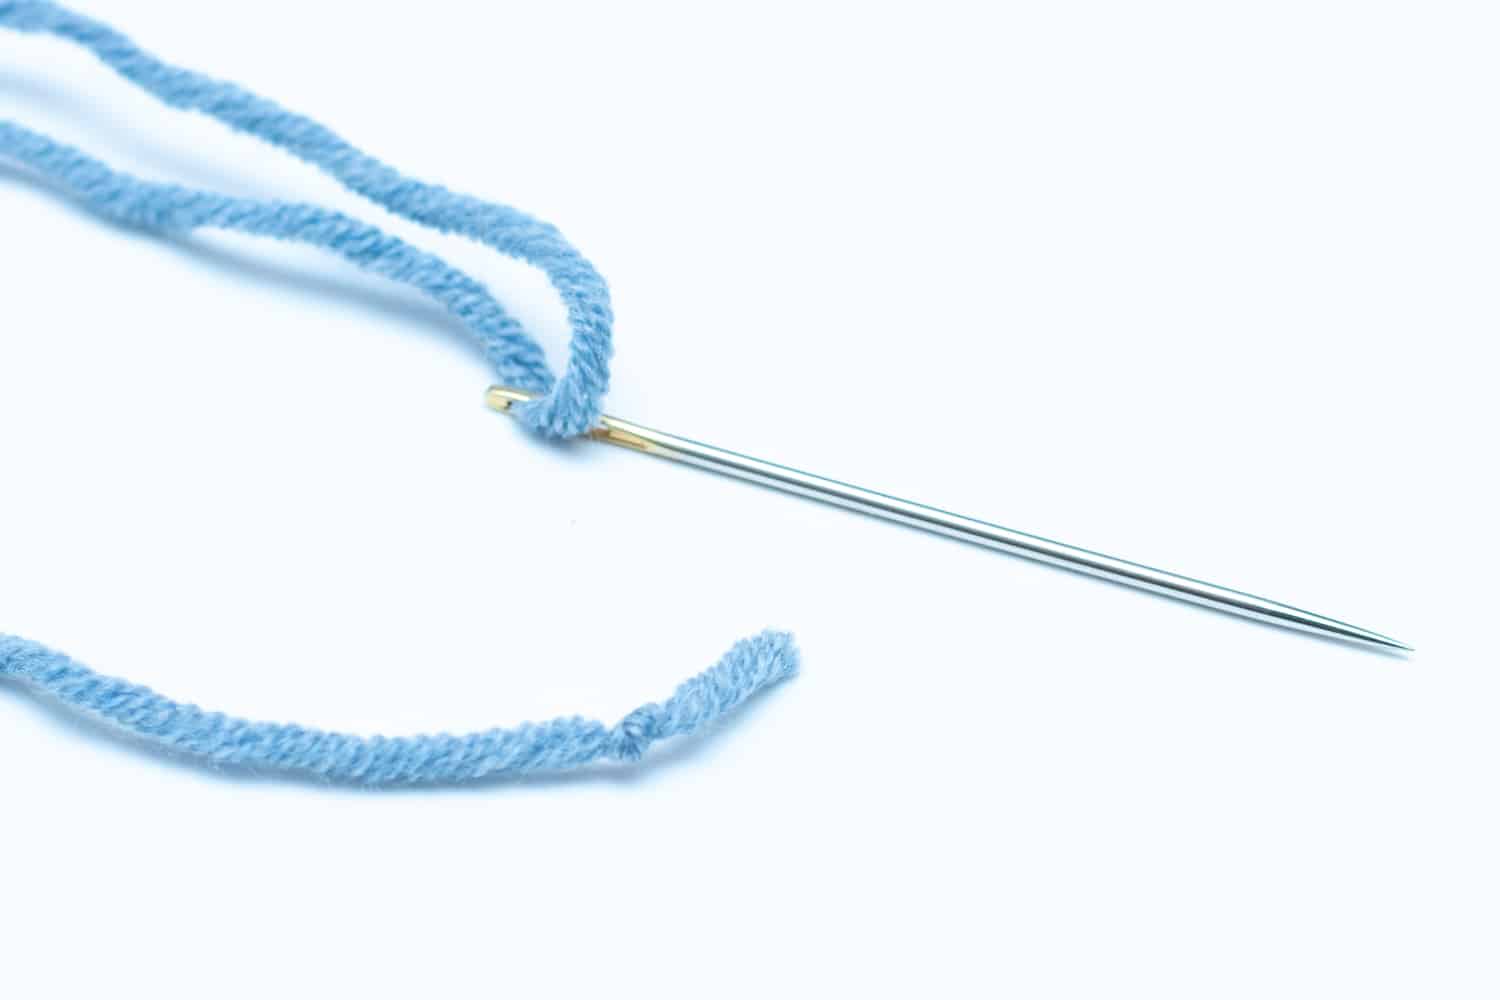
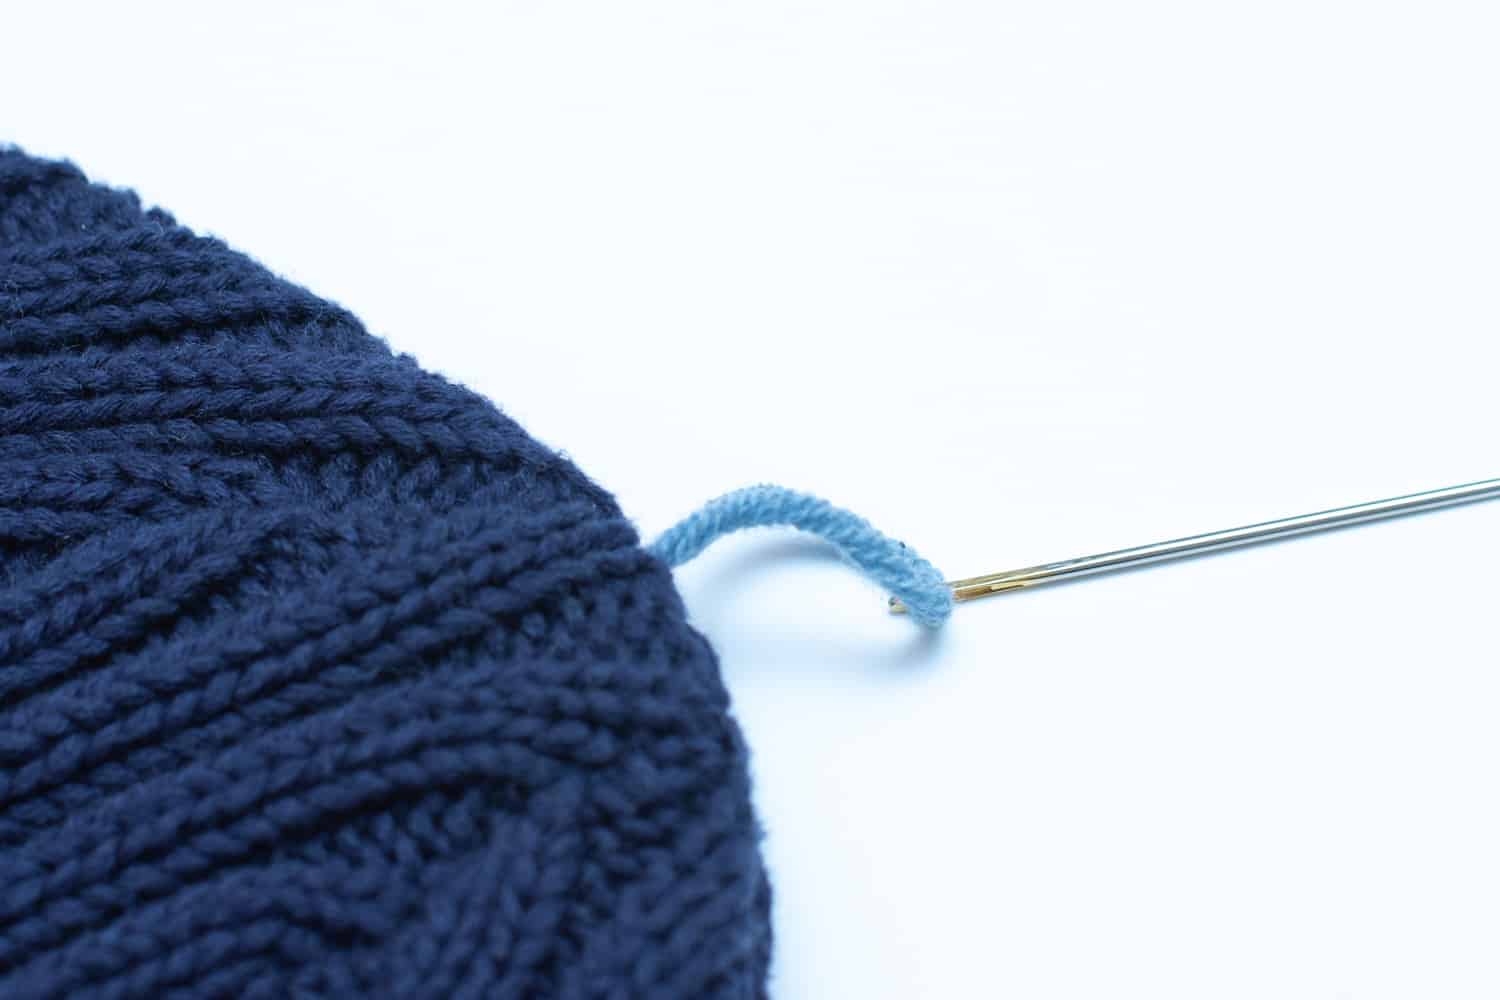
1.Thread the needle
Use the same yarn and thread the strand through a large hand sewing needle. Tie a knot at the end of the yarn.
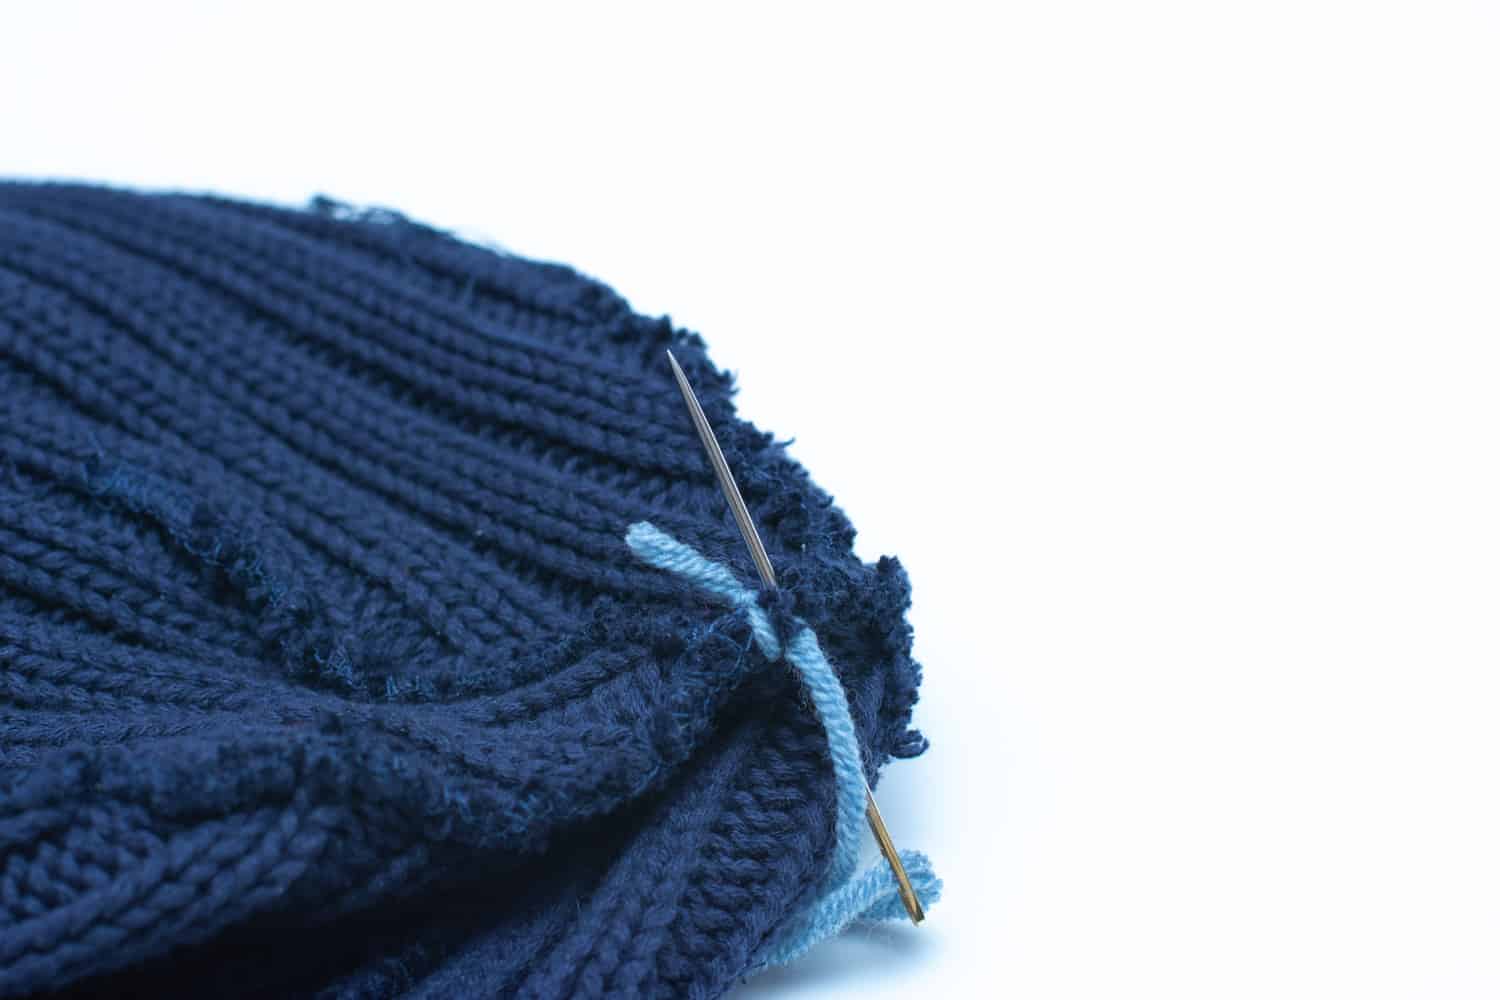
2. Secure the yarn
Insert the needle on the inside, if you are using the Brisa Beanie or Ullvi knit hat sewing patterns, just attach the yarn in the seam allowance.
3. Attach the pom-pom
Pull the needle to the right side and through the pom-pom. Stitch inside the yarn that holds the pom-pom together. Stitch around to secure. Repeat.

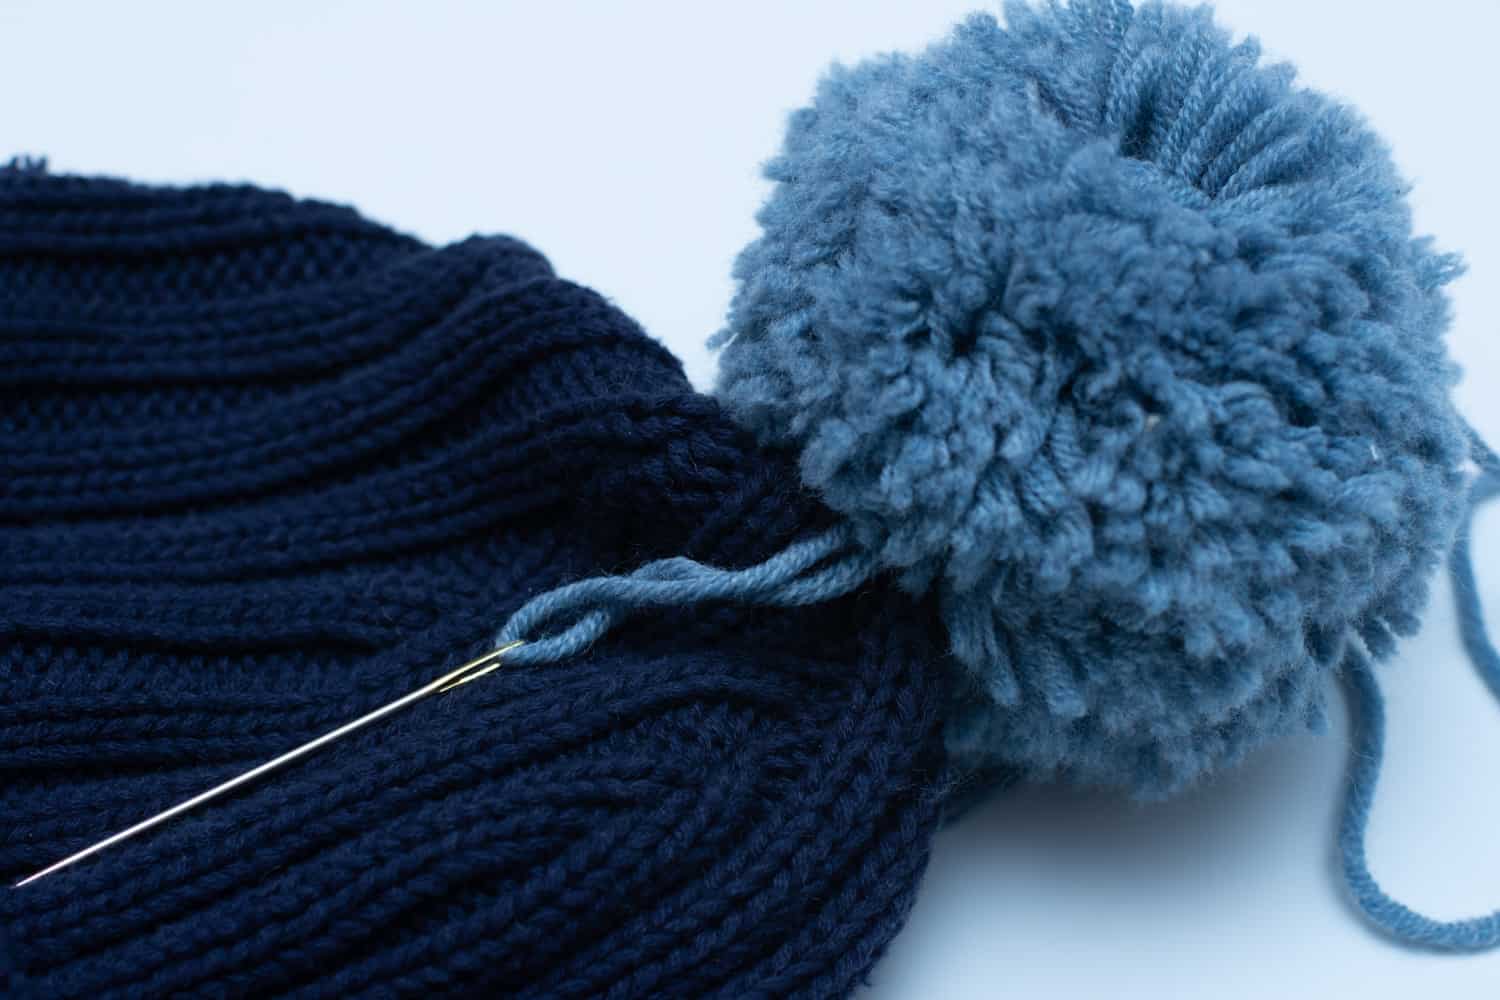
4. Secure again on the reverse side
Stitch through the hat again and secure the strands on the reverse side. Make sure you pull the yarn fairly tight to prevent the pom-pom from flip-flopping.
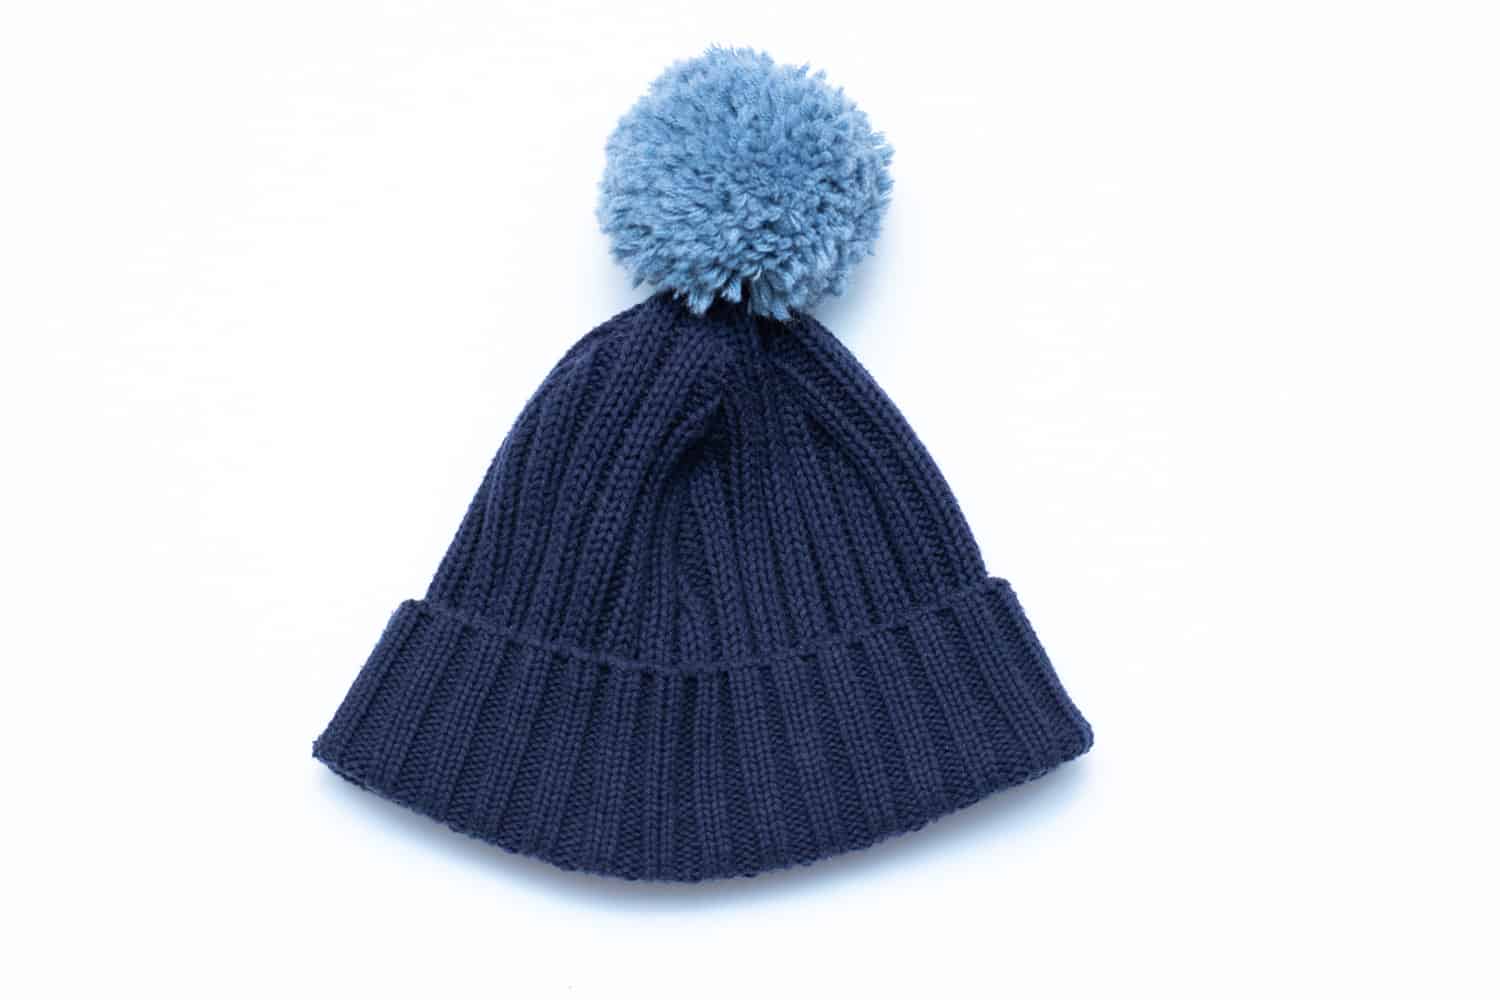
The finished pom-pom attached to a Brisa Beanie made from a recycled sweater (check out my tutorial for how to make a knit hat using a sweater)
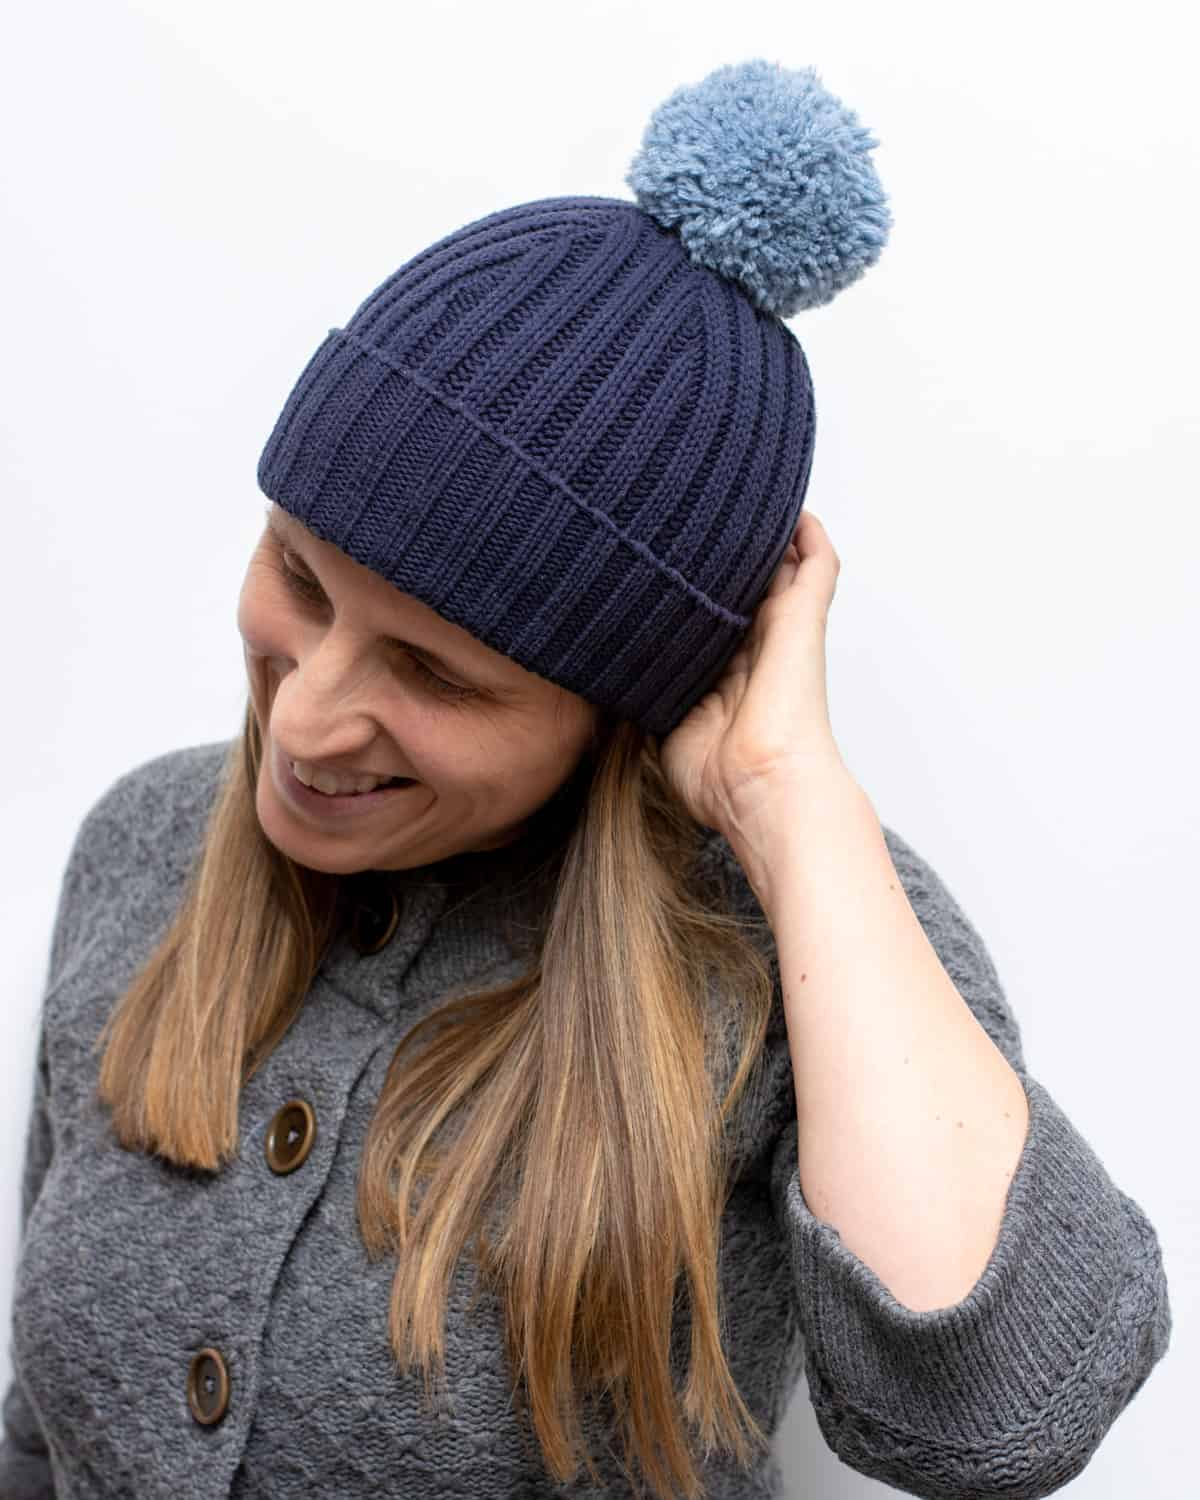
Rocking the pom-pom! I really like the fullness that this method creates. By the way this method is what we were thought in Swedish schools as children, but I don’t think I was as meticulous back then!
1 Comment
Comments are closed.