Want to speed up your sewing? While making fewer mistakes in the process? Then follow these simple 9 time-saving sewing tips without any added stress. It’s all about sewing smarter, without having to put the pedal to the metal.
This post contains Amazon affiliate links, meaning that a commission is earned from qualifying purchases.
1. Organise the tools

Before you start sewing, gather all the necessary tools and notions in one spot. I use an old metal candy can for all the small stuff, such as:
- Thread spools
- Bobbin thread
- Machine needles
- Presser feet
- Height compensation tool (hump-jumper)
This way you will not waste time shifting through fabric scraps, garment pieces, tissue paper, thread nests and all the other stuff that tends to pile up while we sew. No more looking for a needle in this haystack!
The trick to making this system work? Put everything back in the tin as soon as you don’t use the tool.
2. Use labels
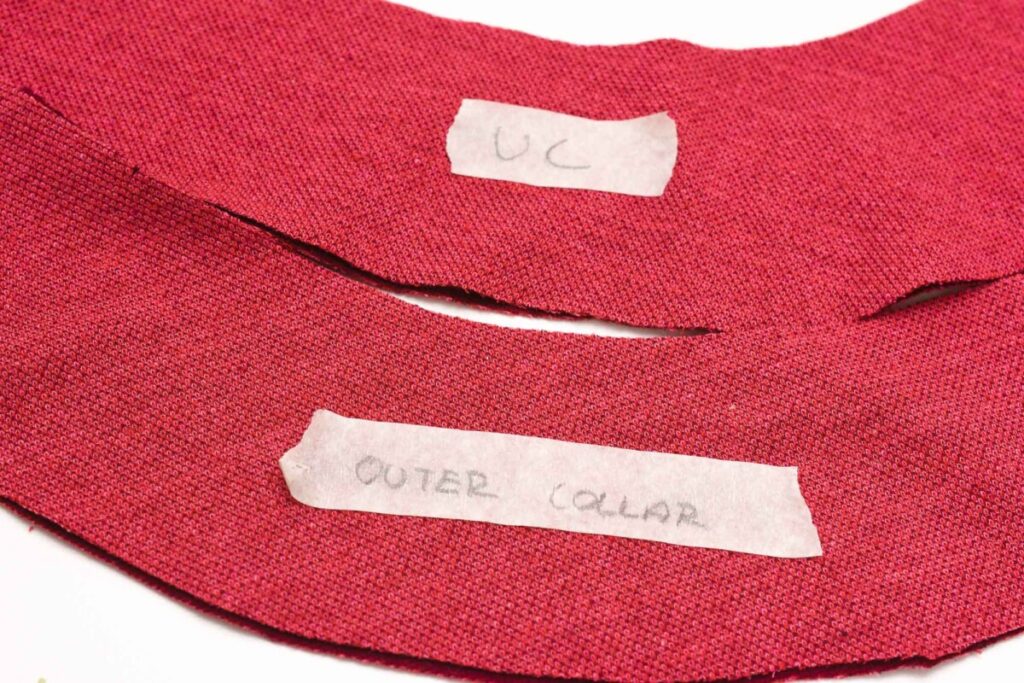
Have you ever cut out all the pieces, only to then struggle to determine which piece is which when it’s time to sew? Especially when dealing with similar pieces such as separate under and upper collar pieces, the front and back pieces of curved waistband pieces, facings or perhaps front and back yokes part on a skirt.
Another struggle area is to tell the right side from the wrong side on fabrics where it’s not 100% clear, especially on darker fabrics. I can’t tell you how many times I’ve sewn together black jersey pieces with the wrong side up on a sleeve or bodice. And unfortunately, it’s highly visible once the garment is sewn. Dang!
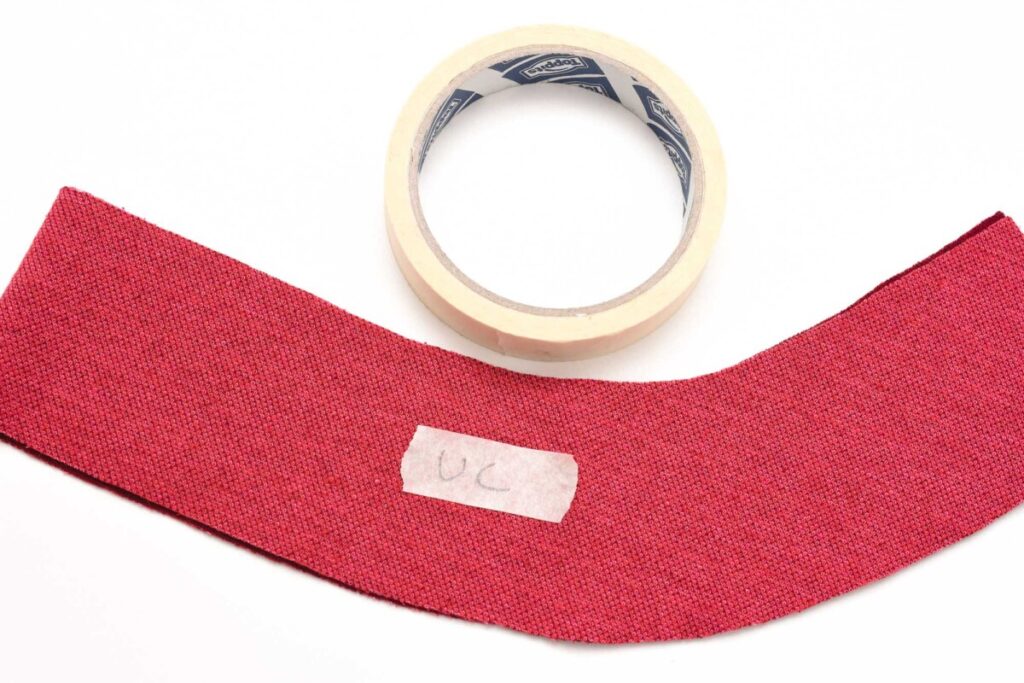
Luckily there is a super simple fix to solve this common issue. Use freezer tape (Amazon Affiliate Link) to label the pieces. Just write the info down on the tape (i.e. under collar/upper collar or W for the wrong side) and put the label on the cut pieces. The key is to do this as soon as you are done cutting since that is the only time where you know for sure which piece is which and can tell the wrong side from the right.
I don’t recommend using chalk for this purpose, since it tends to rub off when you are handling the fabric. Just make sure you use a tape that sticks to the fabric, but without leaving glue traces.
Other options are pinning scraps of post-it notes on the fabric, using washi tape and even a sliver of a white soap bar can be used for this purpose.
3 Pin the pieces
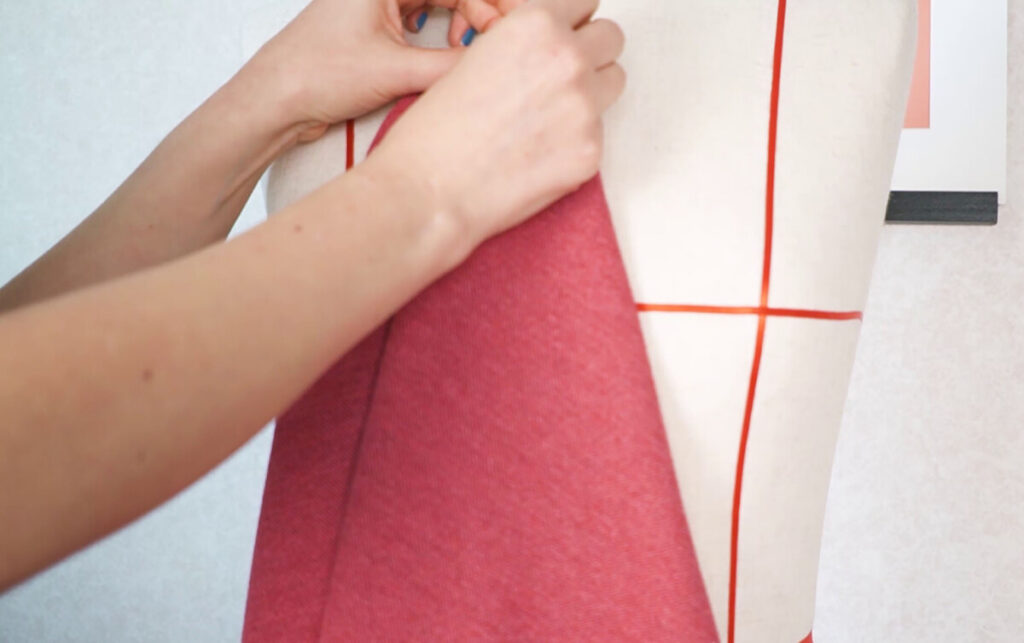
Having a billion cut pieces cluttering the sewing table (or even the floor) is not a great way to keep a smooth working flow. So what I do is that I pin the cut pieces either on my dress dummy or my ironing board. And as soon as I’m done sewing a piece, I pin it back on the dummy or board. Just make sure you have the board close to the sewing area, so that you won’t be tempted to just throw it all on the floor (been there, done that!).
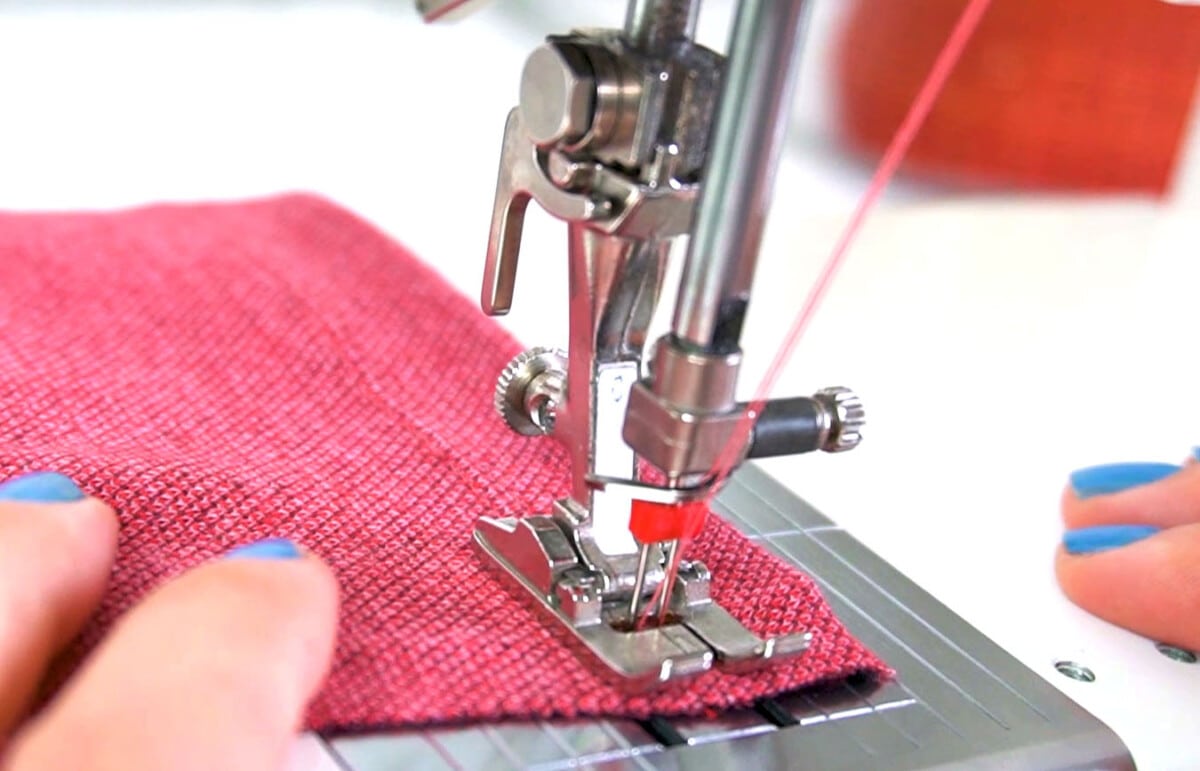
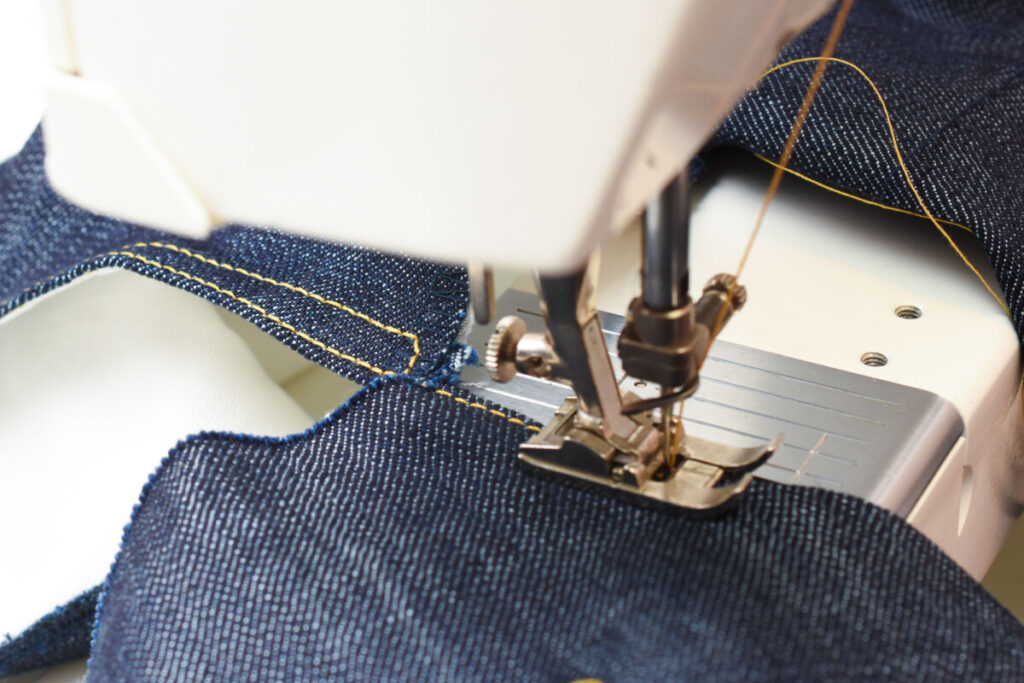
4. Wind two bobbins
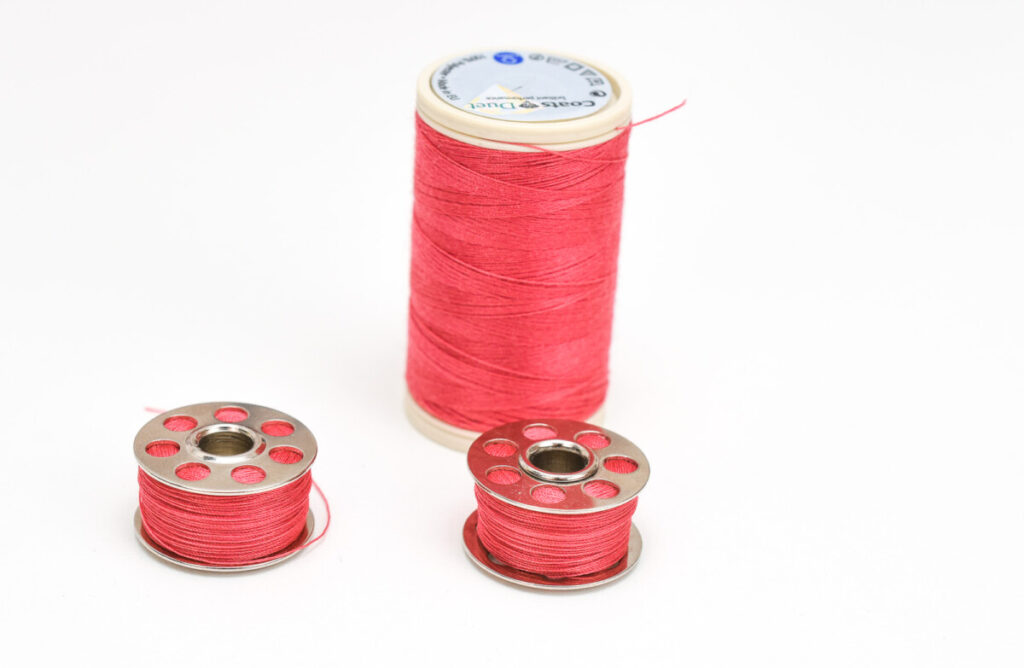
The simplest trick in the world, yet many of us skip this simple time-saving hack. Winding two bobbins of the same thread before you start sewing, will save time in several ways.
- You don’t need to stop and retread the machine every time the bobbin thread runs out.
- Prevents ripping if you are stitching a long sequence, such as topstitching jeans or hemming a top. Before you start sewing, insert the full bobbin to make sure you don’t run out mid-way and have to restart from scratch.
- Insert a fresh bobbin when sewing buttonholes, since those take up a lot of thread.
- If you are using a twin-needle on certain areas, just use the second bobbin as the other needle thread. Easy-peasy!
5. Make samples
Sometimes you have to do a little bit more work upfront to save time later on. Making samples is a great example of this philosophy.
How to sew a great sample
- Use the same fabric and the same amount of layers that you will use for the garment construction
- If the garment will have interfacing, interface the scrap too. This is for instance super important when testing buttonhole stitches.
- Experiment with things like stitch length, tension, stitch width, presser foot pressure and differential feed (if using a serger or a coverstitch).
- If doing samples on knit fabrics, stretch and pull to make sure the stitch or seam has the right amount of stretch and doesn’t pop.
6. Note the settings
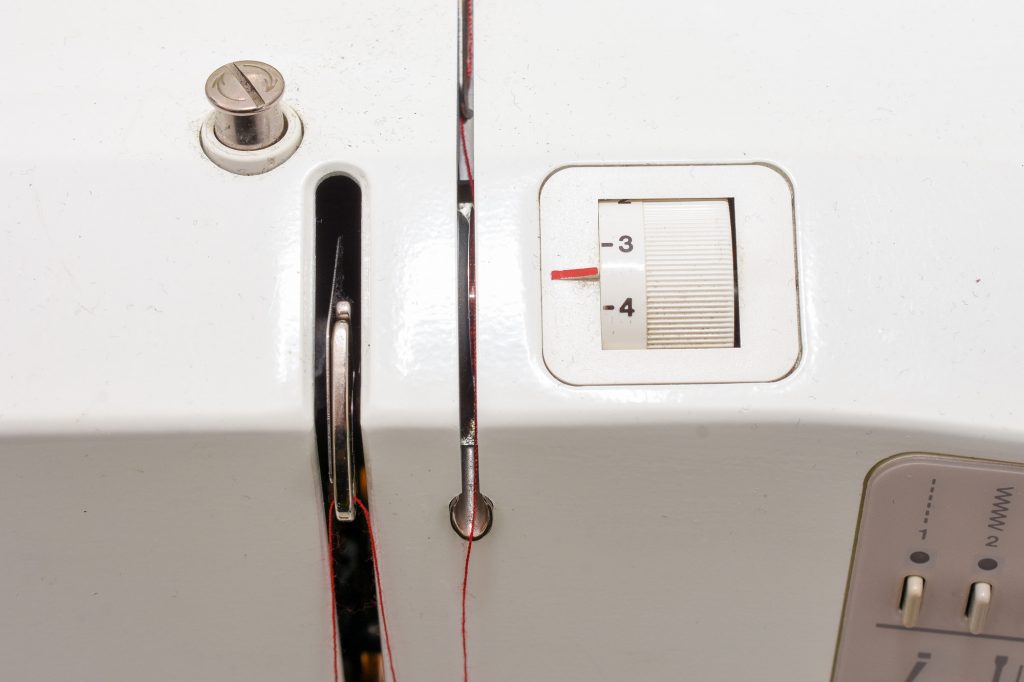
Once you are happy with your sample, make a note of the settings, especially if you will need to repeat them later on. This will save so much time later on. Write down things like the settings, fabric type, needle and thread used. Either do it digitally, take photos or write them down in a notebook or on post-it notes.
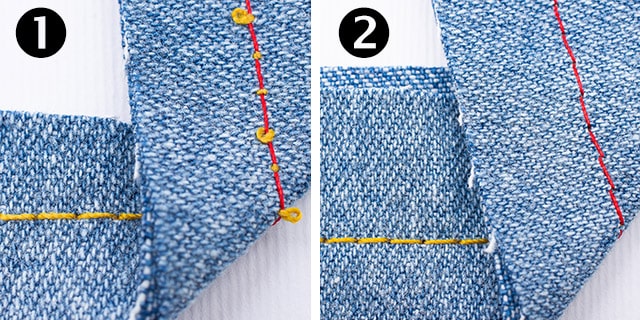
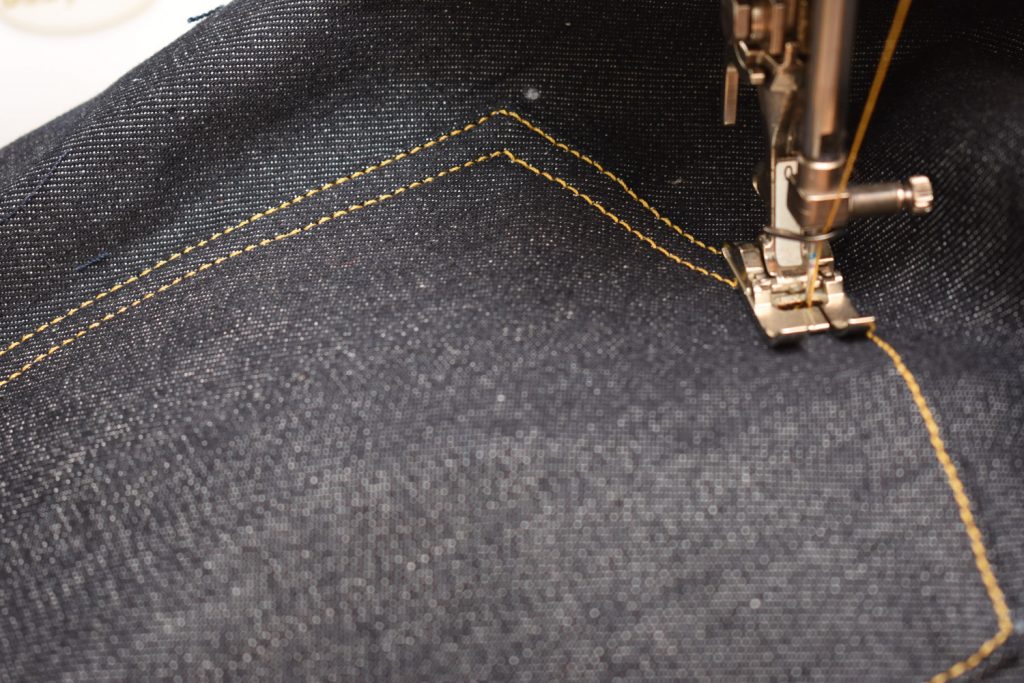
7. Chain piece
Chain piecing means sewing several pieces at once without stopping and cutting the thread. For instance, if you are topstitching the pocket openings, just insert the second pocket and keep sewing. This time-saving sewing method is very common in quilting and factory sewing, and it can be used for garment sewing too.
If using this method on a regular sewing machine, either backstitch a tiny bit at the beginning and end of each piece or decrease the stitch length substantially to secure it.
If the edges are being folded in or joined together in a seam, there is no need for going overboard with securing the seams. That would be true for jeans pockets, sleeves that are being hemmed on the flat and belt loops for instance.
When to do chain piece sewing
- Topstitching pocket openings, such as on jeans and patch pockets. Check out my post about Time-saving Tips for Sewing Jeans to get even more suggestions.
- Belt-loops
- Serging, just stitch a chain between the pieces and keep sewing together all the pieces before clipping the thread.
- Hemming sleeves on a knit top (if done on the flat, before the side seam is sewn). If you are doing this on a coverstitch that can’t sew a thread chain, insert a little fabric scrap between the pieces and remove those once you sew the sleeves together. This will prevent the thread from unravelling.
8. Batch sew
To save time when it comes to retreading and switching up settings, sew all the pieces that can be done using the same set-up or machine. This method can also be used for things like fusing interfacing and applying elastic and such.

Examples of batching
- Overcasting all the pieces before sewing any seams.
- Topstitching several pieces at the same time, such as front and back pockets on jeans
- Making several garments at the same time. If the fabrics you are using are similar, you can sew together all the sleeves, collars, pockets etc before moving on to the next area. This method is a standard practice in the garment industry, but it can get a bit boring if you do it too much. For instance, I got really burned out when I was batch sewing several pairs of jeans because it felt like I never made any visible progress on each pair.
- Fusing interfacing on all the pieces in one session.
- Hemming both the sleeves and the bodice in one sitting
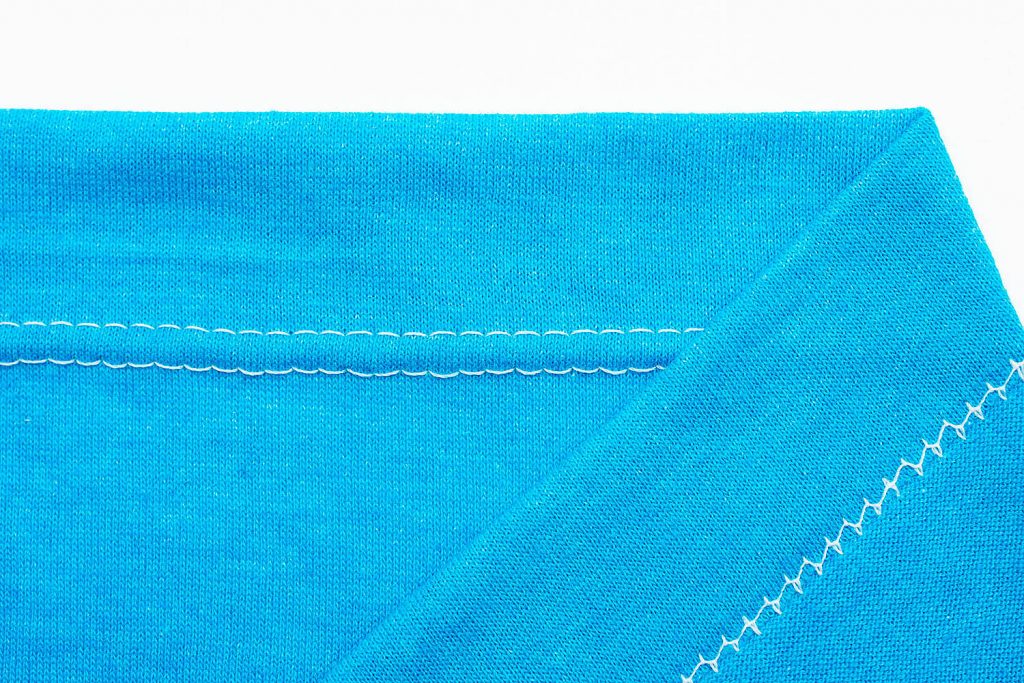
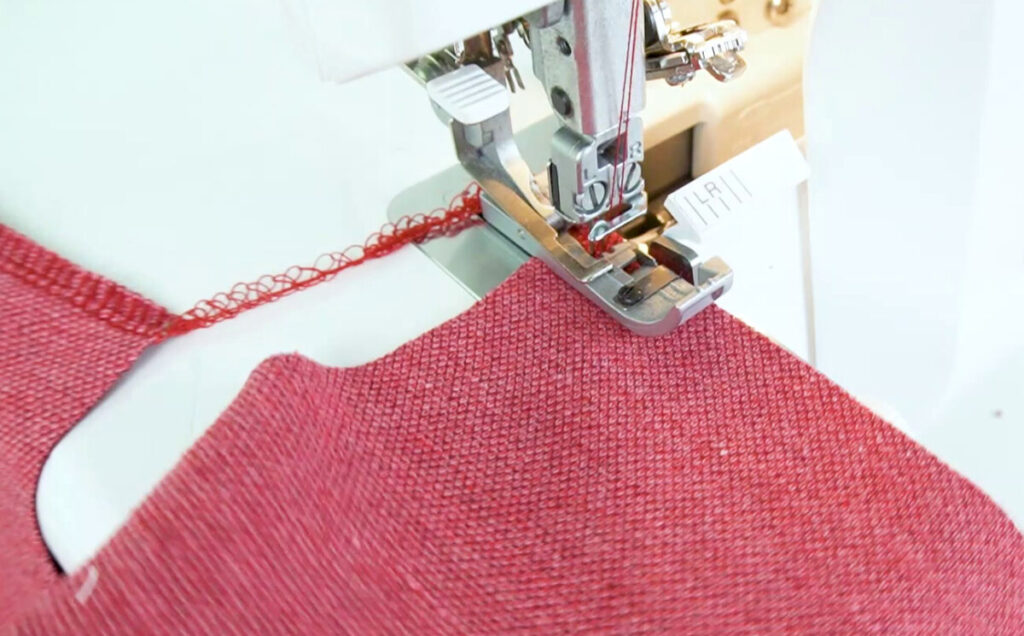
9. Don’t overcast
Overcasting can take forever, especially if you only have a sewing machine. The good news is that you can skip overcasting in many instances.
When to skip overcasting

- Edges that are being enclosed and stitched over, such as collars, waistbands, plackets, hems that are folded twice and cuffs.
- Knit fabric, since they usually don’t fray (the exception to this rule would be some sweater knits and similar loosely knitted fabrics).
- Seams that are hidden inside lining and closed on all sides, such as a lined pocket or a yoke.
- Pieces that are interfaced with a fusible, as the fusible will prevent the fabric from fraying.
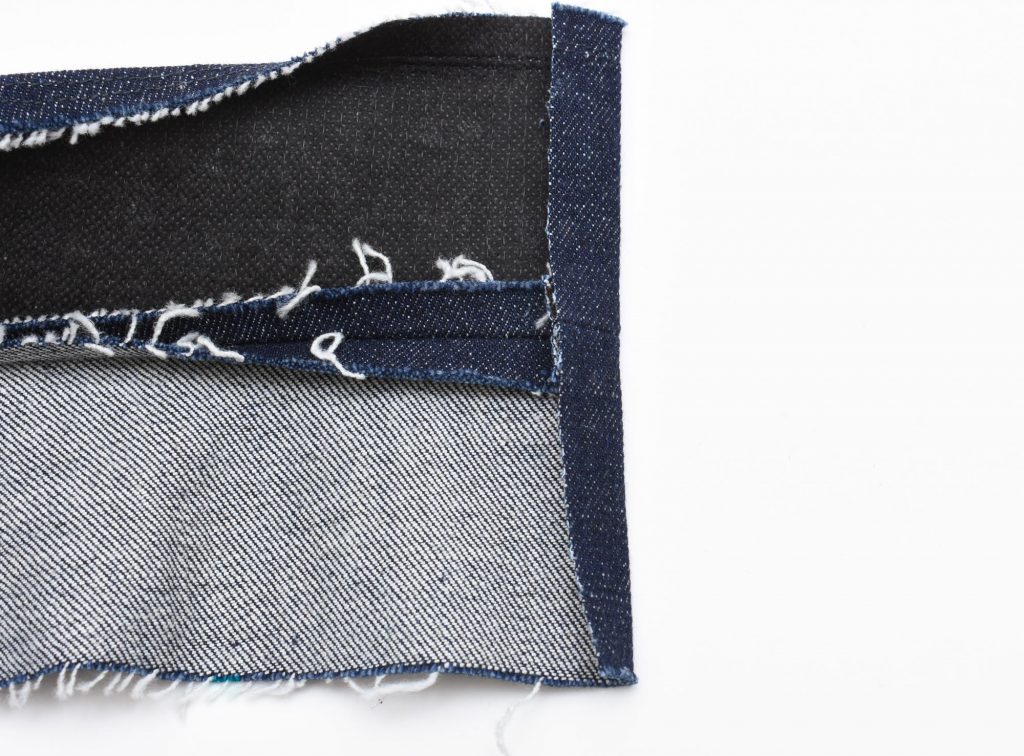
- Flat-felled seams (learn how to make beautiful flat-felled seams in my book Sewing Jeans)
Want to learn even more about ways to save time on sewing? Then check out this video, where I share my favourite time-saving sewing tips.
Phew, this was a long list! But even if it took the time to get through all the tips, I can guarantee that it will help you save time on sewing. Now I’m curious to hear your favourite time-sewing tips!

This post contains Amazon affiliate links, meaning that a commission is earned from qualifying purchases.

1 Comment
Jojo Sewist
Thanks for a reminder of some of these time savers. I had never considered #7 Chain sewing for garments. I can see where this could work. I would add an addition to #6, to include a sample of the fabric, with its type and content. I learned a lesson years ago re: not writing all this down&with fabric sample. After much time figuring out the settings on my machine and on the Ruffner foot, to make yards of ruffles from different fabrics. Due to interruption of a few days, when returned to the project, I had forgotten some settings. Now I keep all in a binder. As I get older, I can’t remember the name of familar things somedays. Me included LOL. Keep posting both blog and videos, I for one need both methods (can’t remember the correct term). I enjoy all, and have learned much from you. Stay safe, and good luck with your business.
Sorry, for such a long comment.
Comments are closed.