Before we start sewing the Tyri Tie-Neck Jersey Blouse we need to do some strategic interfacing to stabilise key areas and prevent stretched-out fabric.
A quick guide to interfacing for knits
For this blouse, you don’t want anything stiff. A lightweight stretch fusible made for knits is the best option. Ideally, something that still has some give, so the neckline and collar don’t feel rigid or start to ripple. You can use both 2-way and 1-way stretch fusible. Because the strips are so small, you don’t need lengthwise stretch.
If you only have a regular lightweight interfacing with no stretch, cutting it on the bias is a decent workaround; it adds stability but still allows a bit of movement.
Fusing interfacing
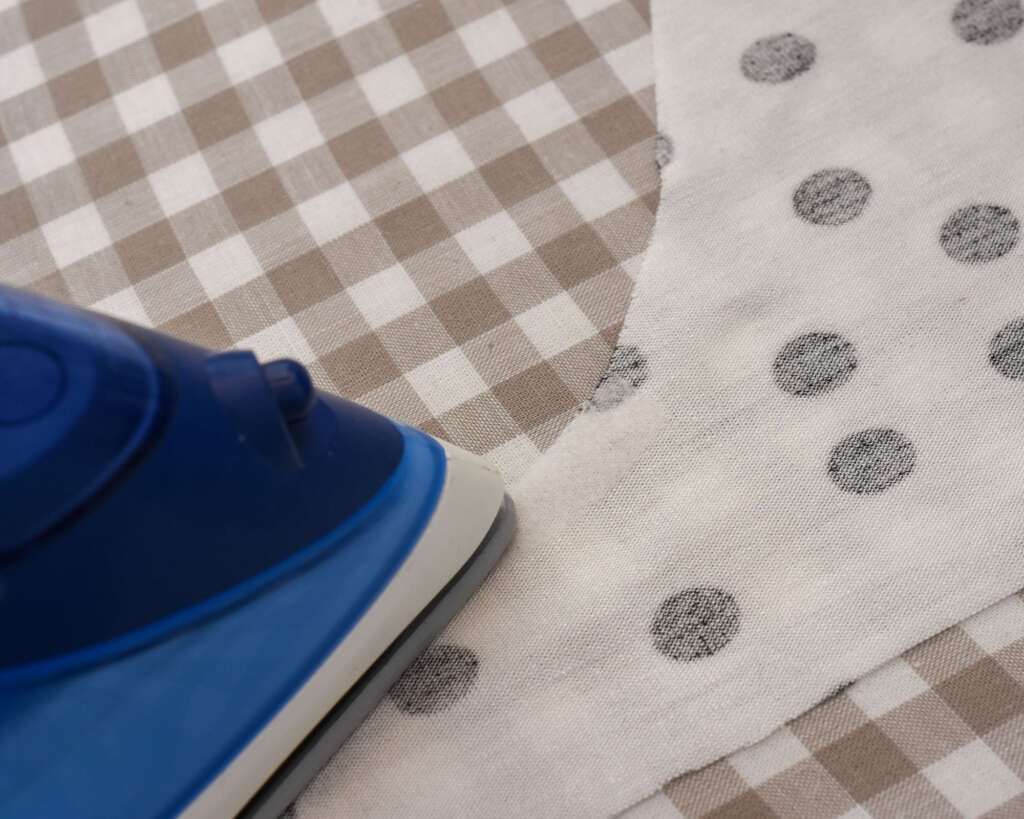
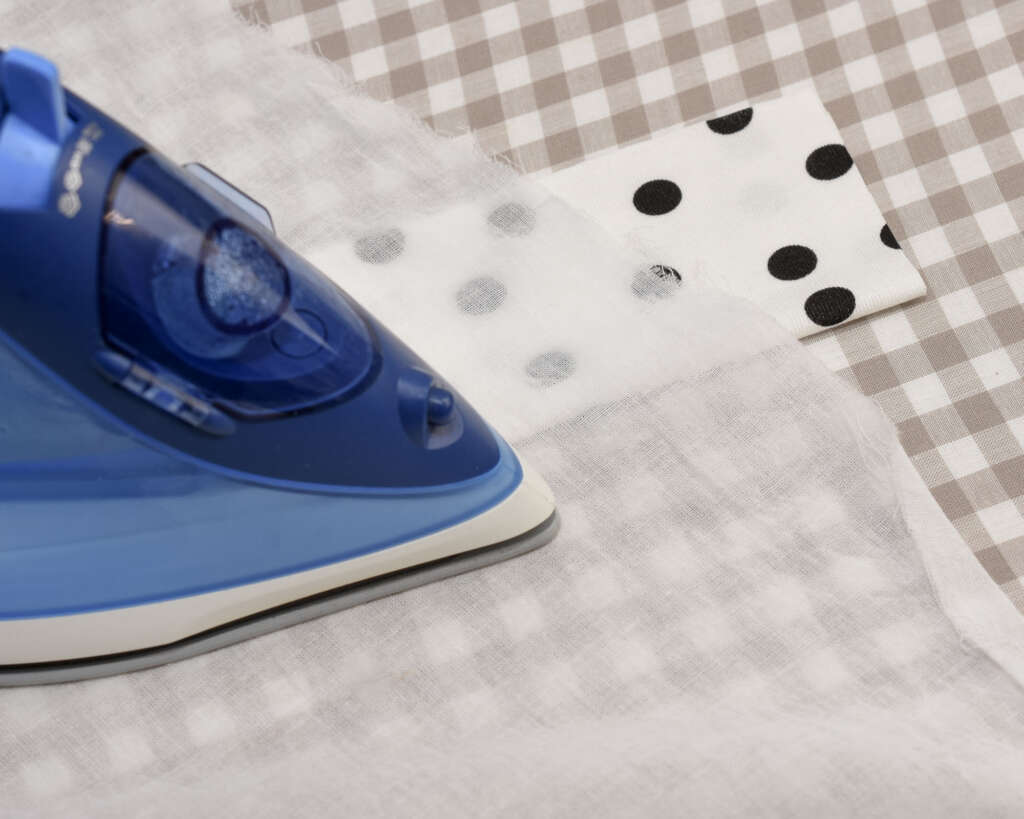
Before fusing the interfacing to the fabric with an iron, do this:
- Check the recommended heat settings
- Do a test fuse on a scrap of fabric
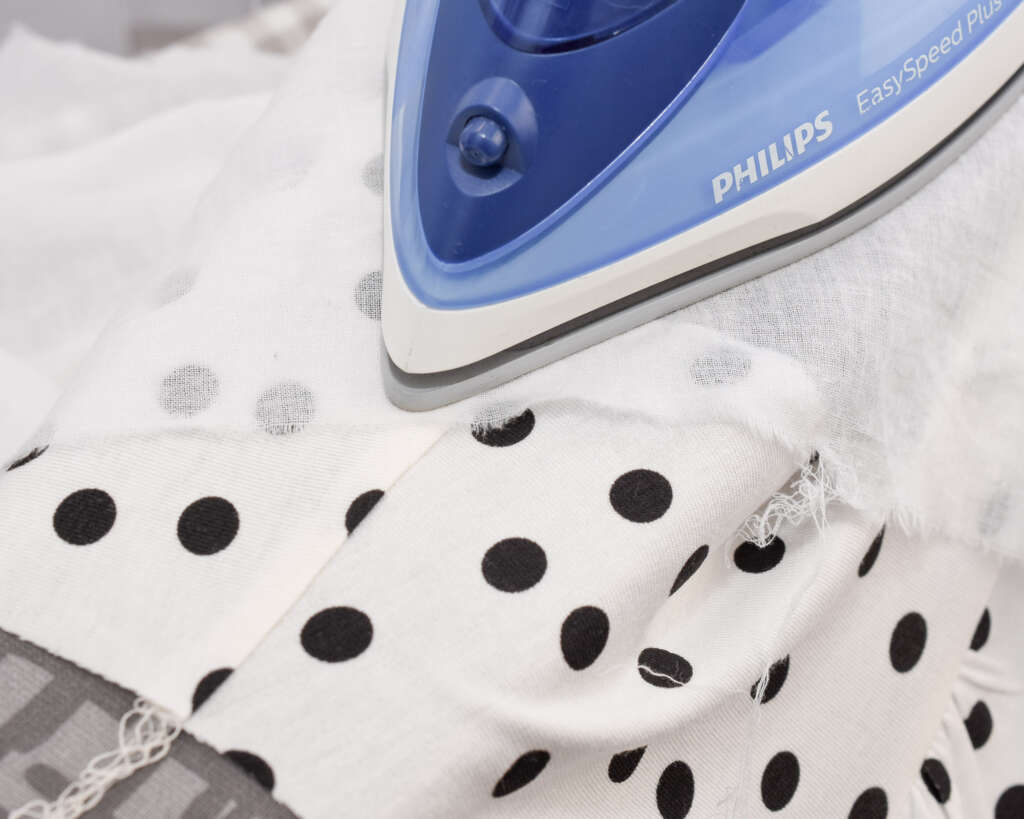
Use dry heat and press the interfacing in place; don’t move the iron around. Hold for a few seconds, then lift and repeat. Once fused, let it cool before handling so the adhesive sets properly.
Checking the fused scrap
- Is it properly bonded?
Try to peel it back. If it lifts easily, it needs more heat, time, or pressure. - Does the fabric still behave like a knit?
It should still have some give. If it feels stiff or board-like, the interfacing is not suited for knits. - Any rippling or bubbling?
That usually means too much heat, moving the iron around, or the wrong interfacing.
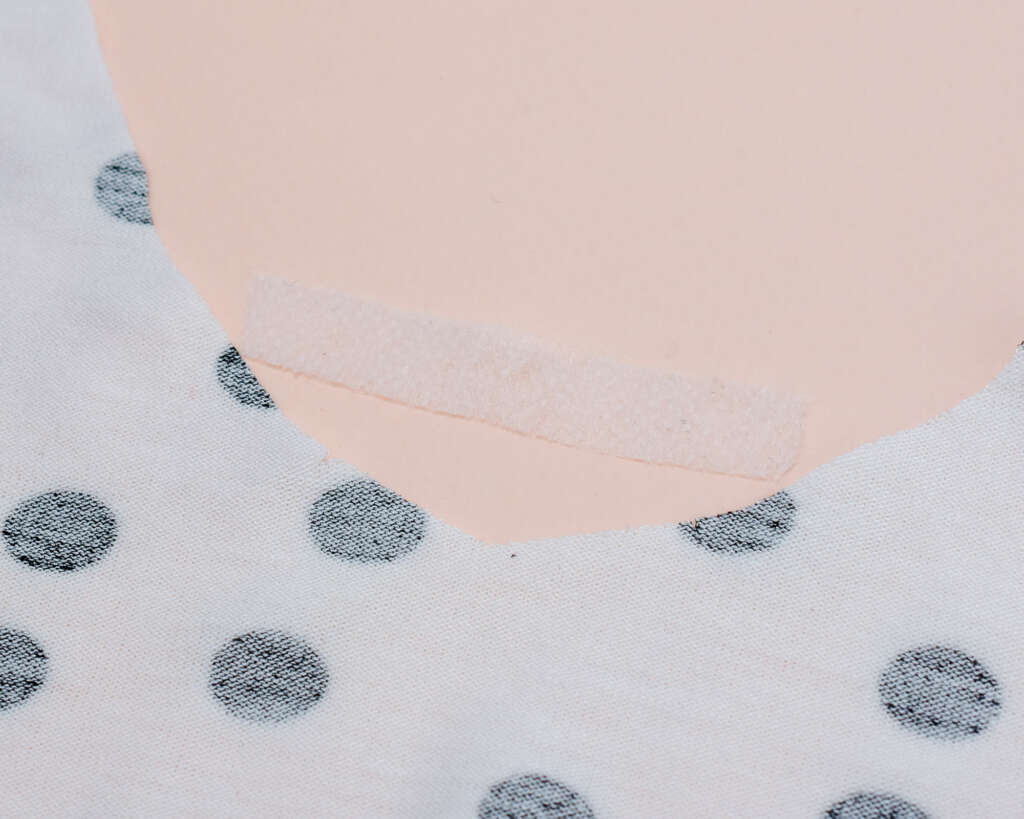
Interface the neckline
The lower front neckline needs stabilising so it doesn’t stretch out when you attach the collar and facing.
Place a narrow strip of stretch interfacing (just under 1 cm / ⅜”) to the wrong side of the neckline, between the notches marked 1.
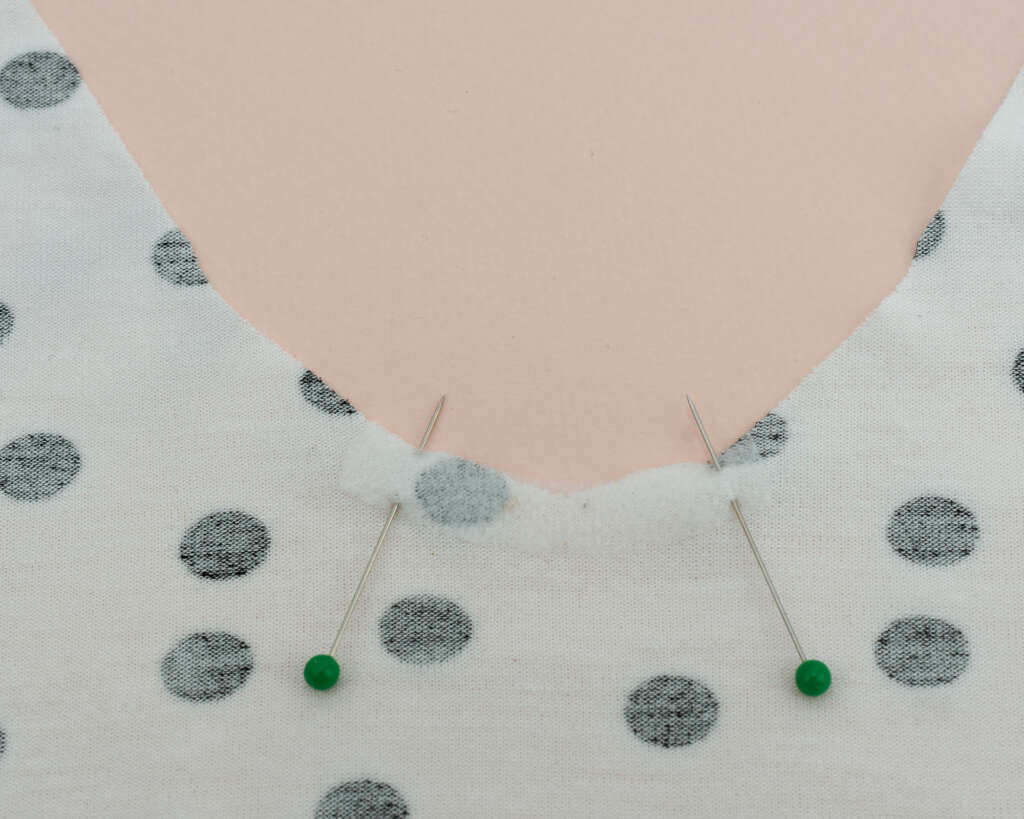
For safety measures, I extend the strip a bit beyond the notches. This will protect the fabric when you attach the collar.
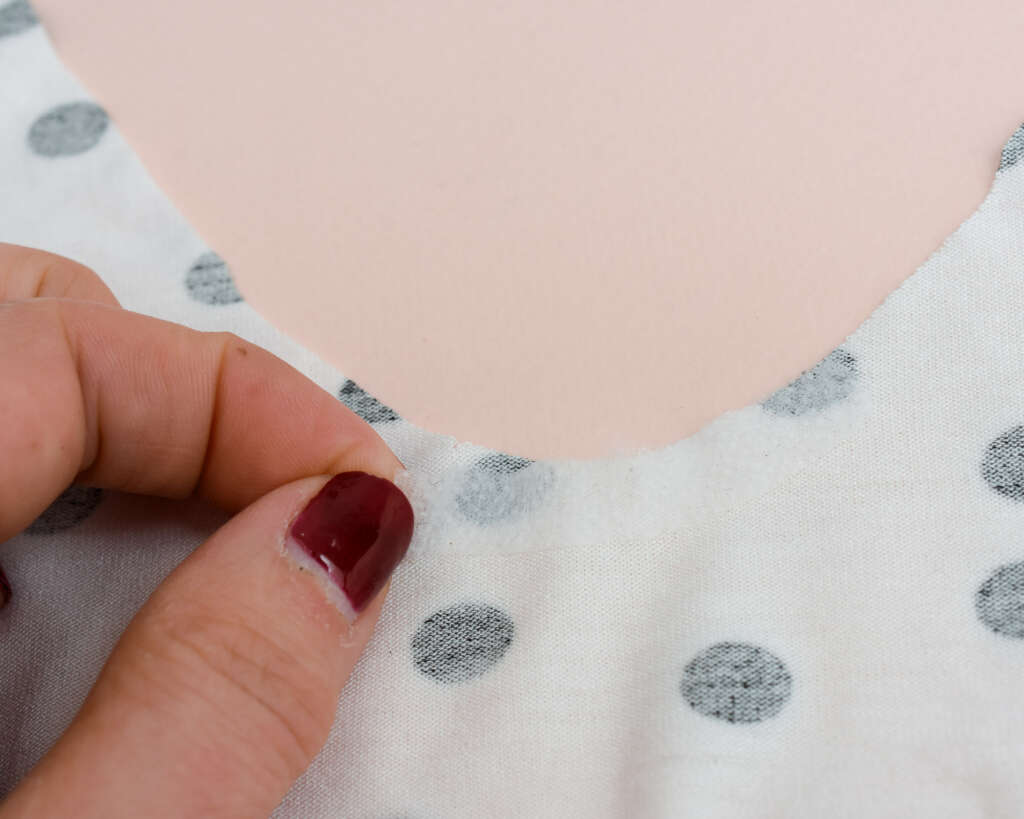
Fuse the interfacing using the right heat and gentle pressing. Let it cool before you do any sewing.
Interface the collar notch area
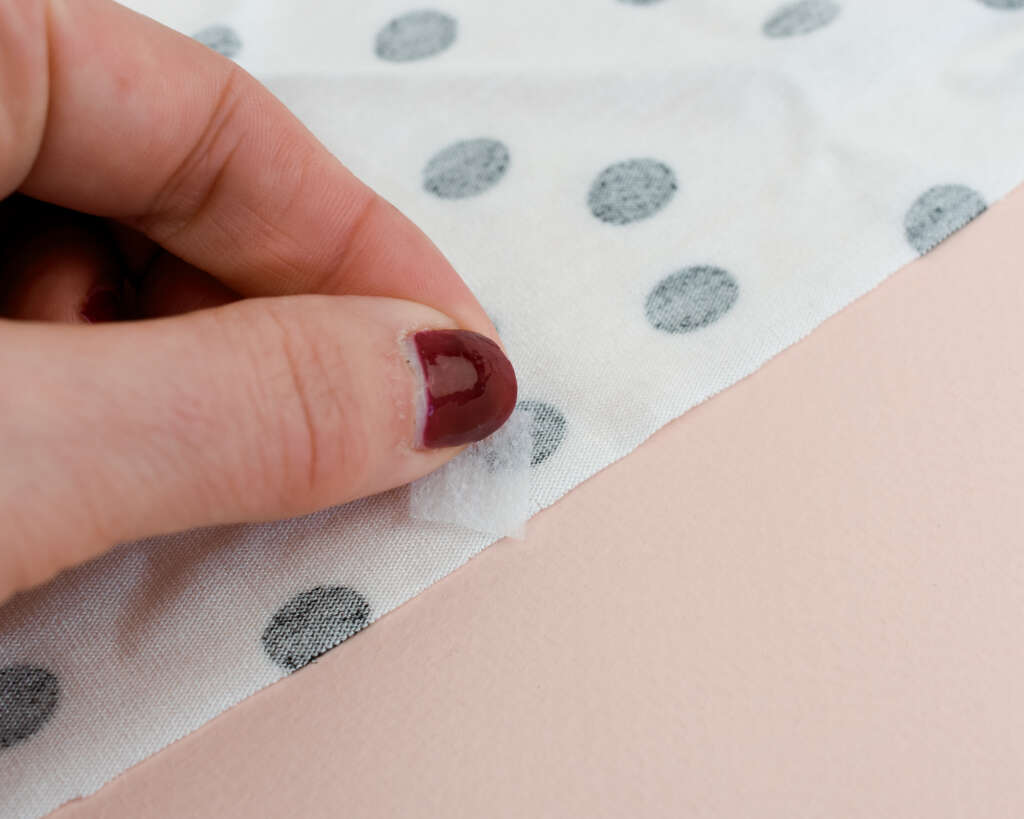
On the collar pieces, fuse four small squares of interfacing (about 1 cm / ⅜”) on the wrong side, over the neckline notch areas (marked 1).
These notches will be clipped later when shaping the collar. Adding interfacing reinforces the fabric so it won’t tear beyond the clip when you cut into the notch. Interfacing also creates a more stable, sharp corner.
Stabilising the shoulder seams
Shoulder seams are another area that easily stretches out, both while sewing and during wear.
Use a narrow strip (just under 1 cm / ⅜”) for the back shoulder seam allowance. If you are using stretch fusible interfacing, add that to the back piece now. In this sew-along, I’m using the clear elastic method, which I show in the shoulder section.
Pressing knits
Knits are heat-sensitive, so lower the temperature and always test on a scrap first. I usually start with pressing the seams from the inside and then do a second pressing from the right side to really flatten the seam.
If you’re pressing from the right side, use a pressing cloth to protect the fabric. For folds, you always have to press from the right side.