Cutting jersey fabrics can be a bit tricky, at least compared to stable wovens. But if you follow this guide for cutting the Tyri Knit Blouse (or any other knit top), I can pretty much guarantee you will be successful and perhaps learn a few new tricks along the way, too.
Preparation
Before you cut anything:
- Prewash if your fabric is likely to shrink
- Press it so it lies flat
Pre-washing
Knits can shrink, especially in length. But some fabrics also twist after washing, which makes cutting harder. So this isn’t something you have to do always; it truly depends on the fabric.
I usually prewash:
- Knits made mostly from natural fibres
- Wool knits
- Silk knits
These are more likely to shrink, sometimes quite a bit (especially wool)
I often skip prewashing:
- Synthetic knits (like activewear fabrics)
- Stable blends with good recovery
- Fabrics where a bit of shrinkage isn’t a big deal
If you’re unsure, cut a small piece, wash it and check what happens. Most knits shrink more in length than width, so that’s what to look for
Ironing the fabric
Ironing jersey and other knit fabrics before cutting matters more than one might think. Because knit fabric can look flat when it’s not. You often get small ripples, wrinkles, or edges that curl. Meaning you’re not cutting the actual shape of the pattern; you’re cutting a slightly distorted version of it, and once you remove the pattern, you risk ending up with uneven pieces.
Keep the fabric flat when cutting
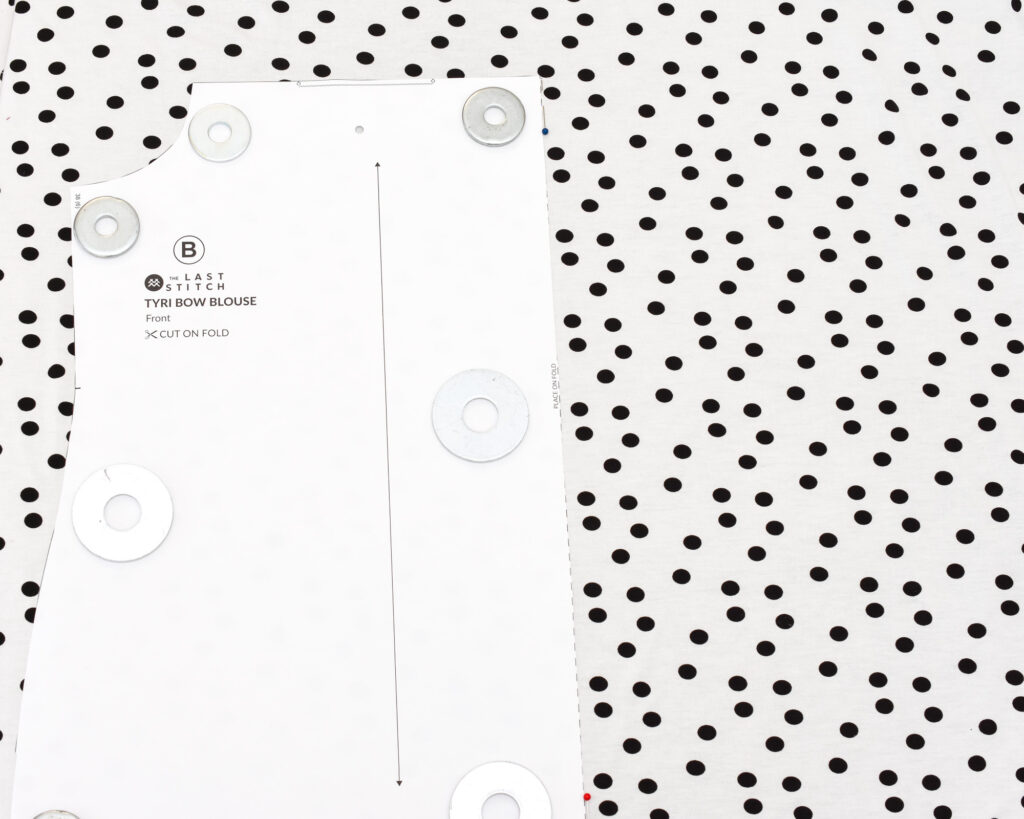
Knits stretch and shift easily, so how you handle them matters.
- Keep the fabric flat on the table
- Don’t let it hang off the edge, it will stretch out — big time!
Doing this makes a big difference in how accurate your pieces will be.
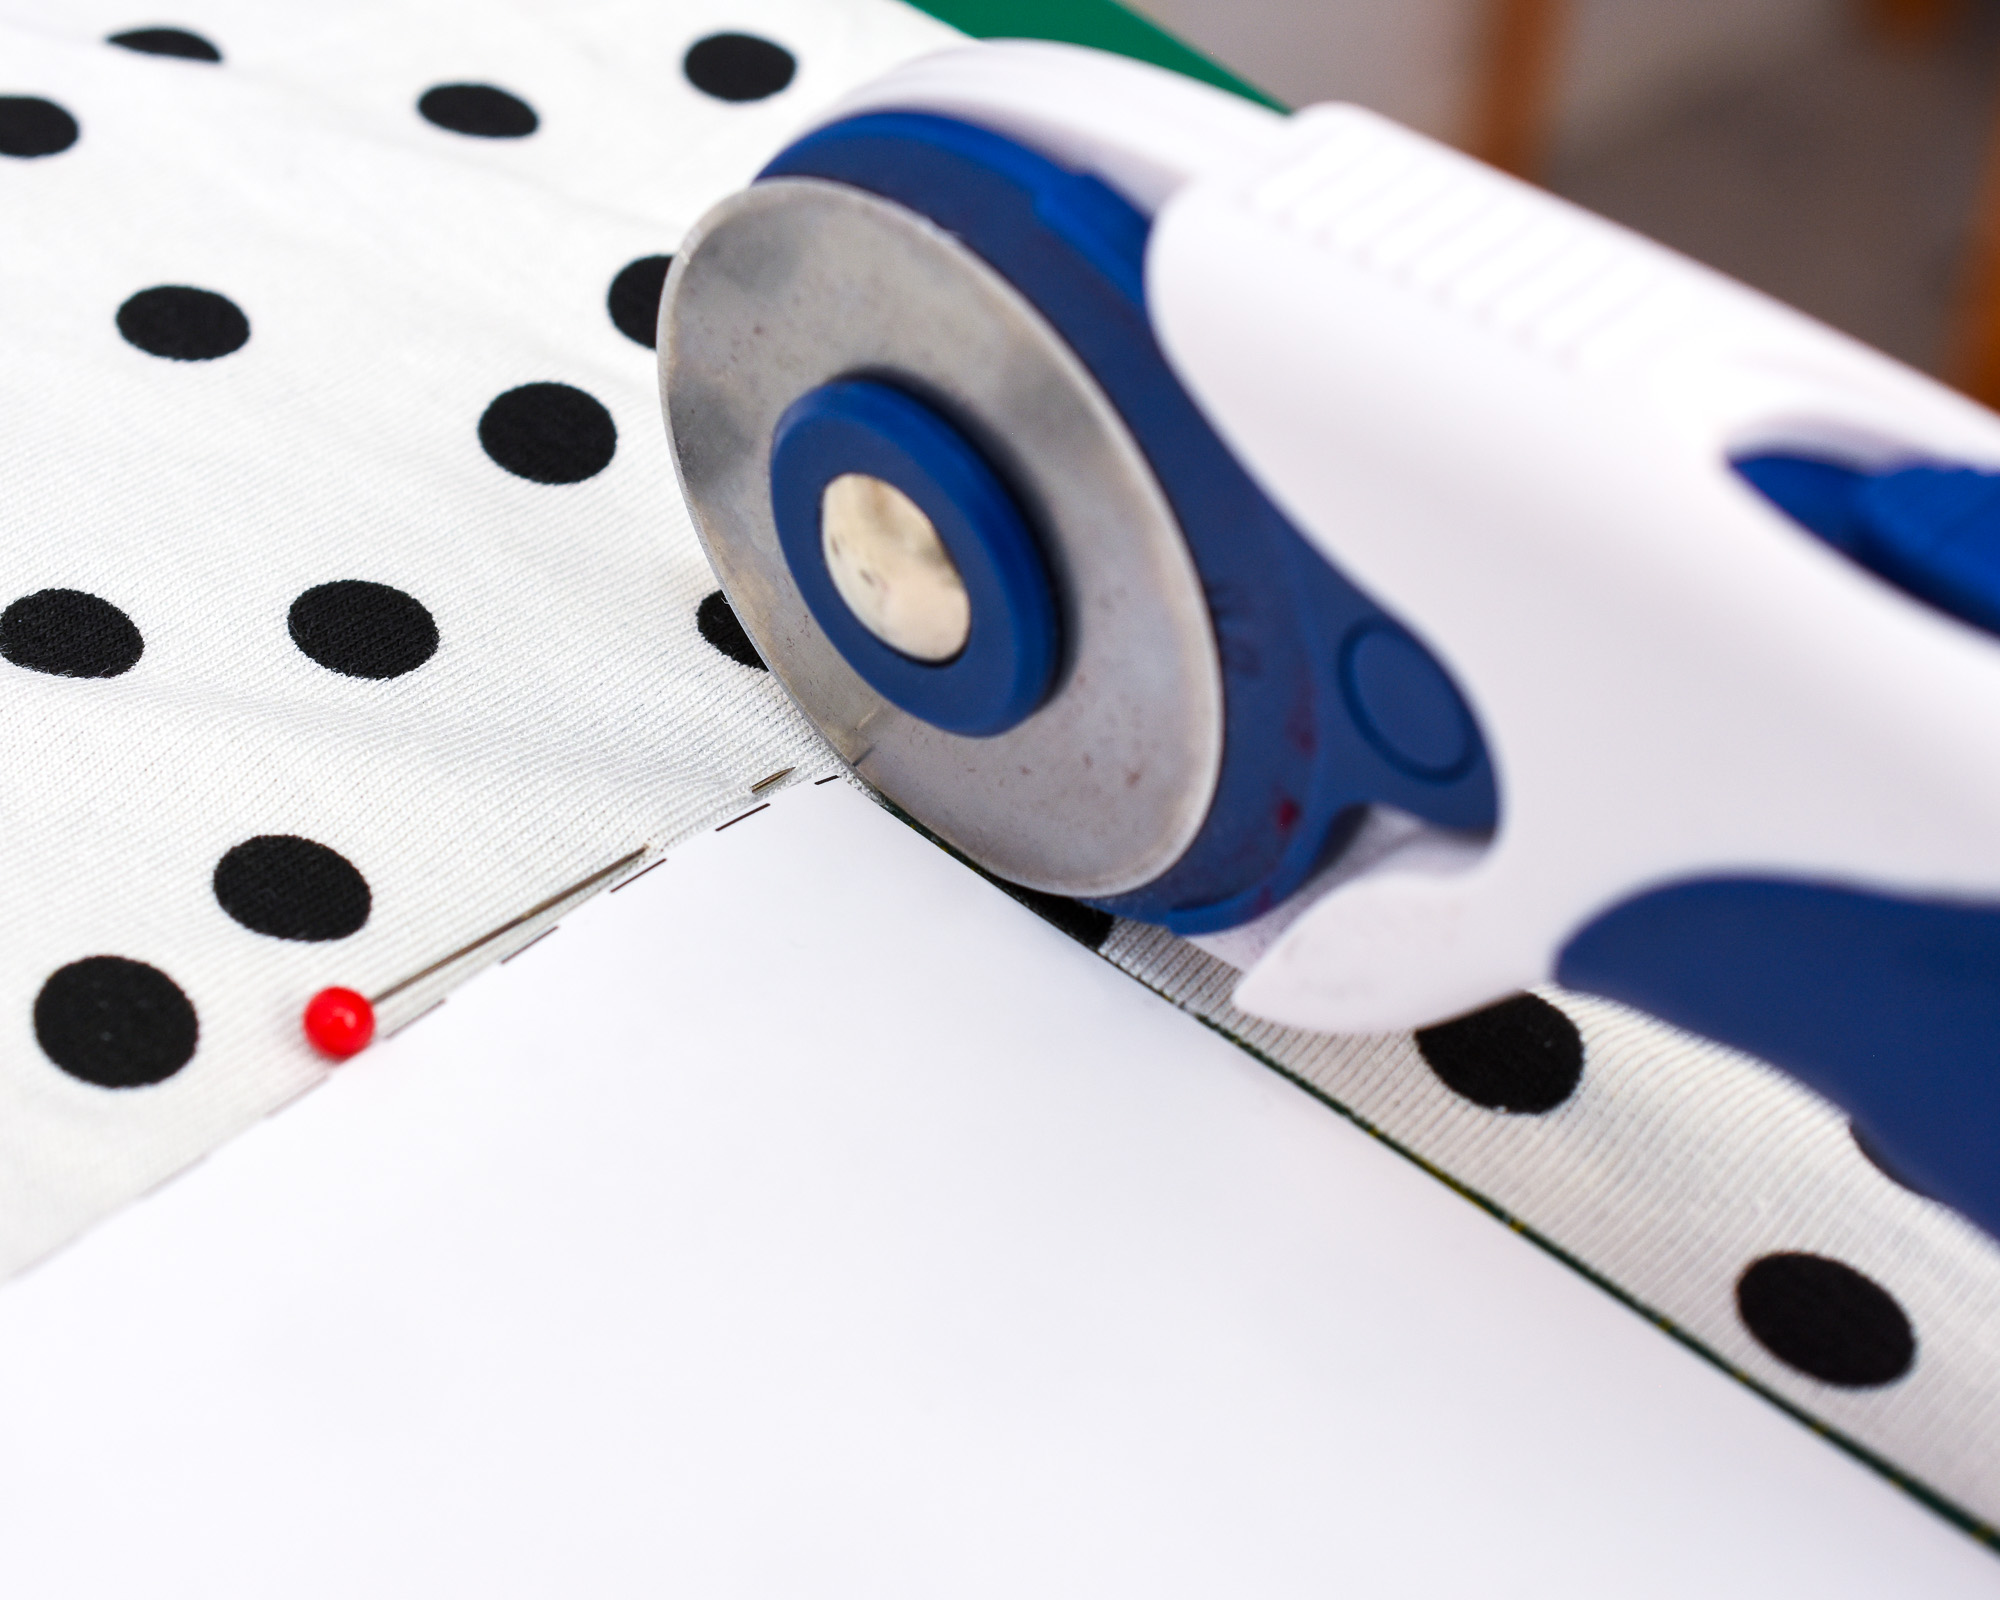
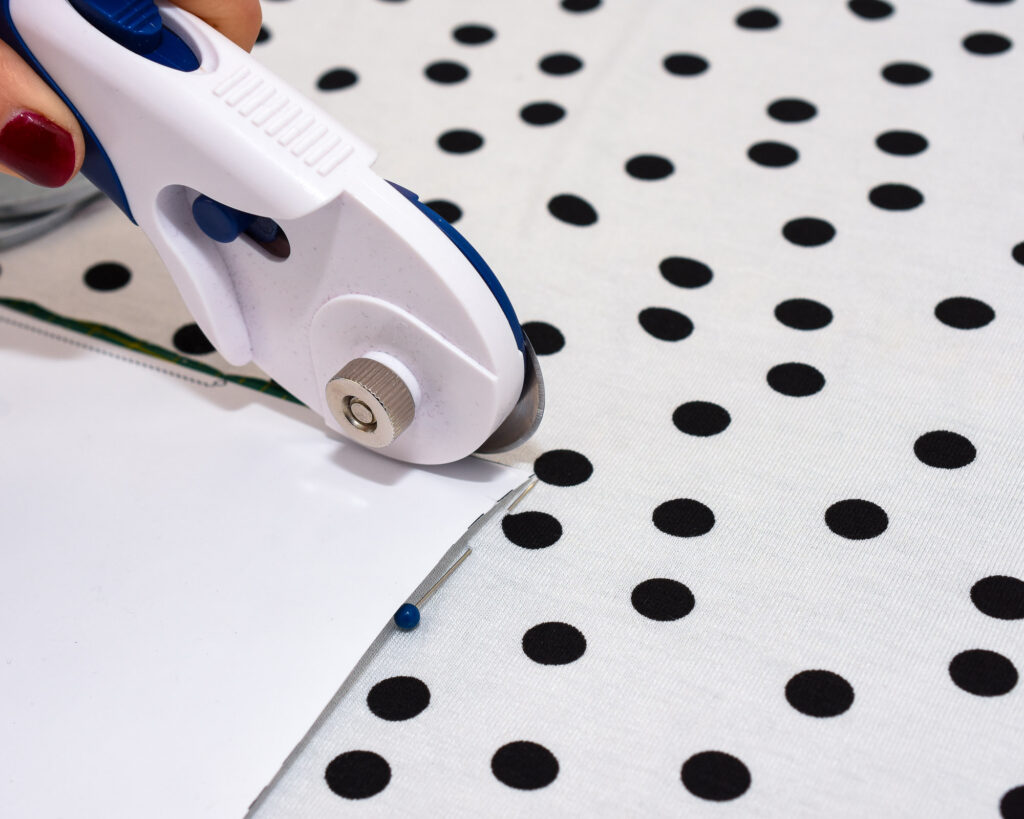
Cutting tools

I like to use a combination of rotary cutter and scissors, but just scissors work fine too, as long as they are sharp.
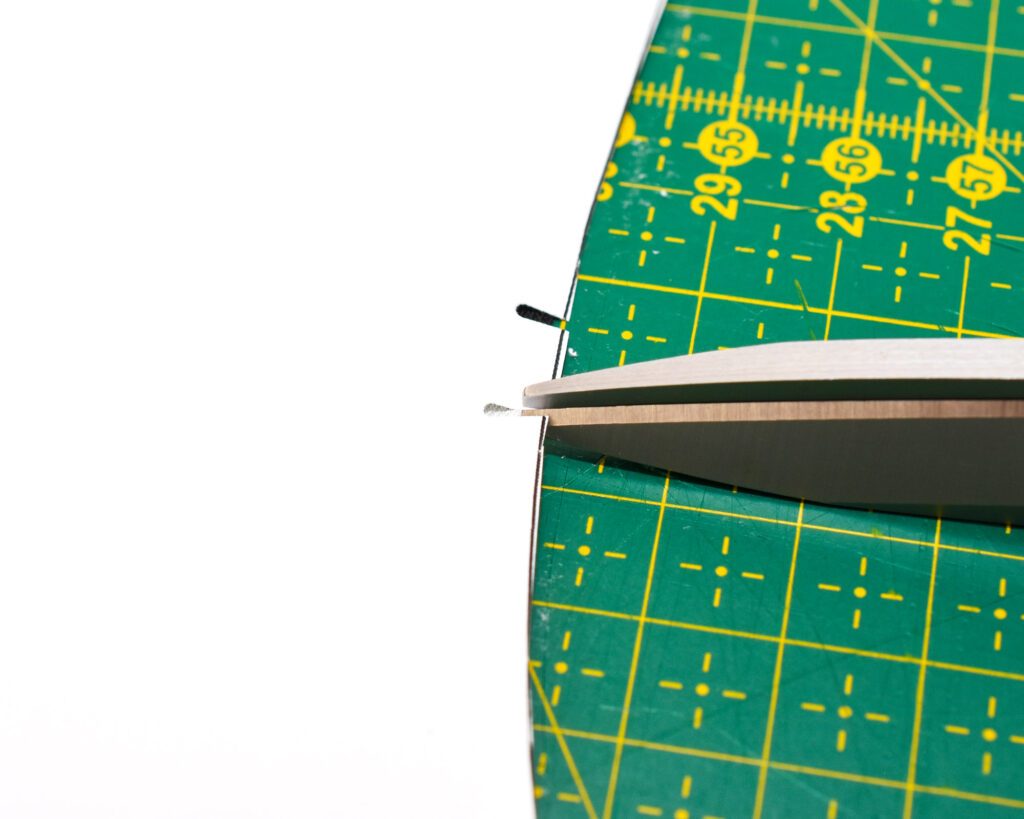
- Rotary cutter + mat: Best for long, clean cuts
- Sharp scissors: Better for tighter curves, notches and other small areas
If you’re using a rotary cutter, switch to scissors around tighter curves (like the neckline) where you need more control
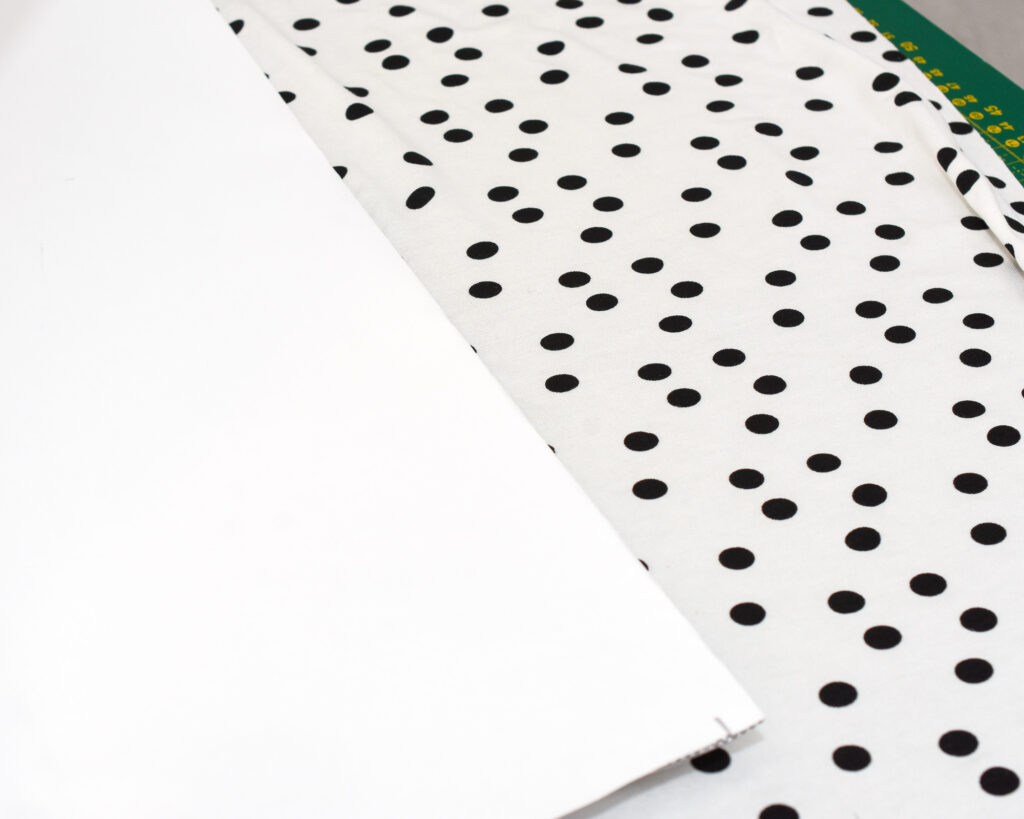
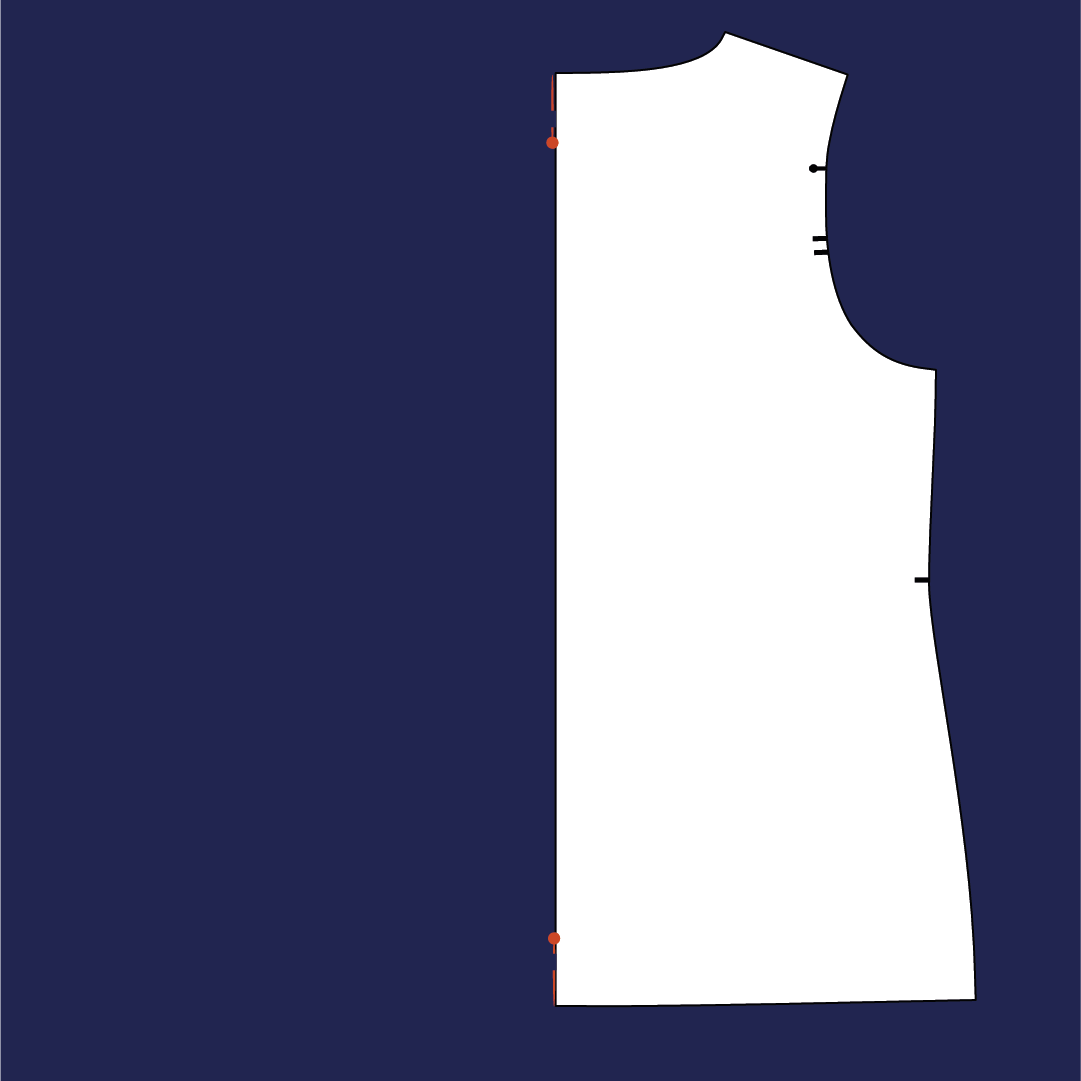
Follow the fabric rib, not the edge
Knits don’t have a reliable straight edge since they are knitted on the round and then cut open. Instead, look for vertical lines (the rib). That’s the grainline you should follow.
- Align the pattern grainline with those vertical lines
- If you’re folding the fabric, fold along one of those lines
- Don’t measure from the cut edge — it’s often not straight
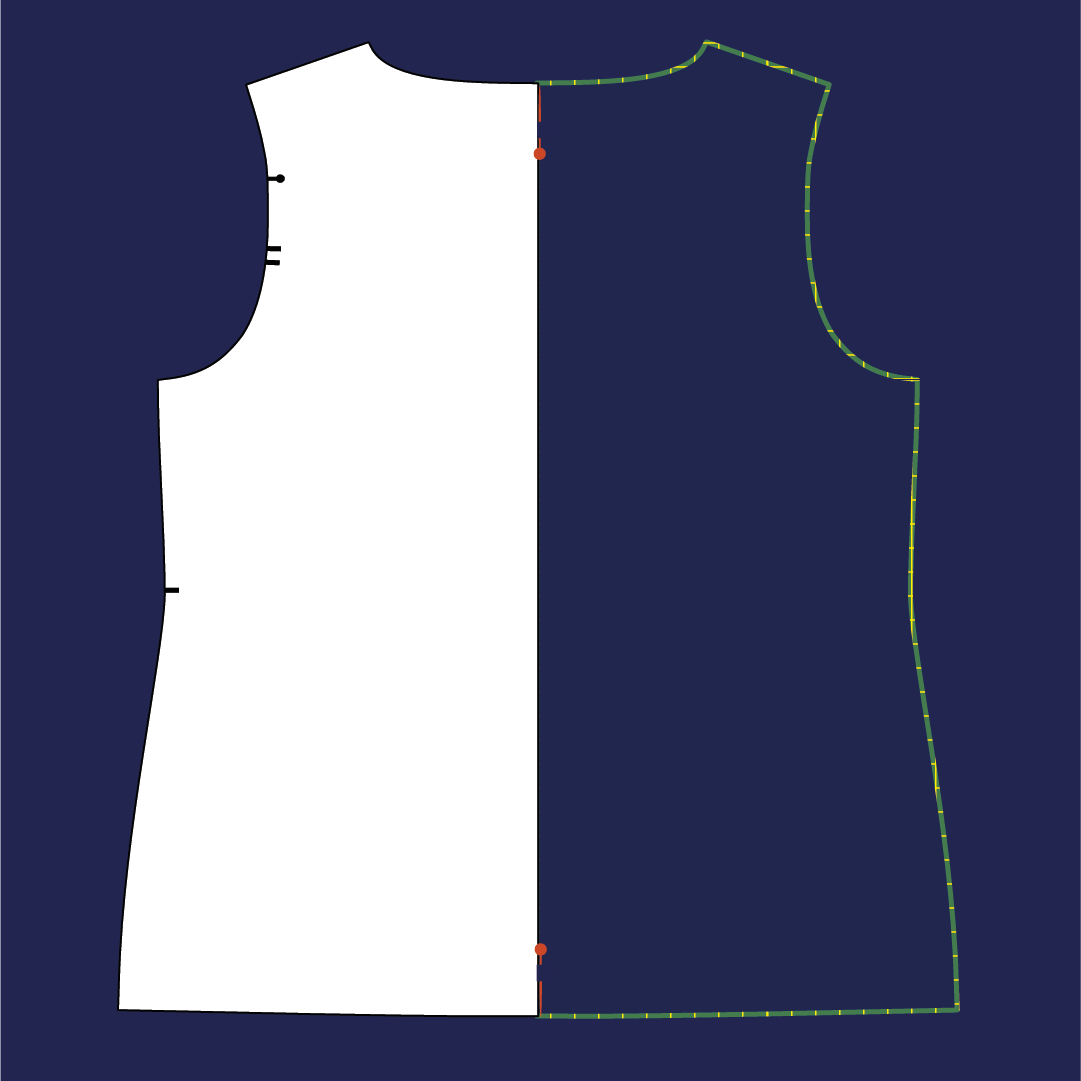
My little folding trick
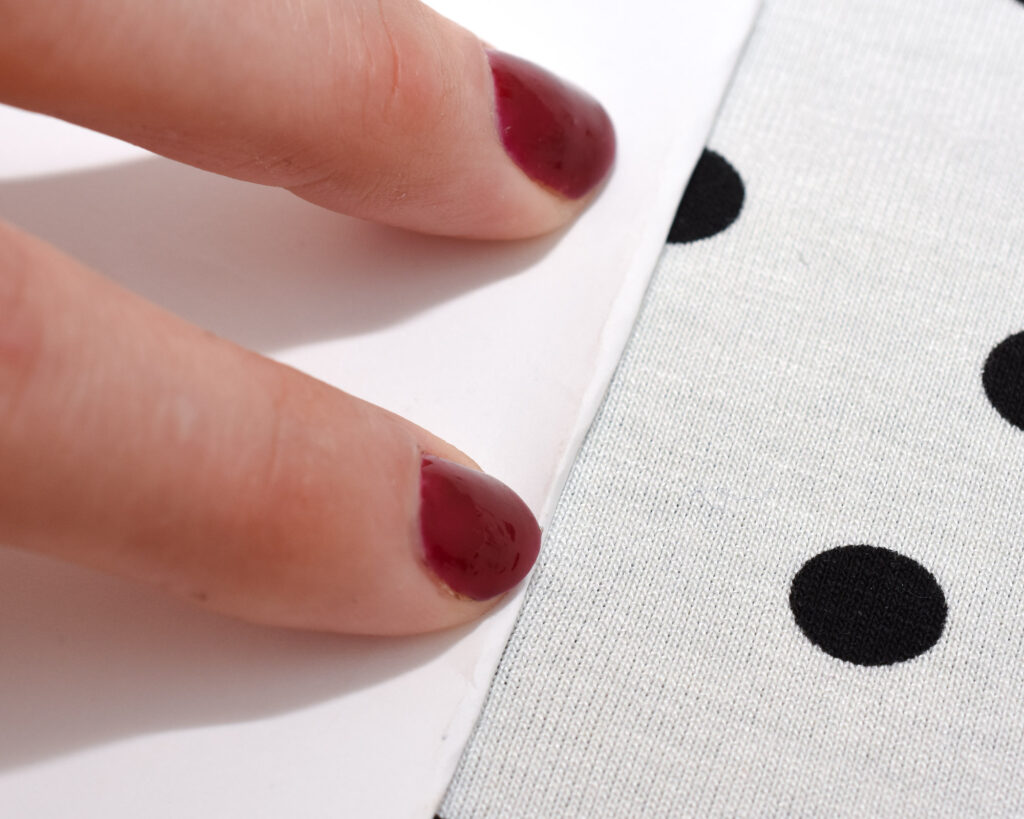
If it feels fiddly to line things up, use this trick:
- Fold the pattern piece along the grainline
- Match that folded edge to a vertical line in the fabric
- Then lay the pattern flat again
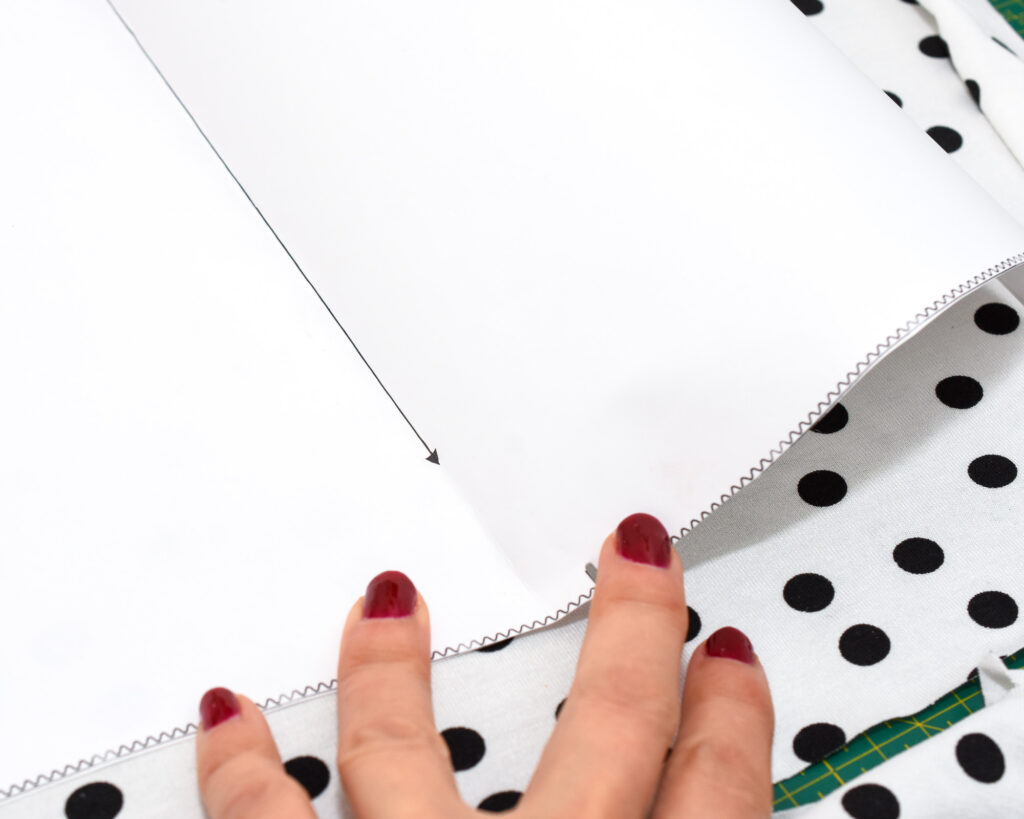
It’s a quick way to get the grainline right without second-guessing.
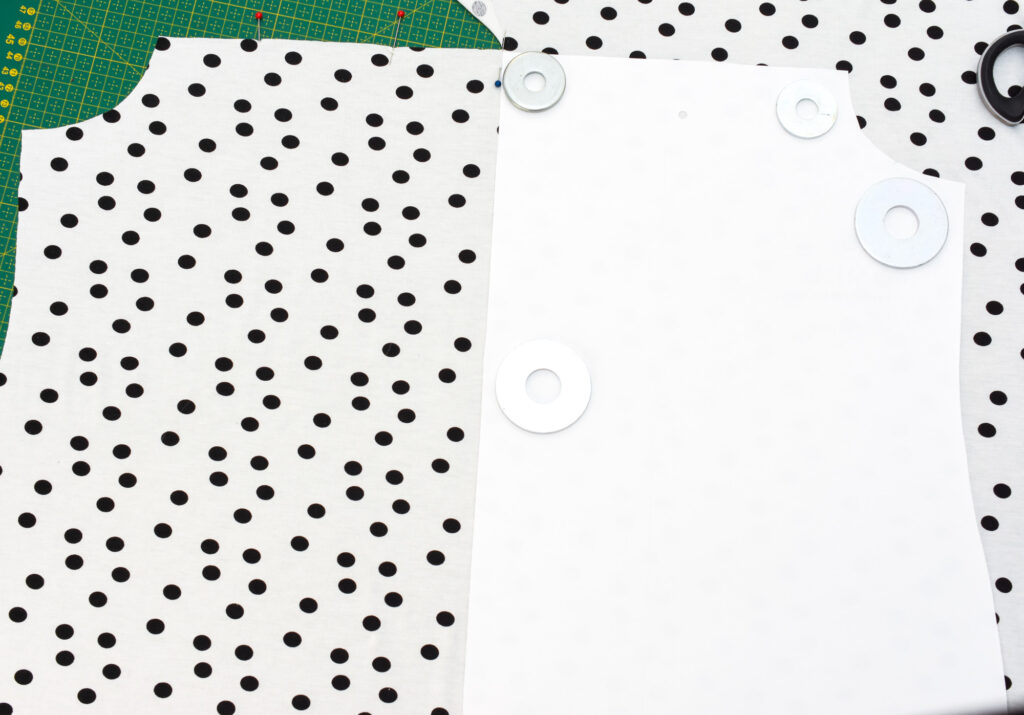
Cutting as a single-layer
If the jersey you are using for the Tyri blouse is slippery or patterned, cutting in a single layer is often more accurate.
That makes it easier to:
- Keep the grainline straight
- Avoid pieces creeping out of alignment
- Match stripes or prints
A few things to keep in mind:
- You need to mirror pieces (like sleeves), otherwise you’ll end up with two of the same side
- For pieces marked “cut on fold”, you can:
- Either cut one half and flip the pattern
- Or create a single-piece for the entire bodice (but that requires some tracing, obviously)
If you’re struggling with accuracy, this is usually the easiest fix.
And once you get used to it, it’s hard to go back. For instance, on the Tyri samples that I sewed for the pattern launch, I only cut the ties and yoke on fold.
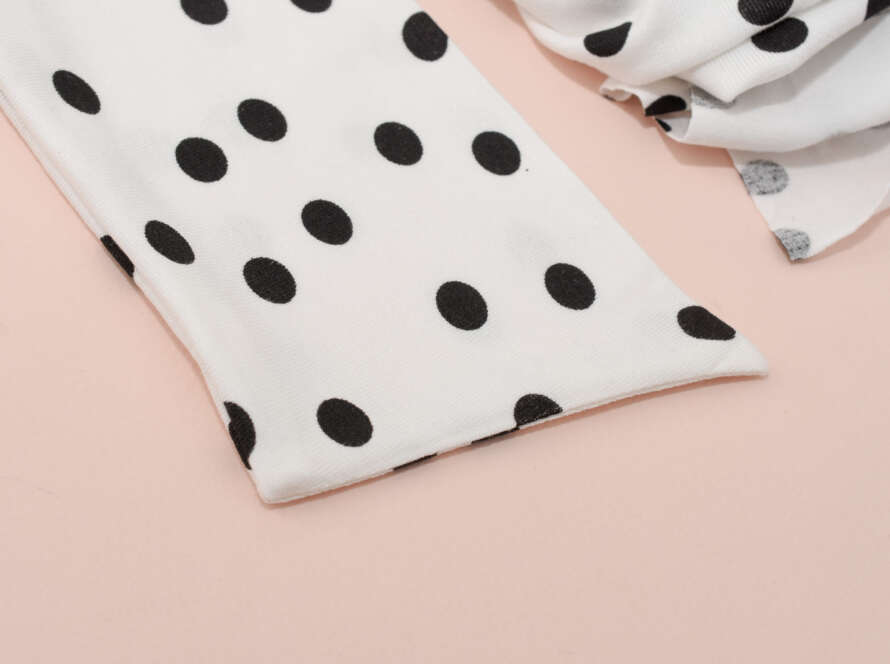
Cutting the collar corner
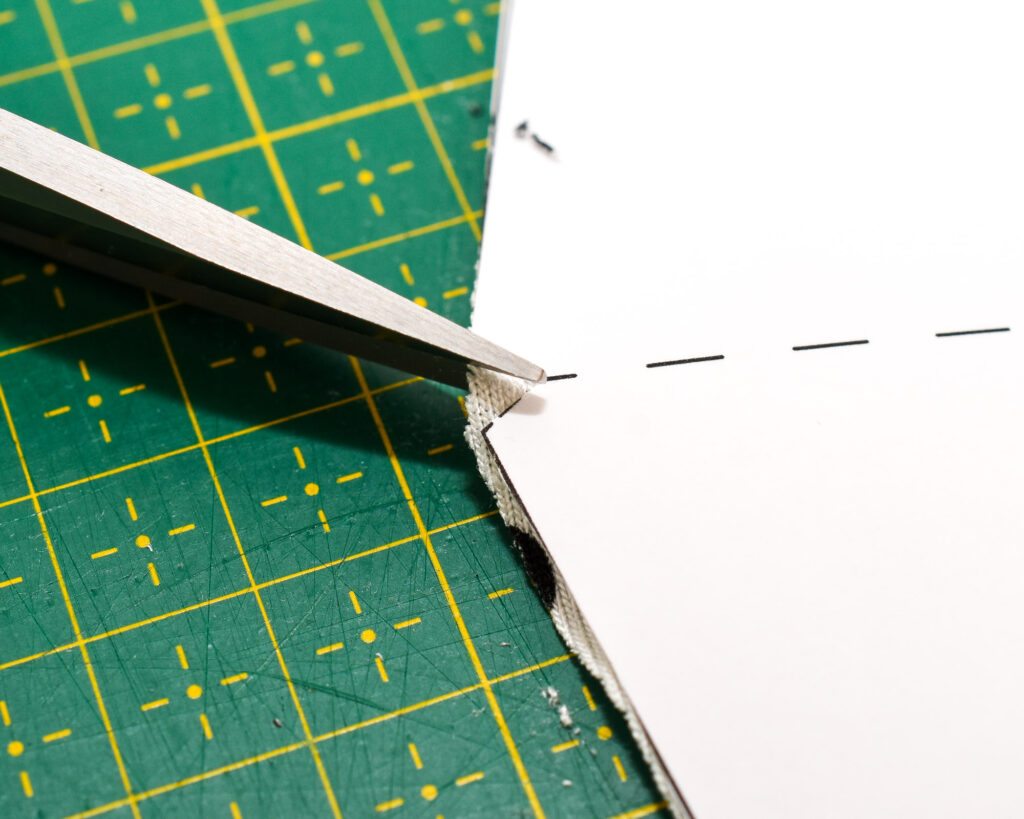
The secret to sharp, non-bulky corners on the ties is this little triangle clip. It is clearly marked on the pattern pieces, and I highly recommend that you do this. Once you fold and turn the collar, you’ll be amazed at how nice and crisp the corners look!
Cutting the ties
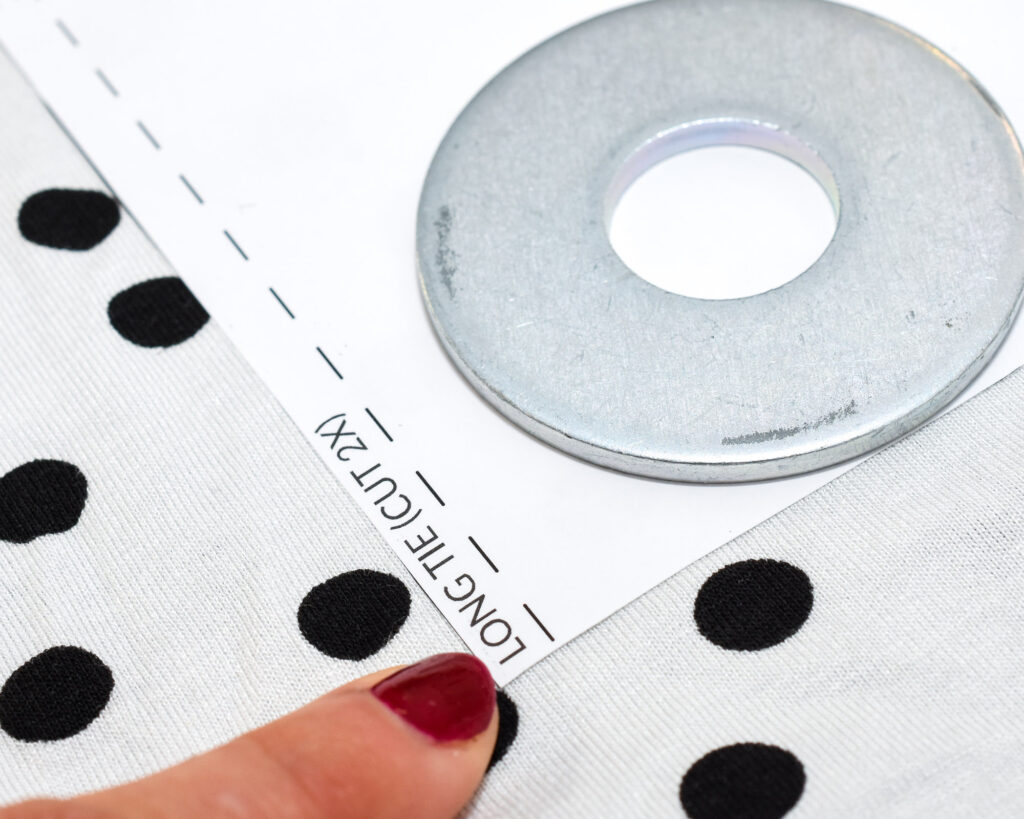
If you are doing the short tie option, you can cut the ties on the fold. But the long ties need to be cut separately; just check the pattern piece to see which cutting line or fold to use.
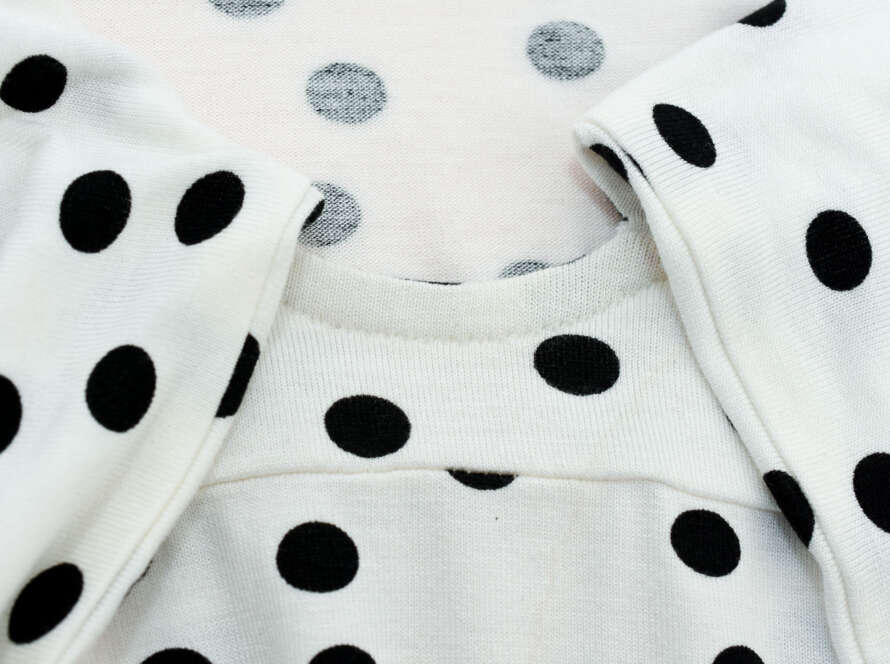
Marking notches
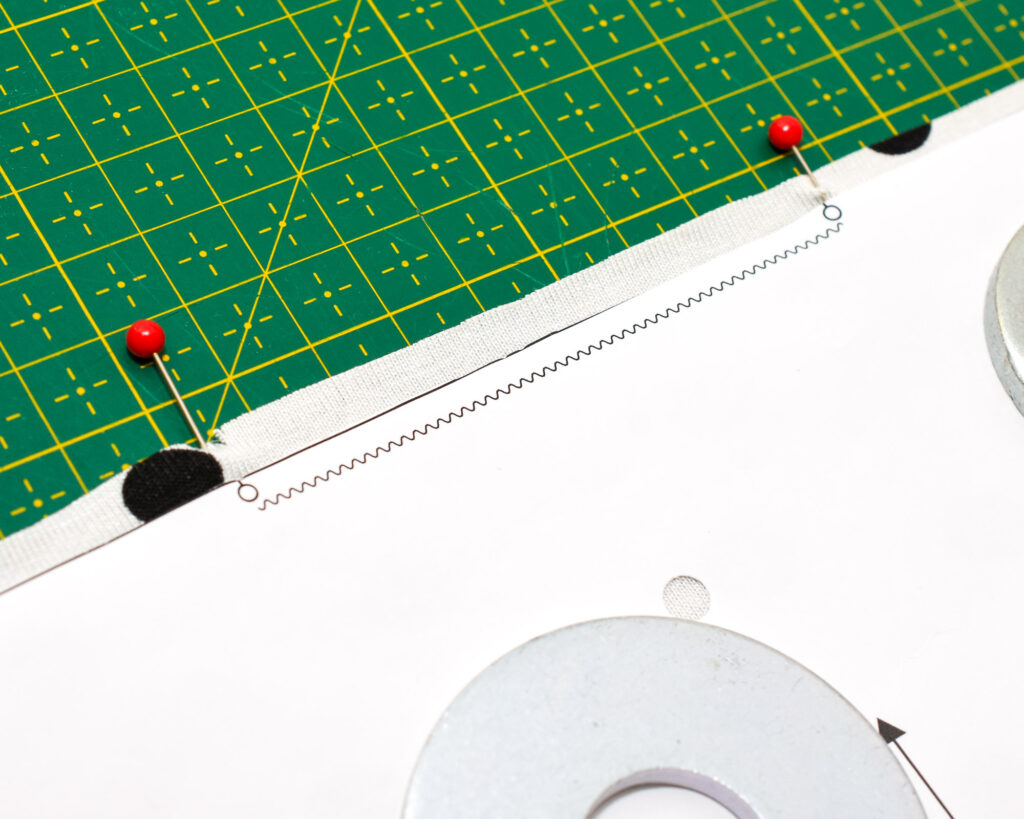
Tyri has quite a few markings, especially for the gathers. I usually cut tiny notches into the seam allowance when sewing with knits, but since the fabric we are using here is quite delicate, I used a combination of several methods (I show this in more detail in the instructions)
- Clipped tiny notches (2–3 mm) for the sleeve and waist notches
- Used pins for marking the gathering areas
- I also used a washable marker for some steps, it’s great, but remove it before pressing, otherwise you won’t get rid of the colour!
Prep the interfacing
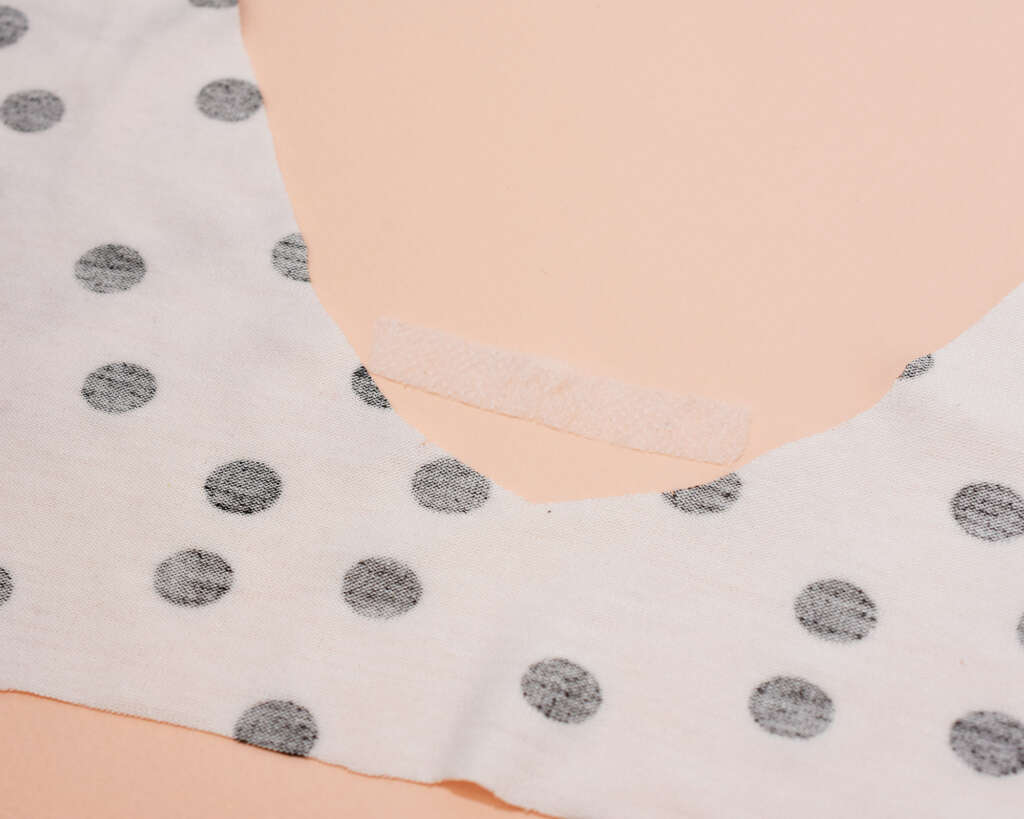
Cut from fusible stretch interfacing
- A narrow 10 mm/3/8″ strip for the neckline
- Small squares for the collar notch area
Before you move on
Now you are done, but before you move on, do a quick check:
- All pieces cut
- Markings done
- Interfacing ready
Perfect, now you are ready for the next step of the Tyri Blouse Sew-Along