
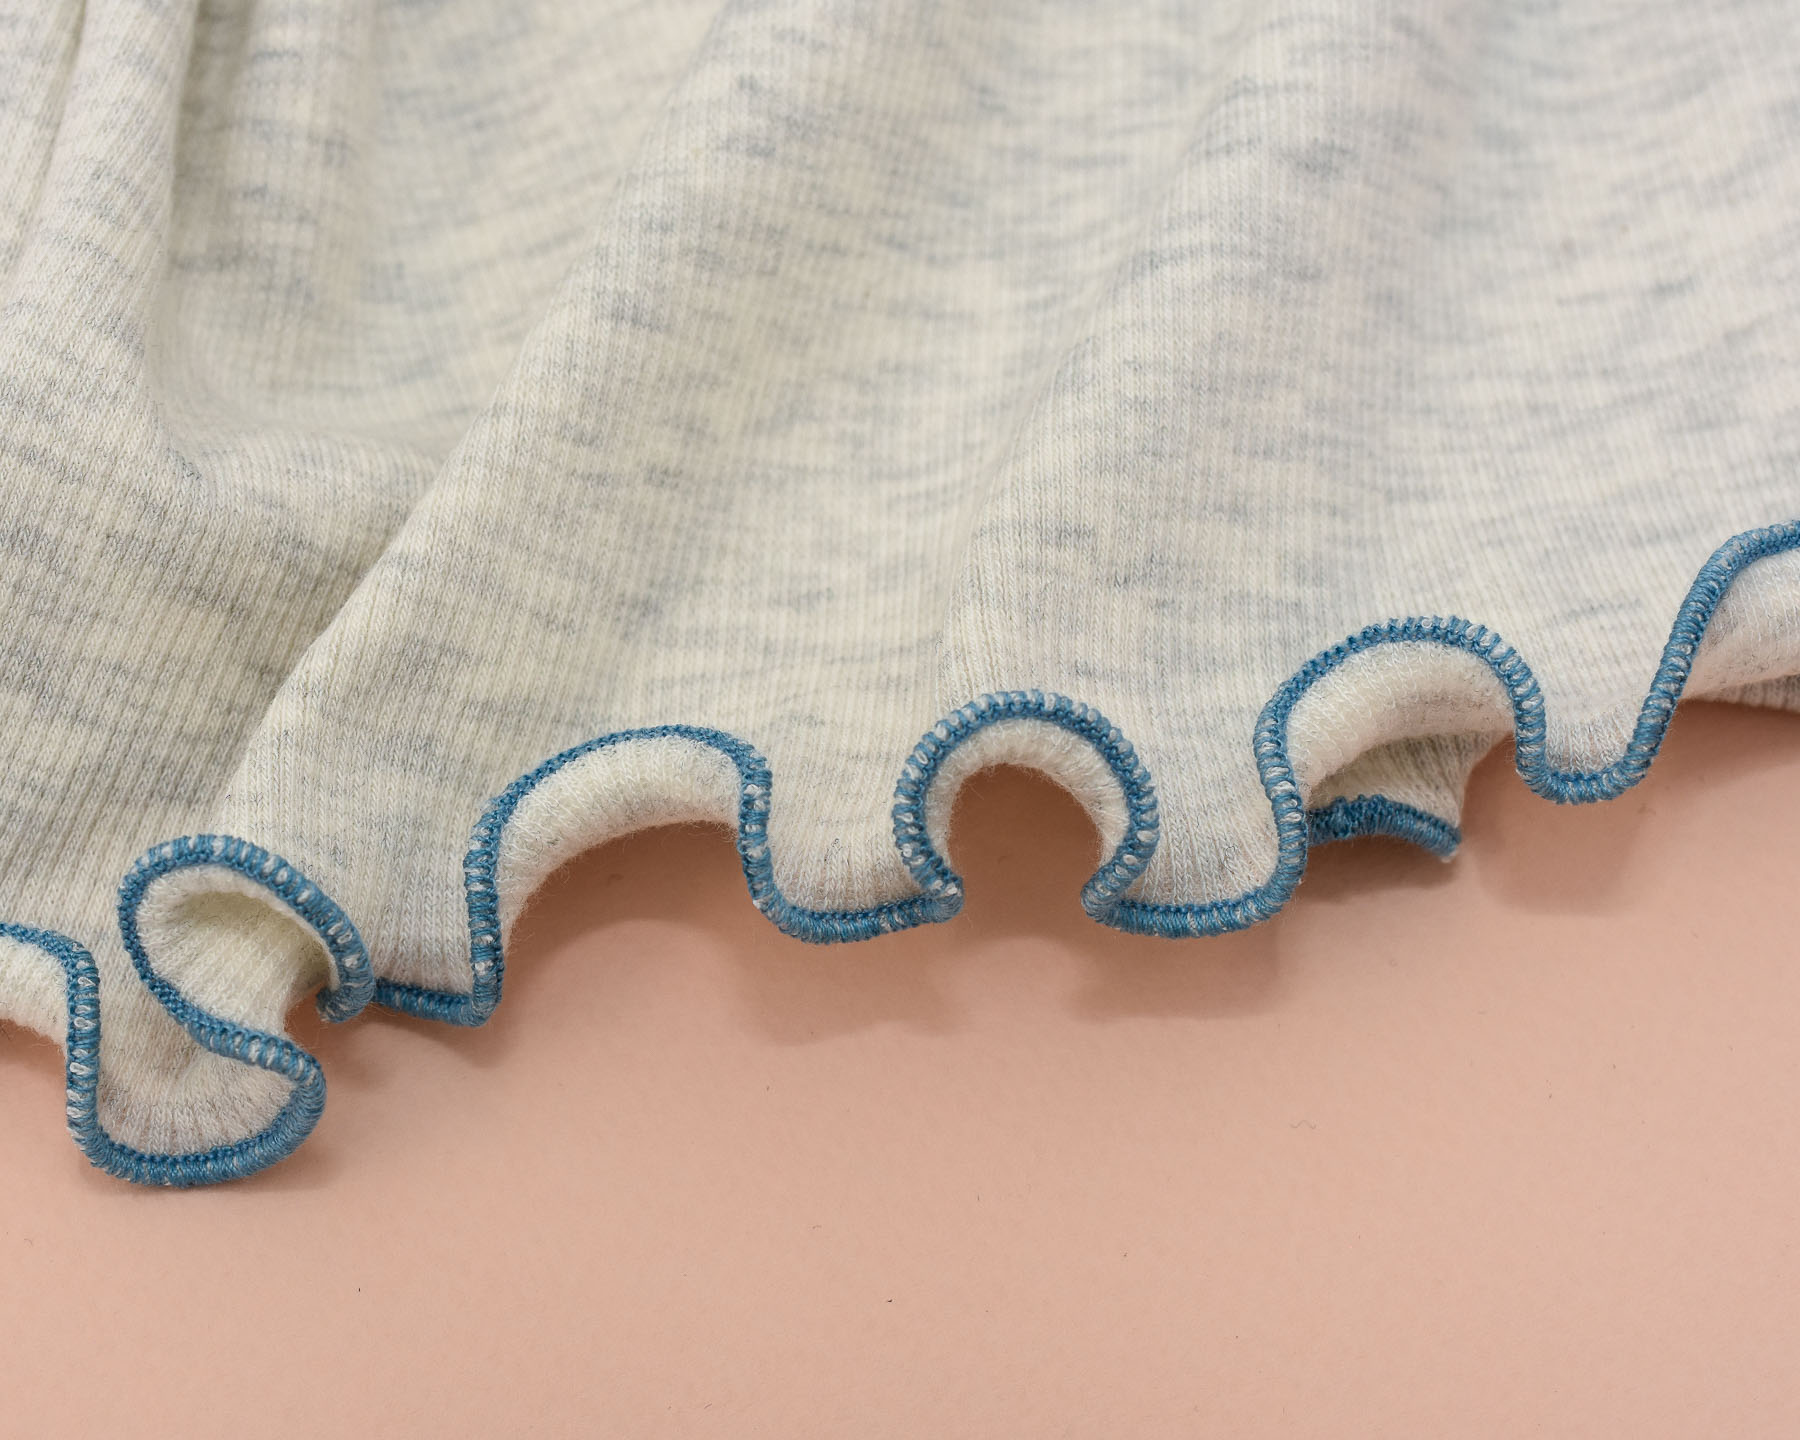
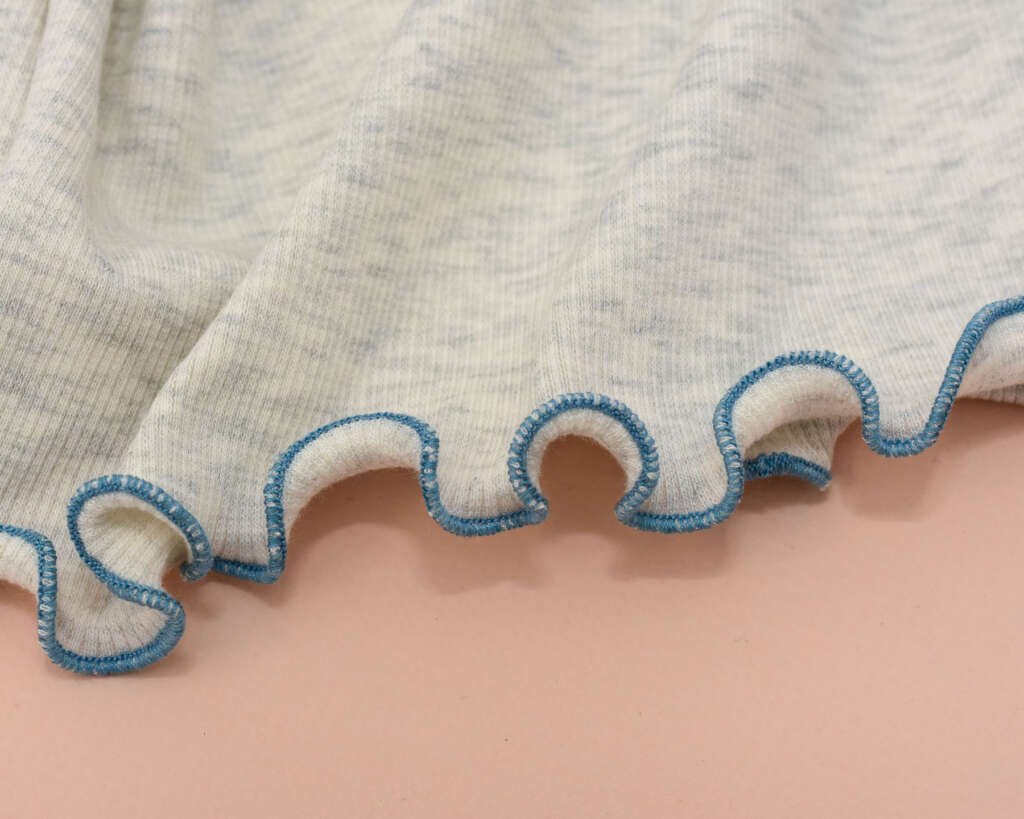
A lettuce hem isn’t just a cute decorative finish. It can also be a real game changer when hemming stretchy knits with less recovery, such as soft rib knits and pointelle. These fabrics can be tricky to hem with a twin needle or even a coverstitch machine, and you’ll risk ending up with a stretched-out, wavy mess.
A lettuce hem takes a completely different approach; instead of trying to keep the hem flat, you deliberately stretch the fabric as you sew to create a soft, wavy edge. Basically, you’re working with the fabric and not against it.
The result is a narrow, decorative finish that works particularly well on lightweight knits. And once you’ve got your serger settings right, it is also quick to sew.
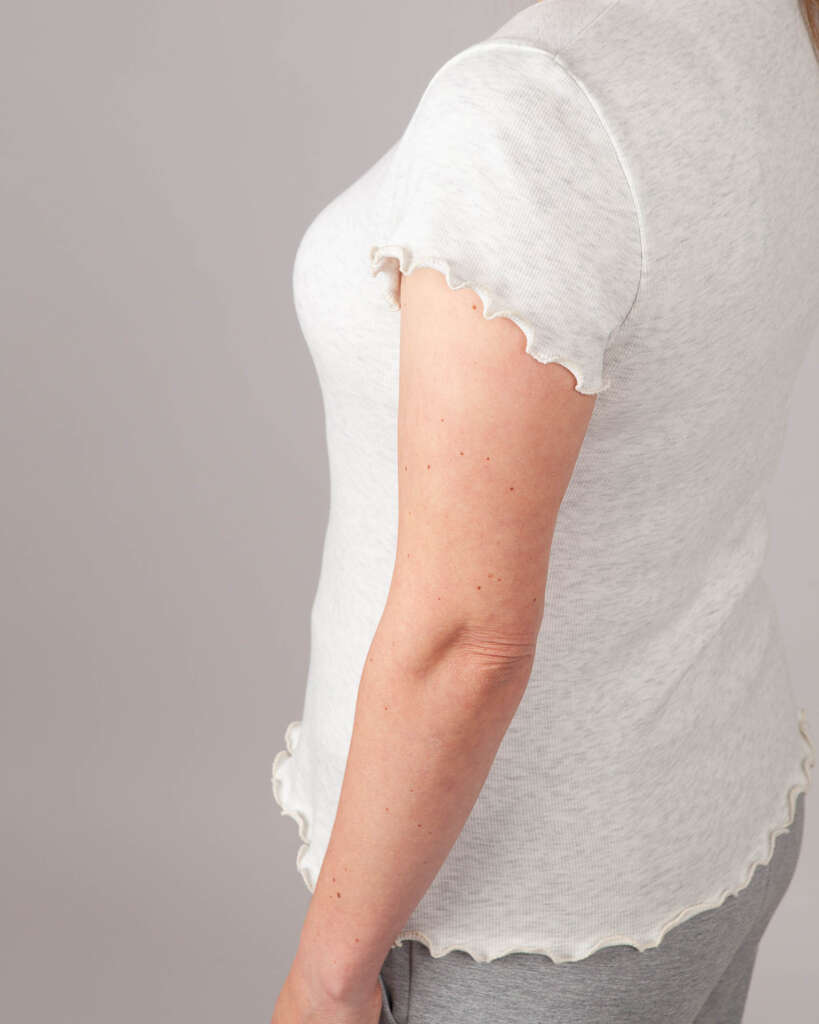
Liv fitted tee from our book To a Tee finished with a lettuce hem. The book also includes a step-by-step tutorial for sewing this finish.
In this tutorial, I’ll show you how to sew a lettuce hem using a 3-thread rolled hem and a little help from the differential feed and your hands.
What you need
- A serger
- Scraps of the fabric for testing
- Matching thread. Ideally, use flossy woolly nylon in the loopers for a softer hem with better coverage
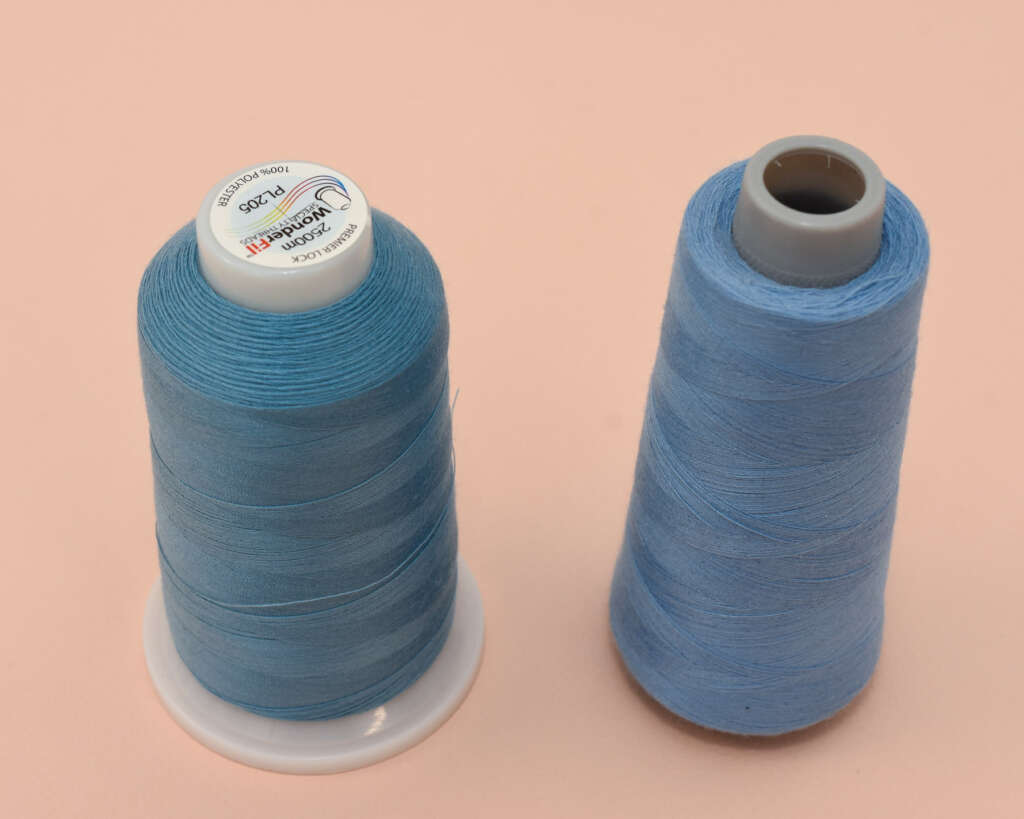
Woolly nylon to the left and regular overlock thread on the right cone.
I strongly recommend testing on a scrap of the actual garment fabric first. Different knits can behave very differently, and the settings that work beautifully on one fabric might not give the same result on another.
Set up your serger
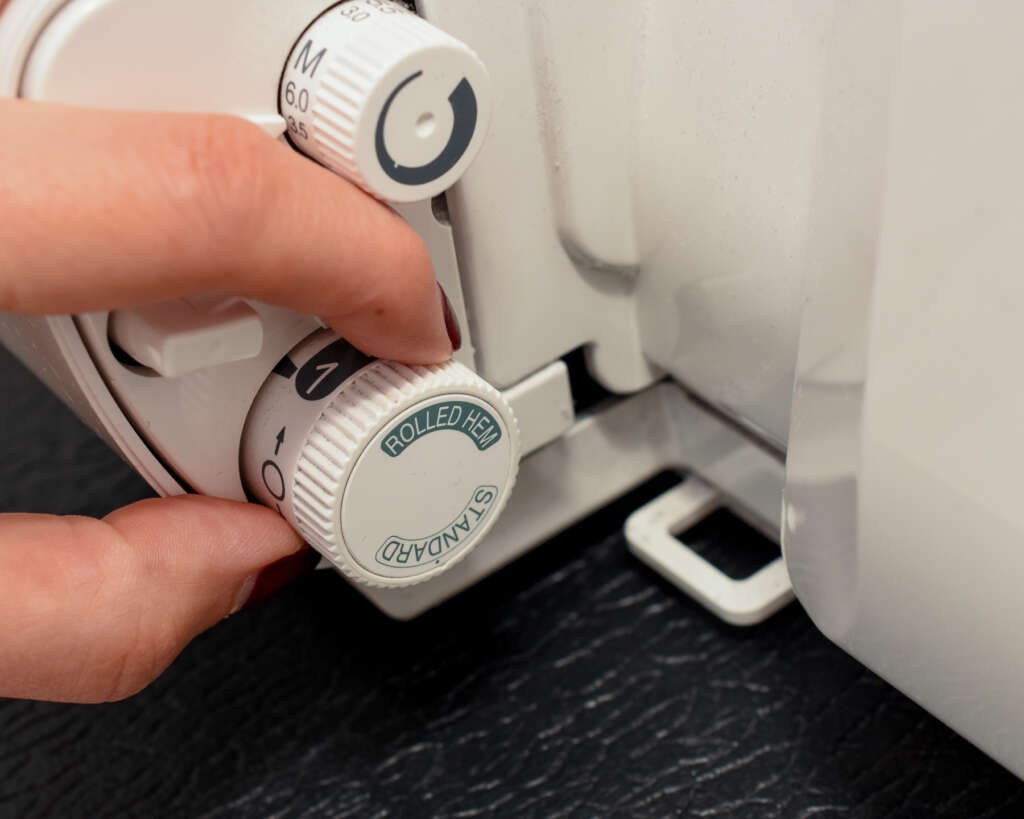
Start by setting up your serger for a 3-thread narrow rolled hem. Check your machine manual for the recommended rolled-hem settings, as the exact setup varies by machine.
Lettuce hem settings
- 3-thread narrow rolled hem
- A short stitch length (for a denser stitch with better coverage)
- Differential feed around 0.5–0.8 (try on a sample first)
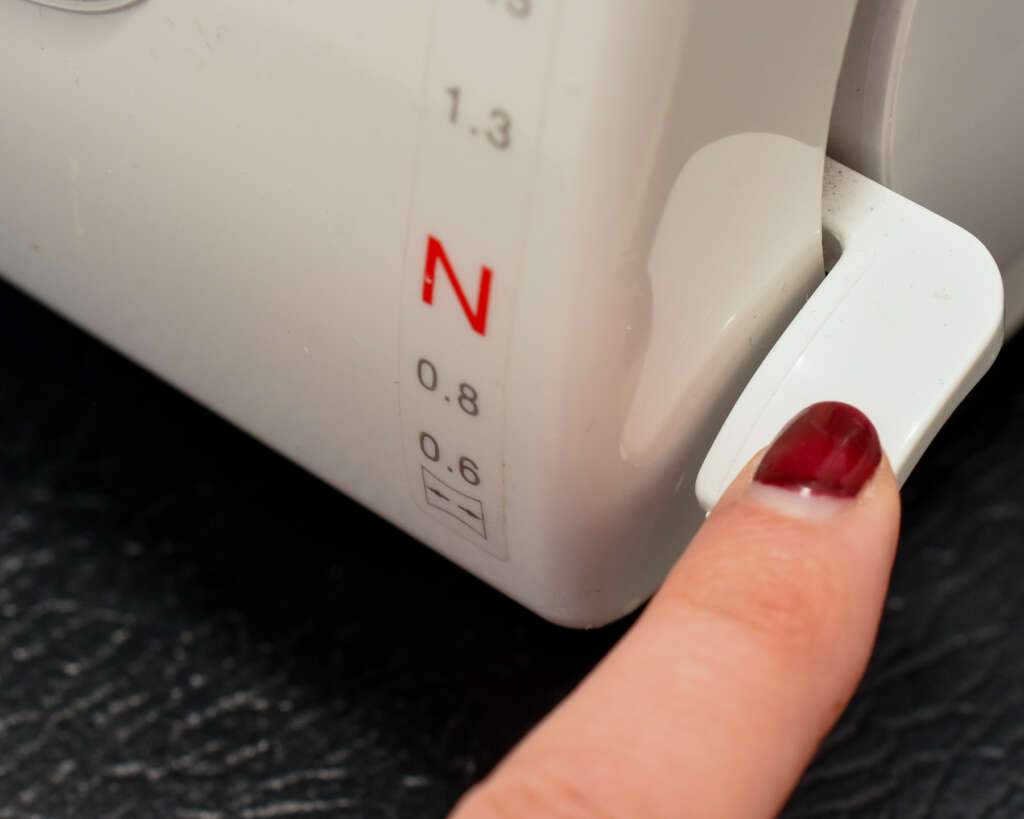
The low differential feed helps stretch the fabric as it passes through the machine. You will also stretch the fabric manually while sewing.
Don’t worry about finding one magic combination of settings. Test on scraps and adjust until you get the amount of curl and ruffling you want.
Use a tiny seam allowance.
Trim the hem allowance down to just a few millimetres before serging. Even though the serger can technically cut a wide seam allowance, it’s hard to control, and you risk an unevenly cut hem. The knife should ideally trim just a small amount from the fabric edge as you sew. This helps clean up the edge and makes sure the rolled hem catches the fabric properly.
So trim most of the hem allowance before sewing,
Sew samples
This is so important because you might not nail all the settings on the first try. Test the stitch, differential feed and amount of stretching on a scrap before sewing the garment. Always use the same fabric as the one you plan to hem.
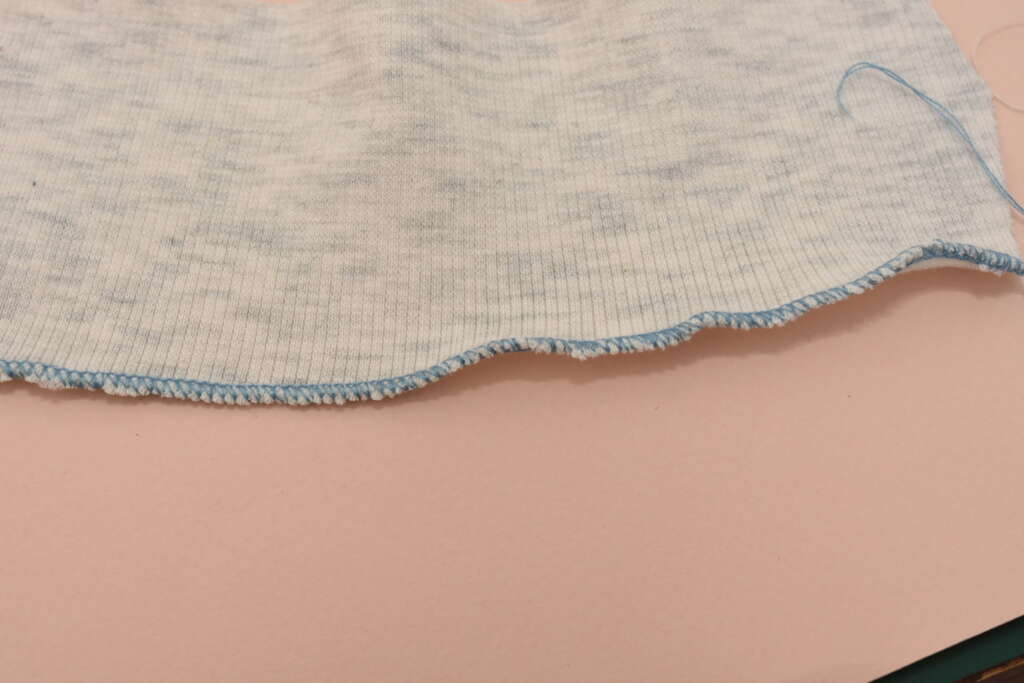
On this sample, the stitch length is too long, and I didn’t stretch out the fabric enough.
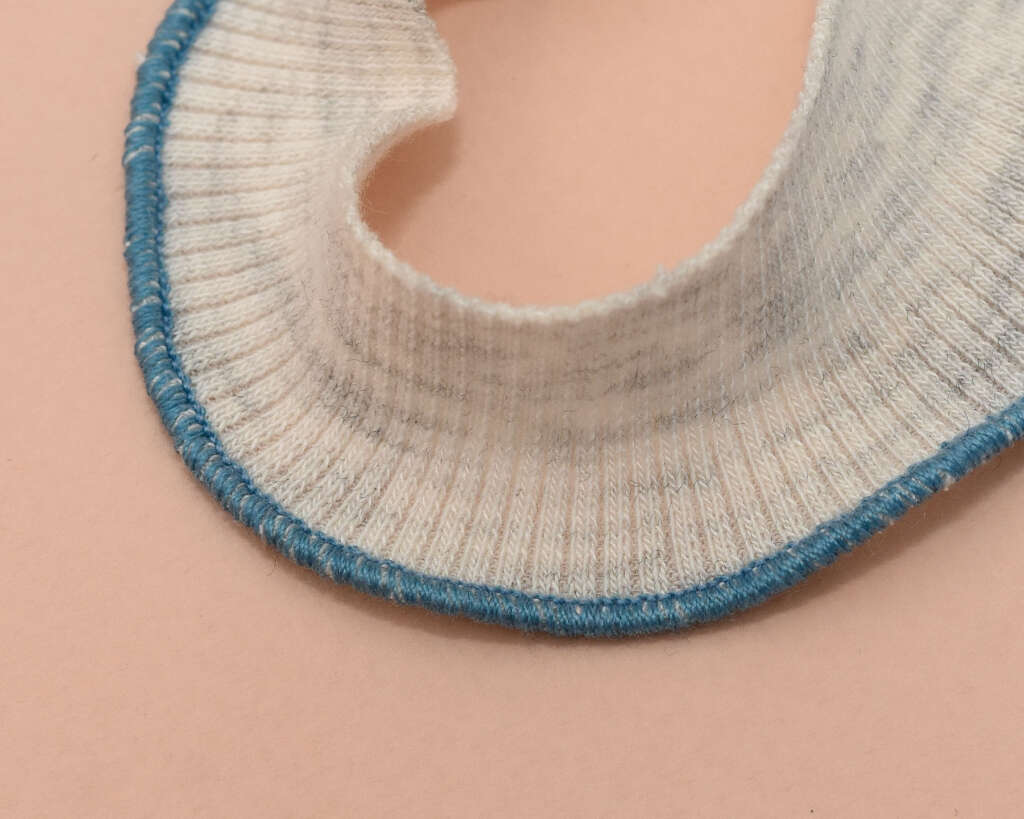
Here I made the stitch length shorter, and there is hardly any yarn peeking through. However, a denser stitch also makes the hem feel more rigid. So experiment and see what works for you.
Lettuce hem instructions
1. Position the fabric
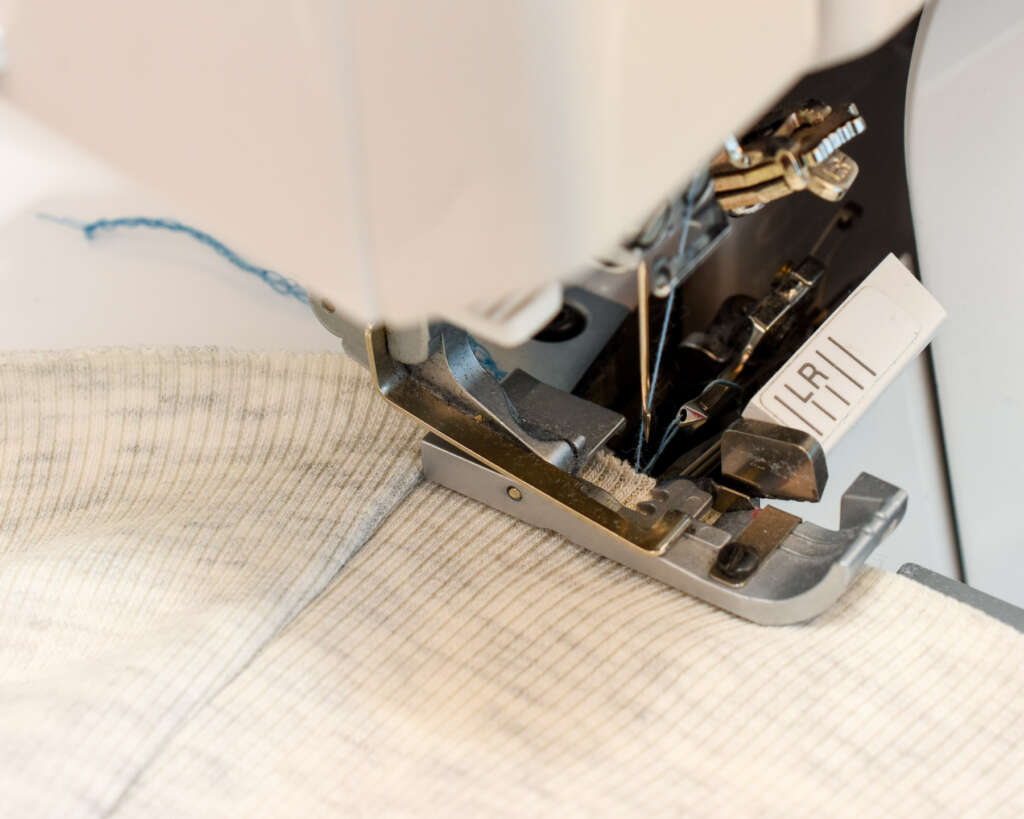
Place the fabric under the presser foot with the right side facing up. Keep the raw edge positioned so the knife trims only a tiny amount. If you are sewing in the round, place the presser foot slightly away from the side seam to ensure better feeding at the start.
2. Start sewing without stretching
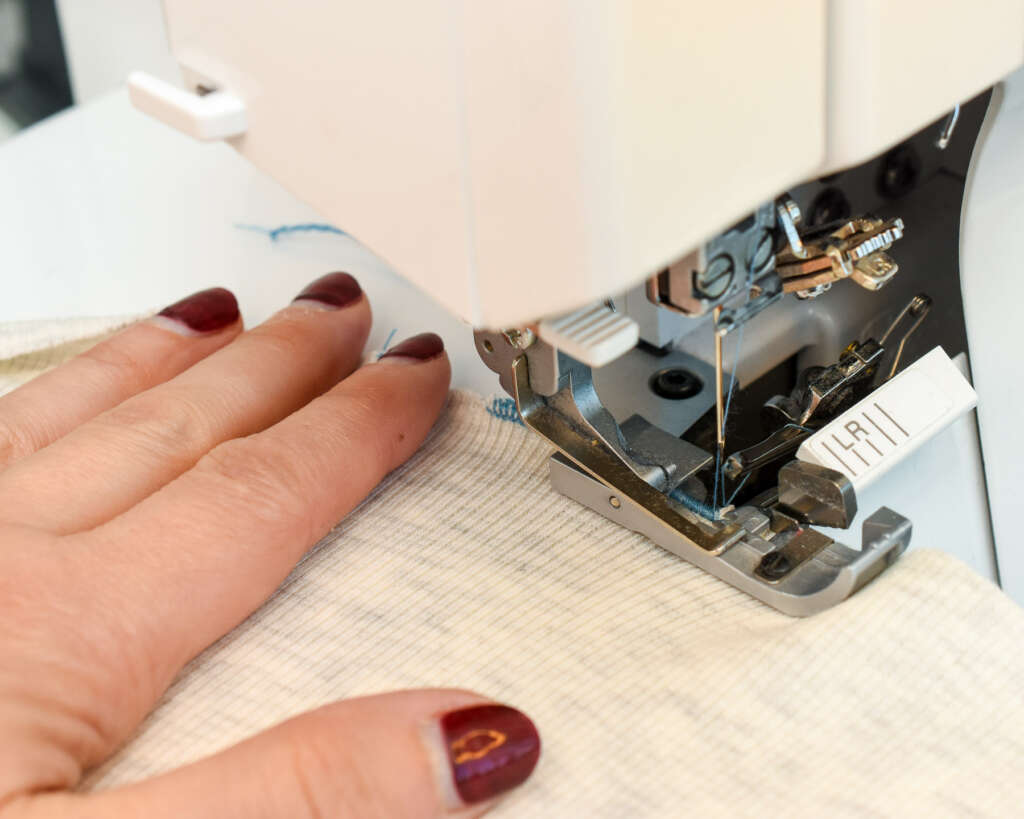
Start with a few stitches without stretching the fabric, as this gives you more control. Once the fabric is securely caught in the stitches, start stretching it.
3. Begin stretching the fabric (gently)
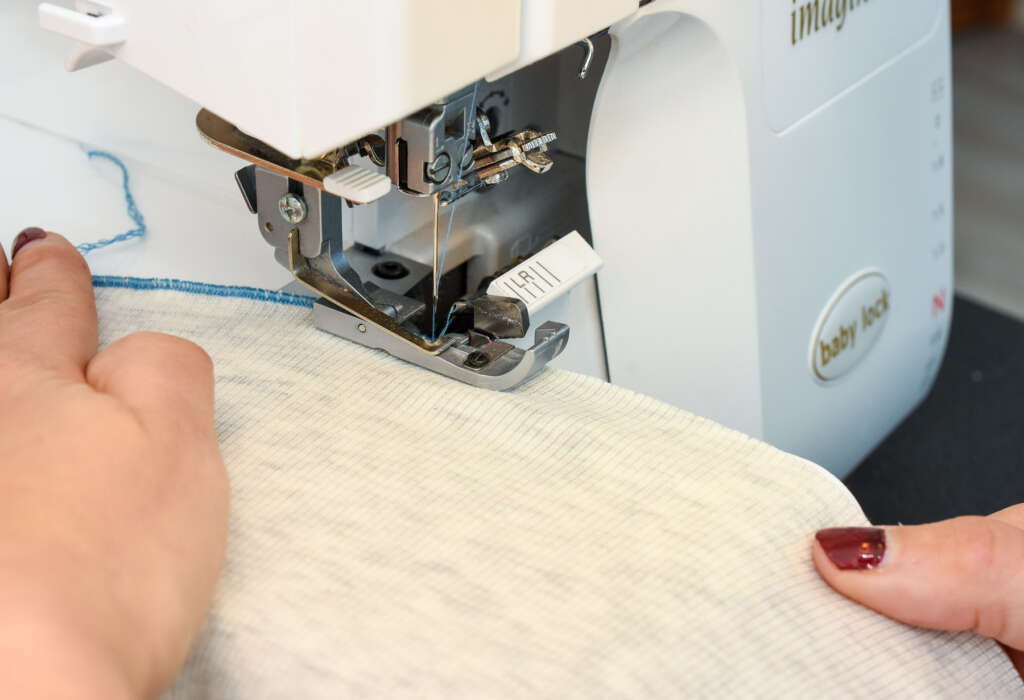
This is where the lettuce magic happens. Pinch the fabric edge with your right hand and use your left hand behind the presser foot to control the fabric. Gently stretch the fabric as you sew. It helps to think of the fabric as being stretched both in front of and behind the presser foot. Keep the stretch steady and even as the fabric moves through the machine.
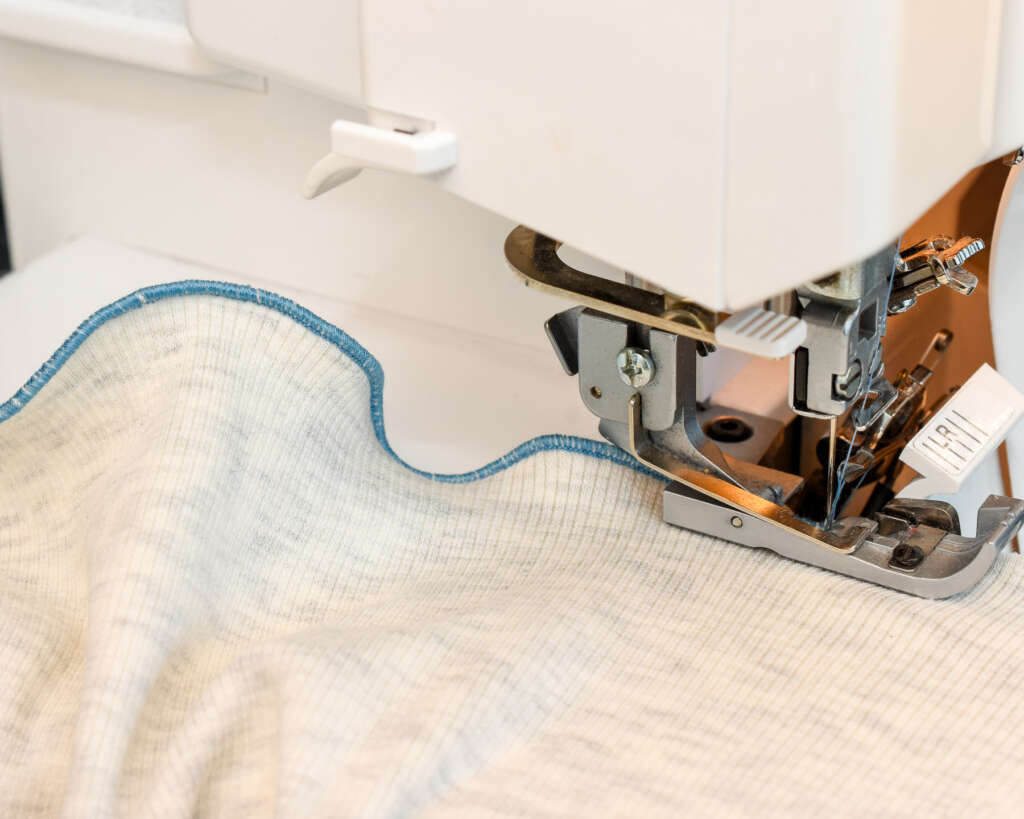
The more you stretch the fabric while sewing, the more pronounced the curl will be.
But don’t pull as hard as you possibly can. Too much tension on the fabric can interfere with feeding and cause skipped stitches or uneven stitching. You want enough resistance to create the effect, not enough to fight the machine.
4. Finish the hem
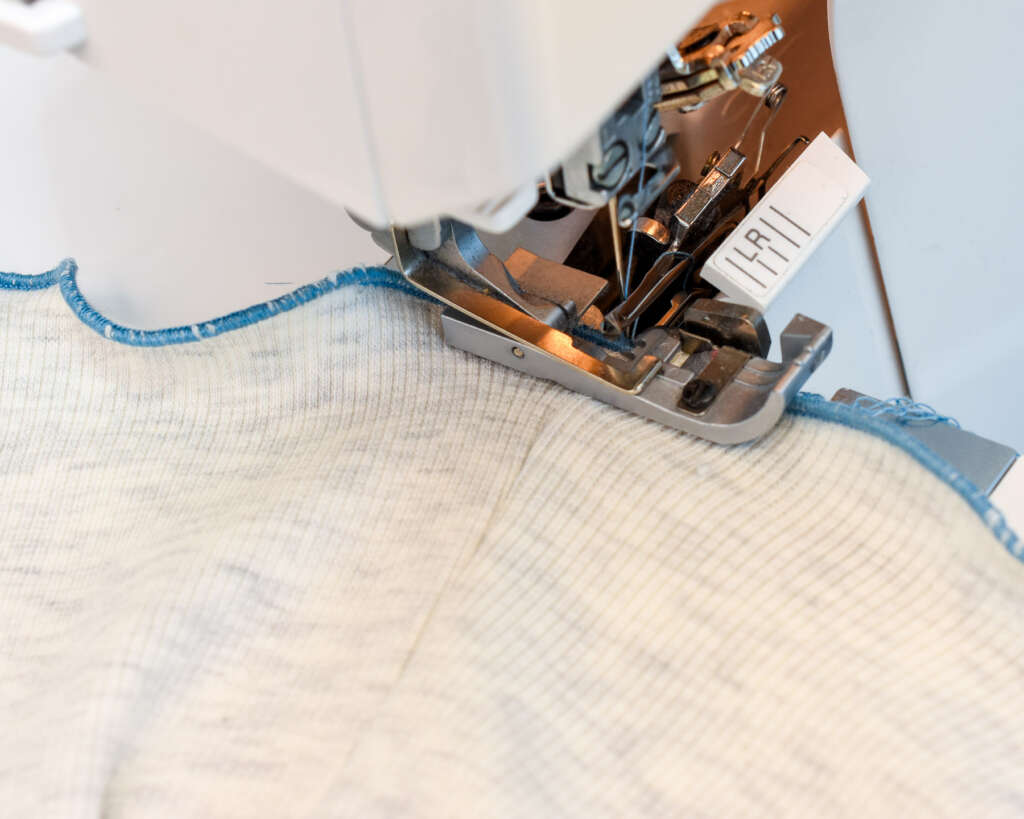
If you are sewing a circular hem, overlap the stitching slightly when you reach the starting point.
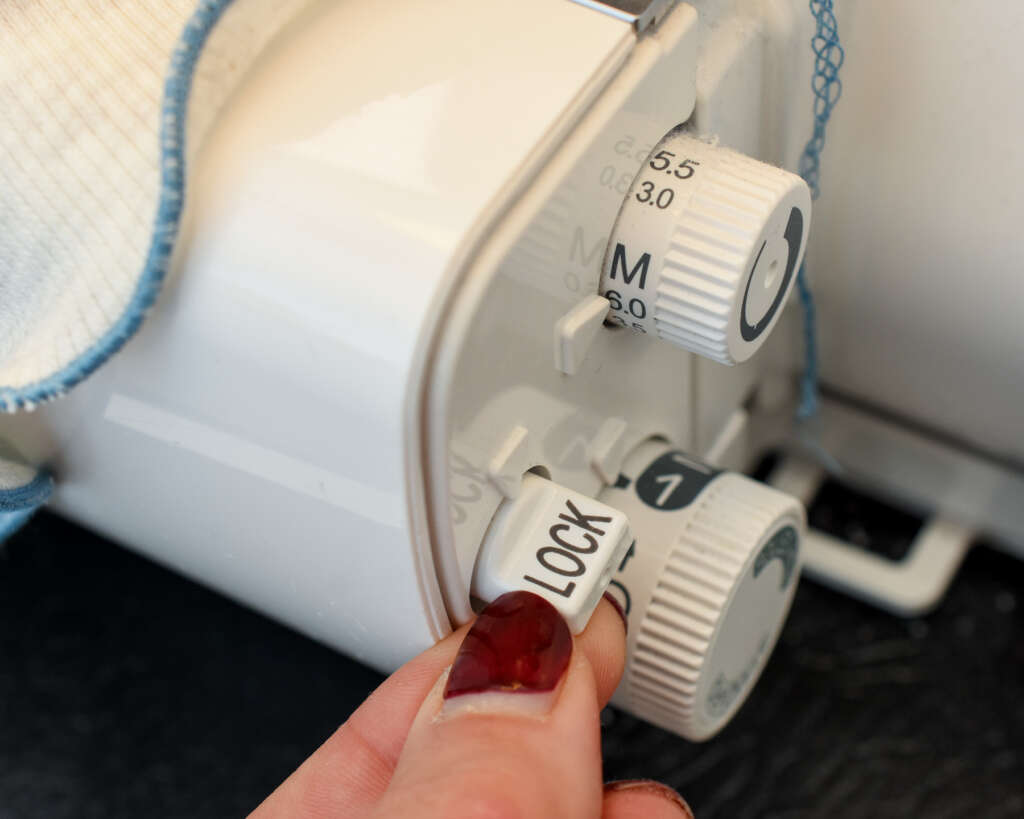
Tip: Disengage the serger knife before overlapping, to prevent the knife from slicing up the overlapped stitch.
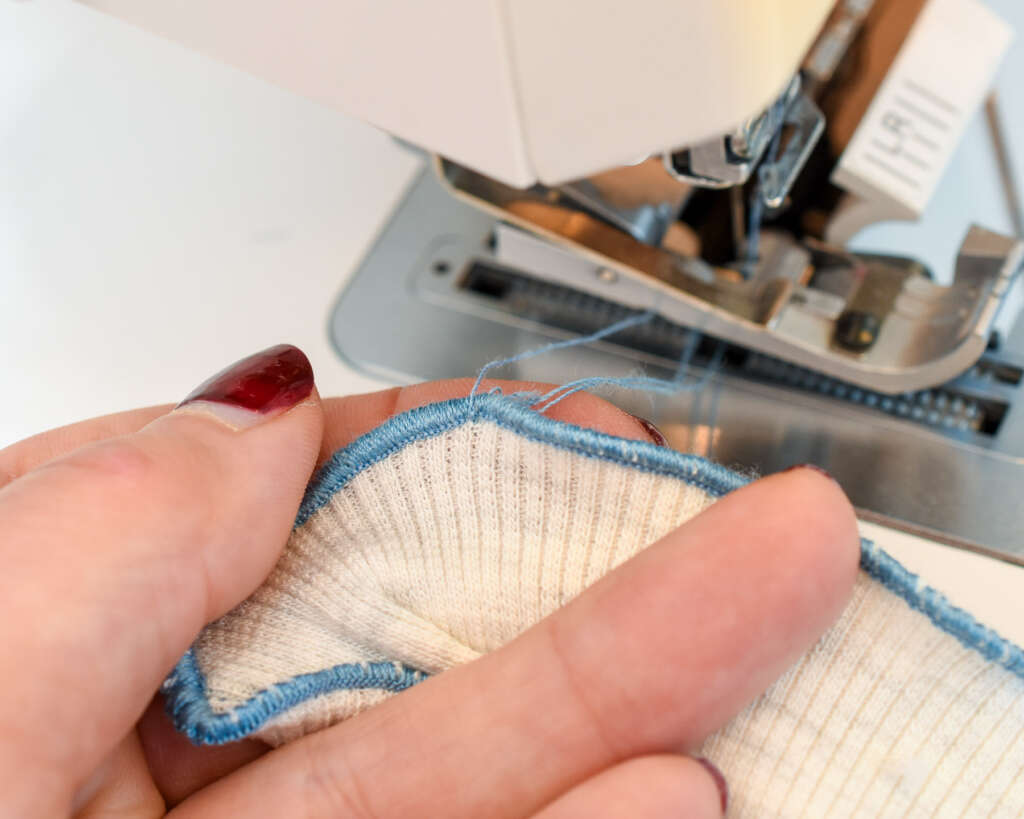
With dense stitching like this, there usually is no need to attach the thread tail. But if you are worried about unravelling, secure the threads with a hand sewing needle.
5. Check and adjust the ruffles
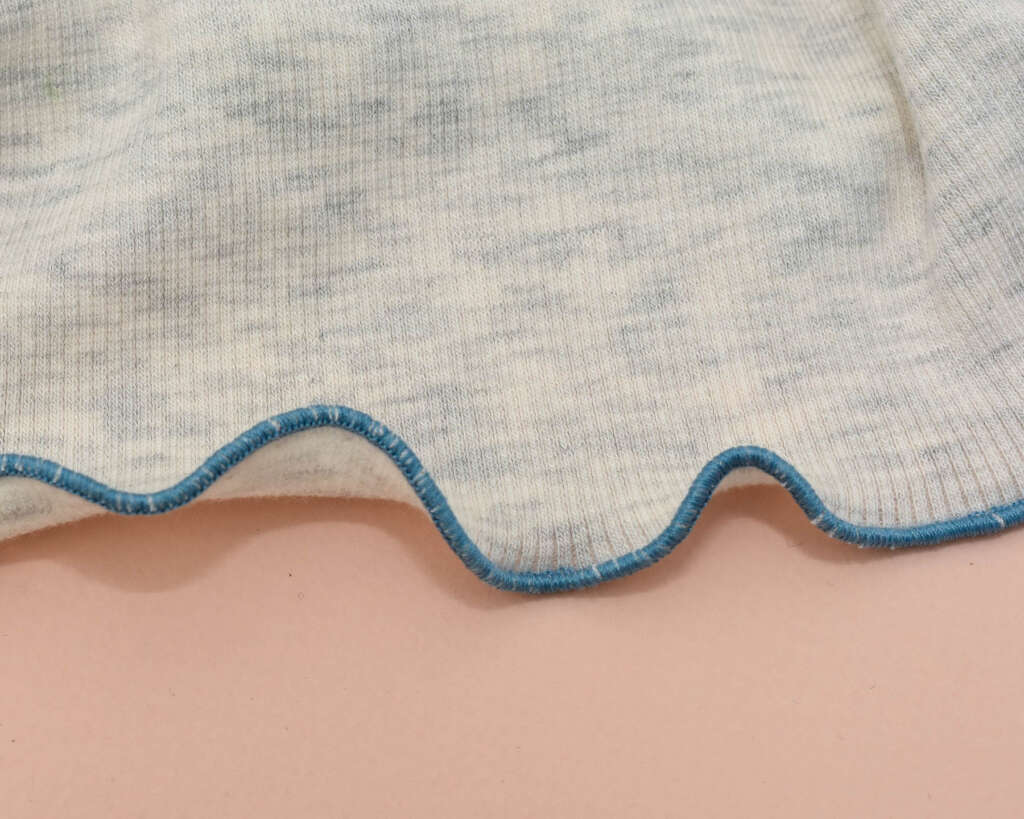
If you want more pronounced ruffling, you can stretch the finished edge evenly in small increments.
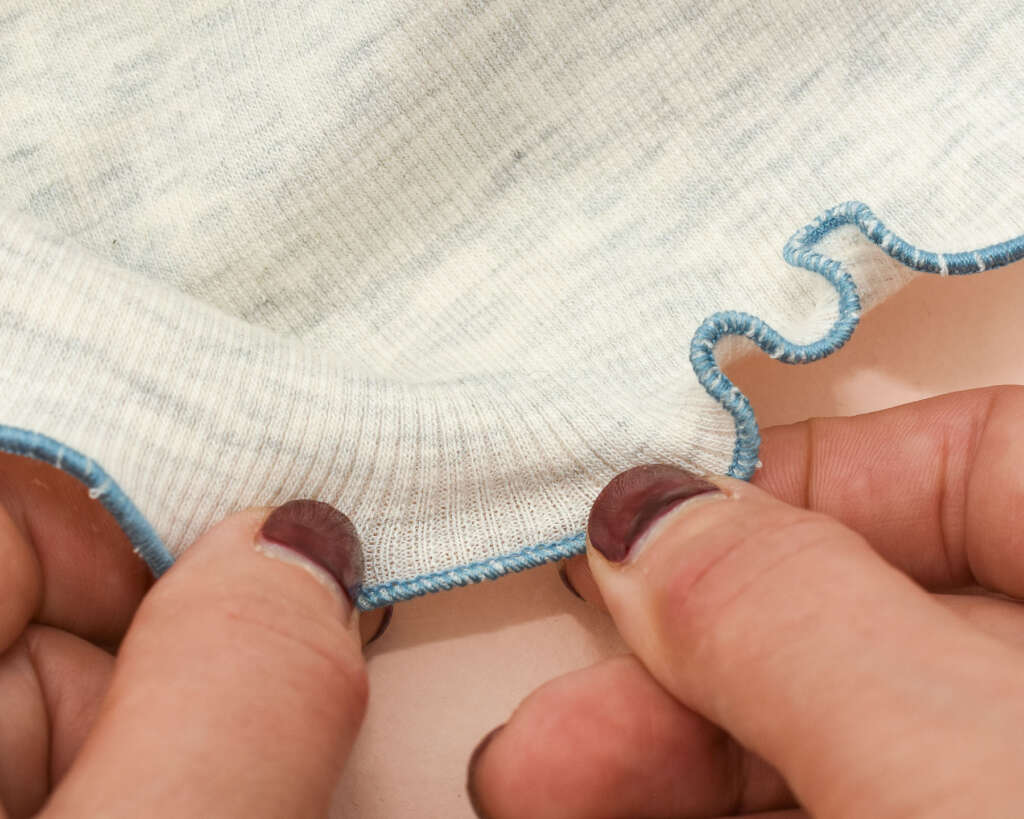
This is useful because you don’t necessarily have to create the entire effect while the fabric is under the presser foot. I personally prefer this approach because I can shape the hem the way I want it to look
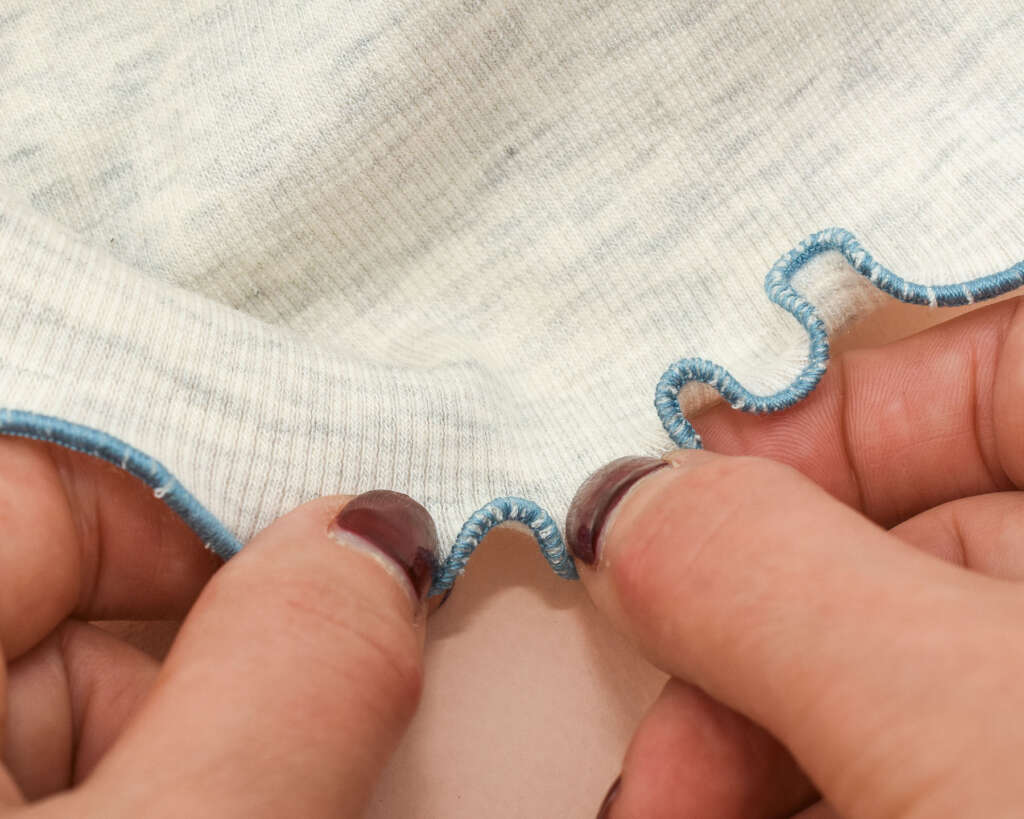
Shorter increments give smaller curls.
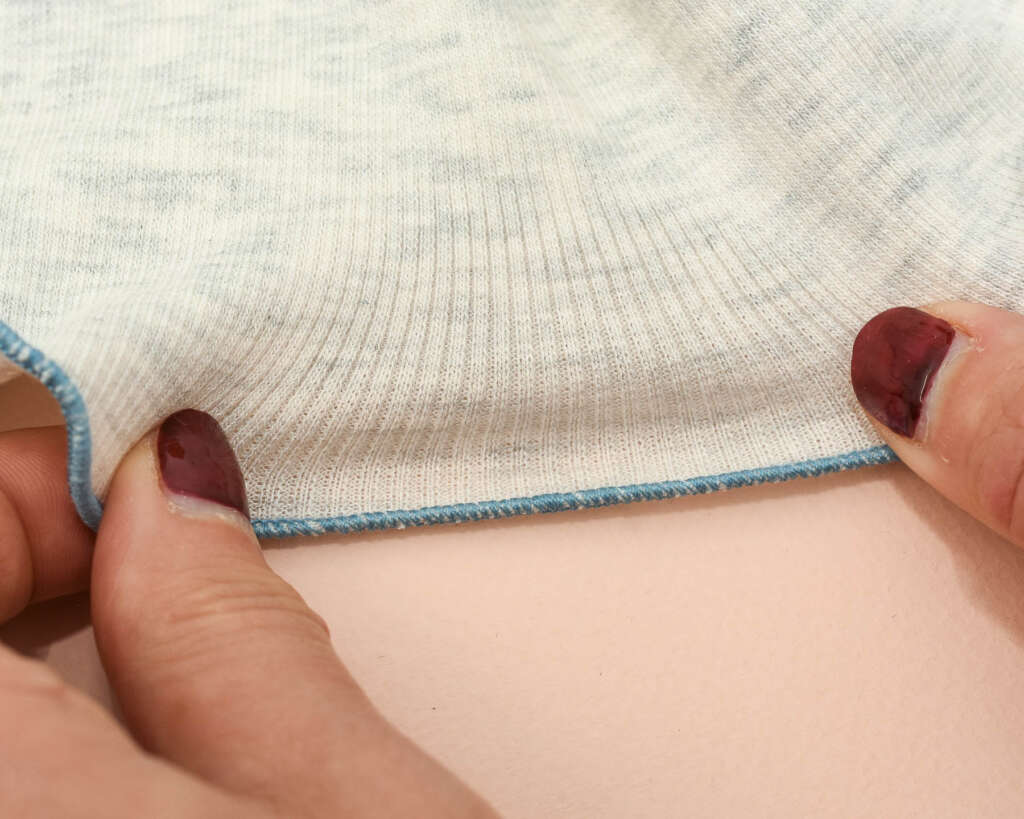
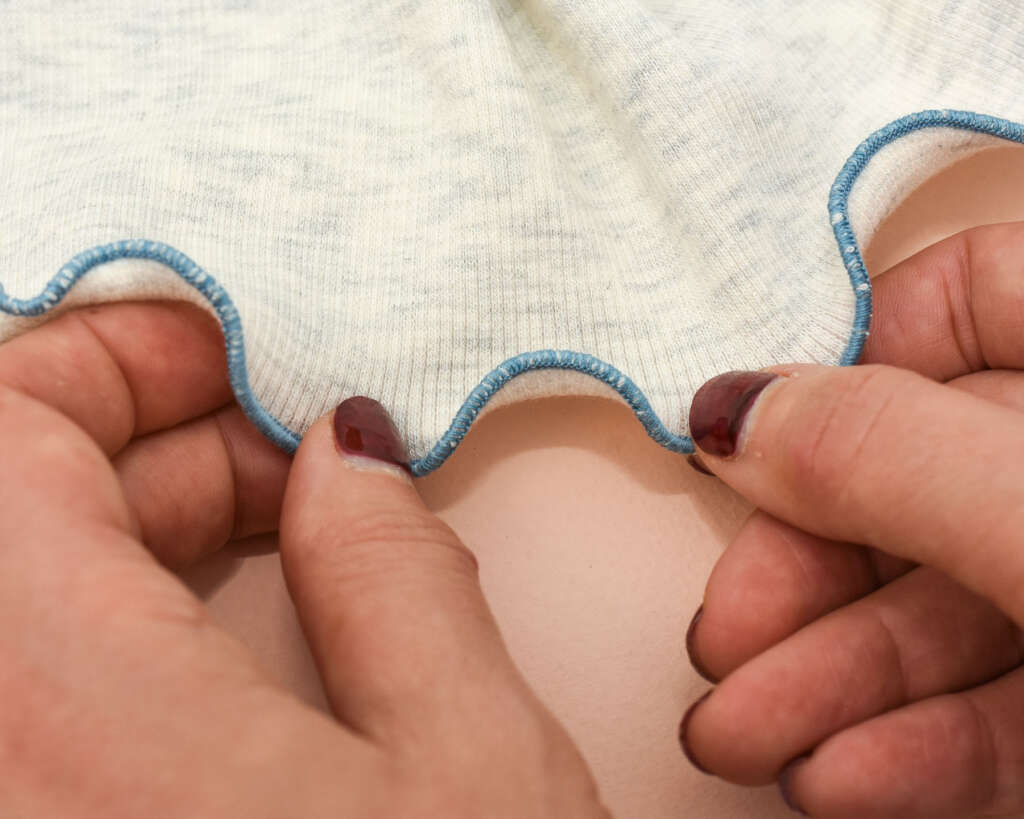
For a wavier effect, stretch longer increments.
Tips for a good lettuce hem
Stretch evenly
An uneven pull will give you an uneven ruffle. Try to keep the amount of stretch consistent as you sew.
Stretch from both sides.
Having control of the fabric both in front of and behind the presser foot makes it much easier to maintain an even stretch.
Don’t overstretch
More pulling doesn’t automatically mean a better lettuce hem. If the machine starts struggling to feed the fabric, ease off.
Use the knife
Allow it to trim a small amount from the edge rather than trying to guide the raw edge perfectly underneath the stitches.
Remember that fabric matters.
This stitch works best for lightweight, stretchy fabrics. It will be too bulky and stiff for heavier or stable knits. So stick with soft and thinner knits when doing lettuce hems.
Don’t panic if it looks odd at first
Remember that you can shape the lettuce after sewing.
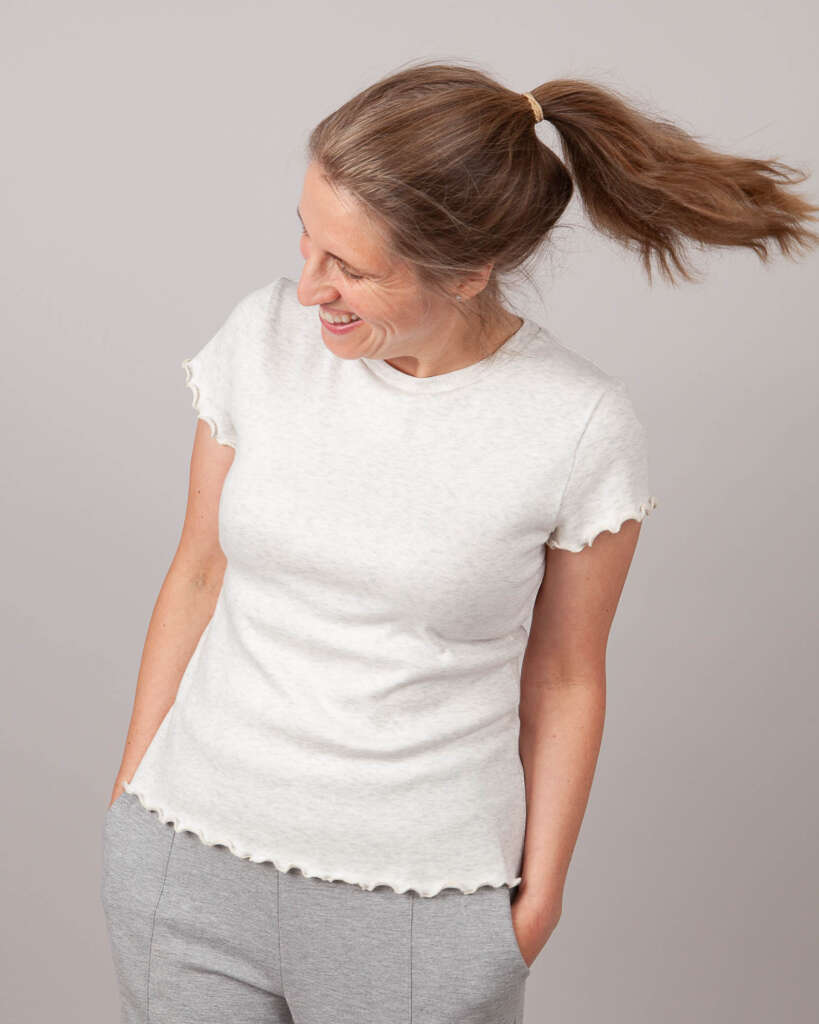
Once you’ve found the right settings for your fabric, a lettuce hem is a very quick way to add a little movement to an otherwise simple knit garment. And unlike a conventional folded hem, you don’t have to spend time trying to convince the edge to lie perfectly flat! Pretty sweet, right?
Want more practical guidance on sewing T-shirts? To a Tee includes five T-shirt patterns, plus step-by-step tutorials for all the sewing techniques. The lettuce hem is one of them.
Prefer to see the lettuce hem technique in action? Watch the quick video tutorial I did on Instagram.