 I love wandering around in stores looking inside RTW garments. Since time is money, clothing manufactures often have more nifty solutions for construction than the methods most sewing pattern companies offers in their instructions. Case in point is how to construct a waist casing on rompers and playsuits. Burdastyle suggest that you cut a knit band and stitched it onto the bodice, but I don’t know about you but attaching and topstitching a knit band is not what I would call easy. Knits likes to stretch out as we all know, plus topstitching can be quite tricky when the fabric isn’t stable.
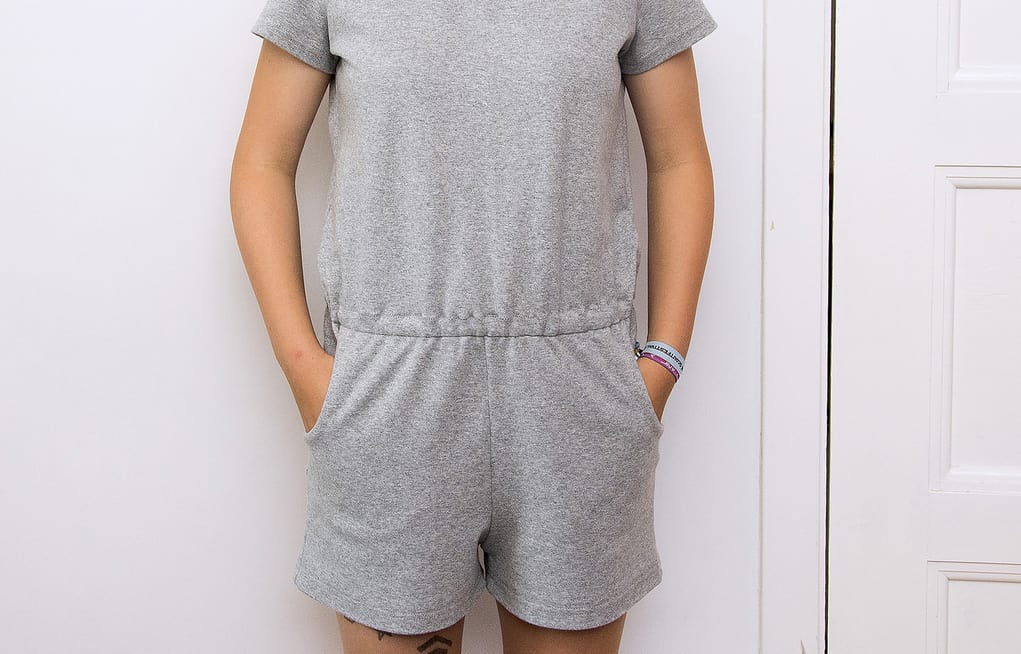
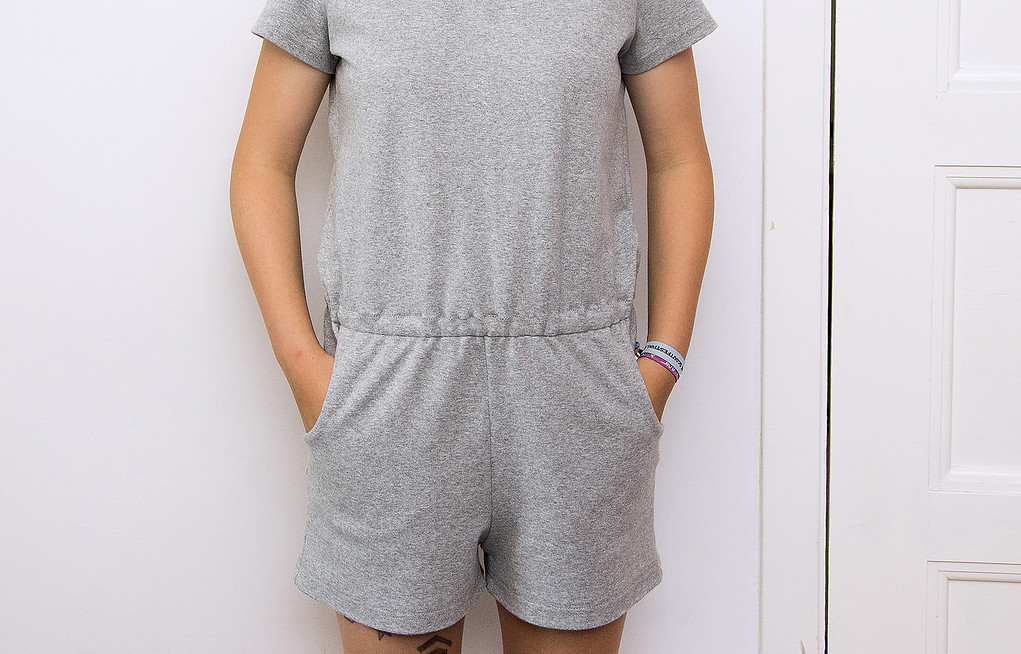
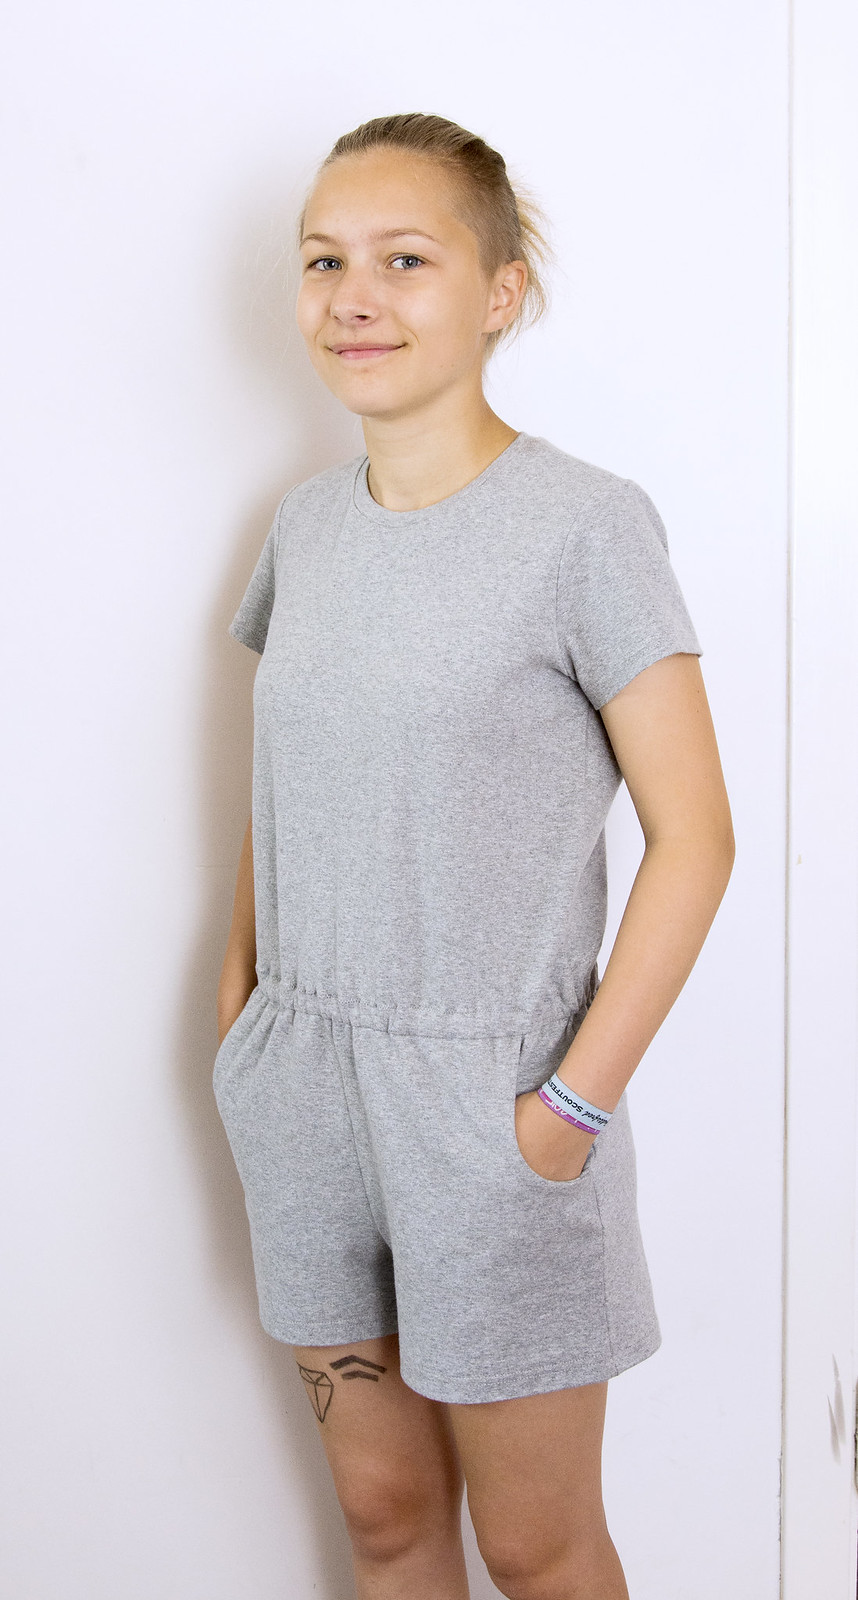
So I figured the garment industry must have a better solution, thus I took my daughter with me on a spy trip to the high street stores to check out the inner workings and also look for inspiration when it came to the design specifics of her t-shirt romper. Of course no romper employed the Burda method, instead they all had the elastic inside the seam allowance of the seam that attached the bodice to the shorts.
Most jumpsuits just have a thin line for the elastic, but my kid wanted a tunnel with a wider elastic and luckily I found an example of that version too in H&M.


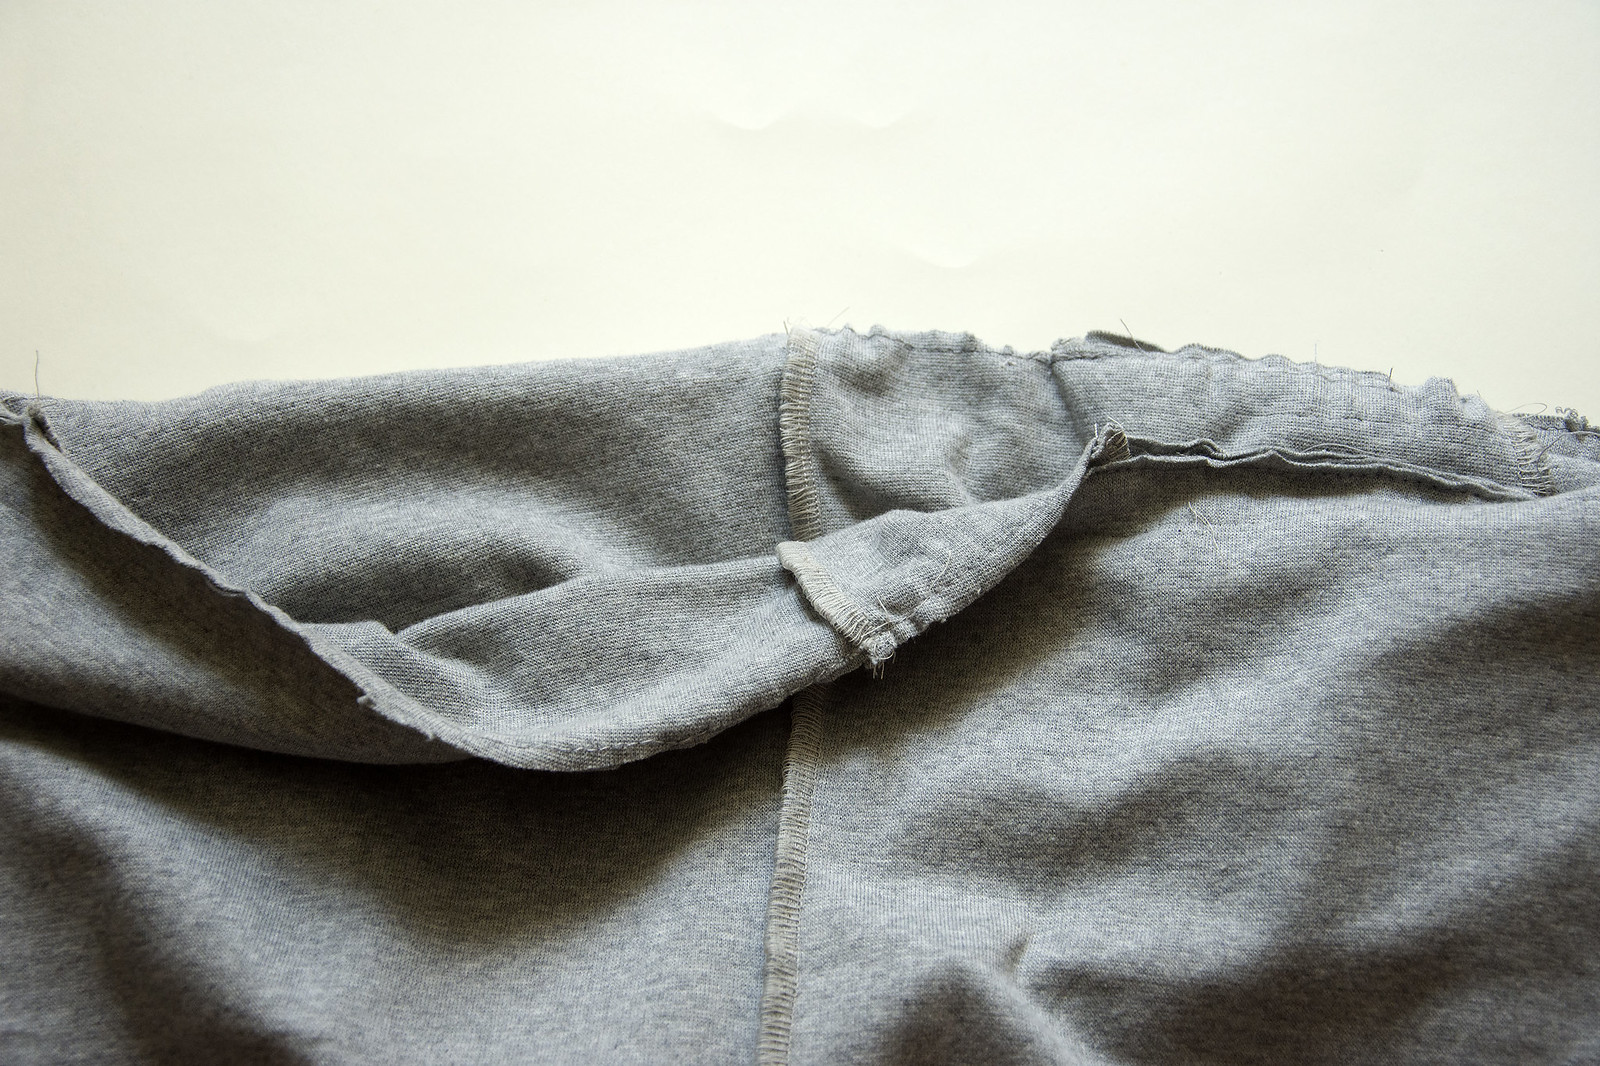
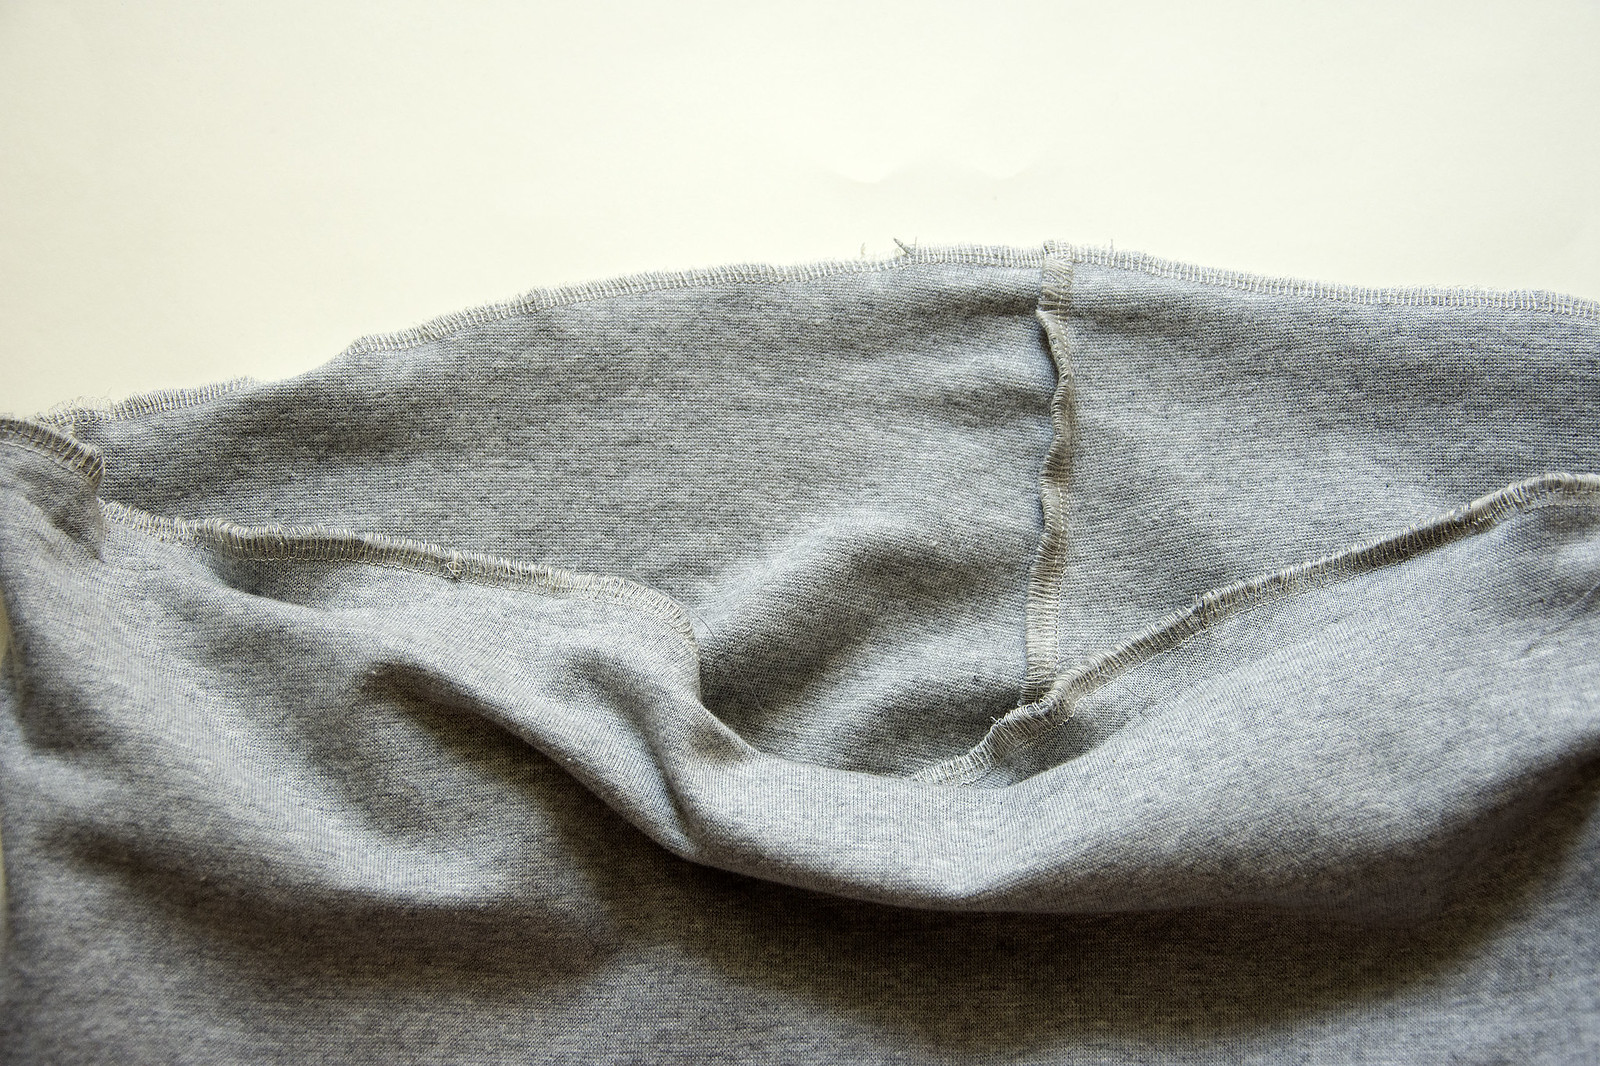
As you can see the elastic is attached in the overlock seam that sews together the bodice and the shorts, then a second seam is sewed to create a casing that has the same width as the elastic. Then you finish it off with a topstitch seam to create a tunnel
So I decided to use a similar construction and do a tutorial in the process, because I’m sure there are others out there who have wondered about the same thing.
This method works for the non tunnel casing version too. Just stop short of the last step as you can see explained below.
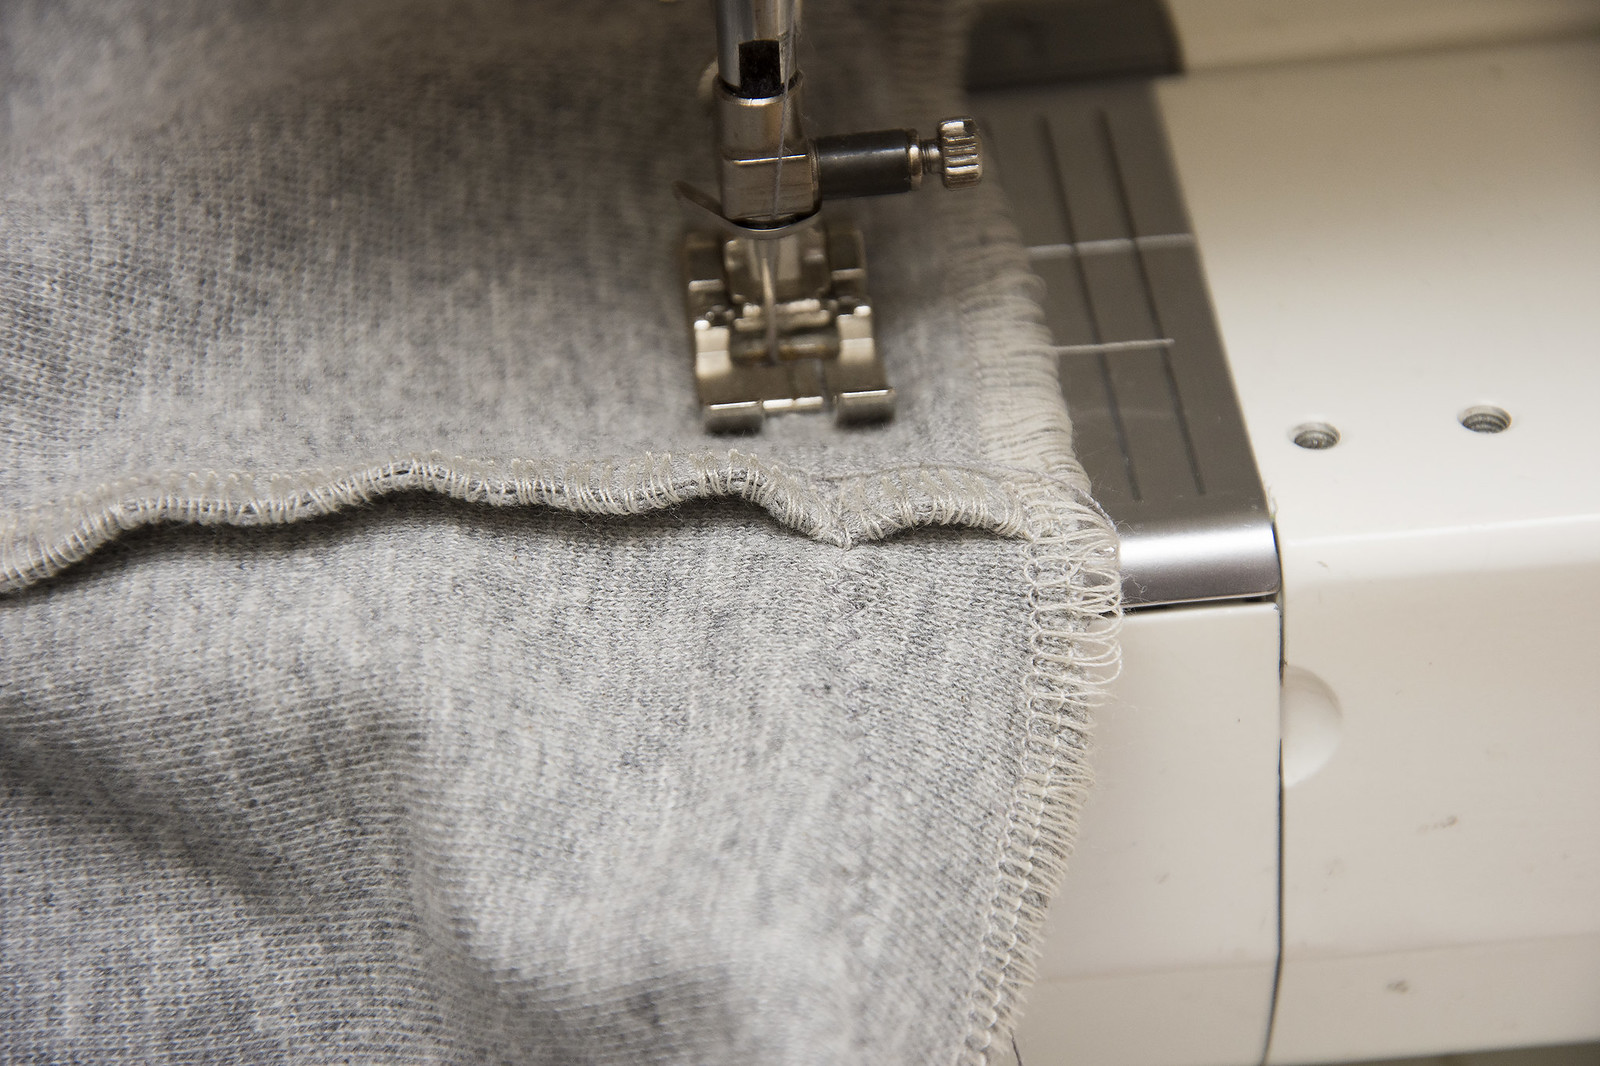
1. Sew together the bodice and the shorts/pants
I like to do a baste stitch before to make sure the seam is even. I opted not to attach the elastic in the seam, because I felt a bit unsure of how difficult it was. Instead I created the casing first and then inserted the elastic.
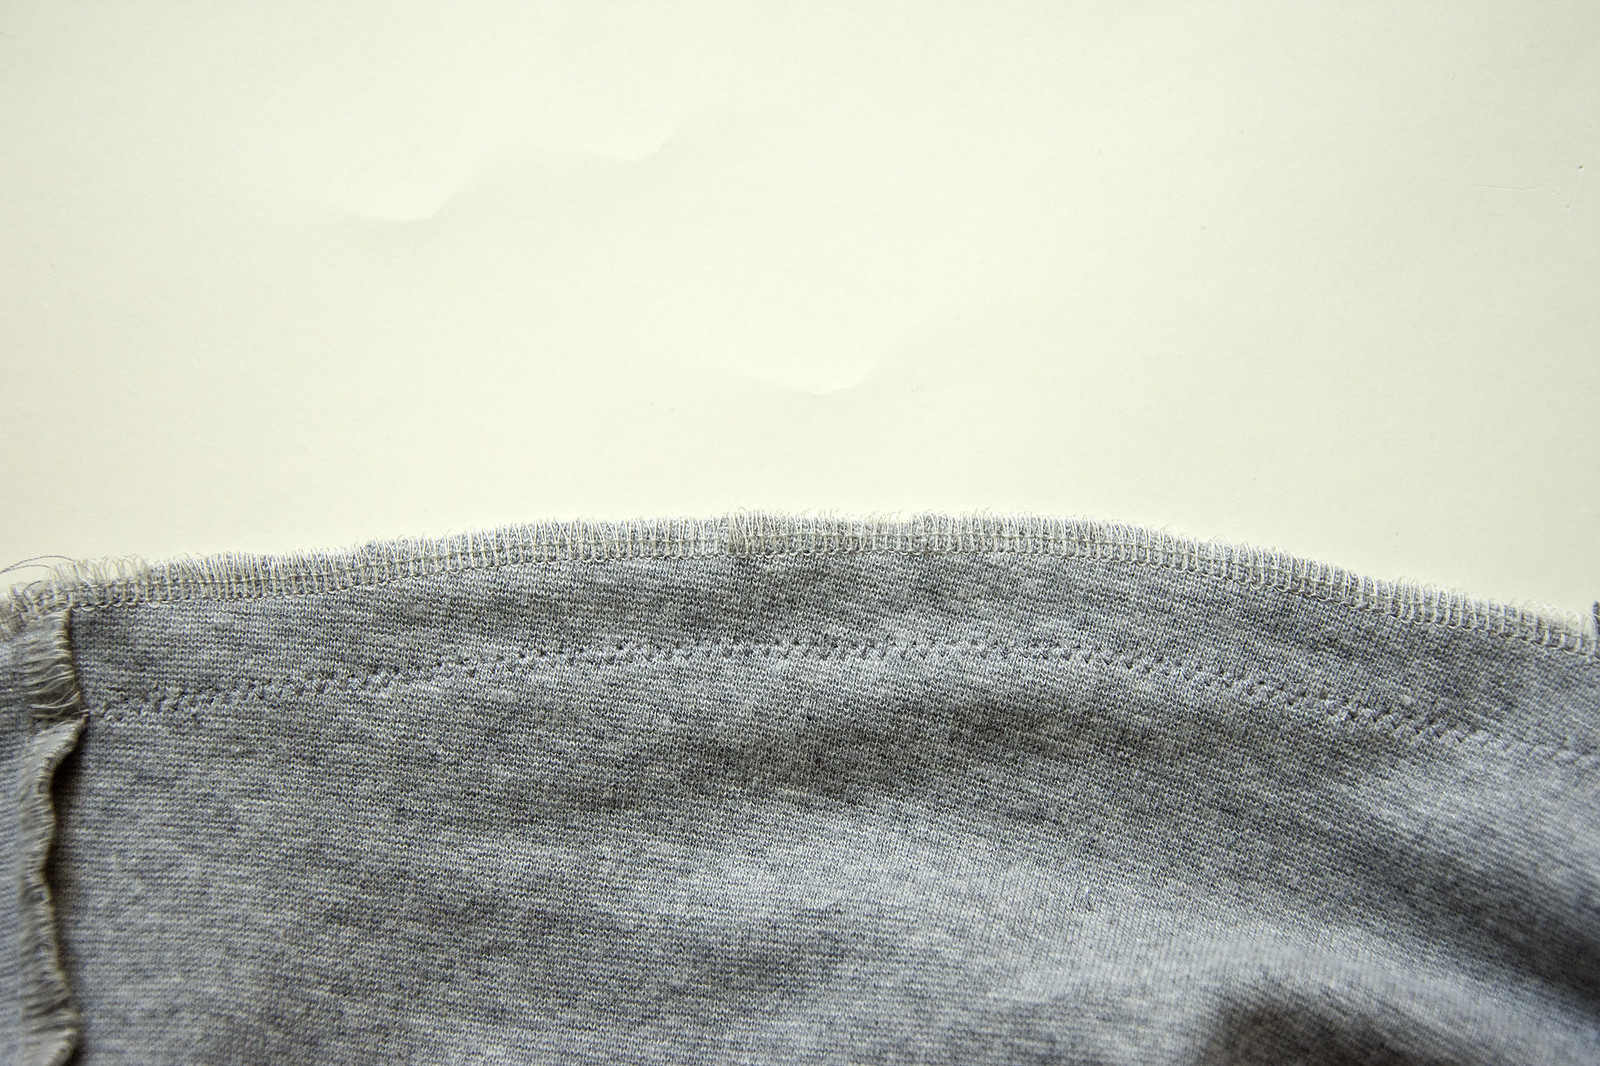
2. Create a casing
You do that by stitching a seam the same distance from the edges as the width of the elastic. I used a zigzag stitch for this purpose. Leave a little opening where you can insert the elastic.
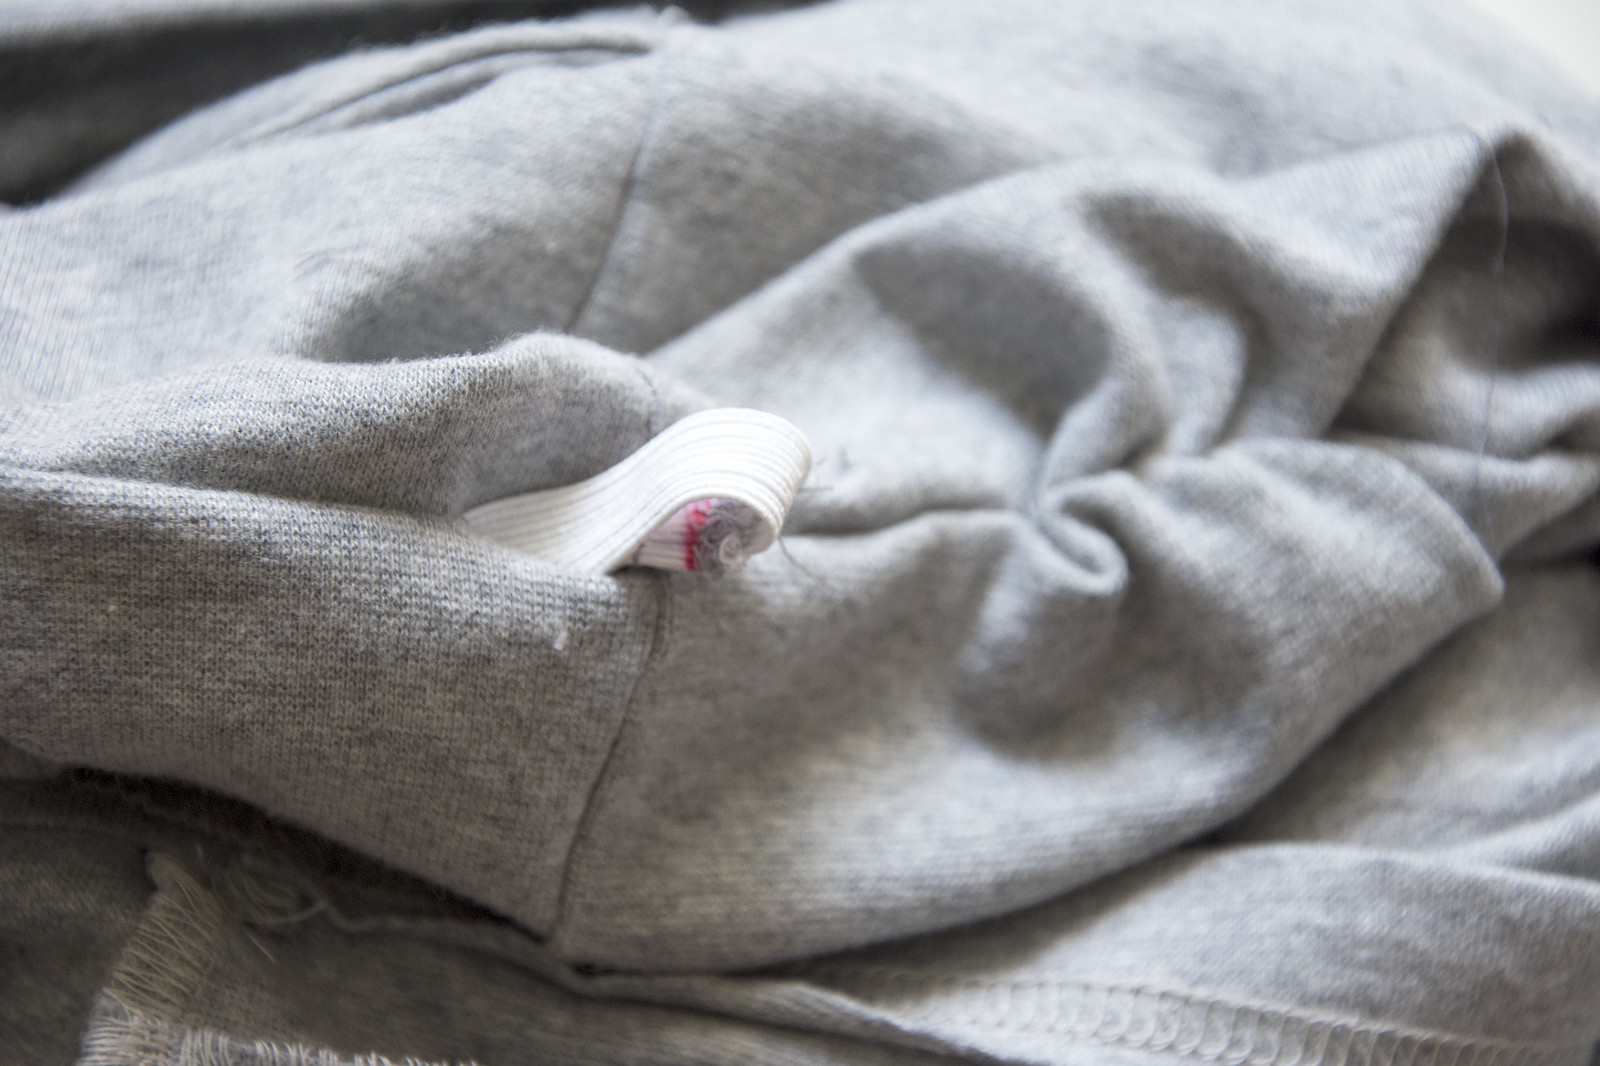
3. Insert the elastic in the opening

4. Close the casing by sewing together the remaining seam

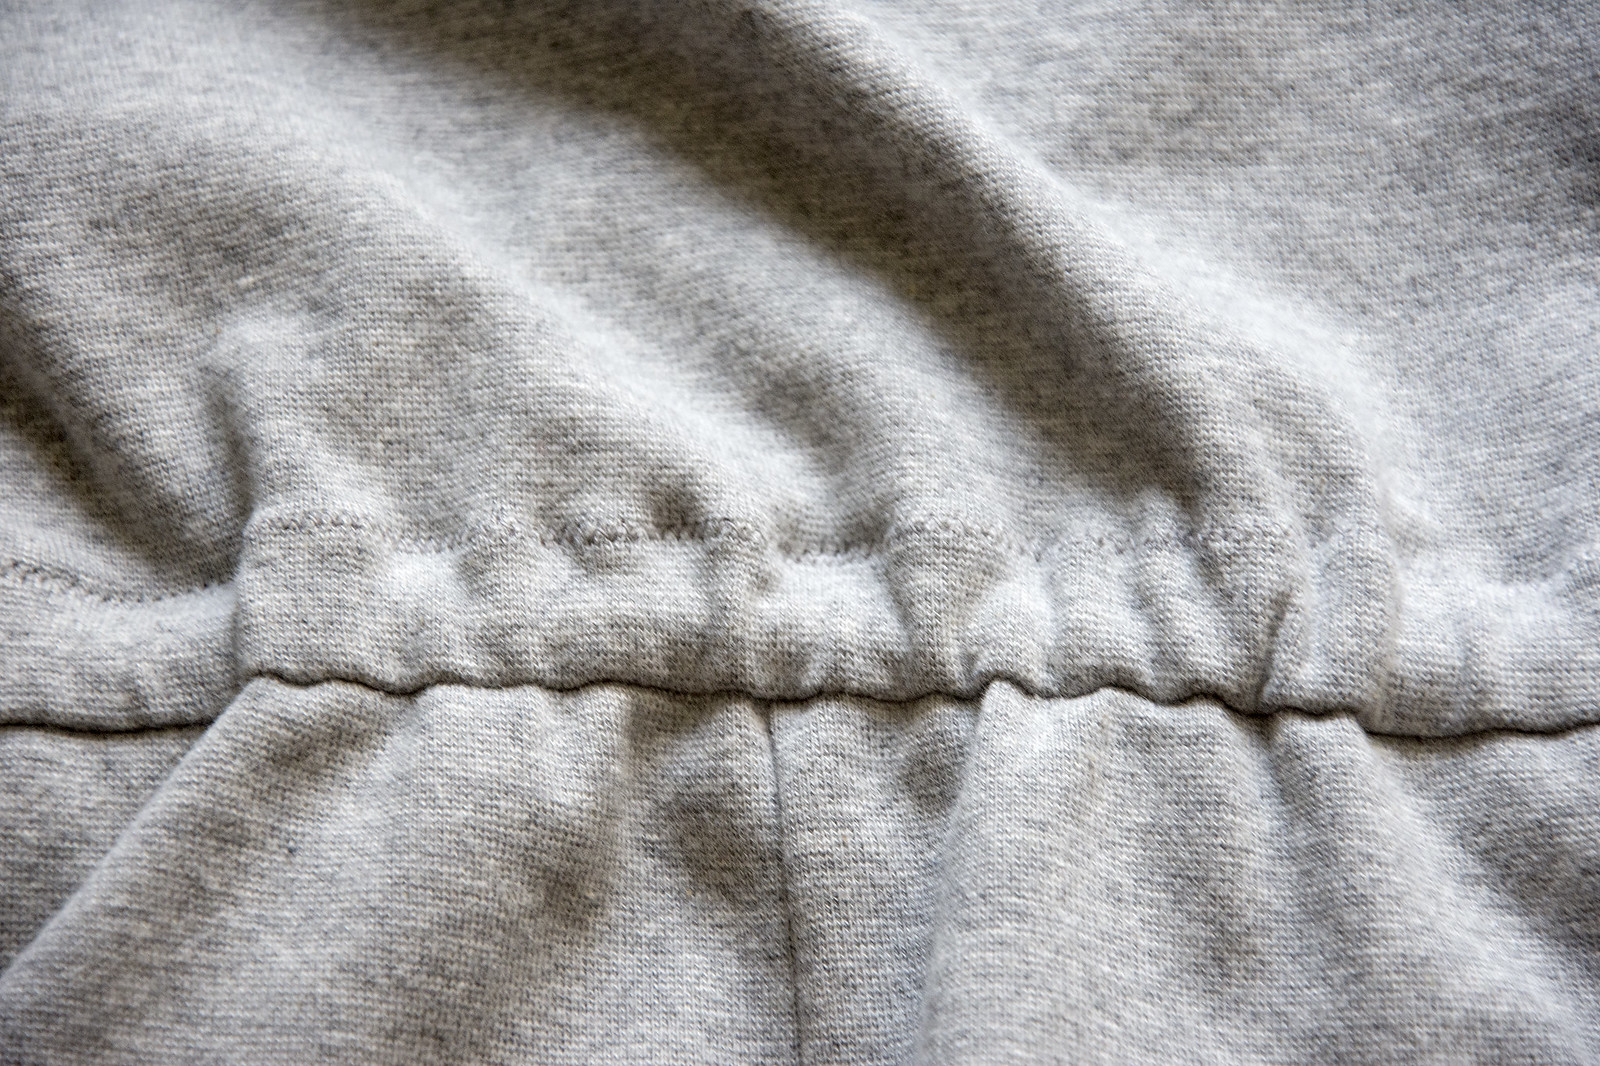
This is how the casing looks on the inside.
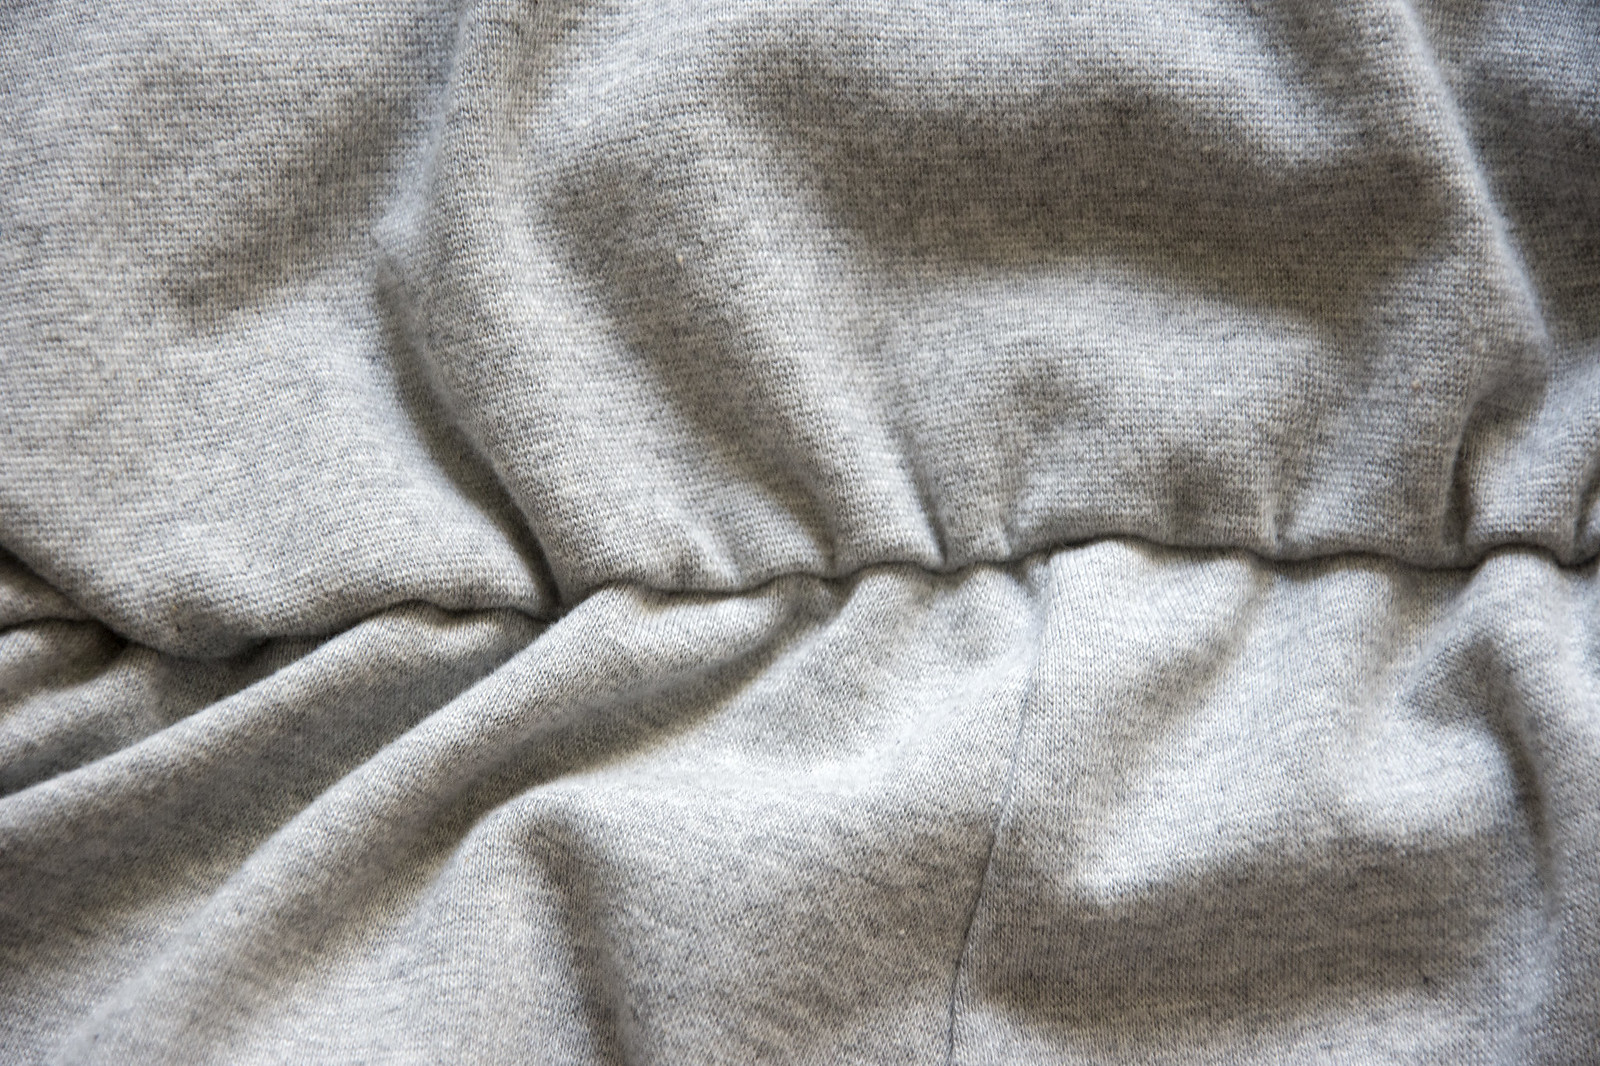
And the outside. If this is the look you want you can stop here.
5. Create a tunnel casing
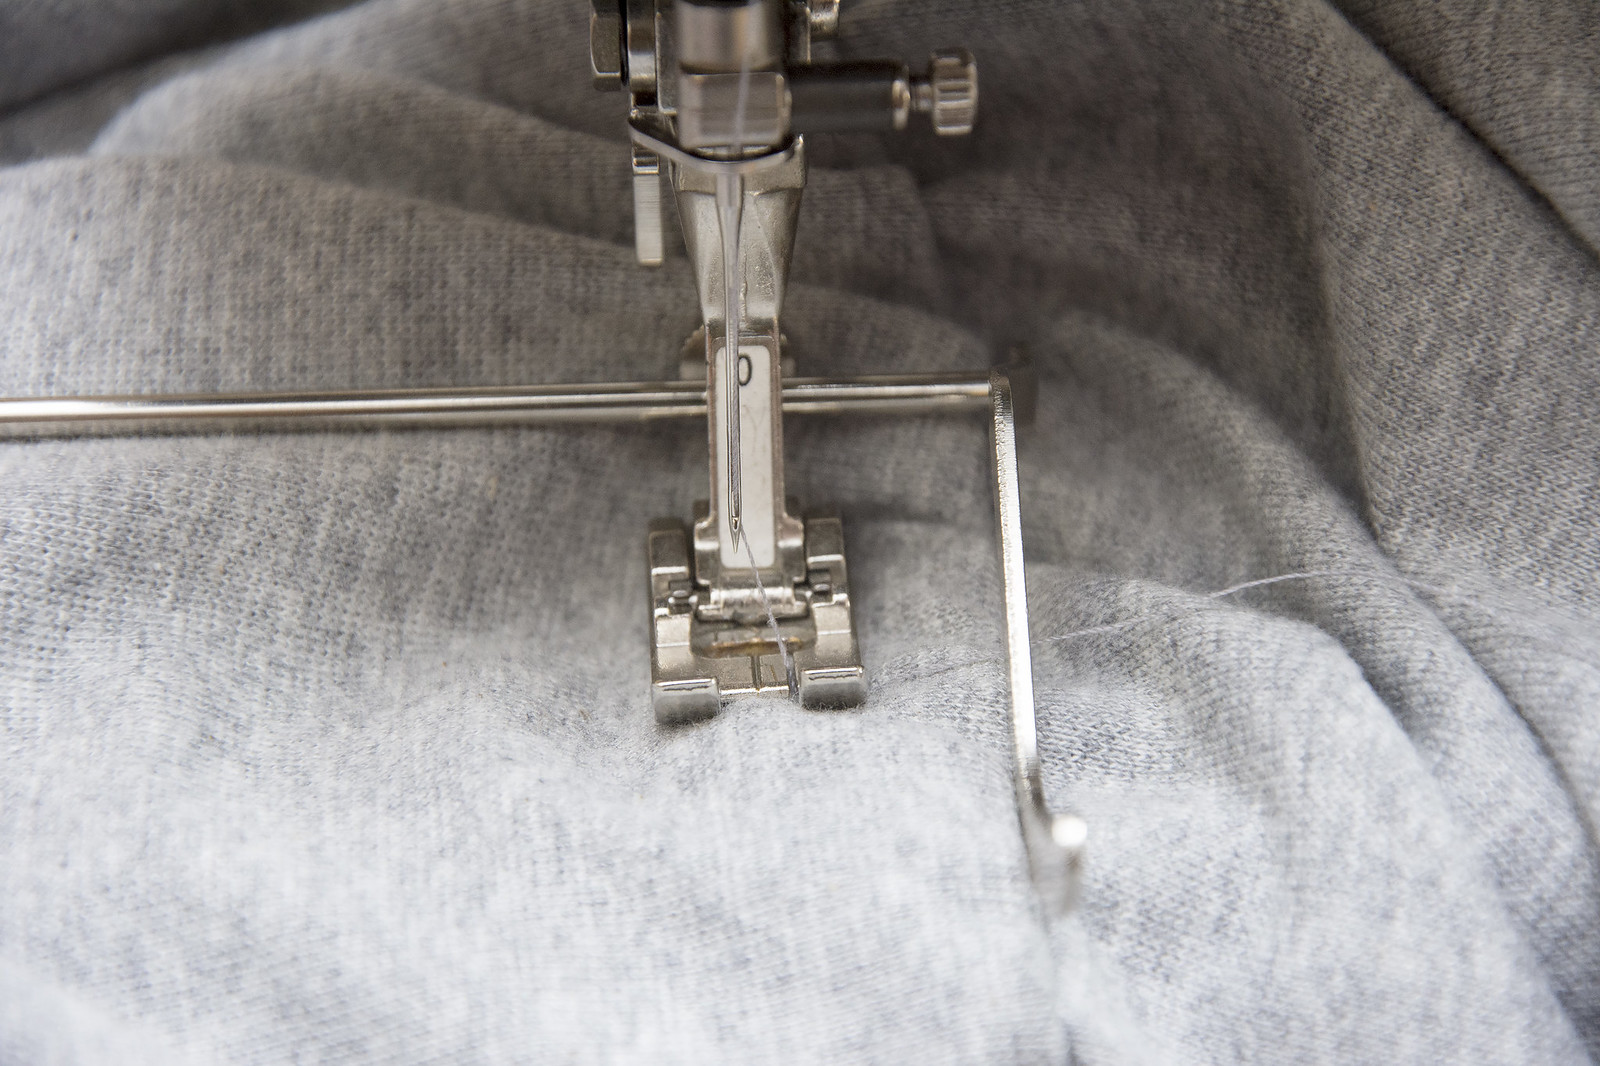
You do that by topstitch the casing on the seam allowance. Again I used a zigzag stitch and added a seam ruler to make sure the casing was even. If you have a coverstitch machine you can use the single needle chain stitch instead. This is how it was done on the RTW romper.
6. The finished casing!
This wasn’t too hard was it? I will employ this method always from now on, and next time I’ll try to attach the elastic in the seam, as it will assure that the elastic doesn’t twist or fold.
4 Comments
Leslie
Thank you! Love your tips
Deepti
wow..nice steps you have mentioned. And you are right Burda method is not easy. I stumbled across your post looking for alternative 🙂
I will try on my little daughter’s jumpsuit.
Vicki Russell
Great tutorial. I’ve done this previously on a jumpsuit and have a few questions.
1. Did you increase the waist seam allowance on the bodice and pant portion to accomodate the elastic width.
2. Is there any allowance / consideration for “blousing” of the bodice.
I’m asking because I find that without some blousing of the bodice, The pant part tends to “wedge” . Tia.
Comments are closed.