

This is the first time I’ve made stitched tuxedo pleats. Doing this kind of exact sewing work always makes me a bit nervous so I googled a bit in order to find some method that was really quick and easy. Didn’t stumble on anything so I decided to try a method that I came up with myself.
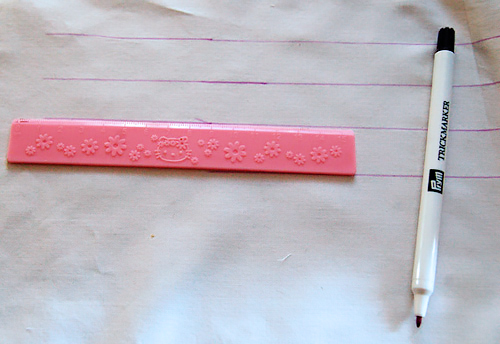
1. For marking I used my kids Hello Kitty ruler that was suitable narrow and a textile magic marker pen for drawing the lines. Ideally the ruler should have been a bit longer, but it worked okay.
2. I folded every other row and pinned them carefully while checking that the purple lines met on both sides.
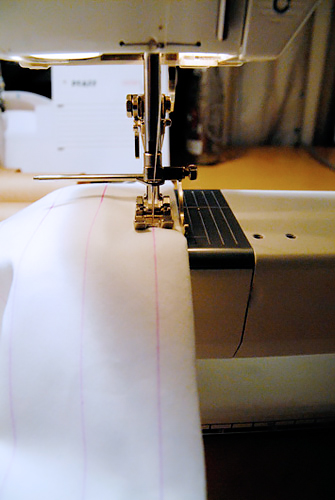
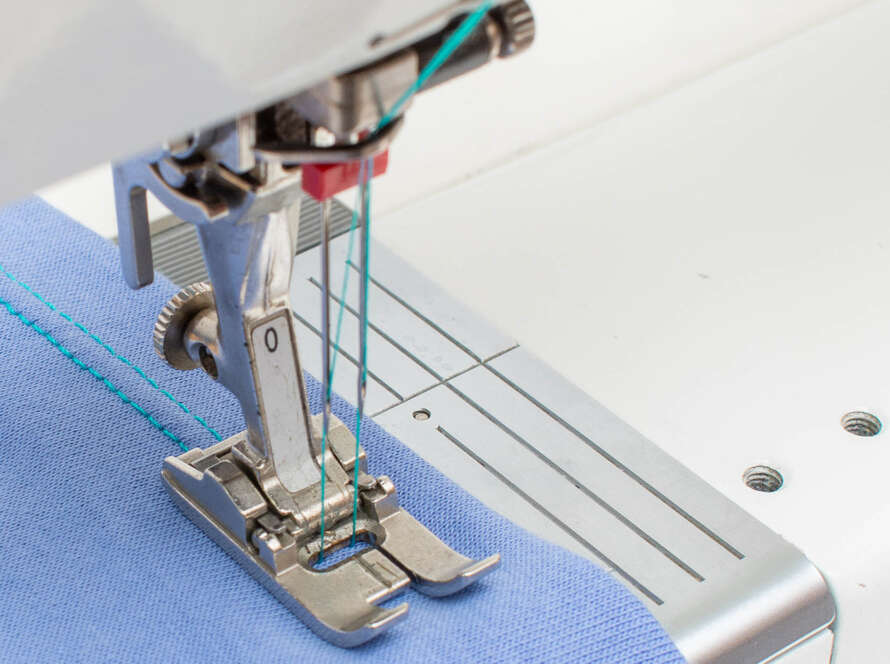
3. Then I sewed the pleats, using the sewing machine ruler to ensure that my lines was really straight.
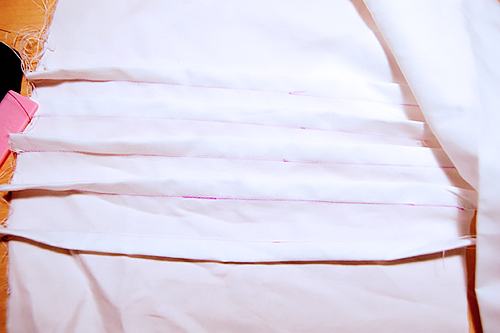
4. This is what the fabric looks like before rinsing and pressing. To see if you got enough pleats just lay the pattern piece on top. Remember that if you have a shirt placket on your bib that part should be unpleated.
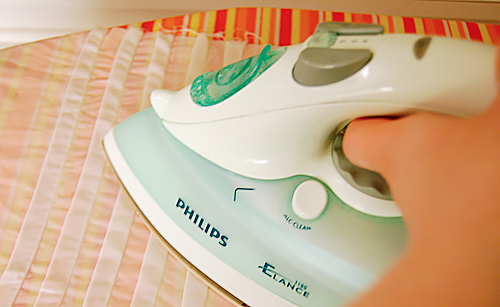
5. After that I rinsed the fabric to get rid of the markings. This is very important to do before ironing as the heat fixates the marker. Then I pressed the pleats.
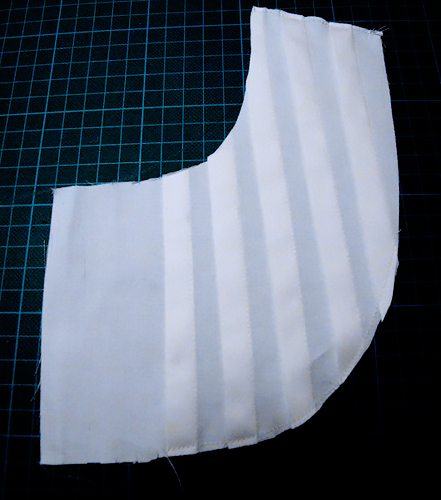
6. The next step was placing the pattern pieces on the pleats and cut out the bib.

As a safety measure I also secured the pleats with a straight stitch line.
8. Finished! This method took me about 30 min from start to finish and was very accurate.
Another note on construction, I used bias tape instead of facing to hide the bib seam. I can’t stand flimsy facings that never seem to stay put unless I hand stitch, so I was happy to discover that bias tape worked really well on this curved seam. Ideally, self fabric should be used, but I was lazy and used store bought bias tape.
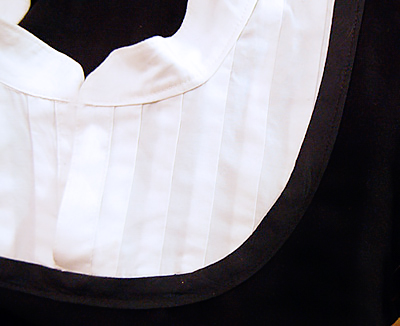
The inside of the dress. I clipped the seam before topstitching the bias tape.

2 Comments
luckylibbet
Terrific tutorial on tuxedo pleats! Thanks – I’ve bookmarked it for future reference. The dress is lovely – doesn’t scream church to me, more like a ladylike professional. I’ve left a comment on PatternReview as well.
Johanna
Luckylibbet >> Thank you! I've gotten really hooked on pleats, now I am aching to do a fitted tuxedo shirt as well!
Comments are closed.