The first part of sewing the Tyri Tie-Neck Jersey Blouse is to gather the bodice and attach it to the yoke. We do this before sewing the shoulder seam, as this step is best done on the flat.
Sewing the yoke and bodice
Bodice and bust size

The Tyri has gathered over the bust area, making this style very accommodating for fuller busts. The amount of gathers increases proportionally with size, meaning that a size 56 has a larger gathered area than a size 36. And if you need more fullness, you can easily add more width to the front bodice.
Sewing the gathering stitches
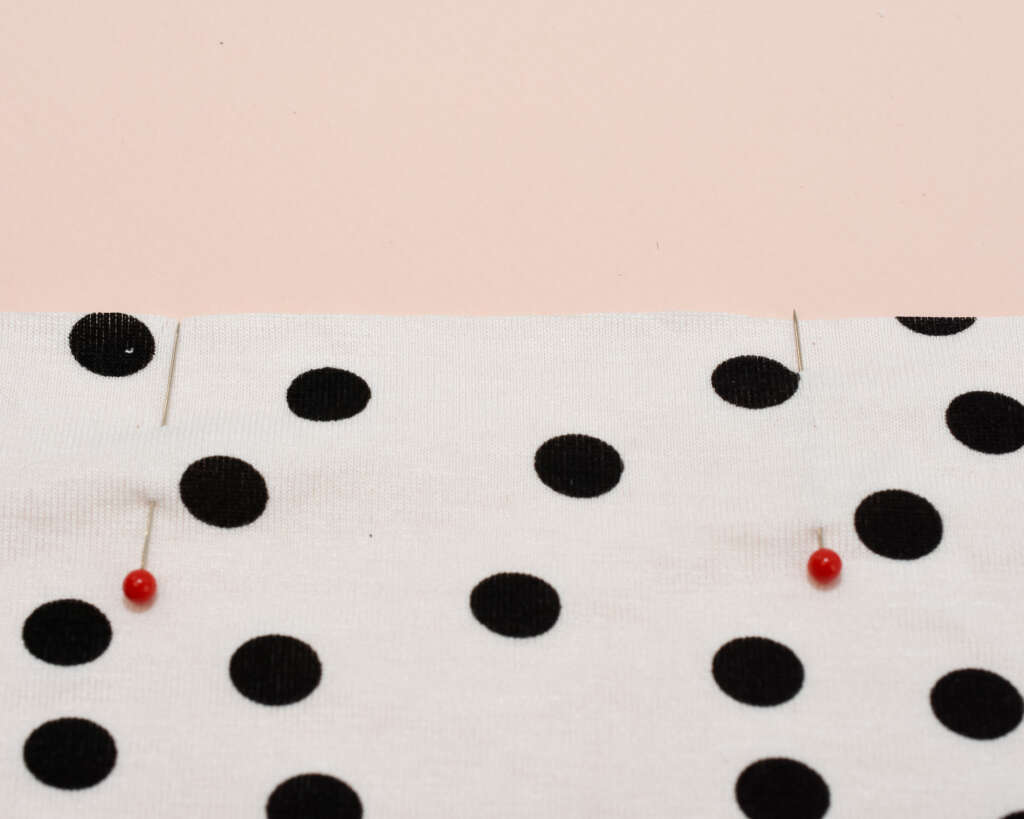
Place pins at the start and end of the gathering notches
Set your machine on a medium-length straight stitch (around 2.5–3 mm). If the stitch length is too short, you might have trouble pulling the threads, and if the stitch length is too long, the gathers might end up more like folds.
I recommend using a contrasting thread to make removal easier once everything is assembled. You can skip removing the threads, but then some of that valuable stretch is lost.
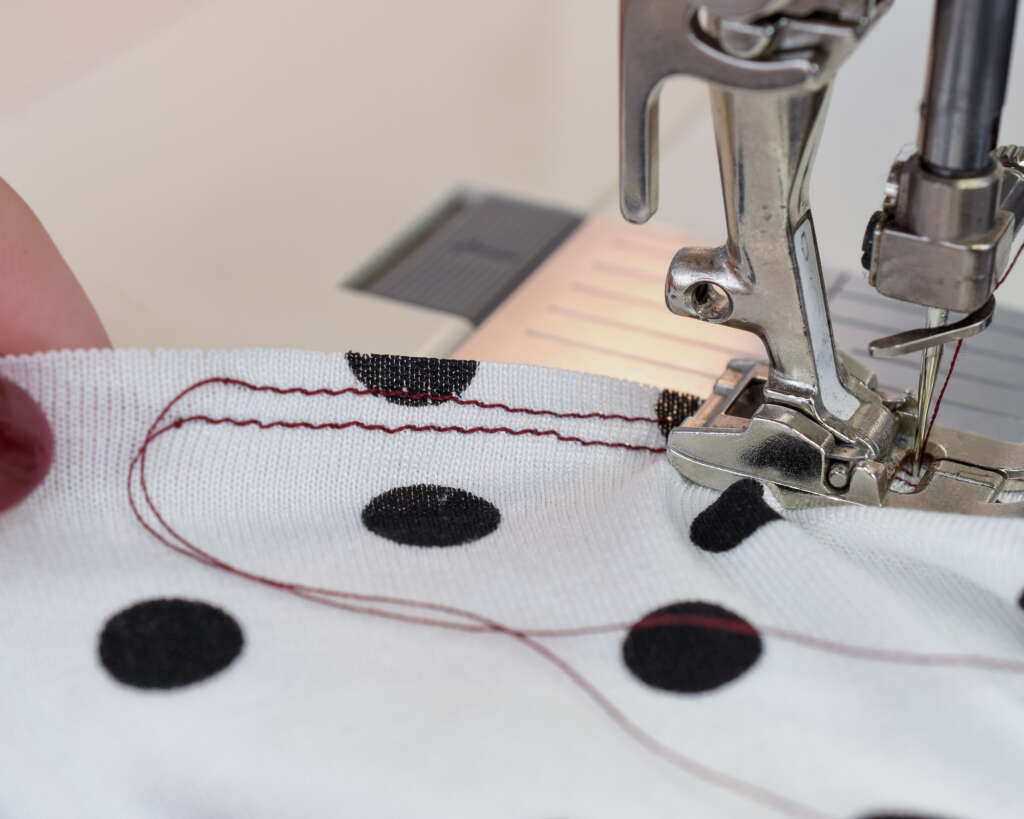
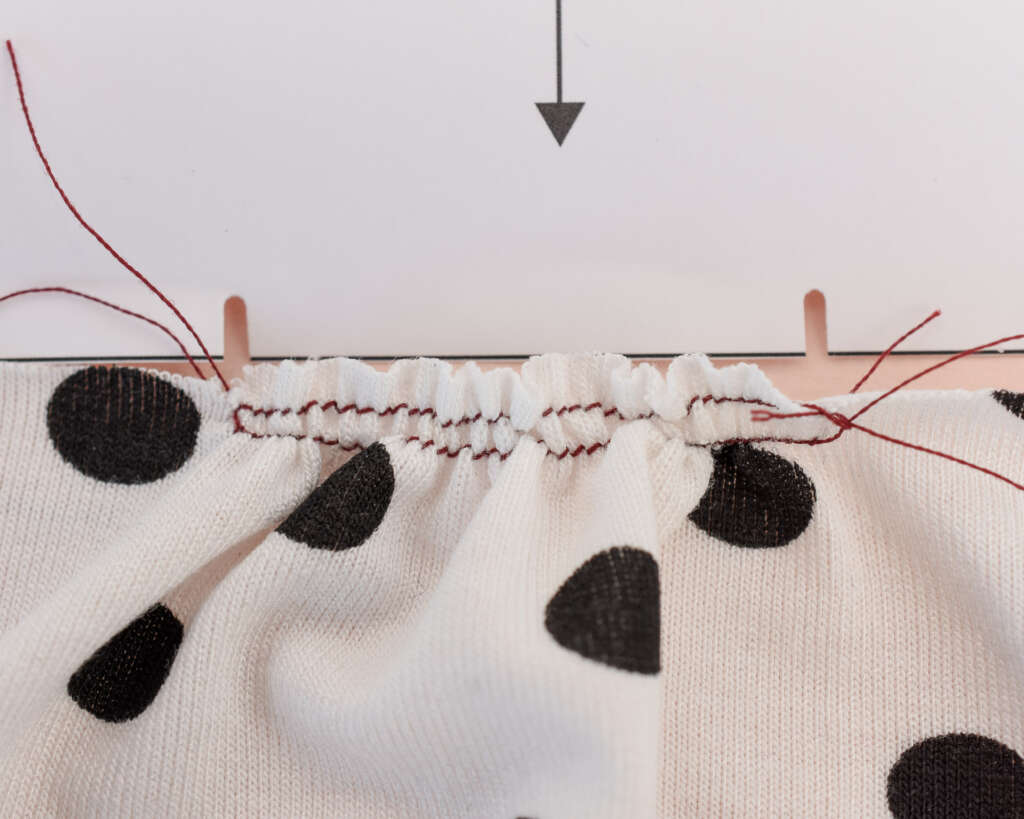
From the right side, sew two parallel rows of gathering stitches between the notches on both sides of the seam allowance. Leave long thread tails on both sides so you can pull them later.
Gather the bodice
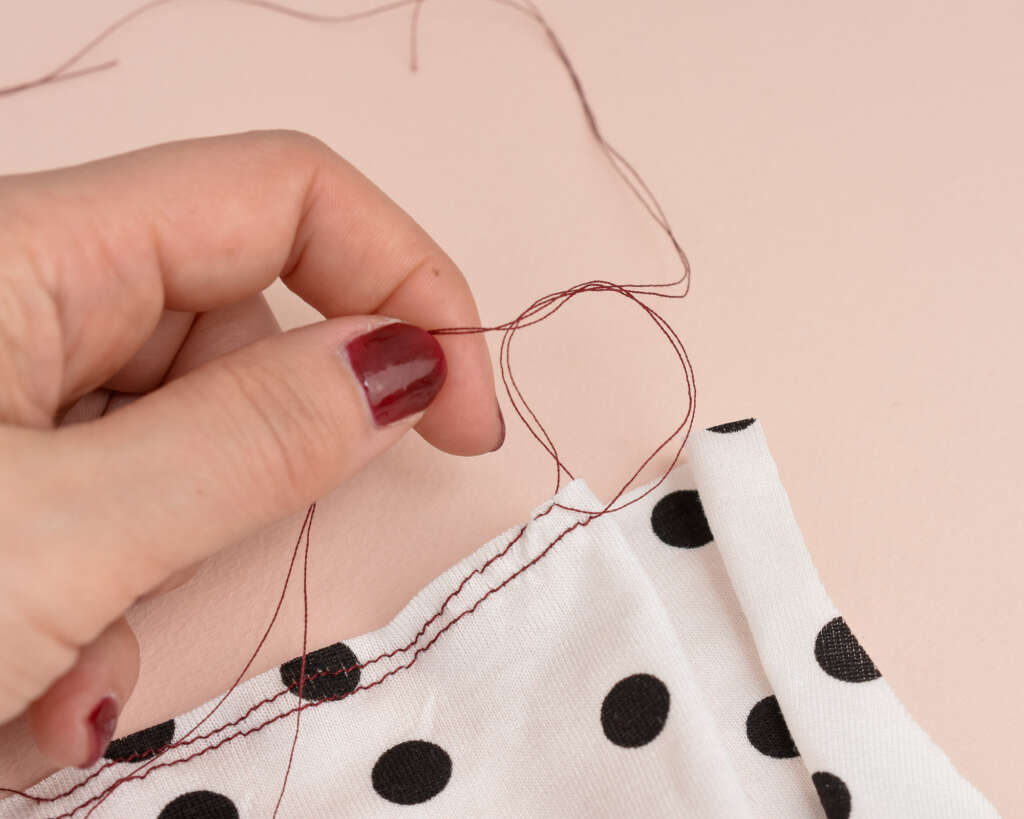
Tie the thread ends on one side. I like to tie two knots to make sure the knot stays put.
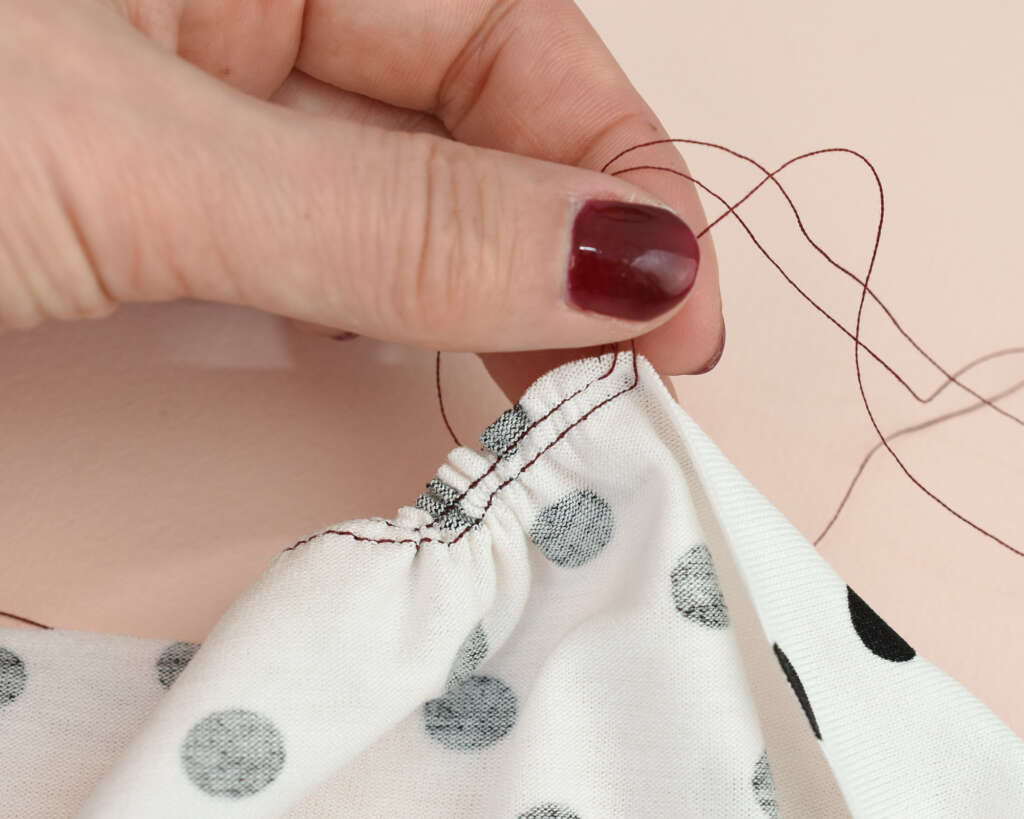
From the wrong side, pull the bobbin threads on the non-secured side to gather the fabric.
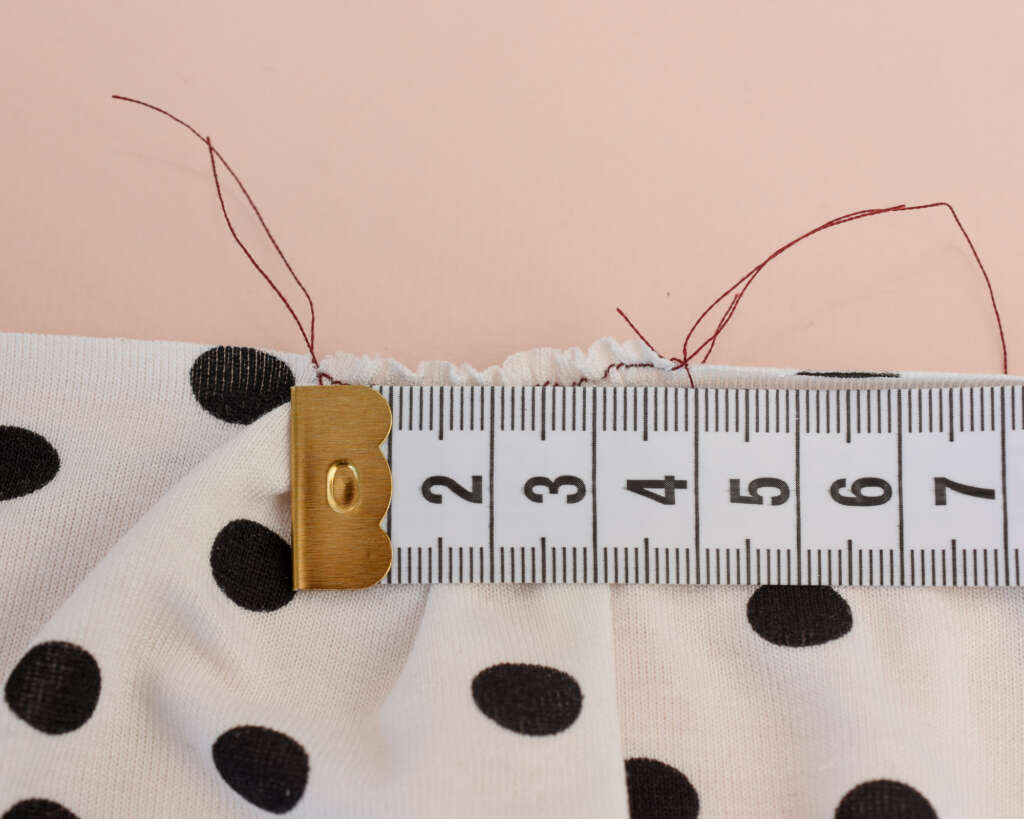
Adjust until the gathered section matches the length of the yoke. Either measure the distance or place the bodice along the yoke pattern pieces.
Then tie off the other end and trim the excess threads. Make sure you spread the gathers evenly, then align the bodice with the yoke a second time to make sure the notches still match.
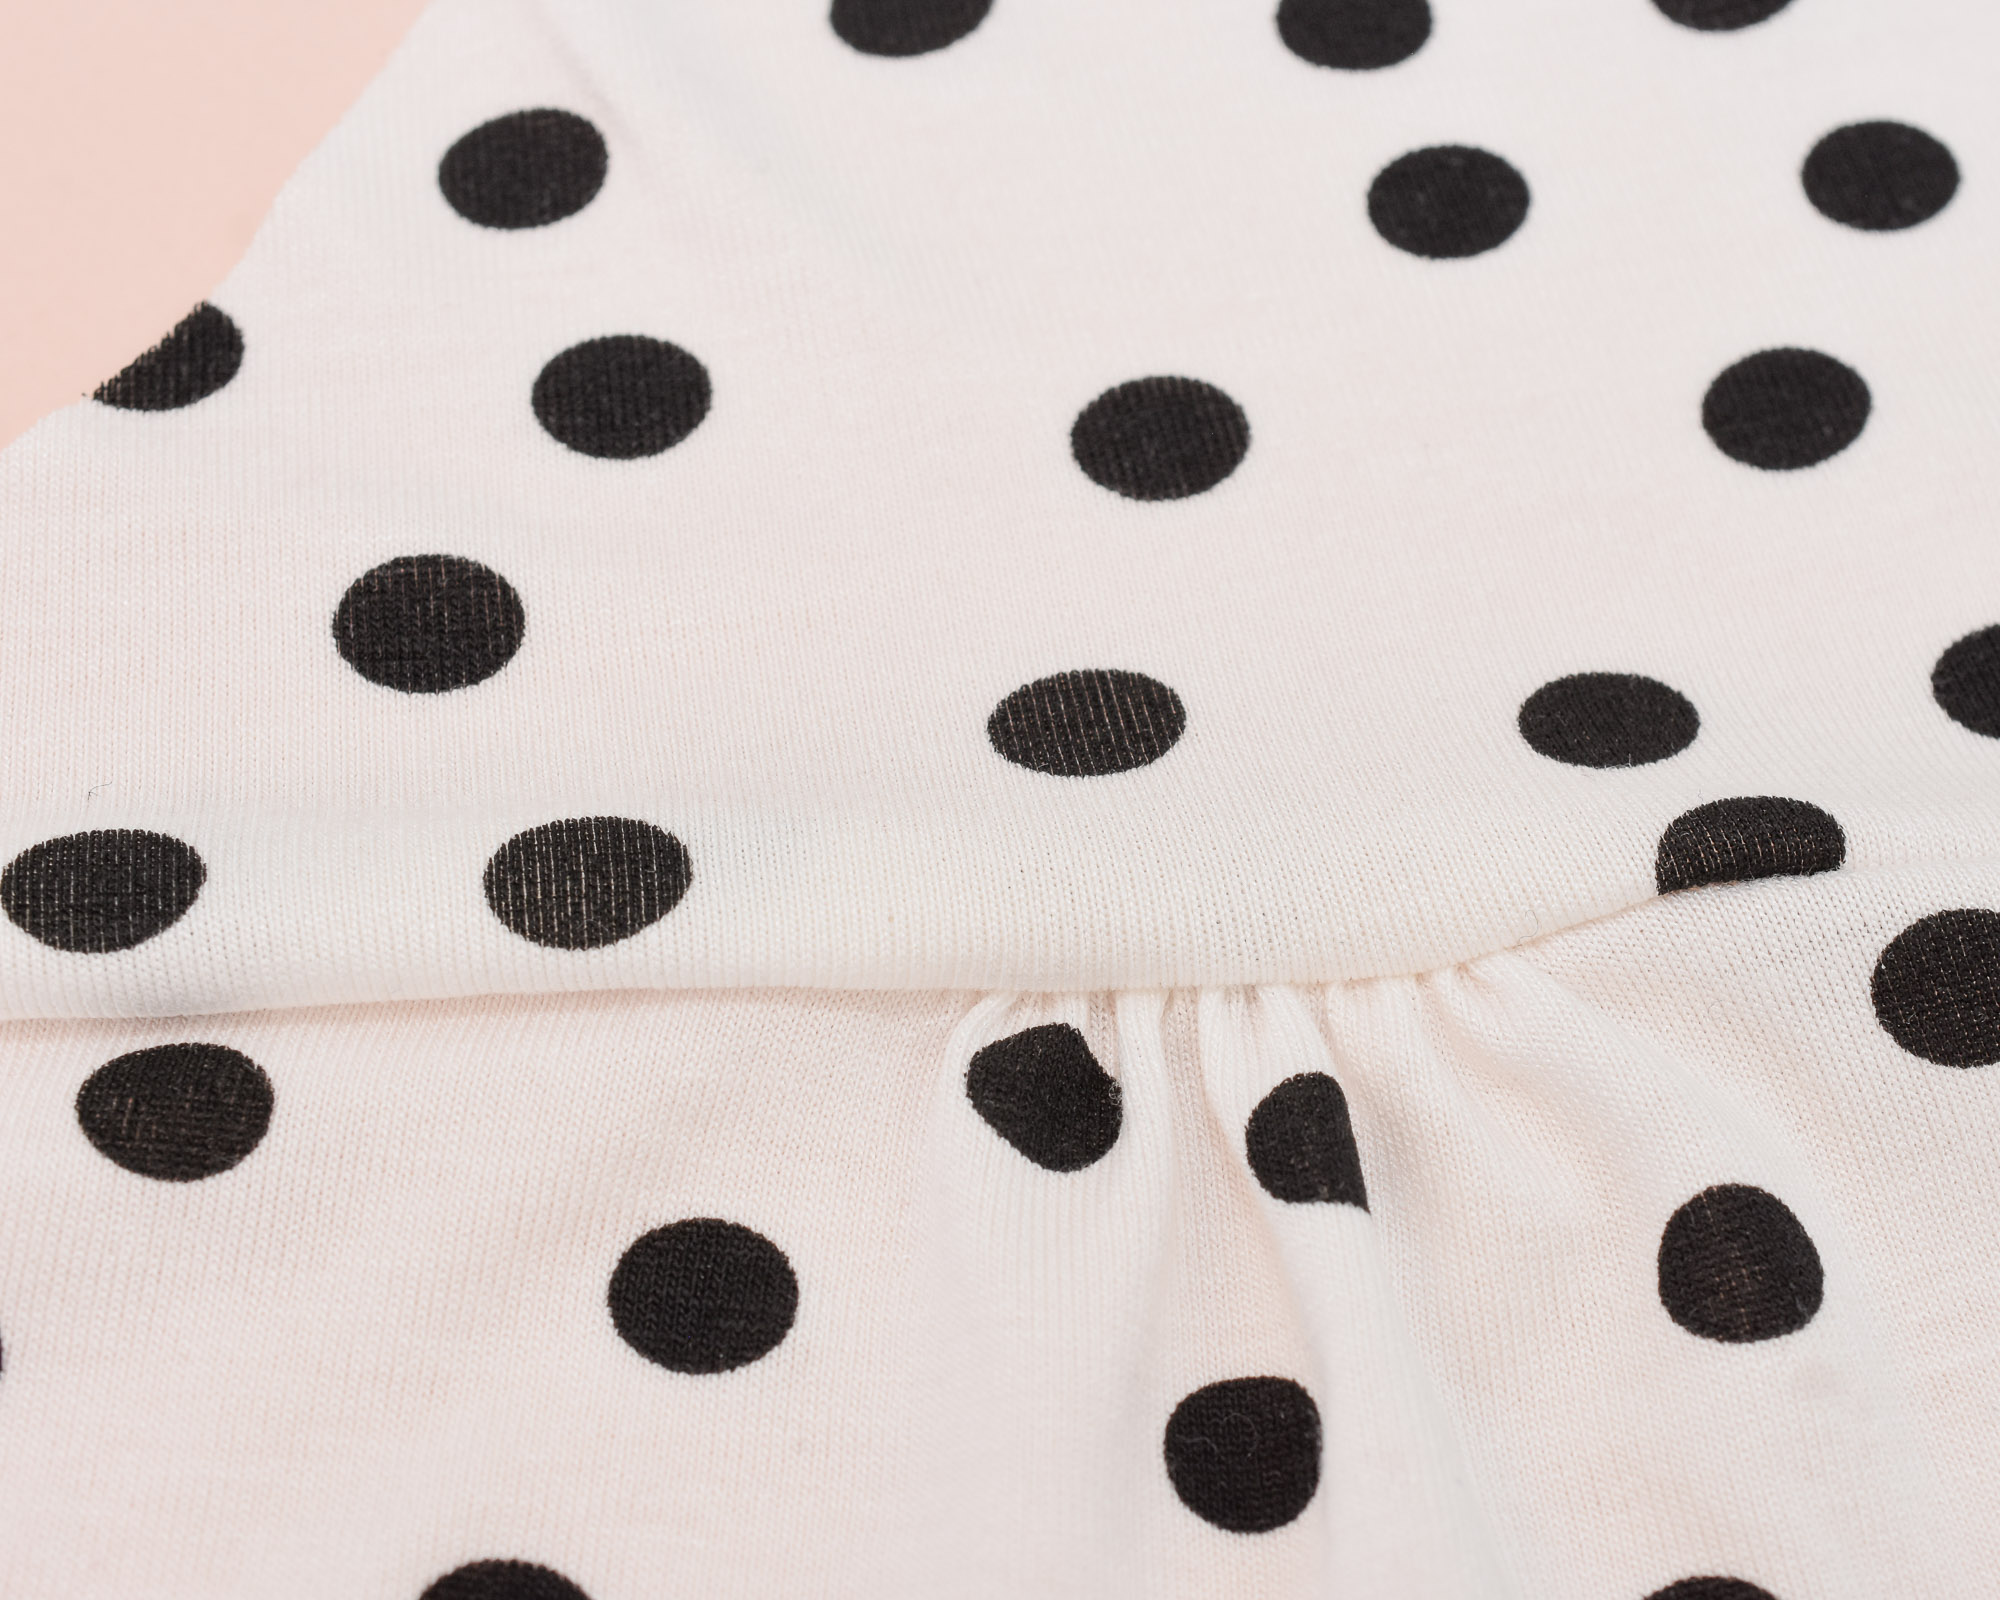
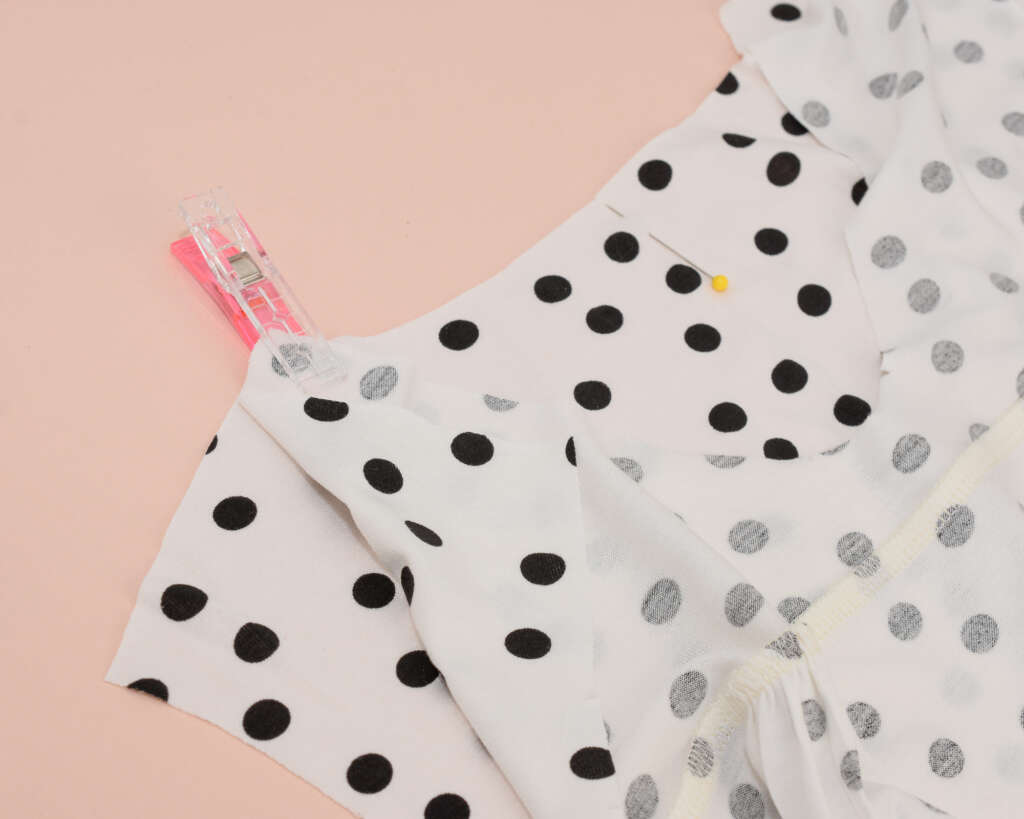
Attach the yoke
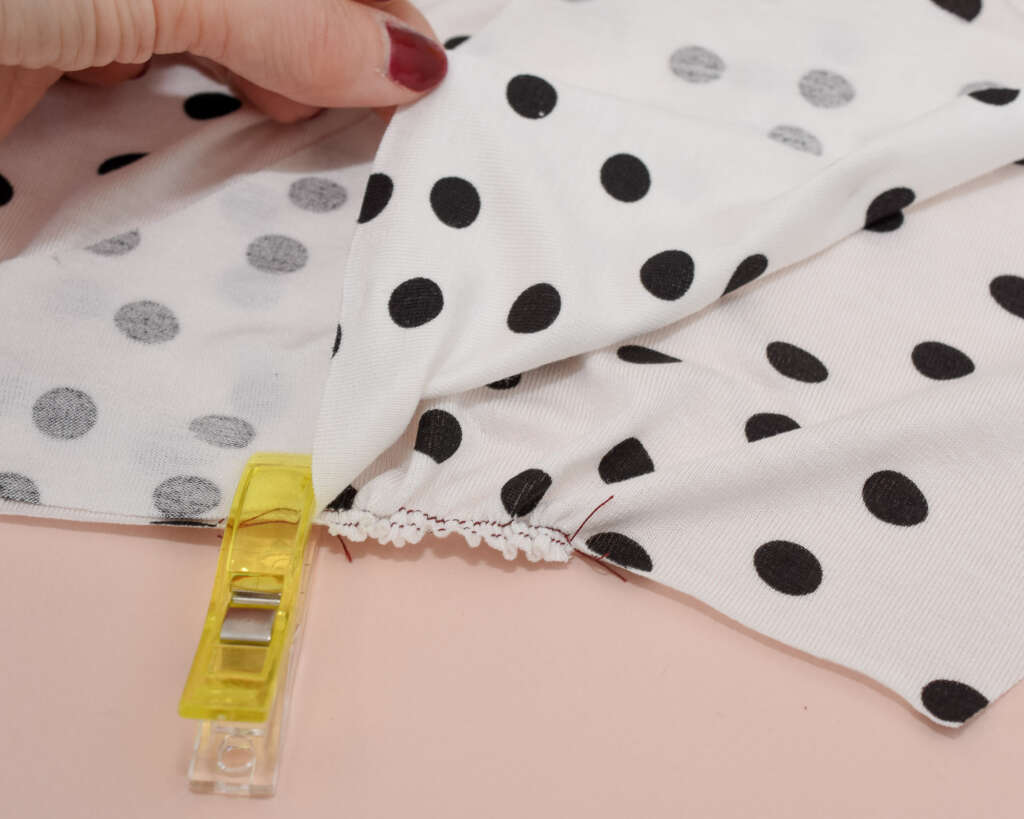
Place the bodice and yoke right sides together. Pin, baste or use wonder-clips (Amazon affiliate link)
With the gathered side facing up, sew the pieces together, keeping the gathers flat and controlled so they don’t shift forward.
Once you have stitched the yoke and bodice, remove the gathering threads.
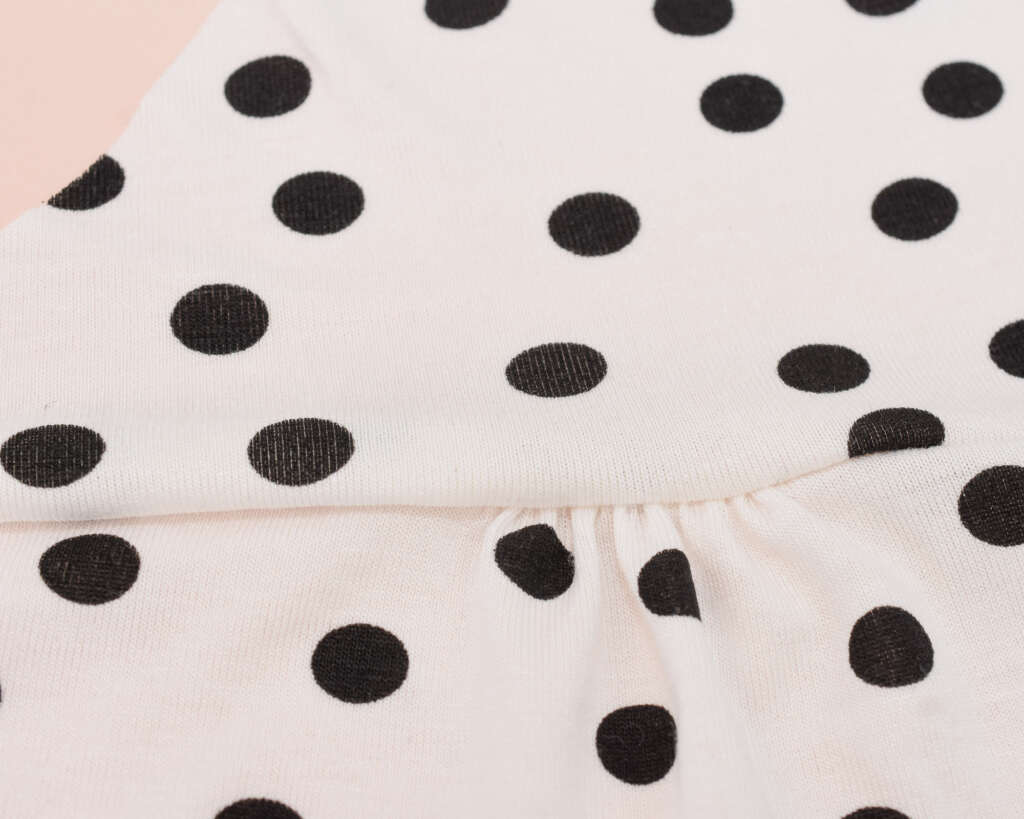
Pressing the yoke seam
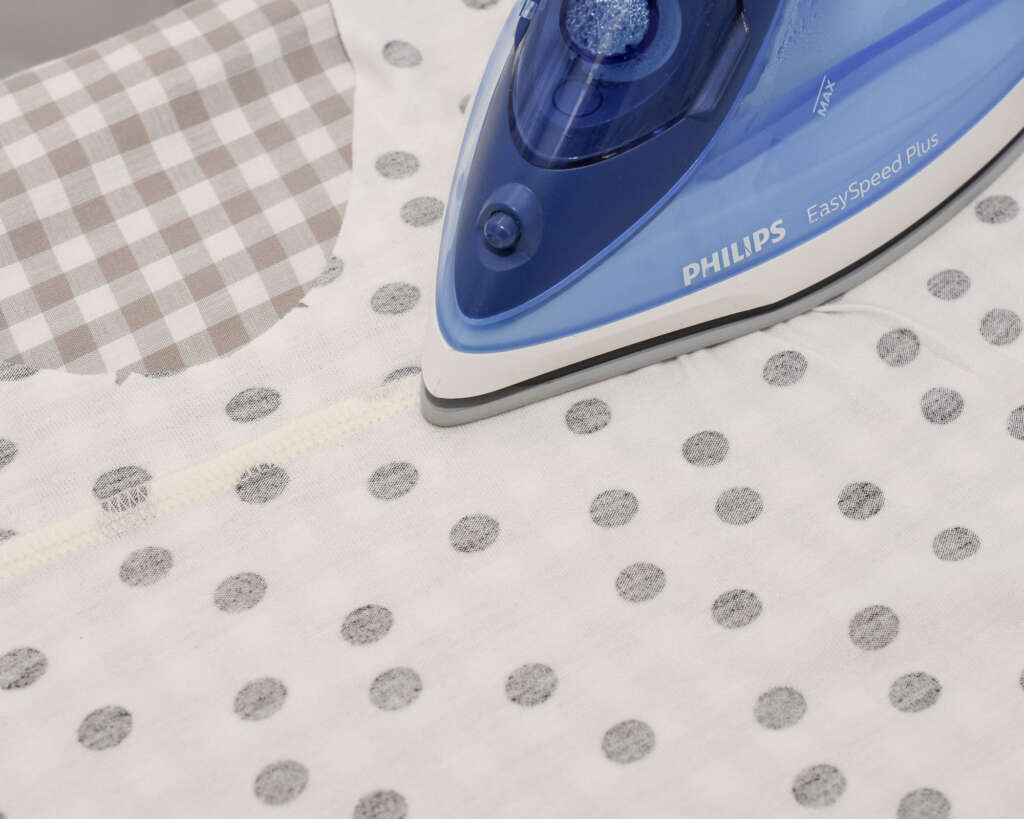
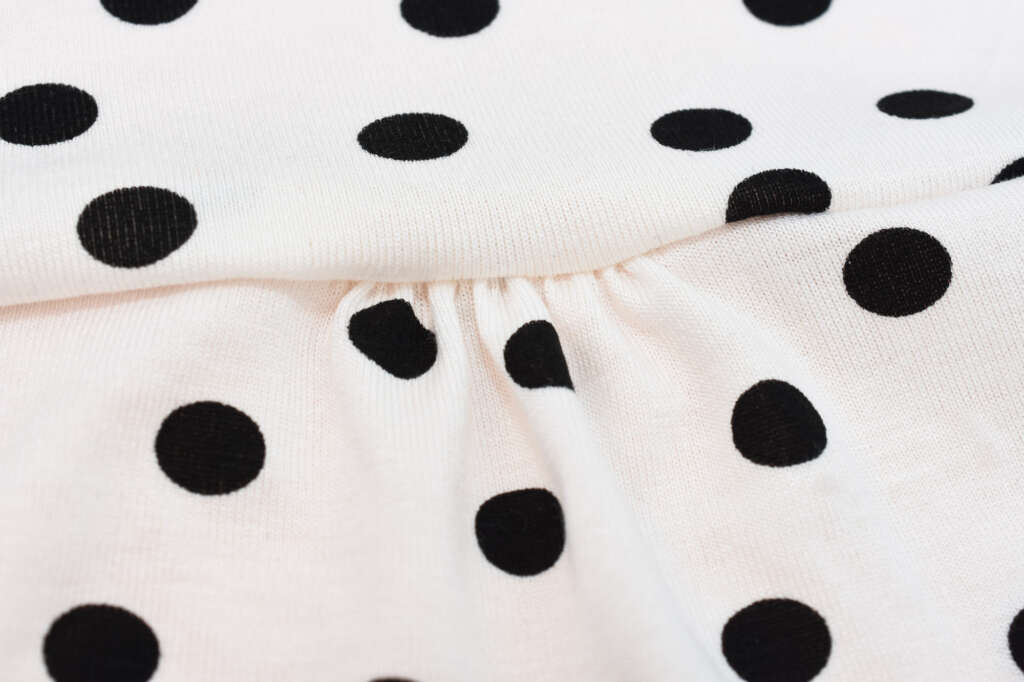
Press the seam allowance from the inside, upwards toward the yoke, but avoid flattening the gathers; you want to keep that soft volume intact.
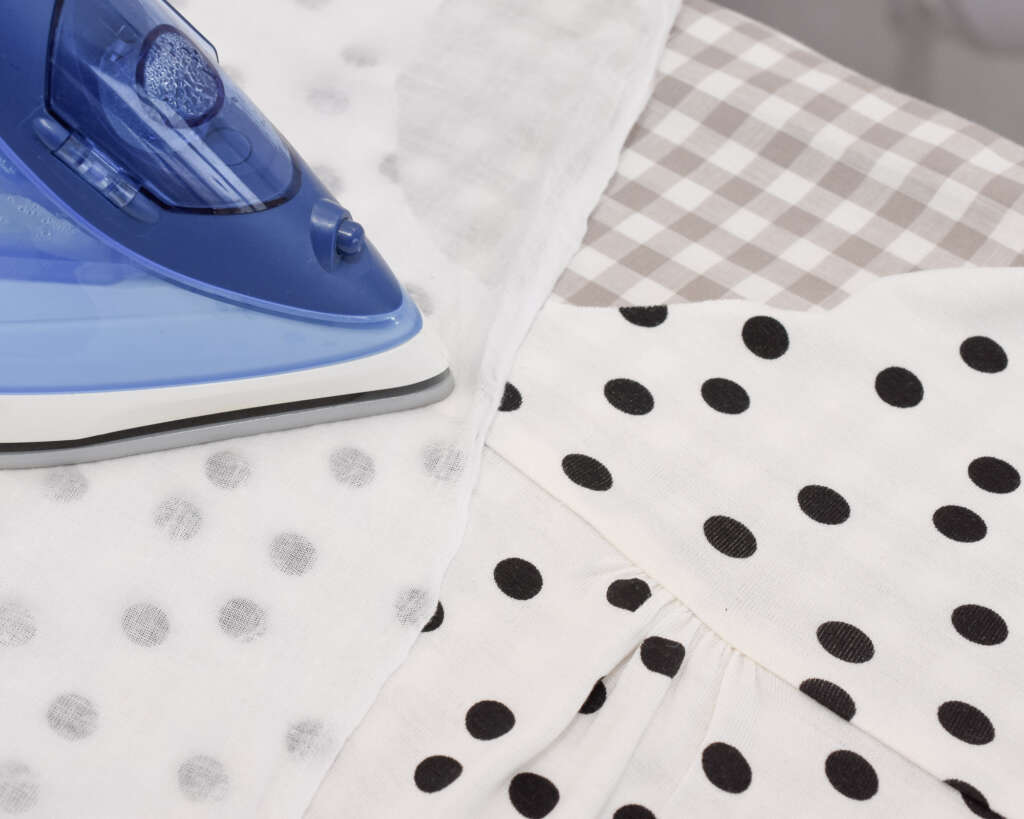
Do a second pressing from the right side to really flatten the seam.
Stabilising and sewing the shoulders
The shoulder seam will grow if you don’t stabilise it. Both from sewing and wear. So when working with stretchy knits, you should always reinforce the shoulder, ideally with something that retains stretch and has good recovery.
Notions for reinforcing the shoulder seam
Add a narrow strip to the back shoulder seam allowance using one of the following:
- Lightweight fusible interfacing with stretch
- Clear elastic
- A strip of the garment fabric is cut along the least stretchy direction
Ideally, the strip should be just slightly wider than the seam allowance.
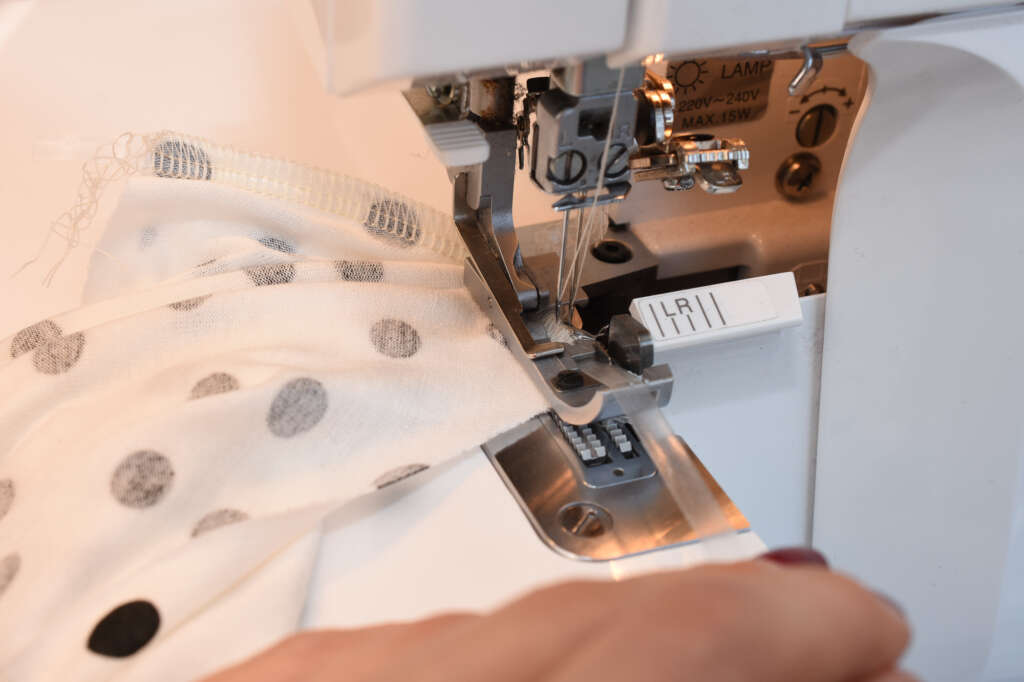
Here I am using clear elastic, which is my favourite for knits with Spandex, as it mimics the properties of the fabric. I just insert the elastic inside the presser foot (mine has a small slot), and then the elastic is sewn together with the shoulder seam.
I also have a separate tutorial for how to stabilise shoulder seams on knit tops, which goes through all the methods in more detail. .
Sew the shoulder seams
Place front and back pieces right sides together and pin, baste or use wonder-clips
Stitch the shoulders with the reinforced (back) piece facing up towards you. This helps prevent the front from stretching out during sewing. Here I’m using clear elastic, which I placed in the slot of the serger presser foot.

Press the seam allowances toward the back piece. Start pressing from the inside.
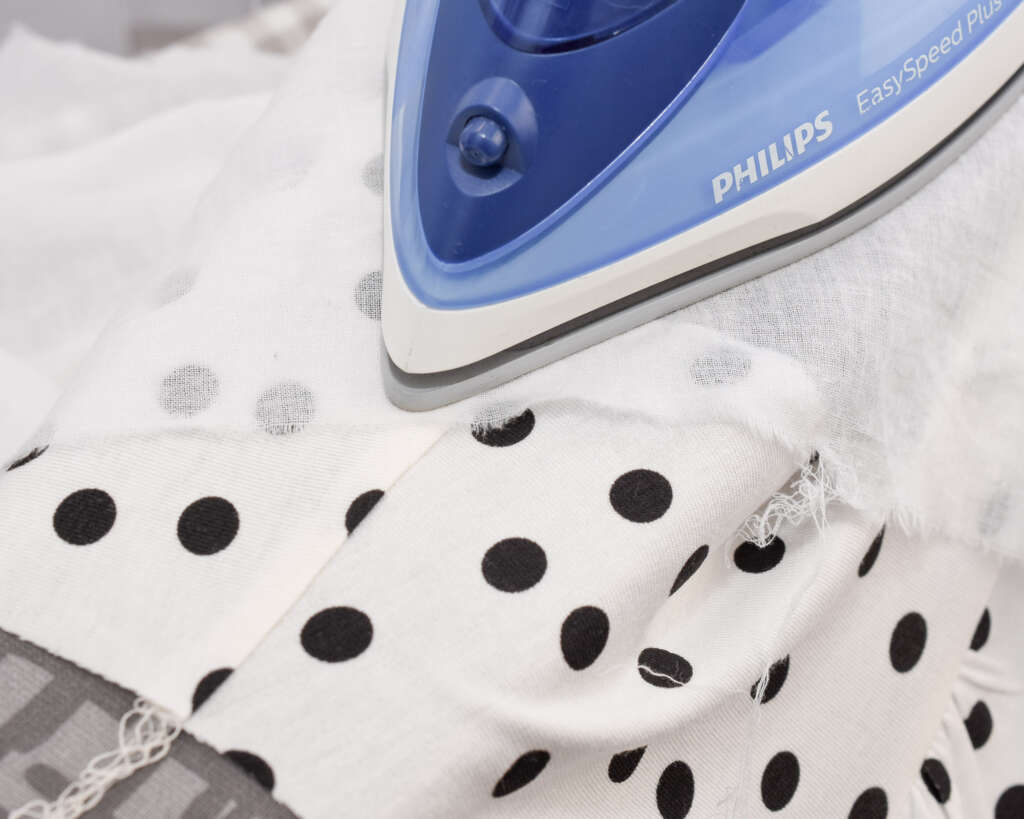
Then do a second pressing from the right side using a pressing cloth to protect the fabric.
Now you have finished the bodice pieces of the Tyri Sew-Along. Next up is sewing the tie-neck collar.