Now we have reached the final step, hemming the Tyri Tie-Neck Blouse. The hem is best sewn using either a sewing machine, a twin-needle or a coverstitch machine. Here we are doing the coverstitch version, but it works almost exactly the same with a twin-needle.
Prepare and press the hem

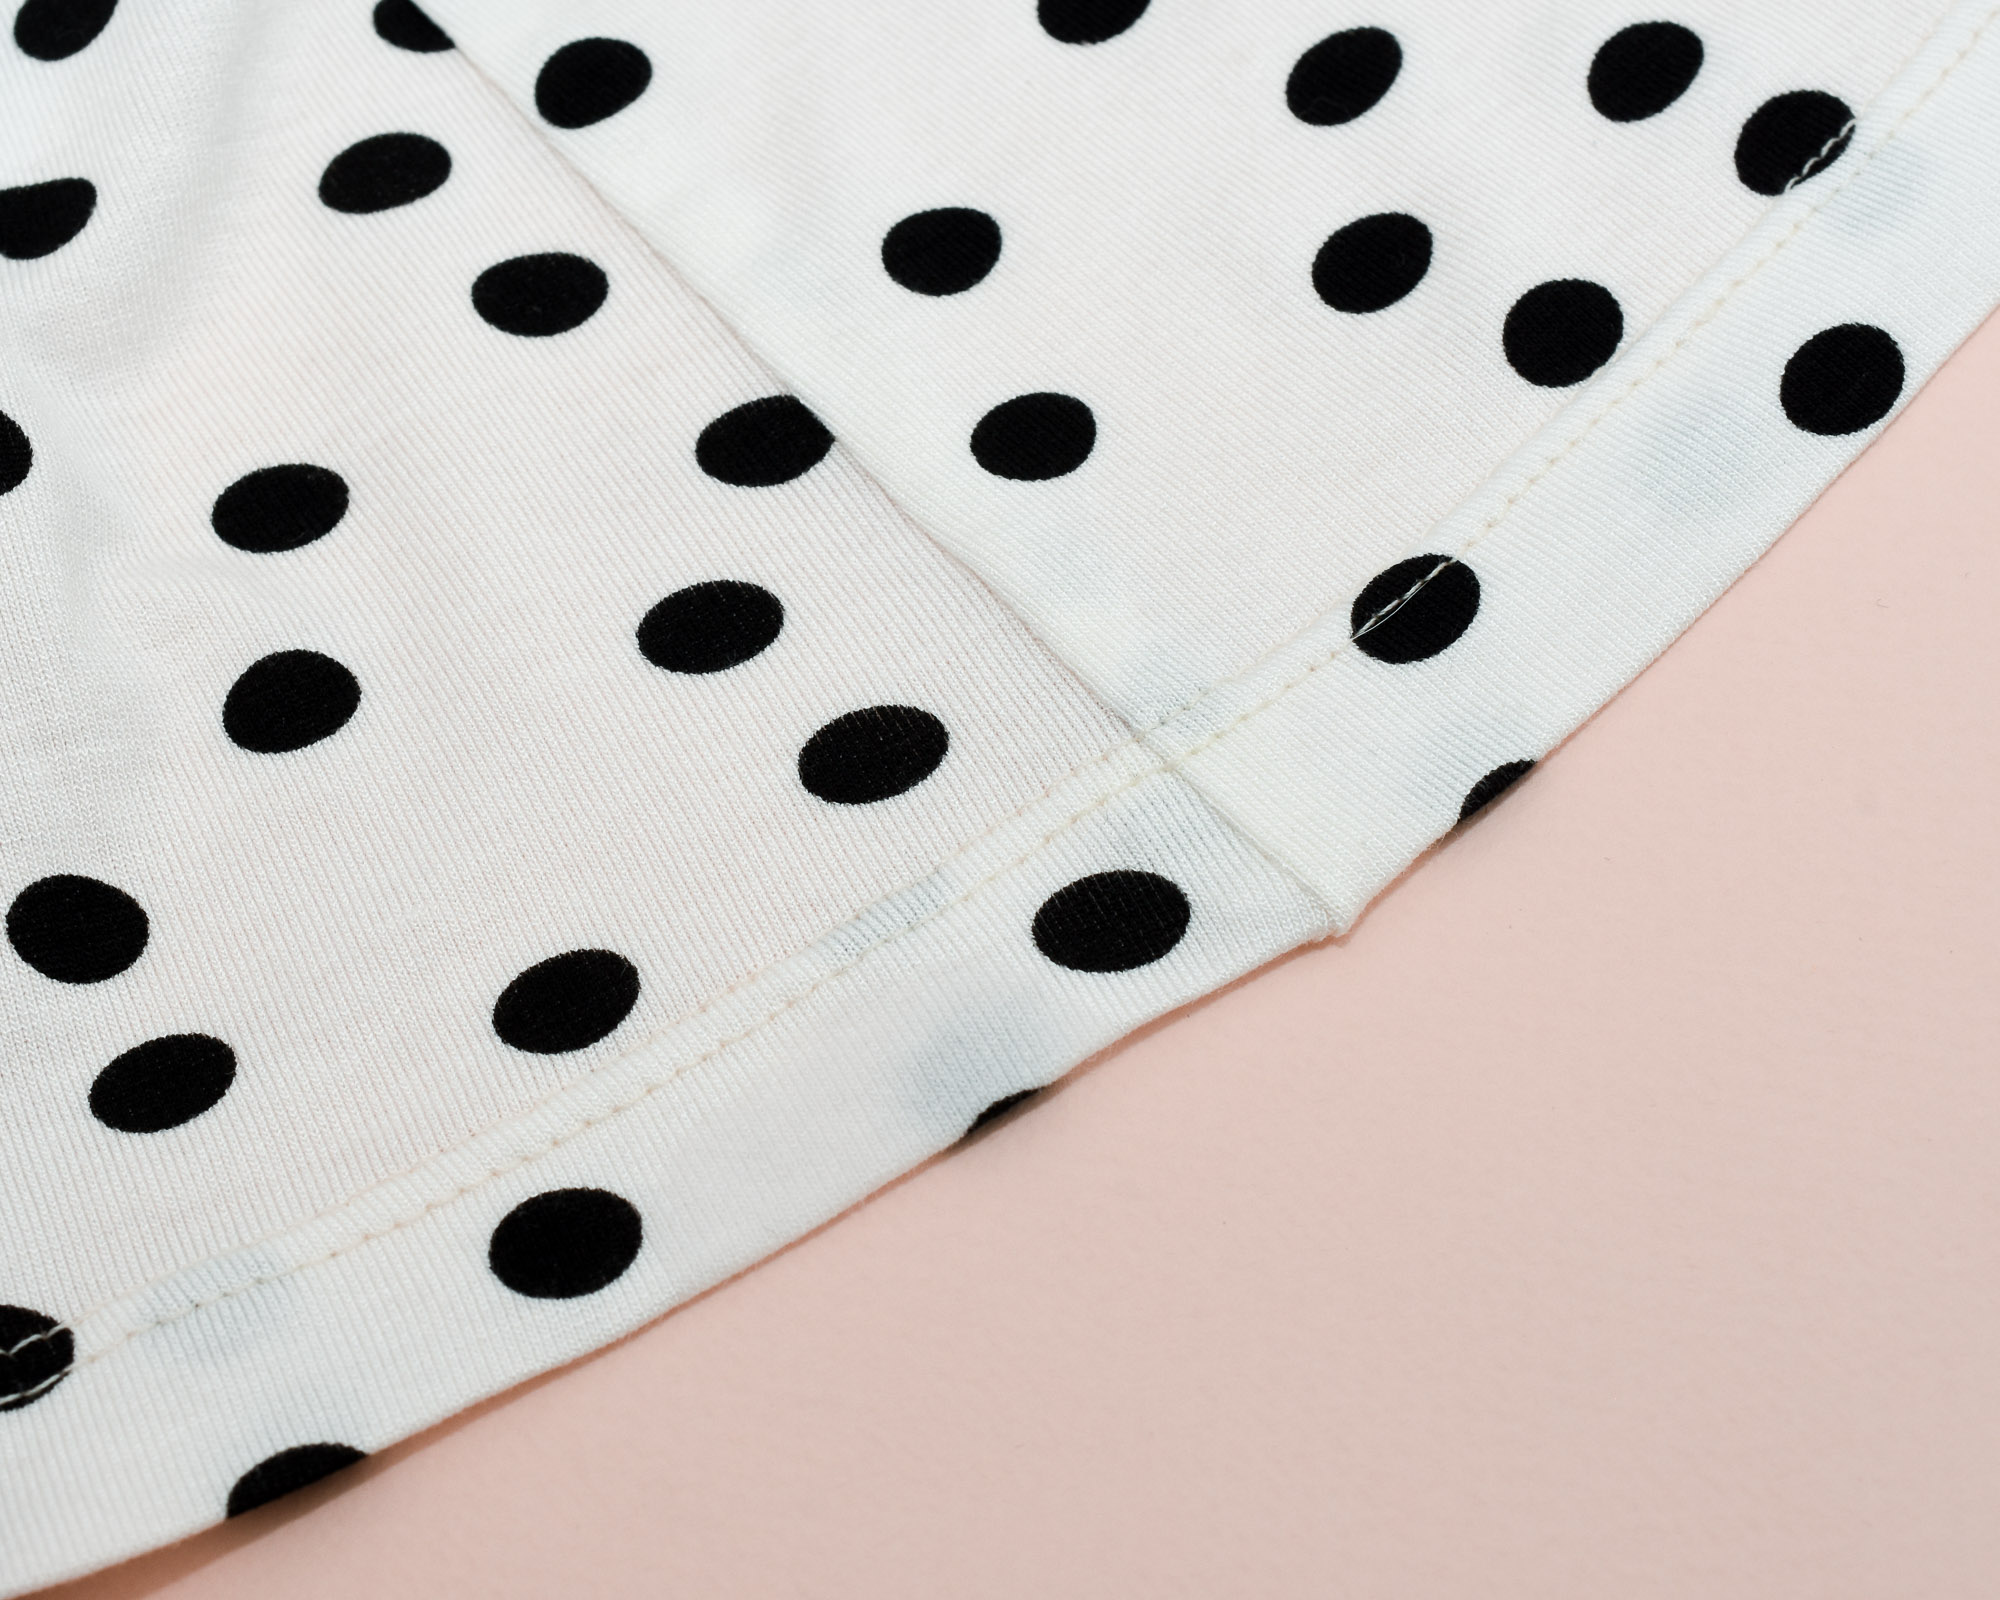
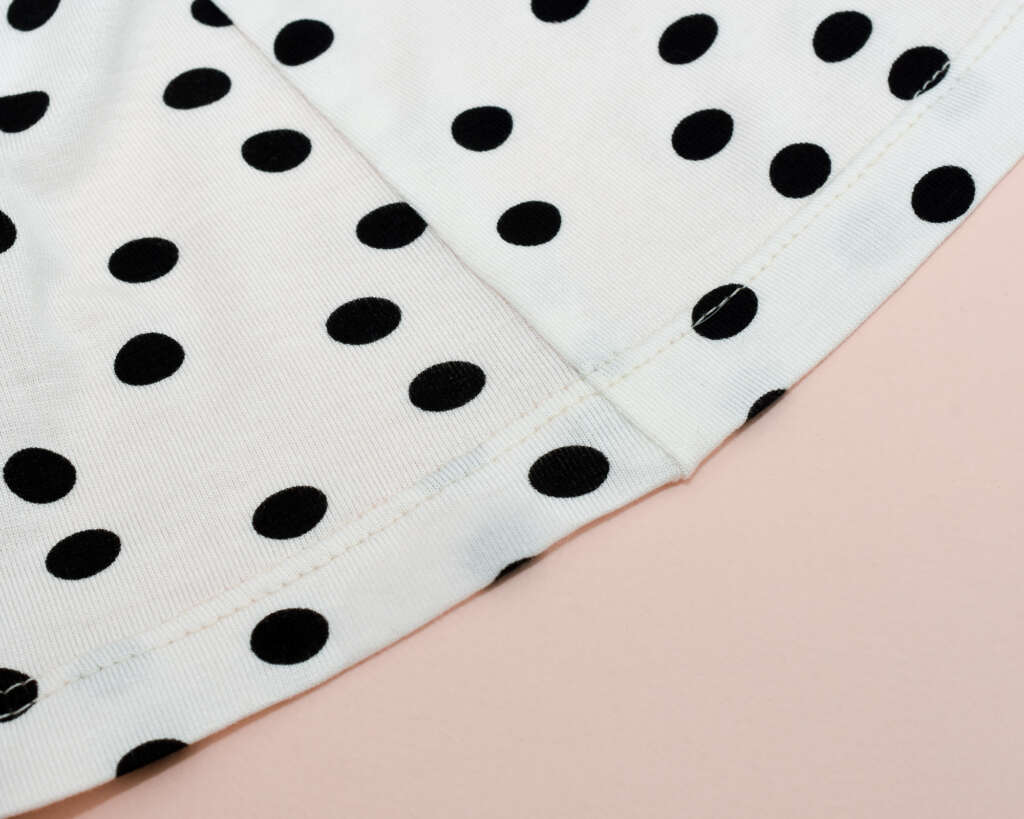
Fold the hem allowance 20 mm (¾”) towards the wrong side.

Press to set the fold before sewing. I like to use a metal seam gauge (Amazon affiliate link) as it won’t melt if you happen to touch it with the iron.
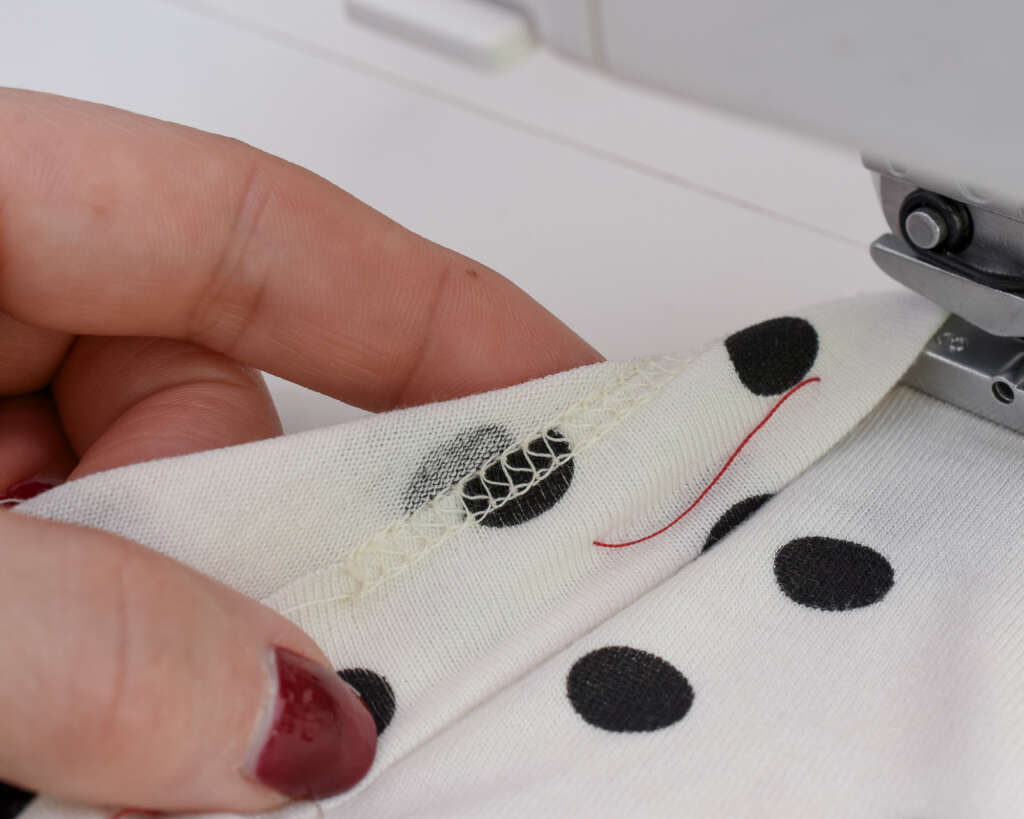
To prevent skipped stitches and improve feeding, fold the seam allowance in opposite directions to reduce bulk and create an even surface.
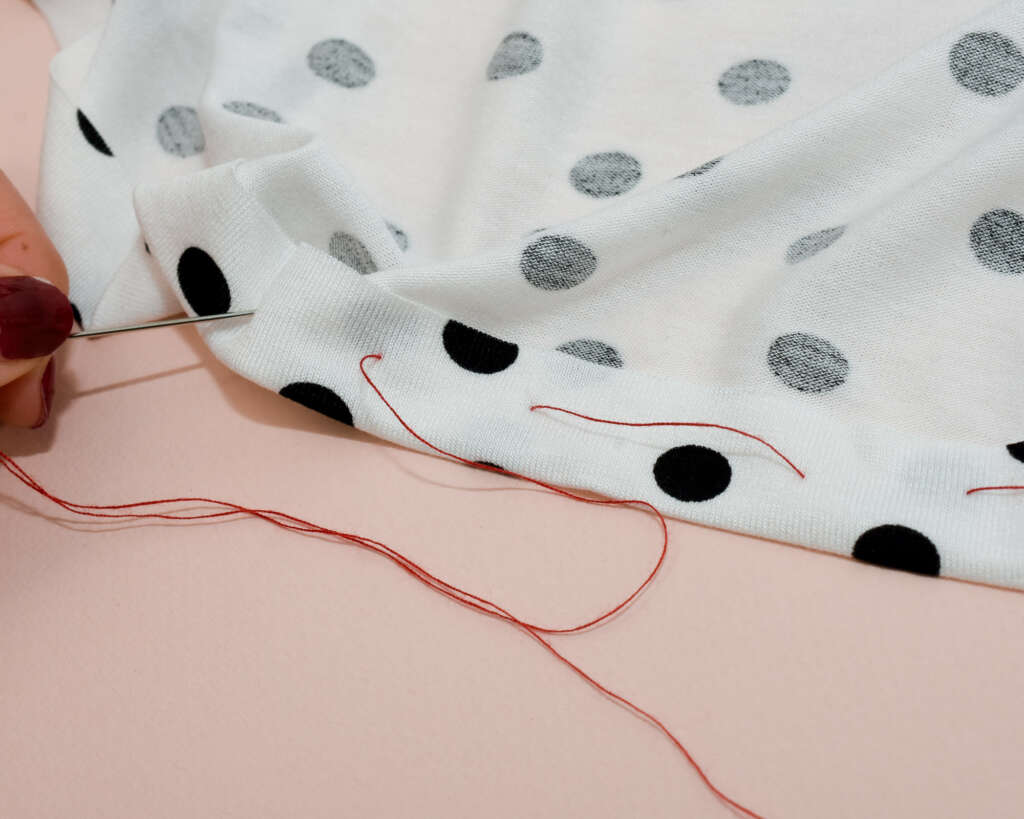
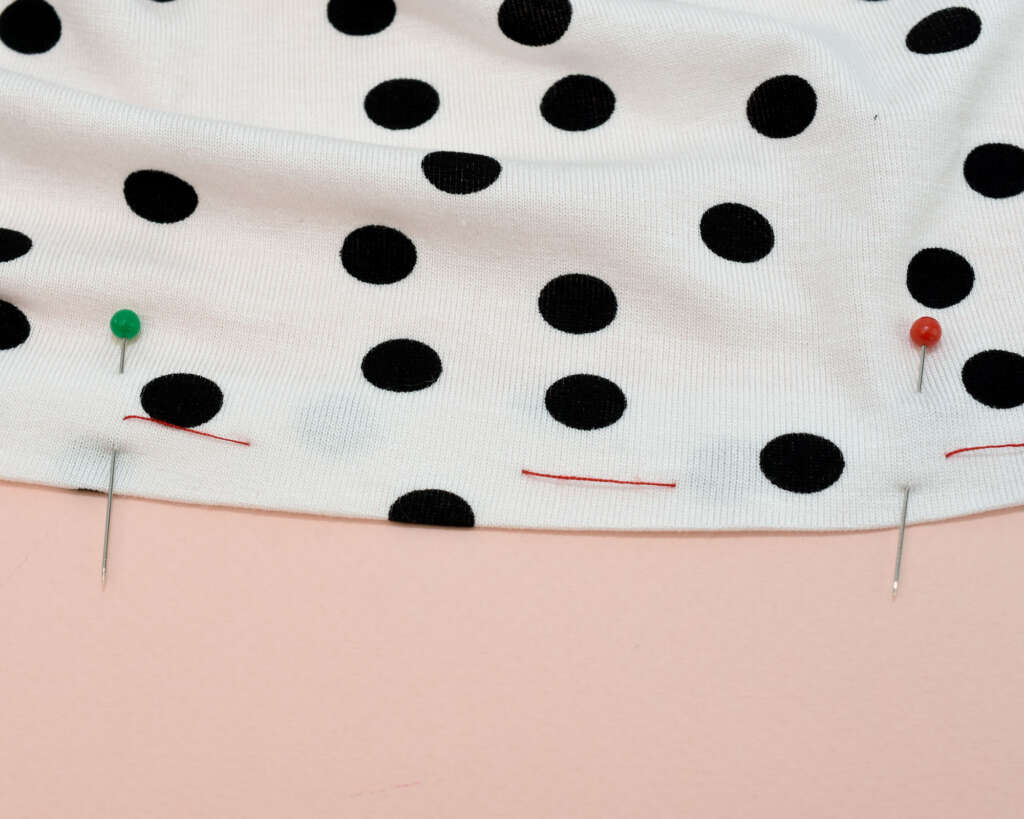
If the fabric is very soft or slippery, hand-baste the hem using large, loose stitches before sewing. This helps prevent the fabric from shifting during stitching. Here I’m using a combination of basting and pins.
Sew the hem
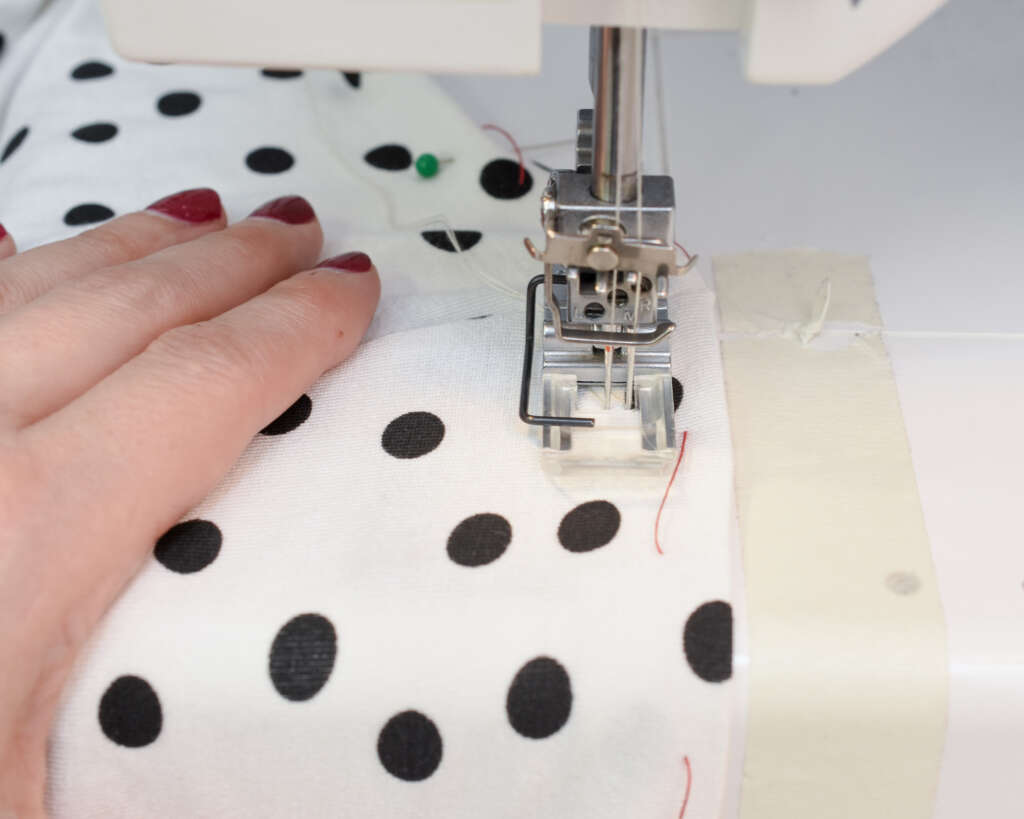
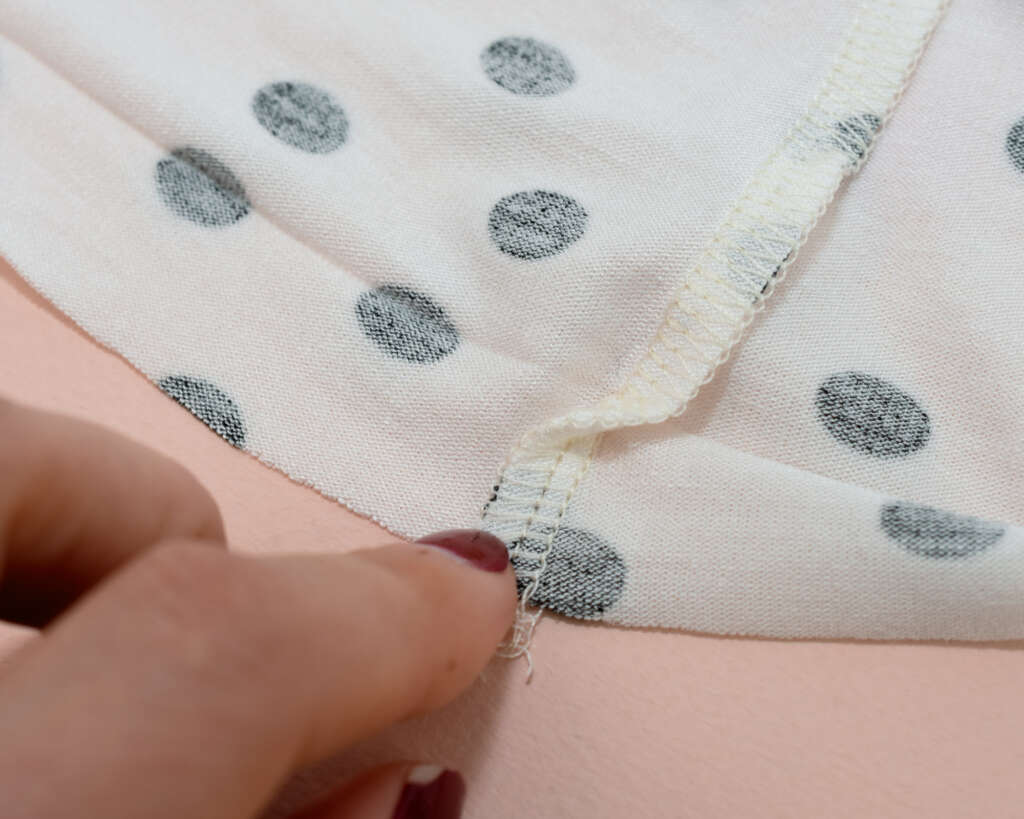
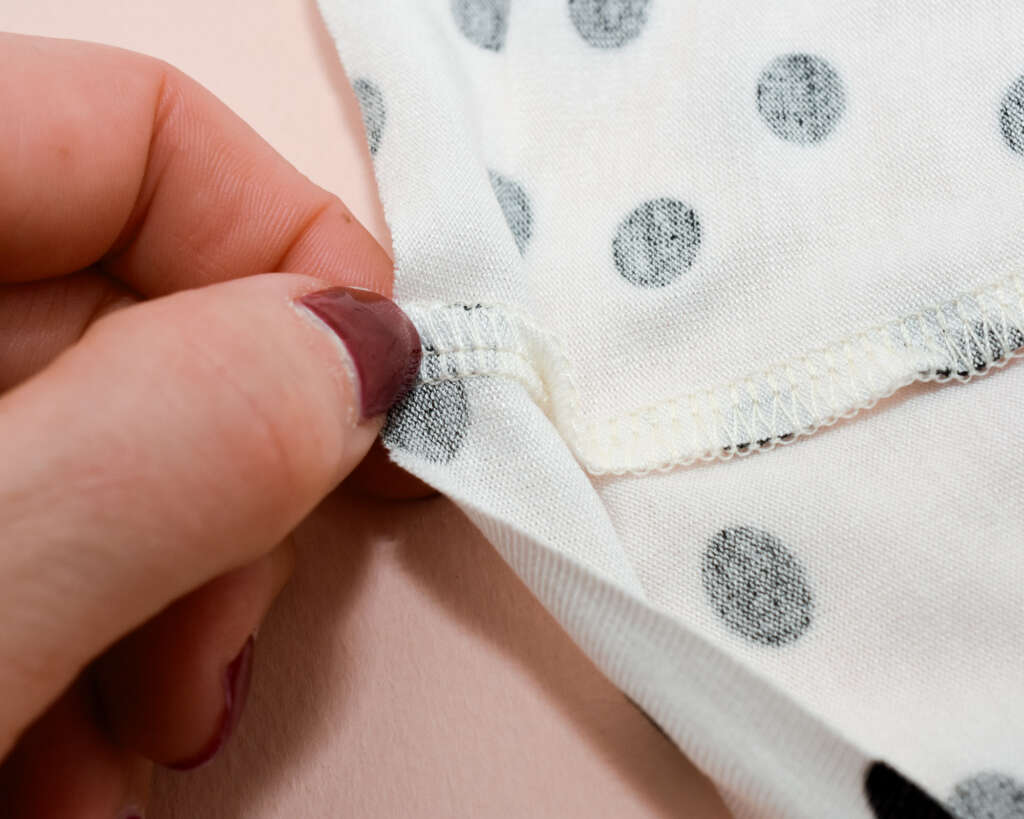
Start sewing on the back piece, around 1–2 cm (½”) away from the side seam. Starting on a flat section helps prevent skipped stitches and uneven feeding.
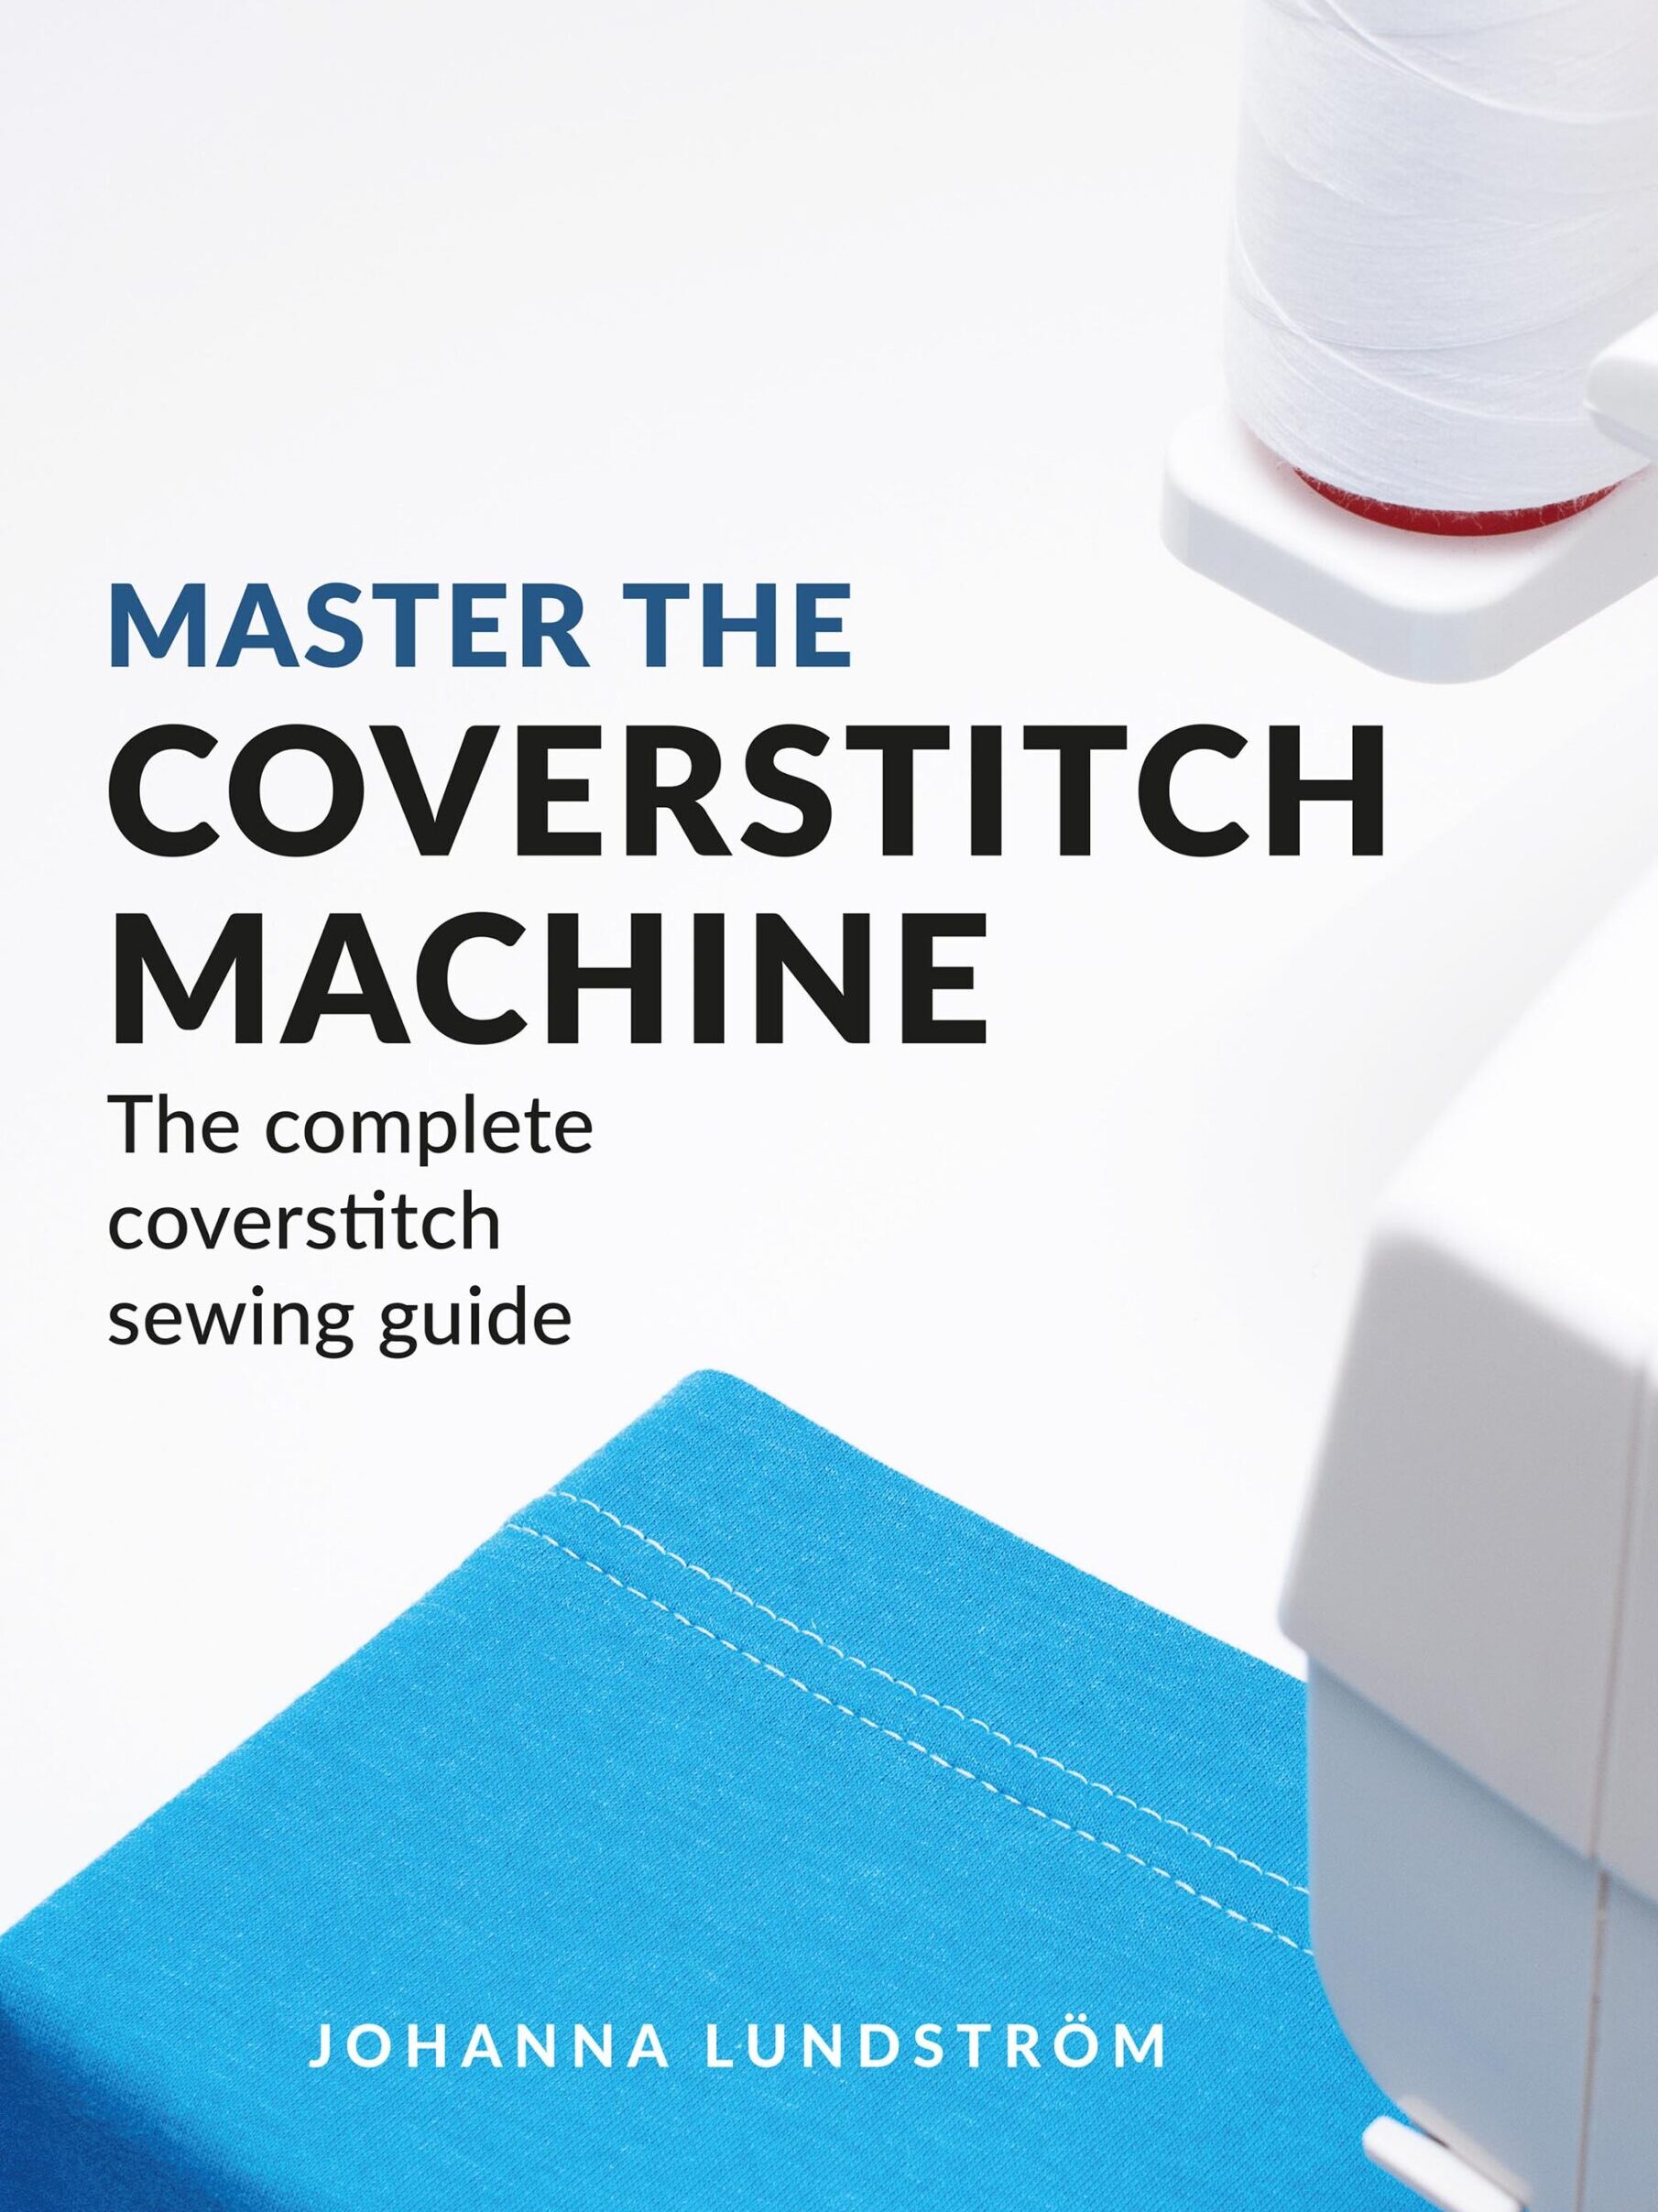
I’m using a 2-needle narrow coverstitch here. If you are new to coverstitching or have problems with your hemming, I highly recommend checking out my book Master The Coverstitch Machine and my video course, Coverstitch Success.
If you are using a sewing machine twin-needle, check out my complete guide to hem knits with a twin-needle.
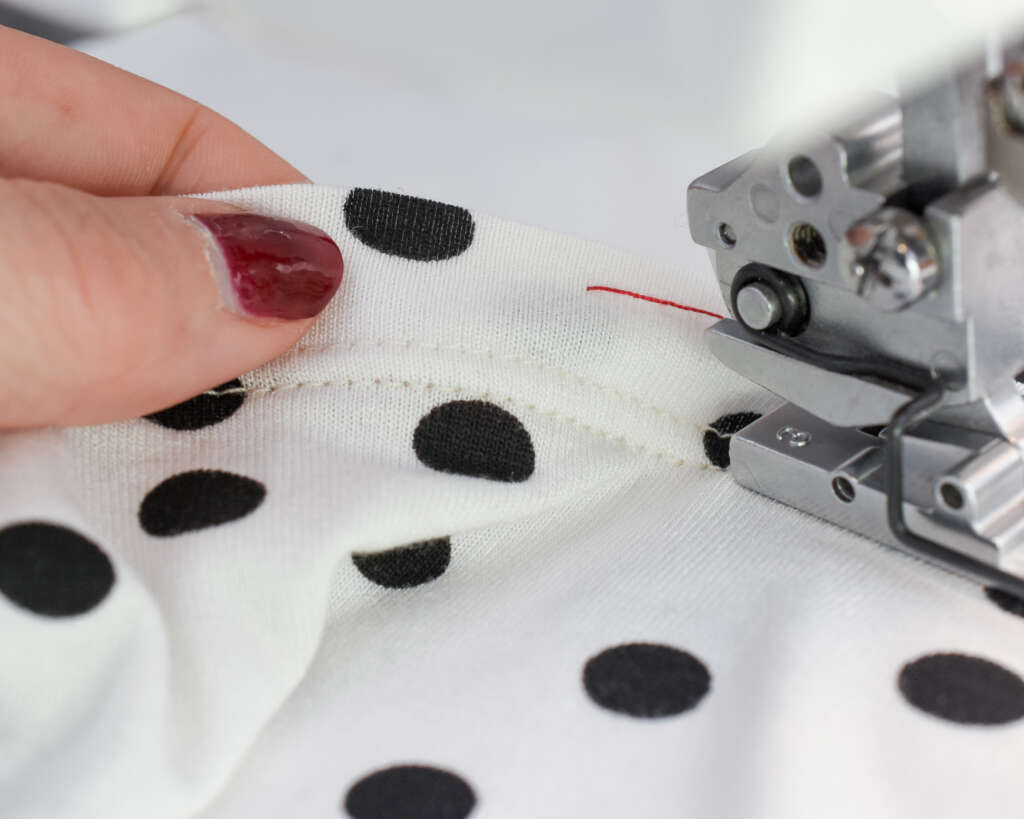
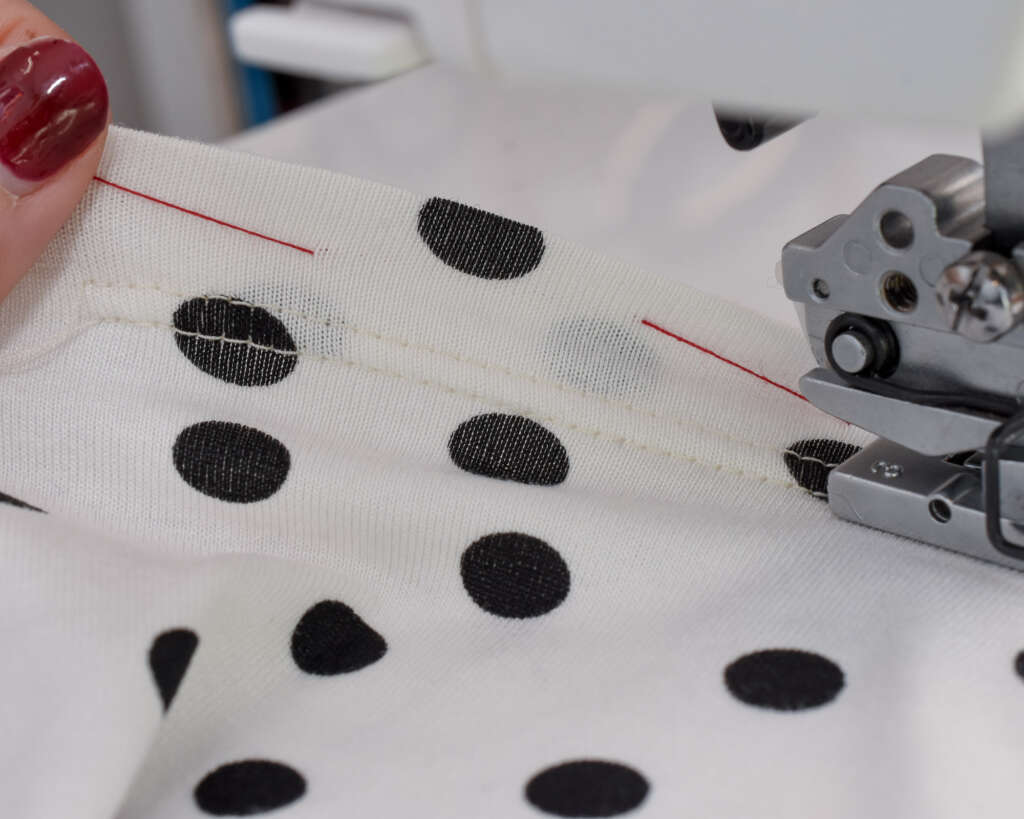
Overlap the stitching slightly at the end and secure the threads.
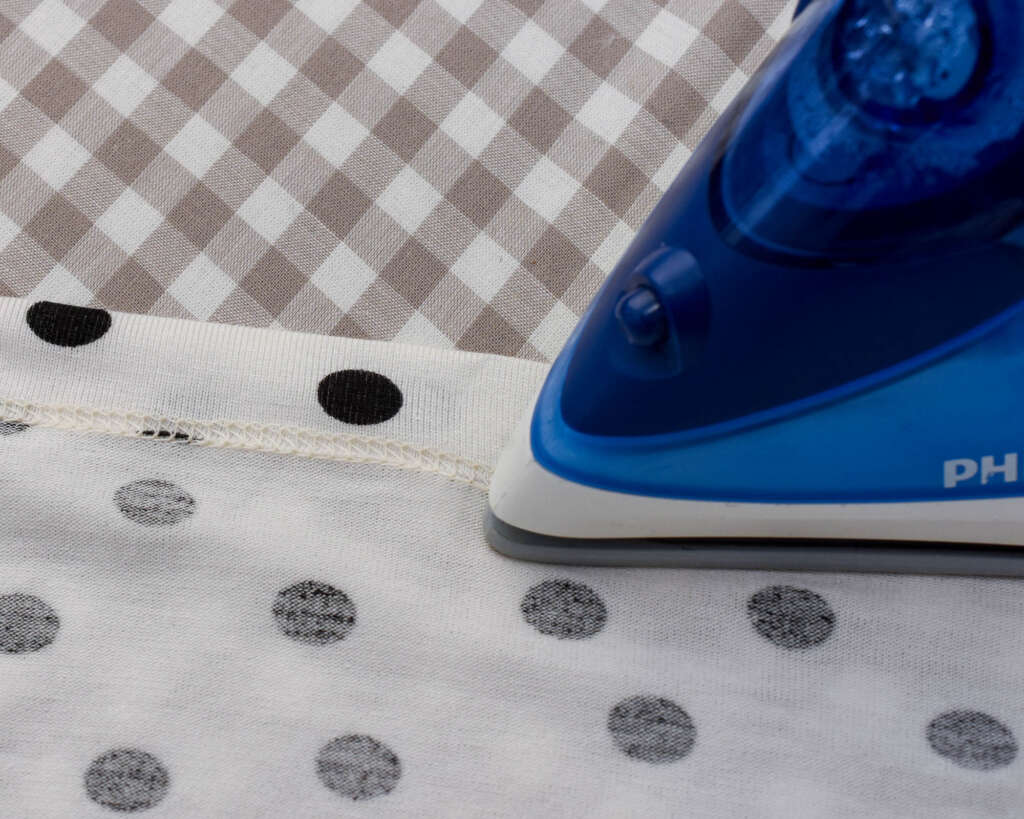
To flatten out any bumps or tunnelling, press the seam flat from the reverse side.
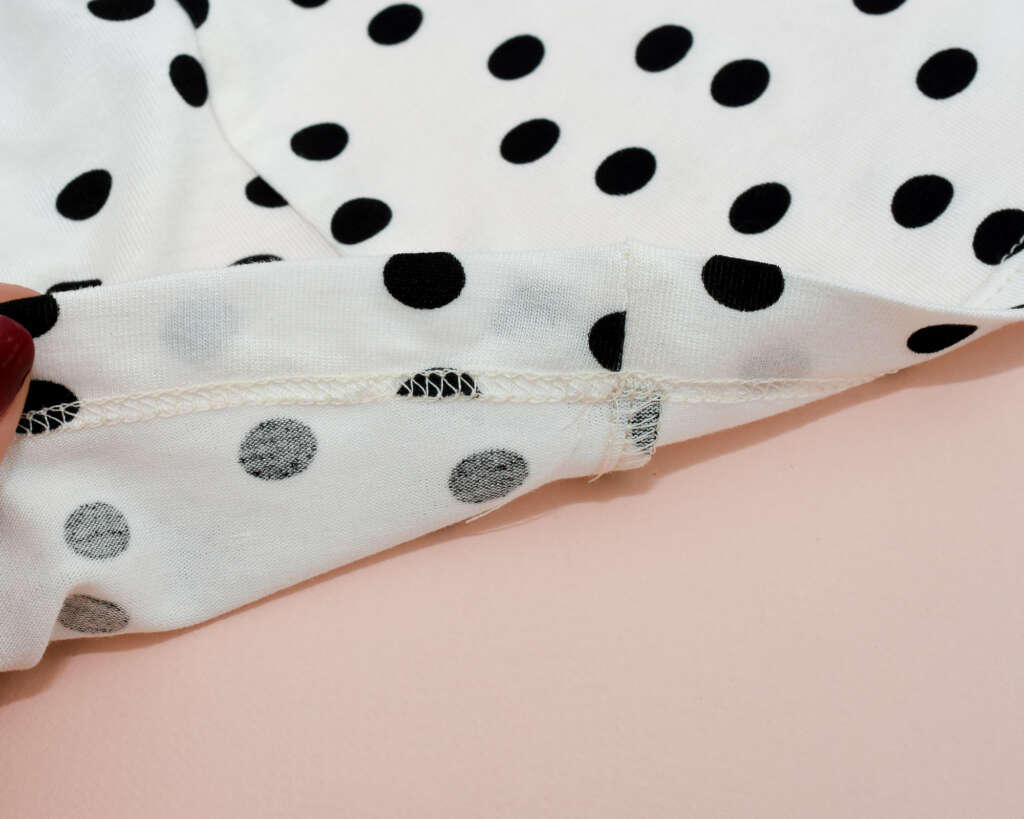

Now the Tyri Blouse is finished. Well done on making it all the way through the sew-along! I hope that you will enjoy your new blouse and thank you for sewing my pattern.
