Are you ready for another step in sewing the Tyri Tie-Neck Jersey Blouse? Now it is time sew the sleeves and side seams. The gathering stitches are sewn in batches before assembling the blouse, which makes the later steps easier to manage.
Prepare the gathering stitches
If you are doing the regular sleeve version, only gather the hems; see the section below.
Puff sleeve caps

Mark the shoulder and sleeve notches with pins on the right side of the sleeve cap.
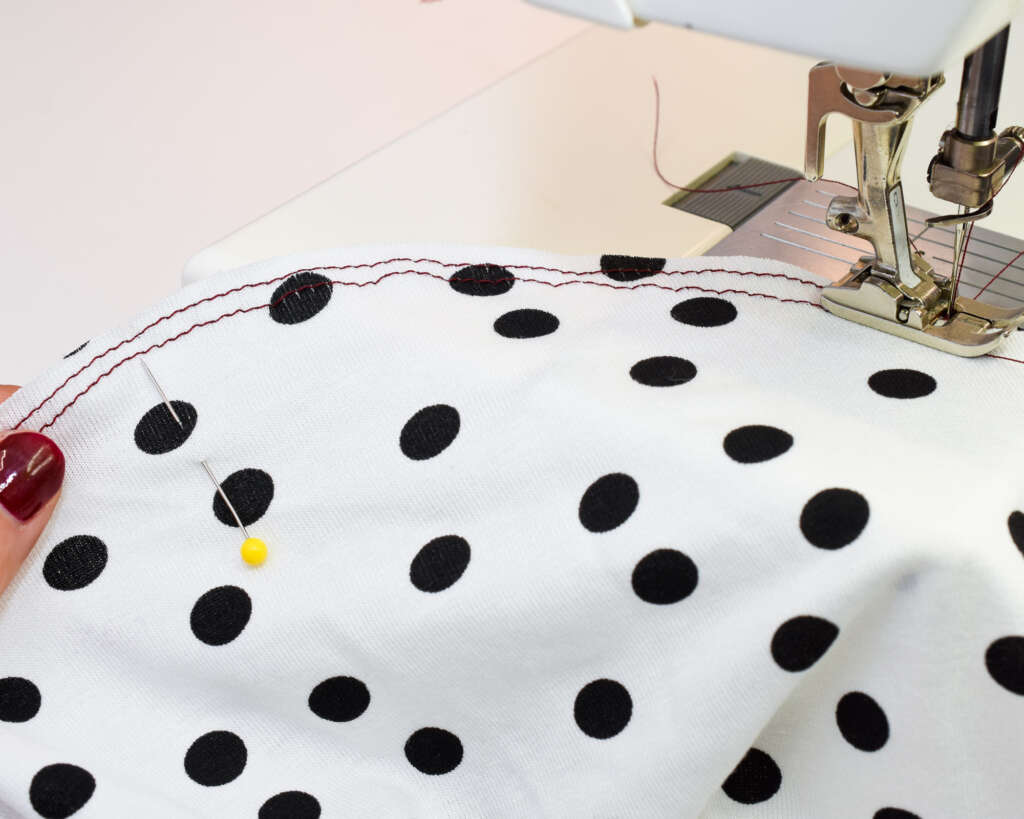
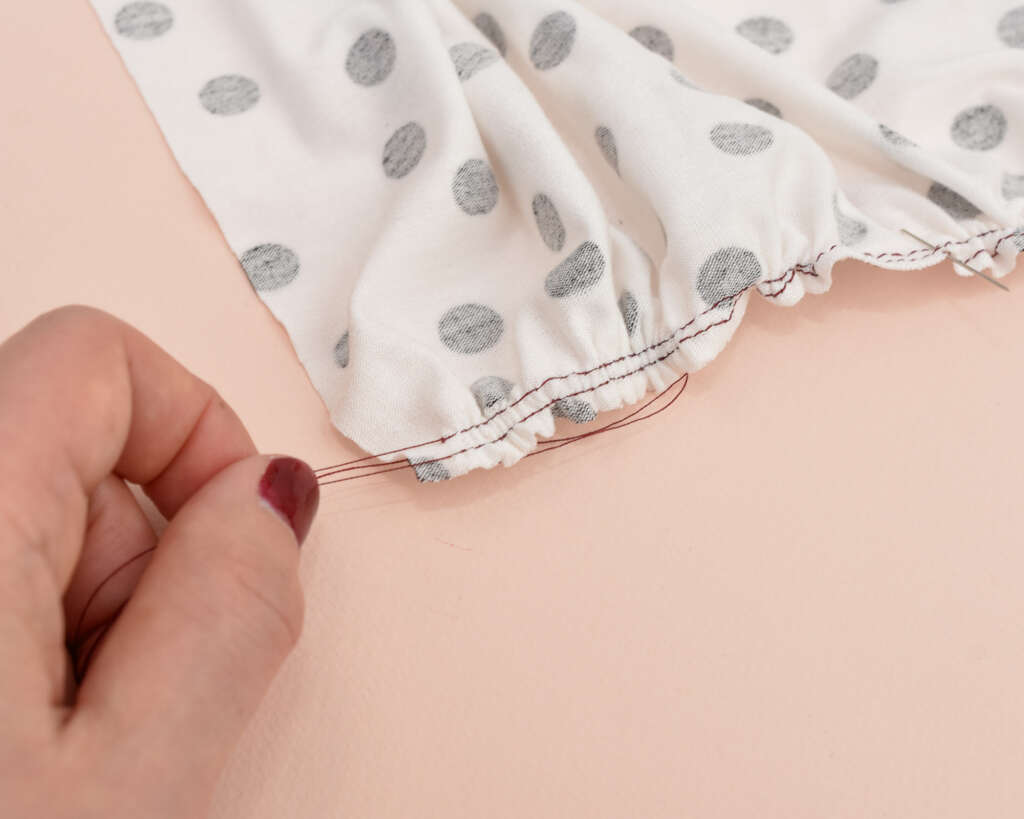
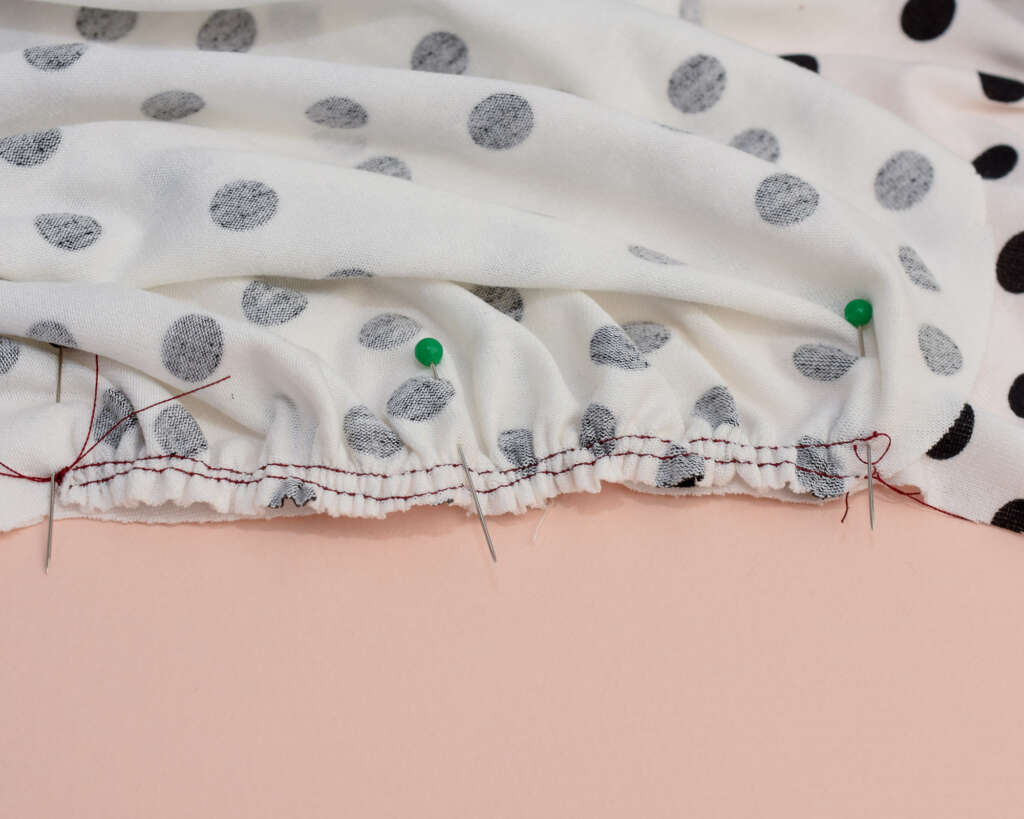
Sew two rows of gathering stitches between the gathering notches using the same method as for the bodice.
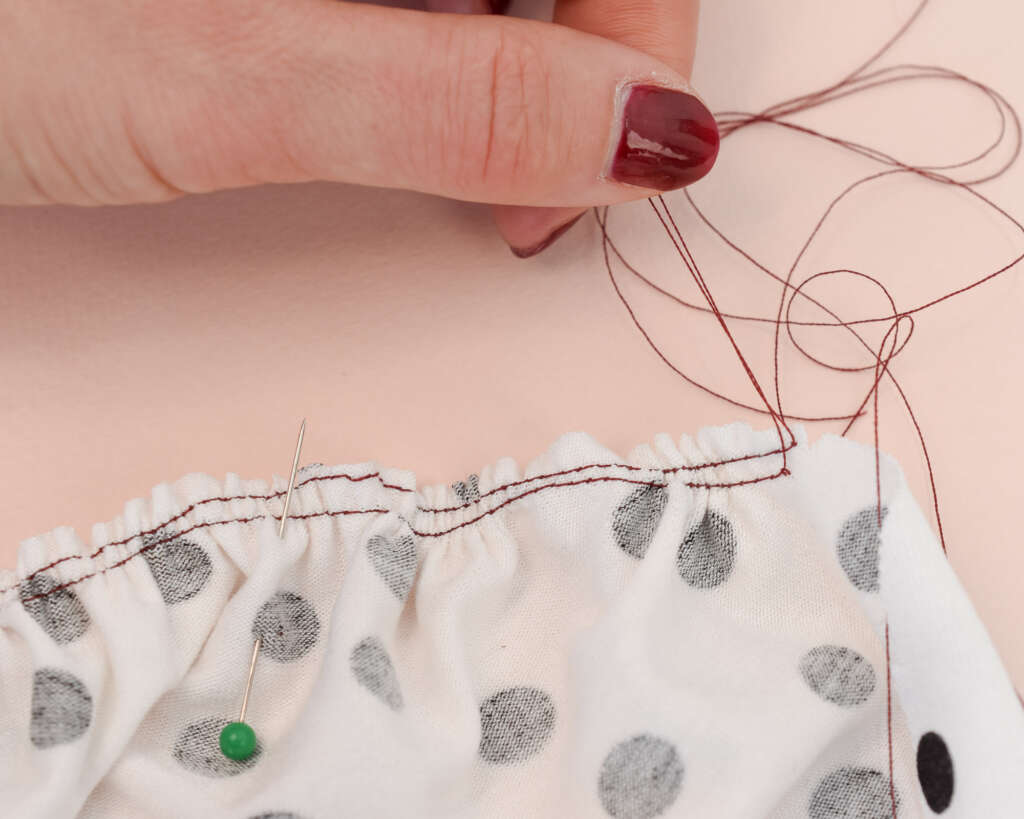
Pull the bobbin threads from the wrong side on both the front and back sleeve caps, pulling towards the shoulder point.
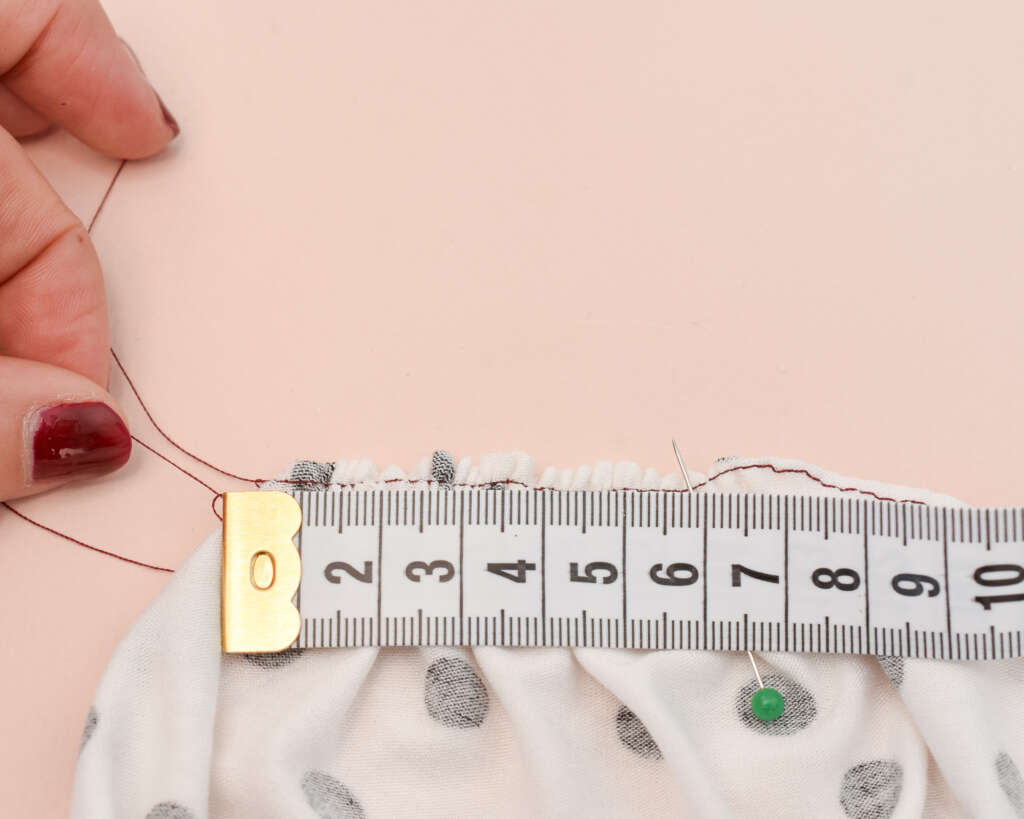
Check the gathered length against the armhole notches, using a measuring tape or the pattern and adjust the gathers until both sides are equal.
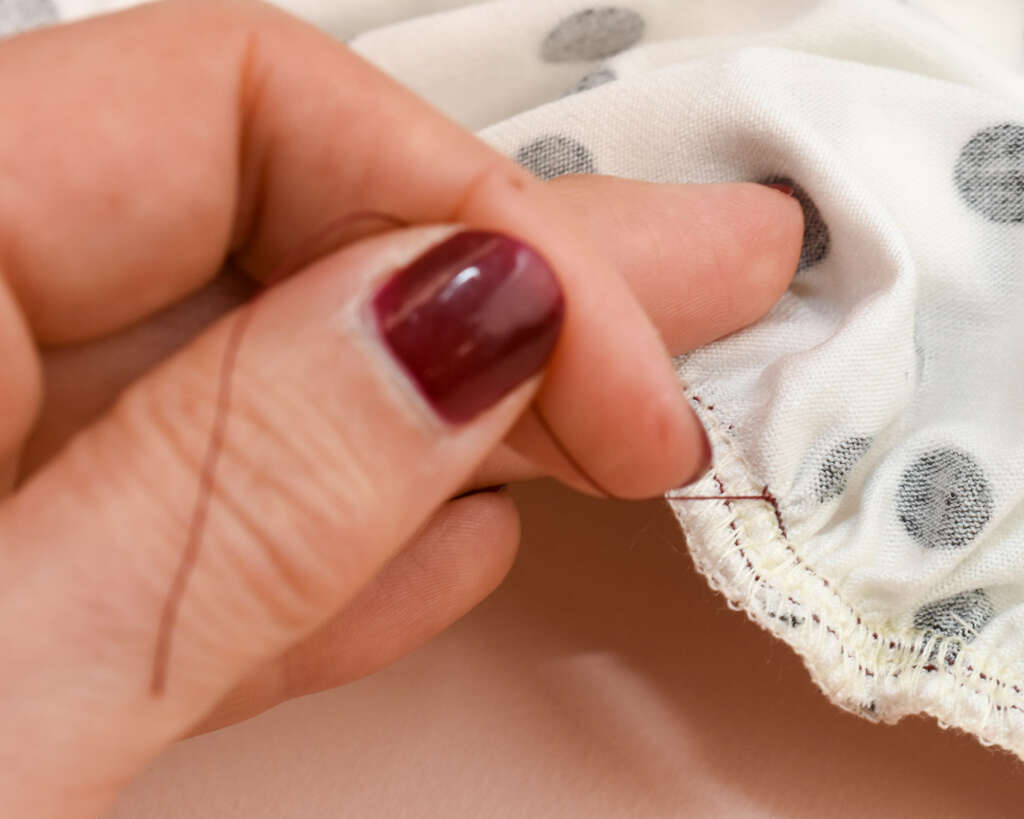
Tie the threads on both sides to secure them and distribute the gathers evenly between the notches and the shoulder point.
Keep the shoulder point pin in place during sewing, as this makes the shoulder notches easier to align later.
Sleeve hem gathers
I found that it is easier to gather the sleeve hem on the Tyri blouse before sewing the sleeve side seam. Since the cuffs are quite fitted, it gets really fiddly to create the gathers into a fairly narrow circle. But if you prefer, you can of course try to do them afterwards.

Mark the side notches and the mid-sleeve notch with pins on the right side.
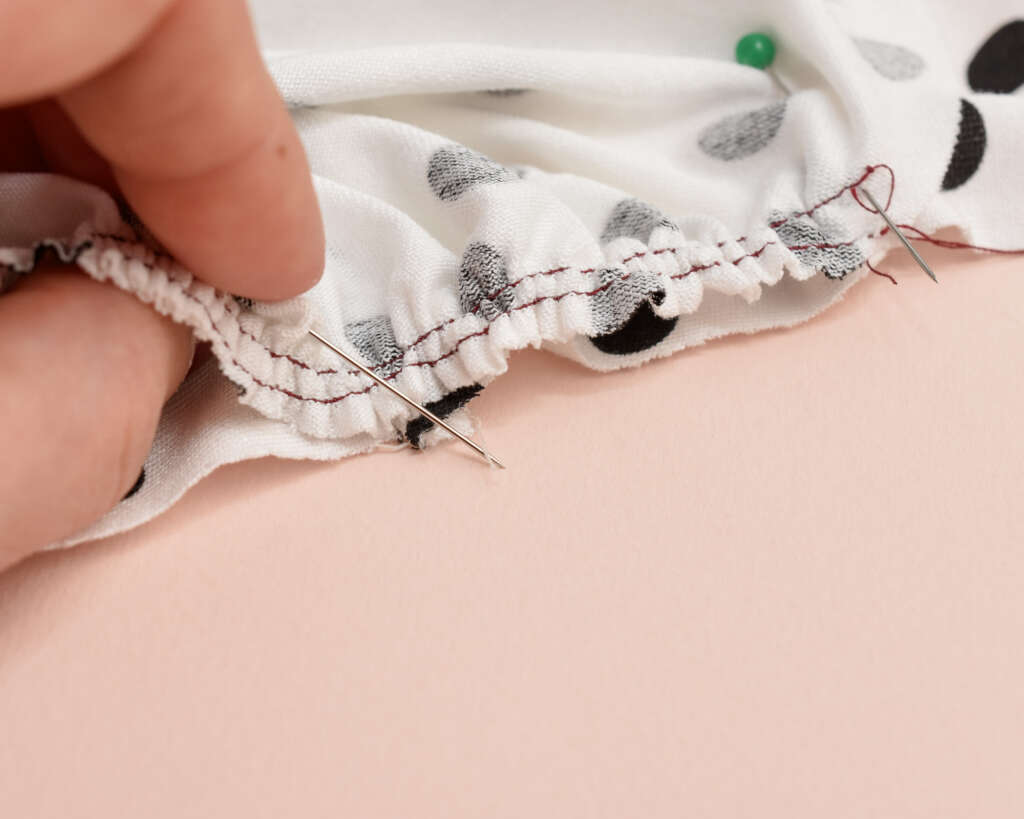
Sew two rows of gathering stitches between the notches using the same method as for the sleeve cap. Make sure the gathering stitches stay between the notches so they are not caught in the sleeve seam later.
Pull the bobbin threads from the wrong side towards the mid-sleeve notch.
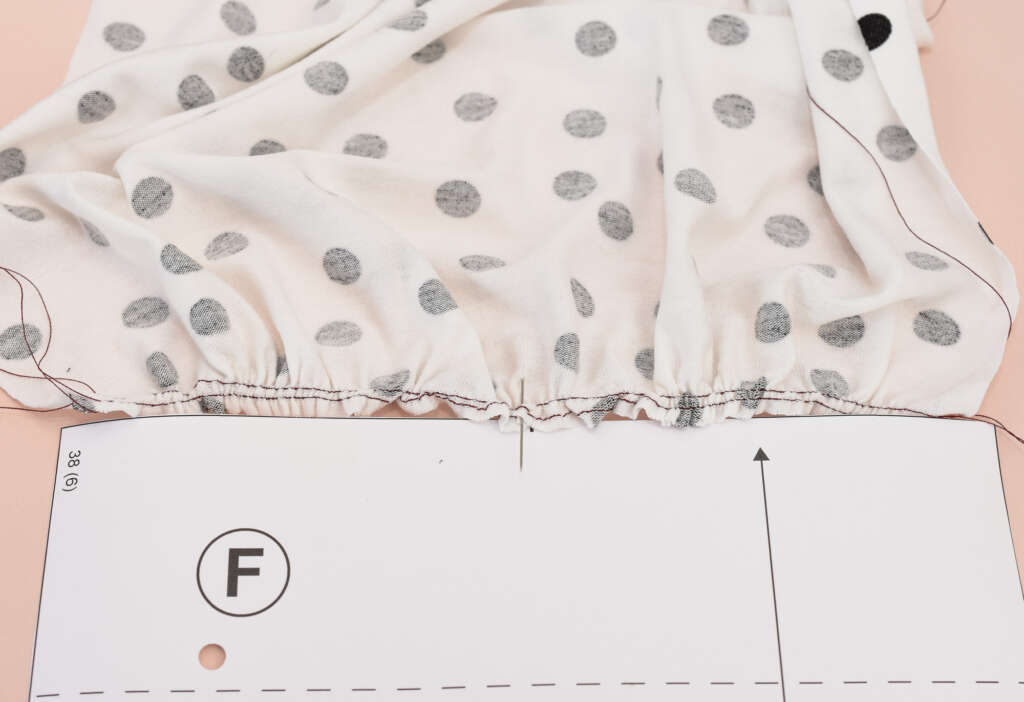
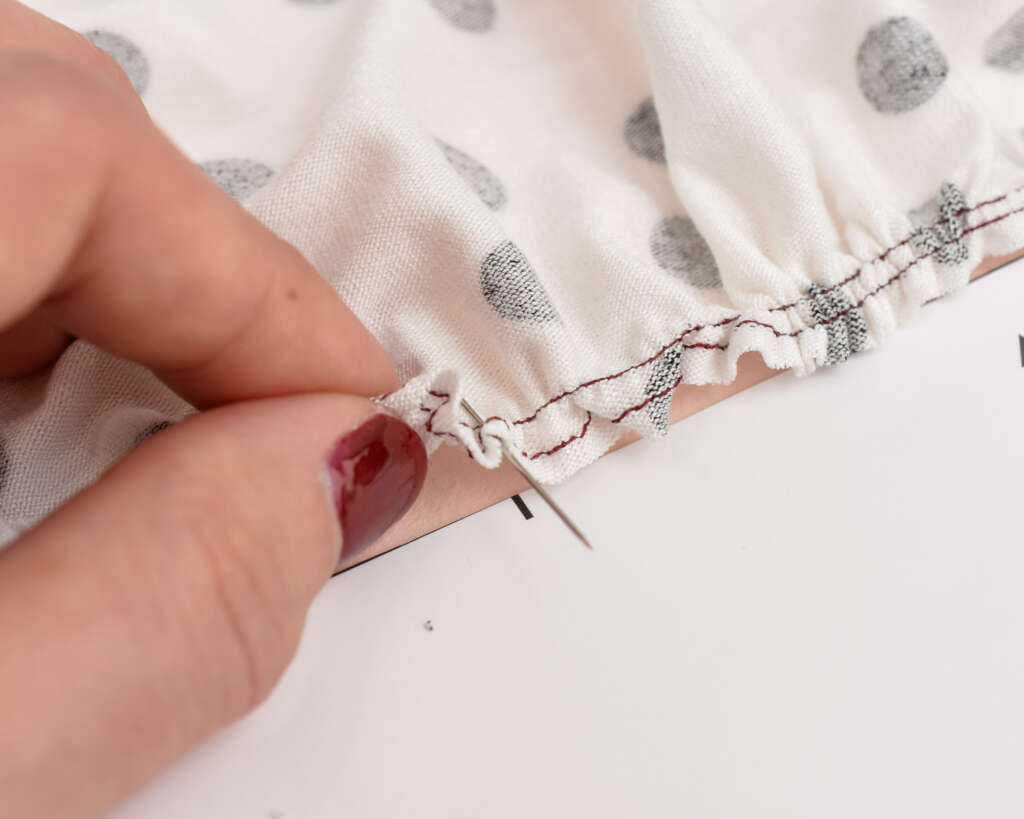
Measure against the cuff pattern piece and adjust the gathers until both sides of the mid-point are equal in length. You can also measure the distance with a measuring tape.
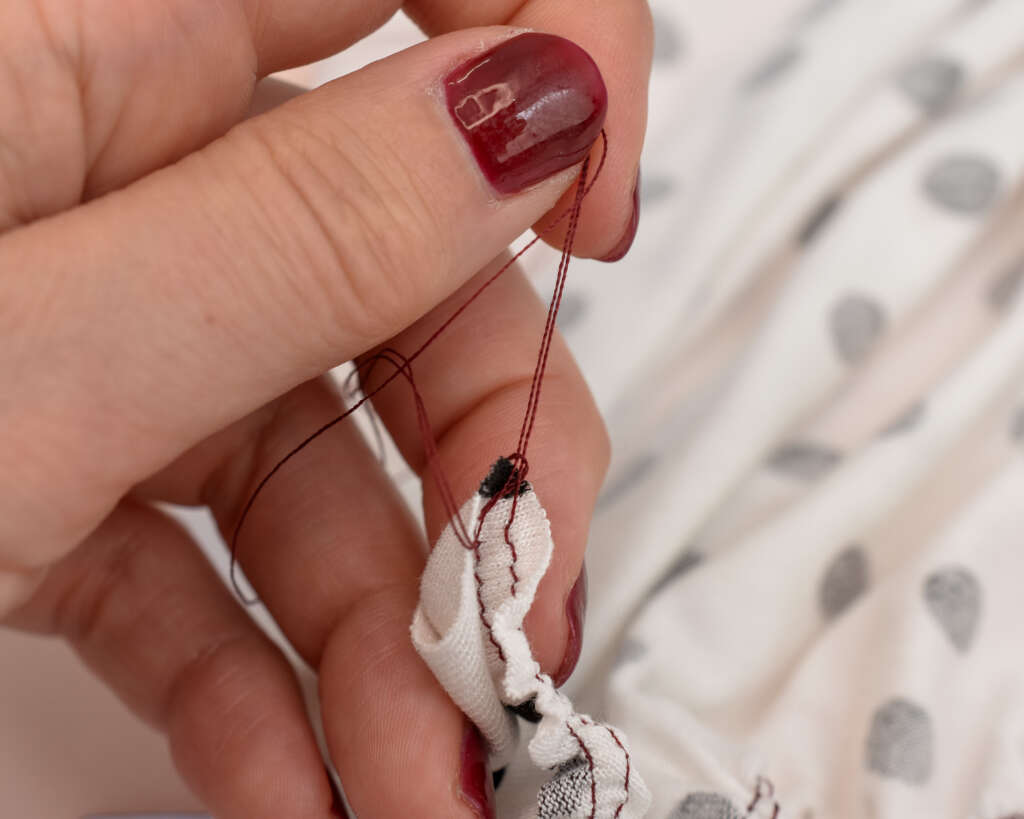
Tie the threads on both sides to secure them and distribute the gathers evenly.
Keep the mid-point pin in place to help align the cuff and sleeve hem later.
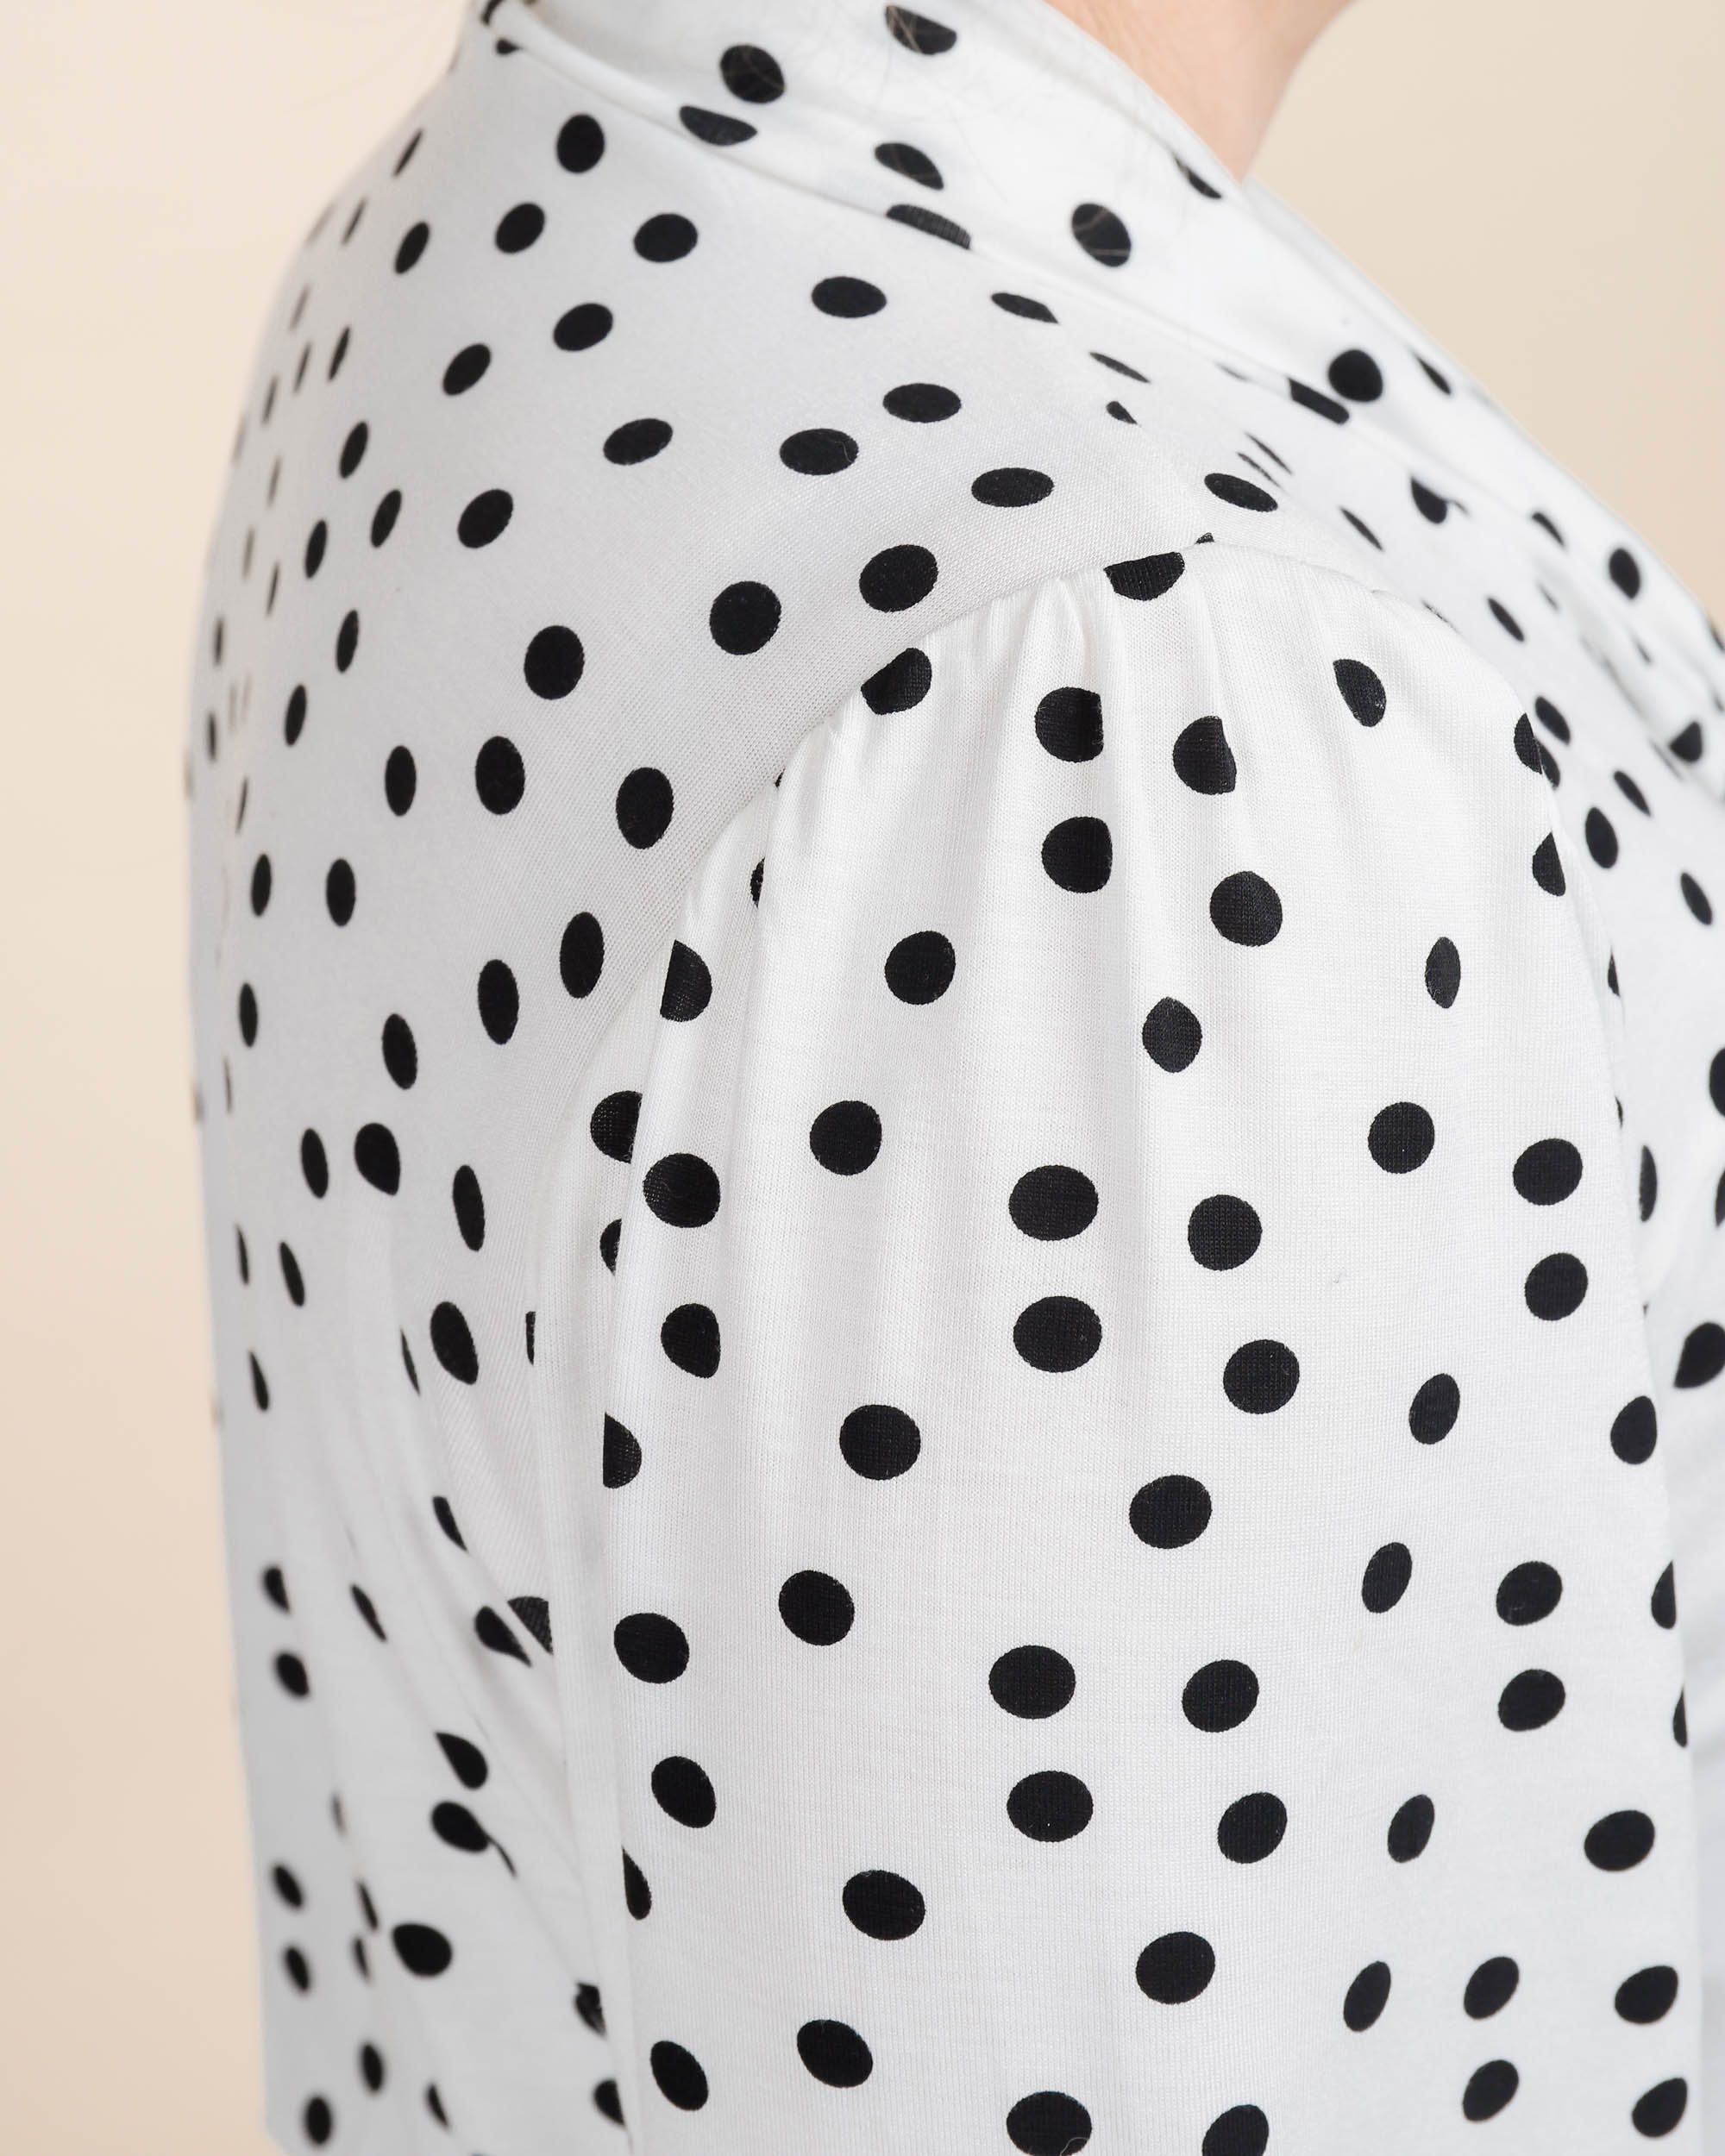
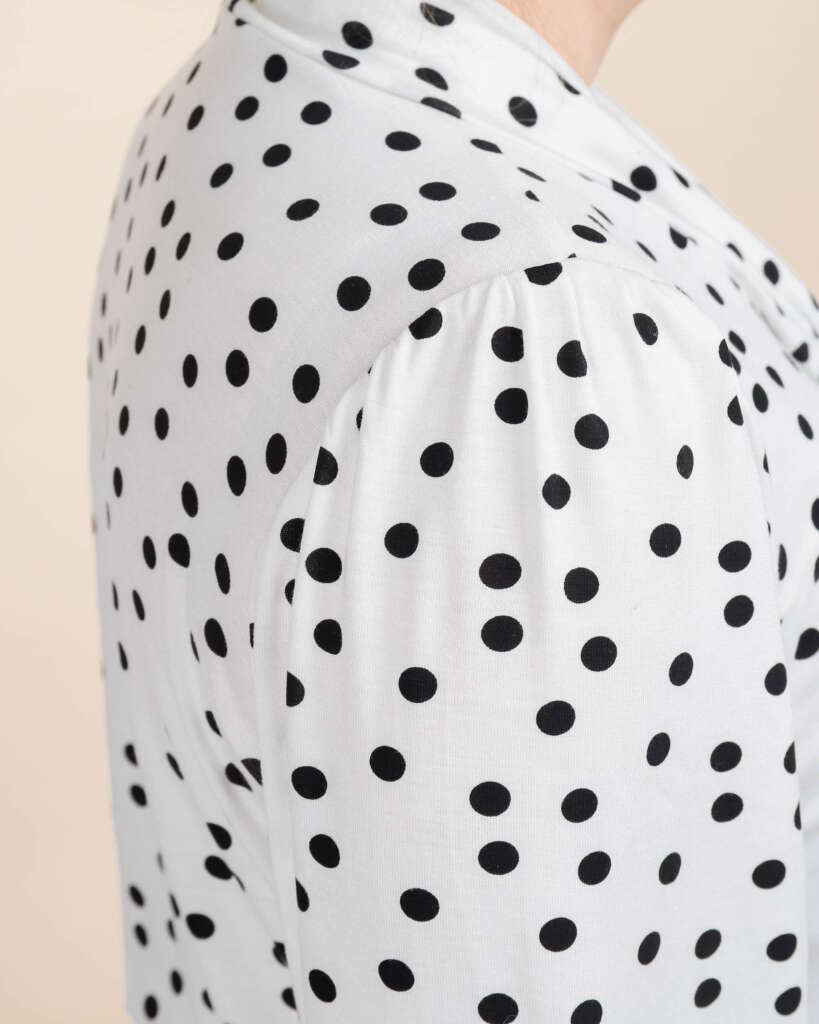
Sew the sleeve caps
Place the sleeve cap into the armhole with right sides facing, matching the front, back and shoulder seam notches. Pin in place.
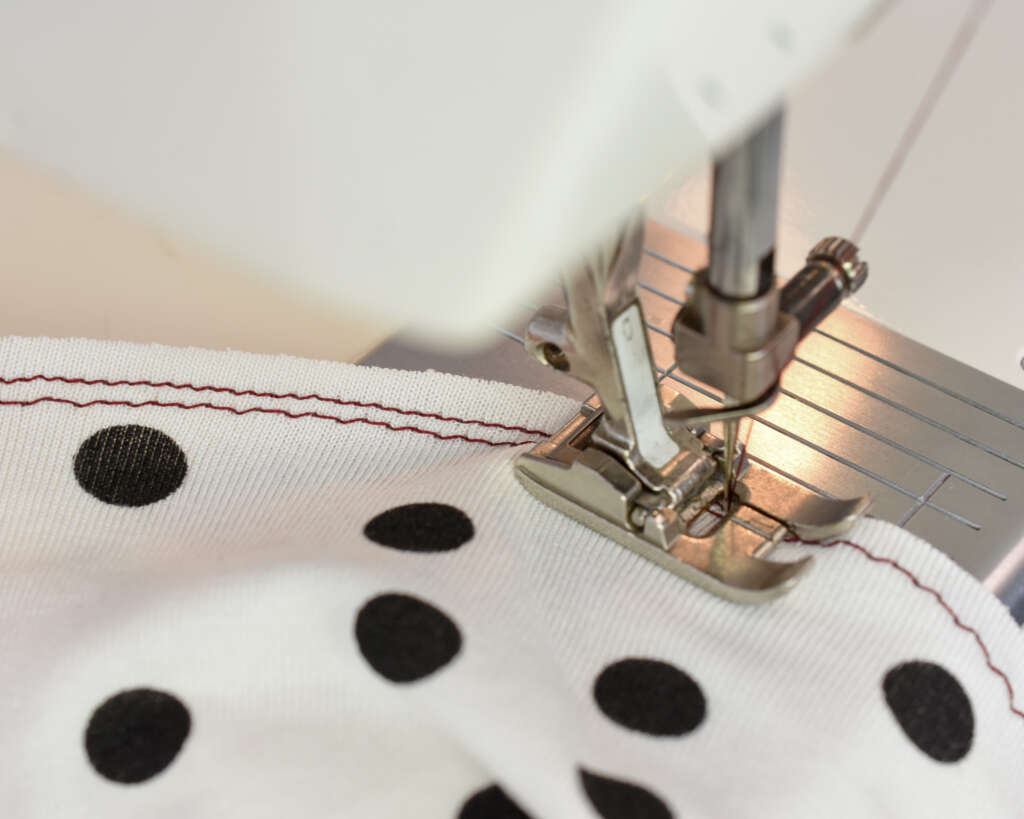
Sew the sleeve caps with the sleeve facing up towards you. For the puff sleeve version, hold the gathers down so they do not shift or fold while sewing. Remember to stretch the sleeve cap slightly to match the armhole notches, since the sleeve cap circumference is slightly shorter than the bodice armhole for fit.
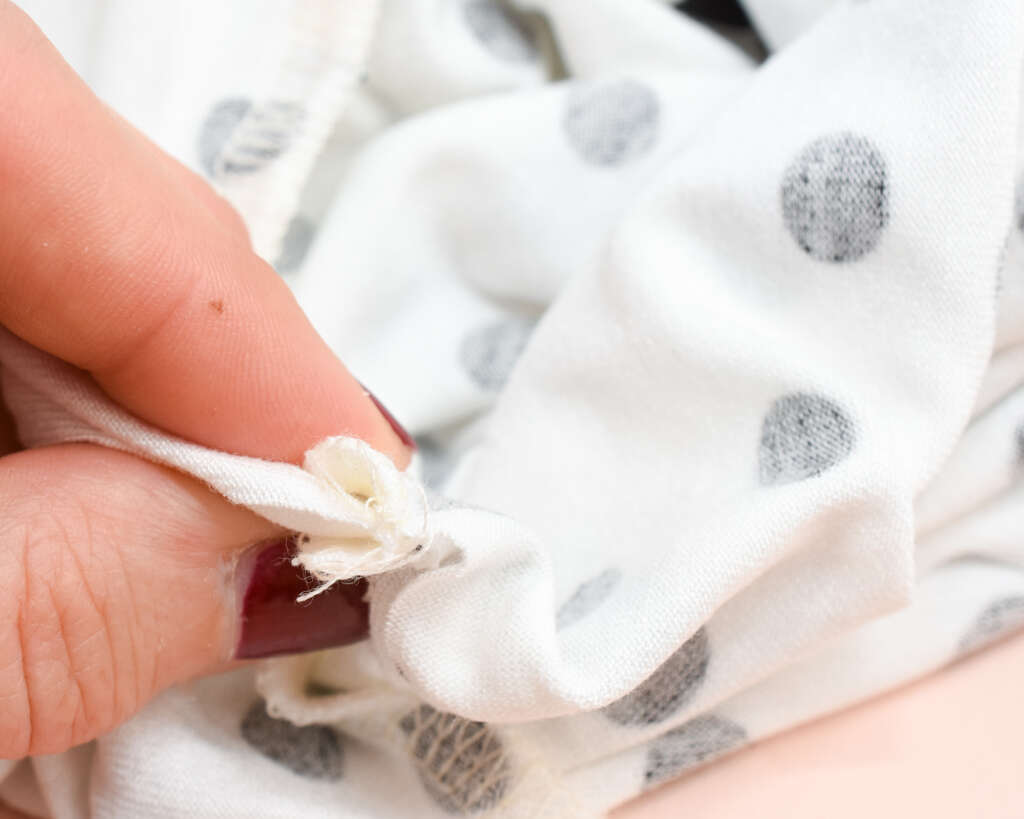
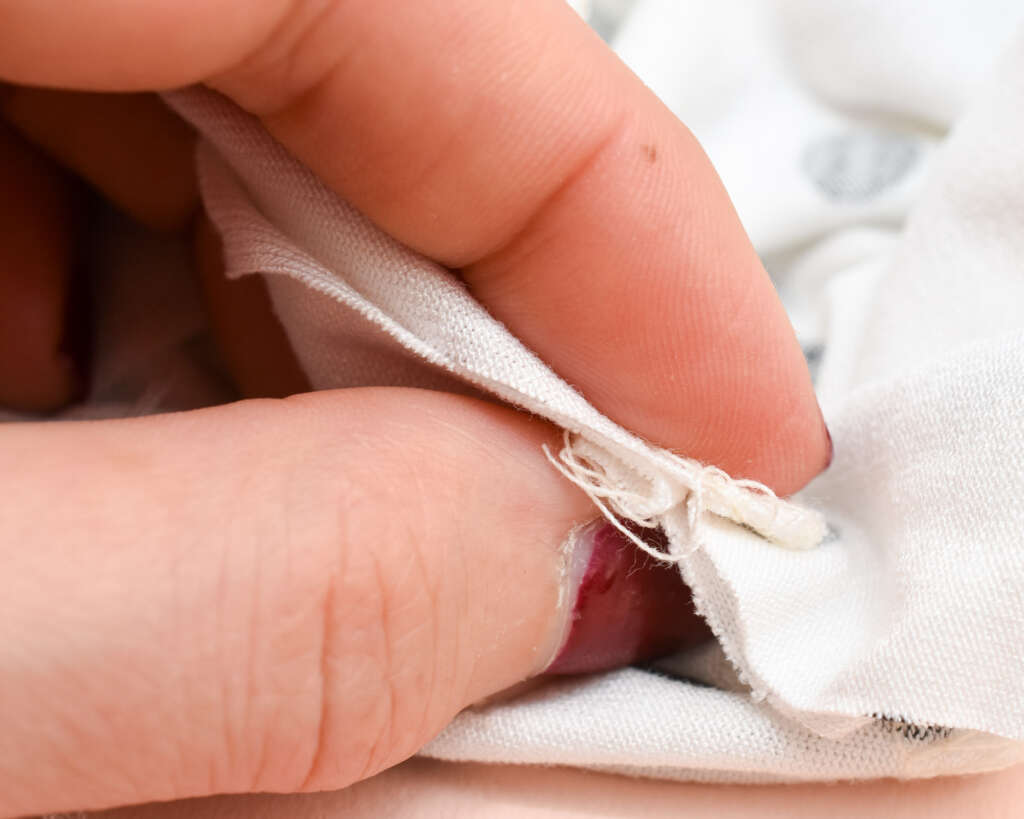
Remove the basting threads
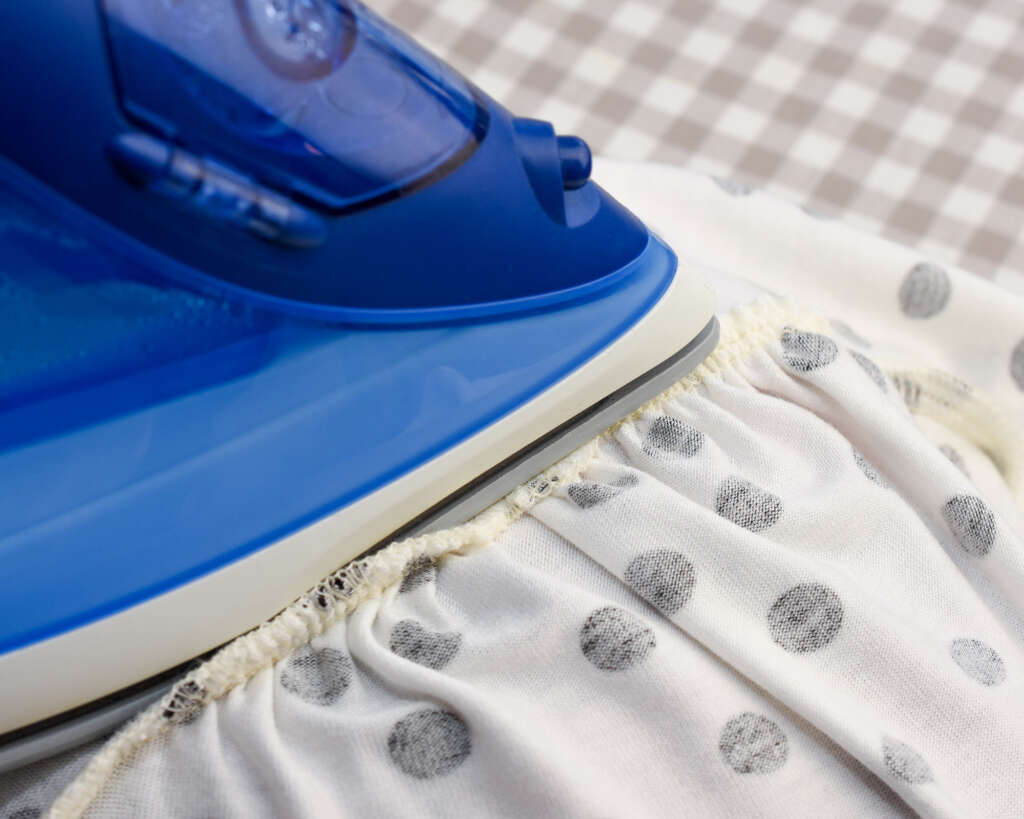
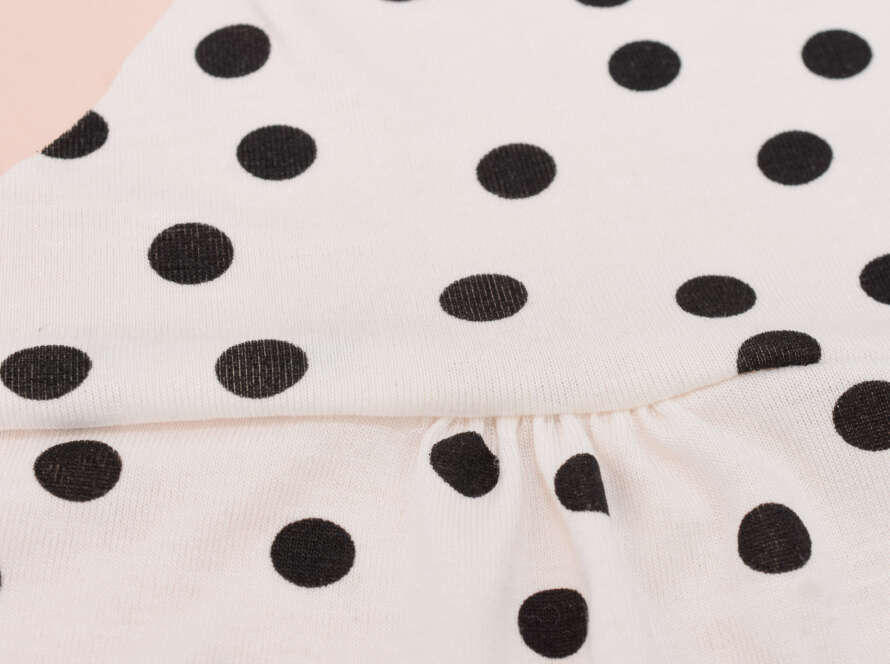
Press the sleeve cap seam allowance towards the sleeve. Don’t press over the gathers, just the seam.
Sew the side seams
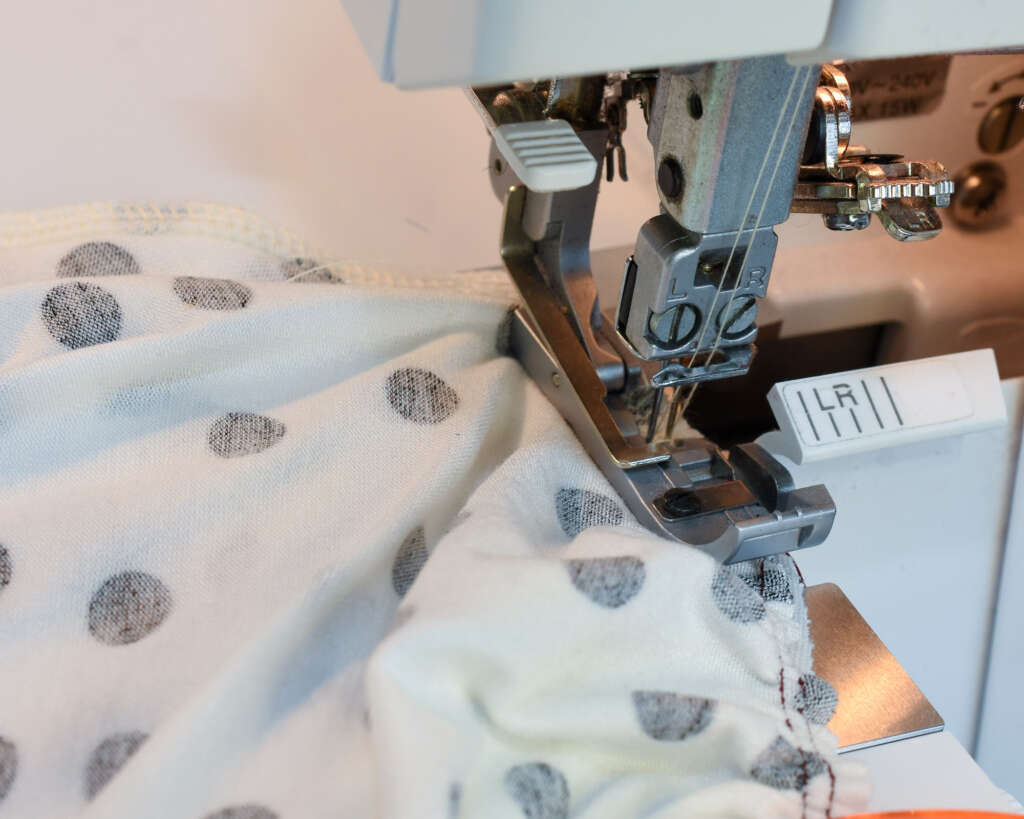
The bodice and sleeve side seams are sewn in a single continuous seam from the bodice hem towards the sleeve hem.

With right sides facing, align and pin or keep the pieces in place with wonder-clips (Amazon affiliate link).
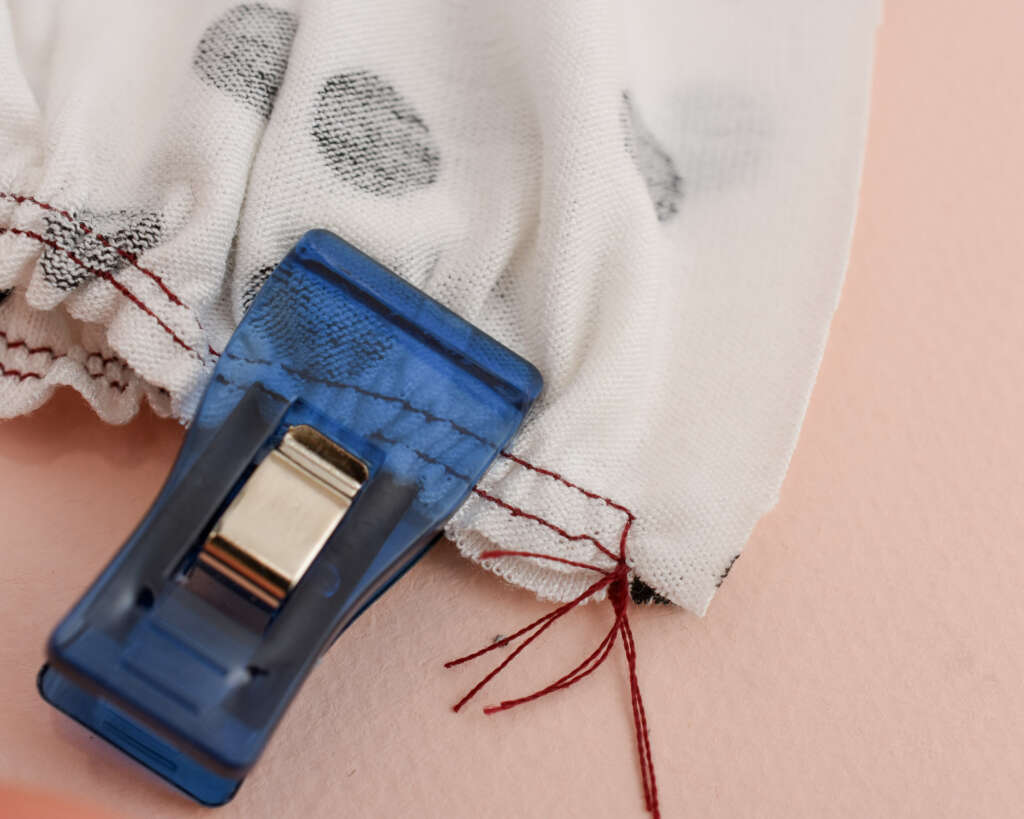
Make sure that you also keep the edges in place of the sleeve hem since you don’t want to catch the gathering stitches, as this will make adjusting for the cuffs a bit trickier (the only downside of using the flat gather method rather than gathering on the round)
Start at the lower edge of the bodice and sew along the side seam. I forgot to take a photo of the sewing step, but it’s clearly shown in the instructions 🙂
When reaching the sleeve area, fold the seam allowance towards the sleeve and continue sewing, making sure the sleeve cap seam matches on both sides.
Or fold one seam towards the bodice and one towards the sleeve to reduce the bulk (this is a common method for sewing t-shirts in the garment industry)
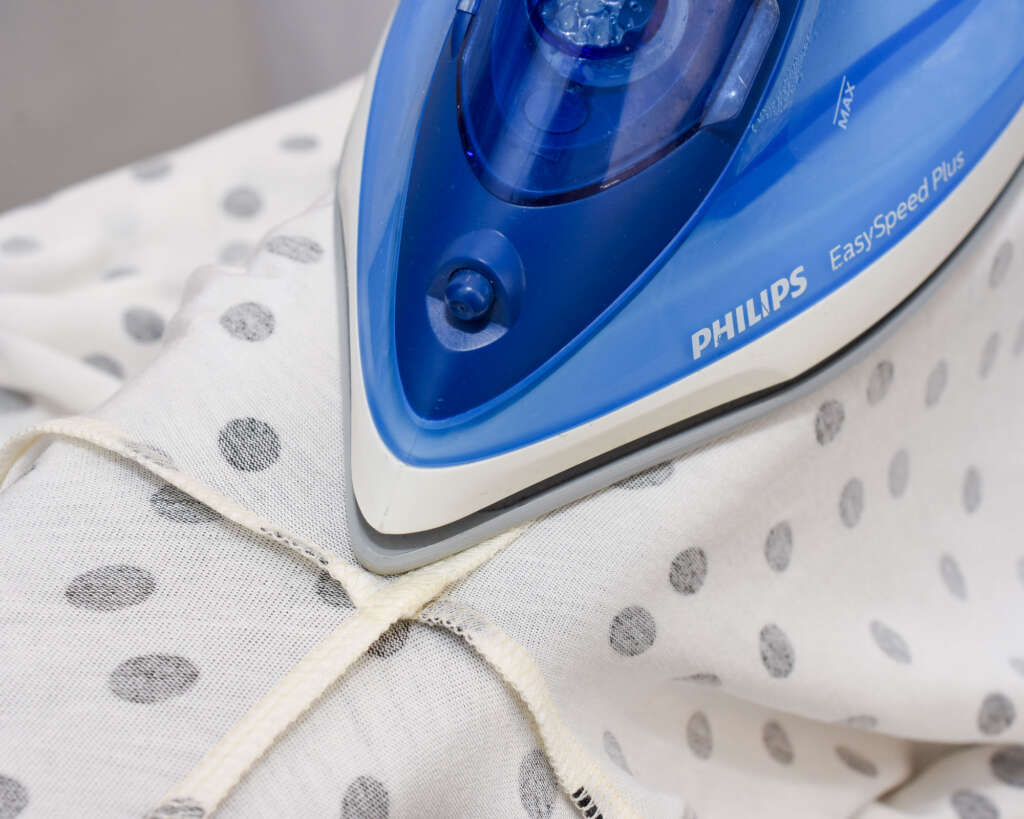
Once you have sewn both side seams, press the side seams towards the back bodice. Or press the first side seam before sewing the next, which is a bit easier, as you get better access.
Now only two steps remain in the Tyri Sew-Along, the cuffs and hems.