
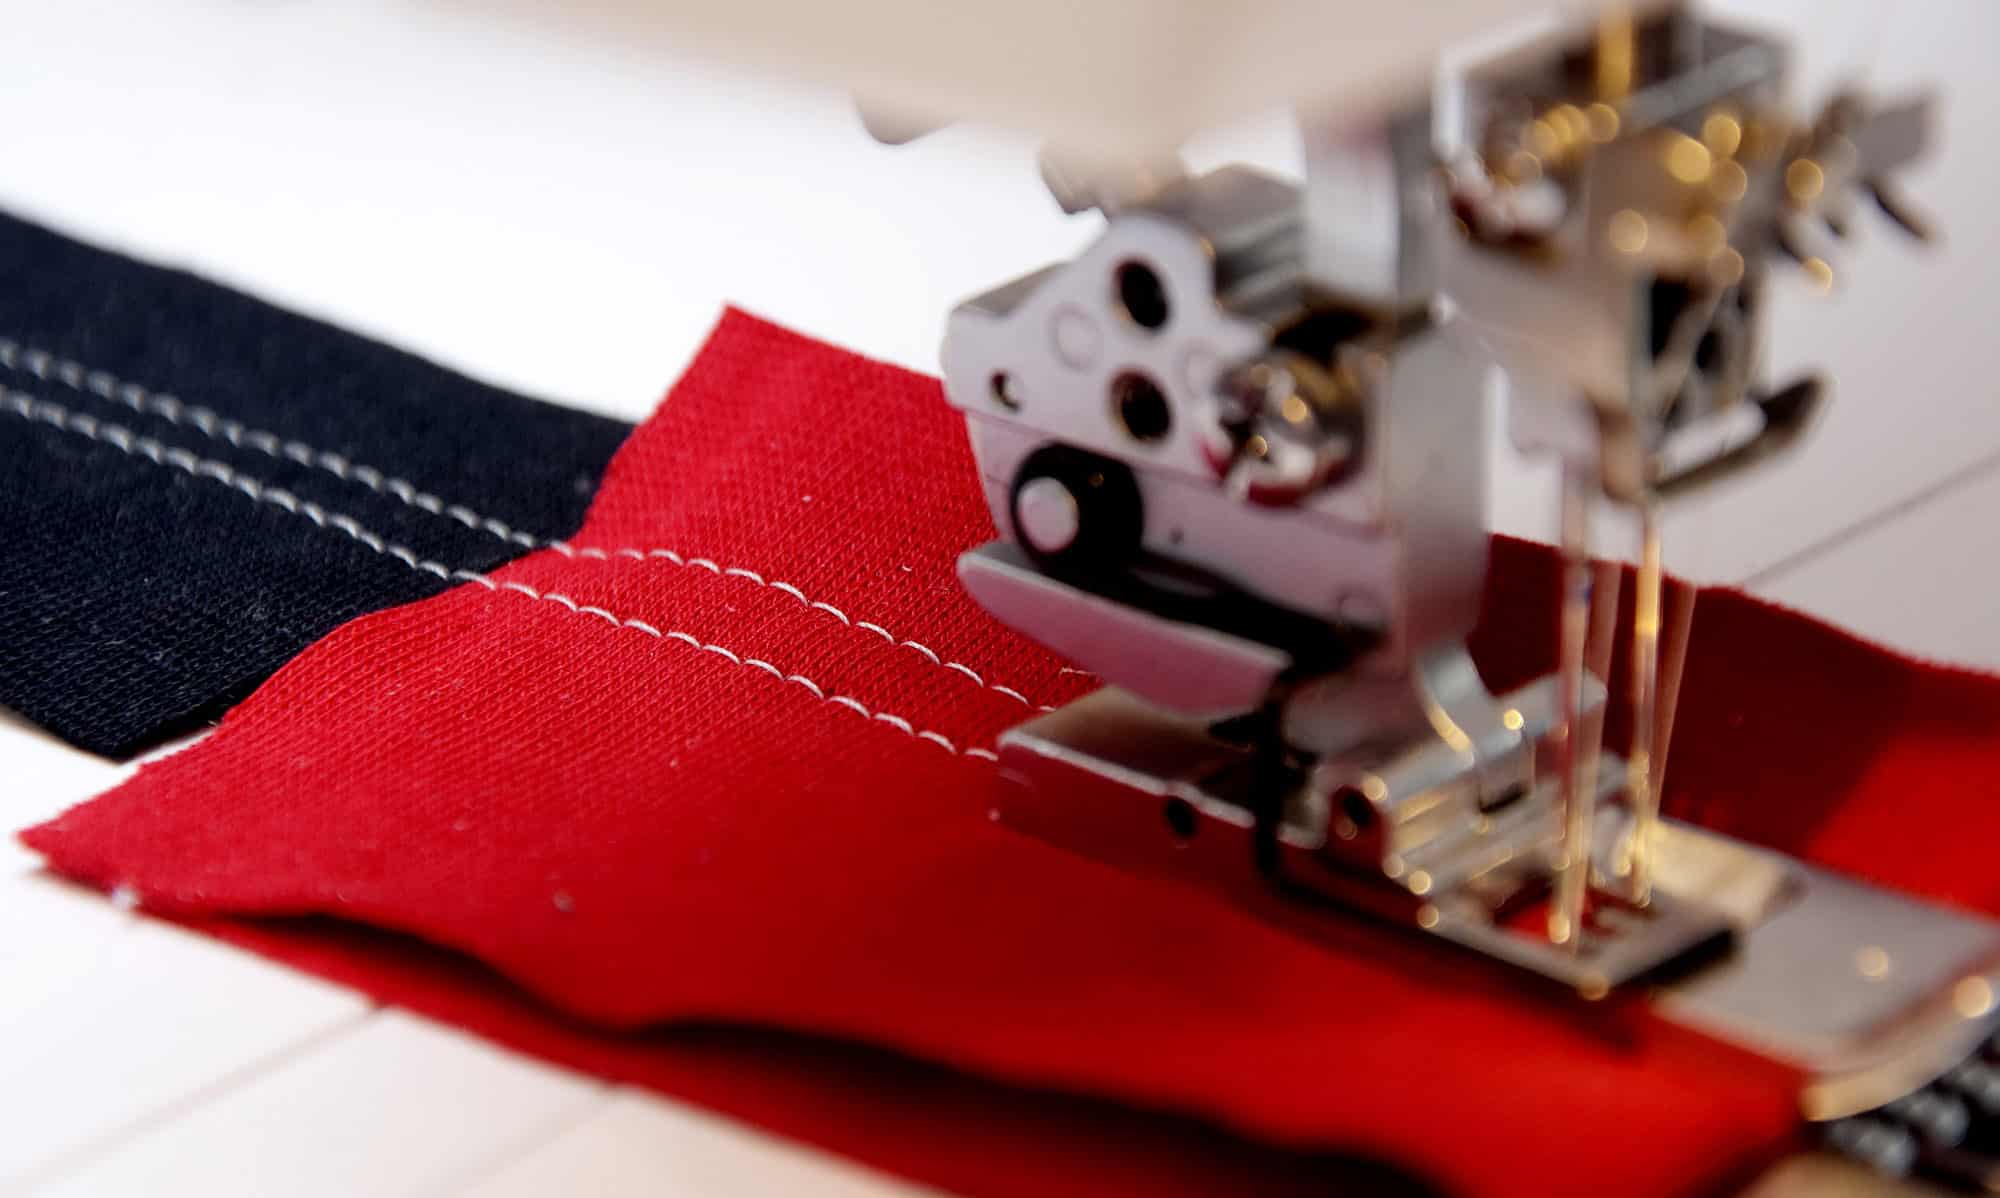
A coverstitch machine can be a fantastic tool for achieving professionals hemming when sewing knit garments. However skipped stitches, tension issues, uneven stitching and other problems are also pretty common occurrences on most coverstitch machines. Luckily there are some methods and troubleshooting procedures that will vastly improve your result (and calm your nerves too, sometimes coverstitching can be a pretty nerve-wracking experience!).
Here is a handy coverstitch guide based on an excerpt from my book Sewing Activewear: How to make your own professional-looking athletic wear.
Update: I have also written a coverstitch book; Master the Coverstitch Machine
How to succeed with coverstitching
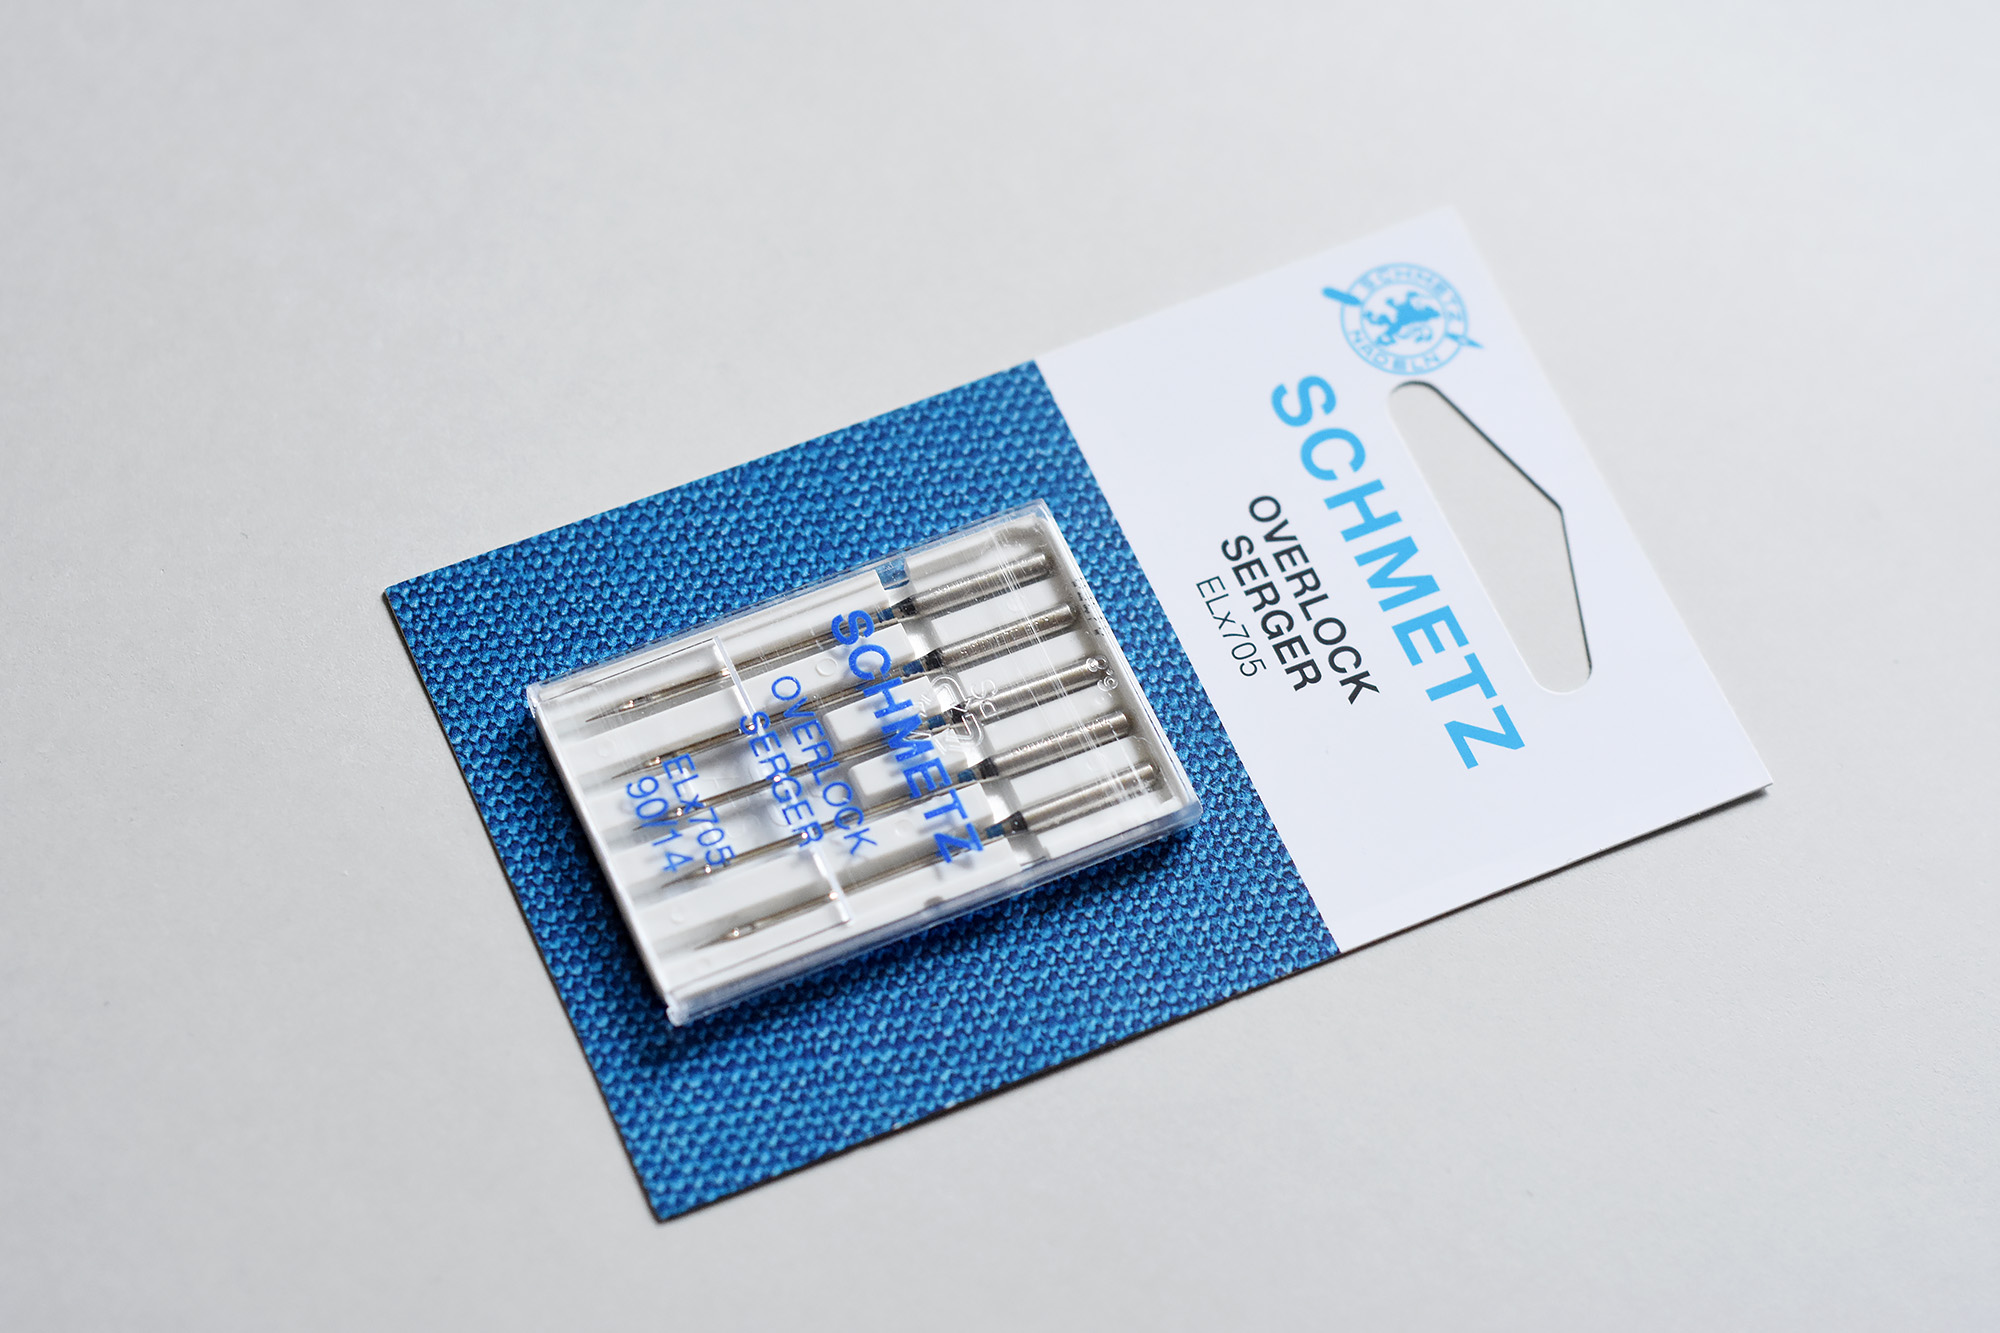
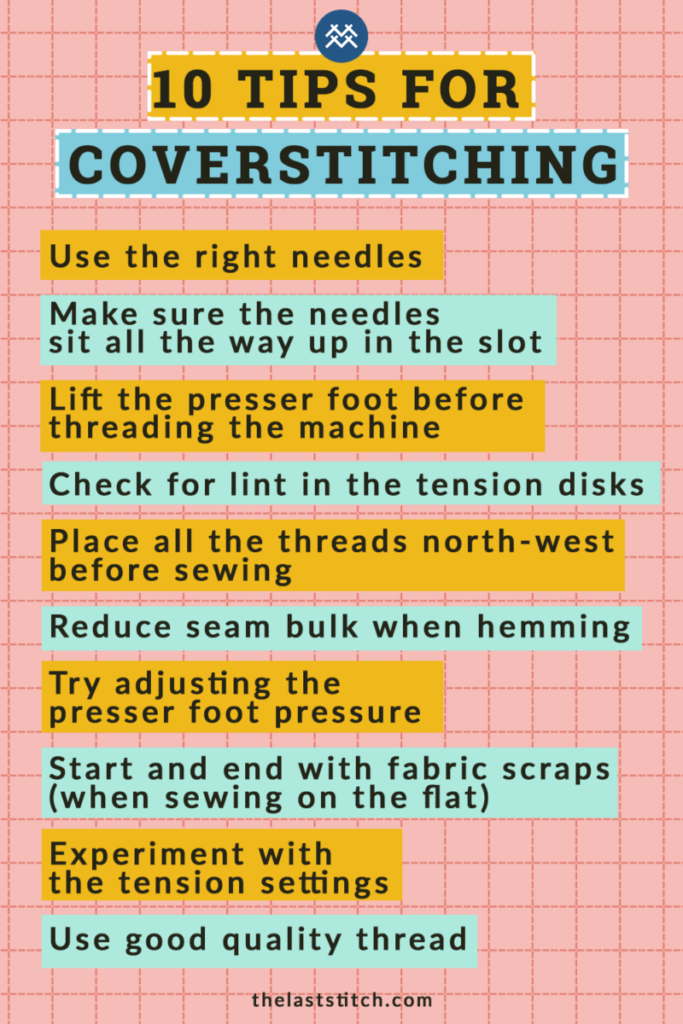
Use the right needles
The first call to action is to make sure you have the right needles. Check what type of needles your coverstitch manufacturer recommends and also ask the seller for advice. The ELX 705 Serger Overlock needles (Amazon affiliate link) needles are considered among the best and work with most machine brands.
When inserting the needles, make sure they sit correctly all the way in the needle bar slot before you start sewing.
Start with a clean machine
The next step is checking that the machine is clean. Look especially for lint or threads being stuck between the plates. I recommend using a brush or maybe a hand held mini-vaccum machine to clean out the lint, and you can remove threads with a pair of tweezers. If you have a combo machine that also works as a serger, clean out the lower compartment as well.
Thread the machine right
Before you start threading the machine, lift up the presser foot to release the tension plates. This is very important, as you won’t get proper tension if the presser foot is down when threading. If you already threaded the machine, you can usually just attach the new thread to the old one with a knot. If you have a problem pulling it through the disks, you can release the tension even more on some machines by pulling up the presser foot lever even more.
When threading the machine, begin with the looper and again make sure that everything is clean and properly threaded. Finish off by inserting the thread in the needles and pull all the threads to the back, facing north-west, making sure you have a decent thread length that you can use when securing the seams after sewing.
Do sample tests
Always do samples before sewing on the actual garment. You might have to adjust the tension, stitch length, differential feed, and even the presser foot pressure to achieve a perfect seam. So don’t expect to get a perfect seam on the first attempt—especially if your machine is a little fickle.
Start and finish with a fabric scrap
Many issues with a coverstitch machine occur during the first few stitches. If you have a fickle machine and are sewing the garment flat and not in the round, I highly recommend that you begin sewing on a fabric scrap and then insert your garment and continue sewing. When you are done sewing your garment, insert another fabric scrap and finish the seam on that scrap. Then leave the scrap in the machine until it’s time to coverstitch again.
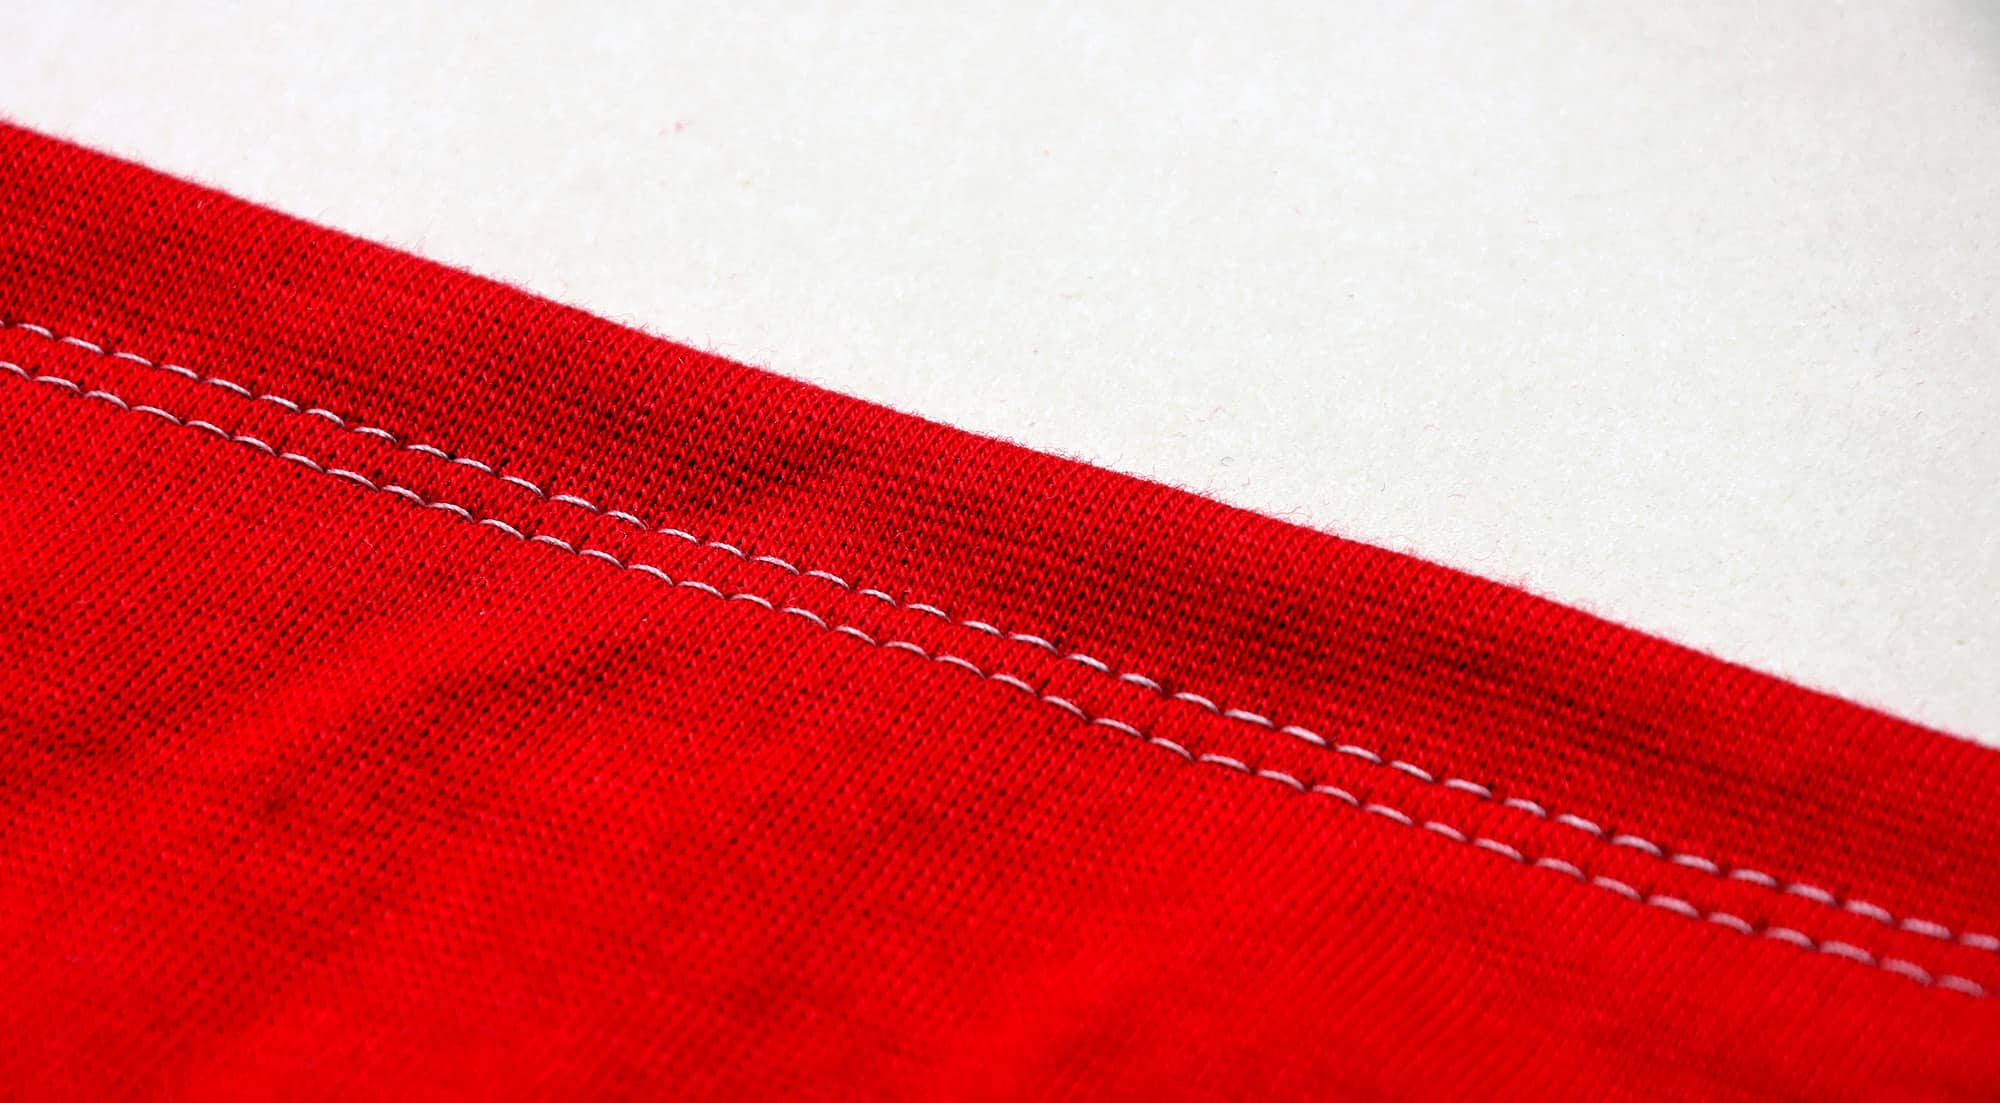
Use the right coverstitch sewing techniques
Make sure the needles hit the fabric on the first stitch and then start sewing. You can sew the first few stitches slowly, but you’ll get a better result if you sew with confidence and a decent speed after that, don’t stop and start all the time to check the stitching!
Tricks for sewing over bulky seams
Most skipped stitches happen when sewing over thick seams and here are a few suggestions to solve that problem:
- Clip the side seams at the fold of the hem and lay the clipped seam in the opposite directions.
- Hammer the seam flat. A rubber hammer is perfect for this purpose.
- Use a clearance plate (brand name Hump Jumper ®), which is a tool that helps raise the presser foot when sewing over bulky seams.
- Experiment with the speed when sewing over a hump. Experts I’ve consulted with recommends going fast over thick layers.
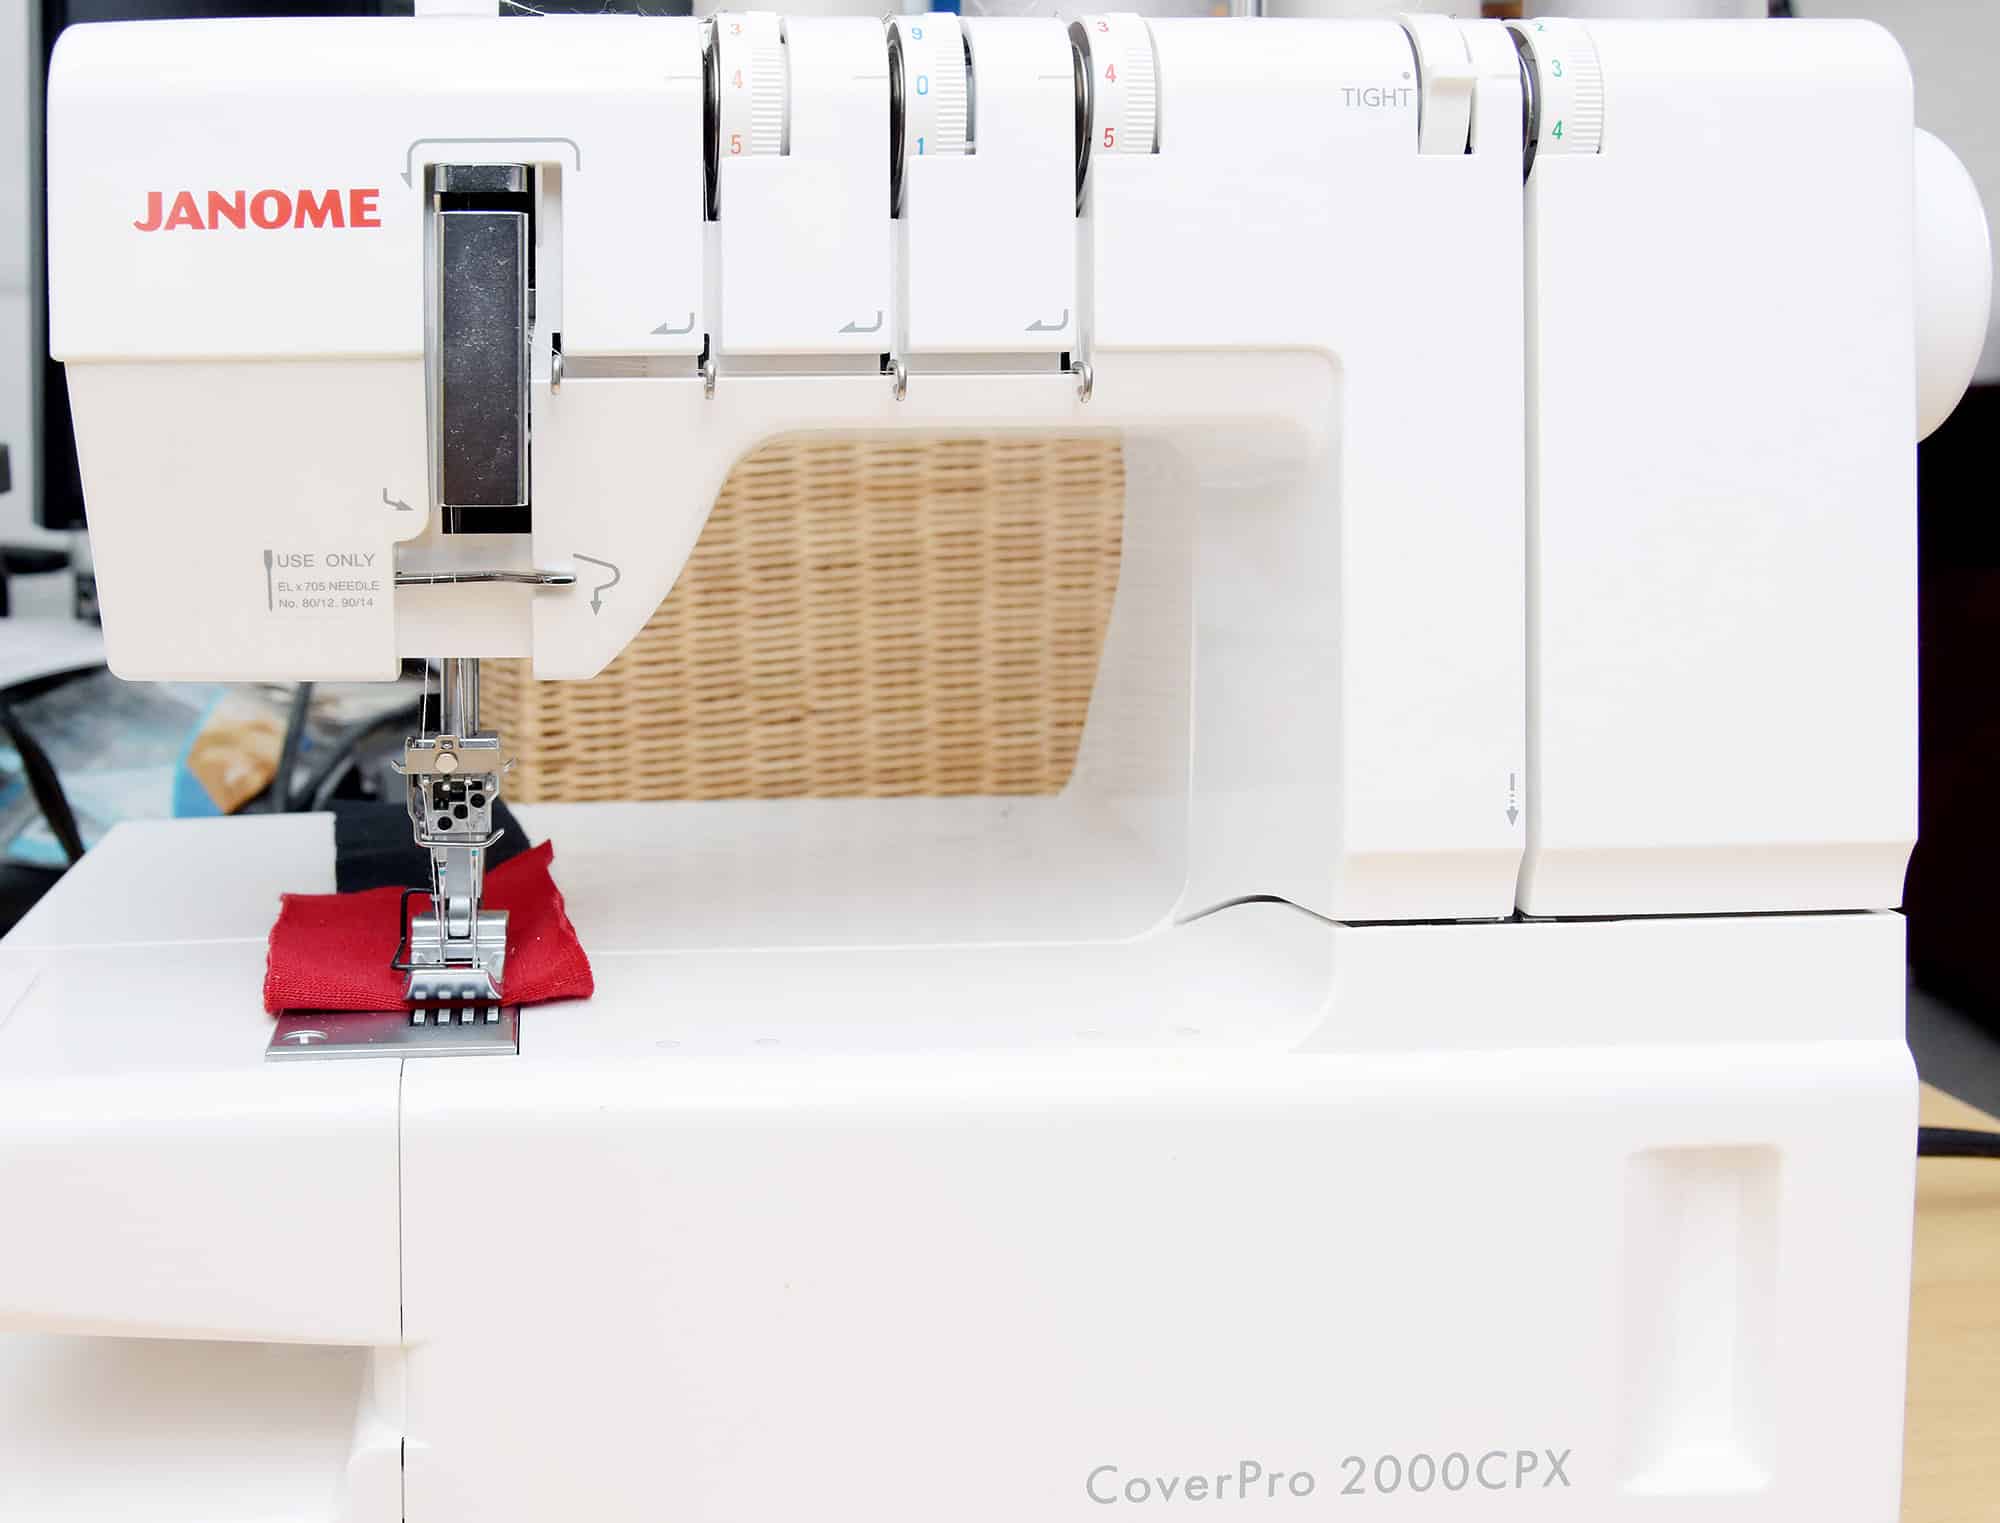
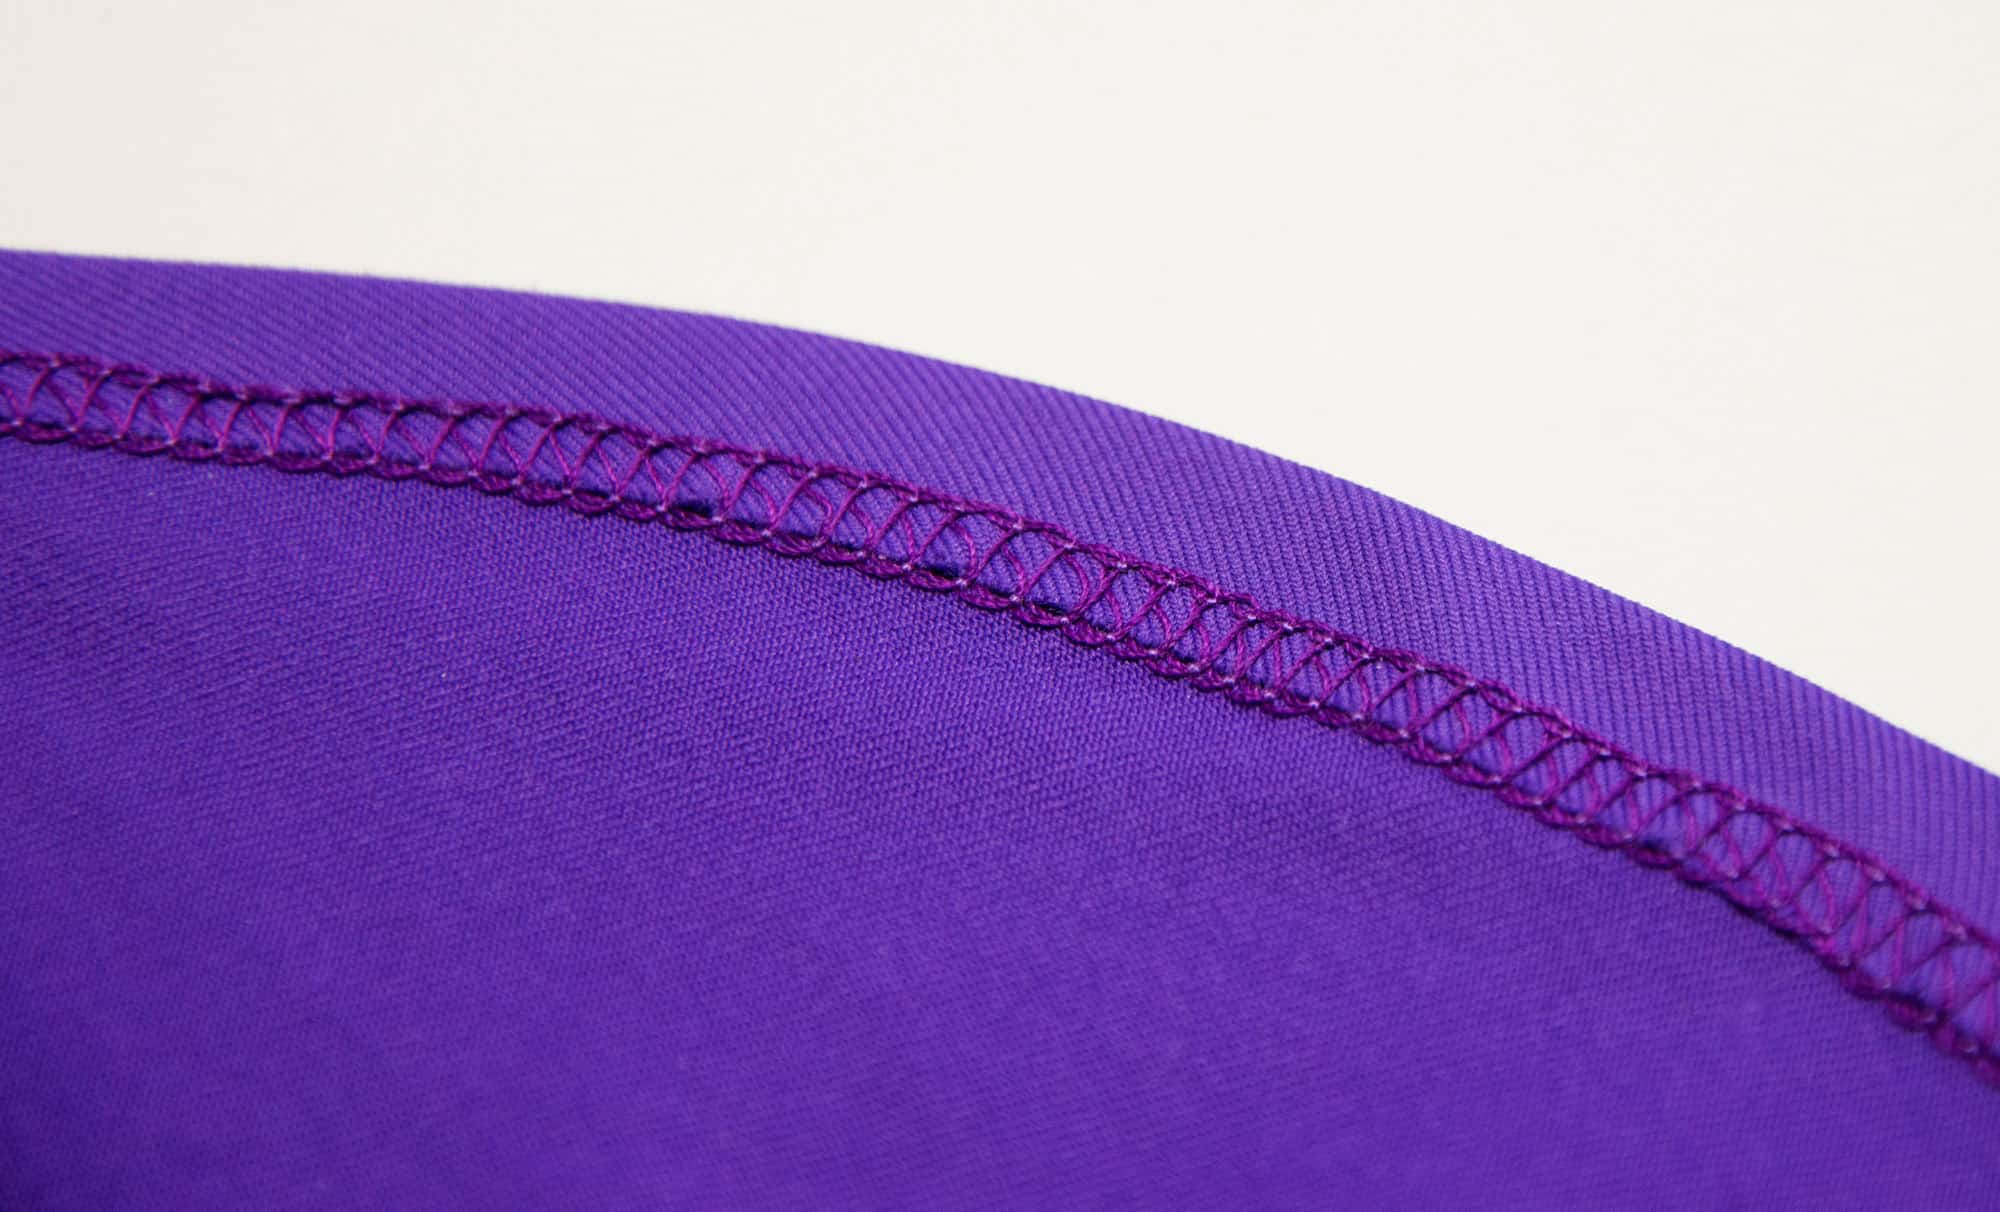
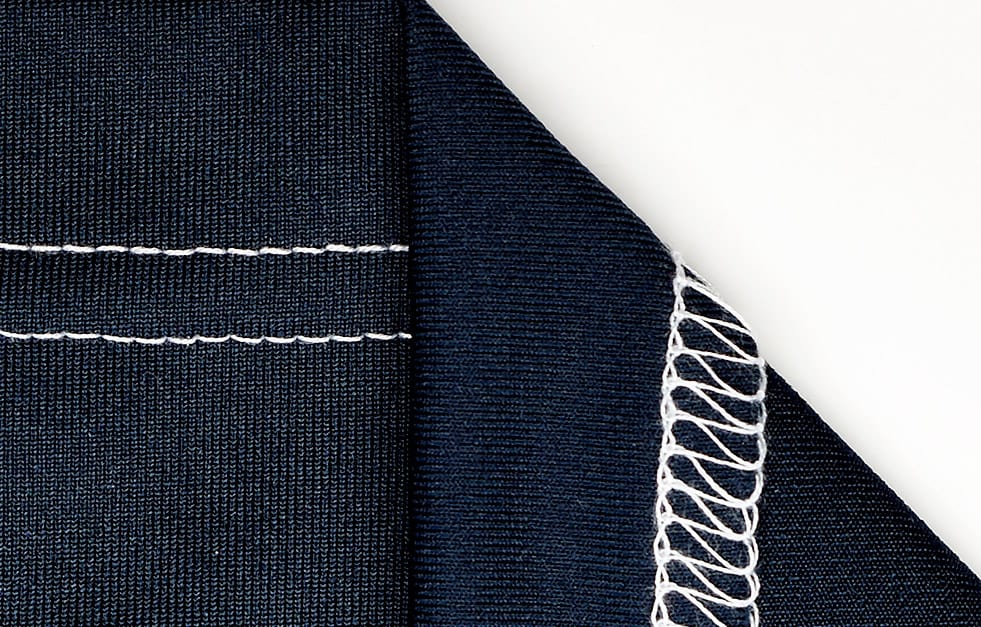
Experiment with the settings
If you are experiencing tunnelling (ridges forming between the stitches), gathers or have uneven looper stitches, these can often be remedied by adjusting the tension, stitch length and/or differential feed settings just slightly. For instance, try adjusting the tension on one needle if the stitches are uneven or try losing the looper tension if you want to minimise the tunnelling.
That said, I have noticed a tendency in some coverstitch Facebook groups for instance where some people get overly obsessed with achieving flawless coverstitching and focusing on issues that are so small that no one else notices them and the end result still looks way better than some RTW stitching. So I think there should be a healthy balance (pun intended!) when you are sewing with a coverstitch machine!
And if you want even more tips, I’ve created a very detailed troubleshooting guide that you can download for free!
Hope that you found some of the tips useful, and if you have any more tips or questions, please chime in in the comment section!
And of course, there are a lot more tips in my books Master the Coverstich Machine and Sewing Activewear
Bonus info: If you want to see how to apply many of tips I’m talking about in this blog post you can check out my video about troubleshooting coverstitching:
This post contains Amazon affiliate links, meaning that a commission is earned from qualifying purchases.
12 Comments
Renee
Thanks for all the great tips I’m still learning on my coverstitch machine and I find sometimes that the end of my stitching unravels. I’m not sure why as every tutorial and video I’ve seen says that it shouldn’t. Any ideas?
Johanna
The end threads will unravel unless we secure them quickly, so you are doing nothing wrong! I’ve done a video on how to secure the threads that you can check out https://youtu.be/t8dp1VNXqcY
Makeitanywear
I have always understood that one should never use canned air on any sewing machine as it can blow the dust into places you can’t reach. I always use a mini attachment on my regular vacuum
Johanna
That is a fair point, but from my understanding this shouldn’t be a problem for a coverstitch machine that doesn’t have much delicate inner workings. But better safe than sorry for sure, using a mini vacuum sounds like a good option for sure!
Beth Perrine
-just heard you on Love to Sew podcast…loved it, and have ordered your book! I’m so eager to conquer my long-neglected coverstitch machine.
Johanna
Thank you so much Beth! I’m sending you some coverstitch mojo on your journey, it can be done 🙂
Janice
I would love love love a detailed tutorial for sewing a swim top with swimsuit material, from beginning to end.
Every single step included, using the serger and overstitch machine.
Thanks!!!
Camilla
Johanna, does the overlock needls work on knit fabrics…?
Janelle Klammer
Hi there,
I have enjoyed following you and I purchased your new books
I am having issues with reverse coverstitching
My machine works so well except for reviser stitching over the seam to creat the lululemon look. Any tips with pressure for that?
Irene
I have a Juki coverstitch machine purchased over a year ago new, the machine sews beautifully on cotton fabric and othe similar fabric but no matter what I do, and I have tried everything, I even had the place I purchased it from look at it…it does not sew my knit fabrics especially the thin knit, the left thread stops sewing, always the right thread…I need help.
Pollyanna Fountain
I have a Juki also. I was using serger thread . I watched a video where a lady pointed on the machine where it says sewing machine. She said to use good quality sewing thread. It has made a world of difference . I still have some little loops on the bottom of the left needle. But in general , it’s much better and acceptable.
Comments are closed.