
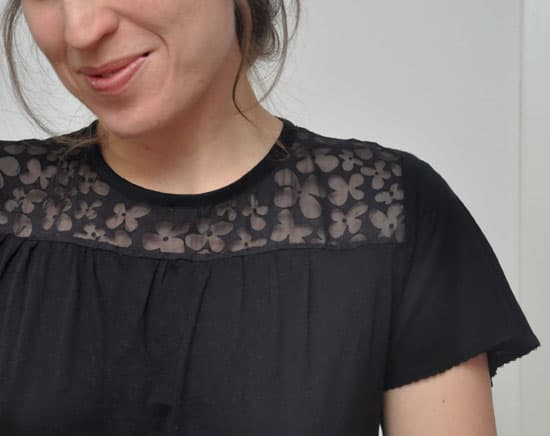
Sewing gathers on stretchy knits usually requires a different approach compared to the regular “Sew two rows of straight stitches and pull the threads” that you see in many sewing instructions. Because you don´t want rigid gathers with zero stretch when sewing knits. Instead, the gathers should retain a bit of stretch and work with the knit fabric and not against it.
Luckily there are several ways of doing this. Here are four different methods to add ruffles and shirring on stretchy knits, they are all very useful so pick which one fits your needs and sewing style the best.
And the best part? Neither method in this gathering tutorial requires special tools or attachments, just a little elastic (in some cases).
The Ultimate Guide to Sewing Gathers on Knits:
4 Methods to Try
Gathering using elastic cord

I use this method quite often, especially if I´m doing several rows of shirring (check out the shirring/smocking tutorial to learn more about how to do this). It gives me maximum control and is done easily on a sewing machine, without having to mess with elastic in the bobbin thread.
Pros and cons gathering using elastic cord:
Pros
- Easy to control the finished size of the gathering section
- Can be done on a sewing machine
- Retains the stretch
Cons
- The elastic cord adds bulk
- The cord can slip if you are not careful, messing up the gathers
To sew gathers with an elastic cord you’ll need
- Good quality elastic thread or thin elastic cord. (Amazon affiliate links)
Don’t use low quality elastic as it wears down quickly and might break - A sewing machine set on a wide zigzag stitch
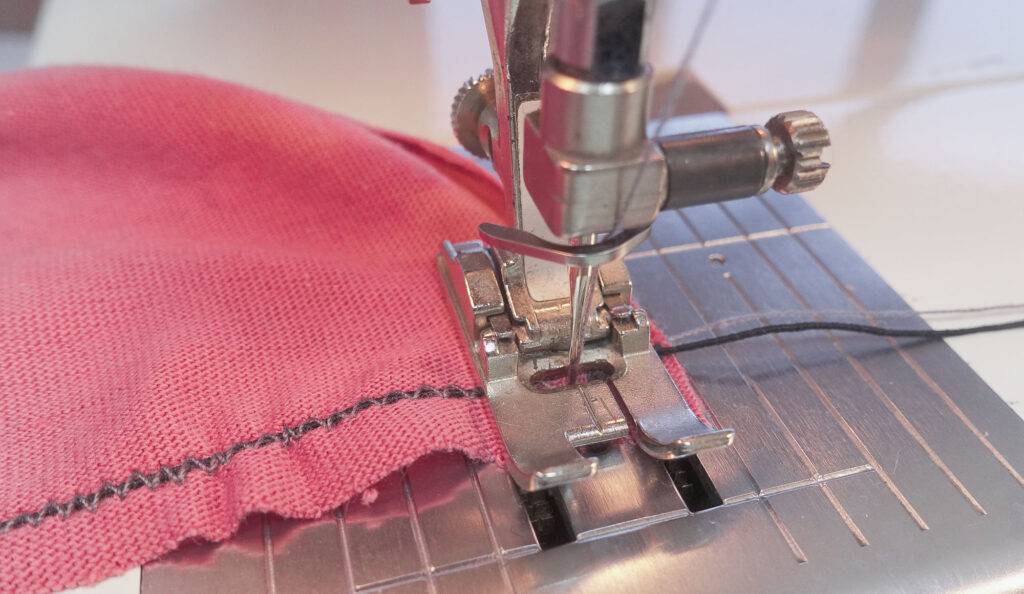
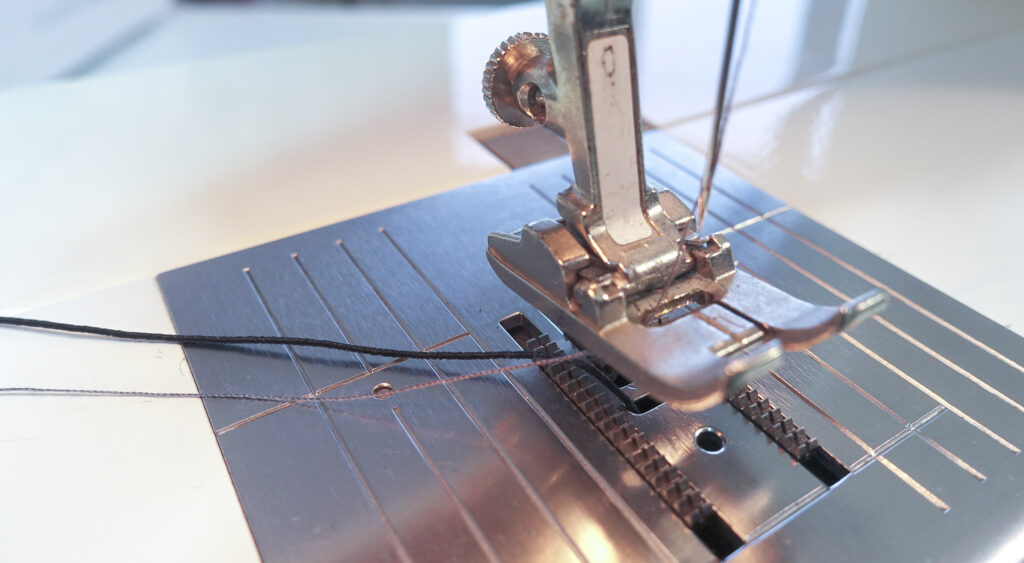
1. Set your machine on wider than normal zigzag stitch
Your stitch needs to be wide enough for the needle not to hit the elastic, even if you would slip a bit while holding the thread.
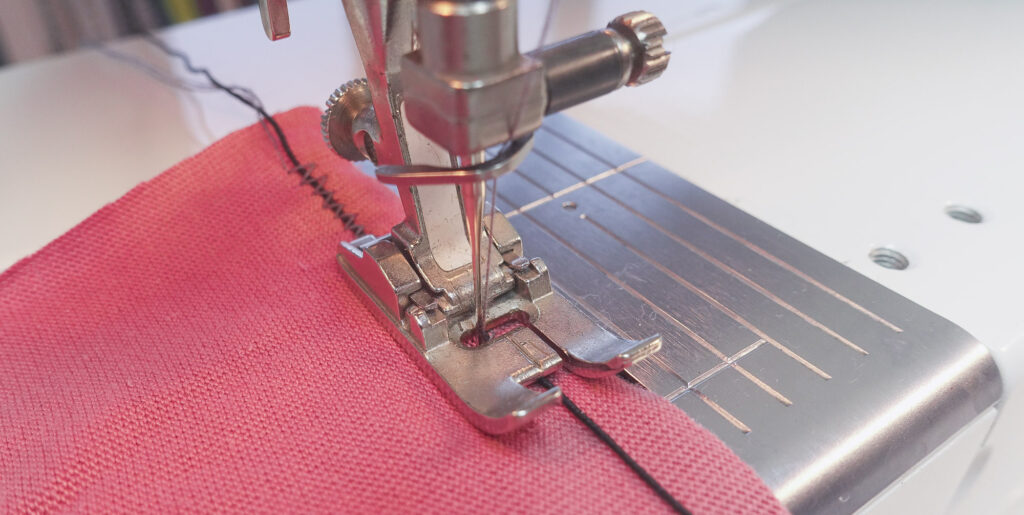
2. Sew over the elastic
Place the elastic on the reverse side of the fabric. Leave a 5 to 10 cm (2-4”) long strand of the cord at the start of the gathering section in case you need to secure and adjust it afterwards.
Start sewing over the elastic, using your thumb and index finger to keep the thread straight. Often there is a slot on the presser foot marking the middle, use that to align the cord.
When you reached the end of the gathering section, secure the zigzag and leave a 5 to 10 cm (2-4”) long strand of the cord which you will use to pull the gathers in.
3. Secure the cords on one side
Tie the cord into a knot and then attach it to the fabric by sewing over it with small stitches until it feels secure enough to withstand pulling.
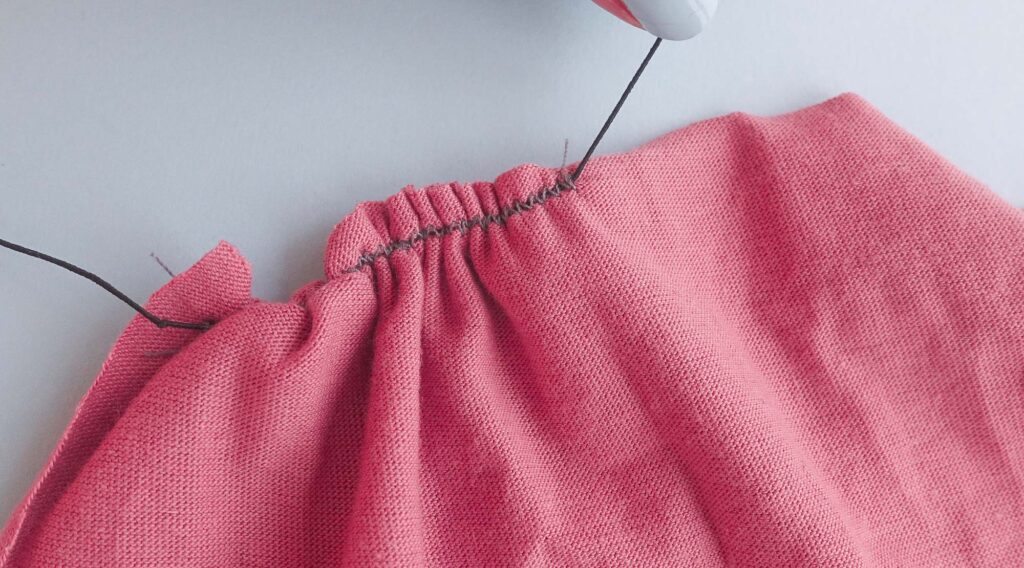
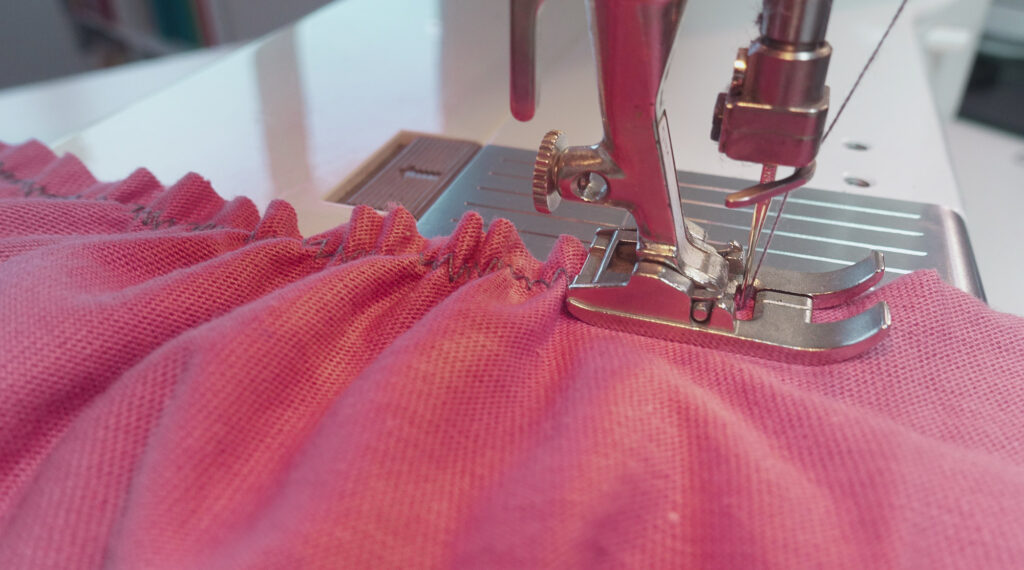
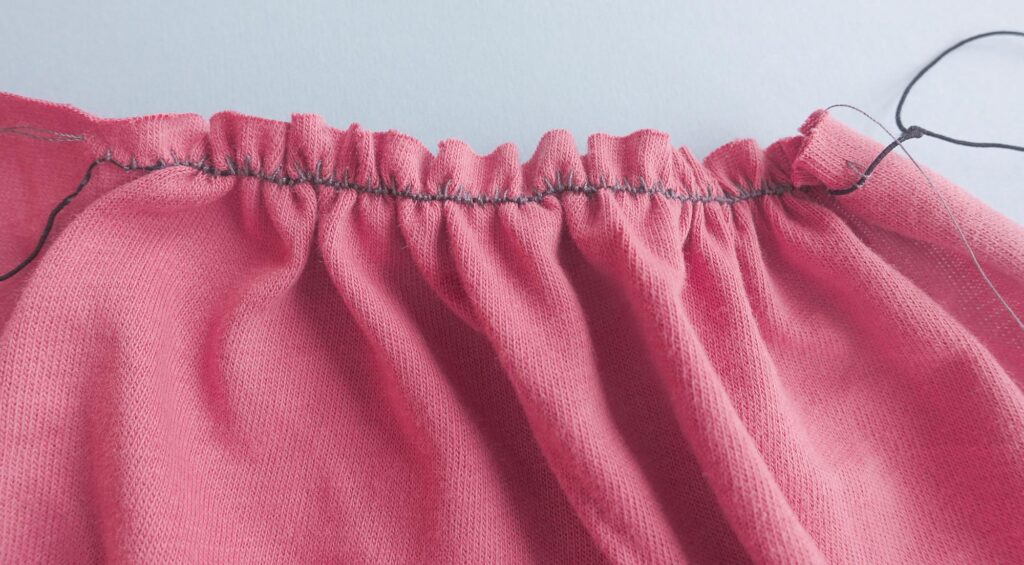
4. Pull the cord create the gathers
Start pulling the cord on the other side until the section is gathered enough. Secure the cord by tying it into one or several knots and then attach it to the fabric by sewing over it back and forth using small stitches until it feels secure enough
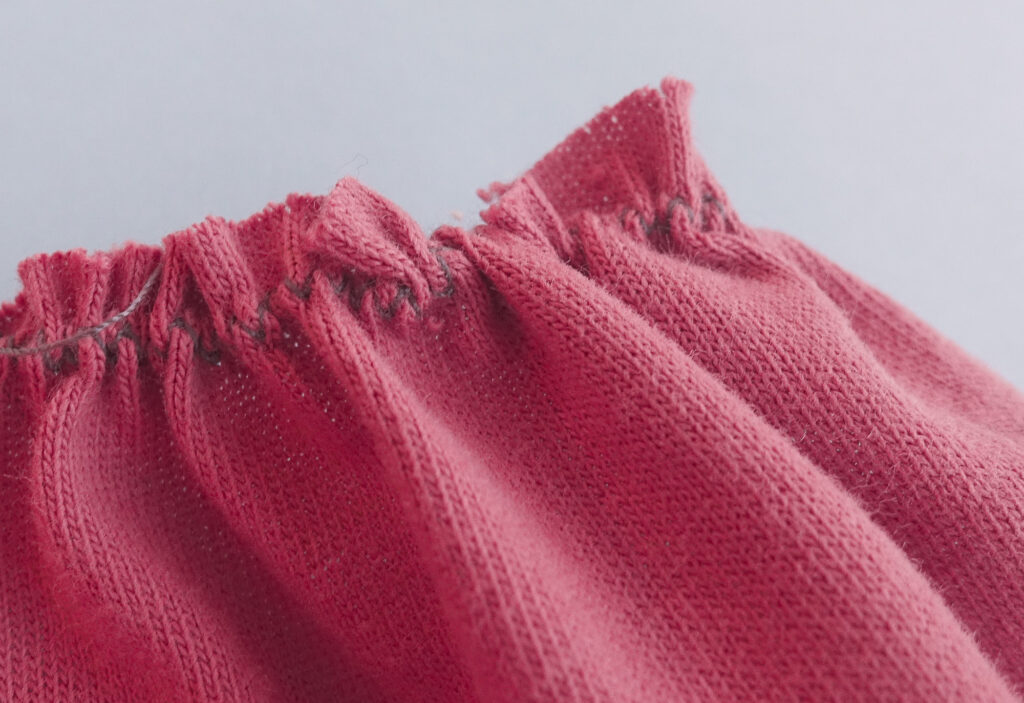
On the right side, there is just a row of regular zigzag stitches.
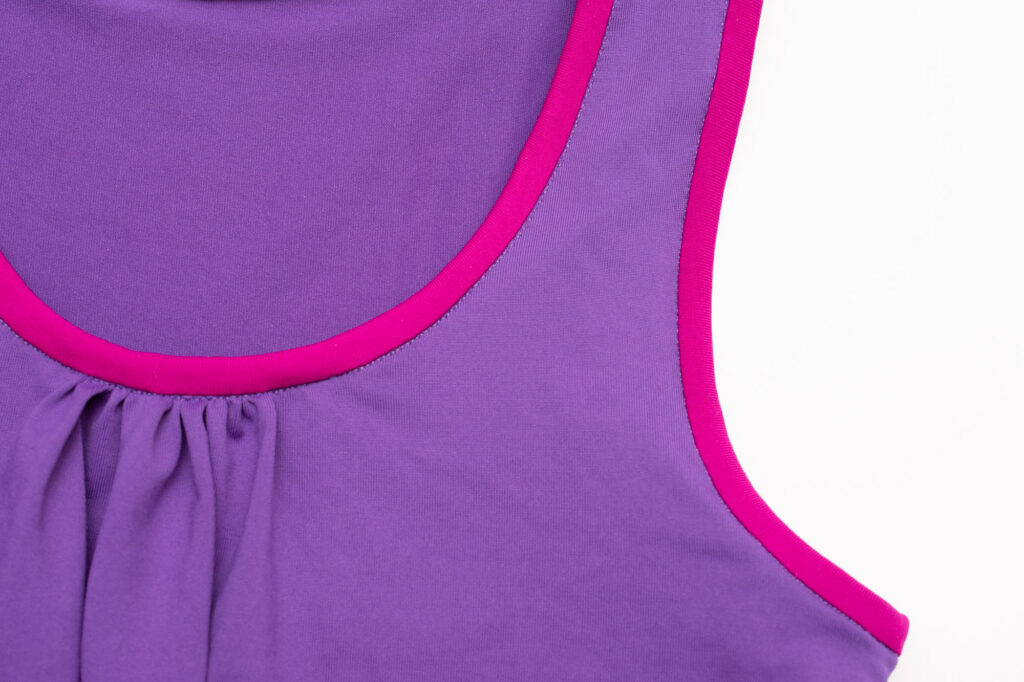
Gathering with clear elastic
This method is very common in the garment industry and can be seen on everything from activewear to gathered sleeves. It´s also my favourite method for gathering knits since it´s so versatile and exact.
So let´s take a look at the pros and cons of using elastic for shirring and ruffles
Pros
- The gathers retain their stretch
- Easy to sew evenly distributed gathers
- Makes gathering according to exact measurements very easy, no need to adjust the distance afterwards
Cons
- Clear elastic adds a little bulk to the seam
- Some find sewing clear elastic a bit fiddly
- Clear elastic shouldn’t be pressed directly over as it can melt (but that´s not really a big issue with knits)
To sew gathers with clear elastic you´ll need:
- Narrow clear elastic, 5-6 mm (¼”) wide (Amazon affiliate link)
- A no-smudge pen
- A serger or a sewing machine
1. Cut and mark the elastic
The length of the elastic strip should be equal to the distance of the finished gathered section, plus 10 cm (4”) extra to make assembly easier.
How to measure
Often patterns that call for gathers have corresponding notches on the non-gathered piece (such as the yoke or armhole). Measure that distance to calculate the length. Or if you are lucky the finished distance is already stated on the pattern piece or in the instructions.
How to mark
Mark the start and the beginning using a smudge-free pen. You can also add additional notches to make gathering longer areas easier. In this case, I also added the shoulder seam notch (middle notch), since I’m gathering a sleeve.
2. Place the elastic on the wrong side of the fabric
The bottom edge of the elastic has to be above the seamline otherwise it will peak through once the seam is sewn. So place it high up on the pattern piece. Match the notches and pin in place
Note that the elastic will be considerably shorter than the garment piece since all that extra fabric will be pulled together with gathers.
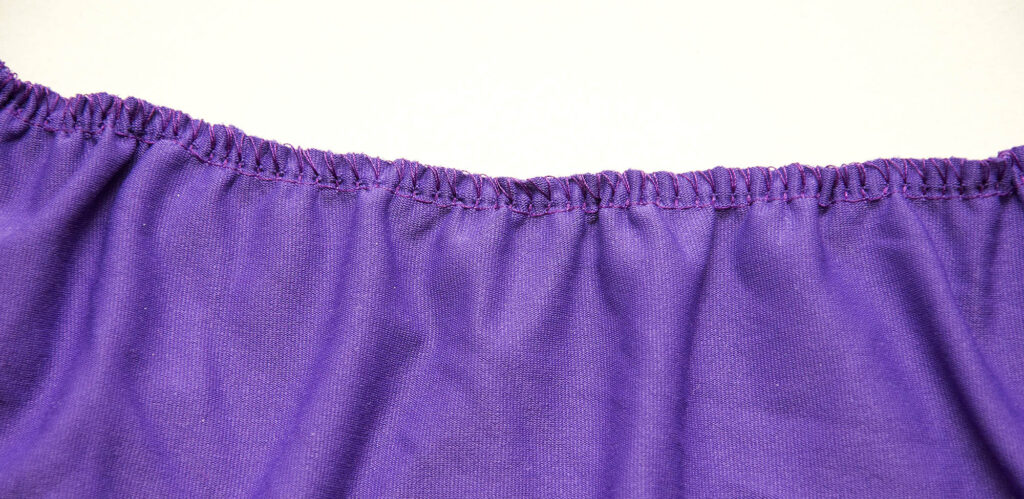
3. Sew the elastic
Either use a zigzag stitch on the sewing machine or a 3-thread serger overlock stitch. Start sewing on the elastic before the gathers section and then stretch out the elastic once you reach the first notch.
Keep sewing and stretching. Make sure you stretch the elastic evenly which is why the notches are your friend.
When reaching the end of the gather section, release the elastic but keep sewing for a few cm (less than an inch) to secure the elastic.
4. Sew together the garment pieces
Matching the gathers with the notches, and make sure you don´t stretch out the gathered piece.
Gathering with a serger
If you have a serger, this method of sewing gathers is so easy and great. No special notions or tools are needed, the gathers are created just by adjusting the needle tension and differential feed.
Pros and cons of using a serger to gather knit fabrics:
Pros
- Super quick and easy
- Creates even gathers
- Minimal bulk (hardly any)
Cons
- Often requires a manual adjustment afterwards to get the exact distance right, which can be a little fiddly
- Does not really stretch much once the gathering is done
To sew gathers with a serger you need:
- A serger, ideally one where you can adjust the needle tension manually
Gathers done with the just differential feed

Here the differential feed is set at max (2), meaning that the front feed dogs are moving faster than the rear feed dogs. The gathering effect on this sample is subtle, but depending the on fabric and your machine, cranking up just the differential feed could be enough.
Bonus tip: To create more gathers, just pull the needle threads
Gathers with max differential feed and max needle tension
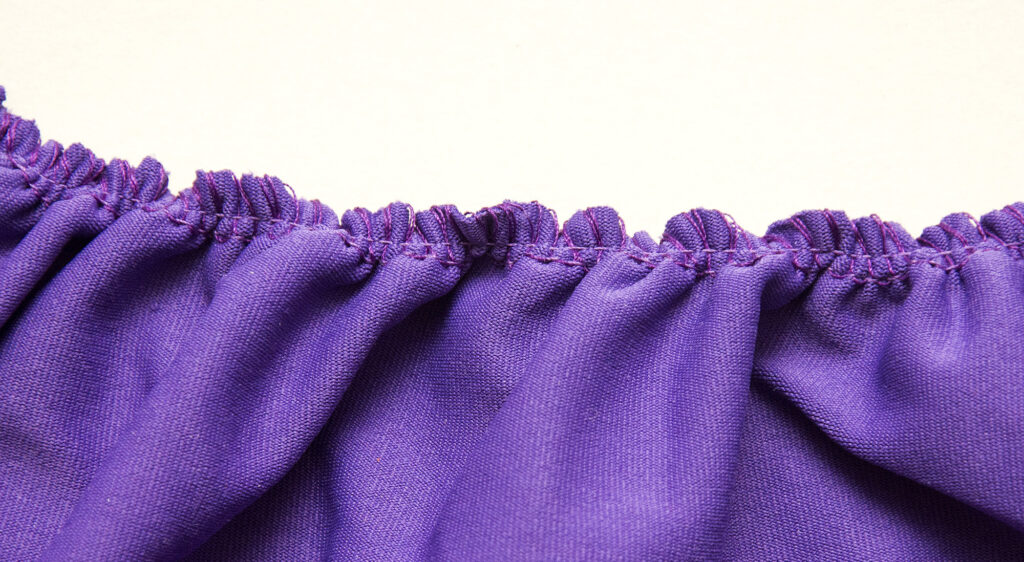
Big difference, compared to just adjusting the differential feed. If this is too many gathers, either reduce the needle tensions or lower the differential feed.
Again adjust the amount of gathers by pulling or realising the needle threads if needed. This is why it’s important to leave long thread tails of using this method.
Gathering with elastic thread in the bobbin

This is my least favourite method for sewing gathers on knits since I find it kinda unpredictable since the machine doesn’t always love the thicker elastic thread, plus it´s hard to control the exact result. But many people love this method, so I still want to share it!
Pros and cons of using elastic bobbin thread for shirring:
Pros
- Creates even gathers
- You can regulate the amount of gathers with the stitch length (shorter stitch length = more gathers)
- Very quick
Cons
- Sometimes the elastic bobbin thread gets tangled during sewing
- Not a very precise method, although you can regulate the gathers after sewing (unless the bobbin thread gets stuck)
- A fairly small amount of stretch
To sew gathers with elastic bobbin thread you’ll need
- Elastic bobbin thread (Amazon affiliate link)
- Regular sewing thread in the needle
- A sewing machine set on a medium zigzag (but be prepared to experiment with length and width)
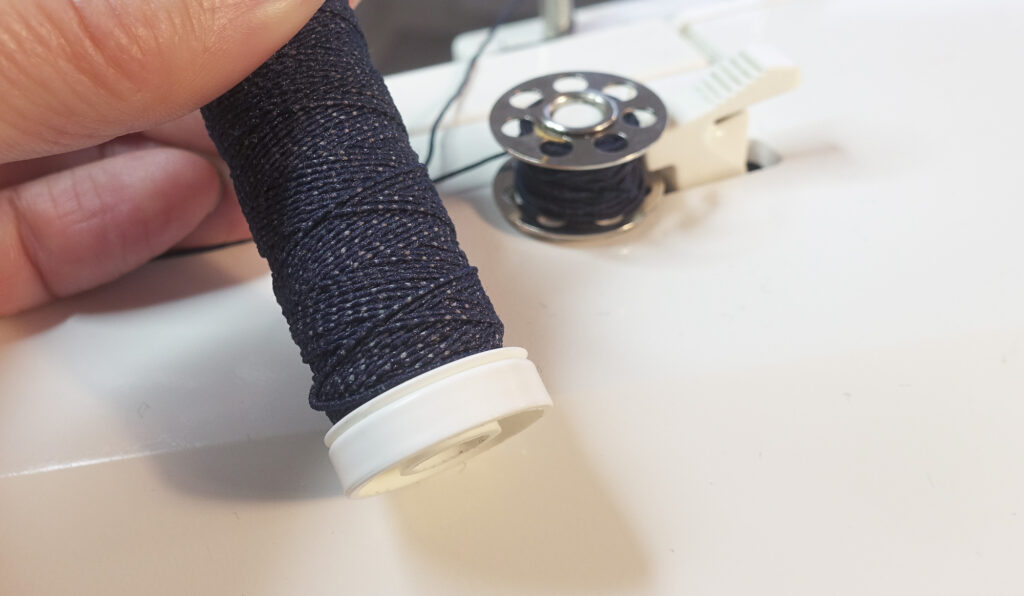
1. Wind the bobbin with elastic thread.
The thinner the thread the better it will flow through the bobbin. The one in the photo above was too thick for my regular bobbin so I switched to a thinner thread and also used my second bobbin, where I loosened the tension a little bit.
Use regular thread in the needle.
2. Start sewing
If you want to have more gathers, try to shorten the stitch length, that will usually do the trick. You might also need to adjust the needle tension to accommodate for the thicker bobbin thread.
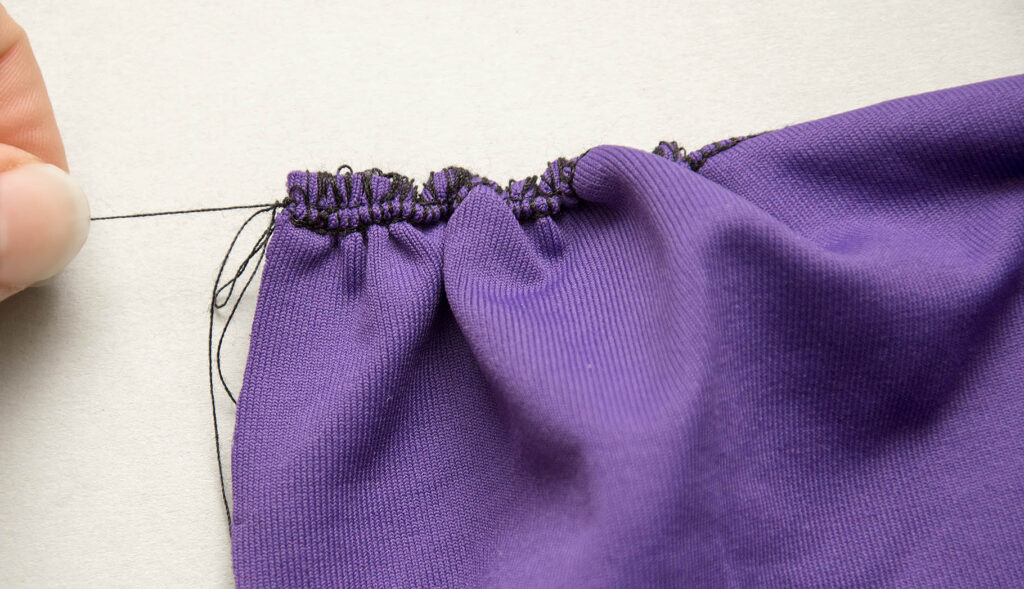
3. Adjust the amount of gathers if needed
Just pull the elastic thread to spread or increase the gathers. Secure the elastic thread once you have the right distance and the amount of gathers you want.
So here you have it, the ultimate guide to sewing gathers on stretchy knit garments. As I´ve shown above, they all have some pros and cons, but all four methods are superior to the old-school approach of two rows of straight stitches when it comes to sewing knits.


1 Comment
Comments are closed.