Using a sewing machine is an acquired skill that requires both knowledge, concentration and practice. So don’t feel bad if you make mistakes–we all do them! But there are easy ways to prevent most of them, so let’s look at common sewing machine mistakes and how to avoid them.
Not lifting the presser foot when threading the sewing machine

When threading any sewing machine, always lift the presser foot first. Why is this important? Lifting the presser foot releases the tension disks, allowing the thread to be properly seated within them. If you skip this step, you may encounter tension issues since the thread won’t be correctly placed. This applies to regular sewing machines, sergers, and coverstitch machines.
If you’re experiencing tension problems, your first step should be to lift the presser foot and then pull the thread between the disks, similar to flossing your teeth.
Forgetting to check and adjust the bobbin tension regularly
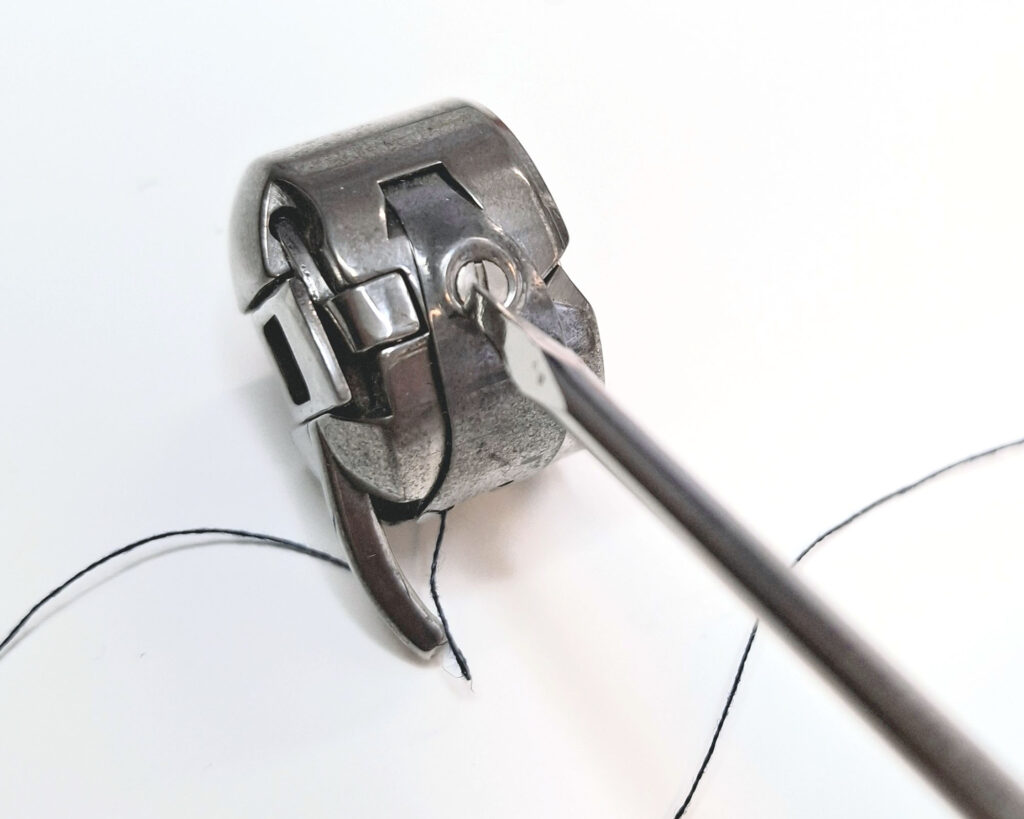
On the bobbin case, there’s a small screw that you can adjust to change the tension. Typically, when a machine is new or has just been serviced, the bobbin tension is set correctly. However, over time, this screw can gradually turn, causing the under-thread to become unbalanced.
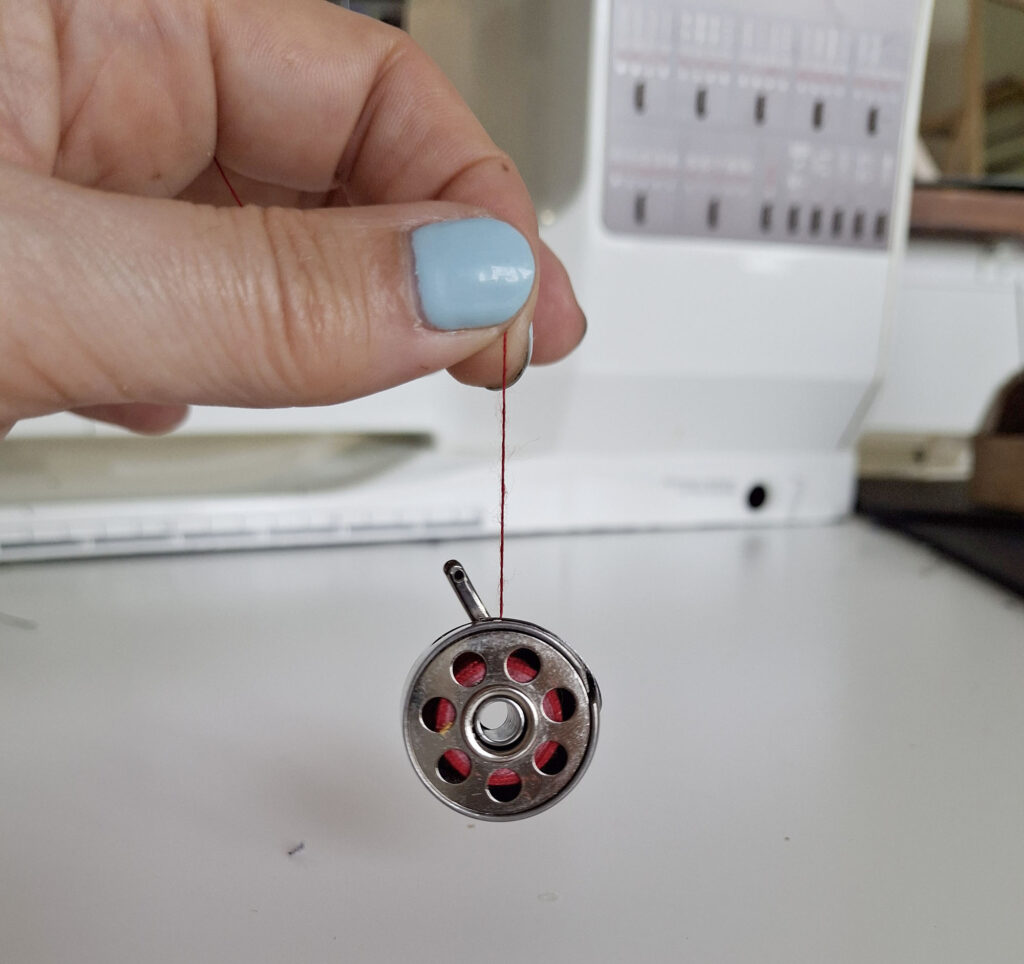
To check the tension, do this:
- Remove the bobbin case from the machine. The bobbin should have thread.
- Pinch the thread between your fingers
- Pull the thread up and down like the bobbin case was a yo-yo
- If the bobbin lowers a cm or two with every pull, but there is still some resistance, it means the tension is correct.
- If the bobbin falls when you do the yo-yo motion, the tension is too loose
- If the bobbin doesn’t move, the tension is too high
To fix the tension issue, do this;
- Use a small screwdriver to turn the screw on the bobbin case.
- To increase the tension, turn the screw clockwise.
- To decrease the tension, turn the screw counterclockwise.
- Make adjustments in very small increments (in millimeters) and recheck the tension as described above before further tightening or loosening the screw.
Bonus tip: Small thread remnants between the disks can also cause tension issues, so check regularly that the disks are free from thread and lint.
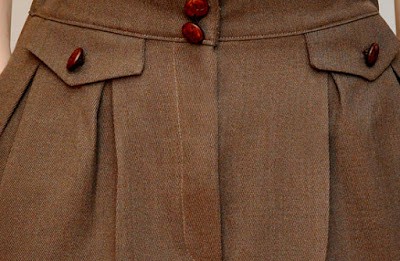
Not cleaning underneath the plate
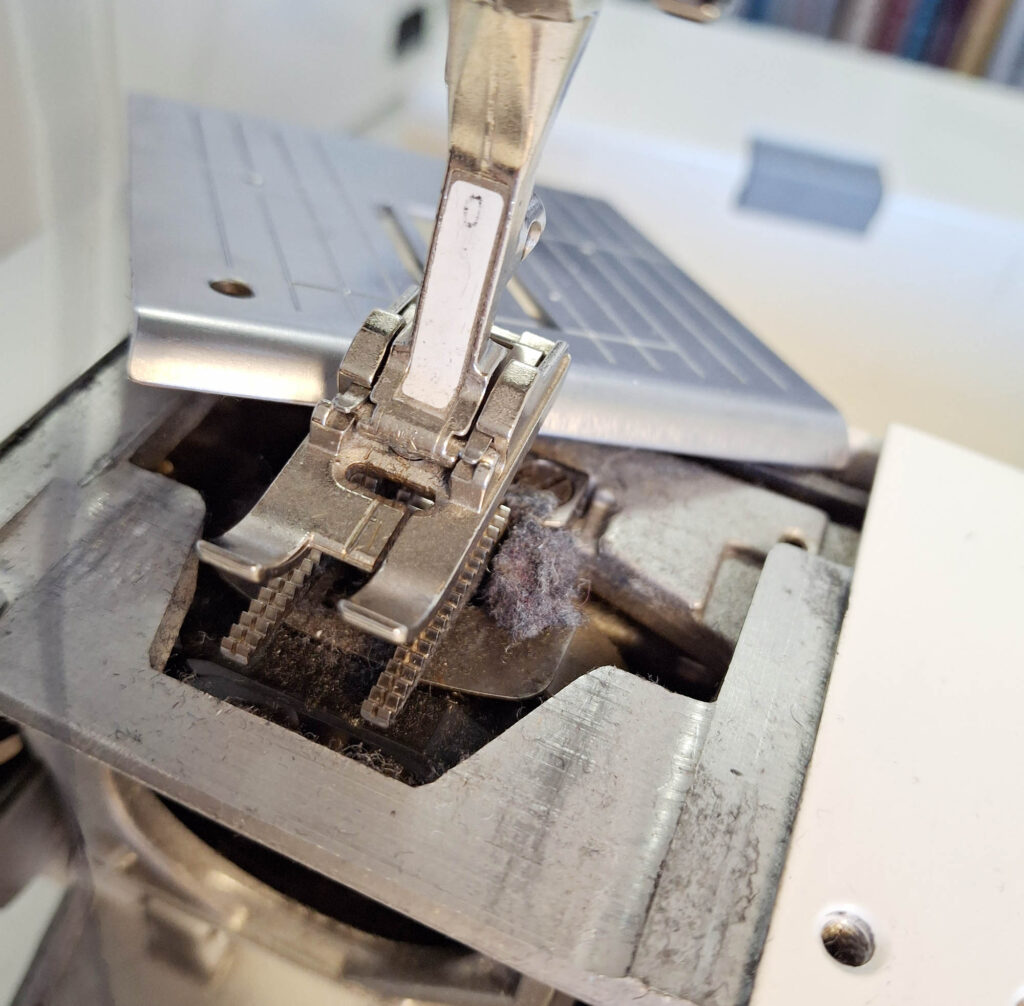
If there is thread, dust or lint underneath the metal needle plate, it can cause feeding issues, and the fabric might jam up during sewing. To prevent this, you need to clean the area underneath the plate regularly.
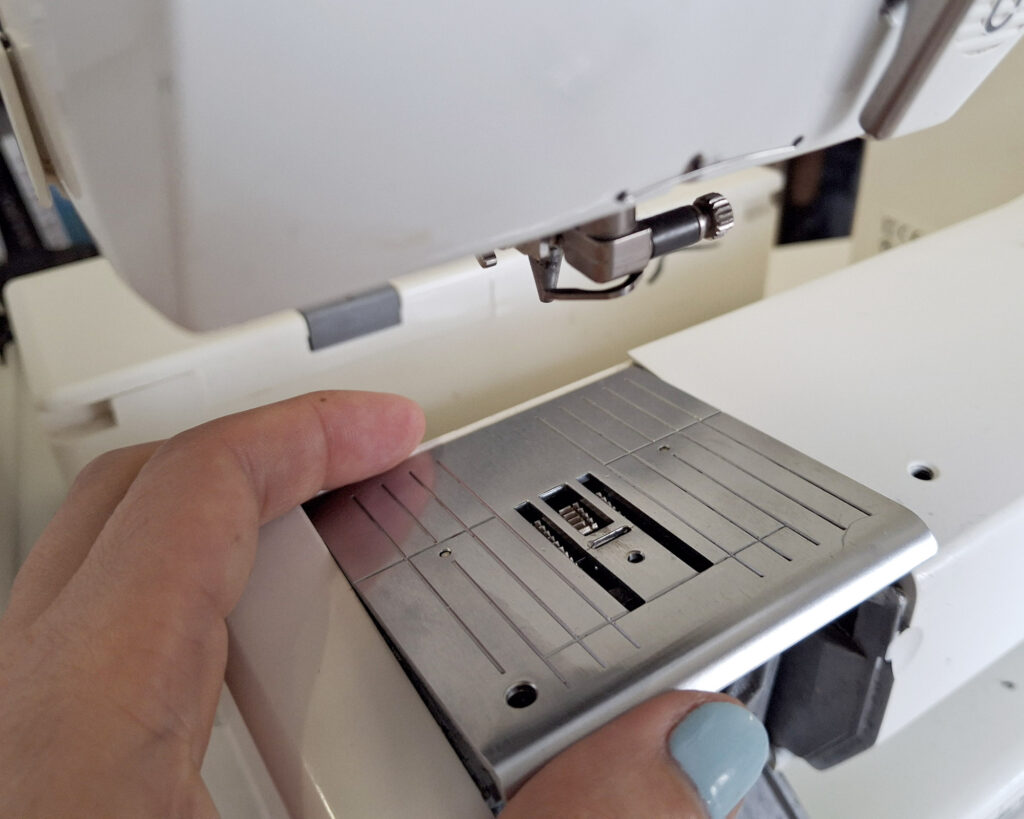
How to clean underneath the needle plate:
- Turn off the sewing machine
- Remove the plate and the needle. Check your manual for detailed instructions
- Clean the area with a brush
- You can also use tweezers to remove lint and dust balls.

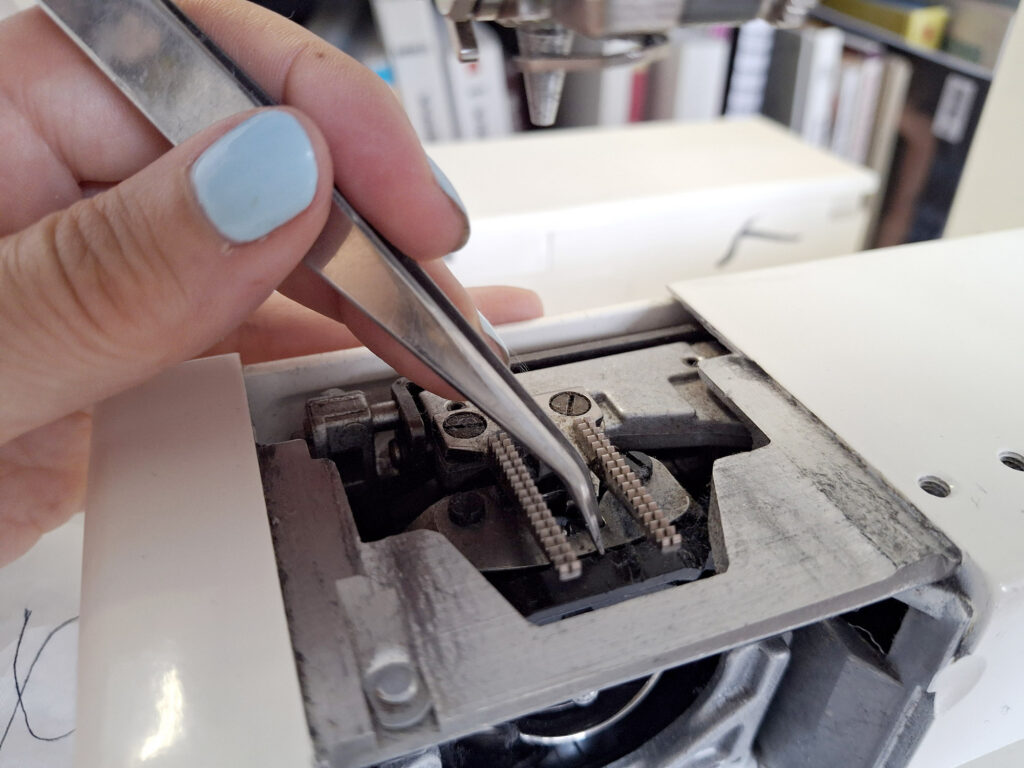
I’m guilty of not doing this often enough (see the first image 🤭) so don’t feel bad if your machine also collects dust and lint. We all do this!
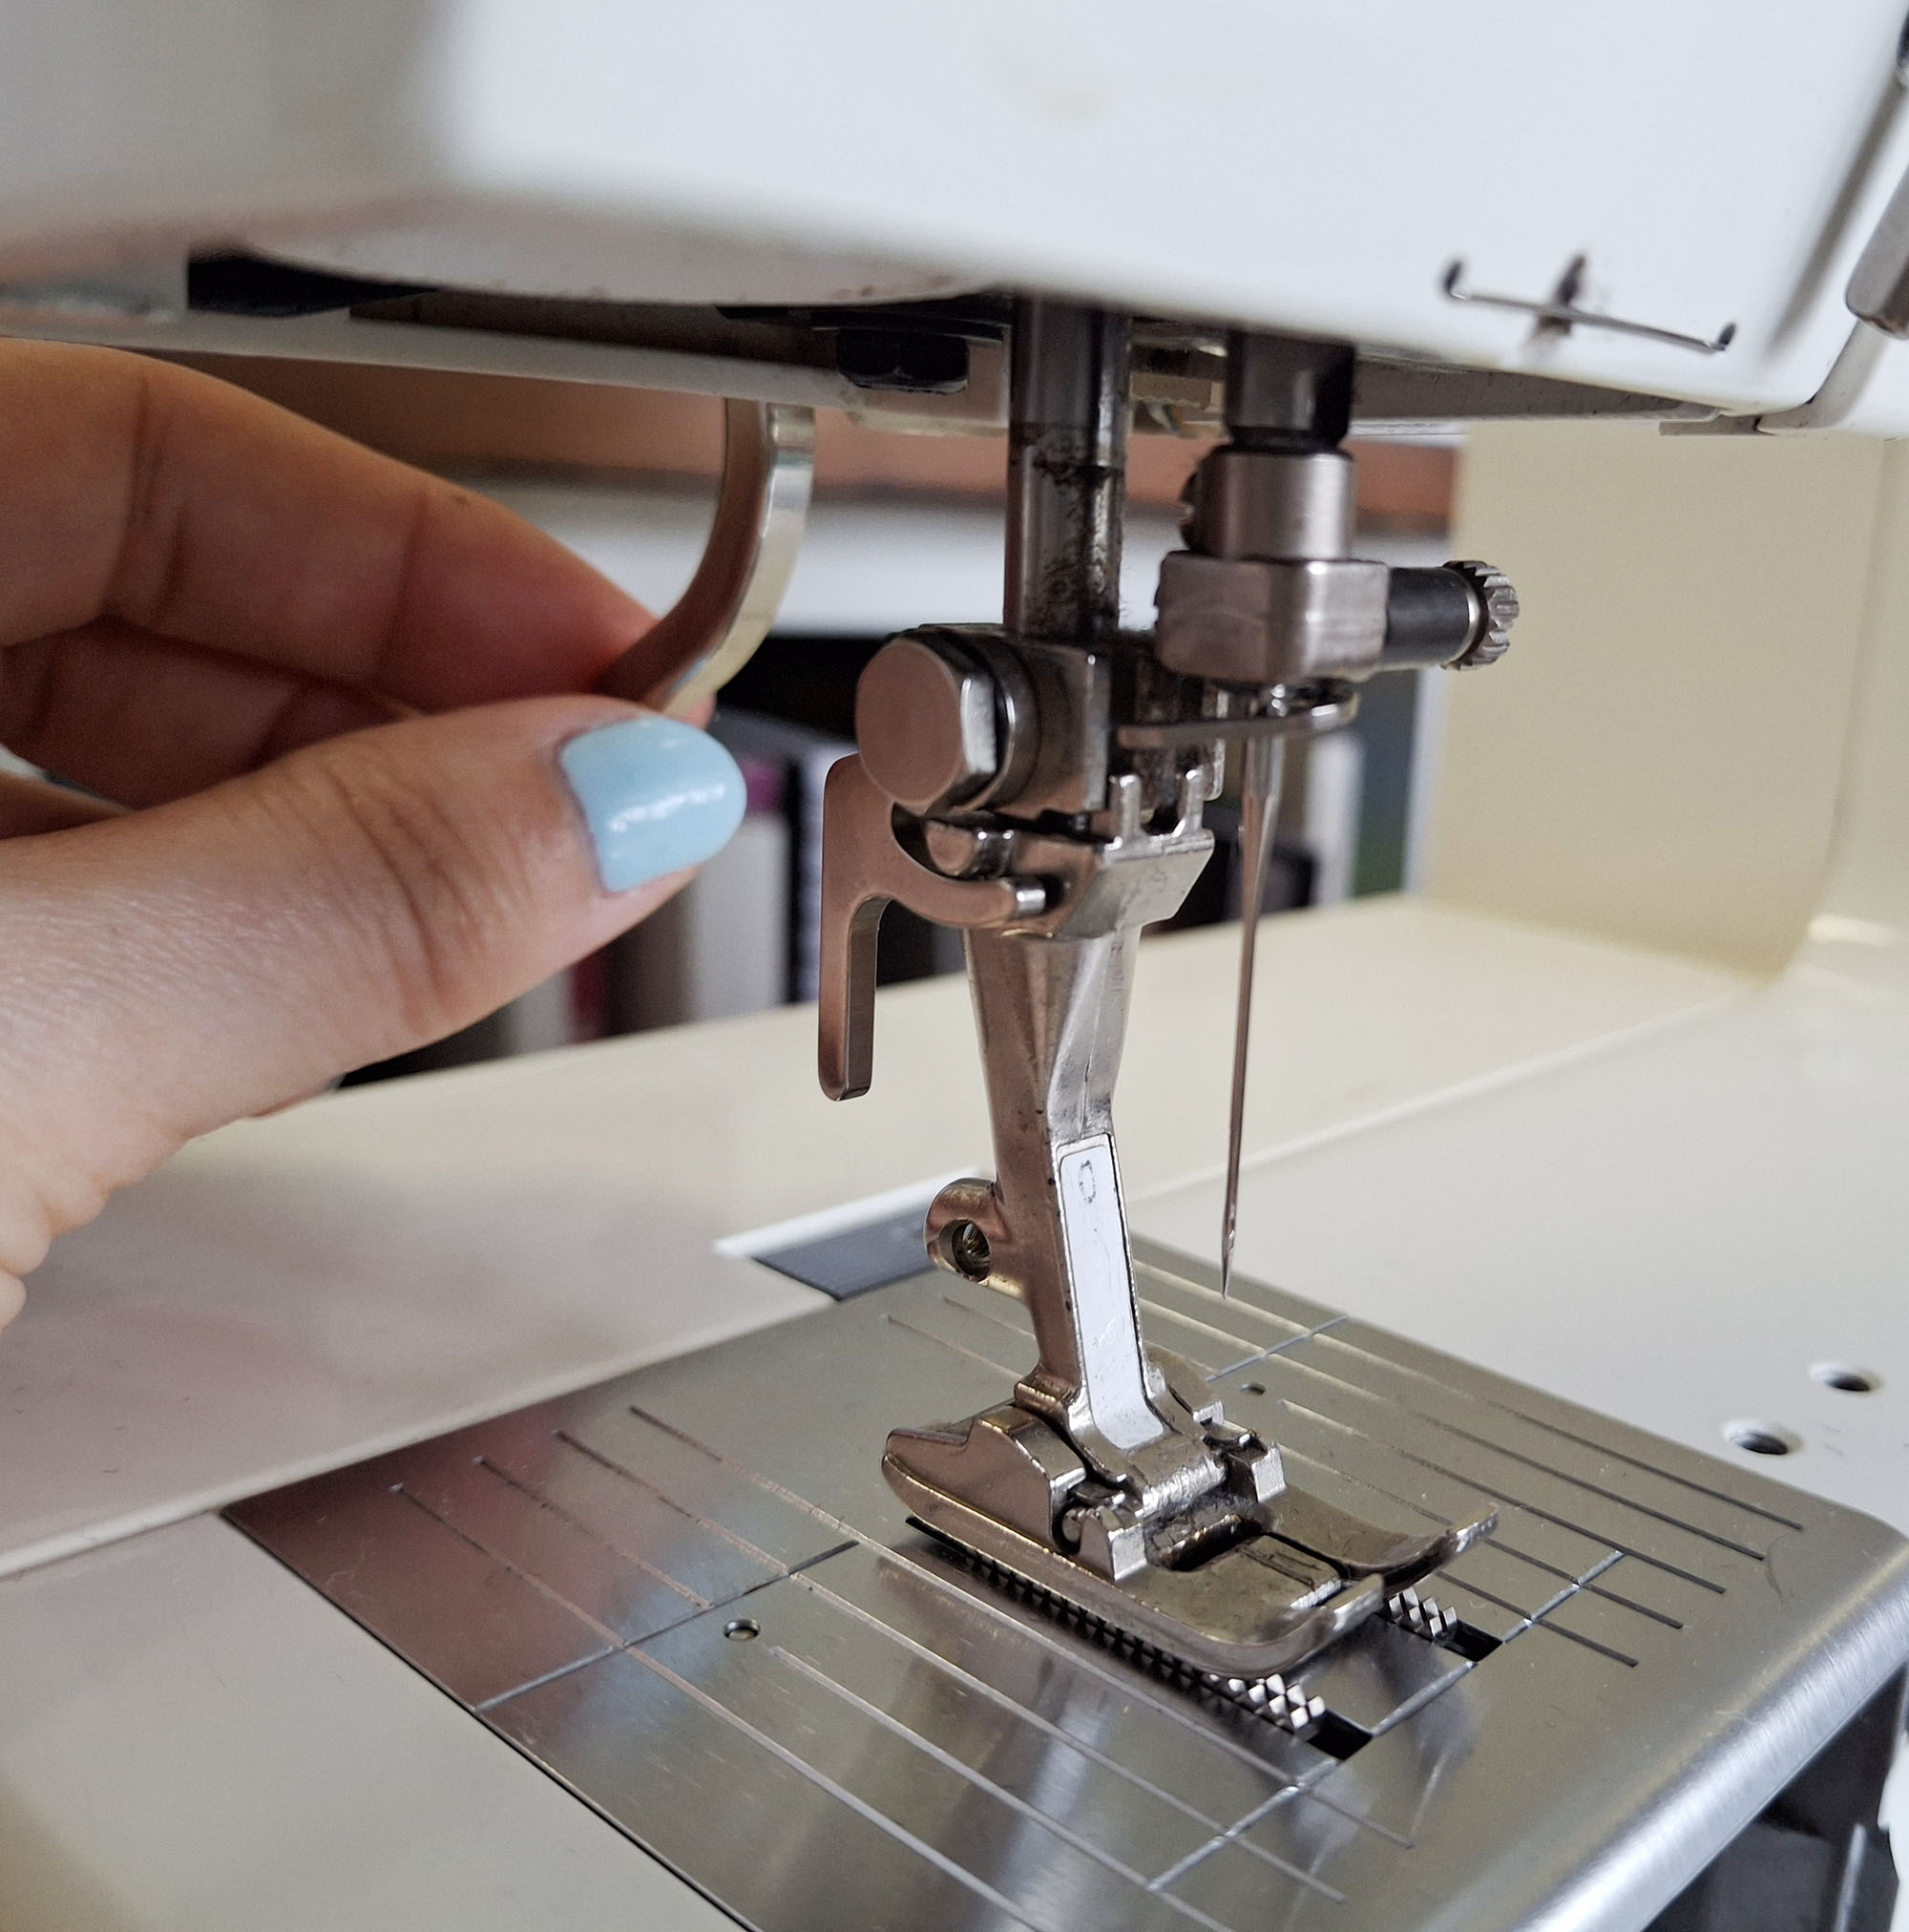
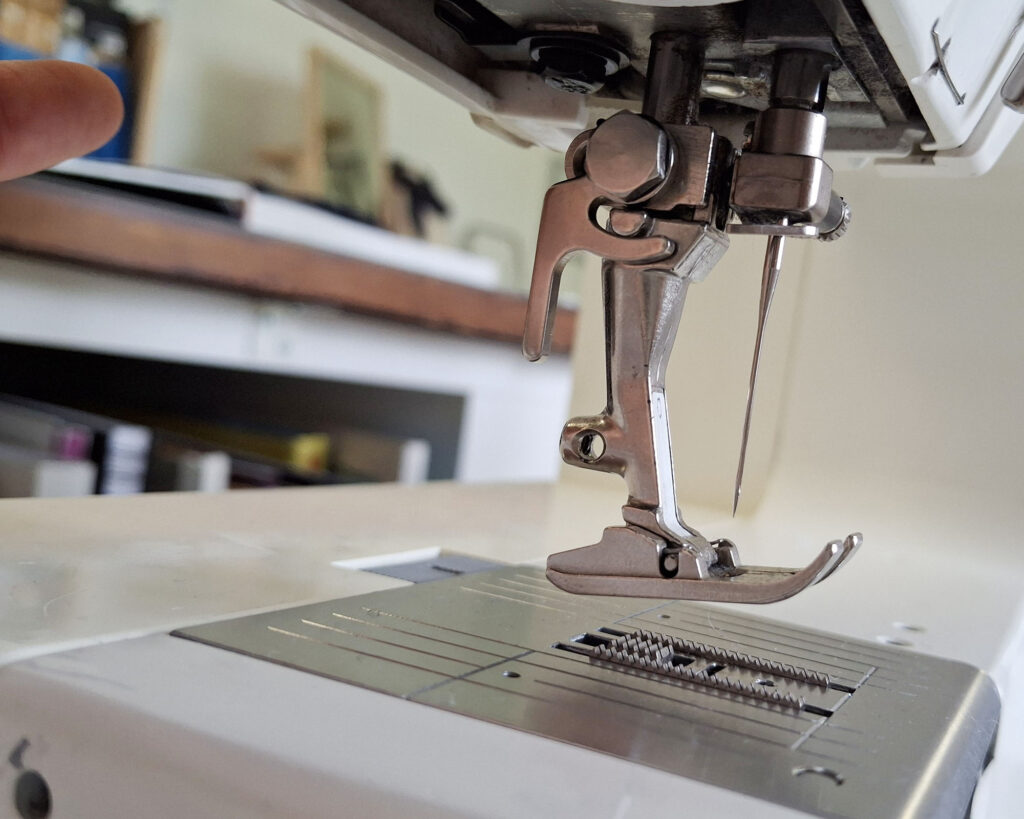
Not enough fabric underneath the presser foot
When you start sewing, it’s important to ensure there is enough fabric behind the needle to prevent feeding issues and potential fabric or thread jams. Make sure the needle penetrates the fabric a bit in from the edge, rather than right at the edge itself.
If you find yourself having to pivot and sew around a corner, where the needle has to hit an edge, a helpful trick is to insert a piece of fabric scrap underneath the presser foot along with your project. This will assist with feeding the fabric smoothly and reduce the likelihood of jamming.