Have you struggled cutting knits? Perhaps finding it hard to cut the pieces evenly, get stripes to match or maybe struggling to align the grainline properly to prevent the garment from looking twisted?
Yes, cutting knit fabrics is quite different from wovens. But the good news is that there is a tonne of tricks and simple methods that will make the process way easier. And in this tutorial, I will show you exactly the steps you should follow in order to succeed.
Should you prewash knits?
Prewashing a fabric is excellent for preventing shrinking and getting rid of potential residue. However, some knit fabrics tend to twist and curl after washing, making cutting much harder. Unravelling is another issue to consider if you wash loosely knitted fabrics without finishing the edges.
That is why I sometimes don’t prewash my knits. A decision that depends on the fabric content, potential residue and how much shrinkage I can live with.
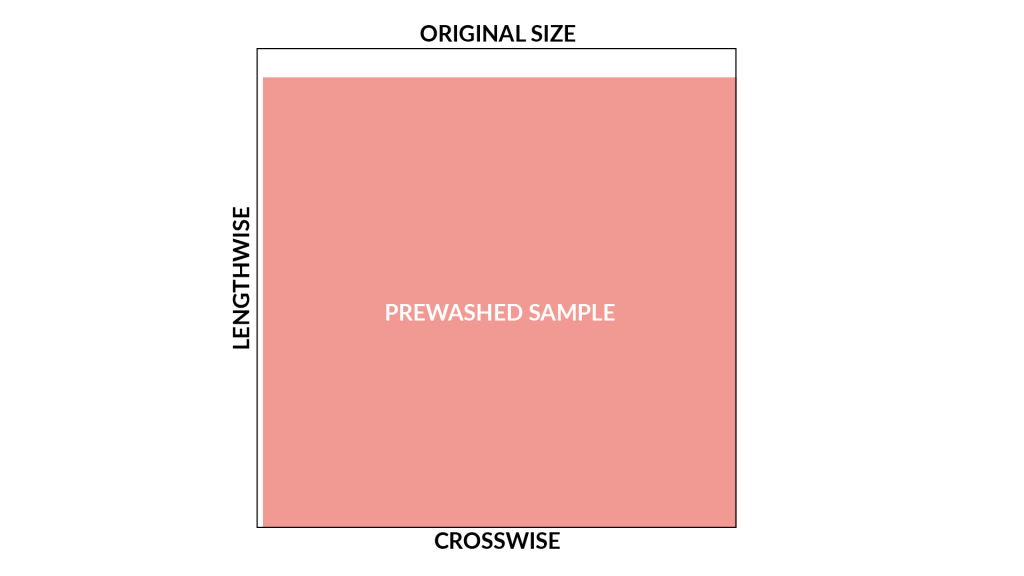
If you want to skip prewashing, cut a small sample, wash it and measure the shrinkage. Most knit will shrink much more lengthwise than crosswise. So you compensate for this by adding a bit more length to your pattern if you want to skip prewashing.
Knits I always prewash
- Wool
- Linen
- Sweater knits made with primarily natural fibres
- Silk knits
Knits that I usually don’t prewash
- Synthetic knits, such as Spandex activewear fabrics
- Oeko-Tex-certified fabrics (i.e. knits tested for harmful substances)
- Cotton and rayon knits (these can shrink, but I can live with a 5 % reduction in length)
Video Tutorial: Cutting Knit Fabrics: 6 Game-Changing Tips
Don’t let the fabric hang off the table
This principle applies to all fabrics, but it’s absolutely crucial when cutting knit fabrics. Since knits are stretchy, they will become distorted and stretched out when weighed down.
If your cutting table is too small to fit the entire fabric piece, roll up the surplus fabric until you need it. Never let the fabric hang off the table.
Cut from the right side
If the knit has a right and a reverse side, it’s usually better to cut the pieces with the right side facing up. You need to align the grainline with the wefts, and doing this will be much easier with the right side facing up.
Examples of fabrics with a right and a reverse side are single jerseys, sweatshirt knits, french terry, printed knits, stretch velour and most textured knits. Fabrics that are bonded with two different materials, such as double-faced knits, should also be cut from the right side.

If using double-knits, interlock and rib-knit fabrics and other fabrics that look the same on both sides, you can, of course, ignore this advice since both sides are the right side, so to speak.
Figuring out the right side
On fabrics with a wrong and a right side, there is a subtle difference that will be clearer if you have good lighting or even better, a magnifying sewing lamp (Amazon affiliate link).
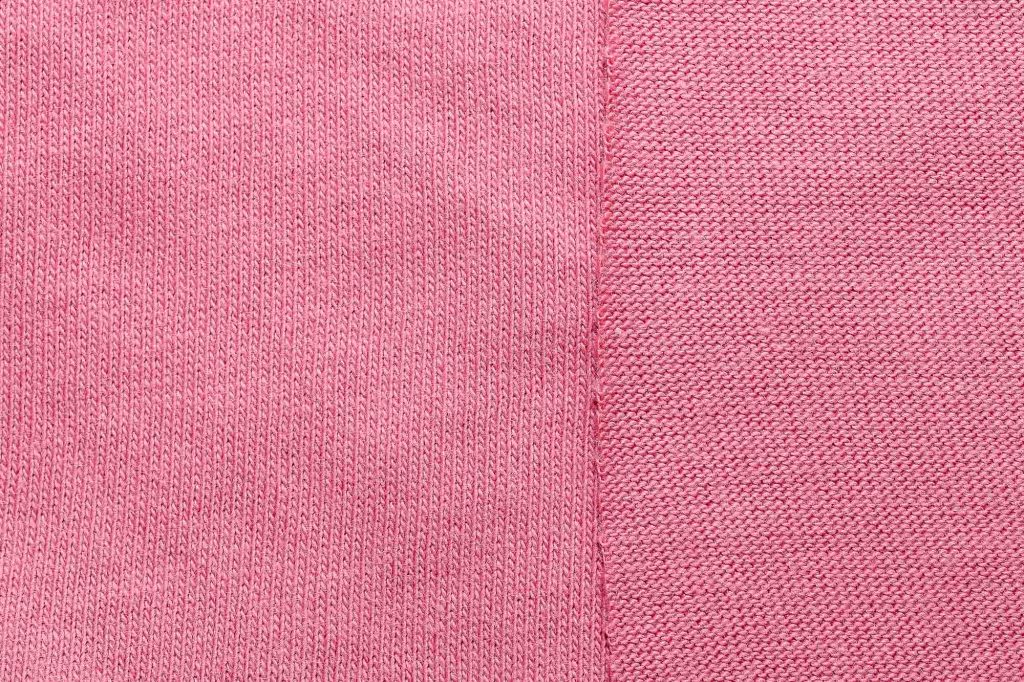
For instance, jersey knits and similar fabrics will have a visible weft running lengthwise on the right side. Think of it as a narrow rib to get an idea. On the wrong side, there is no visible rib. Instead, the fabric looks kinda flat, with no discernable pattern or surface.
Technically speaking, on single jersey fabrics, the wrong side is a purl stitch, and the right side is a knit stitch, just like hand knitting.
Label the right side
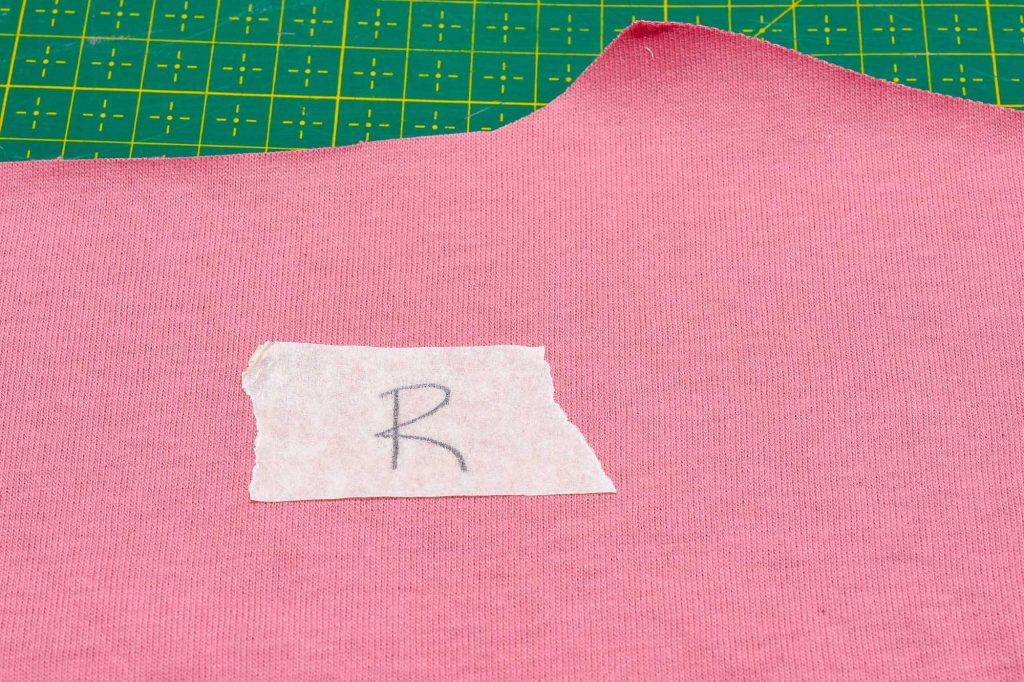
Here is a super tip for you! Use freezer tape (Amazon Affiliate Link) to label the right side of the fabric. Just write the info down on the tape (i.e R for the right side) and place it on the pieces as soon as you’re done cutting.
Because it can sometimes be hard to tell the right side from the wrong side, especially on darker knits, I can’t tell you how many times I’ve sewn together black jersey pieces with the wrong side up on a sleeve or bodice. And unfortunately, it’s very obvious once you’ve sewn the garment together.
Other options for marking the sides are pinning scraps of post-it notes on the fabric or using washi tape. Do what works best for you.
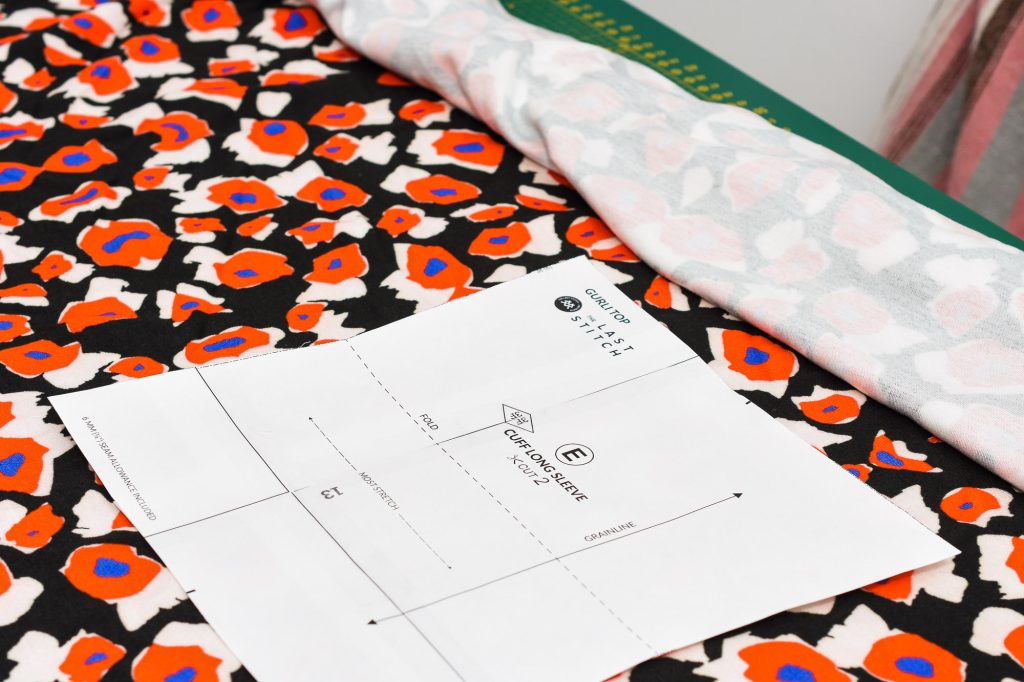
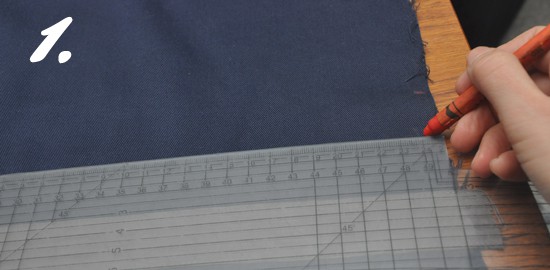
Follow the rib, not the “selvedge”
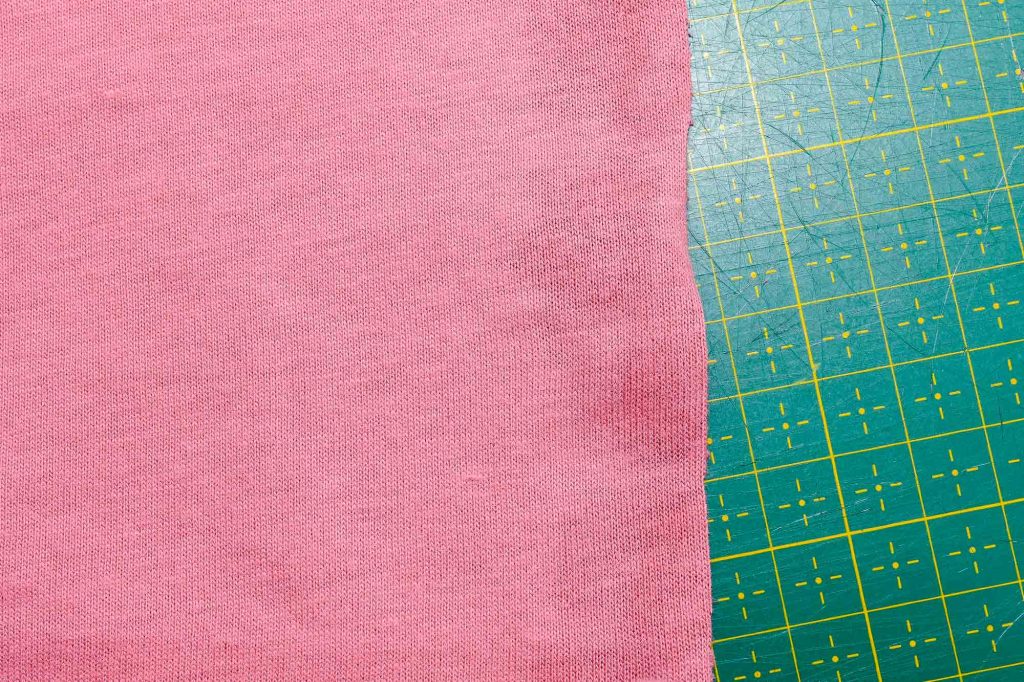
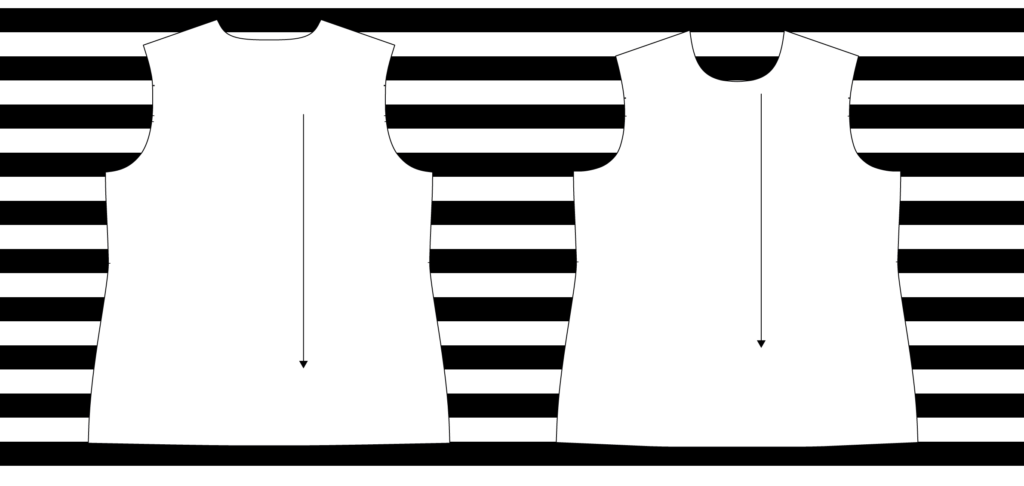
There is no selvedge on knits, so do not assume that the fabric has been cut straight. So you shouldn’t measure the grainline from the fabric edge when cutting knits. Instead, look for the vertical formation (rib) on the fabric and align the grainline with that line instead.
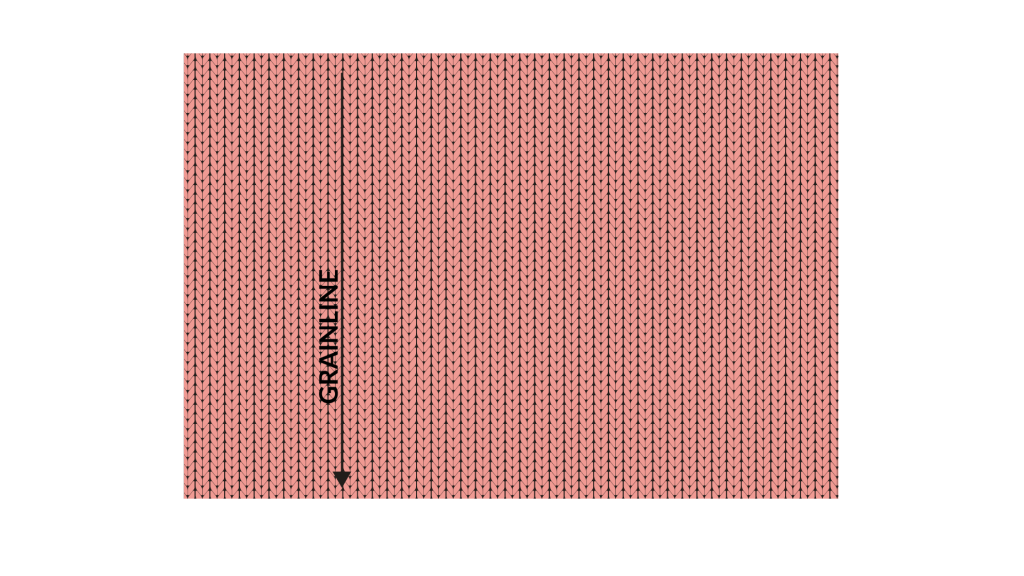
If you are folding the fabric, fold it along a vertical rib. Don’t align the grainline with the fabric’s edges since they are likely not 100% straight. Also, some knits tend to curl along the edges, which is another reason you shouldn’t rely on the cut edges to be straight.
A super-easy trick to align the grainline
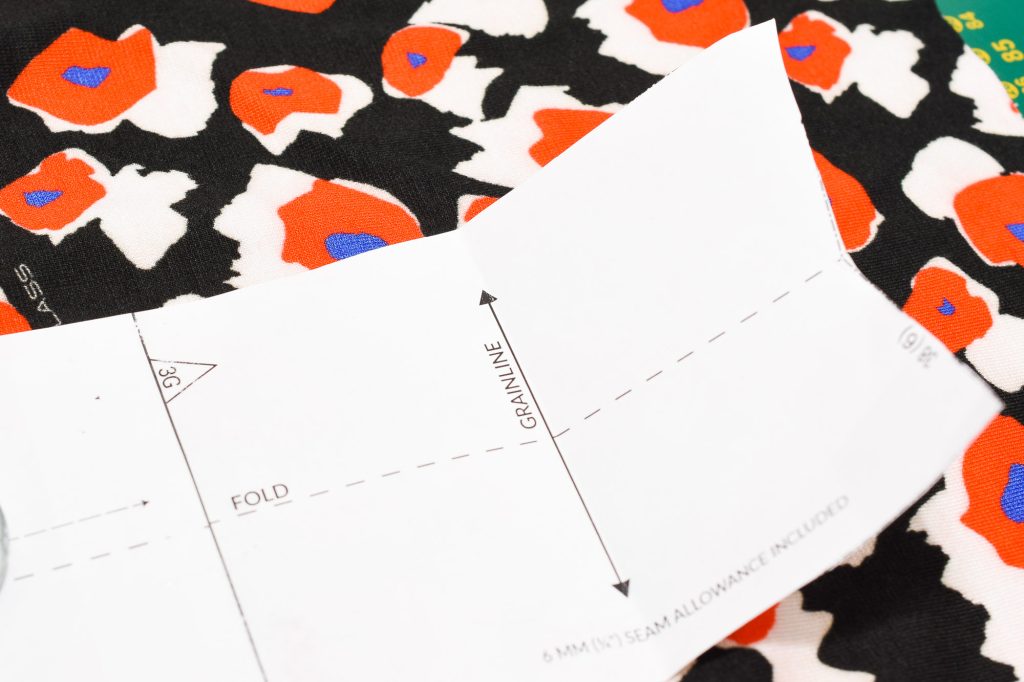
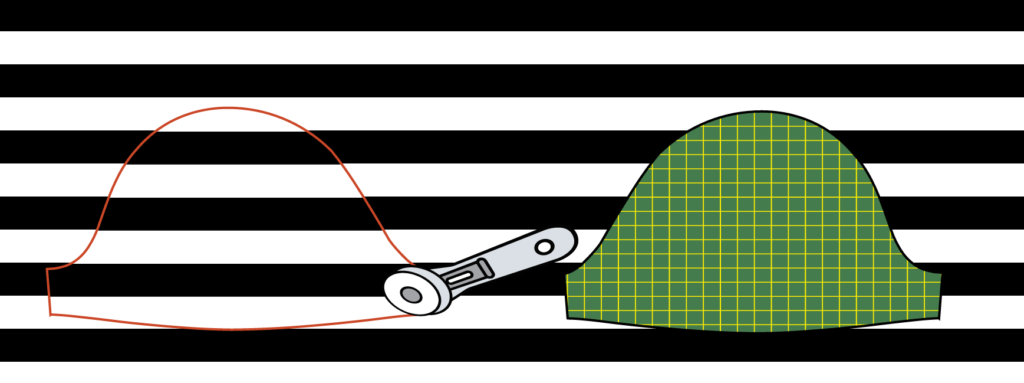
If you are cutting pieces that don’t have straight edges, such as sleeves, it can be tricky to align the pattern grainline with the vertical wefts on the fabric. But here is a simple trick to try!

Fold the pattern piece along the grainline, then align the folded edge along the vertical formation on the knit fabric.
Finish by opening up the pattern again and laying it flat on the fabric; voilà, you have a perfectly aligned pattern piece.
Cut knits as a single layer
If cutting striped, patterned or soft, supple knits, cutting the pieces one at a time, using a single layer of fabric, will usually be much more accurate. Because cutting these types of materials on the fold is often tricky and can lead to disappointing results and a lot of unnecessary stress.
The only thing you need to keep in mind is that you have to mirror duplicate pieces, such as the sleeves. Otherwise, you’ll have two left sleeves if the fabric has a wrong and a right side! For a more in-depth explanation of this method, see How To Cut Striped Knit Fabrics.
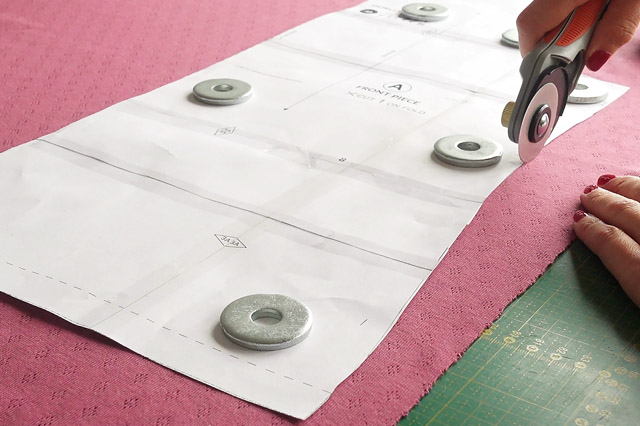
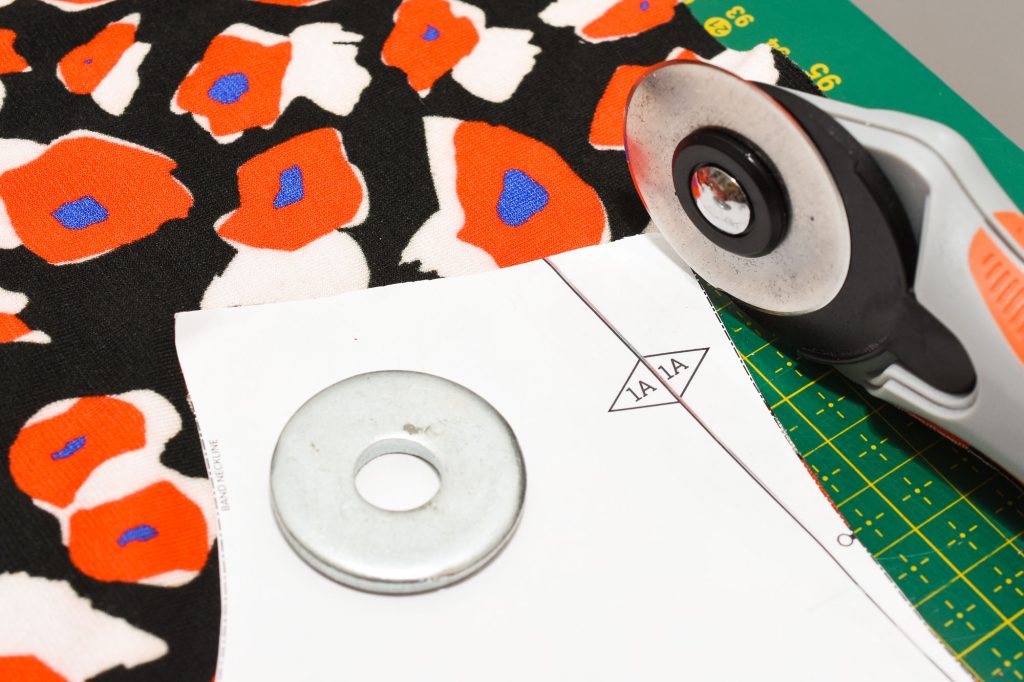
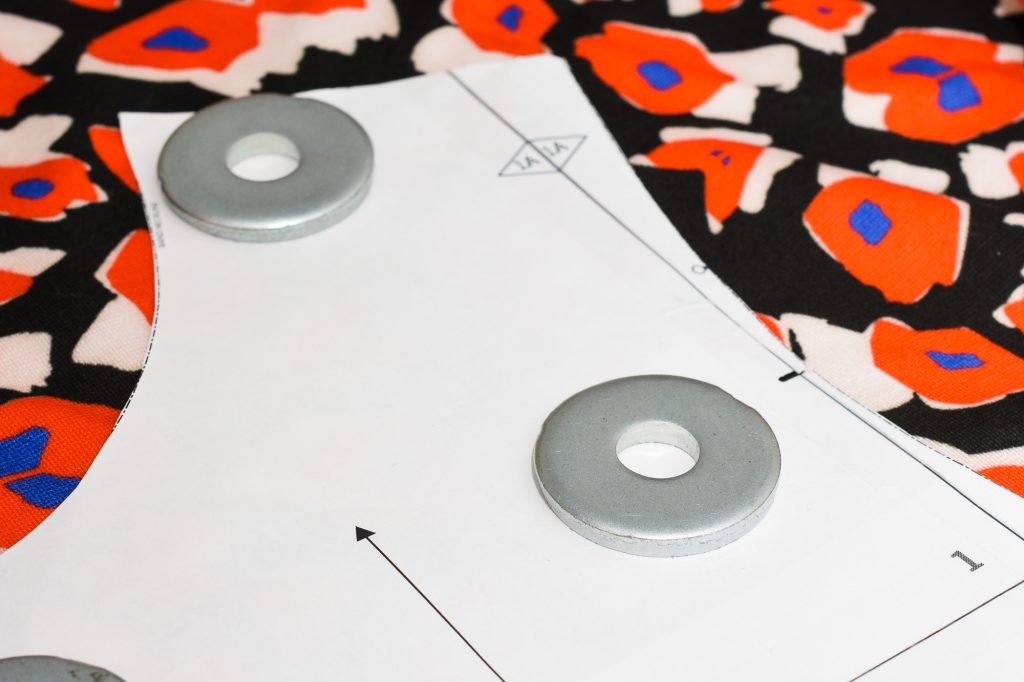
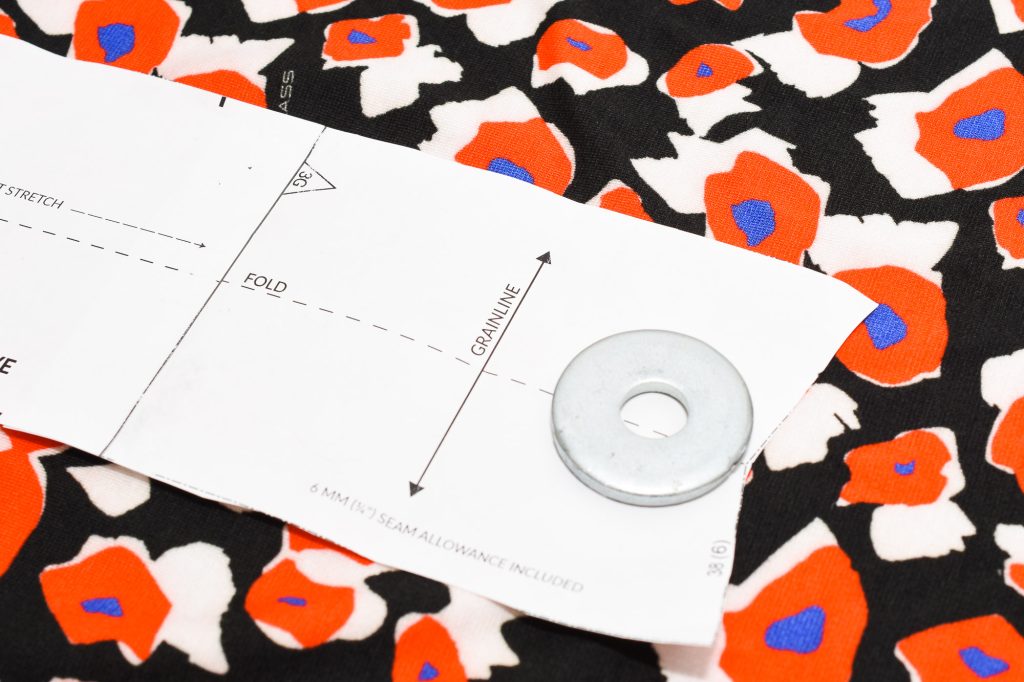
Use pattern weights or pin sparingly
Using pins can damage delicate knits. Plus, pins will also distort the fabric somewhat since they pull the fabric together, meaning the cutting won’t be as exact.
Instead, I recommend using pattern weights (Amazon Affiliate Link) to keep the pattern pieces in place during cutting. If you are using pins, pin them sparingly and close to the edges. Then place heavy objects to keep the pattern flat on the areas that will be the most visible on the garment.
Tools for cutting
Either use a rotary cutter (Amazon Affiliate Link) and a cutting mat or a pair of very sharp scissors to cut knits. This will make cutting knits much easier and faster. And the edges will look cleaner too.
Marking notches
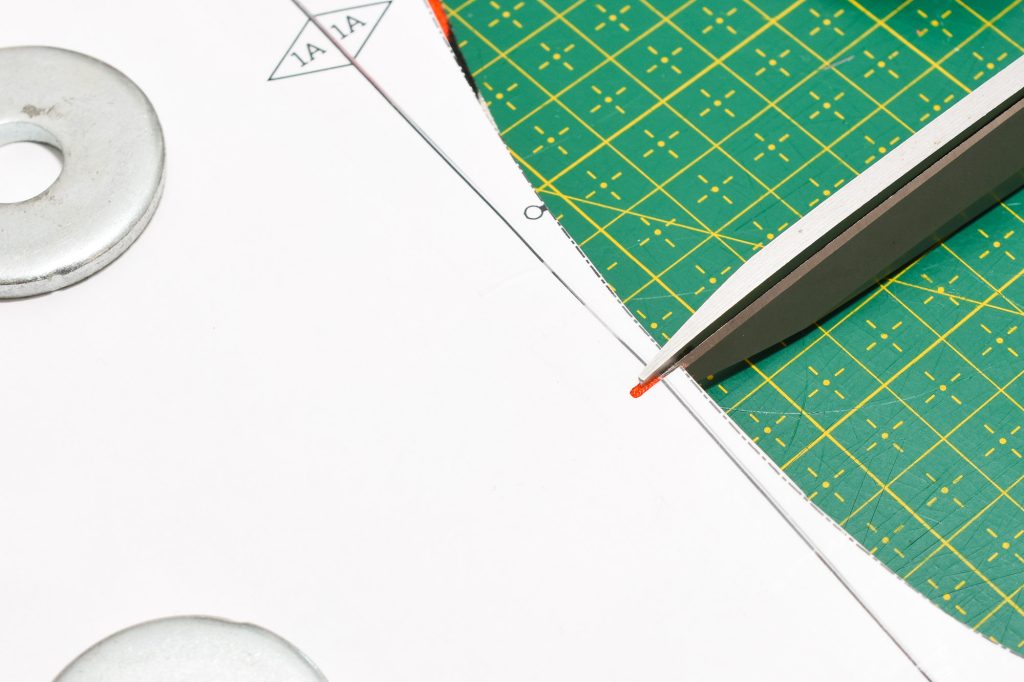
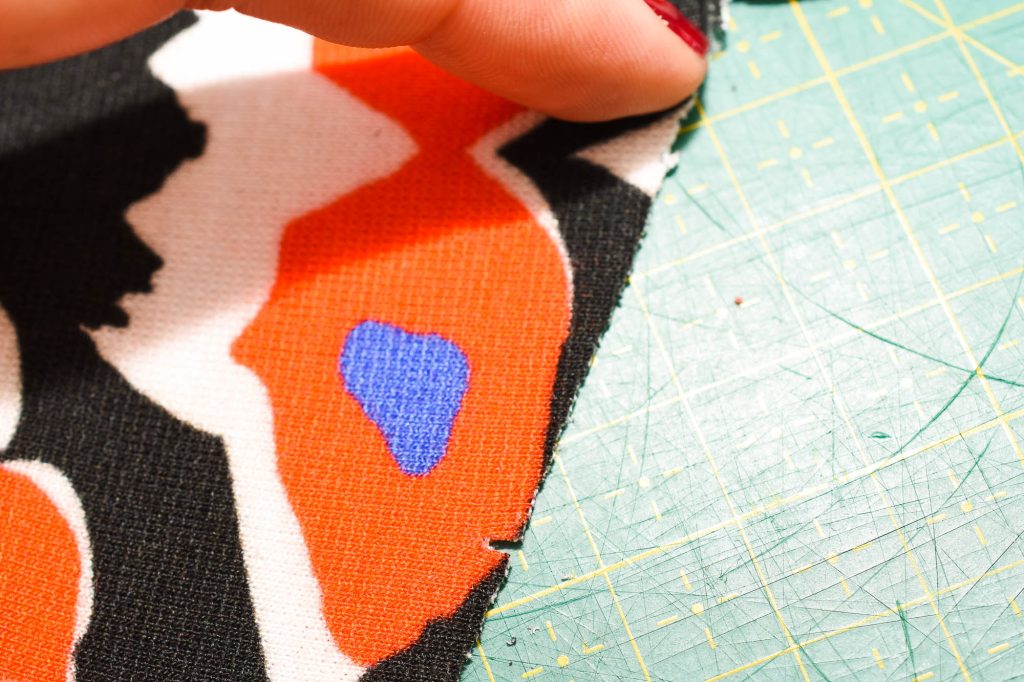
Tailor’s chalk and similar marking tools don’t always stick well on knit fabrics. If the knit fabric doesn’t unravel, I recommend clipping tiny notches in the seam allowances instead.
Make the clips no more than 2-3 mm long (⅛”), especially if the seam allowance is only 6 mm wide (¼”). To make this work, you need a sharp pair of scissors. I’m a huge fan of Kai scissors (Amazon Affiliate Link). They are so sharp and precise that cutting tiny notches is a breeze, even on sturdier fabrics.
If the knit fabric you are cutting is prone to unravelling, such as sweater knits, there are better methods than cutting notches. Instead, use chalk, pins or even tape to mark the notches.
I hope that this tutorial gave you some guidance on how to cut knit fabrics. Do you have any more suggestions on how to best cut knits? Please share in the comment section!
2 Comments
Charlene Cairn
When I did a Knitwit course many years ago we were advised always to wash or dryclean our fabric before we starte, i.e. treat it as we planned to treat the garment. Then if it twisted or shrunk, that was done with and it could be cut along the straight of grain even if that seemed to be diiagonal, and would not twist again when washed or drycleaned after wearing. It’s sometimes necessary to cut pieces from a single thickness but the garment will hang straight.
Comments are closed.