


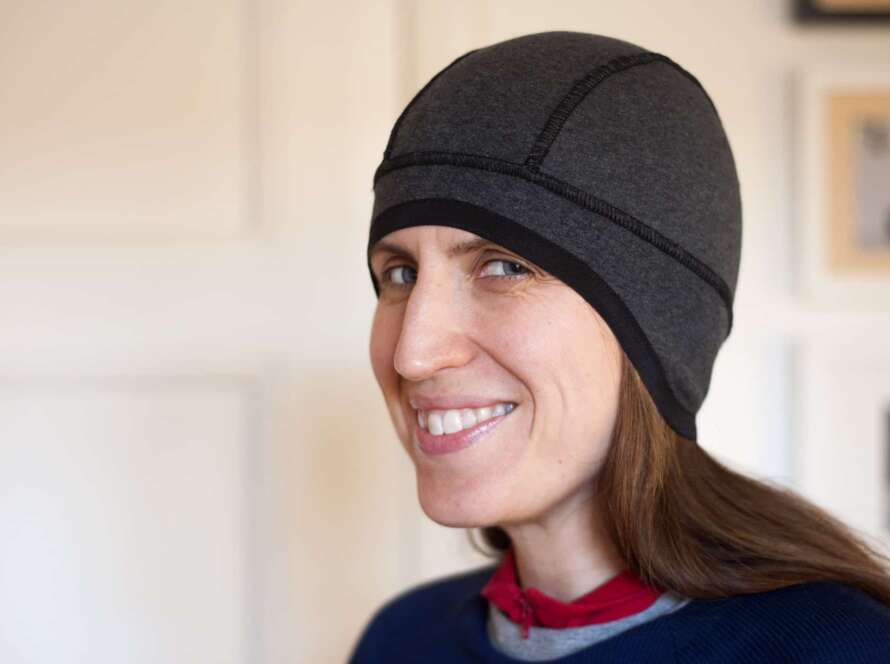
Wool jacket with a high standing collar and bounded patch pockets.
As for the patch pockets they were also a first stab at a new technique, I was lured by the promise of “The no fail, perfectly shaped patch pocket” in the book Sewing secrets from the fashion industry. Since I wanted knit binding on the pockets I used a modified version of the method. The pocket is basically a sandwich consisting of fashion fabric, interfacing and lining that you sew and turn.


How to make a perfectly shaped patch pockets:

The three layer sandwich: Interfacing, jacket fabric and lining.
The lining should be cut 1/16 inch/1.5 mm smaller than the outer fabric. That kind of precision cutting doesn’t compute well with this blogger, I was several mm off, and still got a good result. After cutting, interface the outer fabric with the fusible.

For the binding I used a foldable wool knit band that are used to mend thorn coat sleeves.

The binding needs to be done before attaching the lining.

Attach the lining. There might be some light stretching involved since the lining is a tad bit smaller than the outer fabric.

The stretch of the lining will make the pocket coupe inwards, which is exactly the look we are going for. Clip the seam to make a perfect round shape. As you can see I left a fold in the lining, that will go over the binding.

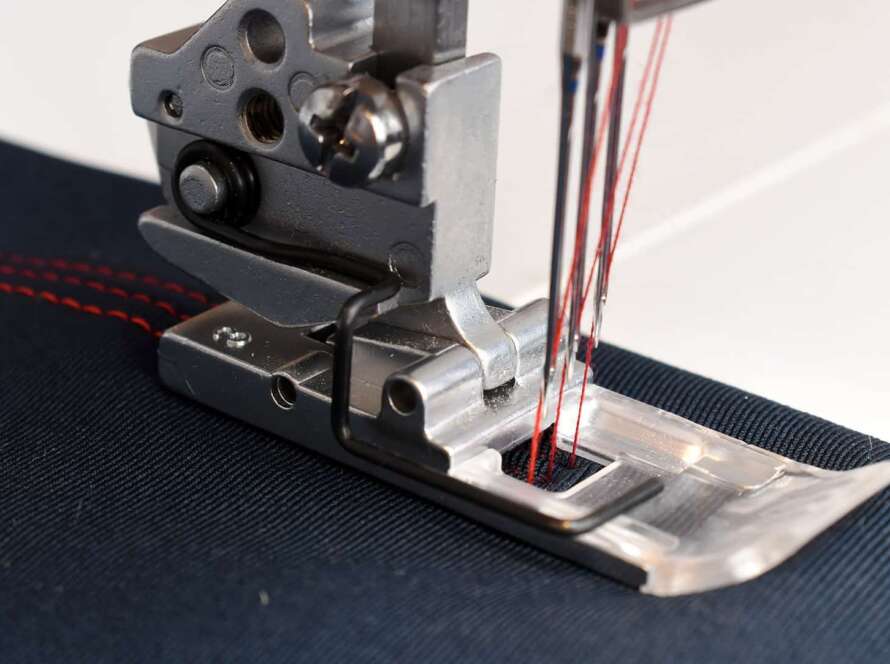
Then turn the pocket and topstitch the lining fold over the binding.

The pocket seen from the other side.
The end result is a little spongy – the pockets feels almost like oven mittens, and thus perfect for a winter jacket!
The pattern I drafted is pretty straightforward. Slightly curved bodice with bust darts and two piece set-in sleeves. The collar is basically an elongated collarstand that can be folded like in the pictures or kept up for a slightly Count Dracula effect.

The lining is attached without any hand sewing whatsoever using Kathleen Fasanella’s lining tutorial. It was definitely hard getting my head around at first, but once I actually tried it was pretty easy to grasp. You do need to have a plan for how to turn the jacket afterwards since this method closes the hem. I left a 20 cm opening in one of the side seams (in both the lining and the fashion fabric) and it worked really well. Another thing is to double check the pattern pieces, everything has to be exact to make this method work.
I also used the lining draft method that she describes in her book which has you making the lining slightly longer than the shell.
7 Comments
kbenco
Your jacket looks gorgeous, and thanks for the detailed photographs of the pocket construction.
Karen
Christina
You made this fast! It looks so cozy and I like the trim on the pockets. Great story about the lining.
Johanna
>>Kbenco: Thank you, I can really recommend the pocket construction, the feel of lining is so nice when I put my hands in the pockets.
>>Christina: Well I didn't leave the house for more than 30 min during all of Saturday, I just sewed like crazy to get it done before Christmas begins. I've saved the idea for the pockets you showed me and plan to use them on the sweater hoodie in the future.
Kathleen
Yeah Johanna! Fabulous finish!
luckylibbet
Wonderful jacket – and many thanks for sharing the technique for the pocket. Looks like precision is worthwhile! Sorry for commenting so late, but the holidays…
Johanna
>>Kathleen and Luckylibbet: Thank you for your encouraging comments!
Comments are closed.