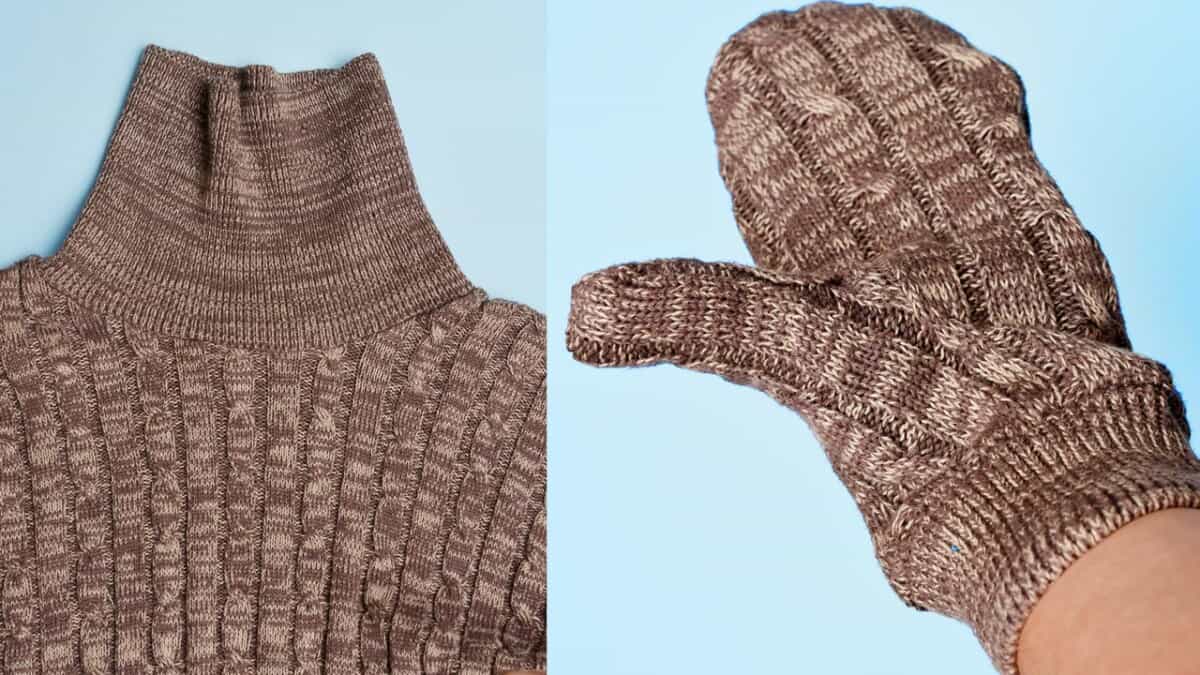
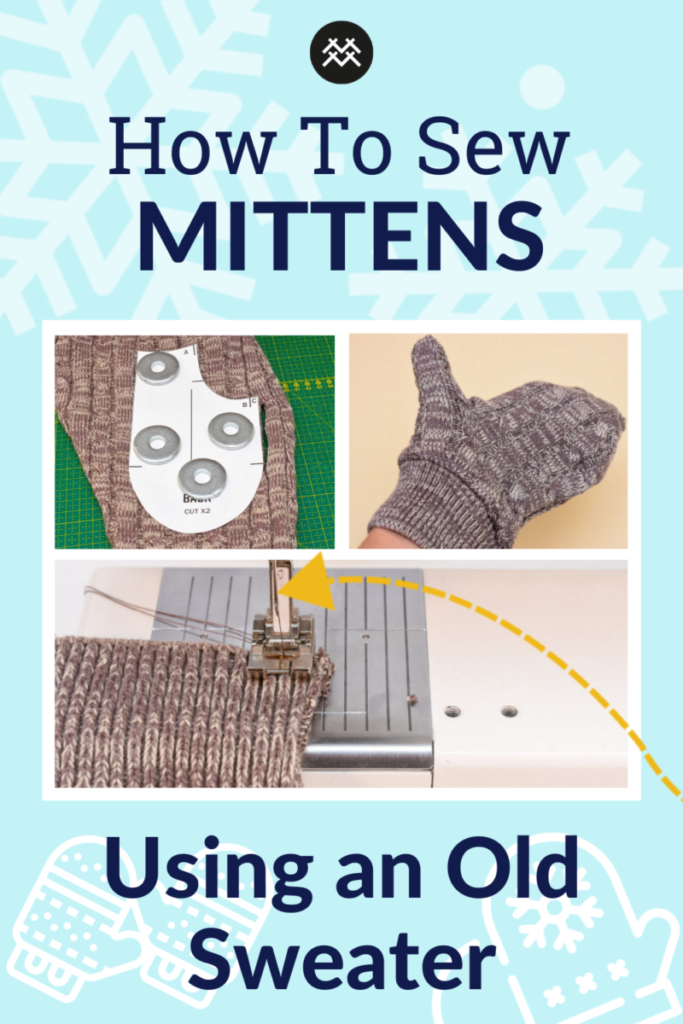
Want to know how to turn a sweater into a pair mittens? Just like Bernie Sander’s famous mittens? In this tutorial I show how to sew a pair of sweater mittens in less than an hour, that could, at least for an untrained eye, pass for being hand-knitted.
Here we are using my Tova Mittens Sewing Pattern, but you can, of course, use any sewing patterns to create the mittens.
Note that these instructions are specific for sewing mittens using a sweater, so if you want to learn more about sewing mittens in general, check out the regular step-by-step tutorial for the Tova Mittens.
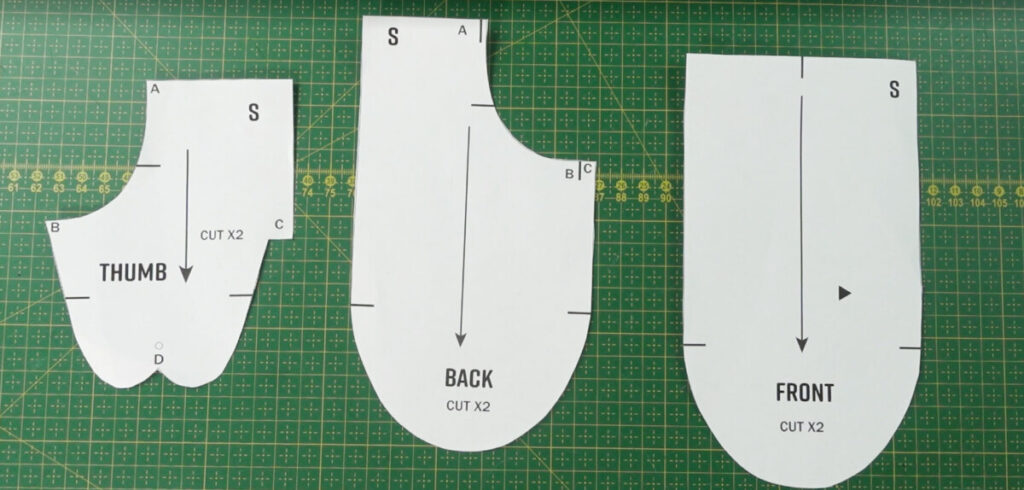
We are using three pattern pieces for this project: Thumb, Back and Front. No need for a cuff pattern piece, since we are using the knitted cuffs from the sweater.
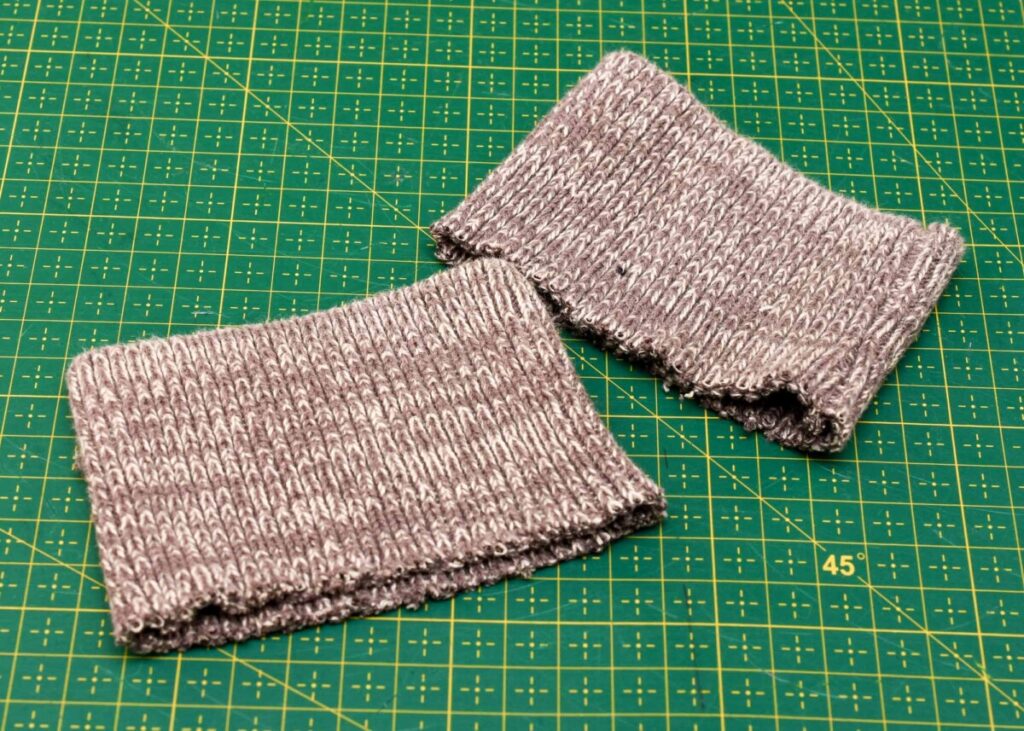
1. Cut the cuffs off the sleeves
Try and see if they fit, you might need to make them tighter, but that’s an easy fix and I’ll show you that in a later step.
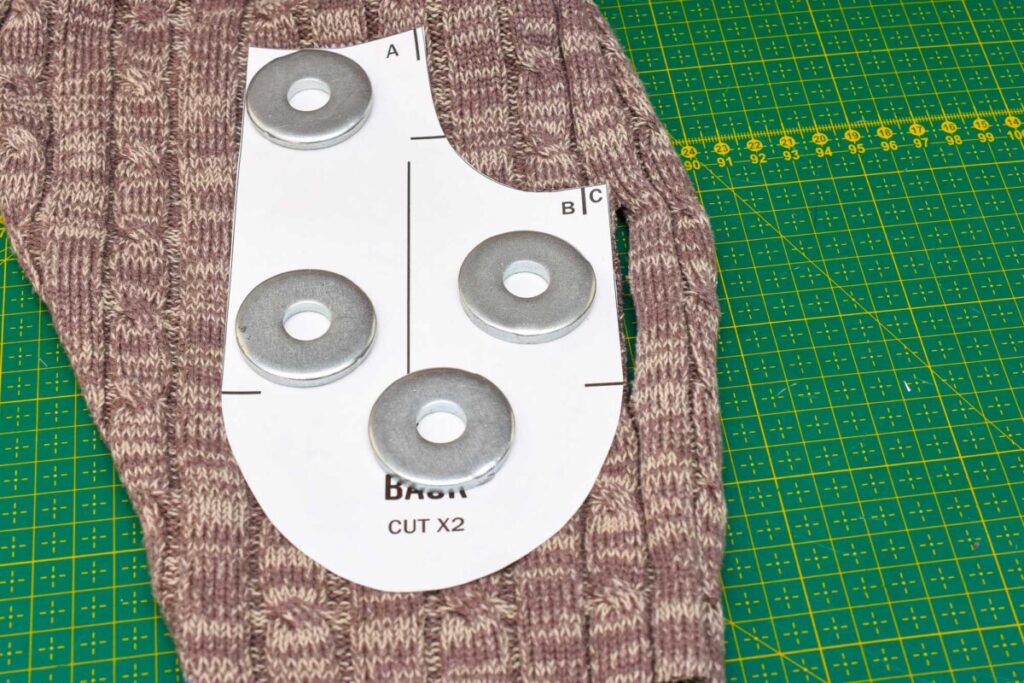
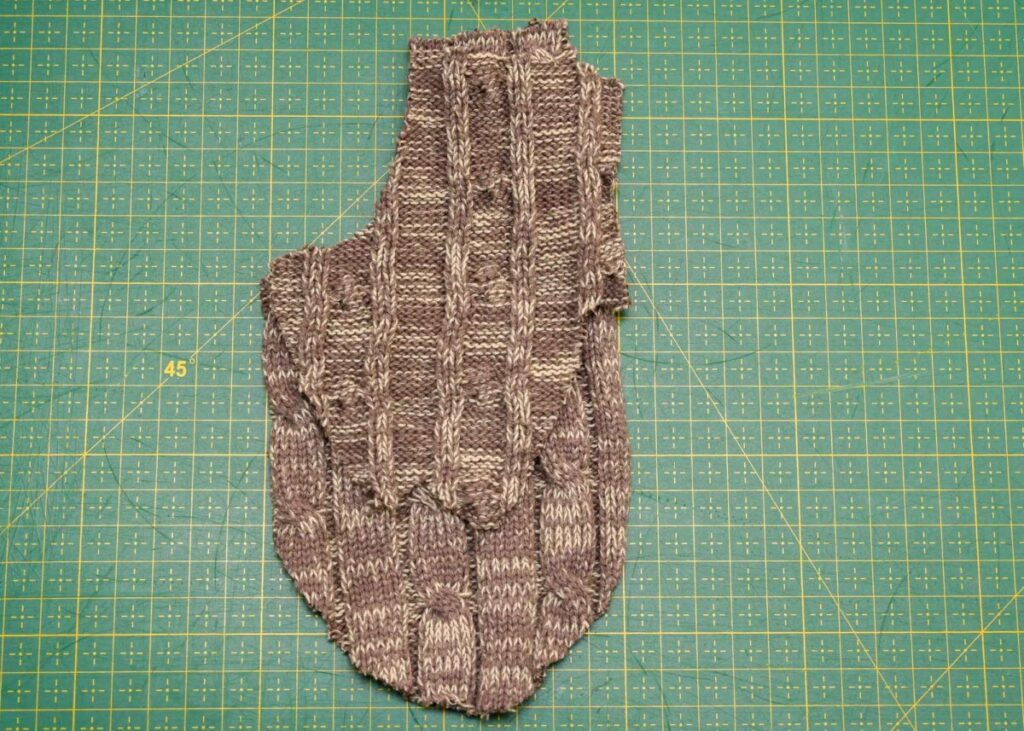
2. Place the pattern pieces on the sweater and cut
If your sweater has a prominent knitting texture or pattern, such as a cable knit, cut the pieces as a single layer to make sure the texture ends up on the same spot on both the left and right pieces.
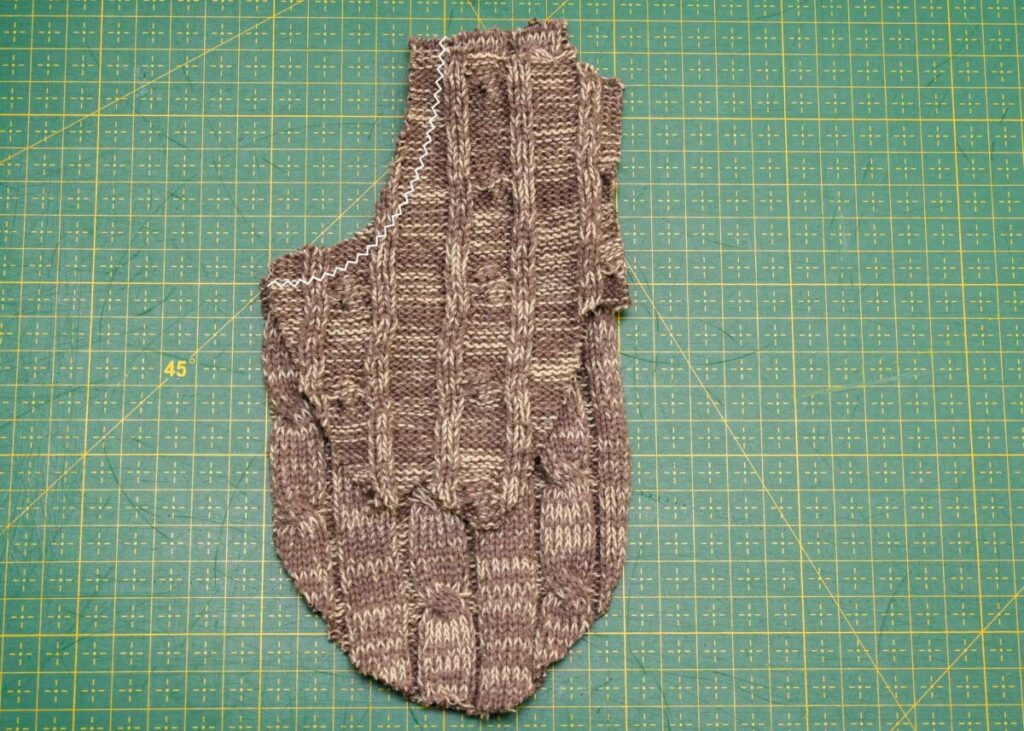
3. Place the thumb piece to back palm piece
Right sides facing, the wrong side up. You are going to sew along the curved line to attach the thumb to the palm.
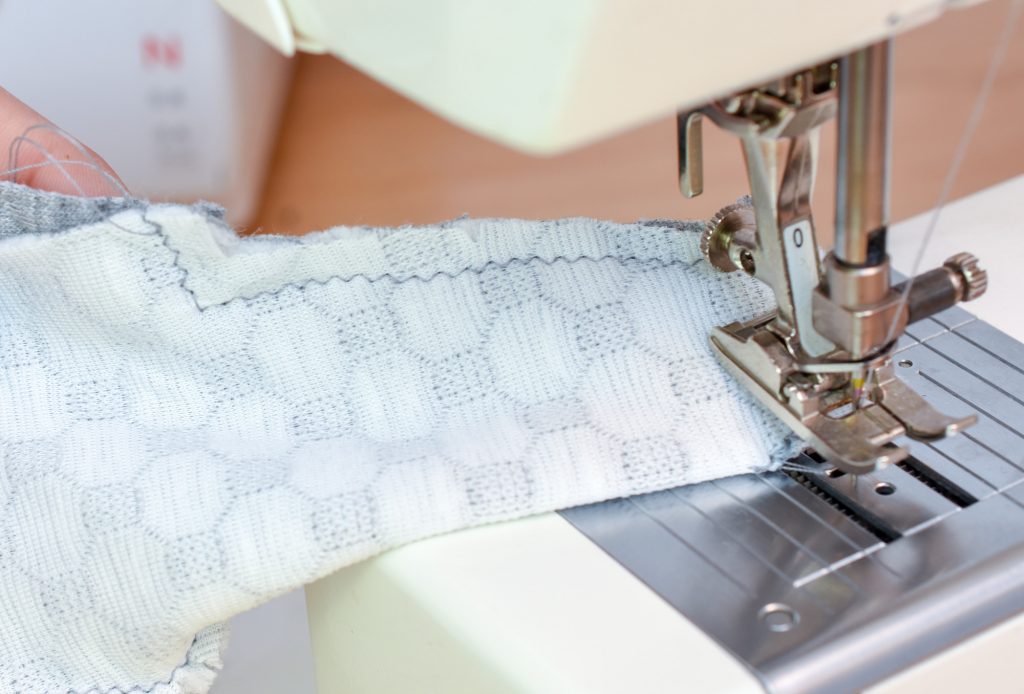
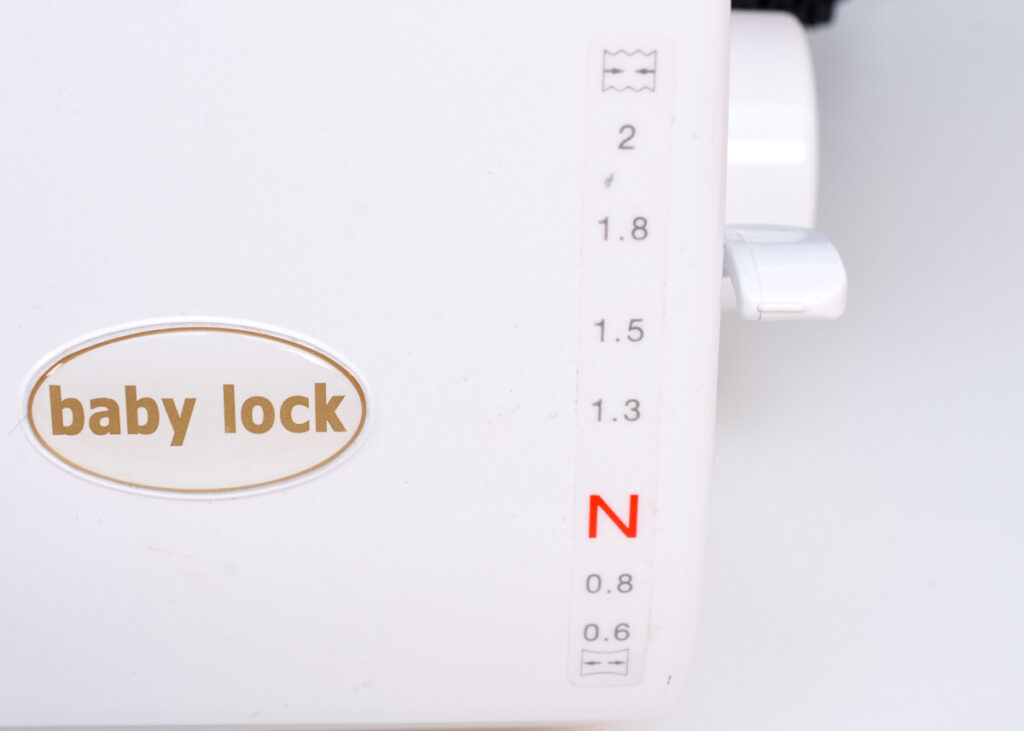
4. Set your machine for a narrow zigzag stitch
This means that you reduce the width of the stitch to make it look a bit straighter, but it should still have some stretch.

5. Stitch along the curve
On very loose knits I recommend stitching two rows, to keep any loops from slipping through, which can be an issue when sewing refashioned knitted garments.
6. Fold the thumb piece in the middle
This is in preparation for closing the thumb, it might look a little bit like a puzzle, but when you are doing it with your own hands it will all make perfect sense. Also, check the Tova Mittens tutorial for clearer illustrations using contrasting fabric and illustrations.
7. Stitch the thumb
Start at the outer corner, then pivot where the thumb begins and sew all the way around, making sure that the lower layer doesn’t slip. Again I recommend reinforcing this area with a second row if using a loosely knitted sweater. BTW, here I’m using another fabric to show this step since the sweater knit hides every seam!
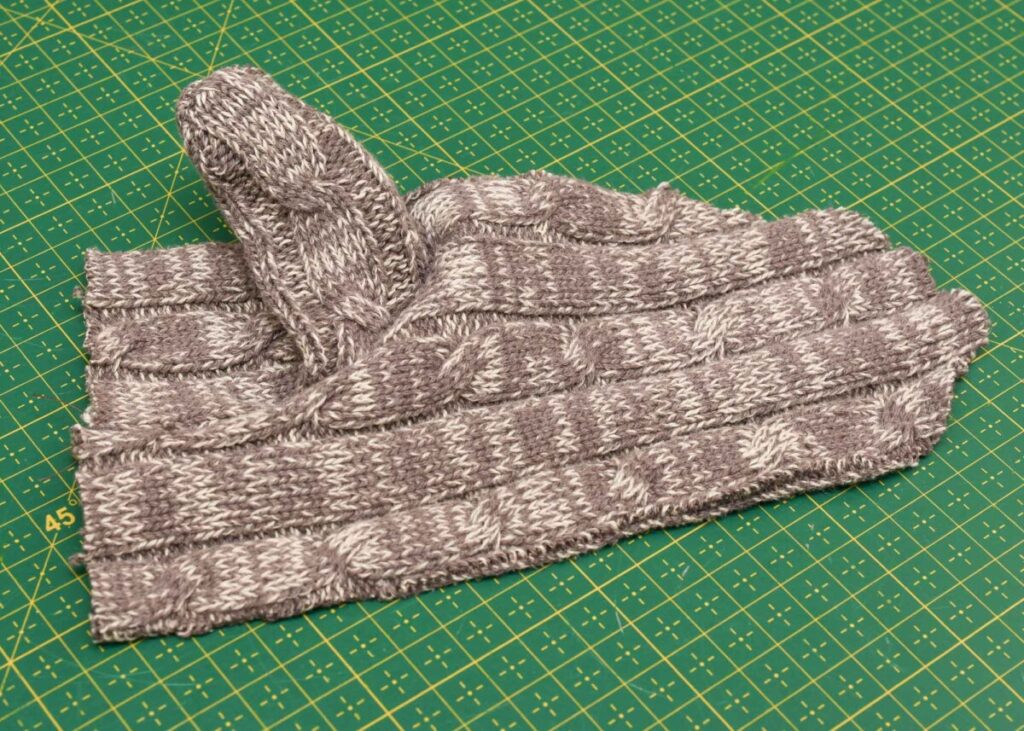
8. Turn the thumb out
Now it’s starting to look more like a mitten!
9. Add the upper palm piece
Place the back palm on front palm piece. Right sides facing. Make sure the thumb is folded towards the middle.
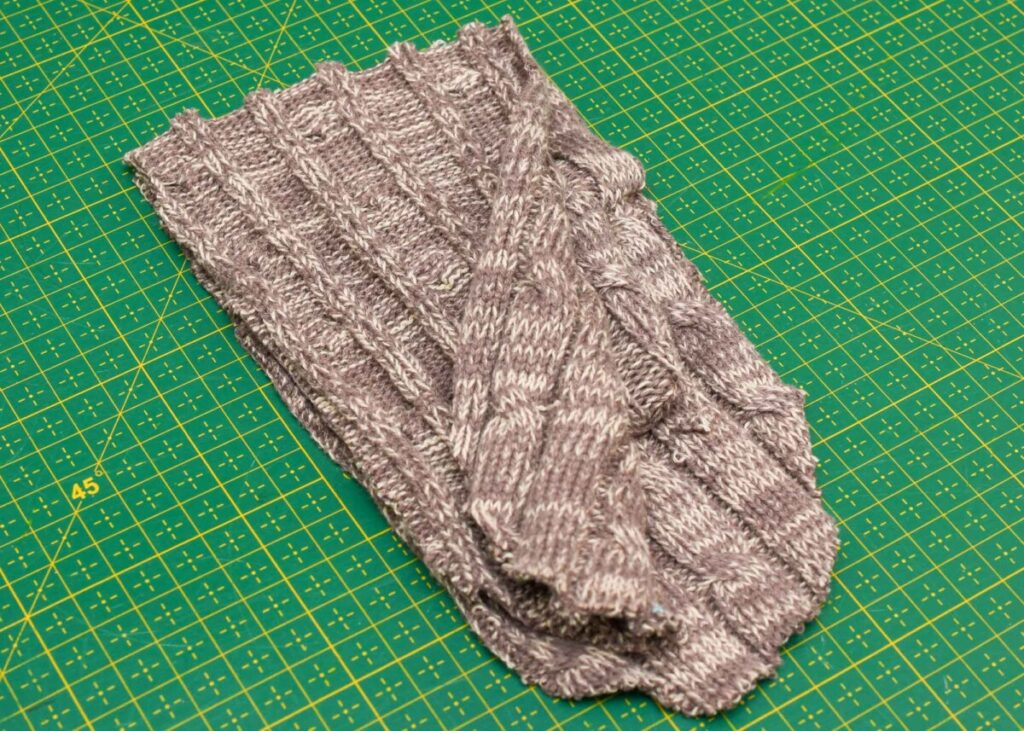
10. Stitch along the outer edges of the entire mitten
Use a narrow zigzag stitch or a stretch seam. When you pass the thumb piece, make sure it’s folded away so that it isn’t caught in the seam. Again make sure you catch both layers when sewing, since sweater knits can be slippery to sew.
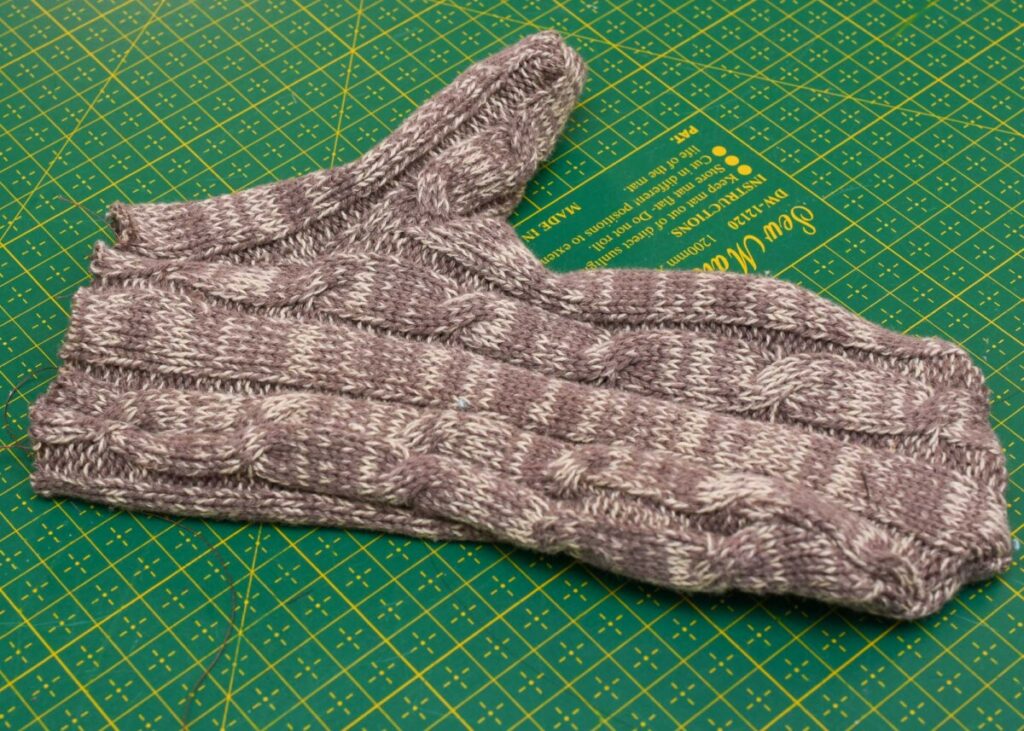
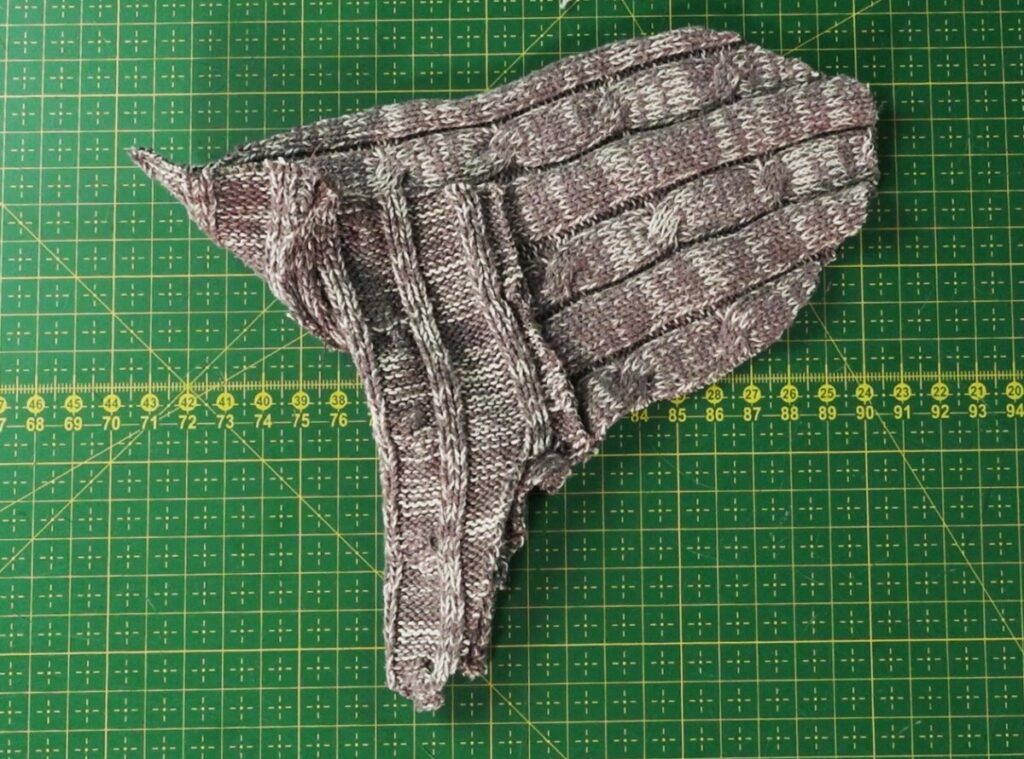
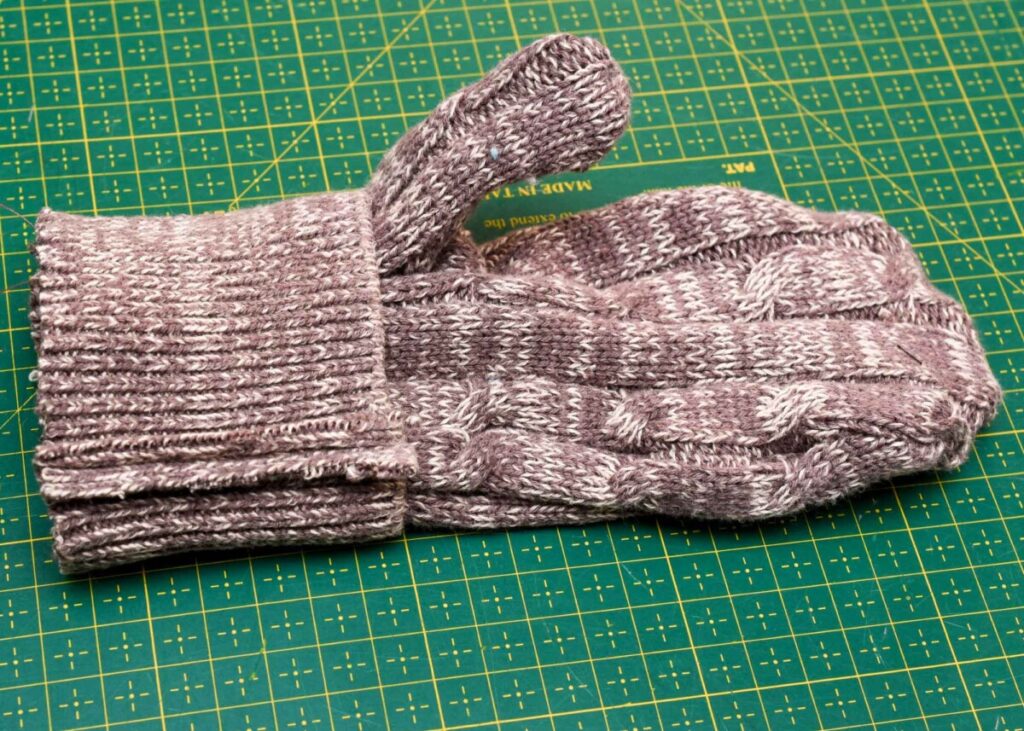
11. Turn the mittens so that the right sides are up
Now we are almost done sewing them mittens. As I told you, it would all make sense, once we got going. Notice the corner underneath the thumb. This is the corner pivot that we did when we attached the thumb.
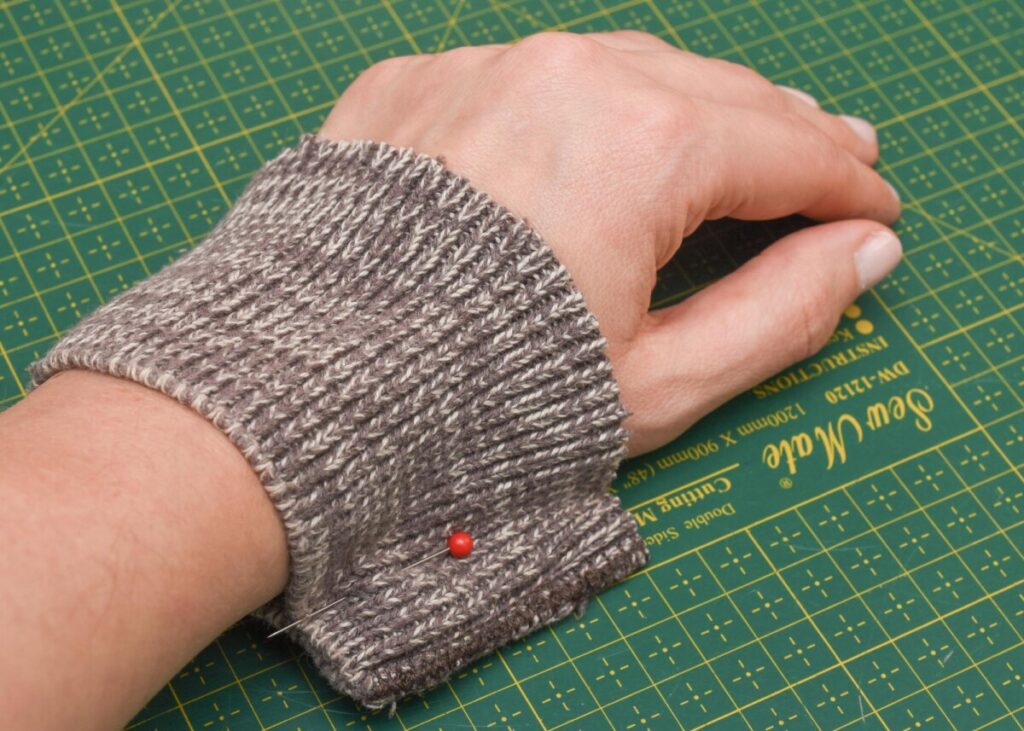
13. Prepare the cuffs
Try them on the wrist and see if they fit. If they are too big, pin them to mark how much to trim. It also depends on how wide the glove part is of the mittens, the cuffs should be smaller than the opening of the mittens, but not too much. Remove the extra width from the cuffs.
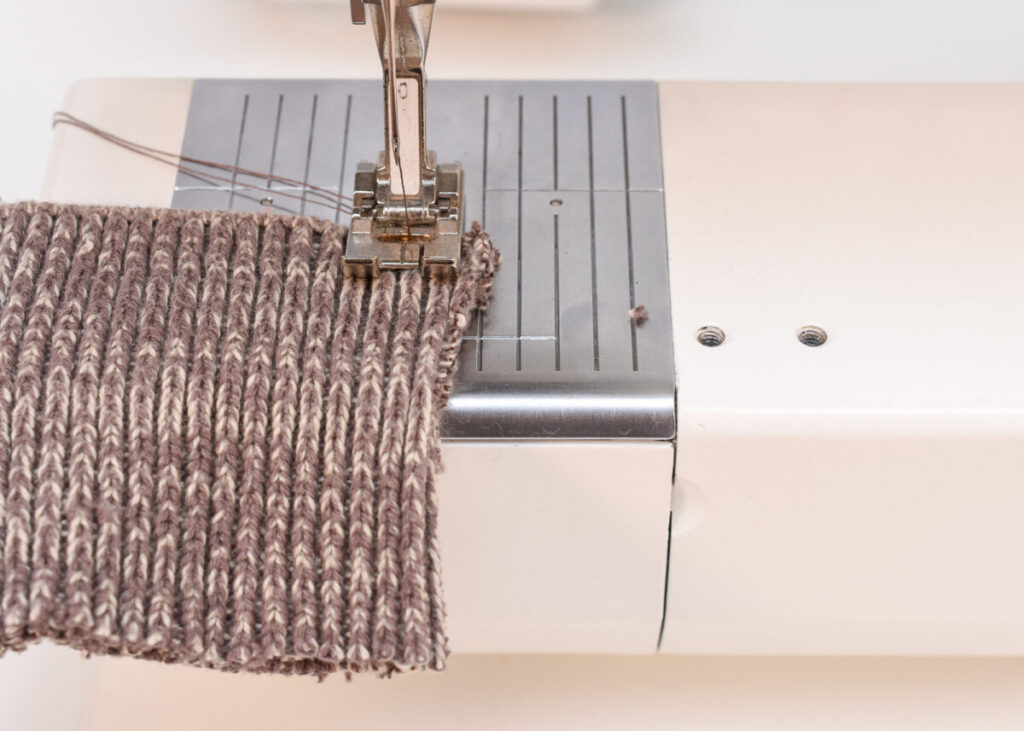
14. Stitch the trimmed cuffs together
Again use a narrow zigzag stitch.
15. Pull the cuffs over the opening of the mittens
With the cut edge aligned with the edge of the glove. Right sides should be facing, with the wrong side up.
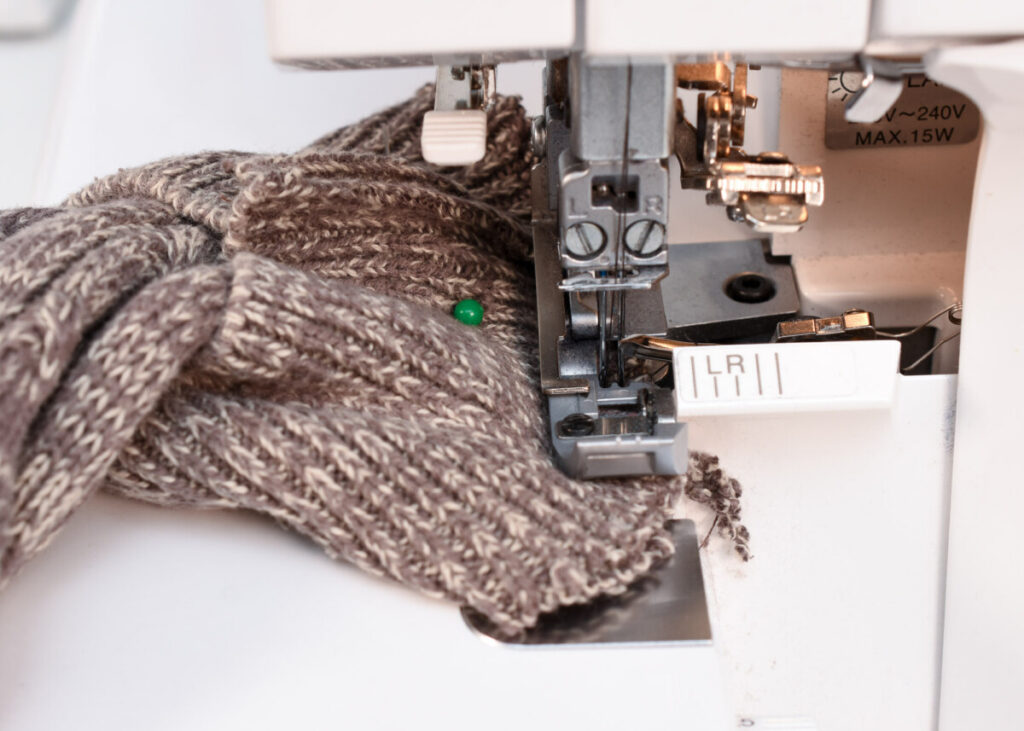
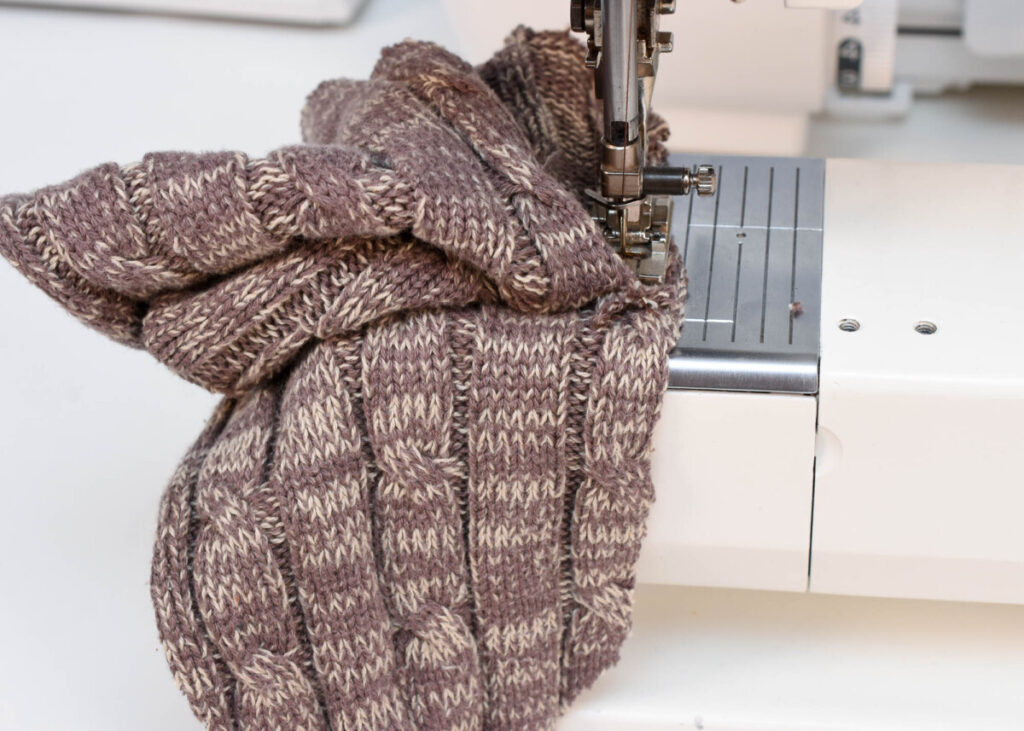
16. Sew the cuffs to the mittens
Using an overlock, stretch seam or a narrow zigzag stitch. Stretch out the cuff when sewn, since it should be smaller than the opening of the glove.
Tip: If you are using a serger for this step, try to increase the differential feed to prevent the pieces from stretching out when sewn, as this is common when working with less stable sweater knits.

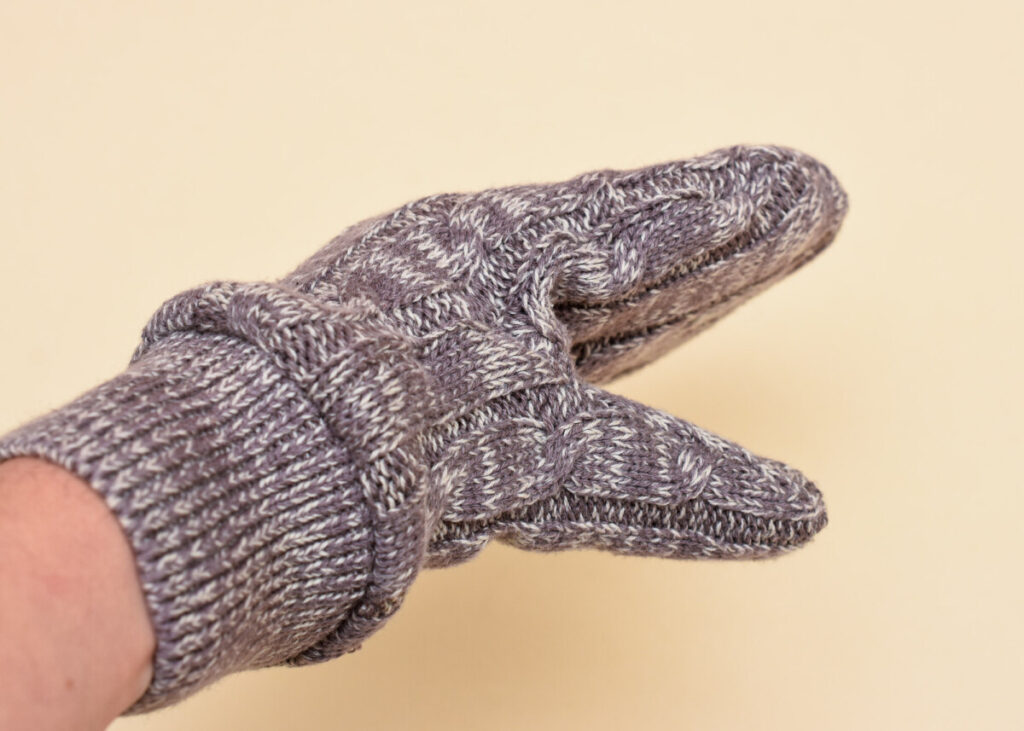
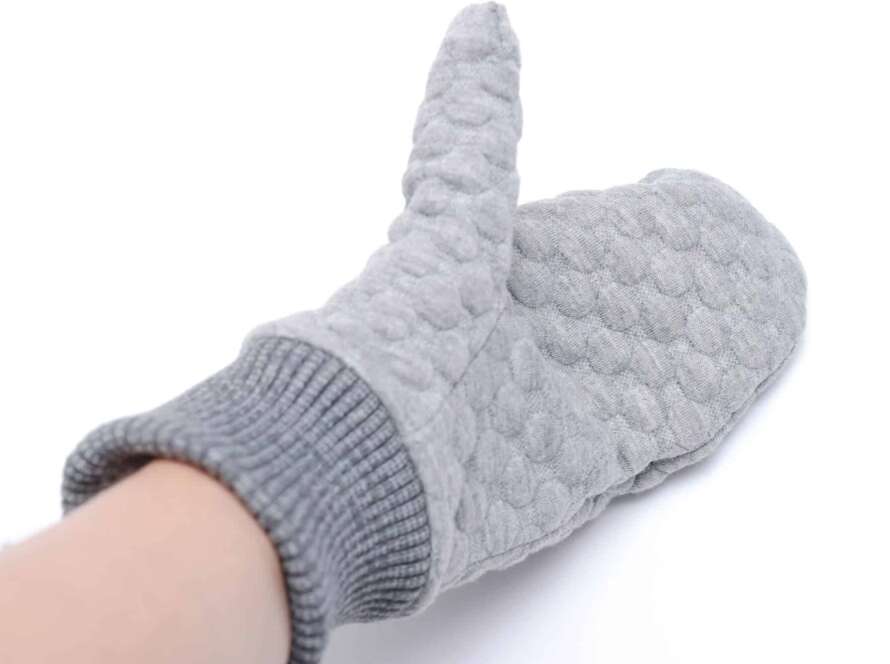
The finished mittens
As you can see they look pretty nice, and if I had used a sweater fabric that had more shape and was more tightly knitted they would have looked even better!
As I said, I used my own Tova Mittens sewing pattern for this project, and while it’s primarily intended for regular fabric, it works super well for upcycling an old sweater into a pair of mittens too.
To learn even more about how to sew a pair of mittens using a sweater, check out this video tutorial as well:
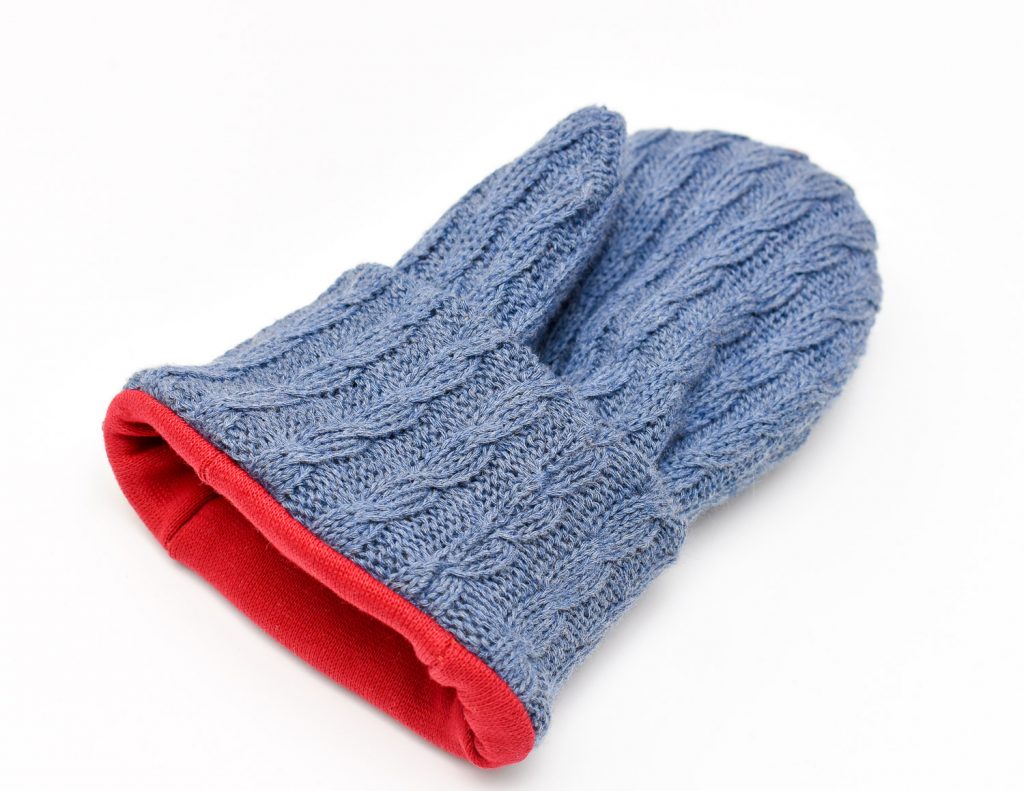
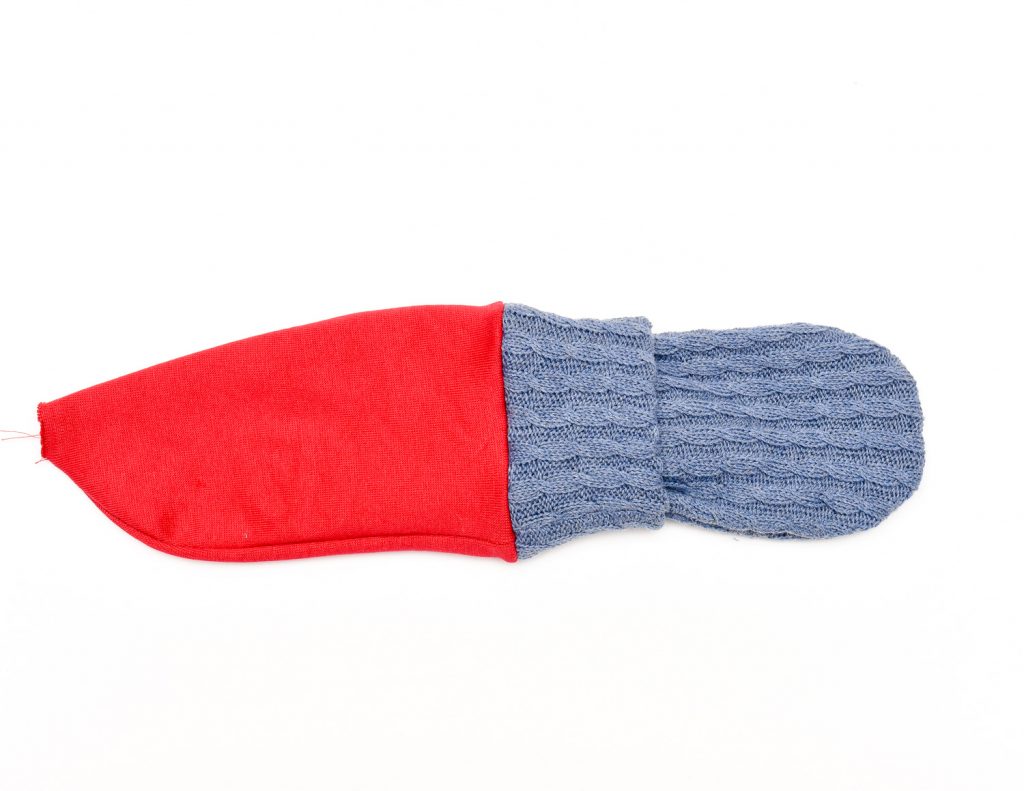
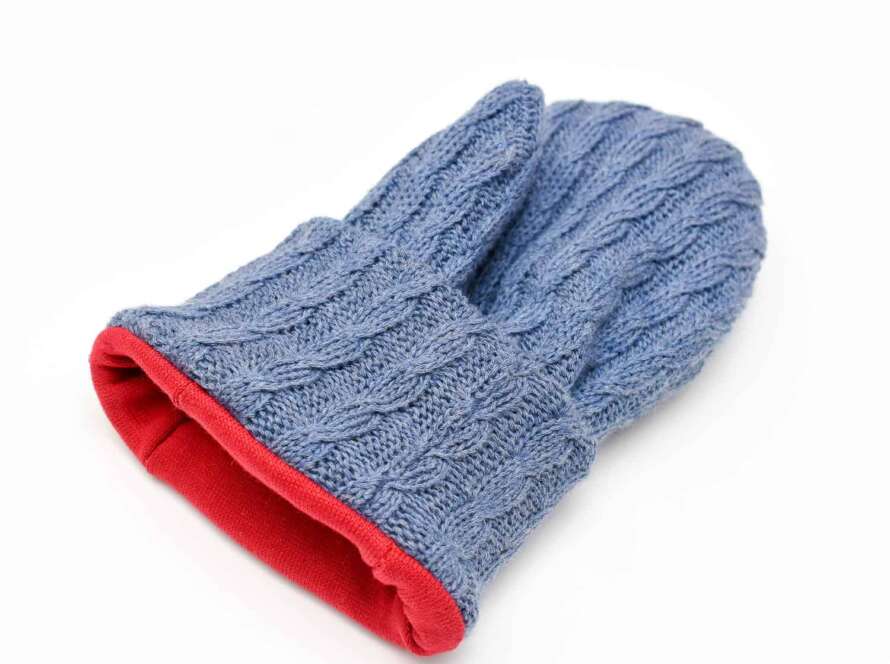
Lining the mittens
To make the mittens warm and cosy, add fleece lining using my easy step-by-step tutorial for adding lining to mittens.
And if you are aching to try out ways to refashion an old sweater, check out my tutorial for making a beanie hat from an old sweater.
12 Comments
JenL
I have been thinking about making mittens too. I salvaged a nice sweater and turned it into a kind of cowl/snood, but I find that I never wear it. Mittens would be nice and I have small hands too. I may give it a try!
Johanna
You should! It was a very quick make, the only extra work was making them even smaller than the pattern. So making a sample first to make sure the fit is right is something I would recommend, to myself too 🙂
Darlene
I have a mitten pattern but can’t find the directions. I am baffled about how to attach the thumb which is a complete separate piece to the mitten and cuff. None of the online patterns I’ve seen are similar. Any suggestions would be greatly appreciated. Pieces are all cut out and ready to sew.
Anne
Nice! This is definitely a project I could take on to put old sweaters to good use! Thanks for the tutorial – seeing the way the mittens are put together is very helpful!
Johanna
It is, I don’t know why I hadn’t thought about it earlier! It really mimics the look of hand knitted mittens, and I’m gonna make more for sure
autokredit vergleich
released criminals do anything against the local community make certain that media covers the mess caused by Washington against their own American citizens while protecting illegals. We will then have a similar situation as gun walking since the number of illegals could be permitted to walk by the Feds and when an American citizen is harmed or killed call another Congressional hearing and provide the communications/emails from the Feds who would not cooperate with the Supreme Court's order for the legal arrests and make them responsible for the harm done.
DoyleAbags
dominoqq
Annette Bollig
Johanna,
Last year I switched to your pattern for teaching immigrant women to sew. It is so much more intuitive than some of the other patterns. It fits well and is warm. Many of the women lined their mittens with fleece or knit fabrics.
Love this pattern
Comments are closed.