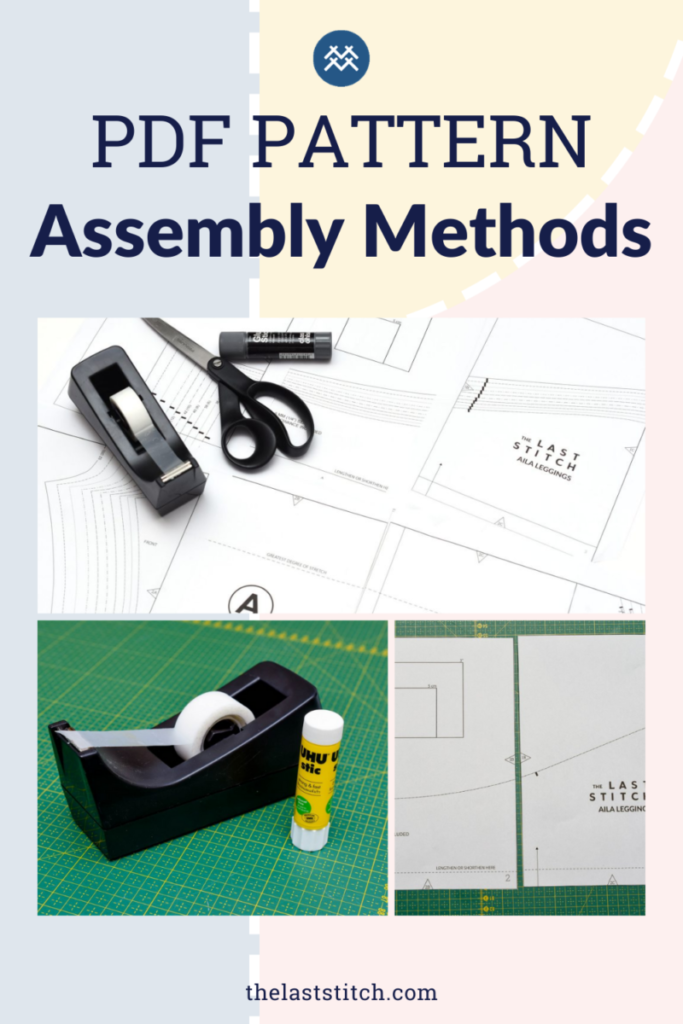
Which is the fastest and best for PDF sewing pattern assembly? I put four methods to the test to find the answer to this pressing question,
If asked, I don’t think assembling PDF sewing patterns would top any sewists fave list, especially if there are dozens upon dozen papers to put together. In fact, these days, as PDF:s are becoming more and more ubiquitous, you might even find yourself literally having to put together patterns with up to 100 pages. So, if you are like me, you probably must have wondered if there is a faster, more enjoyable way to do this?
This post contains Amazon affiliate links, meaning that a commission is earned from qualifying purchases.
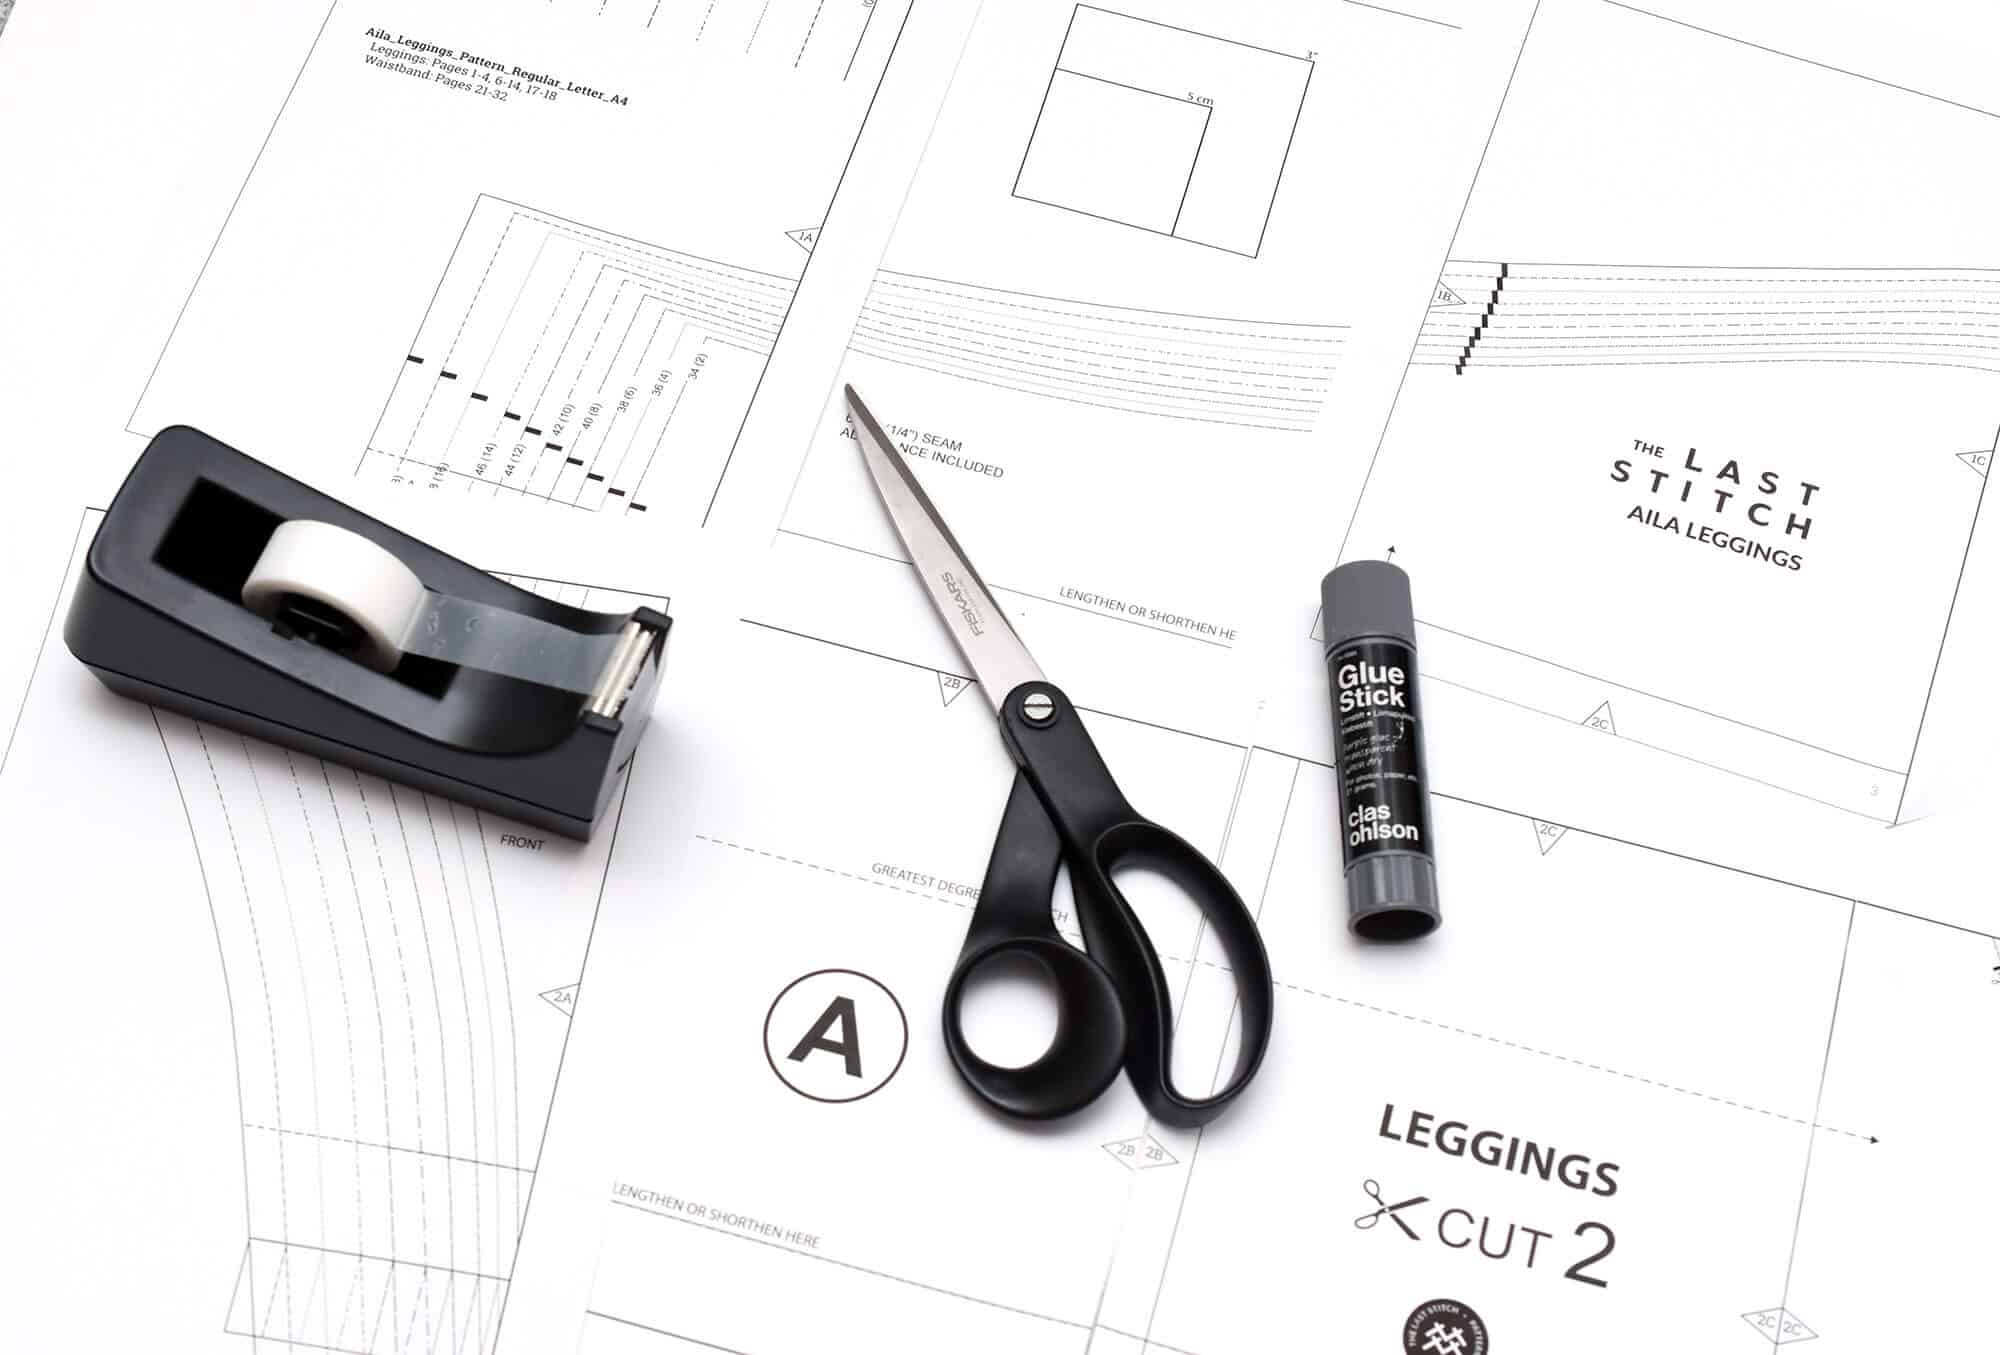
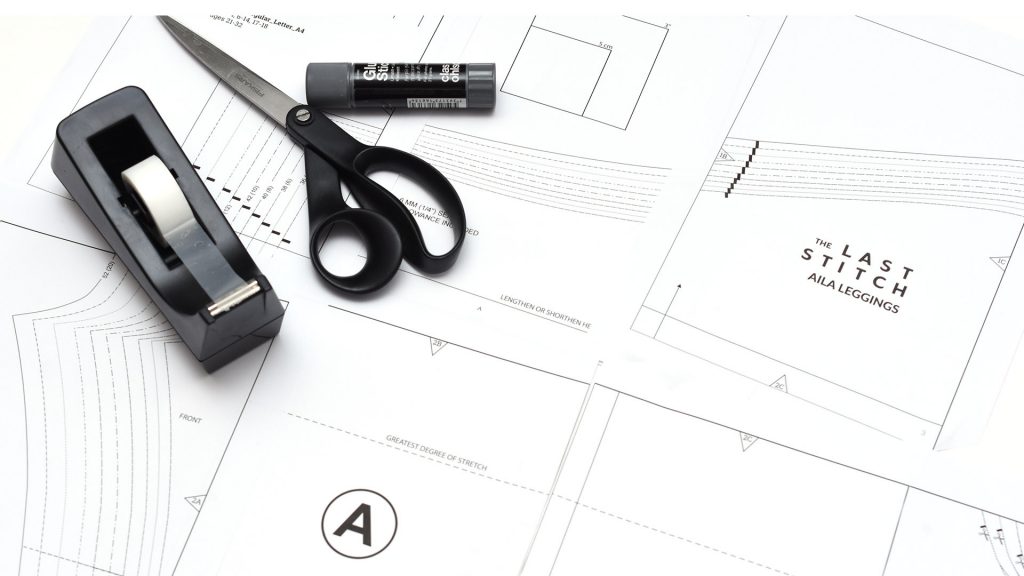
Well, to answer that perennial question, I have tested the four most common methods to assemble the patterns, both when it comes to time and performance. In the time comparisons, I’m assembling two rows, with eight pages in total. For the sake of simplicity, I’m using simple household tools in this experiment, i.e a pair of scissors + glue stick and tape.
There are obviously faster ways to cut the patterns, which I will talk about further down in this guide. But for now, let’s give these methods a try!
Cut all the margins of the pattern
Description
This method has you removing all four sides of the pattern. Cut carefully along the lines, make sure you cut evenly, as this method has very little room for errors since there are no margins to play with if one line is uneven.
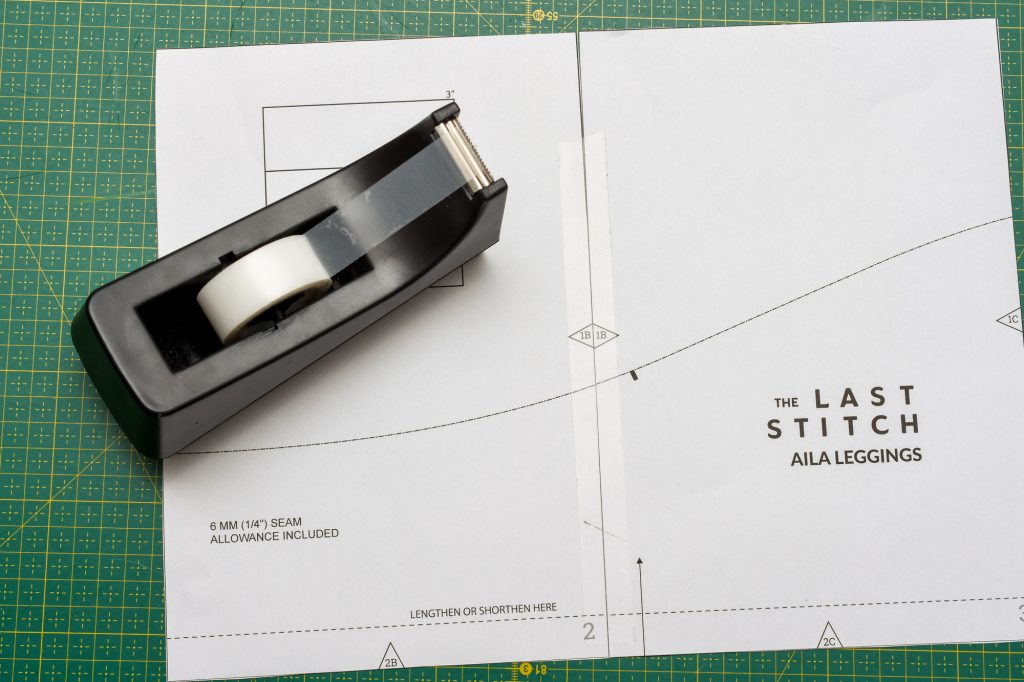
Total time cutting and assembling: 5:22 minutes.
Pros: Creates the least bulky finished pattern, which also makes folding the easier.
Cons: Takes the most time of all methods. Very little room for errors. Can’t use a glue stick.
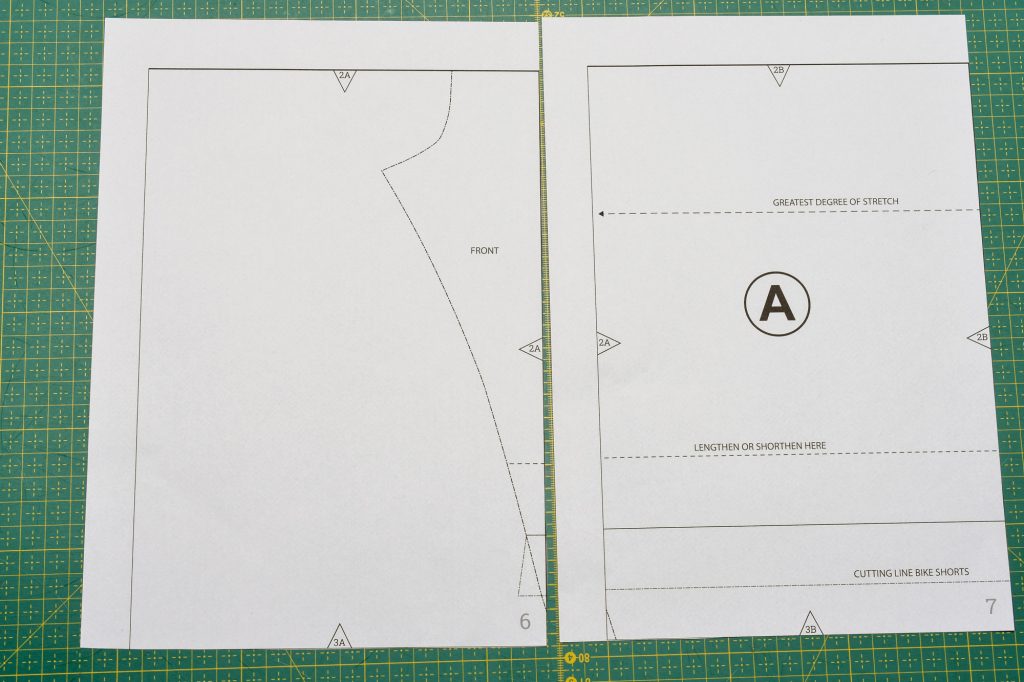
Cutting two sides
Description
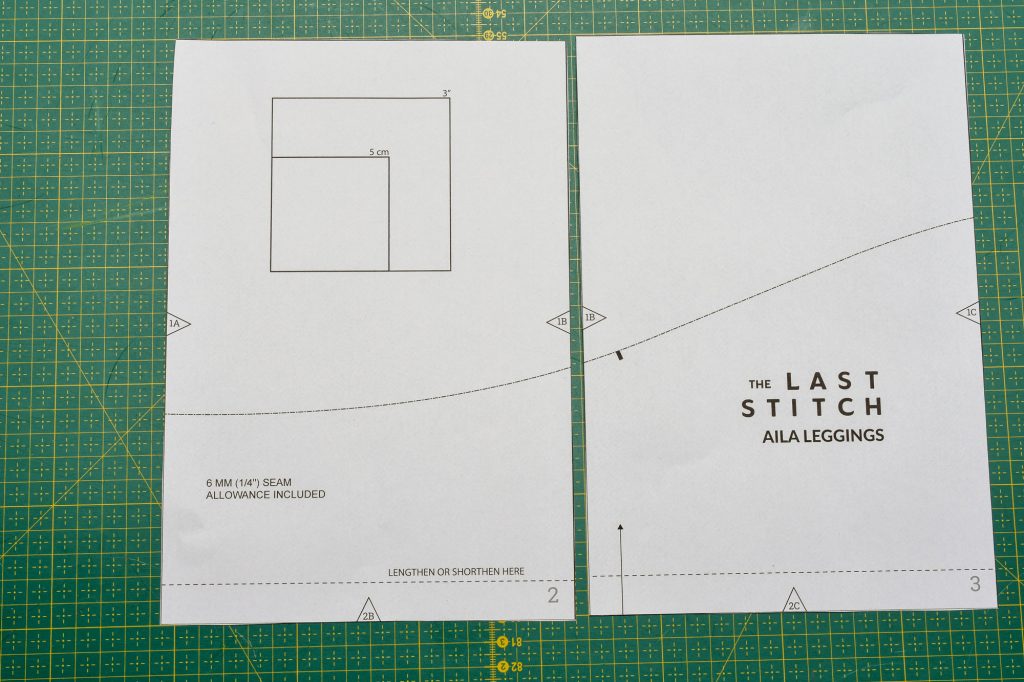
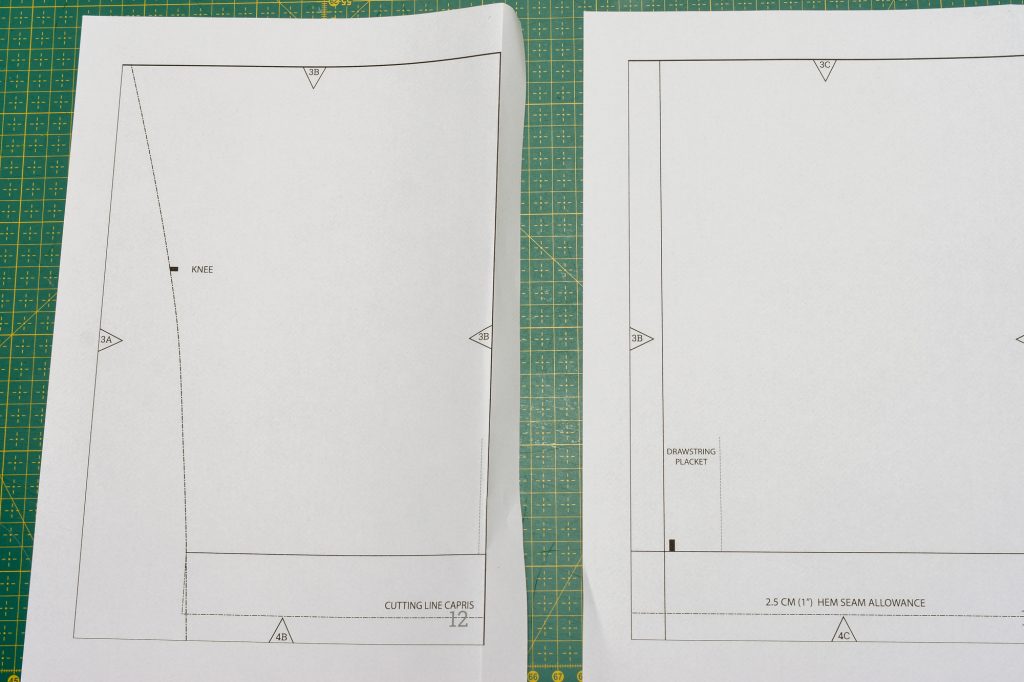
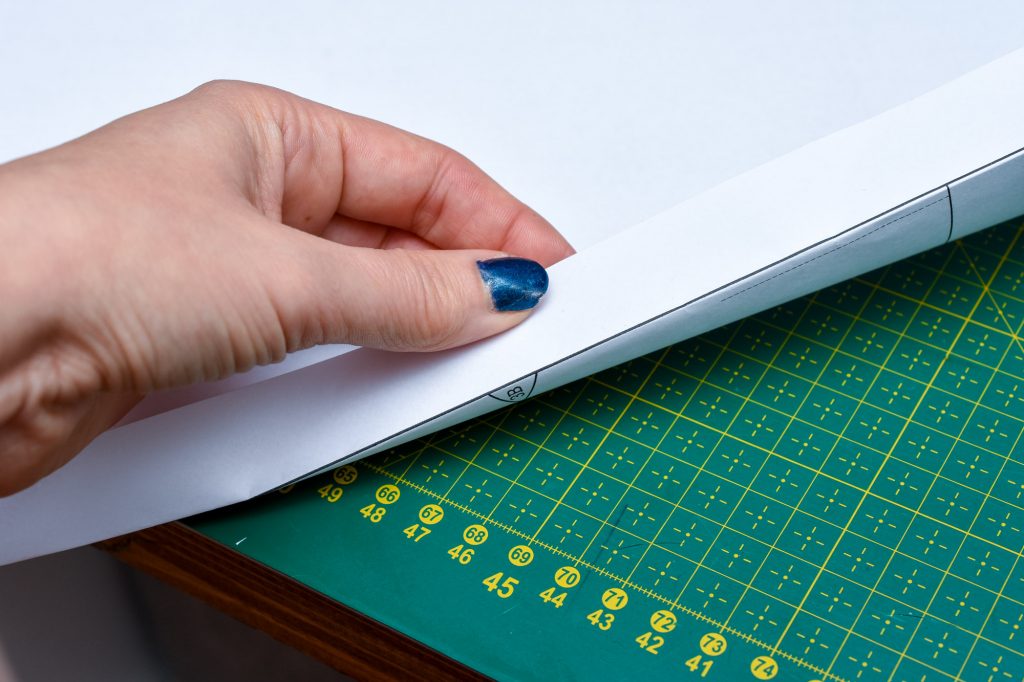
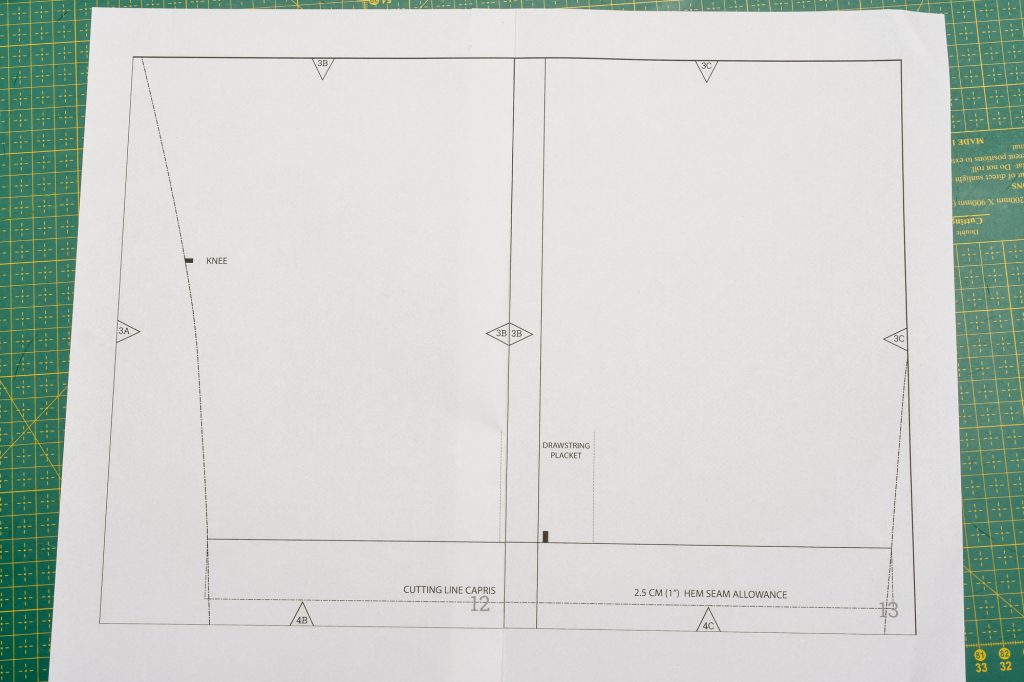
Trim only the sides where the pages overlap (i.e. the bottom and right side). Placed the trimmed side over the untrimmed side, making sure the lines align. For this method, you can use either glue stick or tape. This is probably the most popular method for assembling PDF pattern.
Total time cutting and assembling: 5:05 minutes.
Pros: Faster than trimming all sides. Easy to move around the pages if something is off when you add a second row, especially if the glue stick isn’t super quick drying or if using a matte-finish, invisible tape that is somewhat removable without ruining the paper. The overlapped sides don’t cover any pattern information and lines.
Cons: Bulkier than the trimming away all sides. Makes the pattern harder to fold.
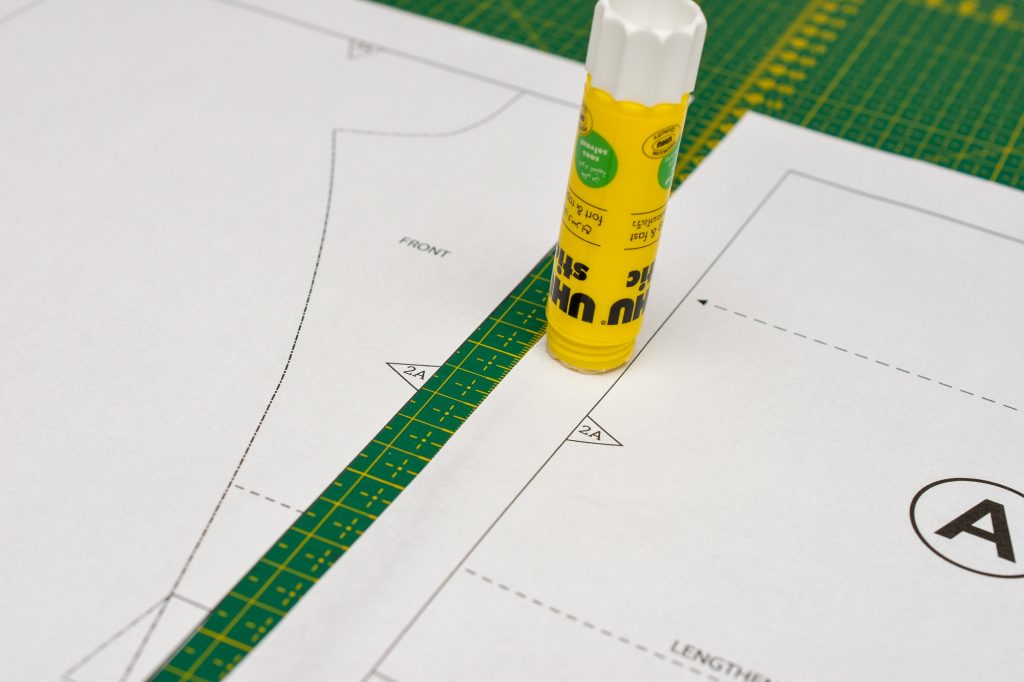
Folding two sides
Description
Fold in the sides where the pages overlap (i.e. the bottom and right side). Make sure the fold is straight and along the line. Place the folded side on top of the unfolded side, making sure the lines align. This method is very similar to the cut two sides version.
Total time folding and assembling: 4:38 minutes.
Pros: Fast. Very easy to change if something is off since the edge can just be refolded. The overlapped sides don’t cover any pattern information and lines.
Cons: Bulkier than the cutting methods and especially so in the intersections where new rows meet. Makes the pattern nearly impossible to fold.
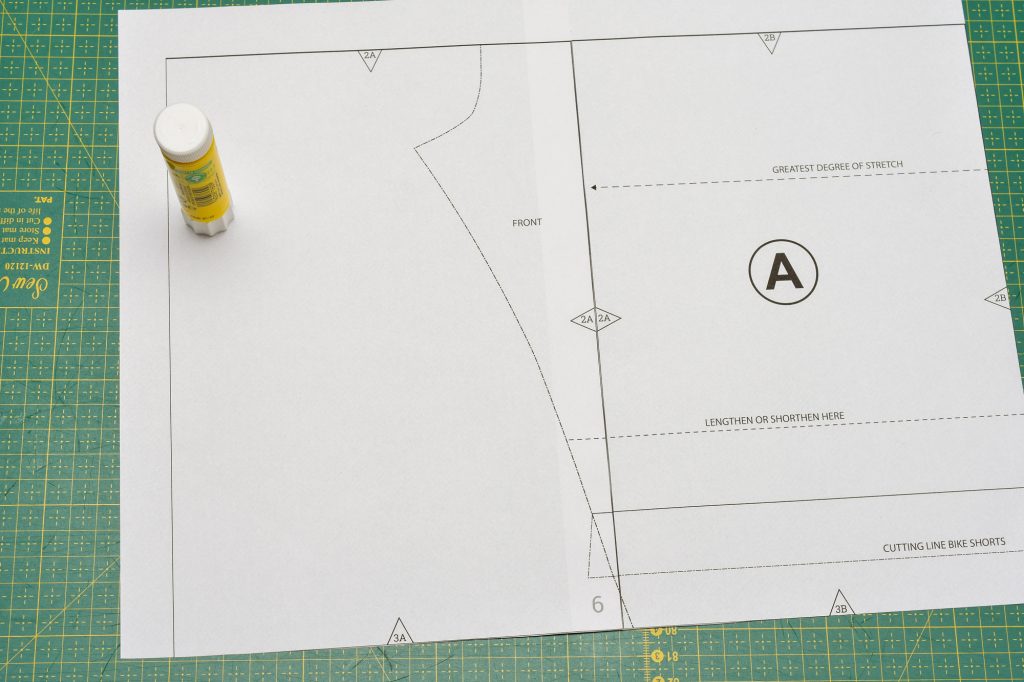
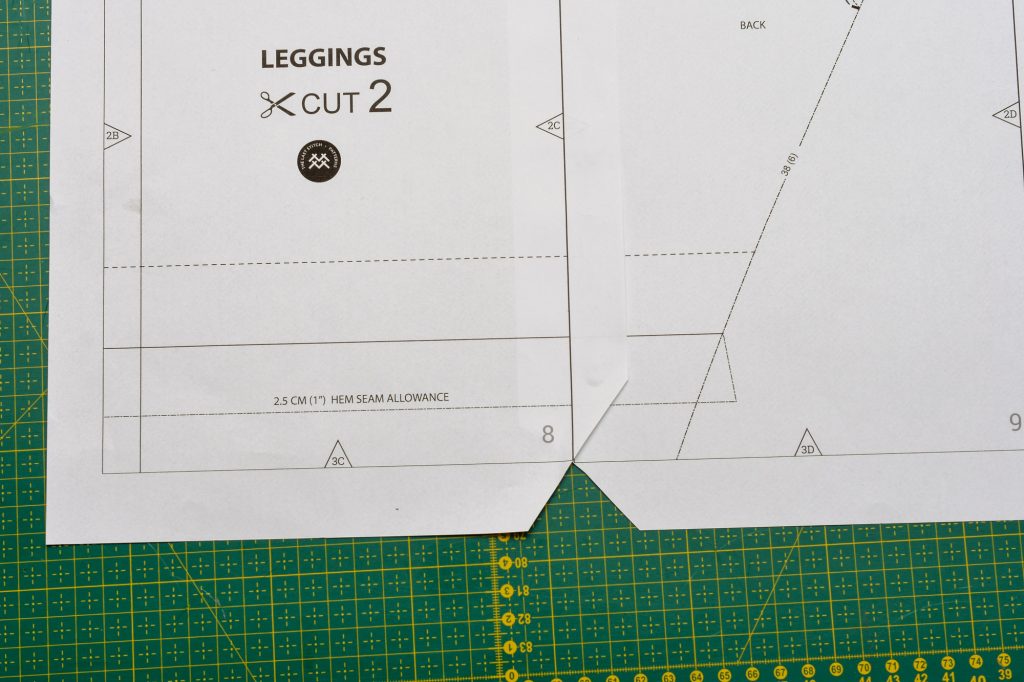
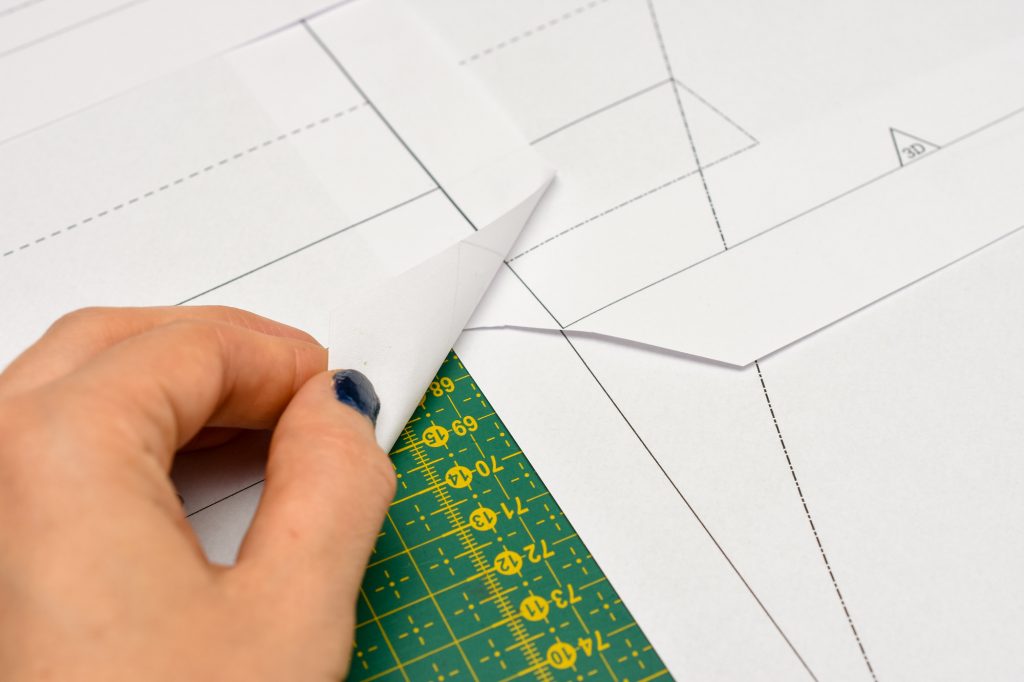
Cutting only the corners
Description
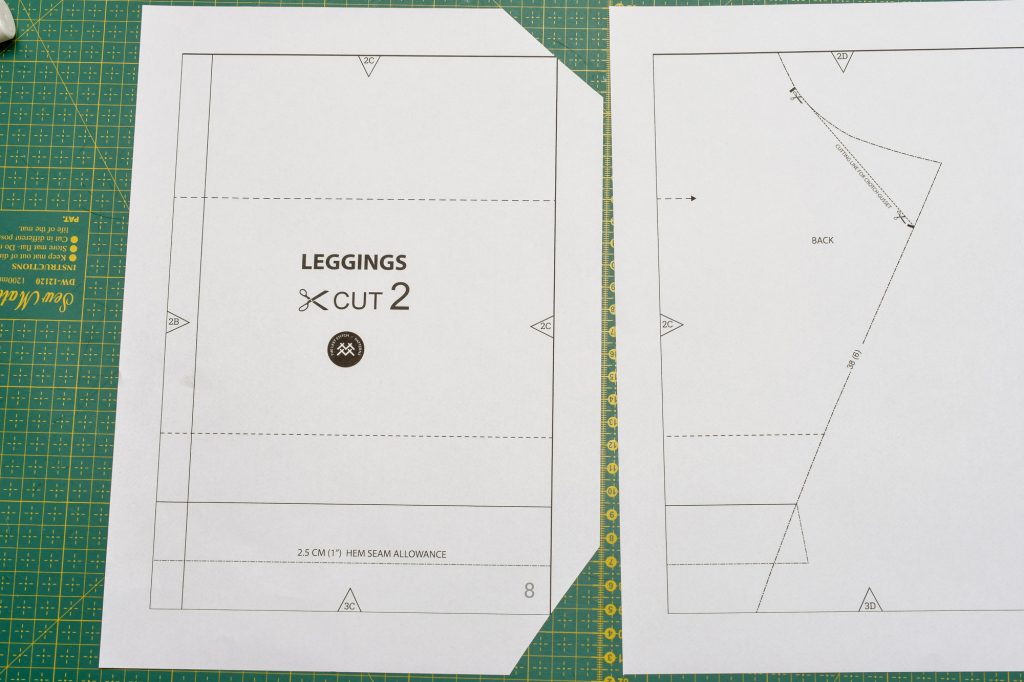
Trim the corners of the lines, cutting diagonally at the edge of lines. Depending on where the page is placed in the row, you’ll need to trim two to three corners usually. Overlap the cut corner with an uncut corner and line them up. With this method, there will be an overlap that could potentially hide some important pattern info. but it’s usually fairly easy to see the ink markings through the paper. Use glue-stick or tape.
Total time folding and assembling: 4:38 minutes.
Pros: The fastest method. Very easy to align.
Cons: The overlapped sides can sometimes cover pattern information and lines. Hard to remember which corners to cut and not cut, especially when first using this method. Bulkier than the methods which cut away the entire sides.
And the winner is..
The corner-cutting method is clearly the quickest method, but it does come with the drawback of possibly covering important pattern info. I personally like to use the fold method when I’m in a hurry, but it does come with some bulk. But if I would name one overall winner when it comes to result and time, the cutting two sides would probably take home first prize!
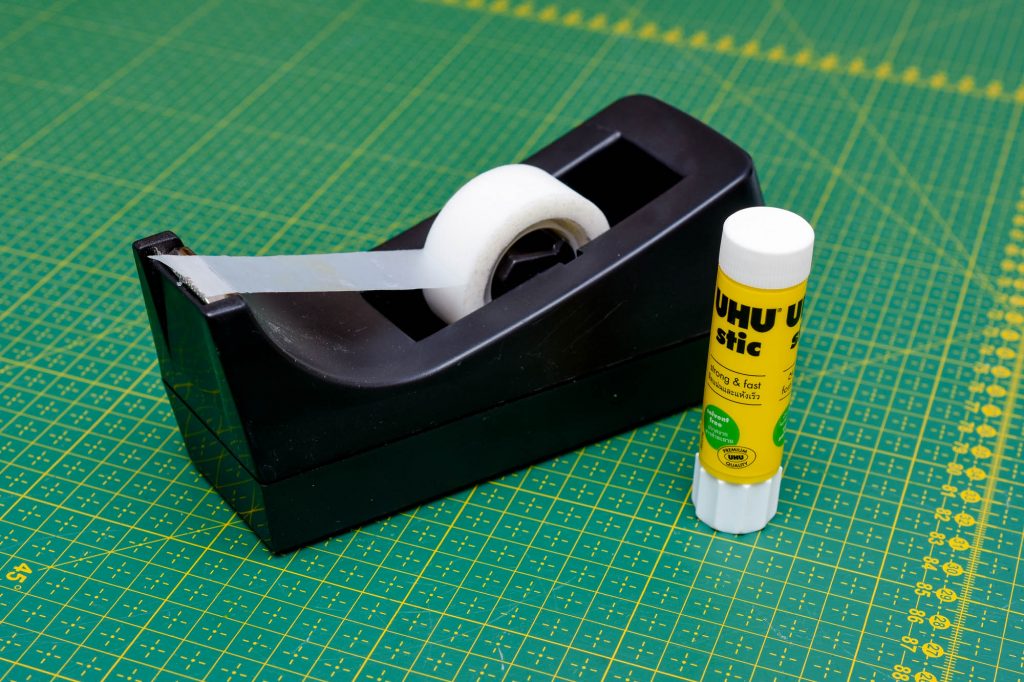
Best glue-stick and tape brands for PDF patterns
Pritt and UHU glue sticks (Amazon affiliate links) have both gotten good reviews from fellow sewists. I recently compared the UHU glue stick to a generic one, and the UHU was much more resilient (but the UHU did release from the paper after some firm pulling)
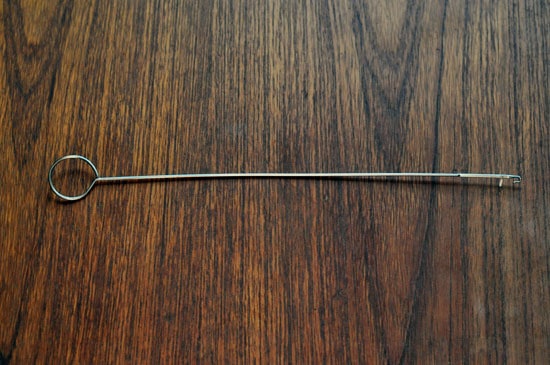
For tape, I prefer matte, invisible document tape, like the Scotch Magic Tape. To make taping quicker, I got the tip to use a tape glider or runner, such as this one from tape glider from Scotch (Amazon affiliate links).
Best tools for cutting PDF sewing patterns
Some sewists like to use the rotary cutter to speed up the cutting process. Another option is to invest in a cutting tool, I’ve had many fellow sewists speak well of the Fiskars range (Amazon affiliate link). Using a cutter also makes it easier to cut several papers at once, just be aware that some printers can shift the paper so that the cutting lines might not end up on the same spot on each paper sheet.
This post contains Amazon affiliate links, meaning that a commission is earned from qualifying purchases.
5 Comments
Leila
I used the cut on two sides and glue together method. I use regular Elmer’s white glue instead of glue stick. It sticks the paper together more securely, and I hate using up nearly a whole glue stick on a pattern—it just seems so wasteful. The liquid glue does make the paper ripple a little, but not enough to be a problem, and you can iron it flat later and not worry about tape melting.
Another thing to note about the cut on two sides method is that you only have to be really careful to cut on the line in the areas near the corners of the border. If you veer off the line in the middle of the sheet, it really doesn’t hurt anything.
Ann
I don’t like to store taped/glued patterns. So I’ve started tracing them on to medical exam paper and storing my printed patterns in a notebook. I know it’s more paper, more work. But it stores so much better and is much easier to reuse.
Corey
I use the cut 2 side method, and I look at the layout to see if i really need to tape everything together. I only tape the actually pattern pieces and not the whole sheet. When i have a portion of it together i start cutting. I have a love hate relationship with pdf patterns. The cons: printing and putting them together The pros: I can print from anywhere, so i don’t need to carry sewing patterns with me but just print assembly, etc. Another pro, is i like the heavier paper to work with instead of tissue paper patterns. I also find it easier to make pattern alterations, taping legs, shorten/lengthen. I also like that i can write all my notes on the pattern piece so that when i go to look at it again, it is easy to review.
I have a few questions johanna for you: with your standard tiled pdf sewing pattern, how to you convert to print on a copy shop printer/plotter. Also i have started getting my patterns from the german burdastyle website. the patterns are A4, I just print on legal size paper no scaling, is this acceptable without distorting the pattern? (A4 size vs american 8.5 by 11 paper)
Liz Haywood
Access to a large lightbox is a great help for lining up the pages (if only I had one at home!)
Comments are closed.