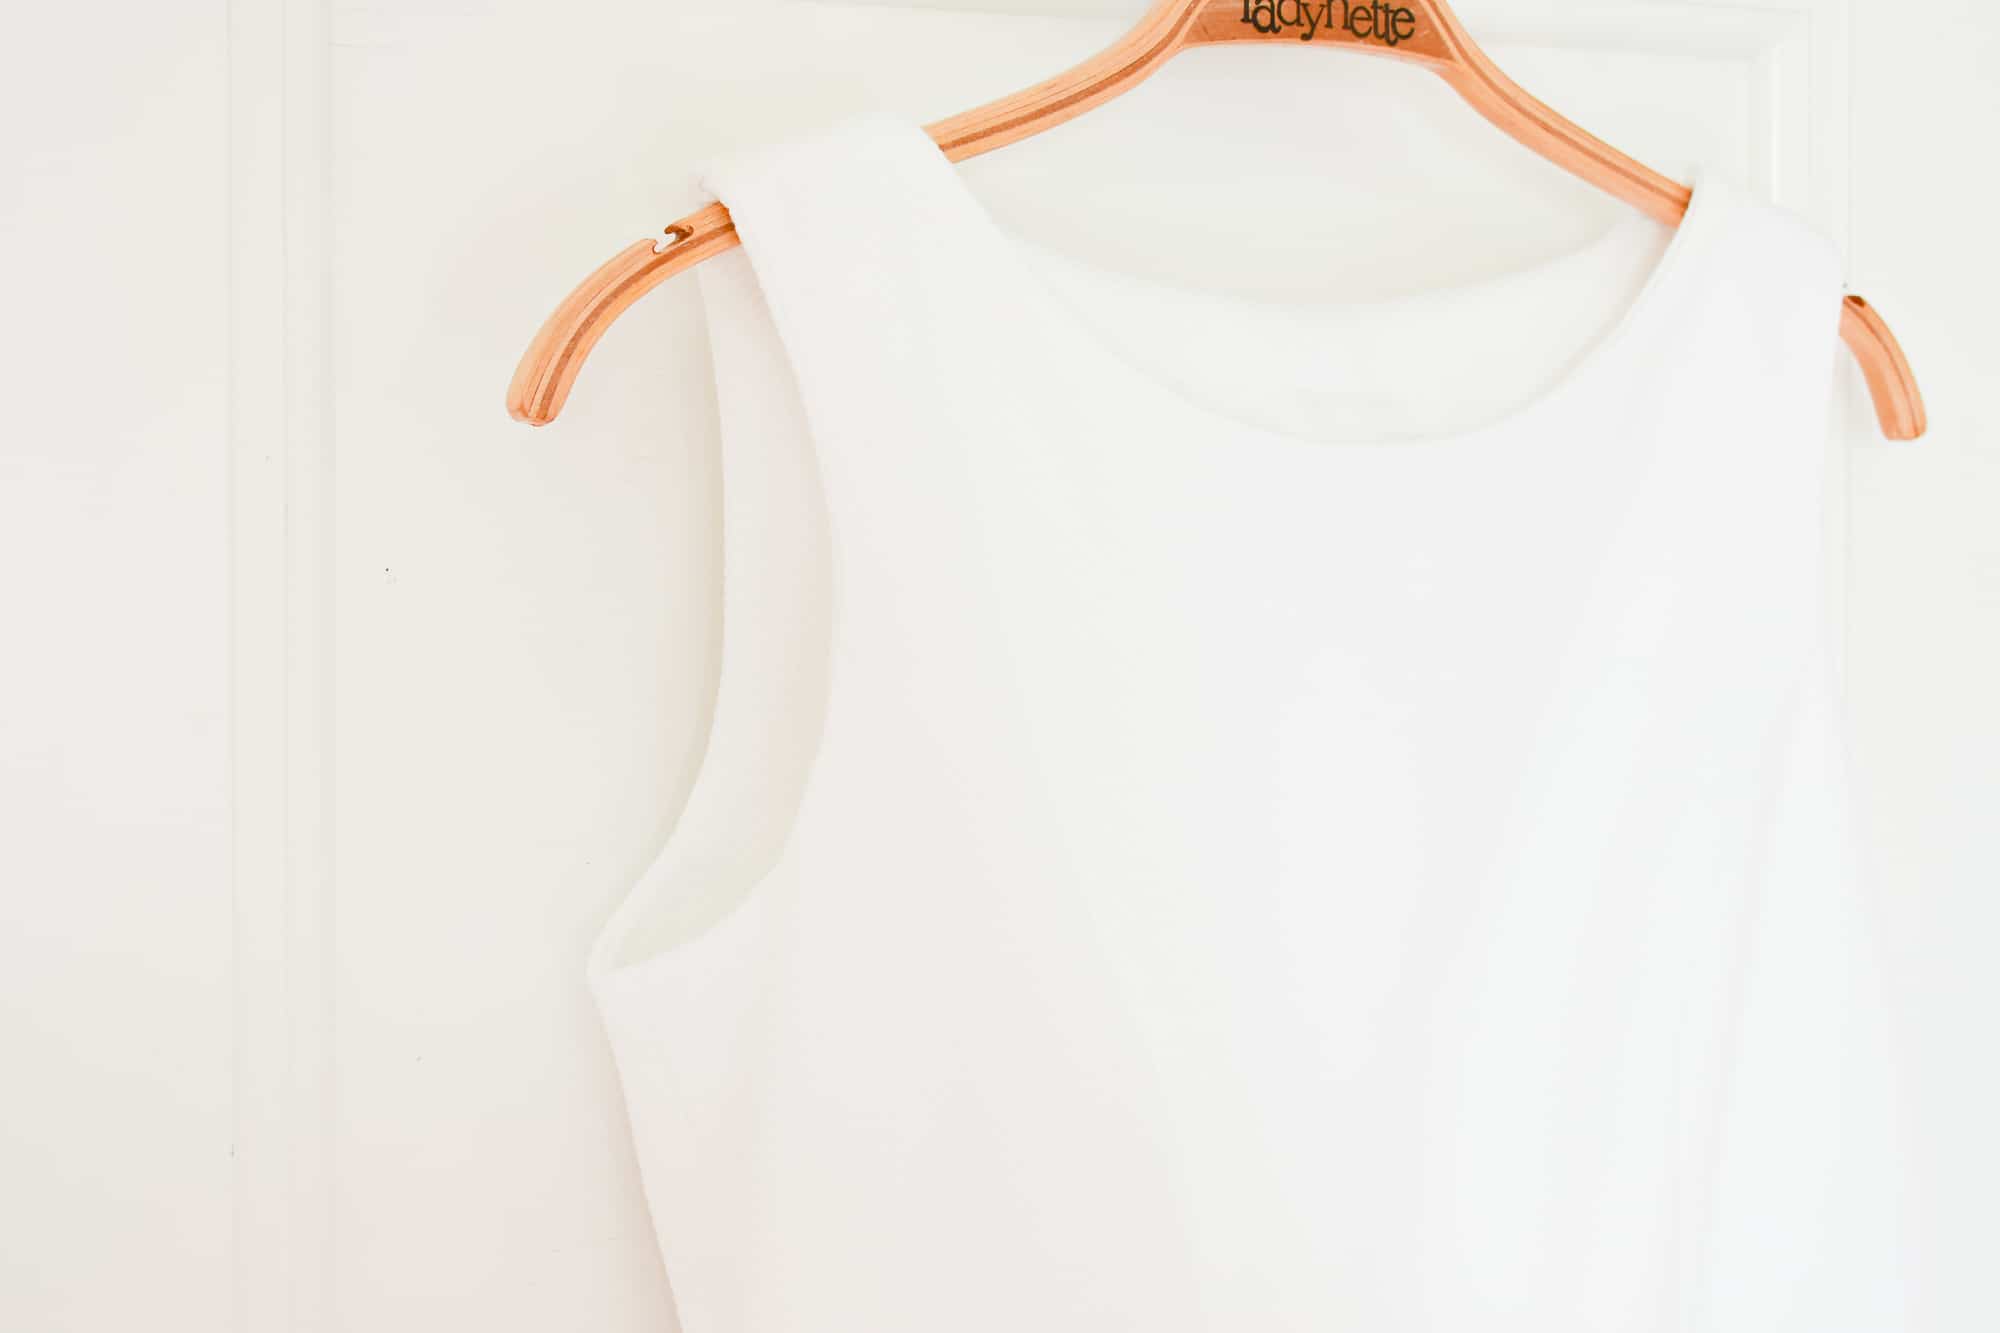
When sewing sleeveless dresses I prefer combining a one-piece facing with lining, to make sure that the lining doesn’t peek through the neck and sleeve opening. Not all patterns include this solution so I figured it could be useful to do a tutorial on how I do that. I used this method on my daughter’s graduation dress, as the Simplicity pattern I used didn’t have any facing pieces and I think that visible lining cheapens the look on a formal dress, yes I’m old-school that way!
How to sew a clean finish on lined sleeveless garments
You’ll need
- Lining fabric
- Fusible stay tape (or you can stay stitch)
- Lightweight fusible interfacing
Part 1. Construction of the facing and lining pieces
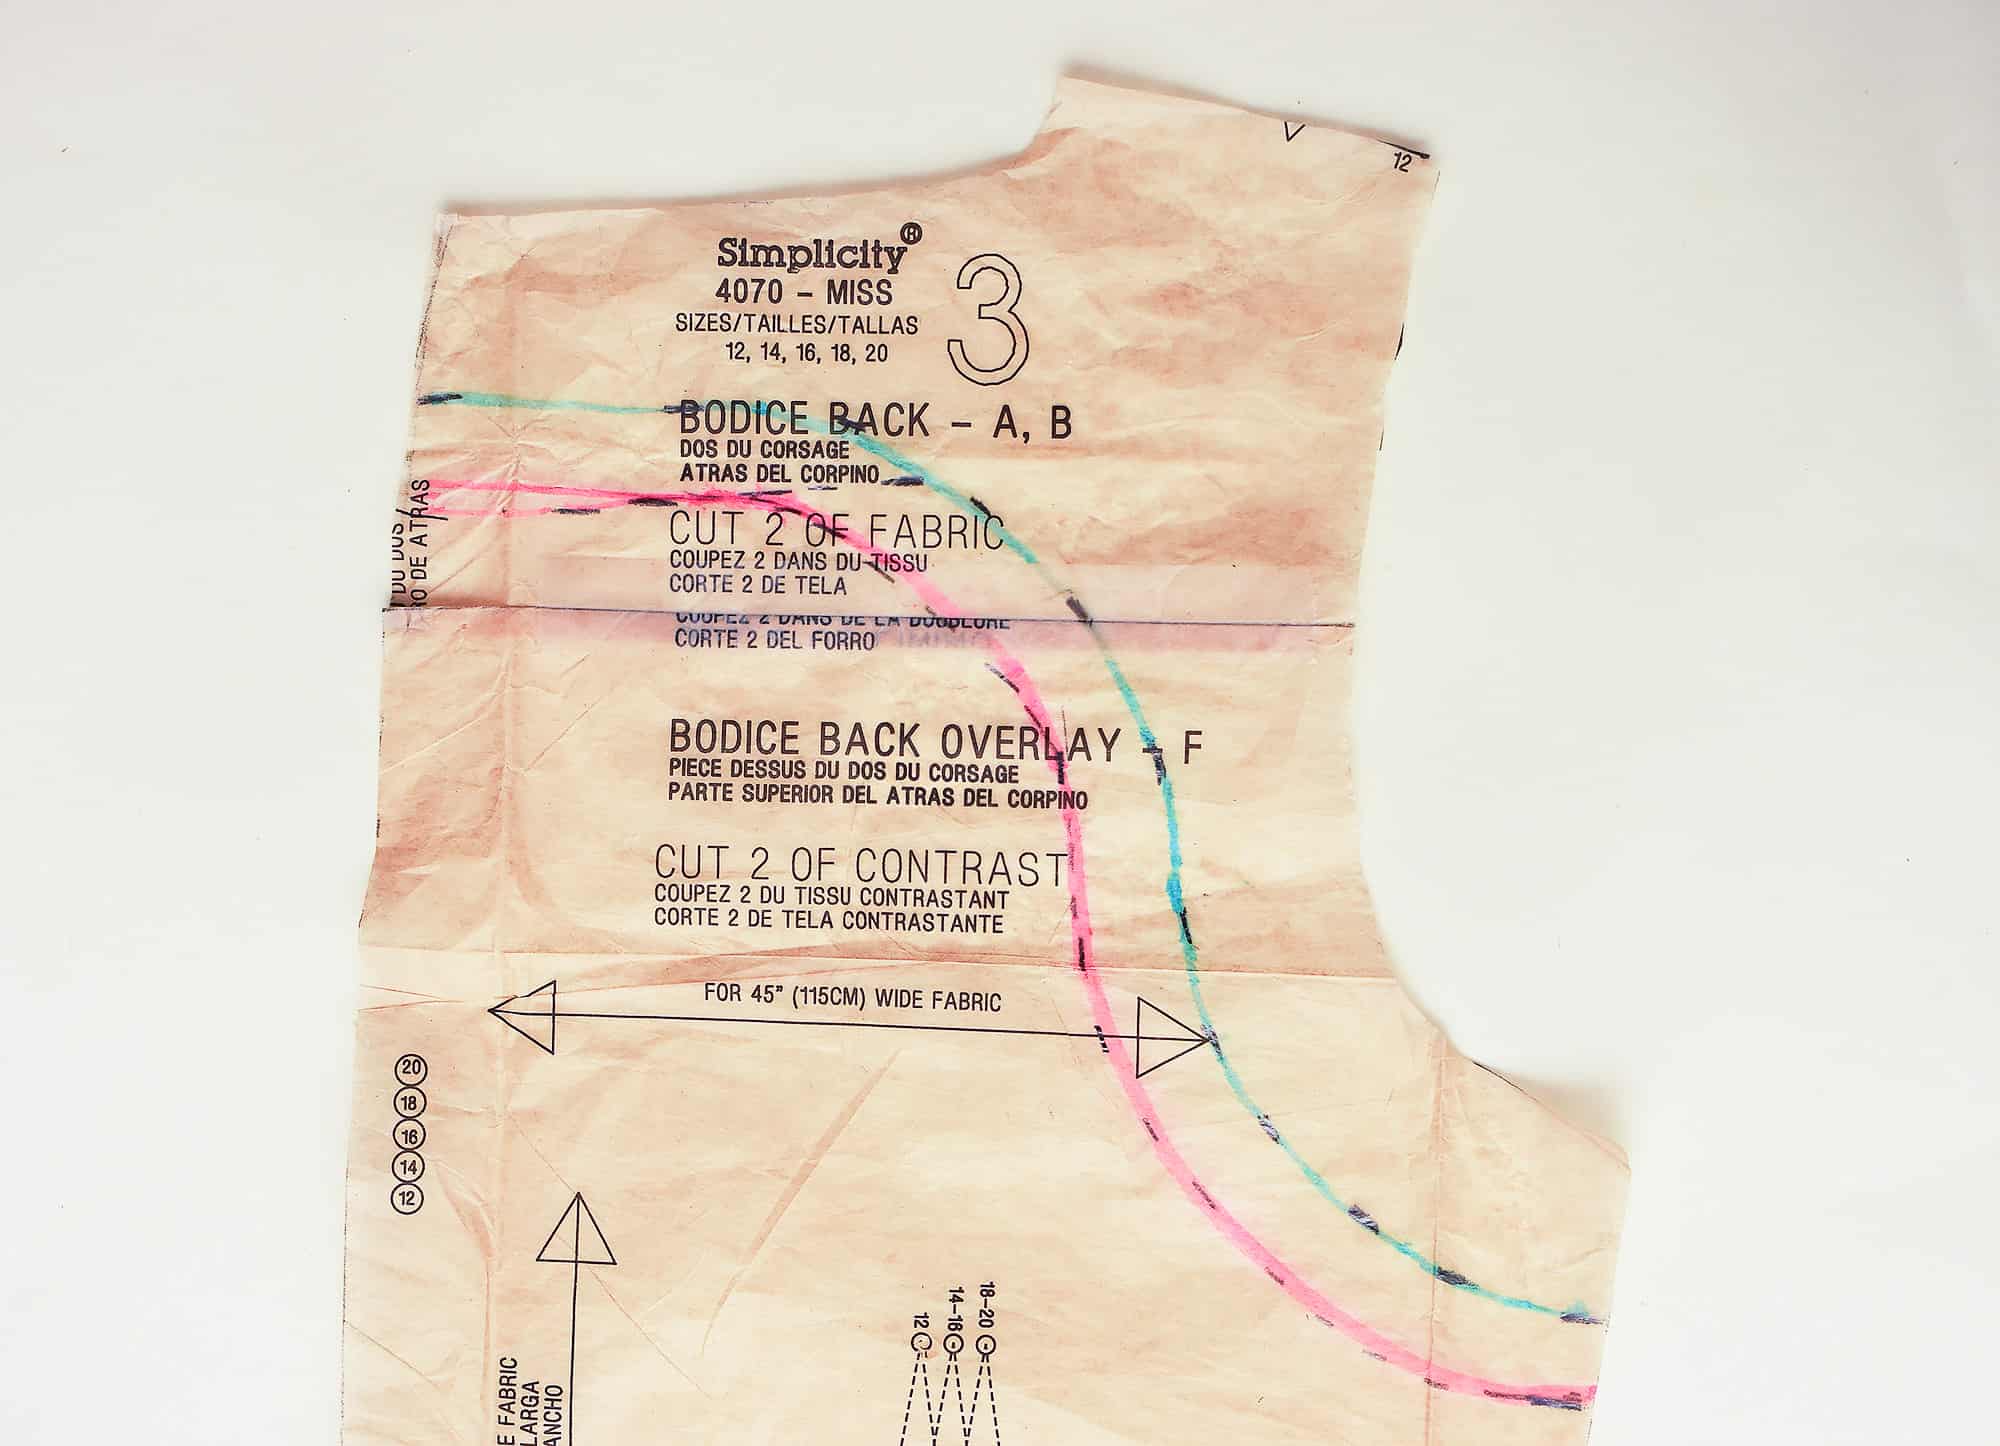
1. Draft the facing and lining pattern pieces
Draft two lines on the front and back bodice pattern pieces. The pink is for the facing and the green for the lining. The distance between the two lines is your prefered seam allowance x2. I like to make my facings curved to allow for a soft line that doesn’t show through the outer fabric.
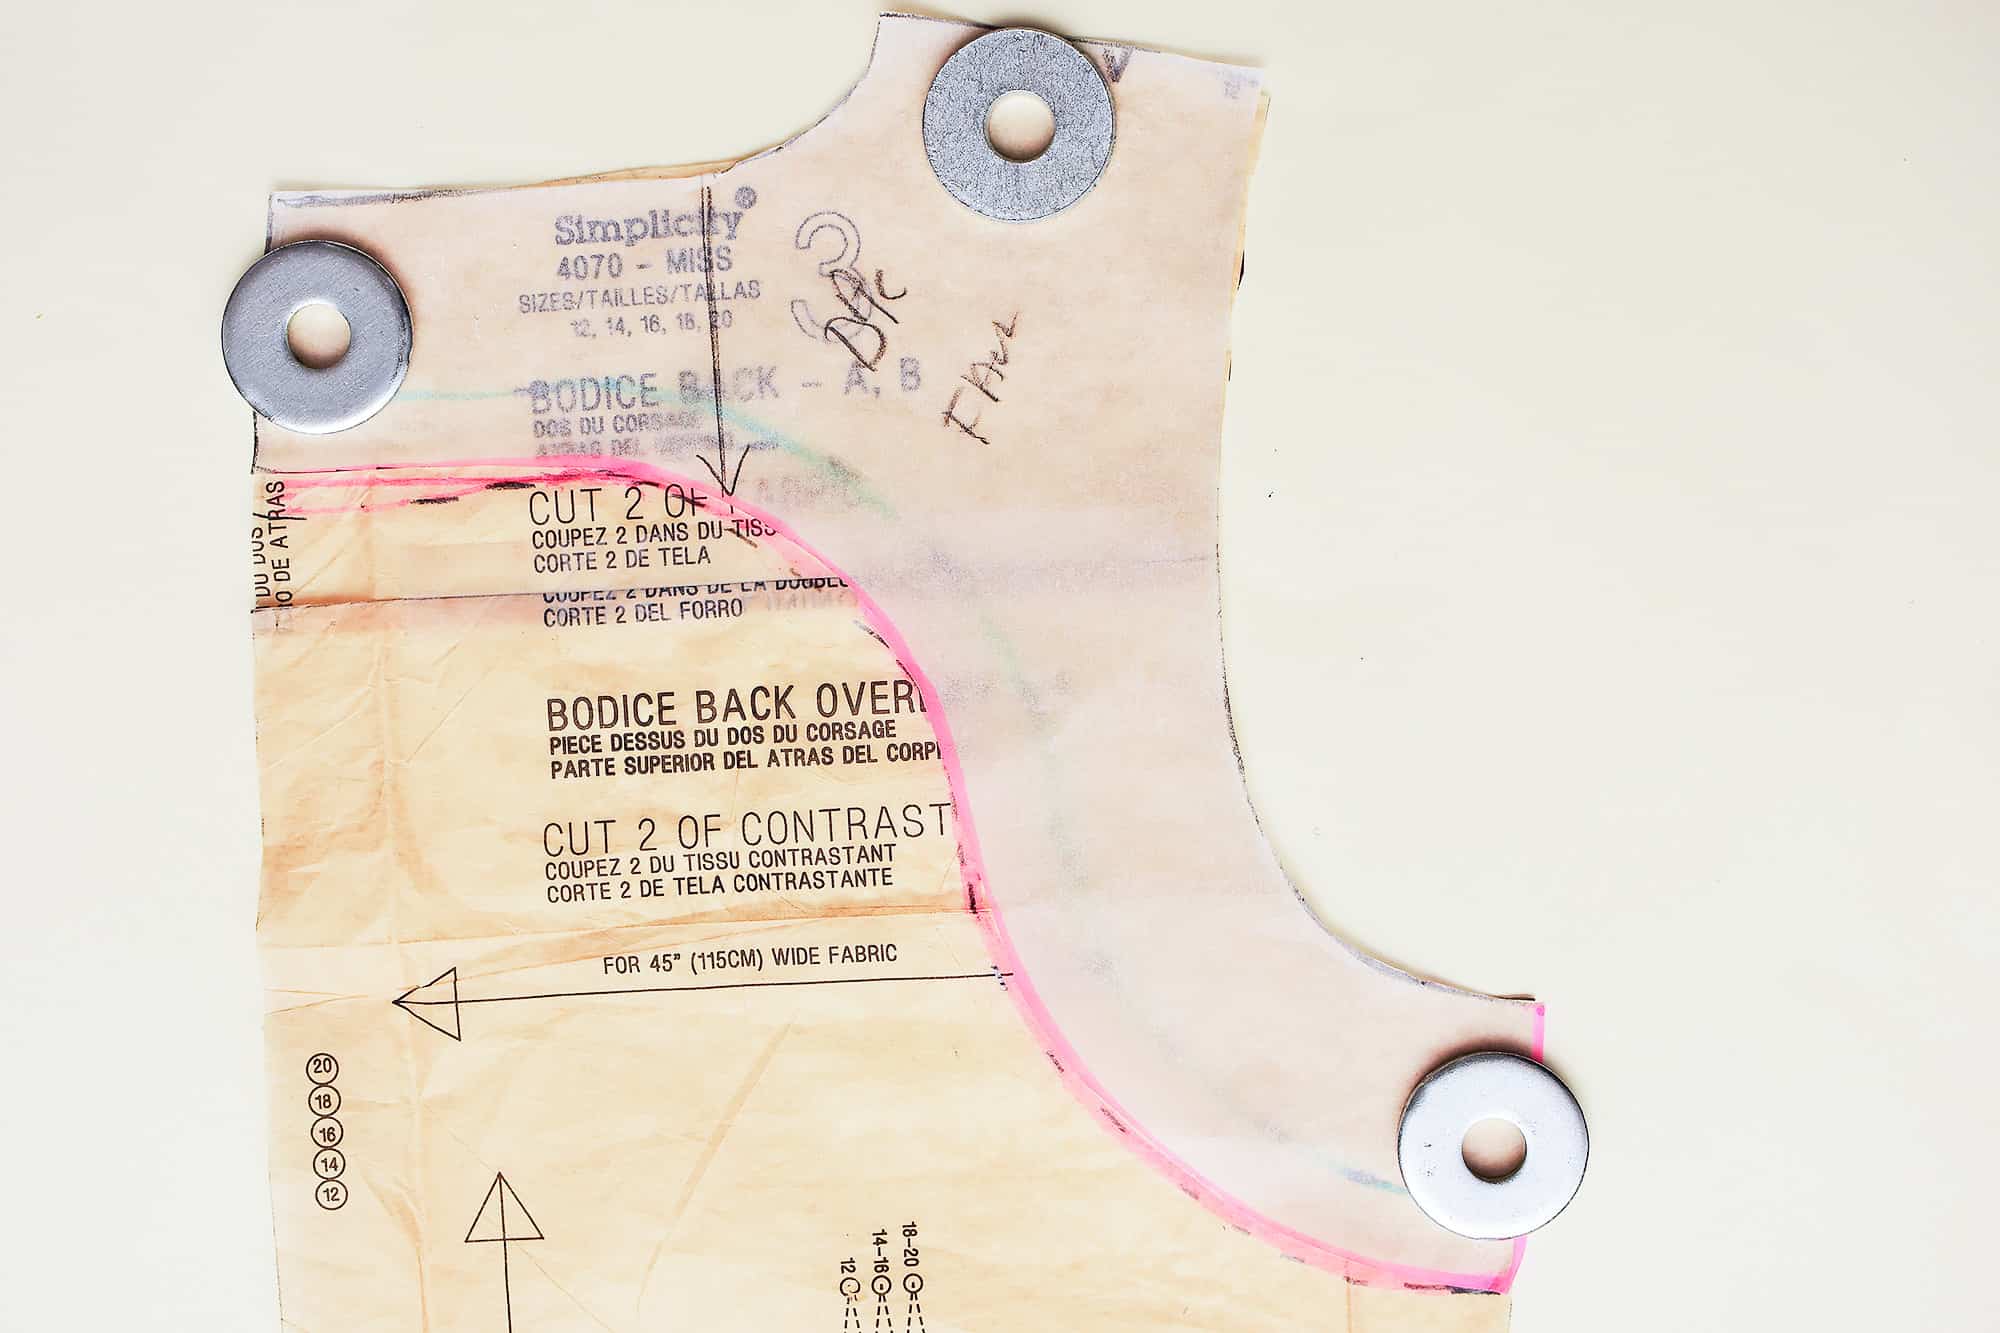
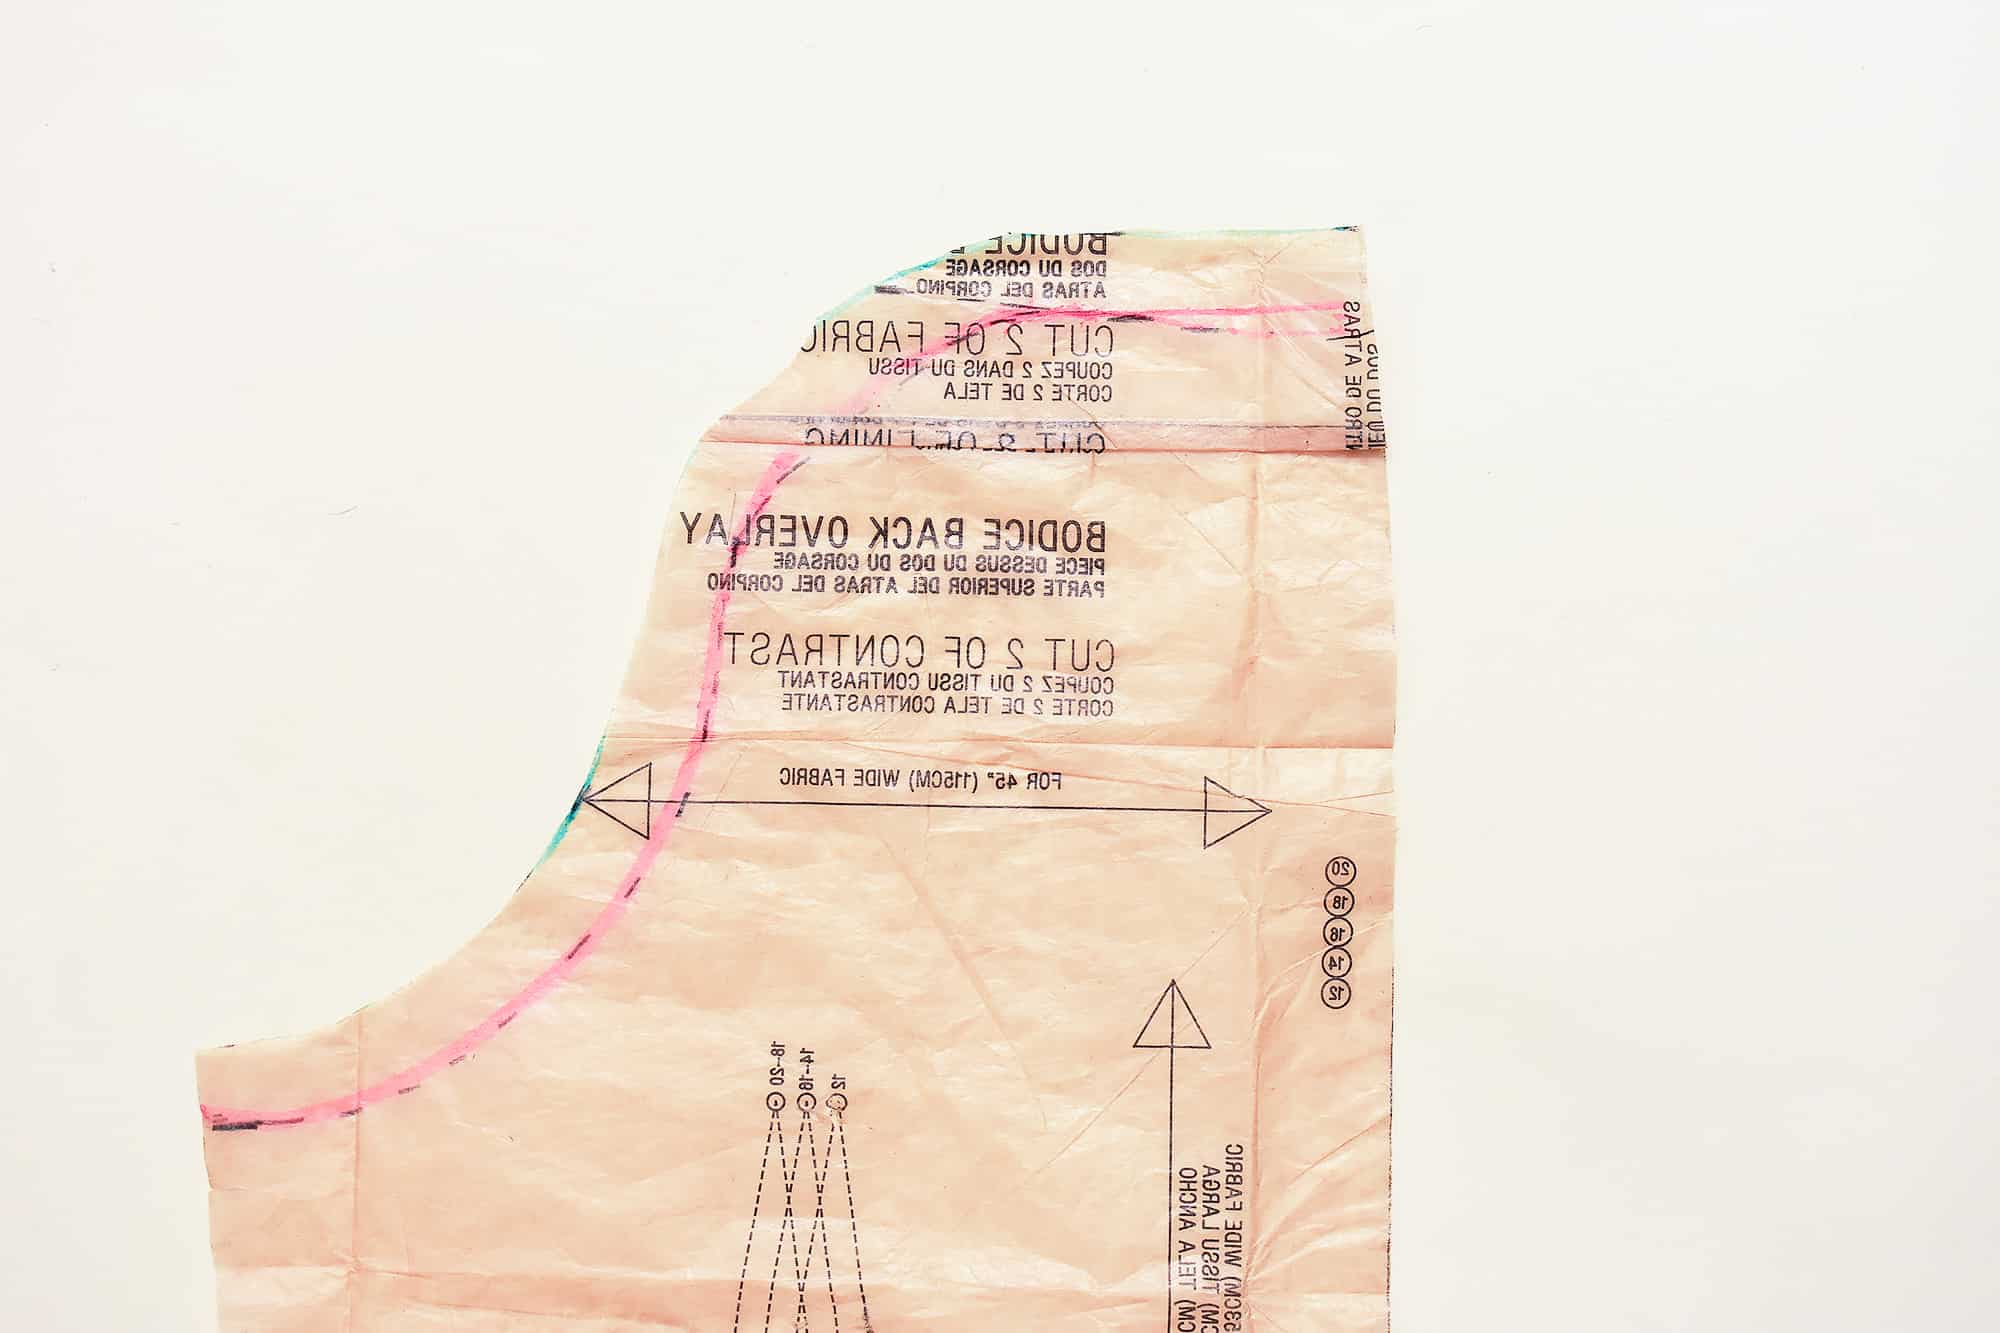
2. Place tracing paper on the pattern and trace the facing and lining pieces.
To save time you can just trace the facing and then cut the lining from the garment piece (see below)
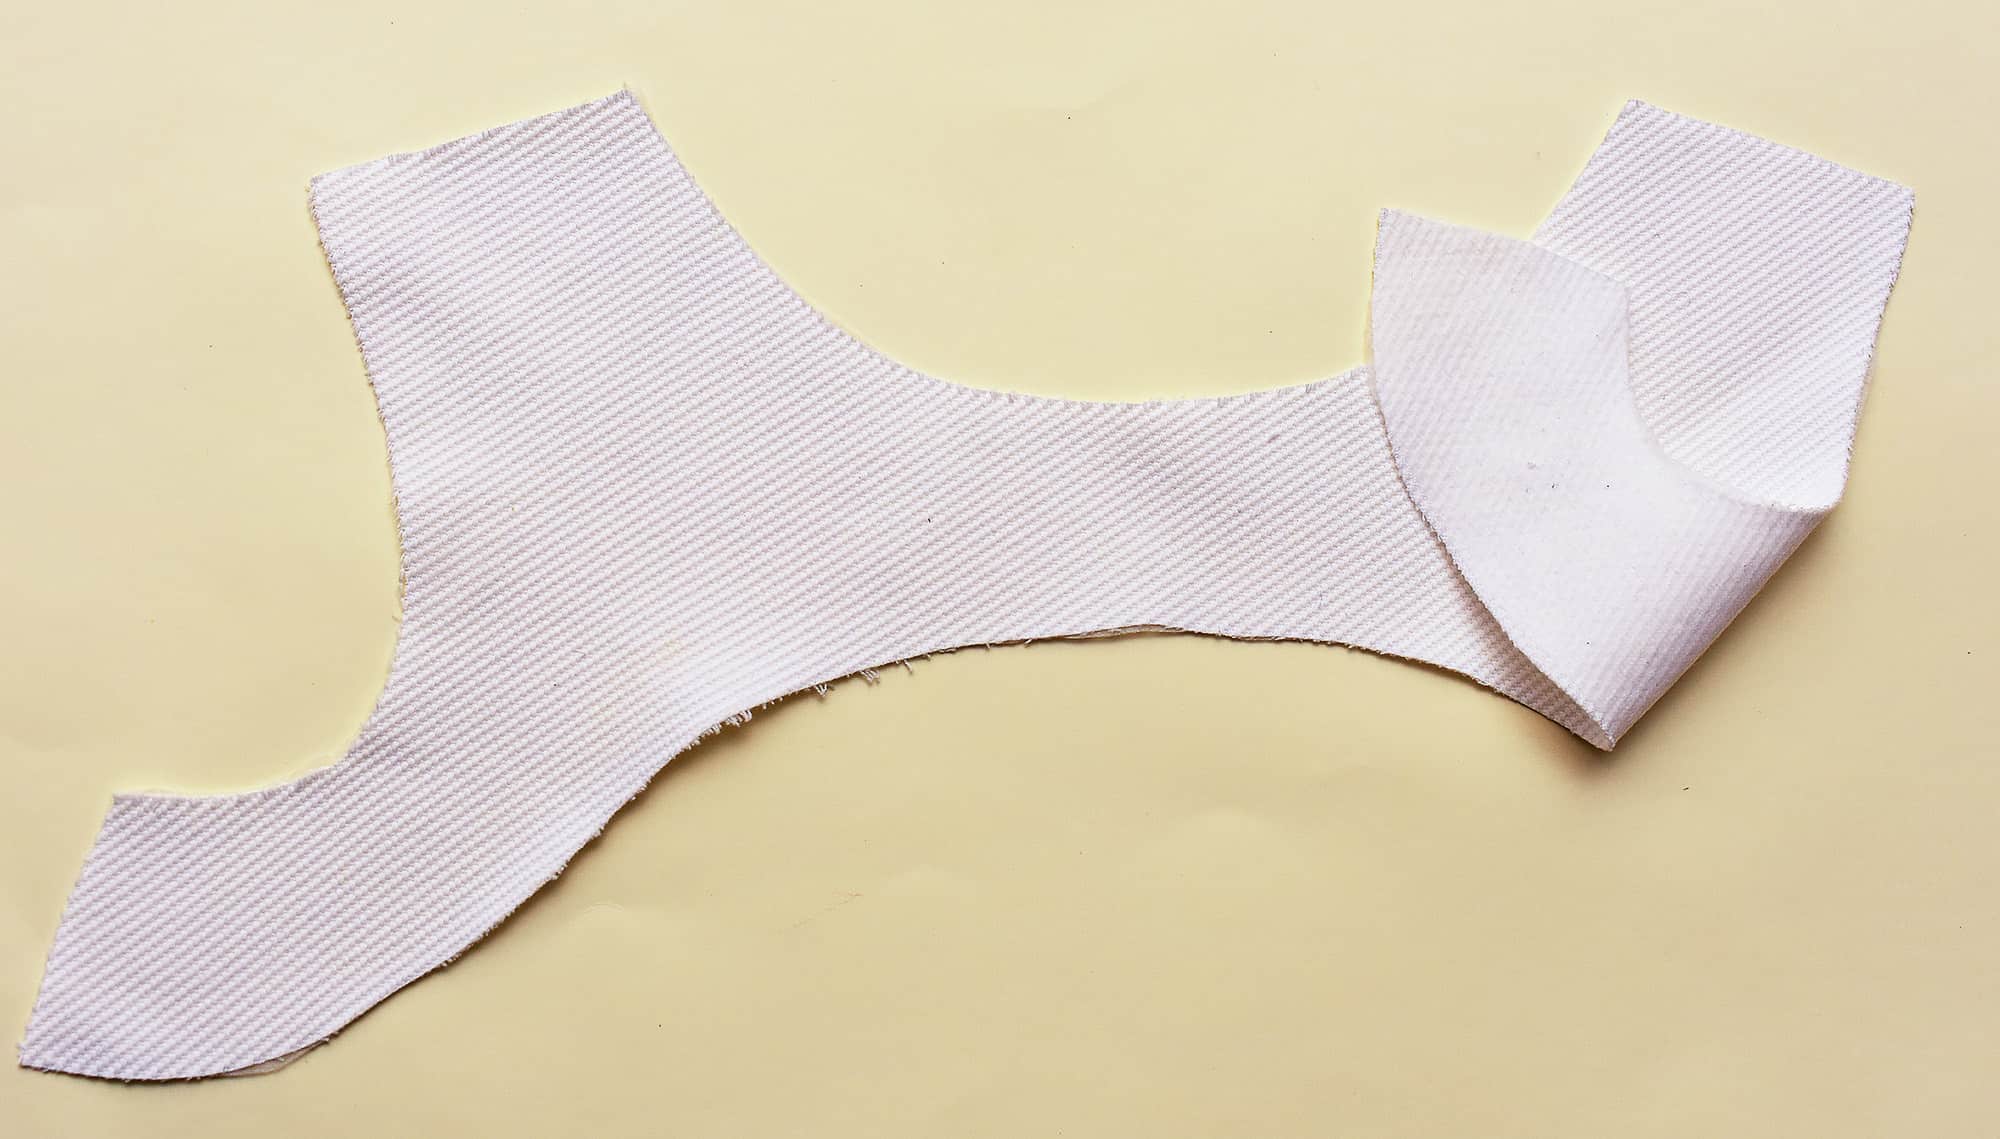
3. Cut and stabilise the facing pieces
I prefer to use a lightweight fusible interfacing for dresses, it’s sometimes called blouse weight. If you use interfacing, there is no need to overcast.
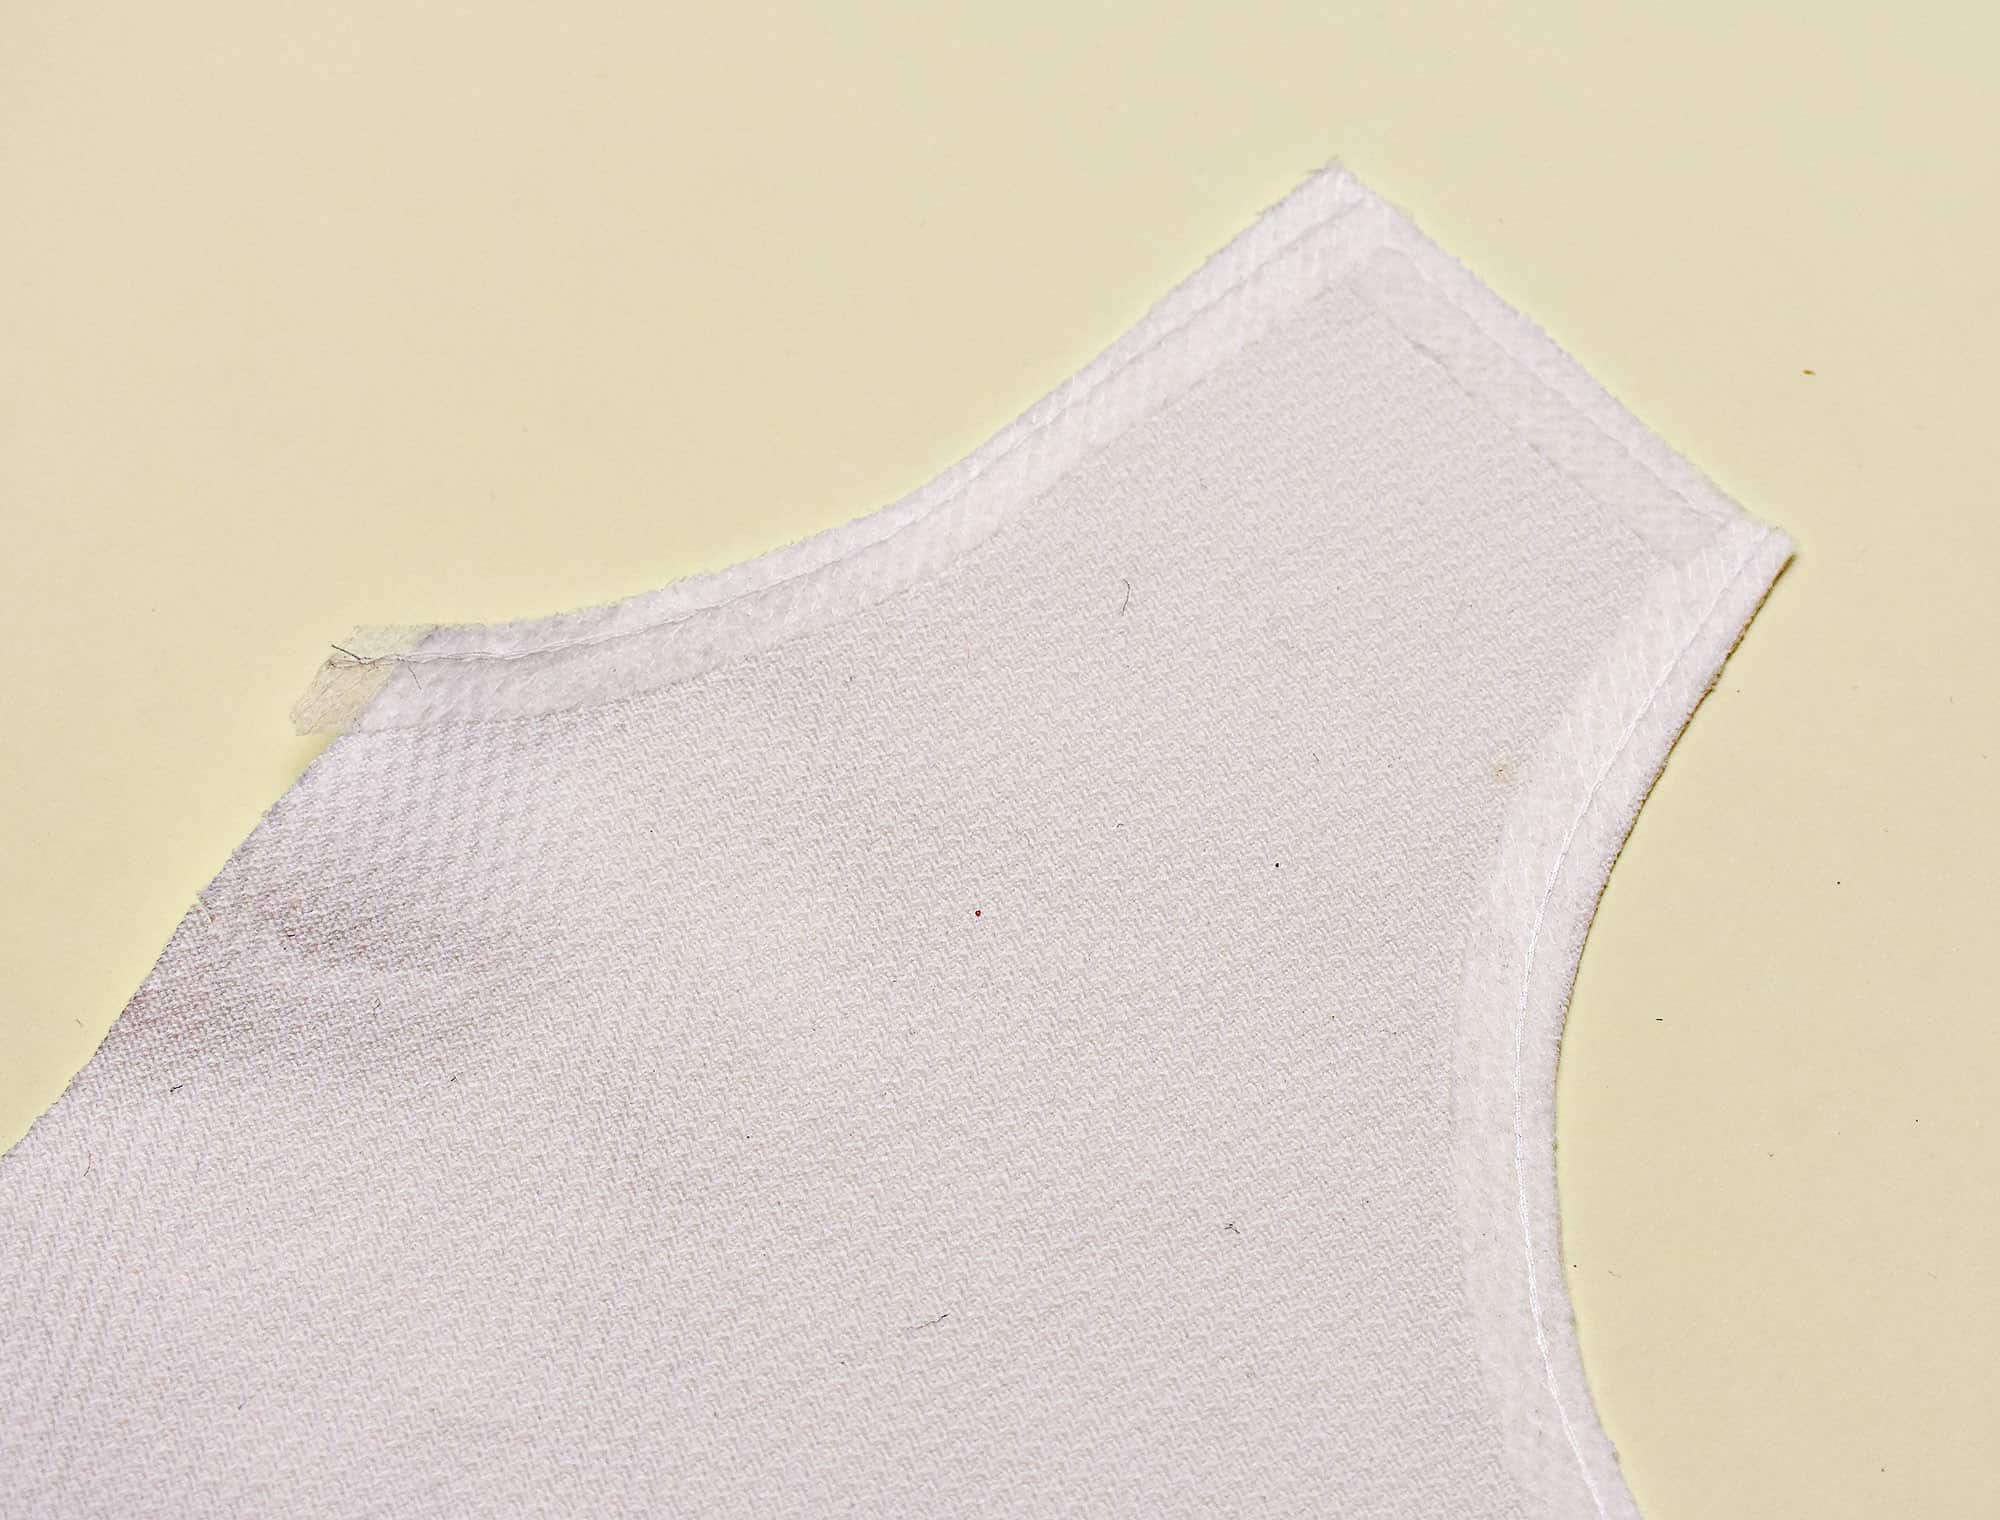
4. Stabilise the neckline and sleeve openings on the dress.
I prefer to use Vlieseline bias stay tape (Amazon affiliate link) since it is cut on the bias which makes it easy to apply on curves. You can also stay stitch or use firm fusible stay tape and clip it before ironing it on the curves.
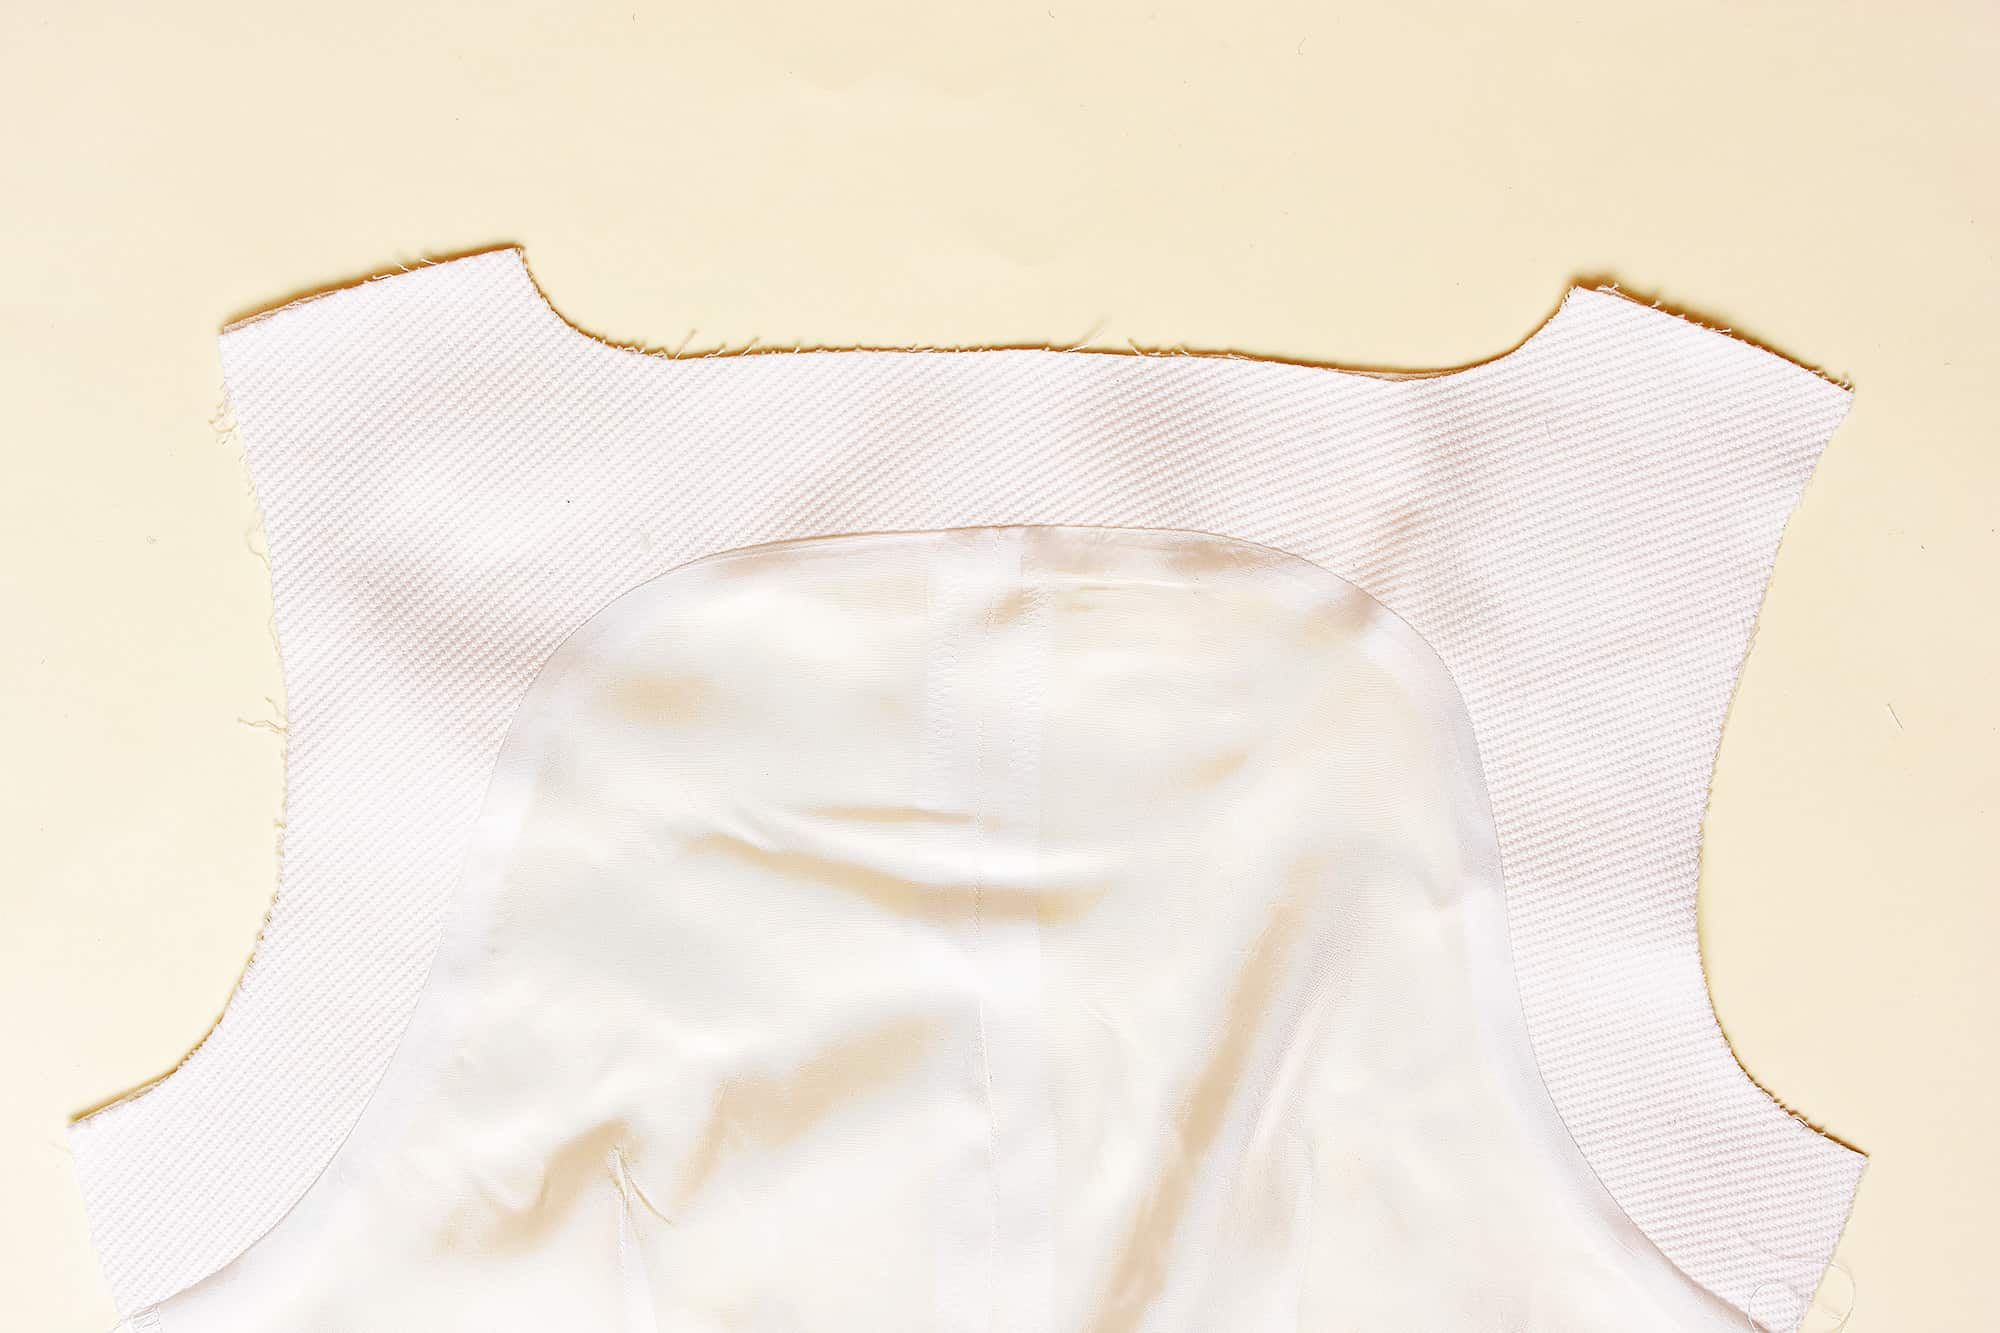
5. Attach the lining pieces to the corresponding facing pieces.
6. Sew the side seams on the lining/facing pieces.
Part 2. Attaching the lining/facing to the dress fabric
Here I will give you two options, either use the Colette tutorial for How to clean finish a lined armhole. It looks really solid (Thank you Kyle for the tip). To be honest it might be better than the method I will show you below. But if your shoulder is really narrow, my method, which is adapted from Reader’s Digest New Complete Guide to Sewing, might be more useful
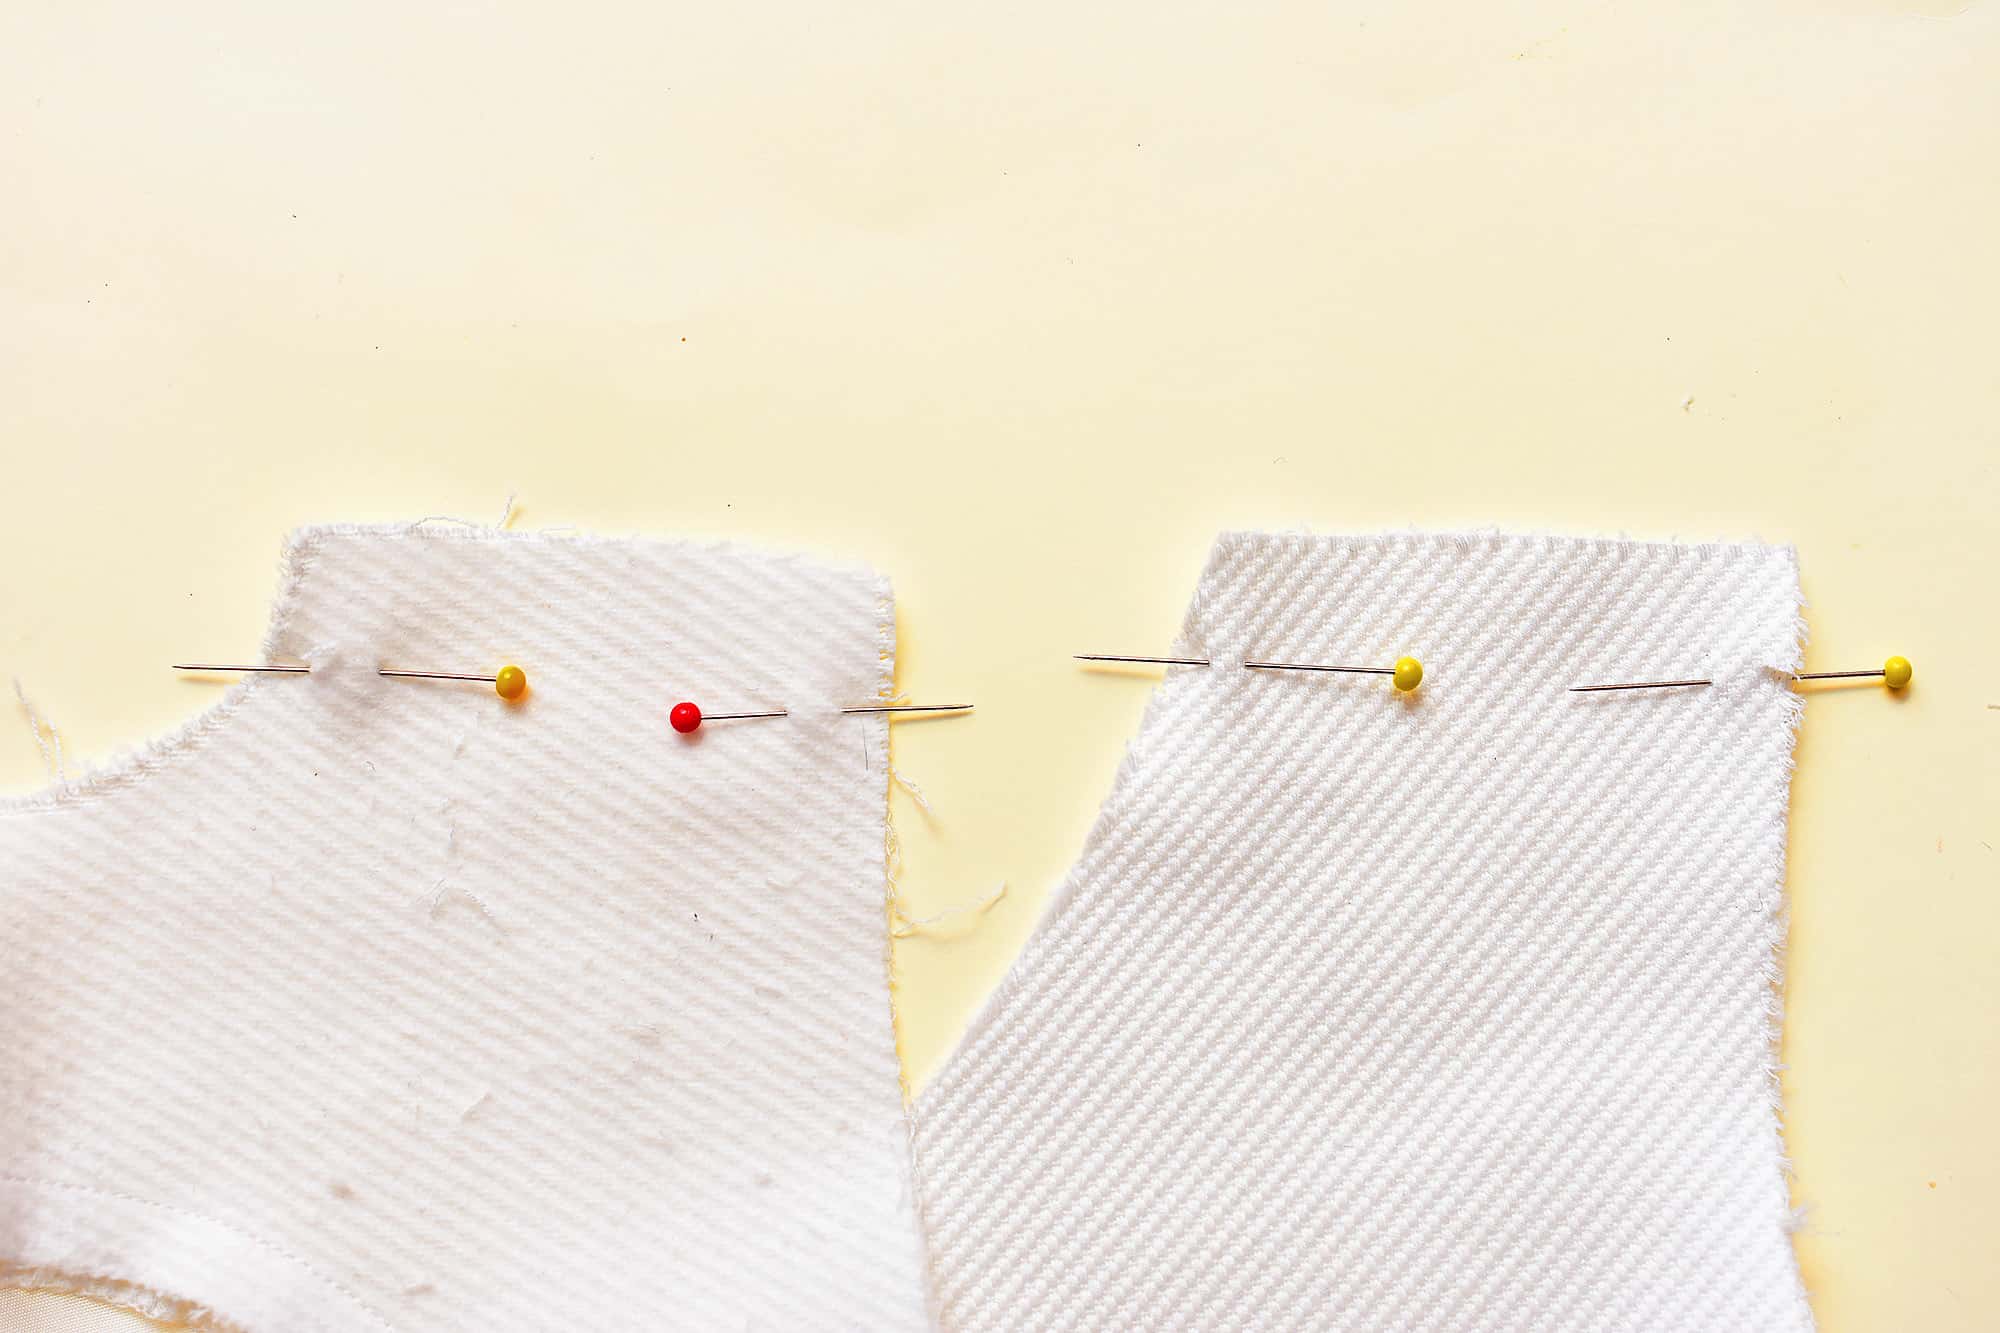
1. Mark on the shoulder was the seam allowance of the shoulder seam begins.
Here it is 1.5 cm (⅝ in).
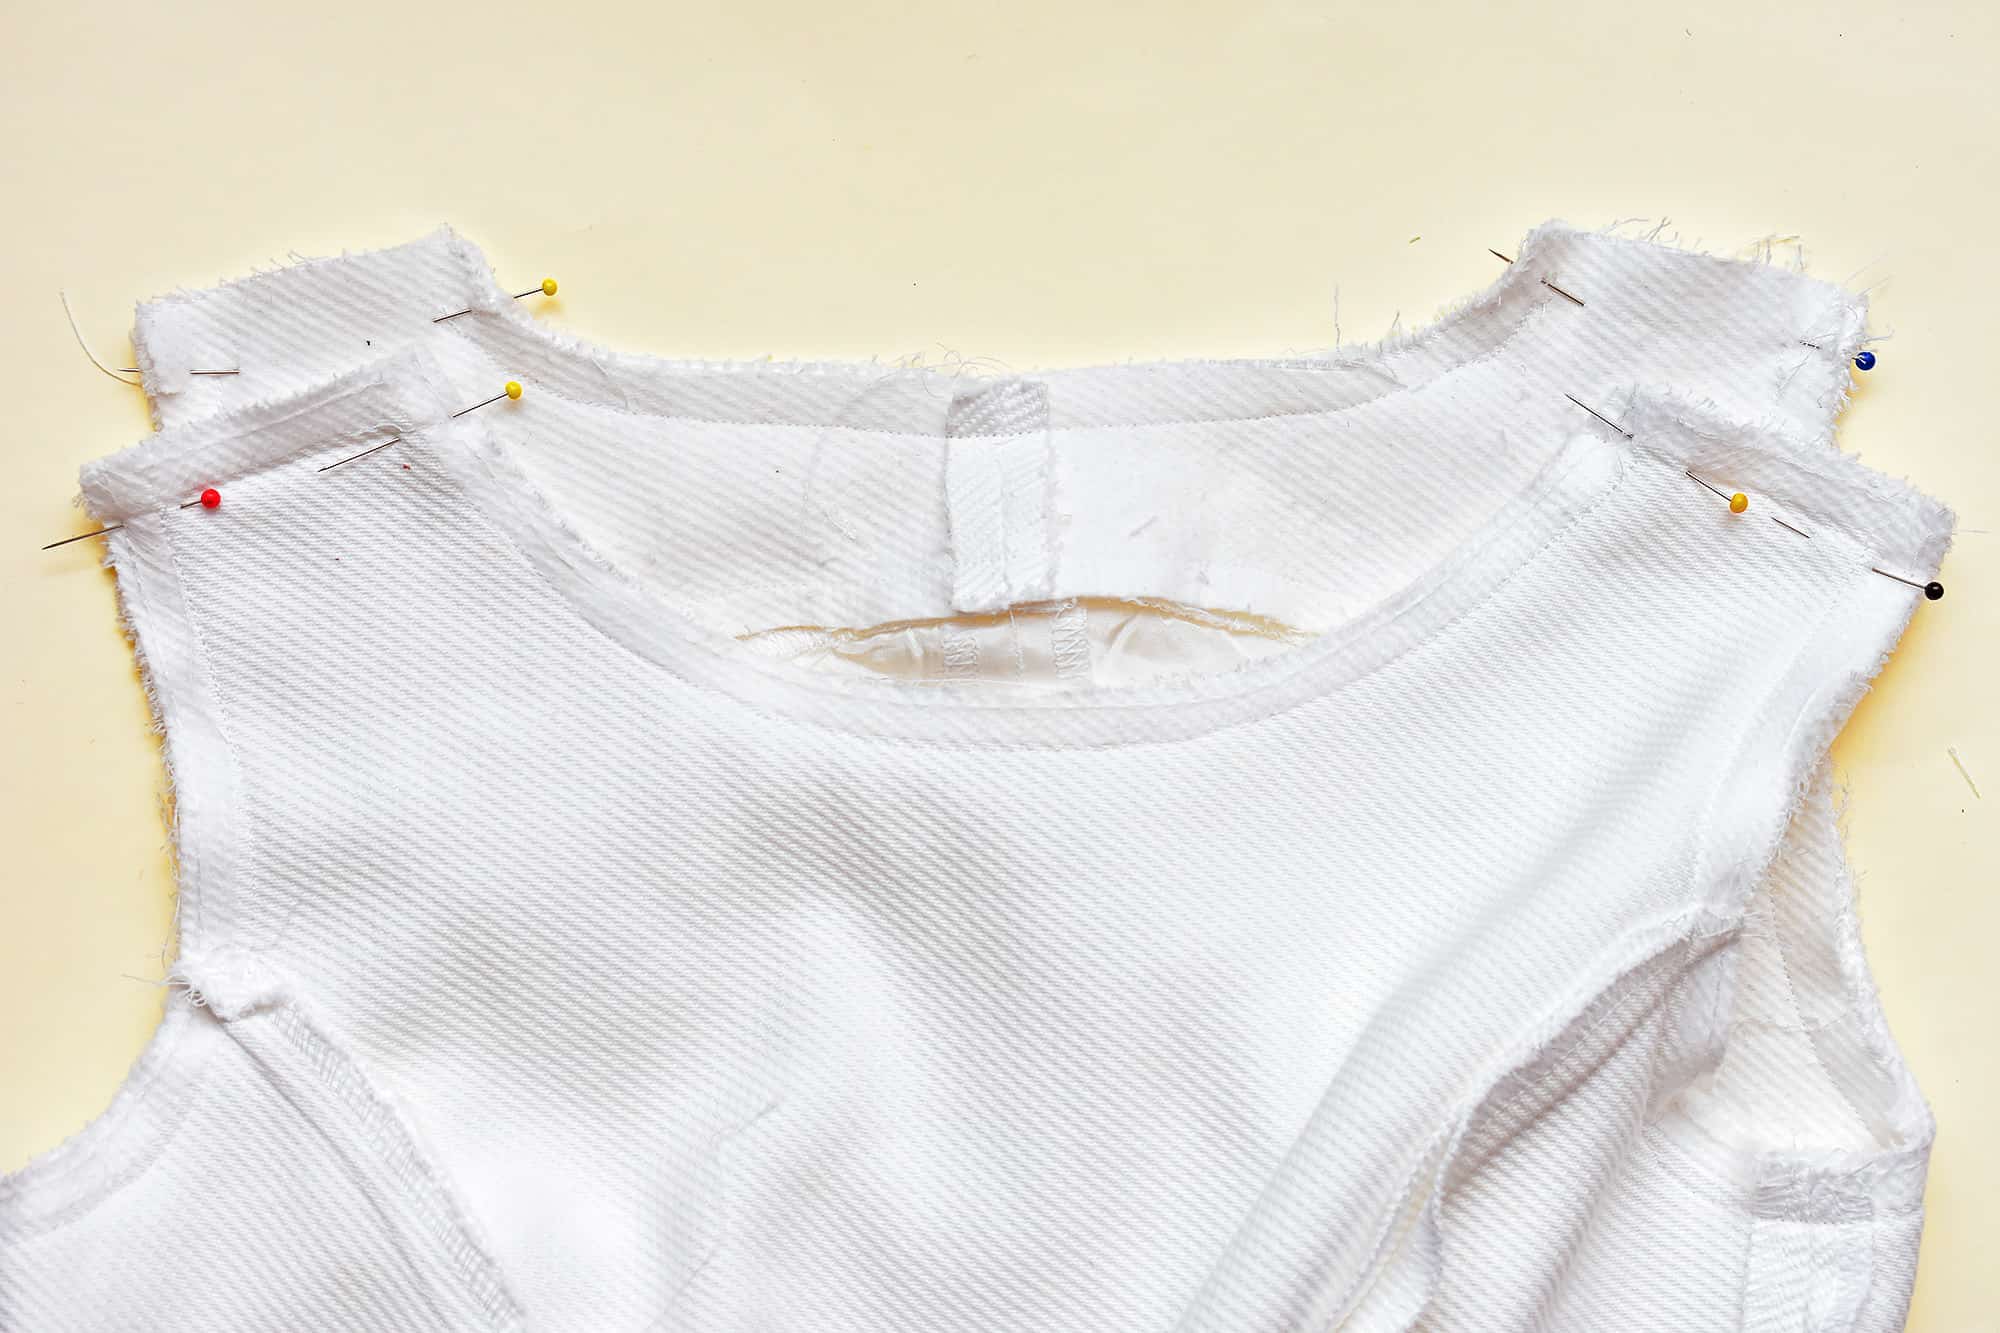
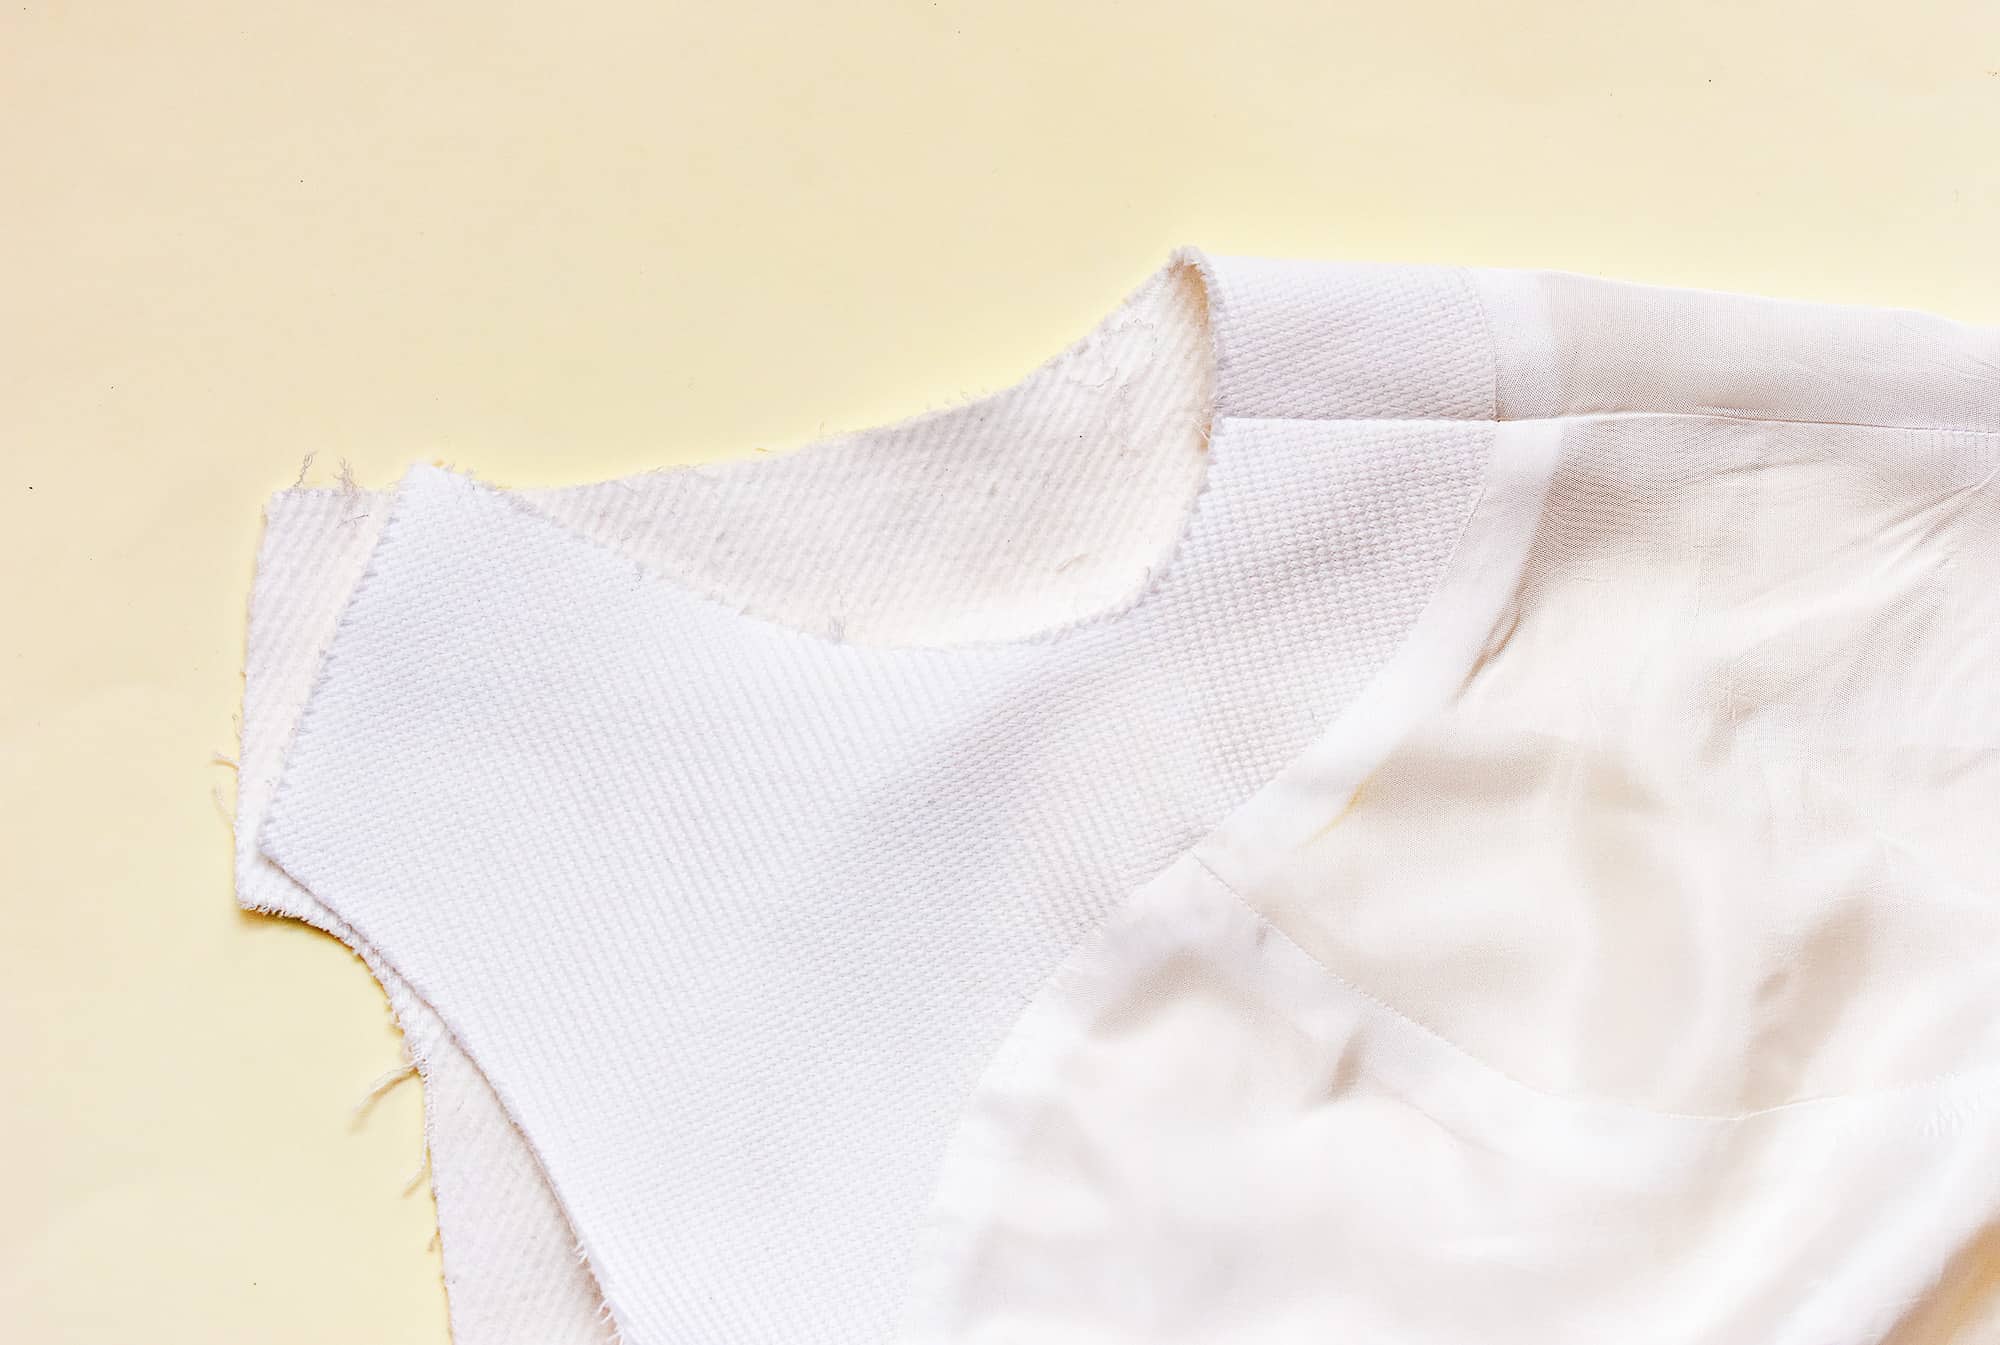
2. Stitch the facing/lining to the garment.
Sew both the sleeve opening and neckline seams, but stop where the seam allowance begins.

3. Clip the seam allowances in the curves to create a round shape.
Tip: To make sure the facing doesn’t slide up, understitch the facing close to the neckline, making sure you don’t sew the shoulder seam allowance. I skipped this step since the lining/facing combo helps keep the facing in place.
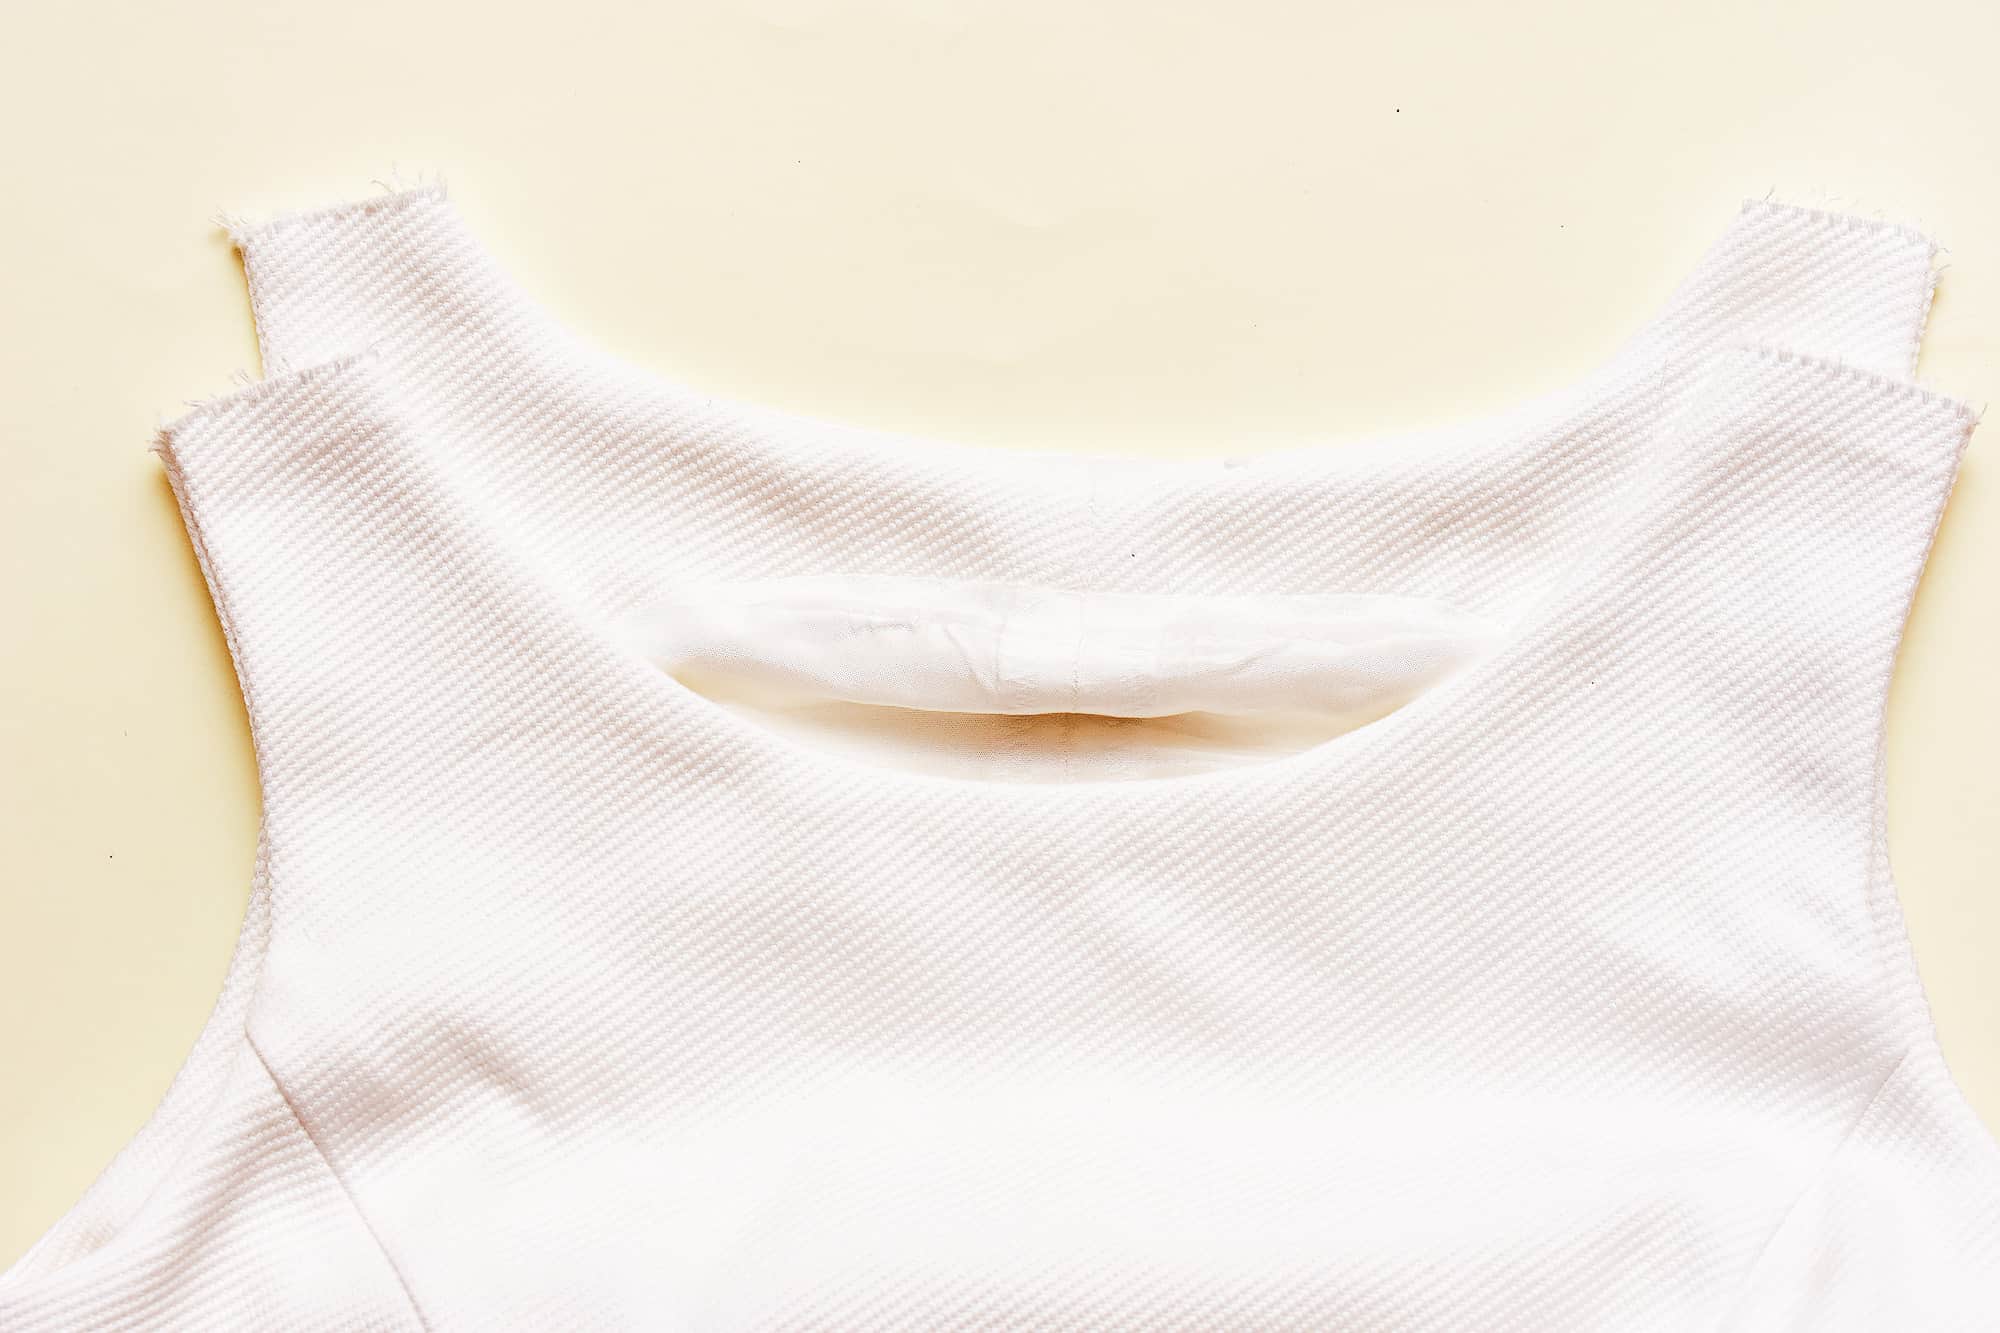
4. Turn the garment to the right side.
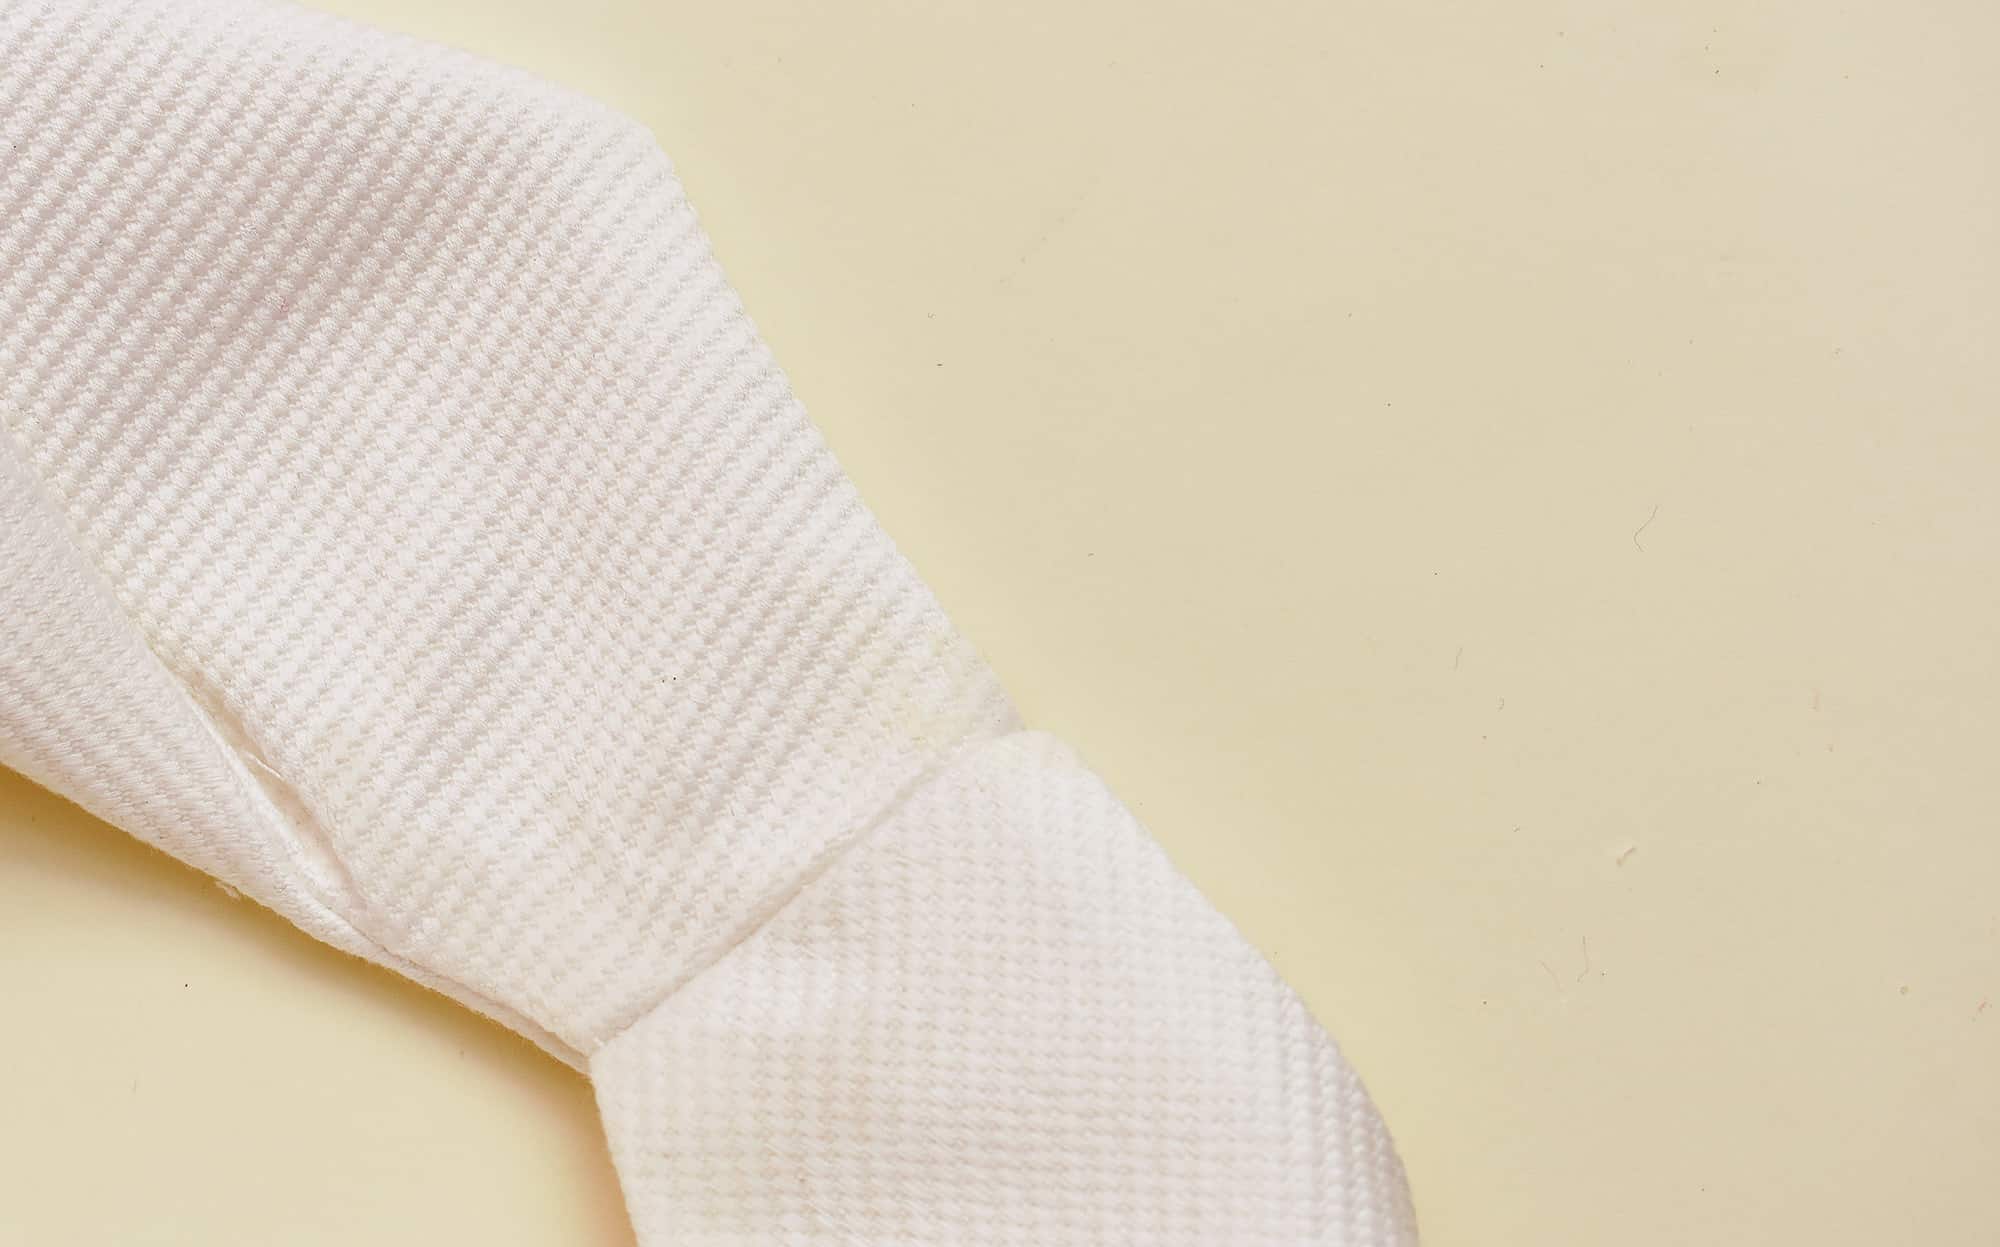
Now it’s time to sew the shoulder seams.
5. Stitch the garment shoulder seam.
Make sure the neckline and sleeve seam allowance is folded inwards, as you will sew over them. You can do this step easily to this on a sewing machine. Also keep the facing seam allowances away, so that you don’t catch them.
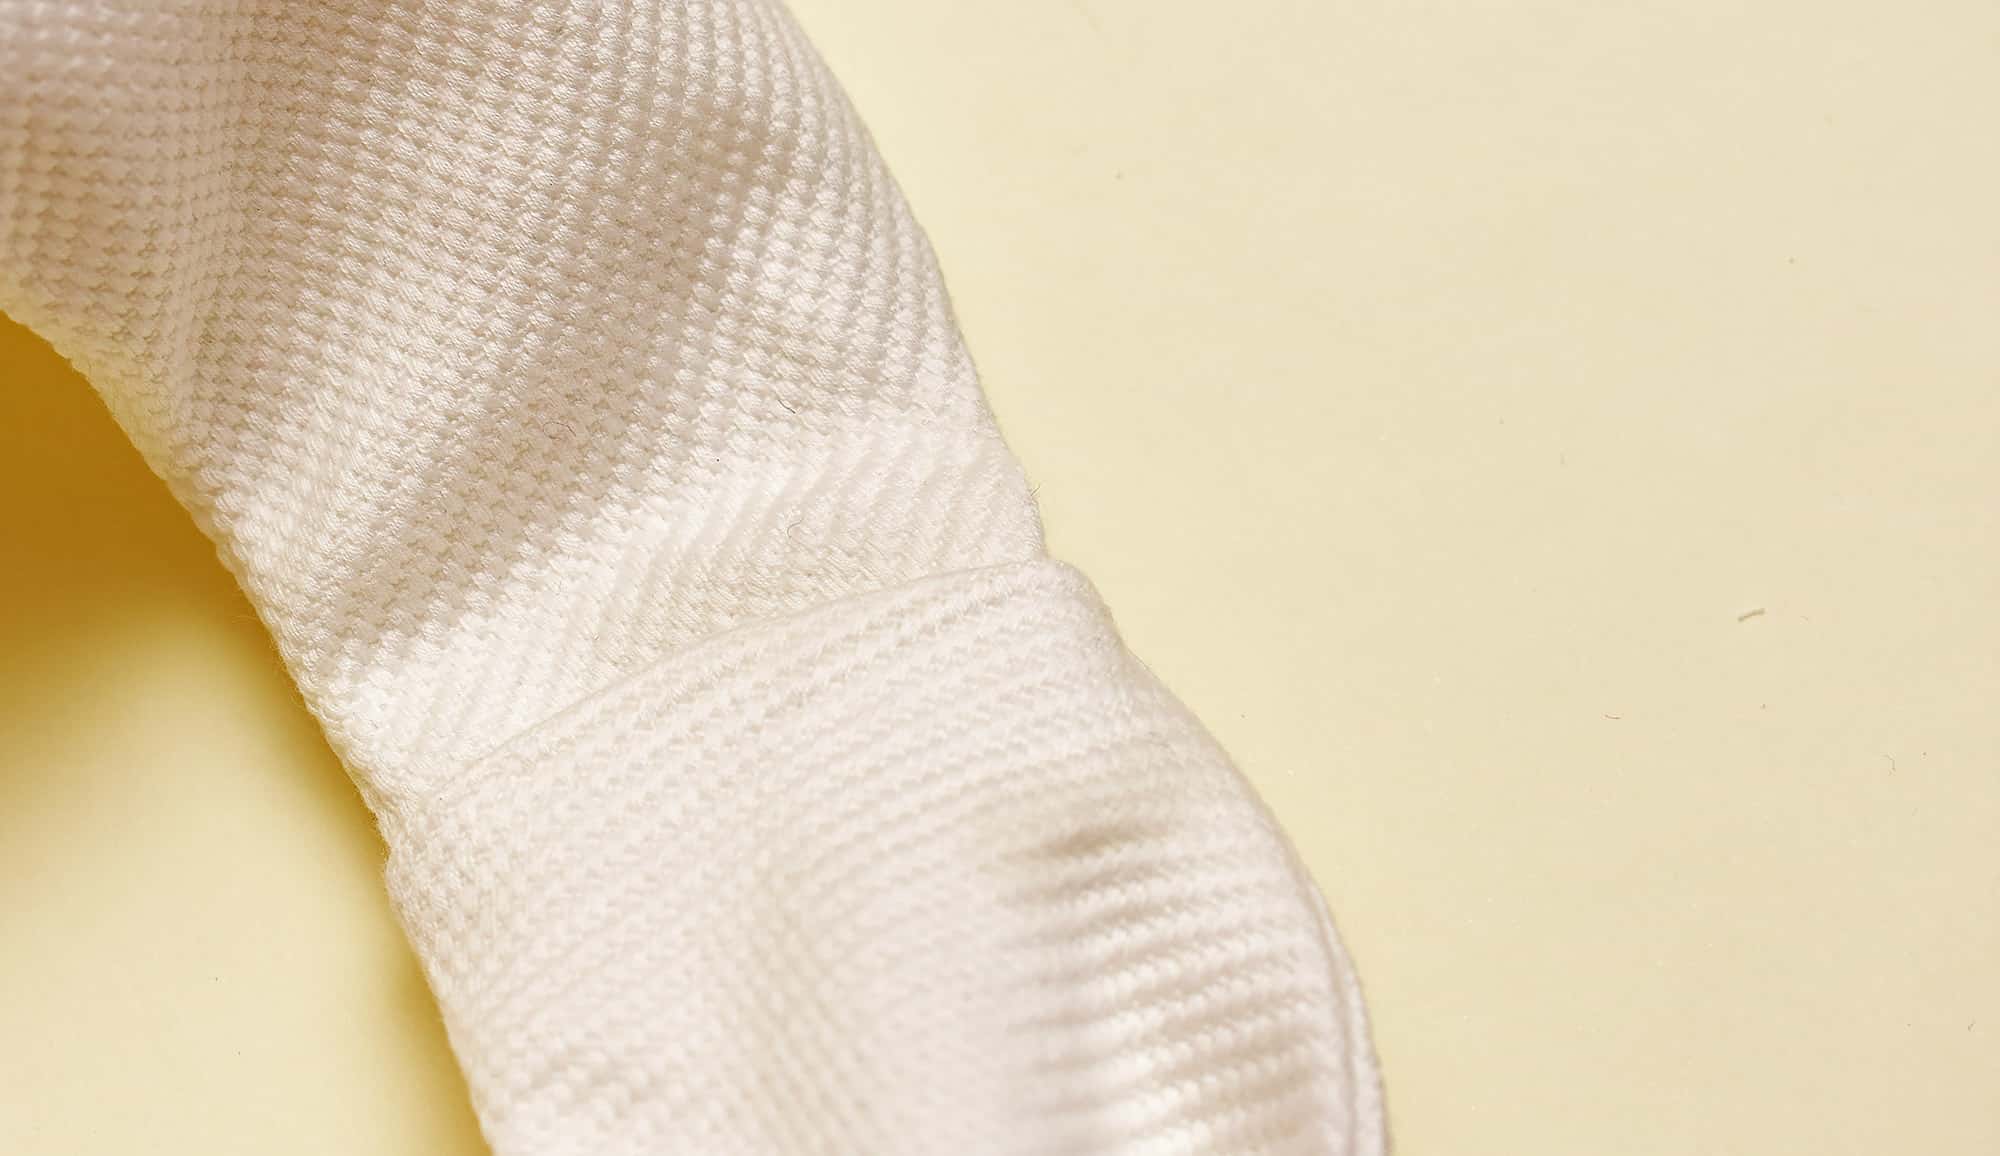
This how the garment shoulder seam will look like, nice and clean.
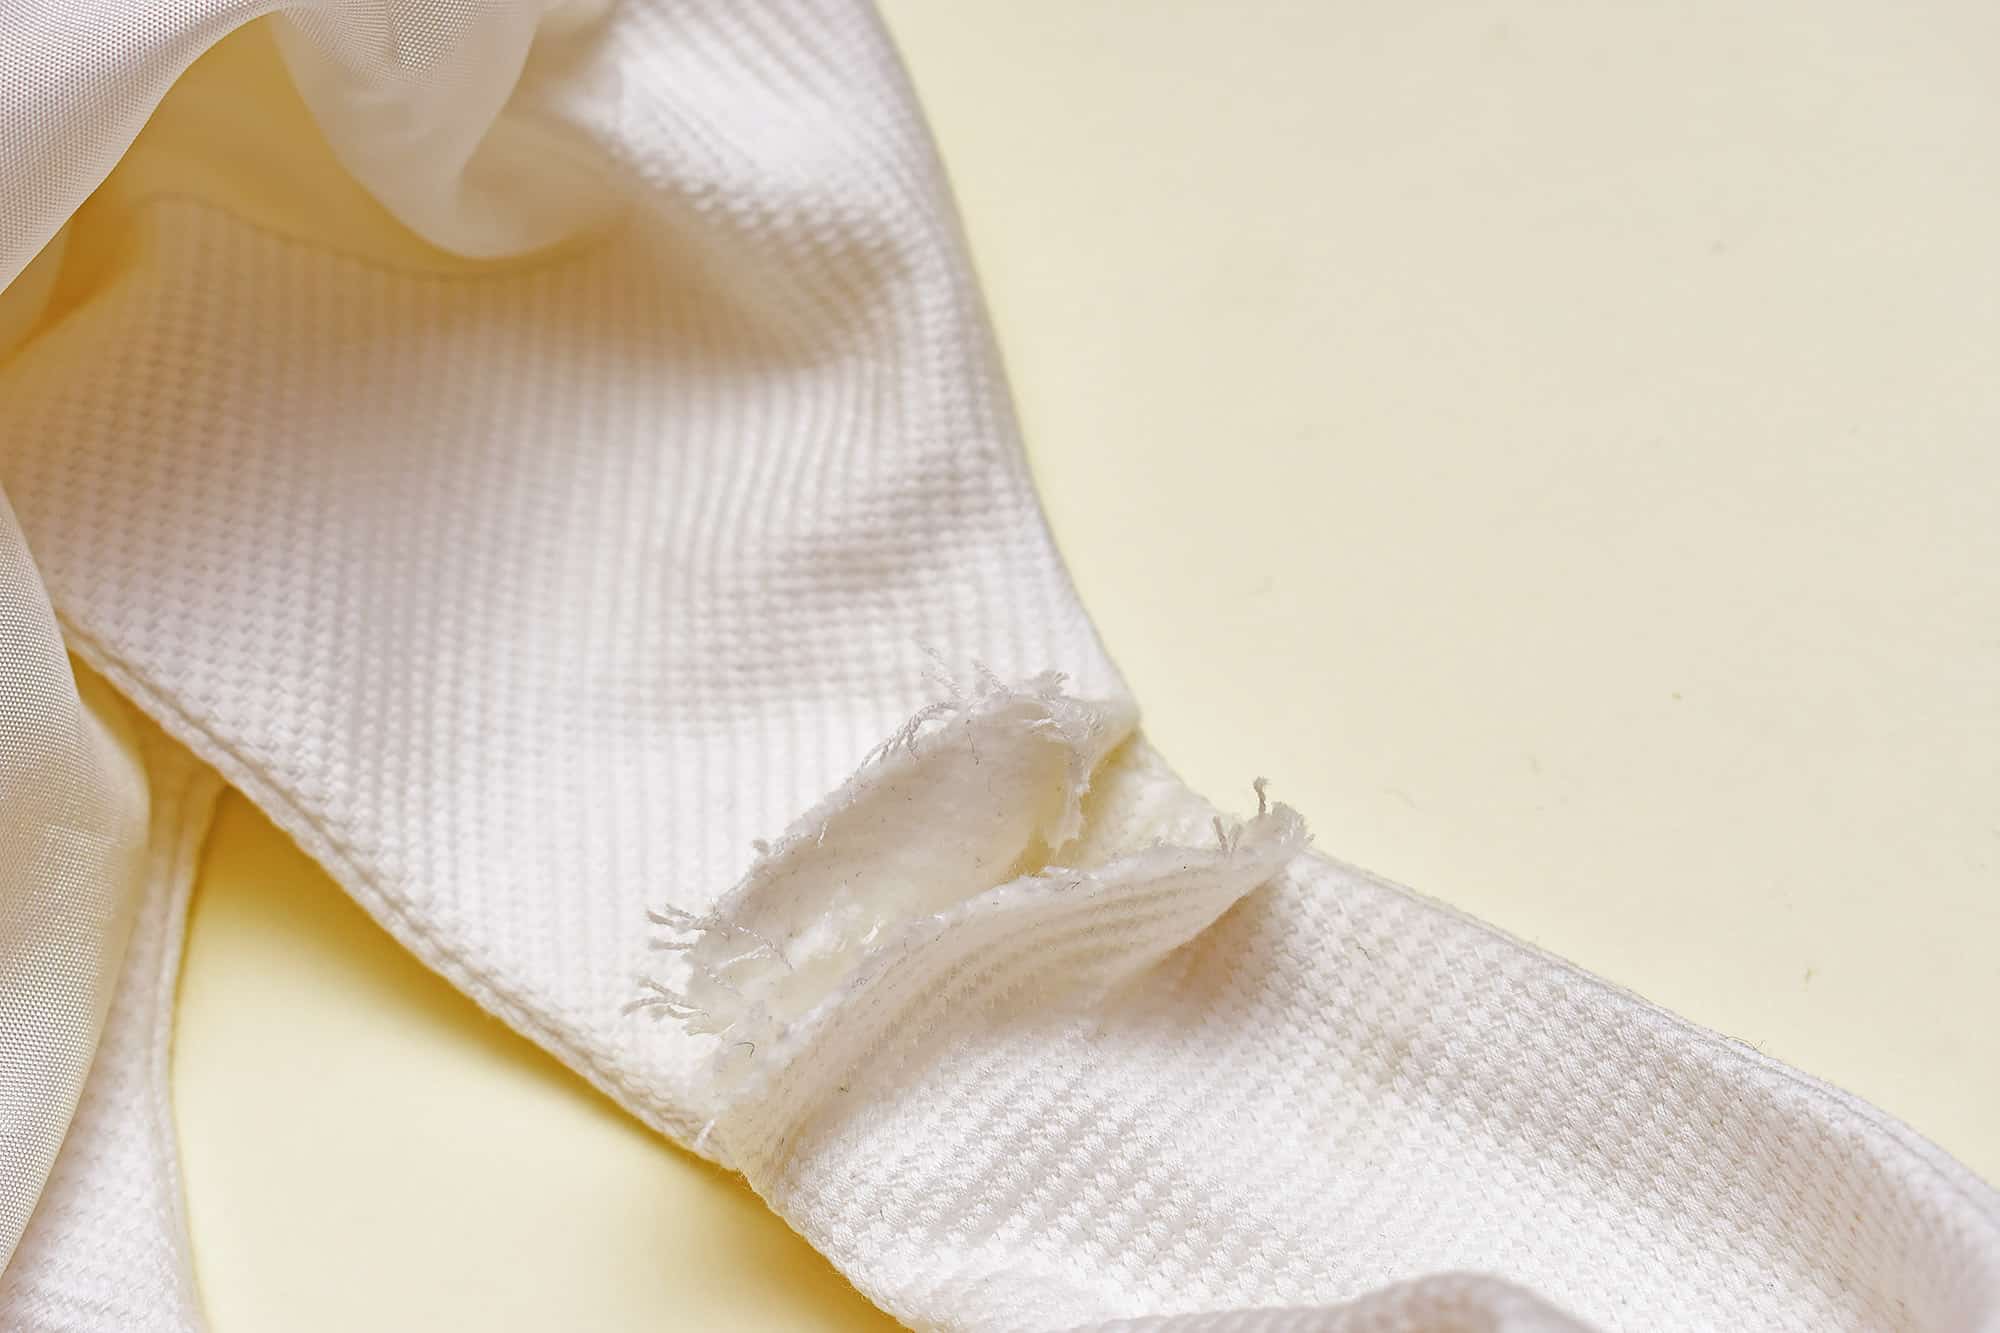
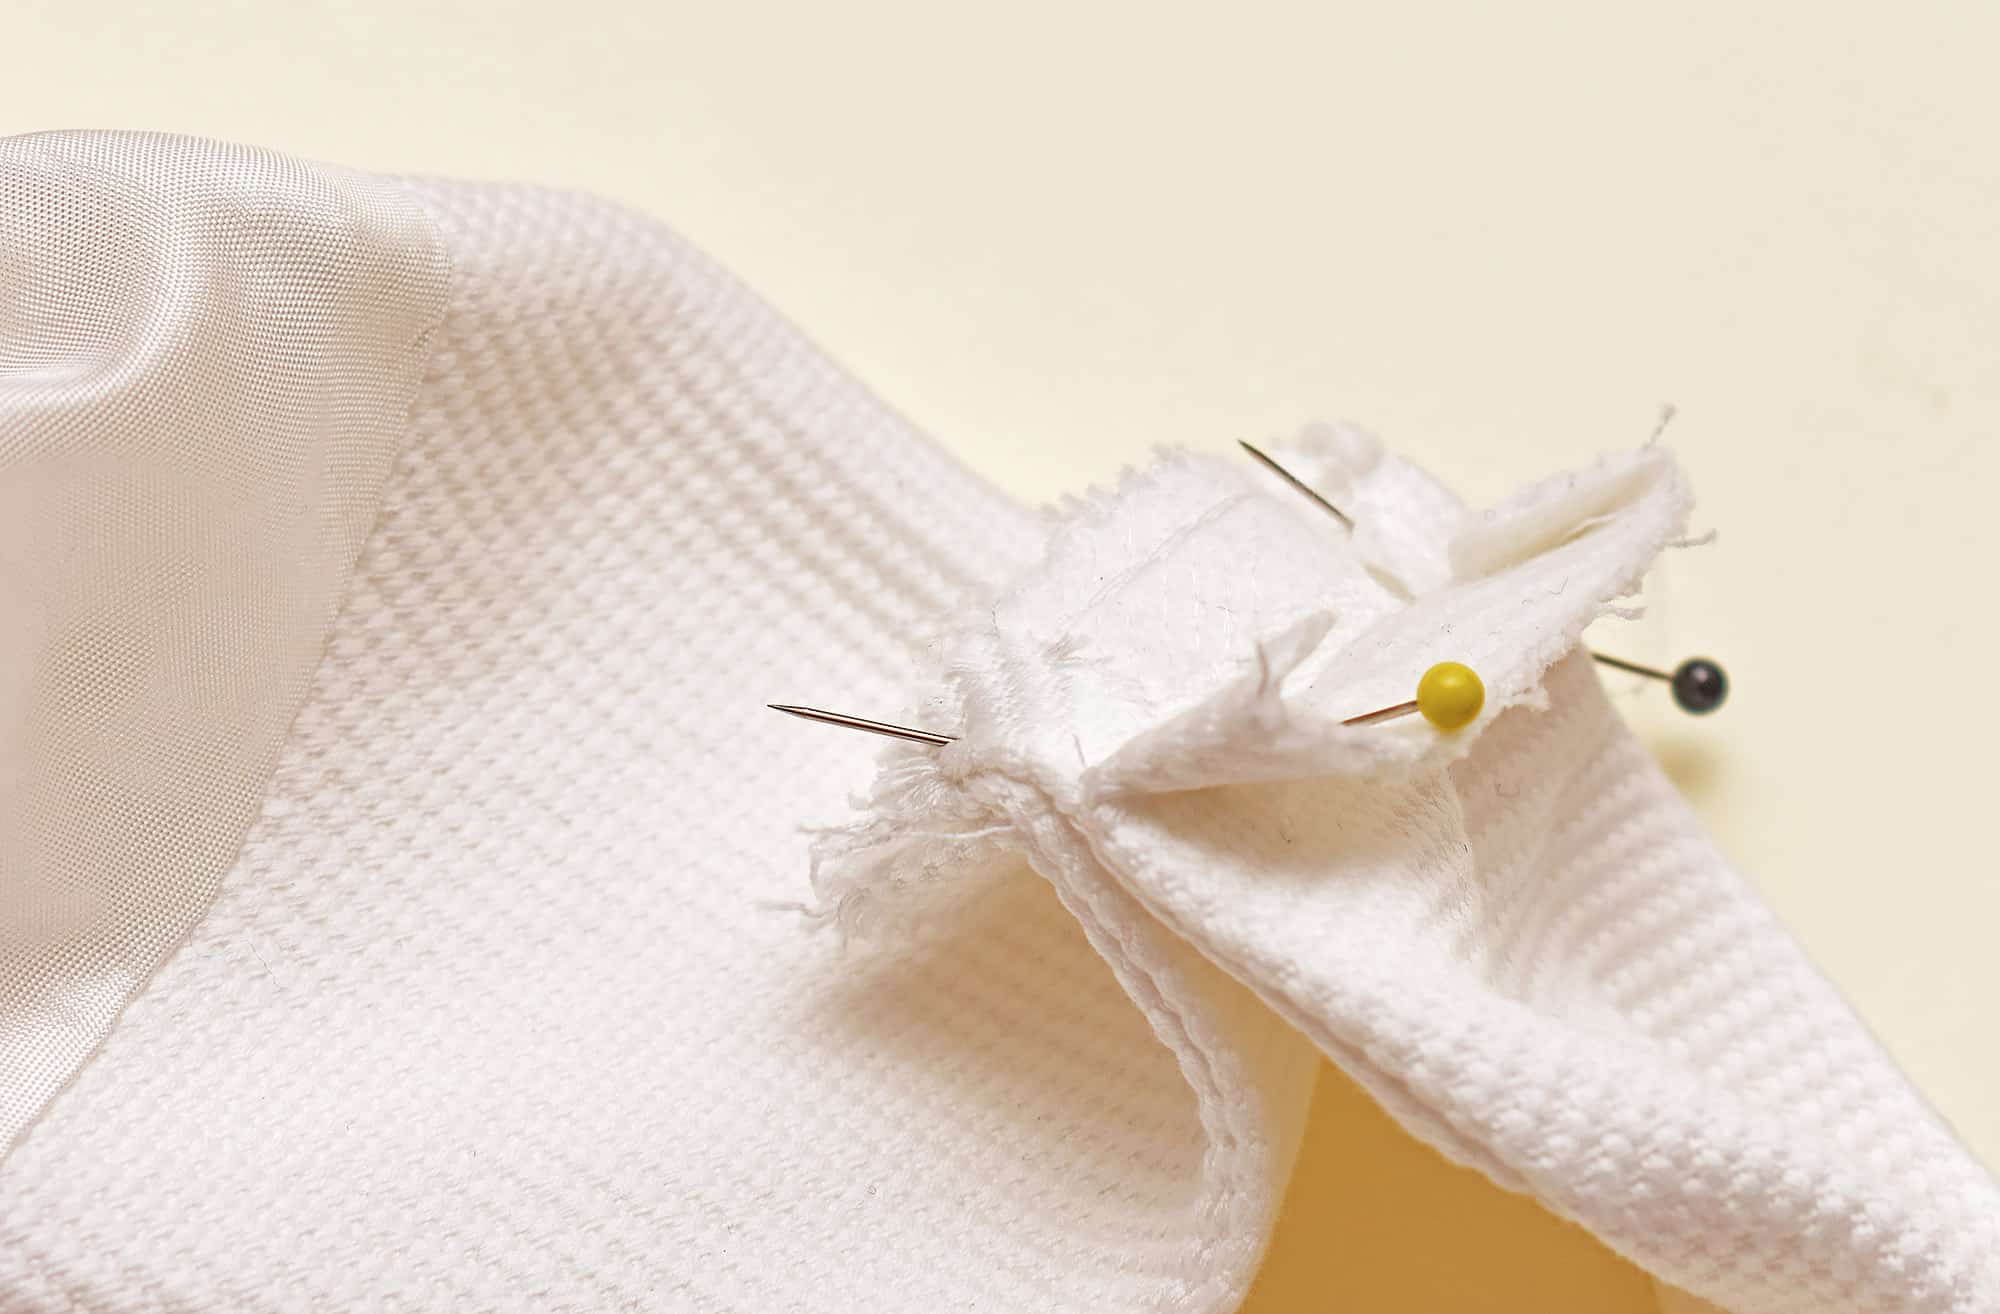
6. Fold the facing seam allowances inwards.
You can trim them to make the seam less bulky.
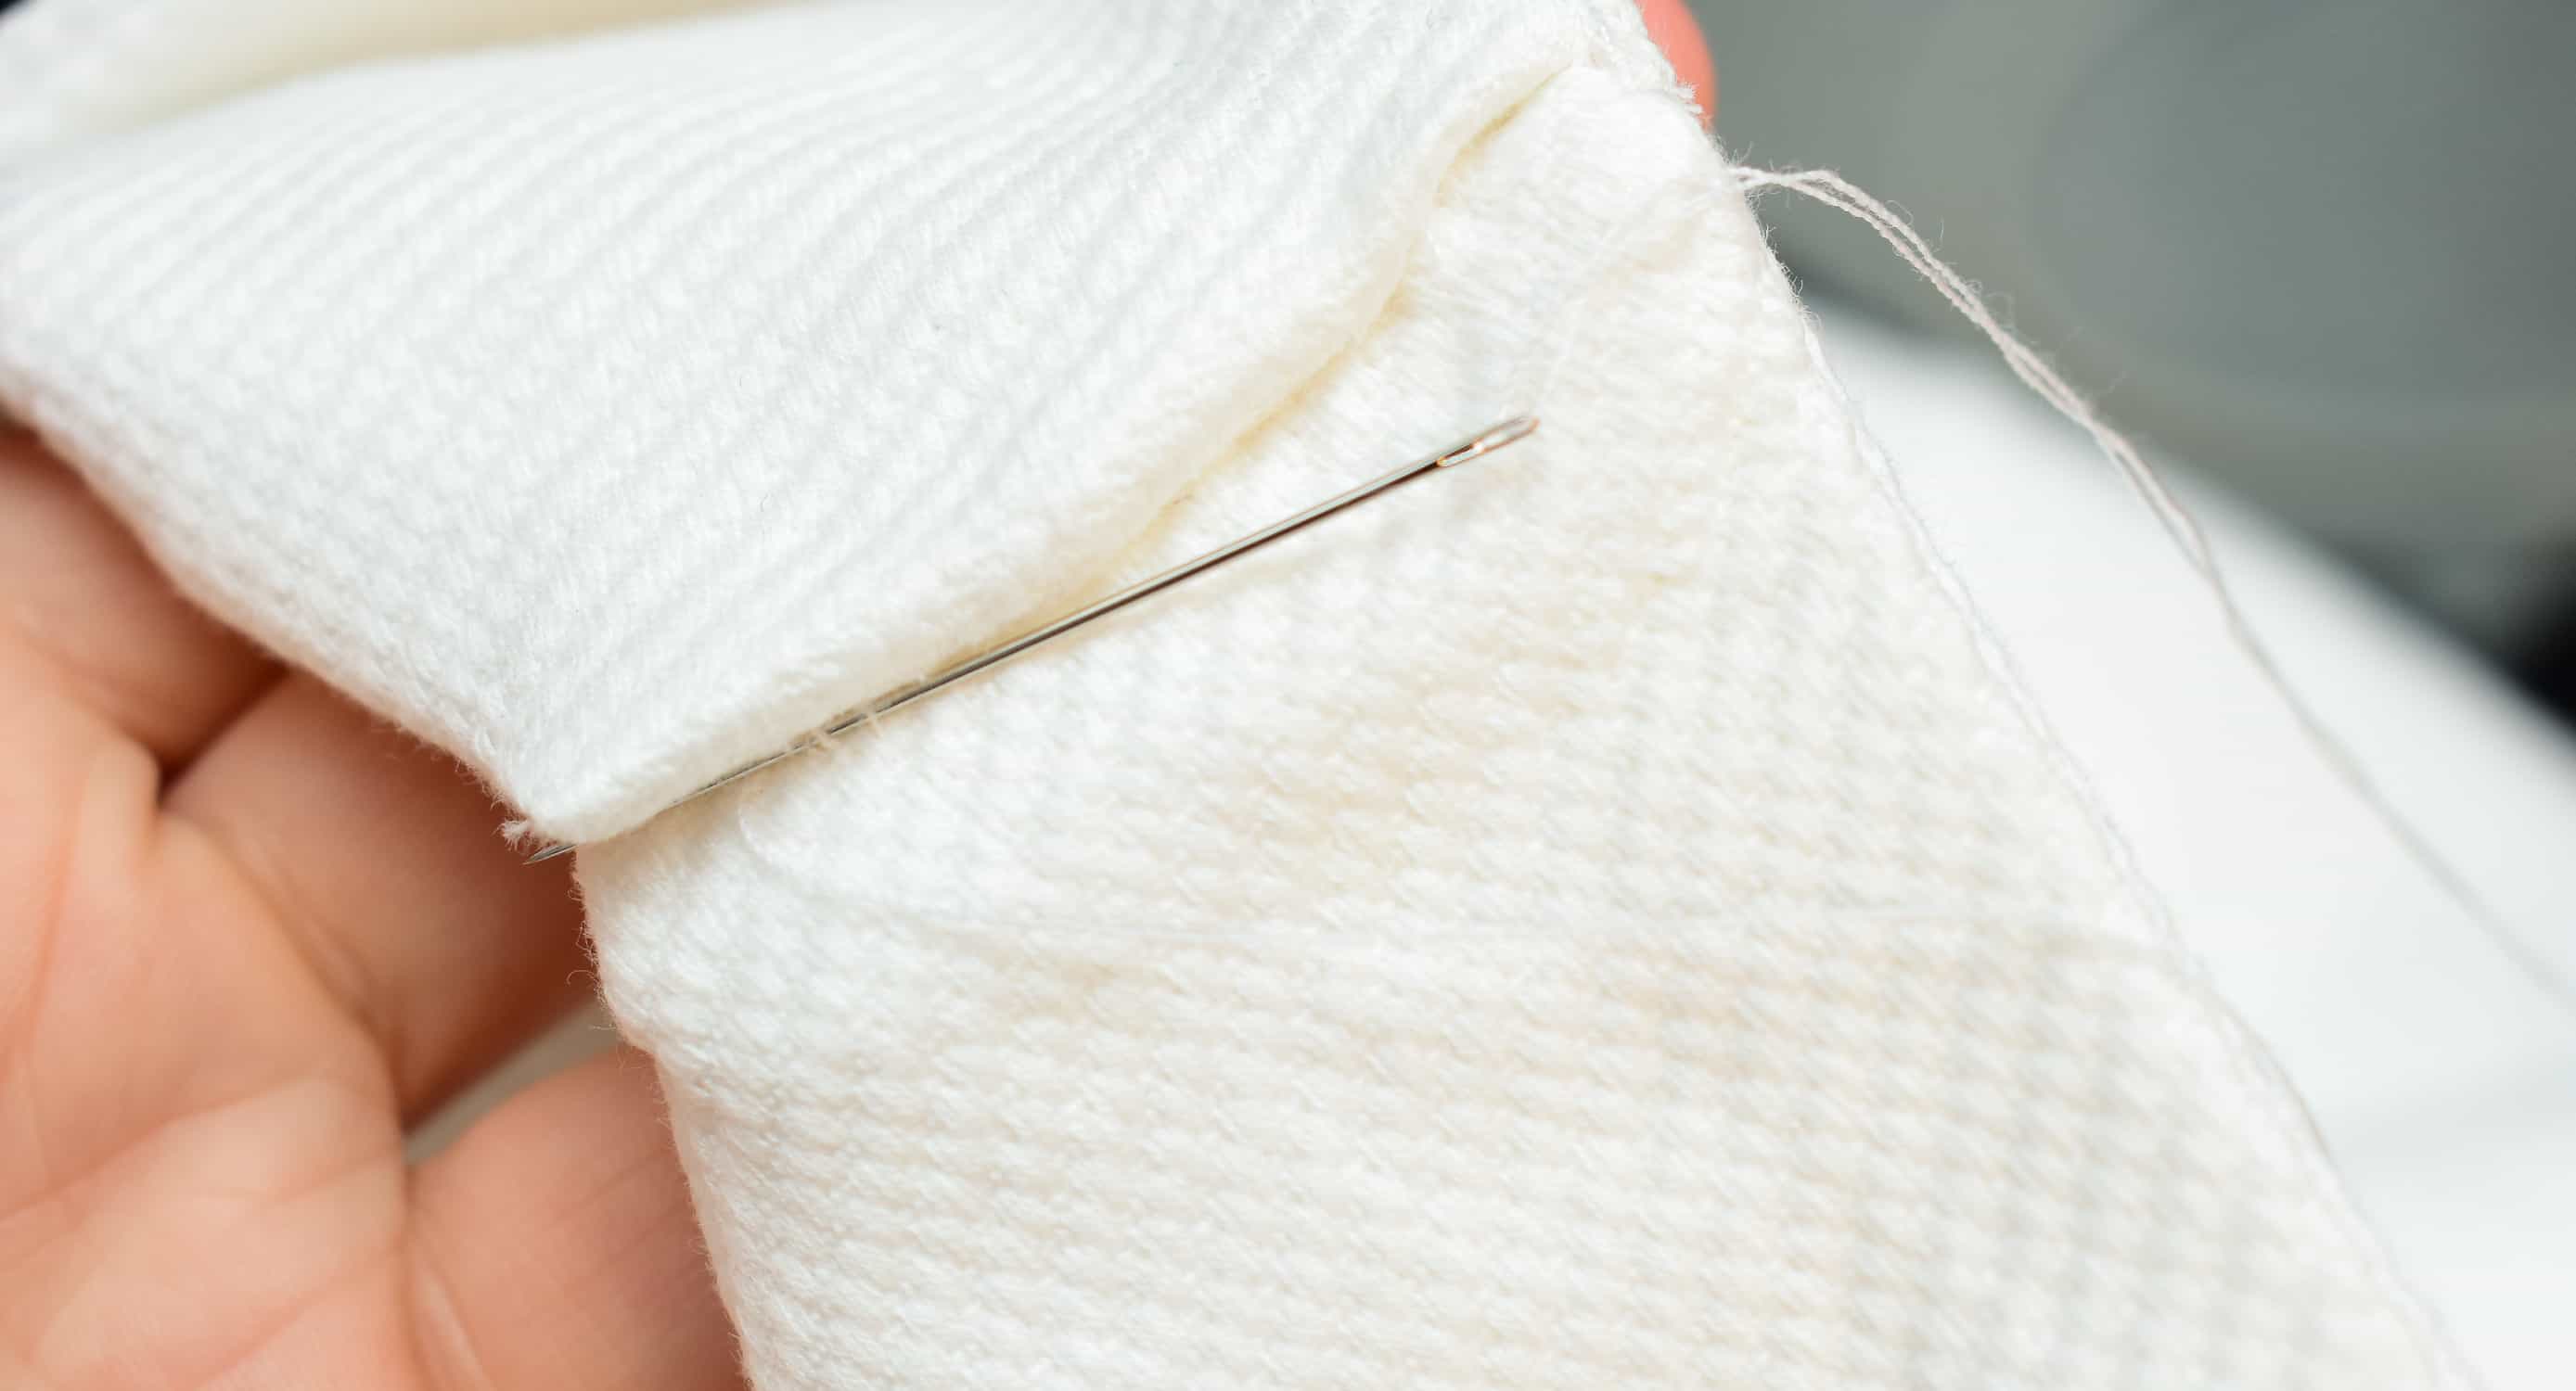
7. Slip stitch the back and front facing shoulder seams together.
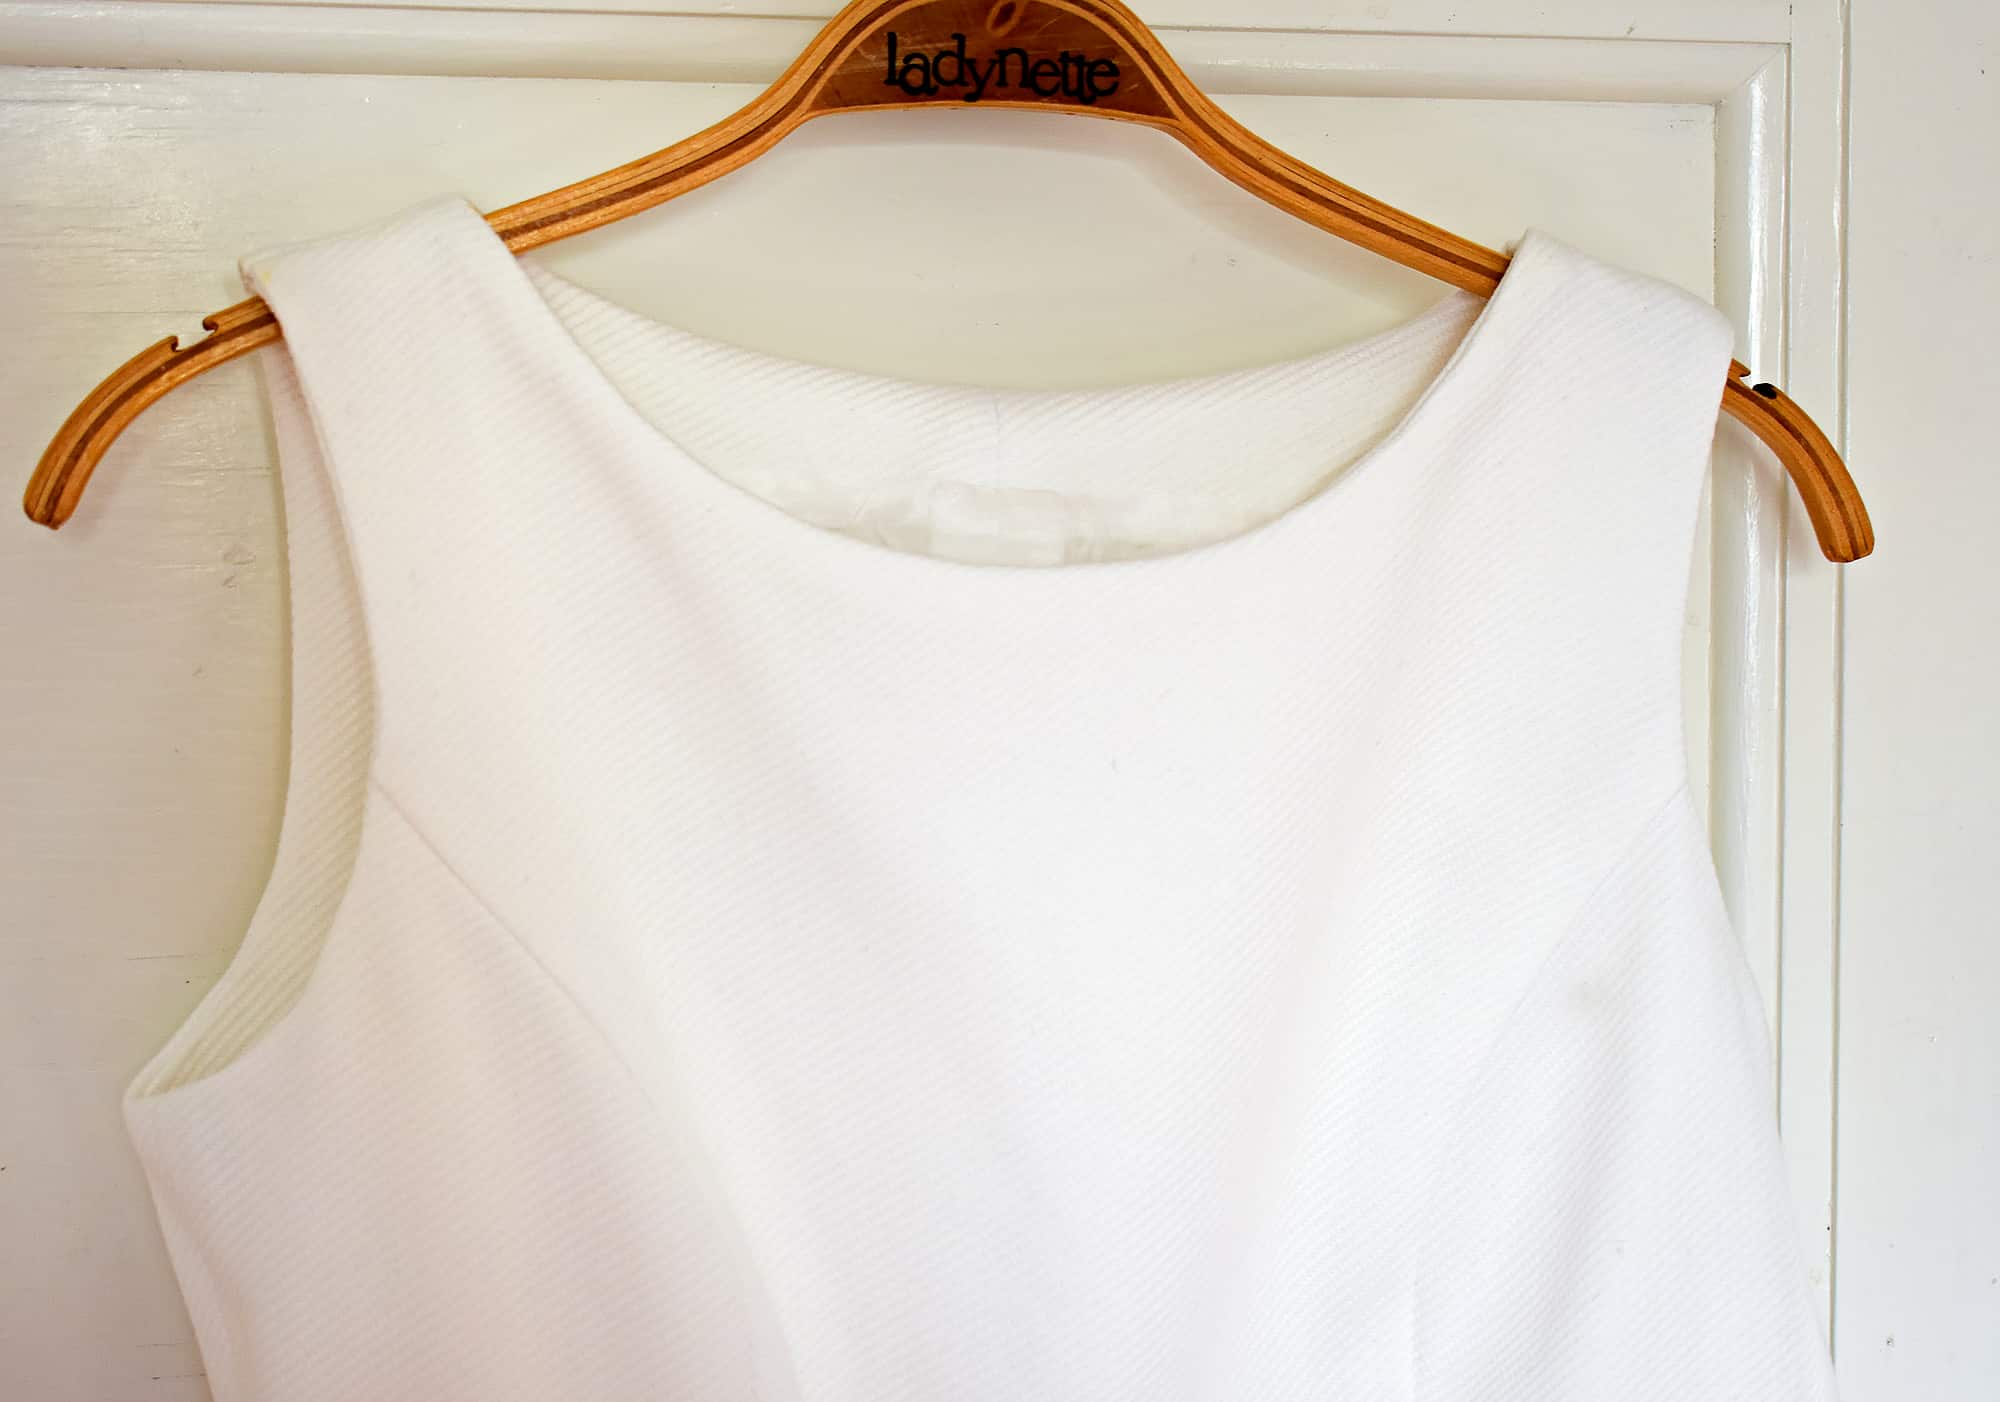
The finished dress. With a little practice, this method will create a very neat shoulder seam and the advantage is that you can do it on very narrow shoulder seams too. That said the Colette method might be better in many instances and I will try that next time, as it eliminates the need for hand stitching.


This post contains Amazon affiliate links, meaning that a commission is earned from qualifying purchases.

9 Comments
Jane
Thank you, that’s a great tutorial!
Johanna
Thank you 😊
Lisa G
Fabulous tut! Thanks!
Johanna
Happy to hear you like it!
Kathy
I never thought to add a facing to a lined bodice, but the end result looks so professional! Thanks!!
Johanna
Yes, it really makes a big difference with not too much extra work. So totally worth it in my book 🙂
Kathleen
I would love to see a bit more in-depth about how to create the lining with attached facing, please.
Comments are closed.