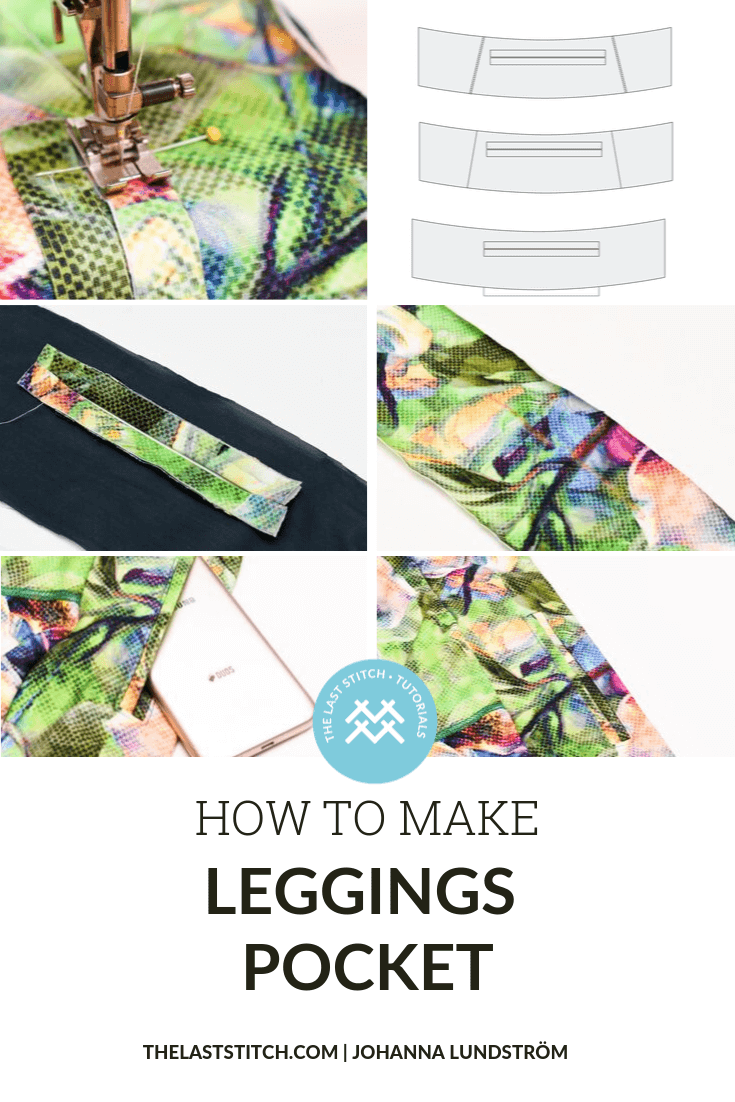
Adding a welt waistband pocket to a pair of activewear leggings is a simple way to create a pocket solution if your leggings sewing pattern lacks a pocket. And if you ask me, a pocket option should be mandatory on all leggings sewing patterns, at least if they are meant to be activewear. I’ve had this idea mulling in my head for a while and decided to try it out on my latest pair of leggings. So this tutorial is me experimenting, but I’m happy to report that the end result was even better than I had hoped for!
To a sew leggings waistband pocket you’ll need
- Power net (optional, but recommended)
- Lightweight interfacing
- Marking Pen
Step 1. Sew the welt pocket opening
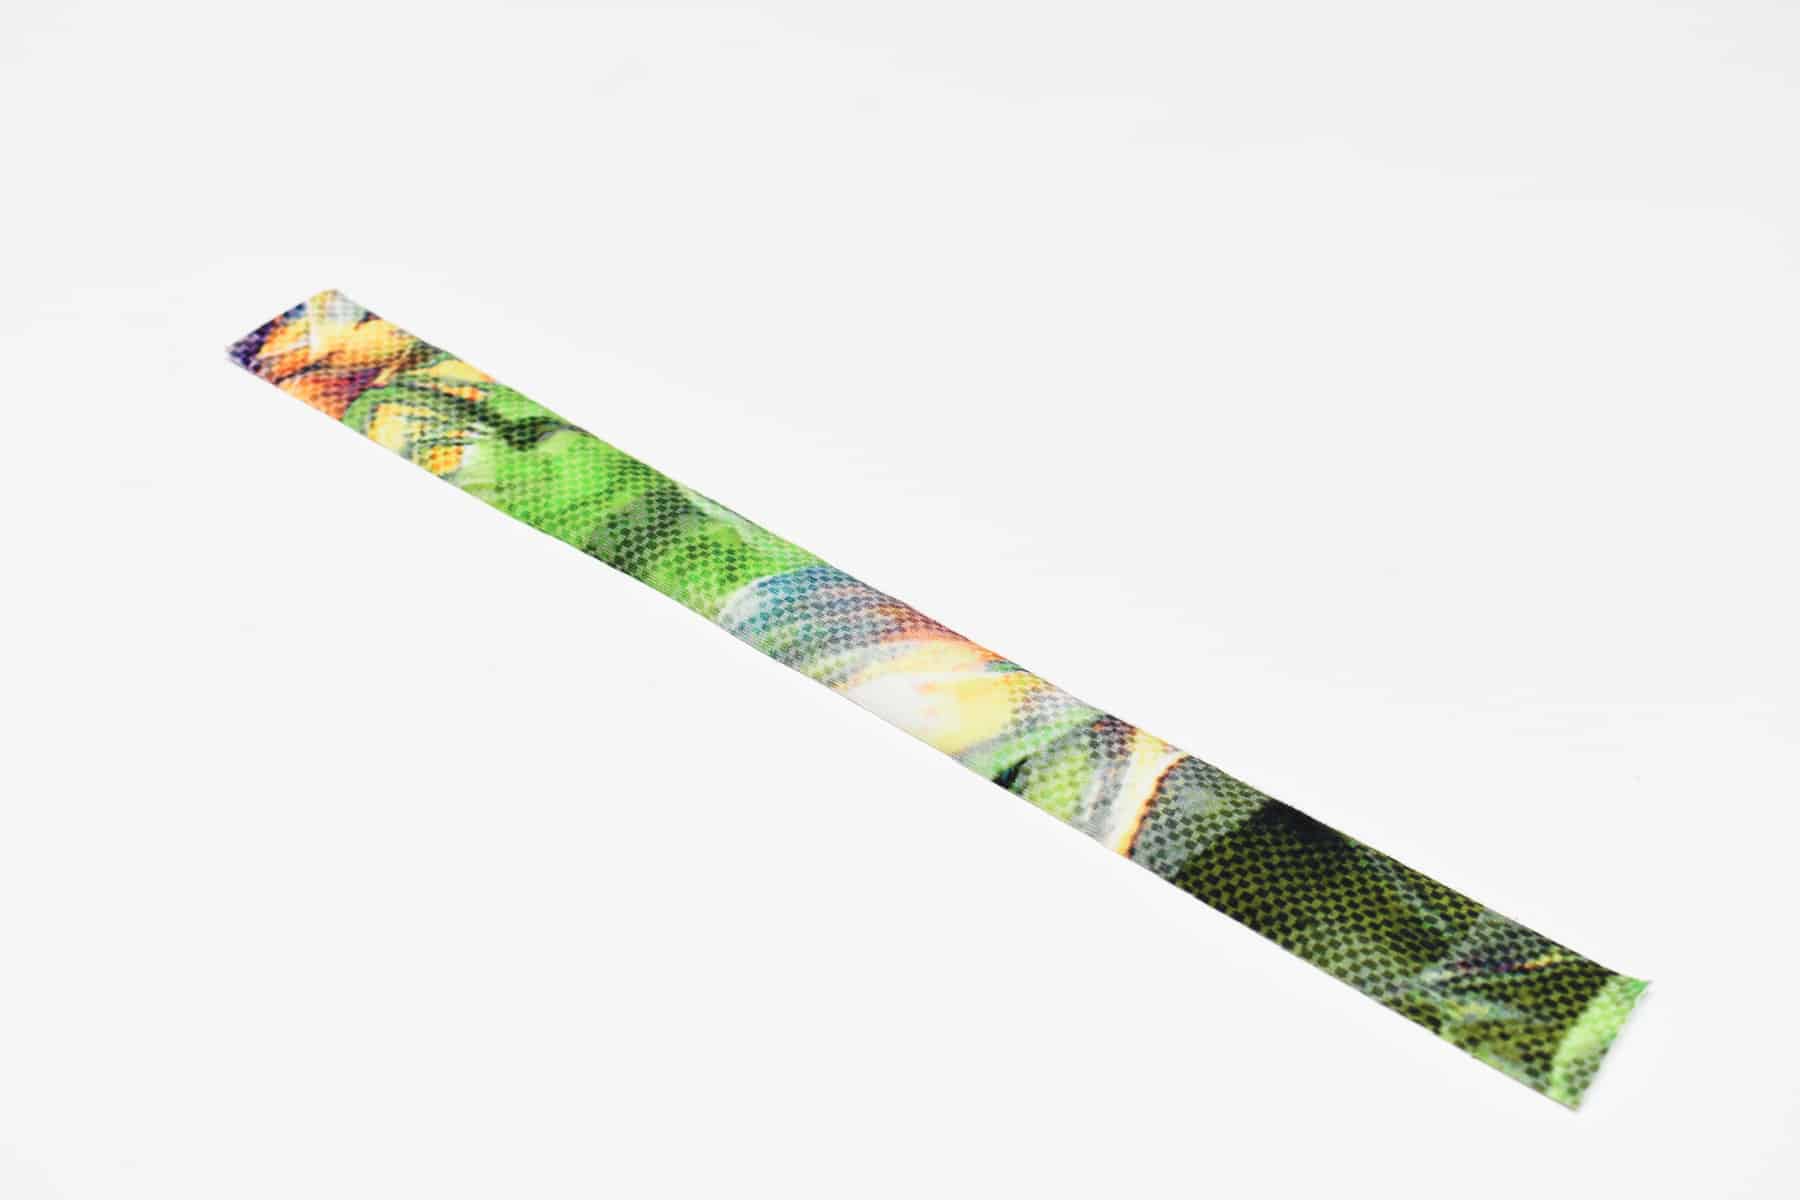
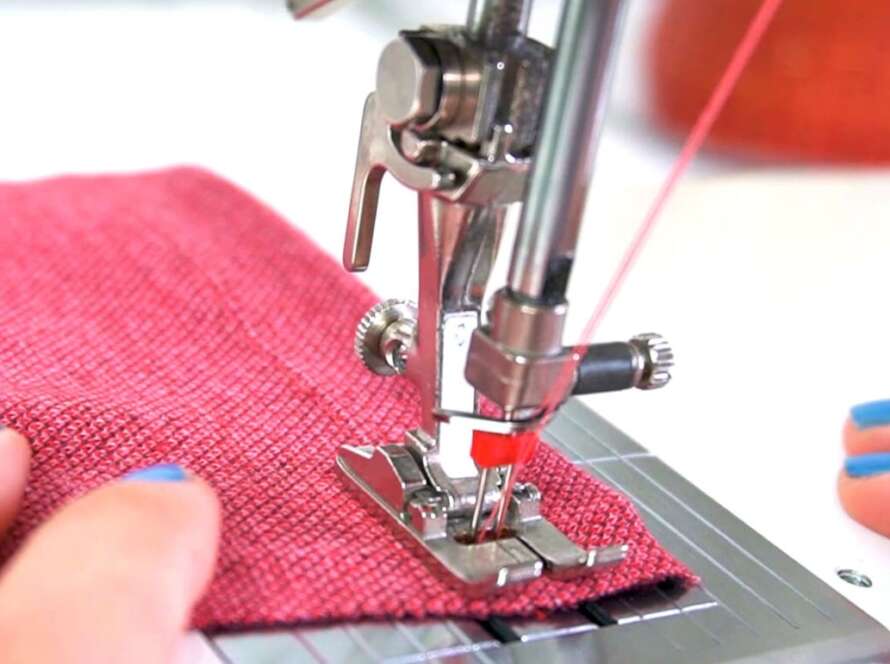
Cut a narrow strip for the welts.
The strips should be cut lengthwise since that is the direction on knit fabrics that have the least amount of stretch. The strip should 4x time the width of the finished welt. So if each finished welt will be 5 mm (1/5 in) wide, the strip should be 2 cm (⅘ in). For these pockets, I went a bit wider and I did 3 cm wide strips.

Apply fusible interfacing.
Use a lightweight 1-way stretch interfacing to make the welts less bulky. Cut the interfacing along the non-stretch direction to give the welts enough stabilisation. They should not stretch.

Fold, press and cut the strips.
The strips should be the length of the finished pocket opening plus at least 2-3 cm (~ 1 in).

Mark the opening of the garment.
The line should be as long as the opening. Make sure the line is straight and on the right side of the fabric.

Stabilise the fabric.
For best result, stabilise the outside waistband pieces with power net underlining. Check out my tutorial How to sew a body shaping waistband using power net to see how it is done, note that in this instance I add the net to the outer waistband and not the inner that is described in the tutorial. You can also use regular fusible interfacing around the opening or if you are used to sewing with knits you can probably skip interfacing and just use your hands to keep the fabric from stretching out.
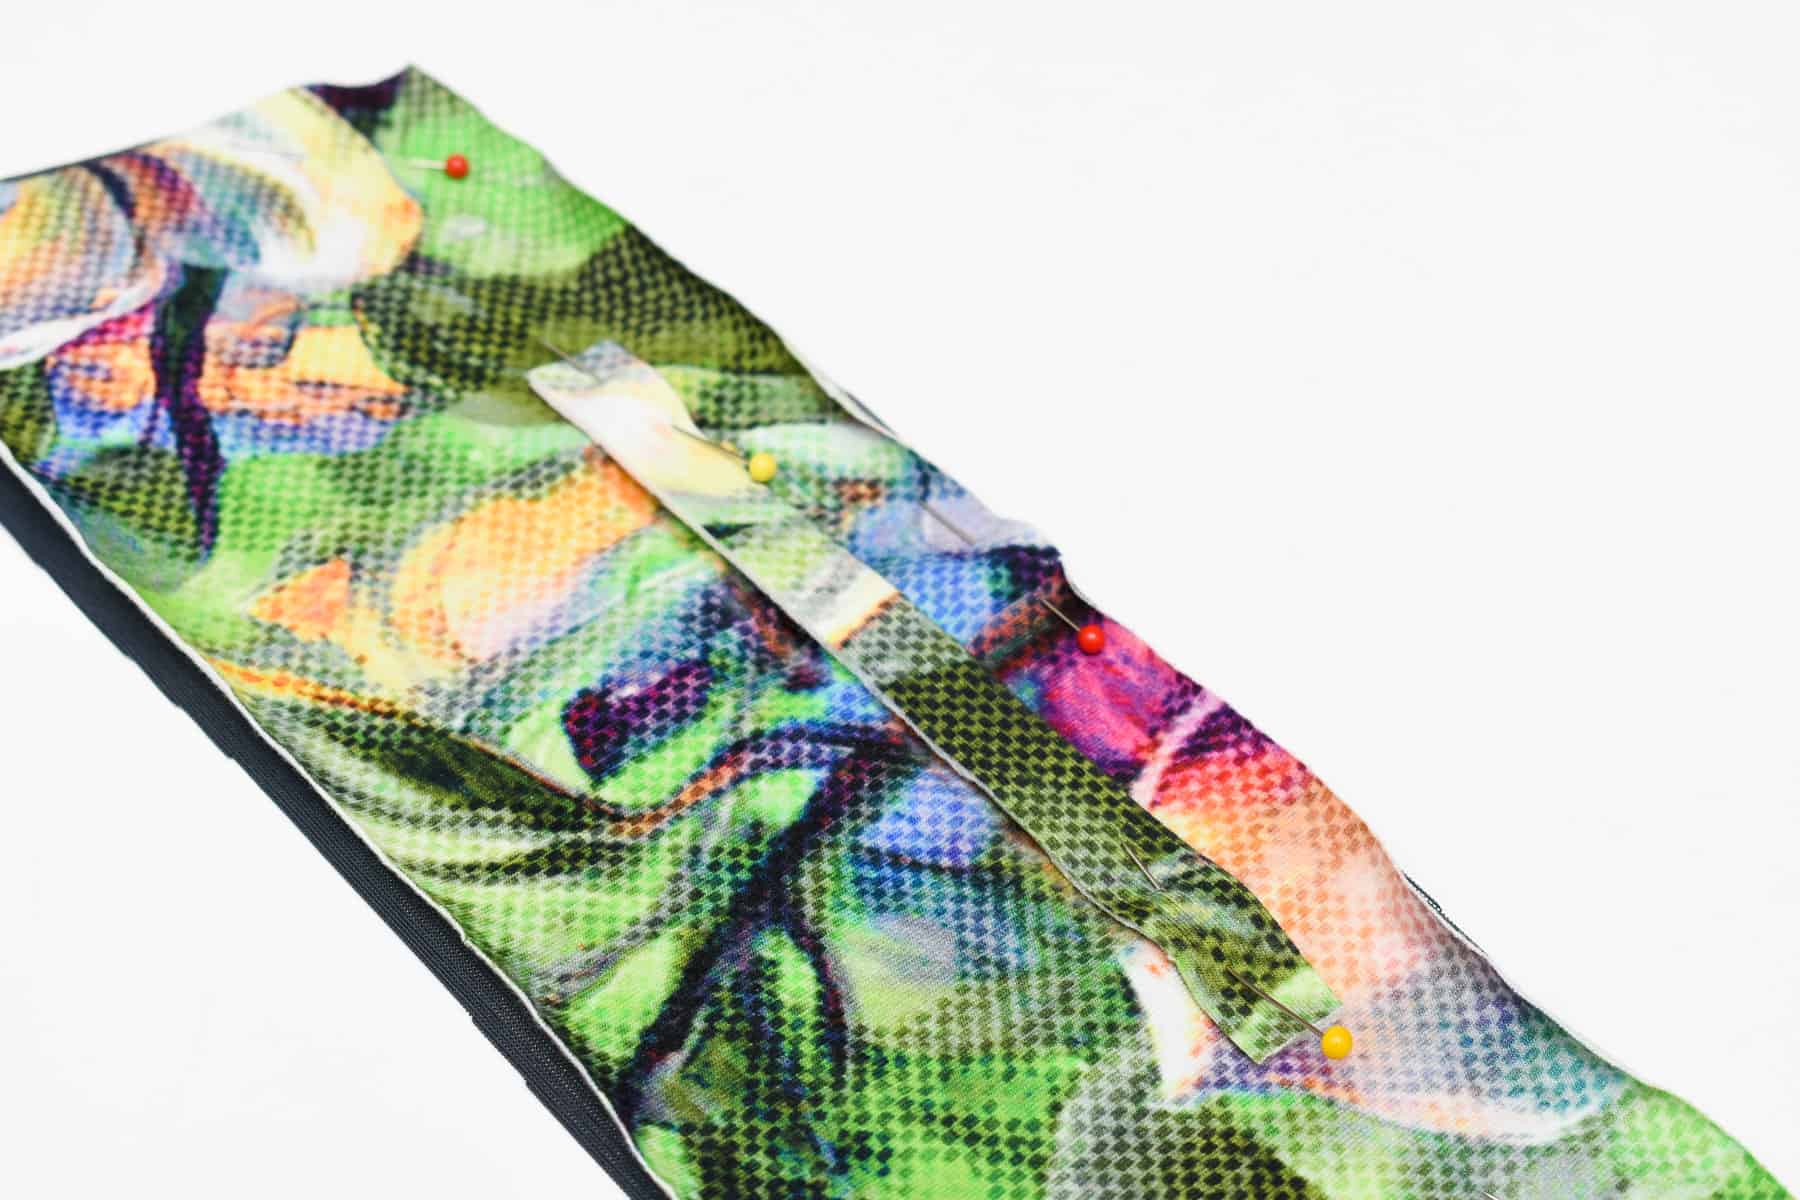
Place one welt on the fabric.
The opening should be facing the line. Make sure it aligns exactly with the line and mark where the seam should begin and end, i.e. 1 cm (⅖ in) in on each side.

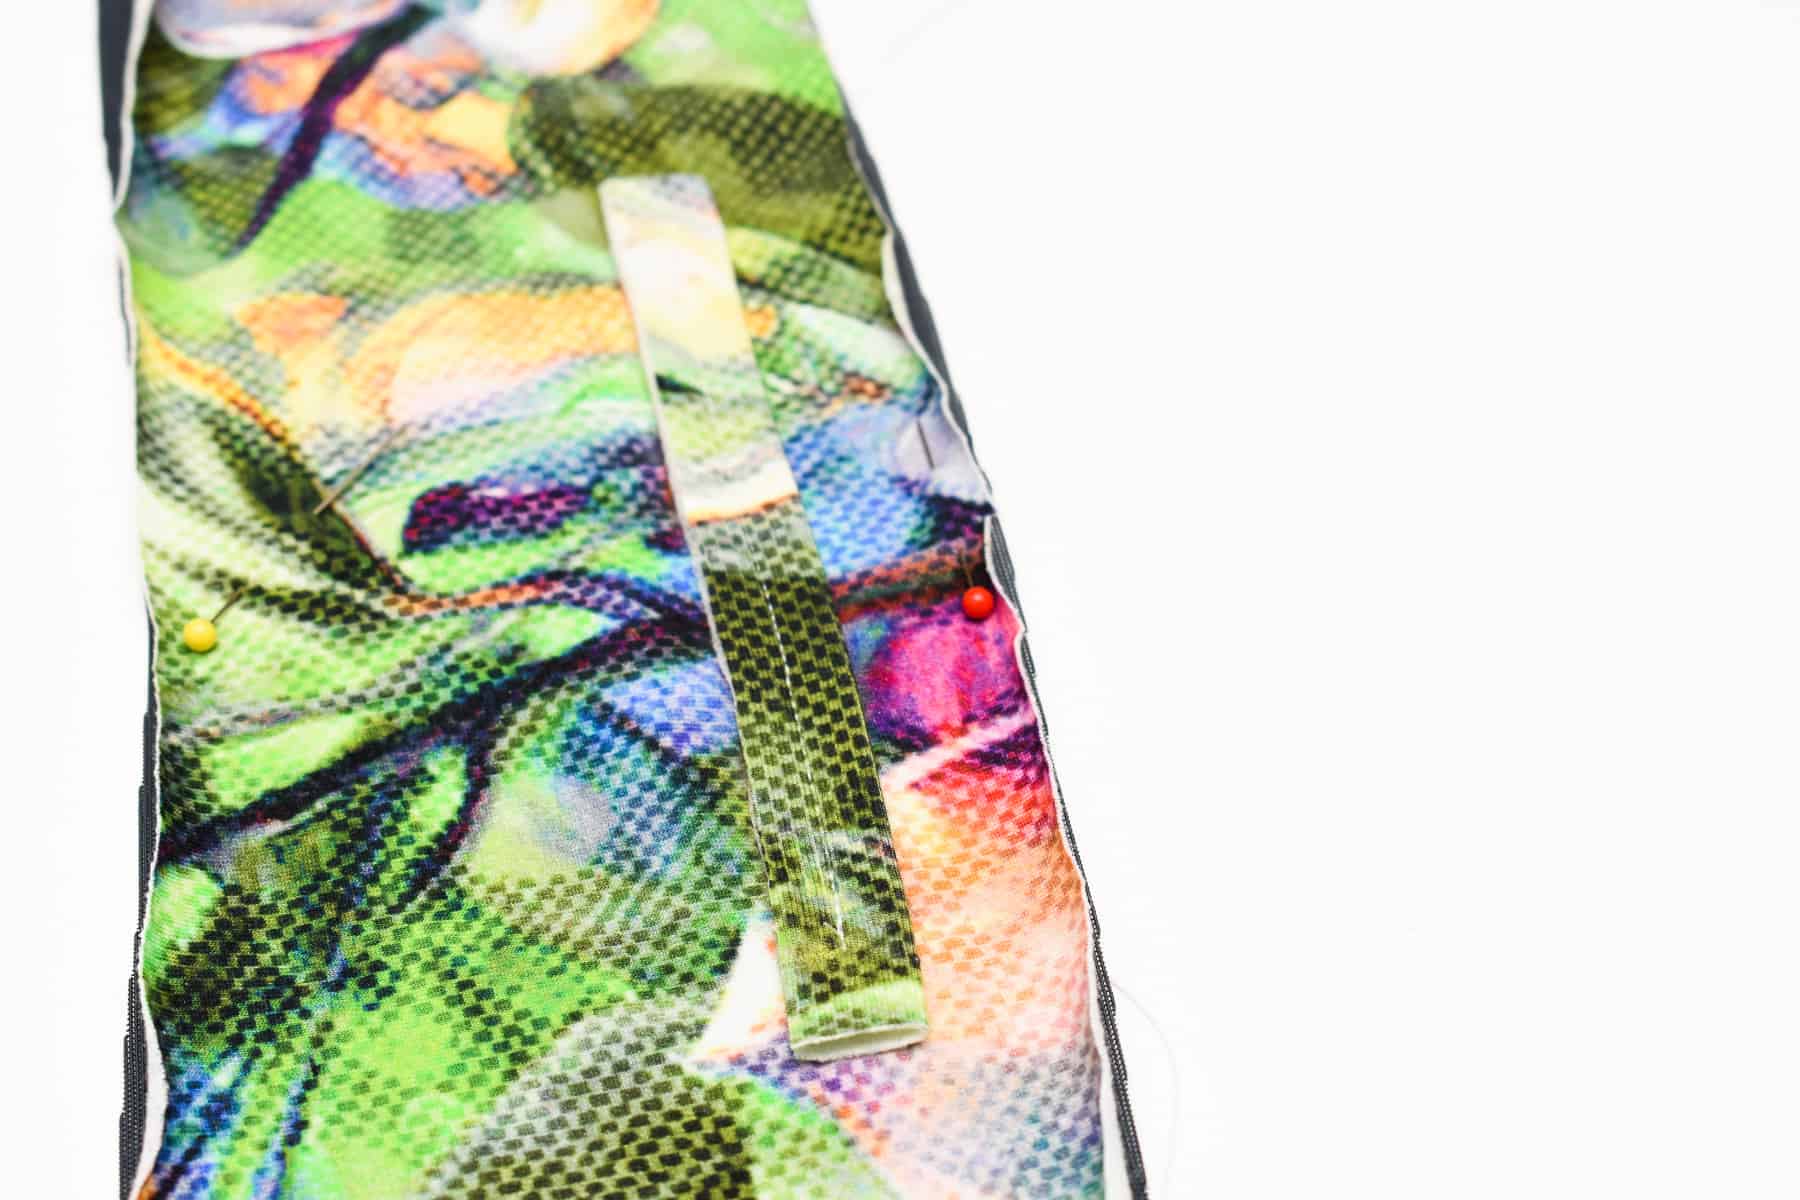
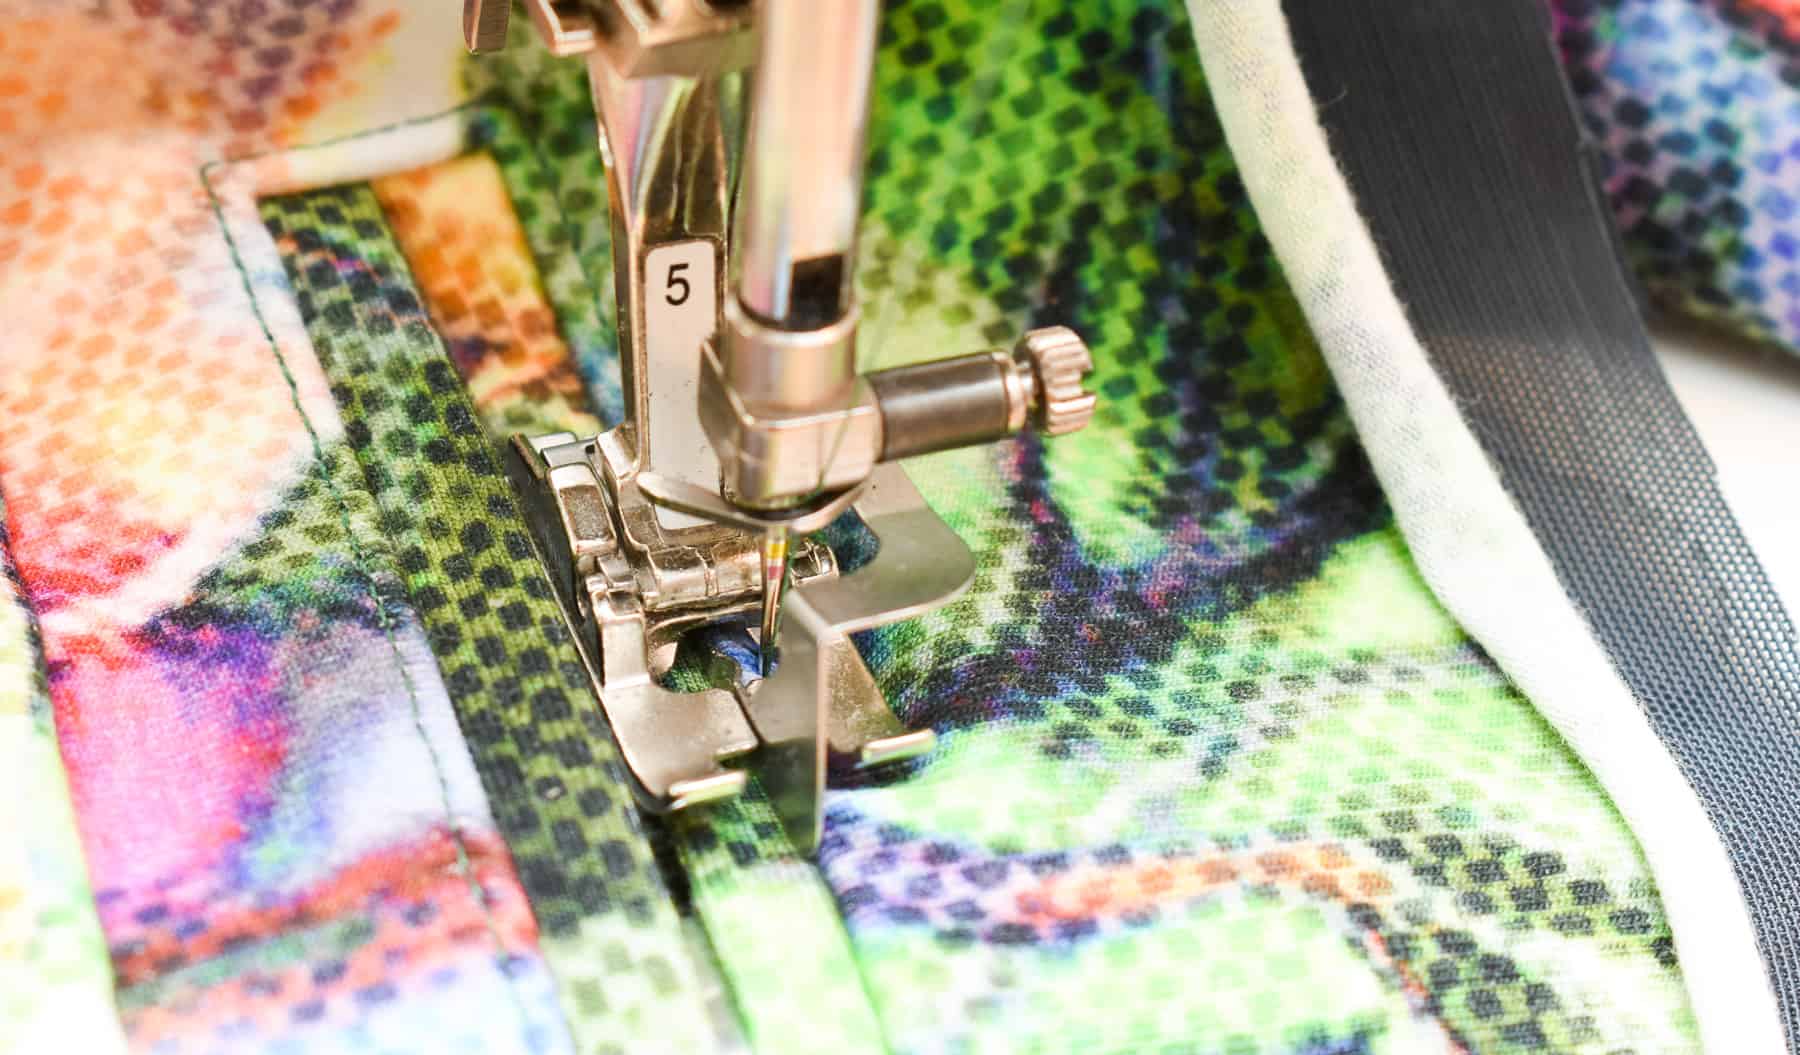
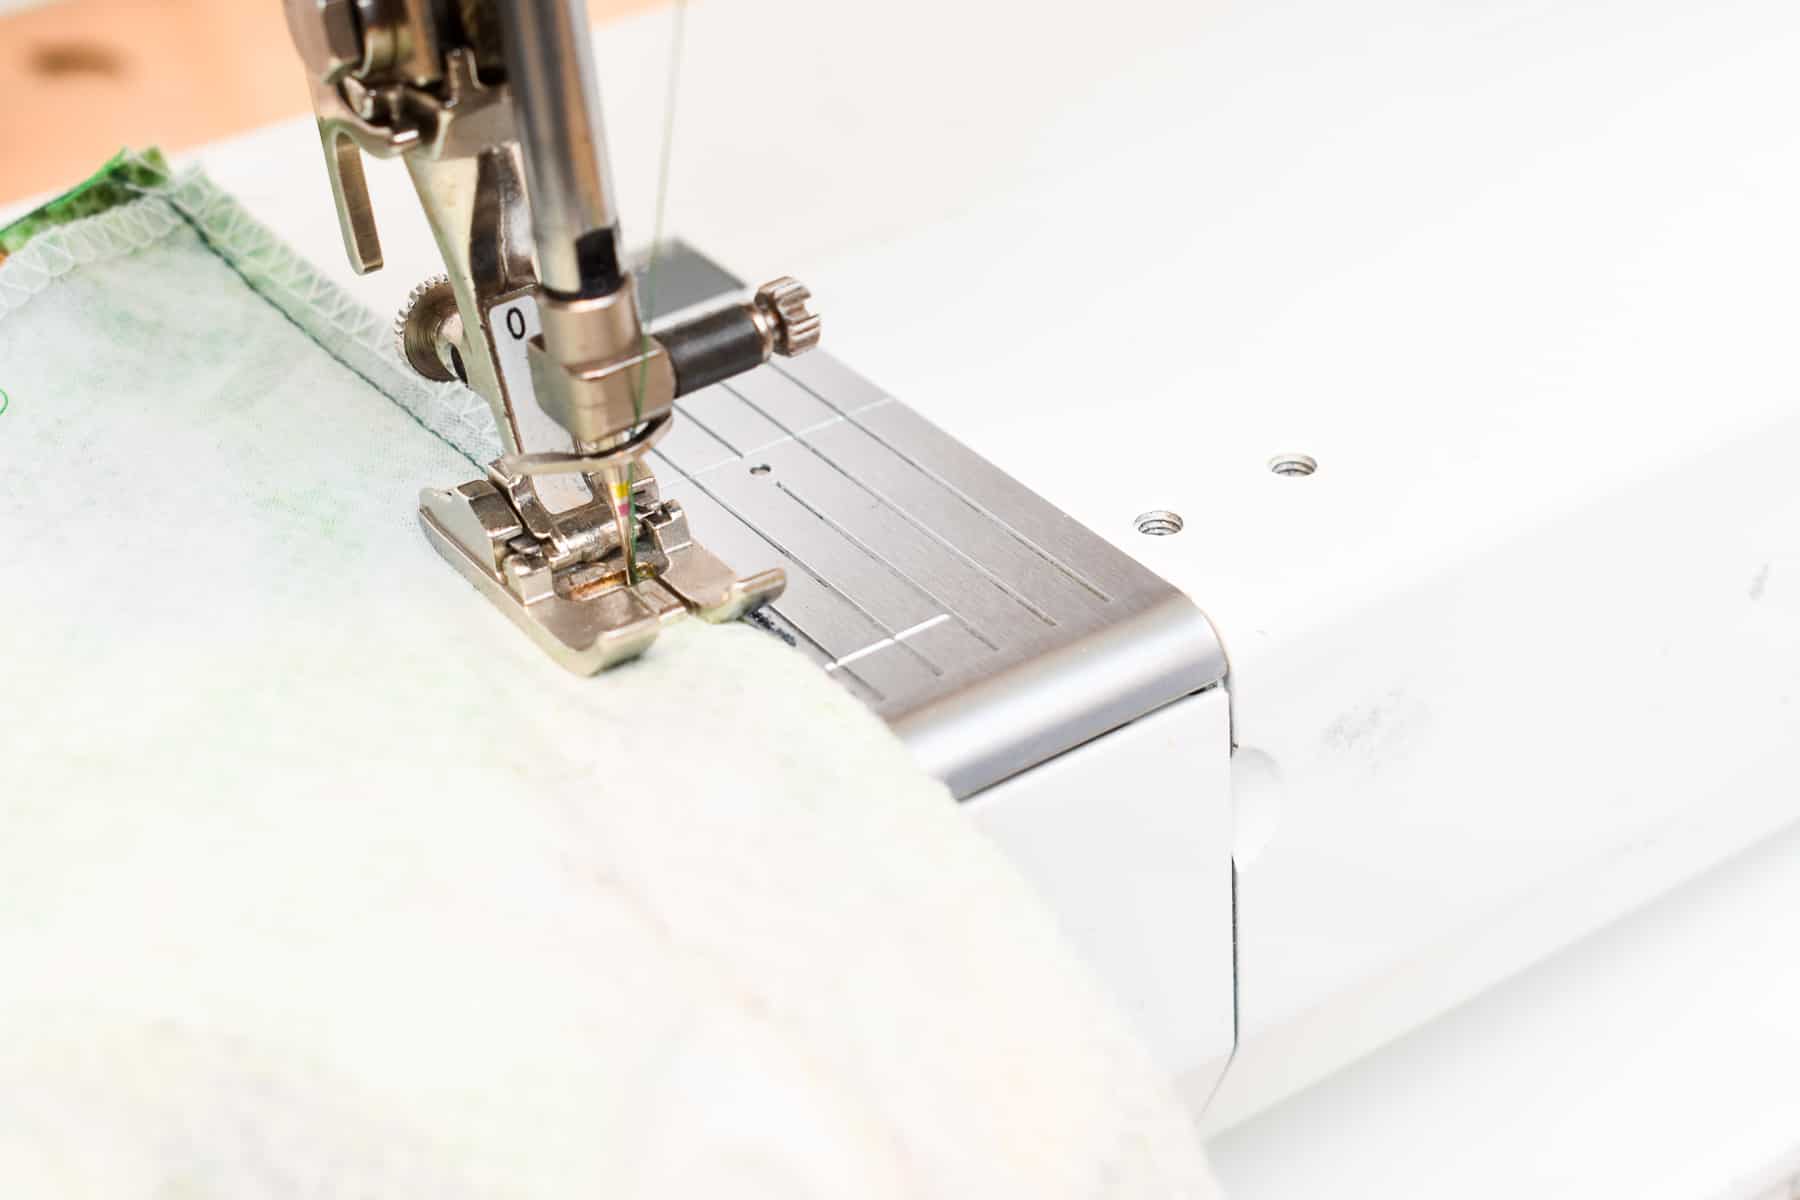
Sew the welt.
The stitching should be as long as the opening, don’t sew the entire welt! Make sure you follow the markings and that you sew exactly in the middle of the welt. You can put needles outside the seam area to keep the welt in place.
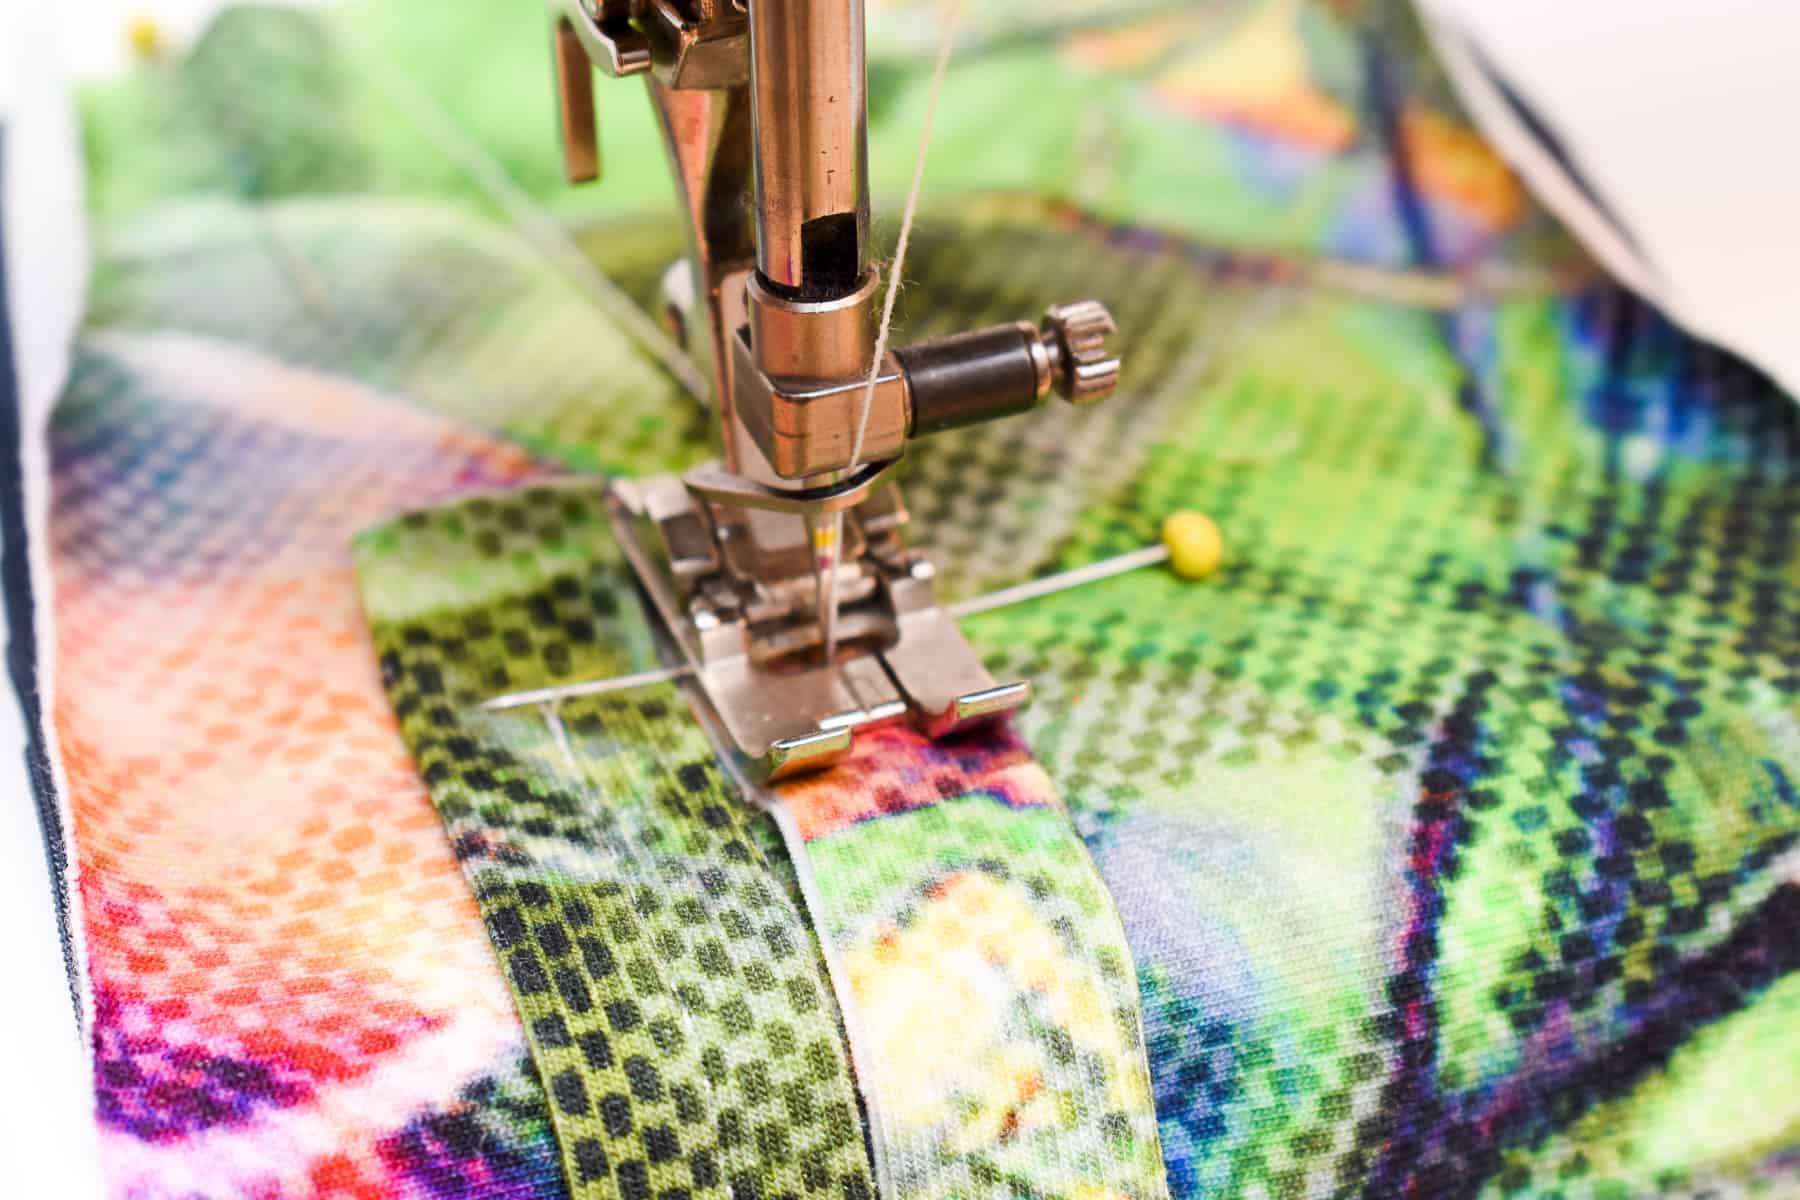
Stitch the second welt on the fabric.
The exact same way you did on the first. The beauty of this method is that you don’t need any additional markings since welt one will guide were welt two will be placed. Make sure the stitch is straight and on the middle of the welt.


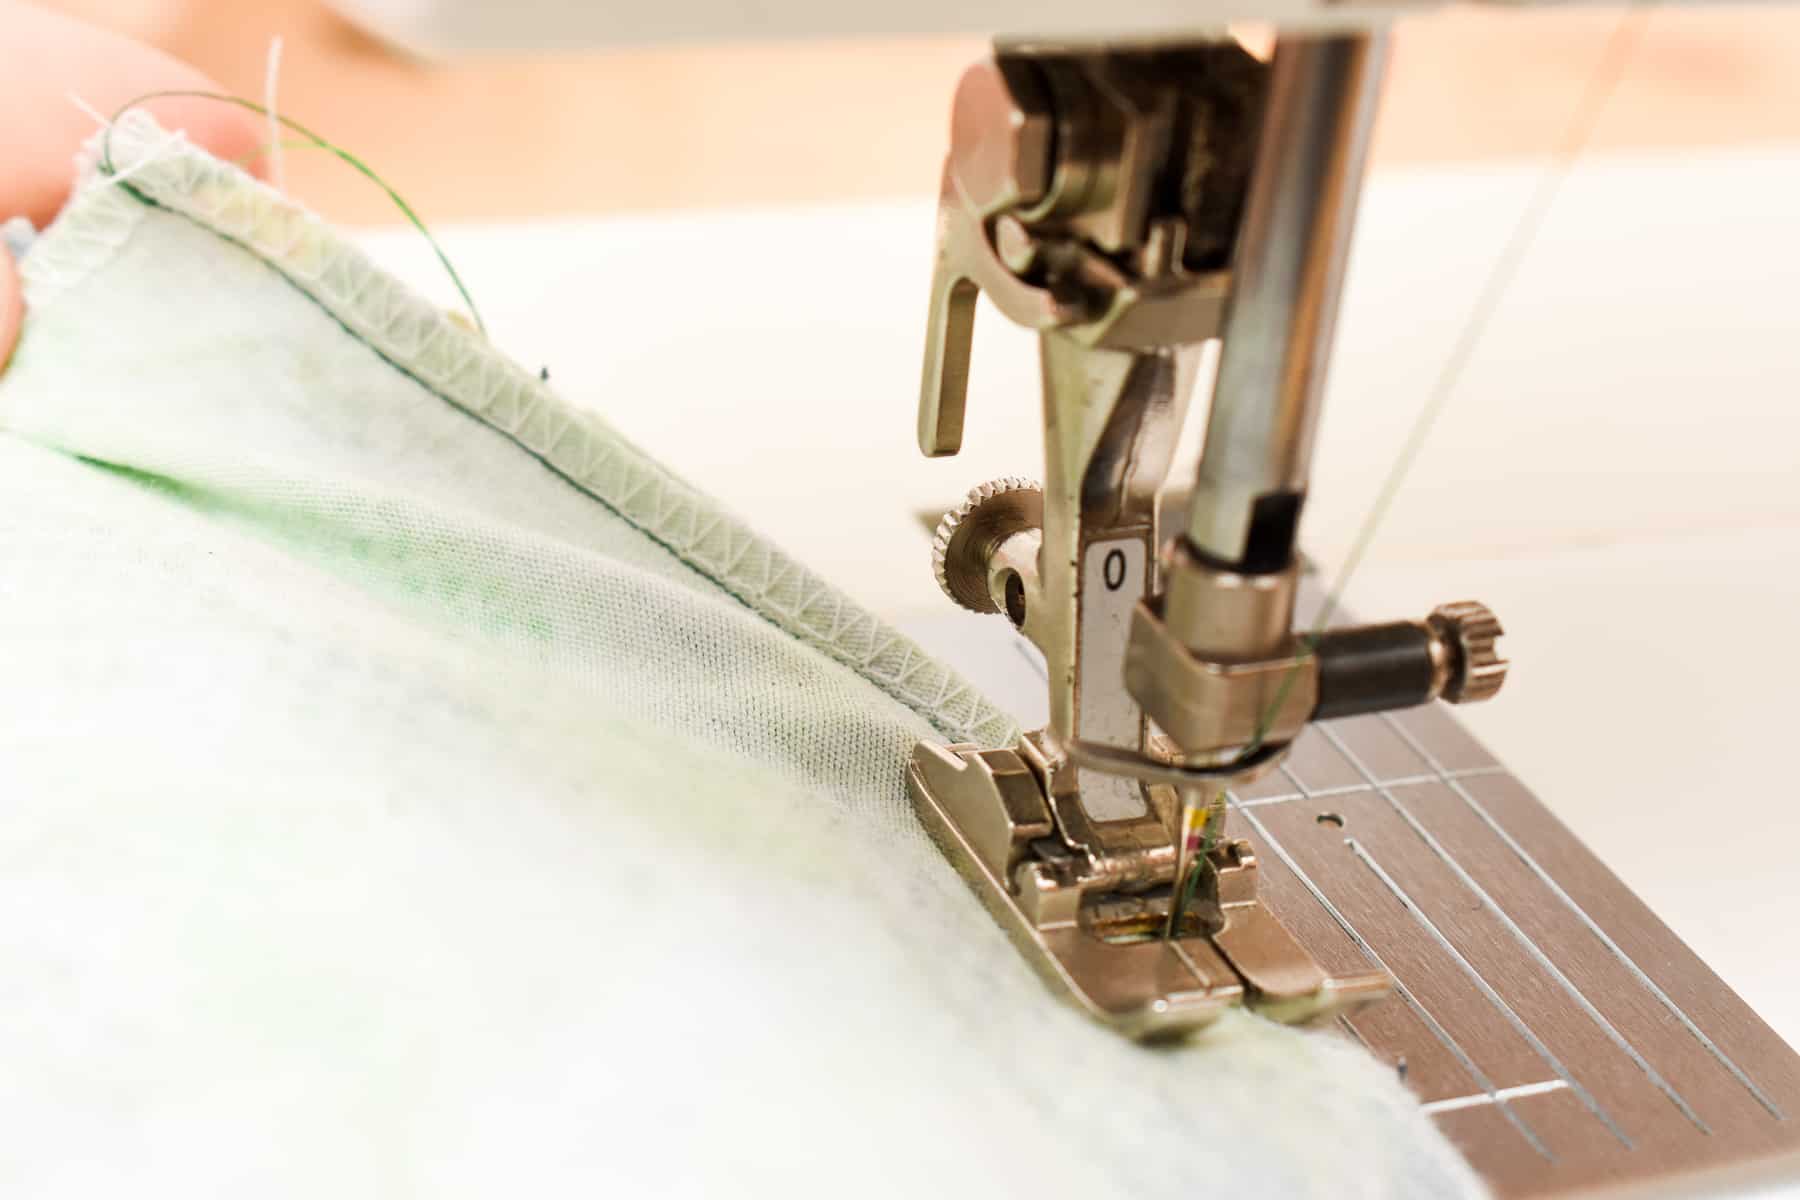
Cut the opening.
Mark triangles in the corners. Then cut a straight line in the middle and then to the diagonal in each corner to create triangles at the ends.

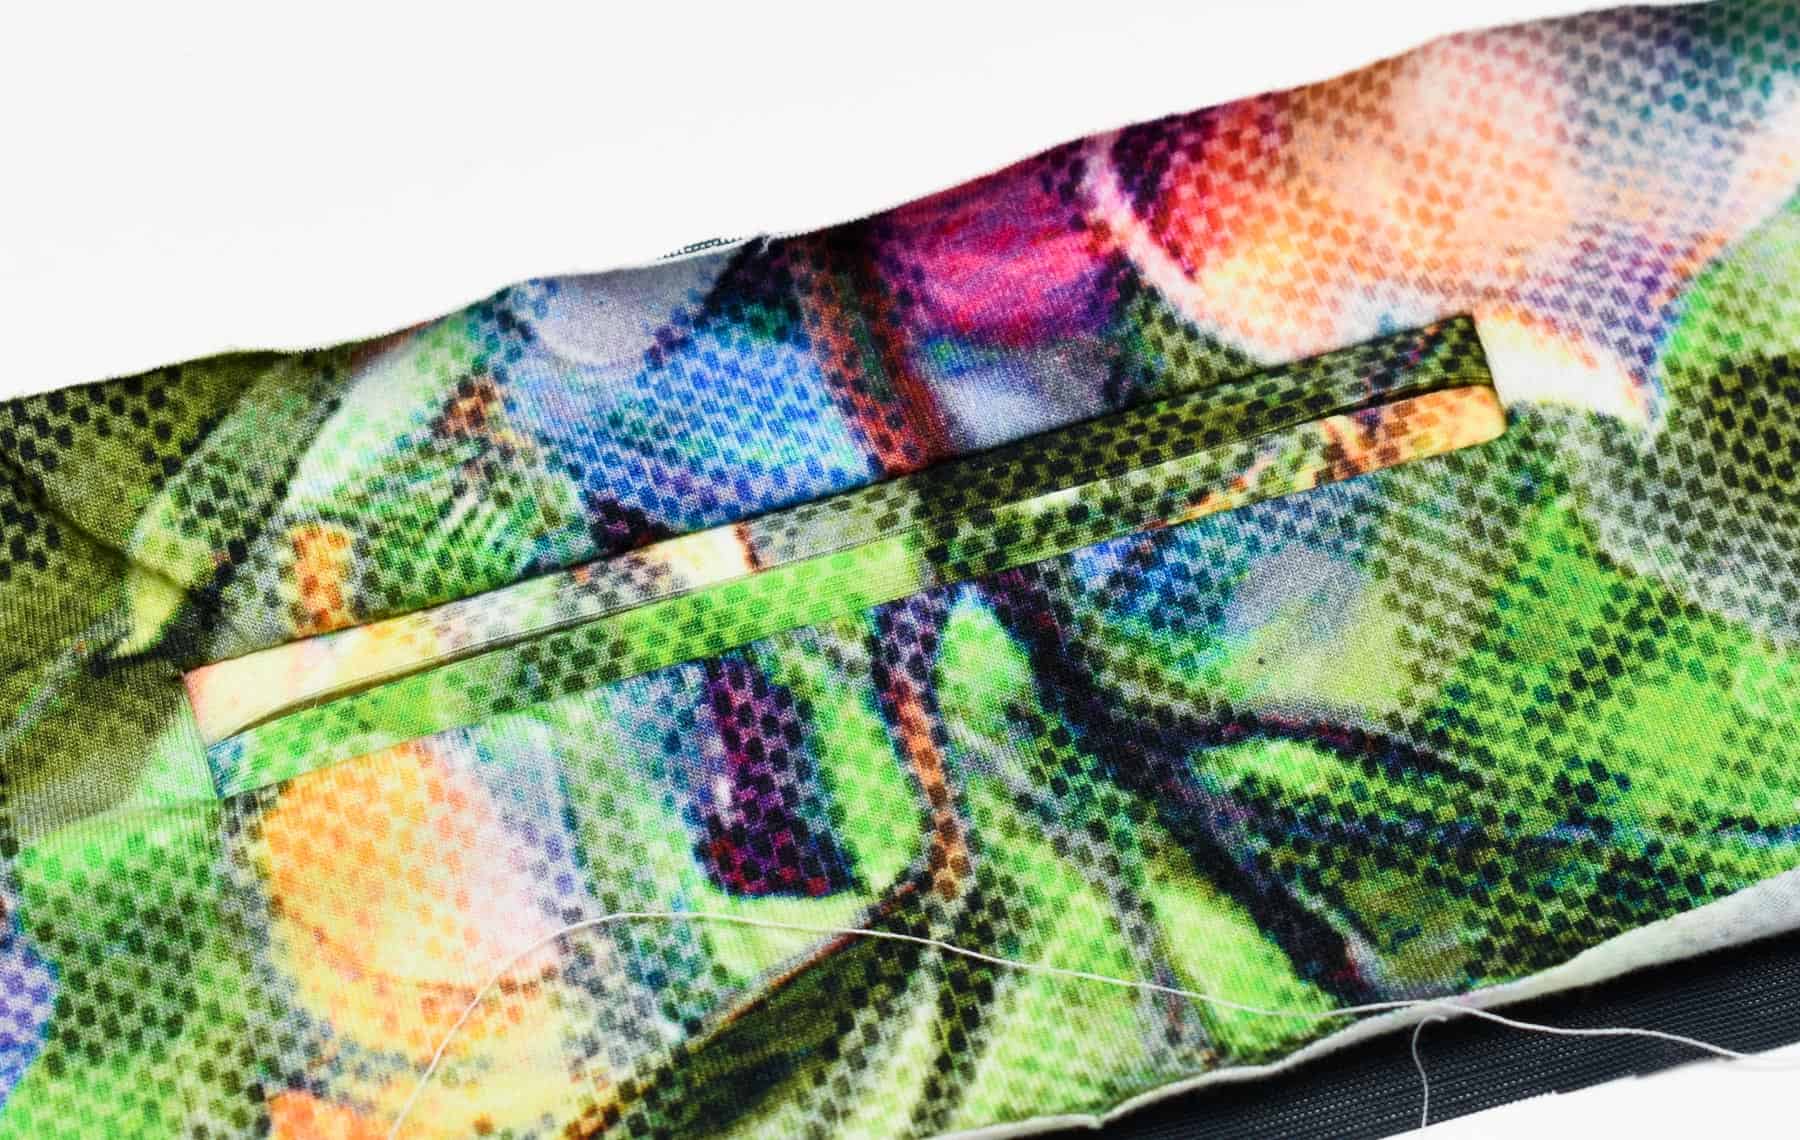
Flip and turn the welts.
Notice how nice and even the welts look, even on super stretchy Spandex knit.
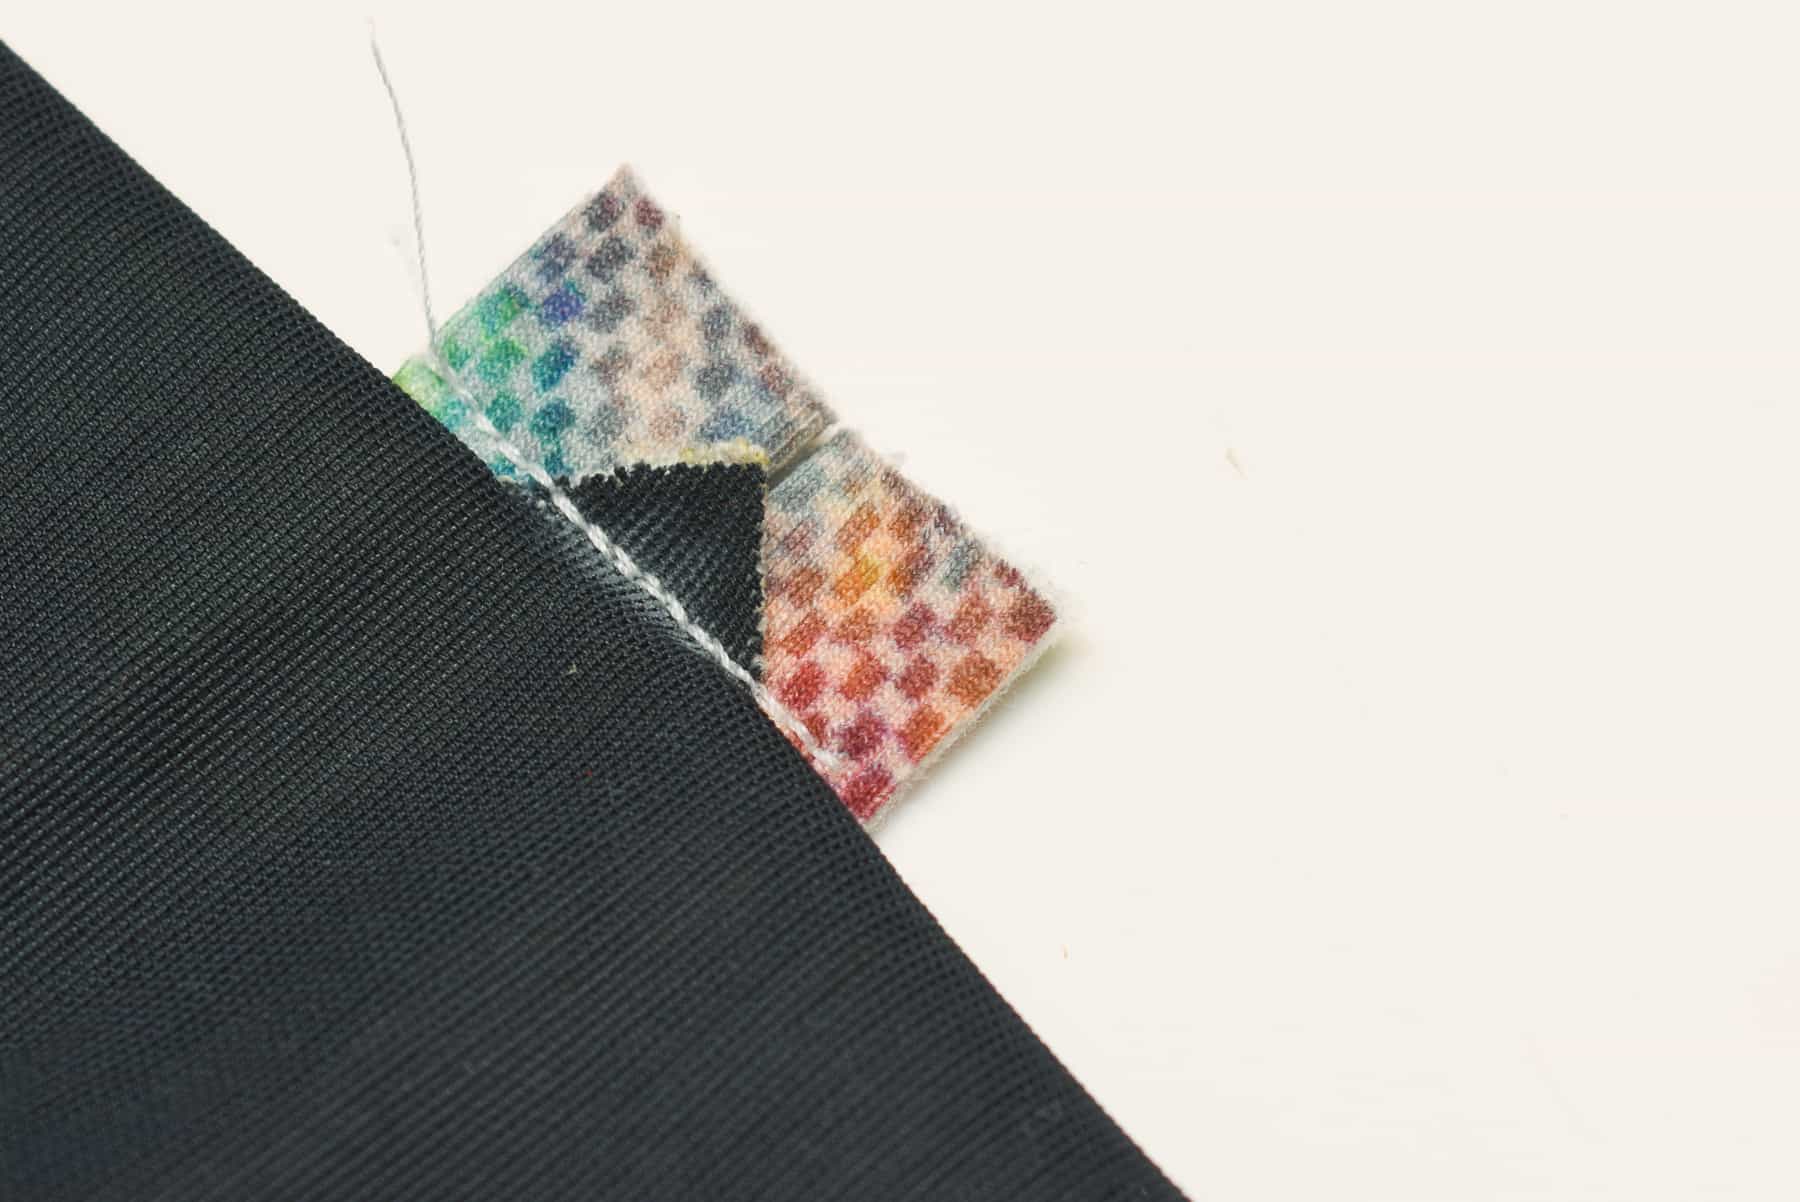
Sew over the triangles and the welts.
This final step will secure the opening.

Edge stitch the welts from the outside.
You can use a regular straight stitch since the fabric is already stabilised by the welts.
Step 2. Construct the pocket
Here you have several options:

1. Topstitch the back waistband to create a pocket space.
2. Add seams in the back to create a pocket area. Some leggings sewing patterns already have this back seam design feature.
3. Add a pocket piece to construct a proper welt pocket. Which is what I will show you next.
How to sew a welt pocket

Cut the pocket piece. It should be a rectangular fabric that is as wide as the welt strips and long enough so that edge of the folded pocket will be encased in the waistband seam. I like to overcast the fabric to keep it from curling, but it is not necessary.
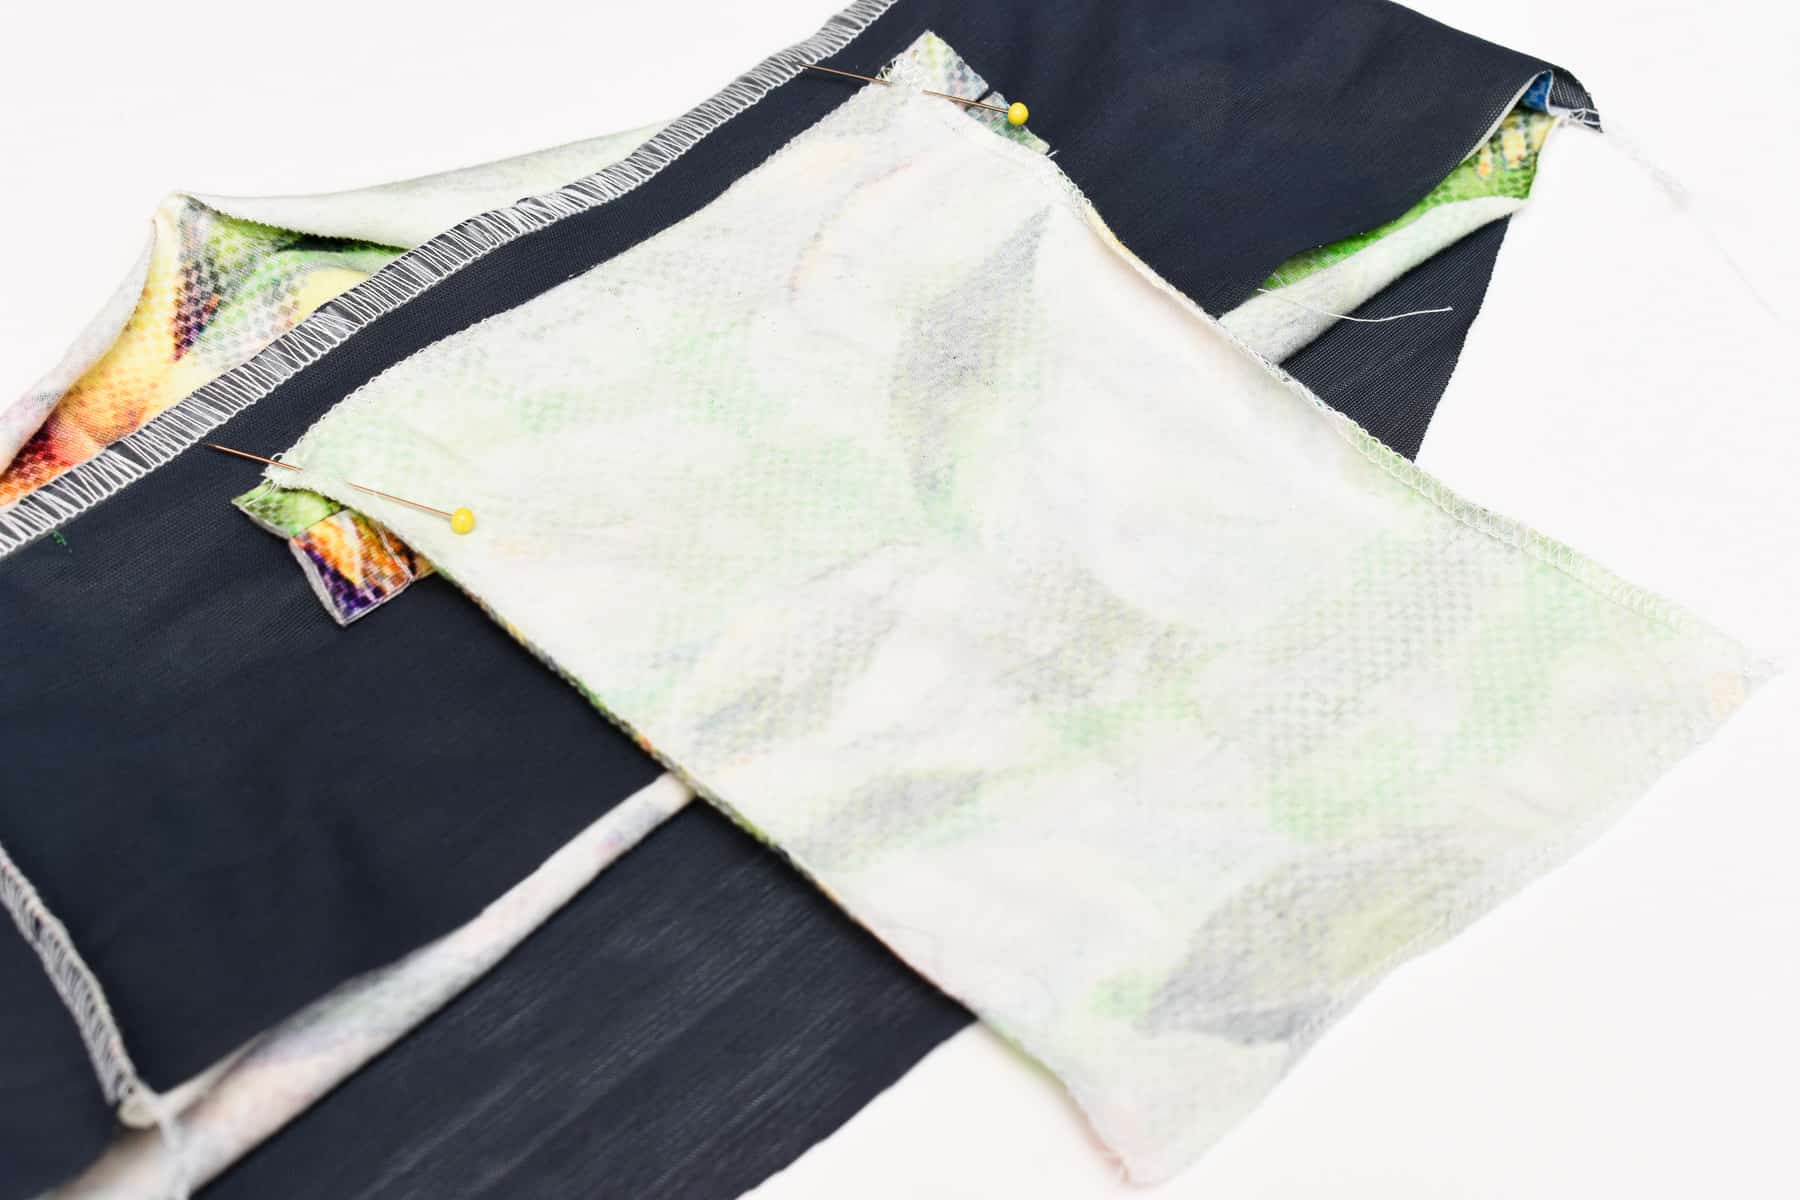

Stitch the pocket to the upper welt. Fold back the waistband, to make sure you only stitch on the welt. The pocket piece should align with the edges of the welts, but I didn’t have enough fabric left!

Stitch the pocket to the lower welt.


Stitch the side seams of the pocket. Fold back the waistband and sew over the welts and the triangle.

Attach the waistband to the leggings. I like to enclose the pocket pouch in the waistband seam so that it doesn’t flop around.

The finished waistband pocket. Lots of steps, but in reality very straightforward to make and hard to do wrong I think. This could be an option if your leggings pattern lacks a waistband pocket and others options overwhelm you.
In my book Sewing Activewear: How to make your own professional-looking athletic wear, I also show two ways to sew a zipper pocket and also how to add a waistband pockets the traditional industrial way with an opening in back the waistband seam.

8 Comments
Myra
What a great tutorial Johanna! I do enjoy having packets on my activewear! Thank you so much for sharing!
Johanna
Happy to hear you like it, we do need the pockets on activewear, It bugs when clothes don’t 🙂
Chris Griffin
Love this! I think I’ll add them to both sides of a yoke. Two pockets!
Johanna
Excellent! That is a great idea!
Mimi
Fun and pretty!
Rebecka
Great tutorial!
Comments are closed.