
Zippers can be intimidating to sew. However, with the right sewing order and techniques, sewing a zipper onto your pants is actually easier than you think. At least if you use the method that is standard practice in the garment industry. So in this tutorial, I’ll walk you through all the steps to properly sew both a lapped pants zipper and add a fly shield, just like a pro.
Notions for sewing a fly pant zipper
- A closed bottom zipper with plastic coils.
The zipper should be at least 2.5 cm (1″) longer than the fly opening. I recommend YKK zippers (Amazon affiliate link). - Fusible lightweight interfacing.
I recommend using Vlieseline 405 (Amazon affiliate link) or similar light, but not flimsy interfacing. - Tracing chalk that is easy to remove.
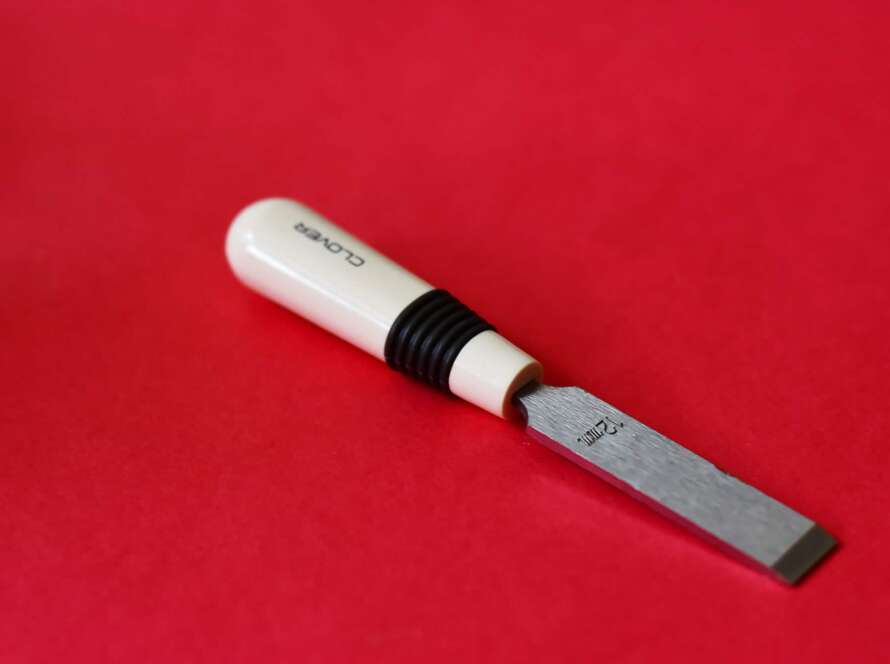
I used the white Clover Chalco liner (Amazon affiliate link) for this tutorial. It’s usually great for markings but did find it a bit hard to remove on this particular fabric. - A regular presser foot.
Yes, you don’t need to use a zipper foot with this tutorial, which is one of the reasons why this method is so great! - Hand sewing needle for basting.
Preparing the pattern

On most patterns for trousers, the extension is already added. But with this method, one side should be trimmed down to about 1″ (2.5 cm). If needed also draft a fly shield, the shield should be slightly longer and wider than the extension to fully cover everything.
Get the fly pattern pieces for free!

Does your pattern lack the above pieces? No worries, you can get the pattern pieces for free by signing up below. A printable PDF file will be sent to your email address.
Notches
On most patterns, there are already notches marked as the illustration above shows. But if not, add these:
- Mark the fold line for the extension at the waist
- Mark the seamlines at waist level on both pieces.
- Mark where the zipper opening should begin on both pieces.
Should the zipper be placed left or right?
The placement of the fly zipper on a pair of pants comes down to both tradition and personal preference. Generally, men’s pants have a fly zipper on the front left side, while women’s pants have a fly zipper on the front right side. But just do you!
Interfacing and overcasting

Add interfacing to the curved extension. If the fabric is very soft and supple add interfacing to the trimmed extension as well as the fly shield.
Overcast the edges as shown in the illustration. You can skip overcasting the waist, as it will be enclosed in the waistband and won’t unravel.
Sewing a fly front zipper
Don’t sew the front and back legs together before adding the zipper. Instead, this method is done on the flat, which makes inserting the zipper so much easier.
Sew the front crotch seam
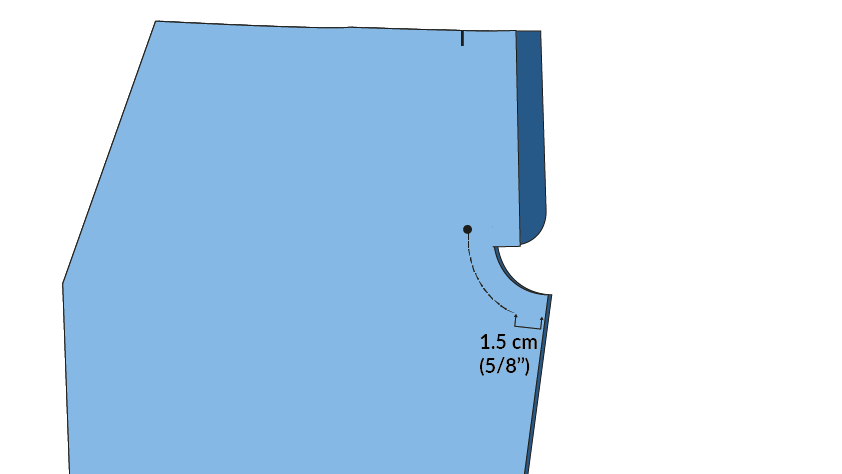
Place the front pieces together, right sides facing. Stitch from the inseam to the zipper opening, but start at where the seam allowance ends, usually 1.5 cm (5/8″) away from the fabric edge.
Leaving part of the seam open will make sewing the legs together much easier. If you find this fiddly, just make the opening a bit longer. Remember to backstitch properly, especially at the zipper opening.
Fold and press the extensions

The wide curved extension should be folded where it begins (use the waist notch as your guide).
The trimmed extension should be folded in half so that there will be an overlap, i.e. a lapped zipper (see below).

The overlap. The trimmed extension should be overlapping about 1 cm (3/8″).
Pin zipper to trimmed extension
Attach the zipper along the trimmed extension. The zipper pull should be facing down.

Line up the zipper band edge and the extension edge.

The zipper stop should ideally end at or just below the zipper opening (at the crotch seam). If it’s too low you’ll run into problems later on when topstitching the zipper.
Stitch the zipper to the extension

Attach the zipper by stitching it close to the zipper tape edge. That way you won’t need to use a zipper presser foot, since you are sewing away from the zipper coils.
Fold back the zipper

Press the folded edge in preparation for topstitching the folded edge. Again the fold doesn’t have to be super close to coils. If you place the fold slightly away from the coils, you can use a regular presser foot for this step.
Topstitch the zipper

I like to start from the bottom, but it depends on which side you place the zipper.

The finished topstitching. Notice the distance between the fold and the zipper coil, that’s the trick to use if you don’t want to switch to a zipper foot.
Sew the fly shield

- Overcast the long edges. Fold the shield in the middle, right sides facing.
- Stitch the bottom curve. You can also sew the long edge but it adds a lot more bulk.
- Turn the shield with the right sides facing out. Press the curve if needed.
Attach the fly shield

Place the fly shield over the trimmed extension, and align the edges. The zipper shield be long and wide enough to cover both the zipper and the curved extension,

Attach the shield by stitching it close to the edge. I prefer to attach it after topstitching, so you don’t have a lot of room to sew, but it will be enough.

The finished fly shield.
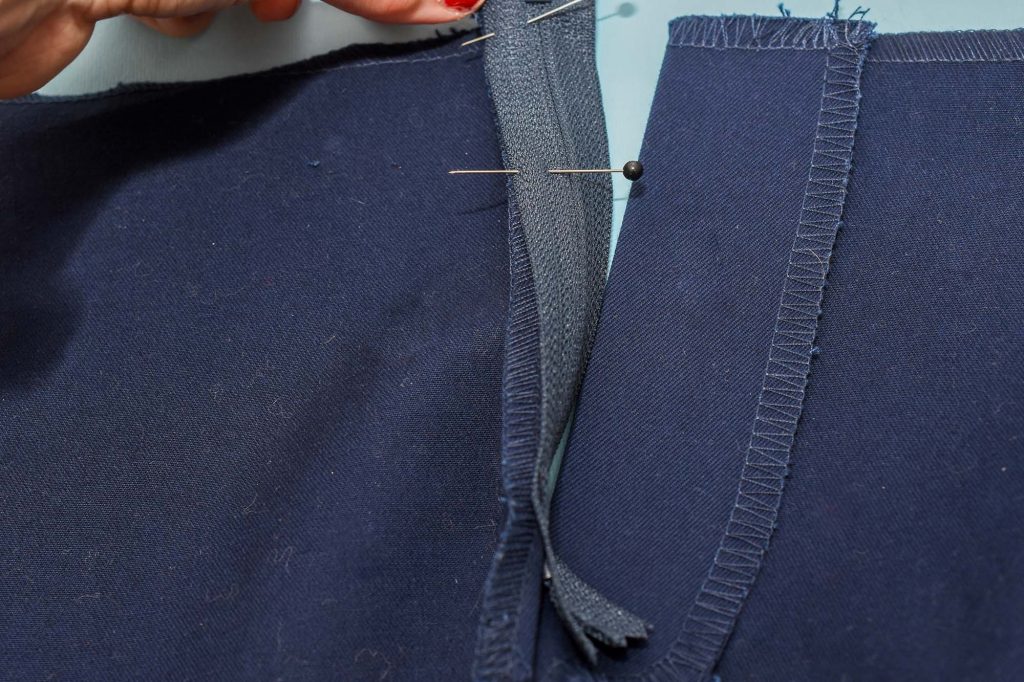
Align and baste the lapped top layer

Align the top layer to match the seamline notch at the waist.
Baste together the open part of the crotch seam. This will make topstitching the zipper much easier.
Mark the fly zipper stitching line

Draw a stitching line with chalk. When drawing the stitching line, you need to follow these two rules:
- The line must be placed so you sew over the zipper tape, otherwise the zipper won’t be attached. Ideally, the stitching line should be towards the outer edge of the zipper tape.
- The curve should be placed below the zipper stop and run over the zipper ends. If you place the curve too close to the zipper stop you will sew into it, and ruin the entire stitching.
If you download the pattern tool kit you’ll get a printable template for drafting the stitching line.
Placement of the stitching

Here you can sew how the stitching line should be placed on the zipper tape. The stitch should be placed.
- Over the zipper tape.
- Close to the edge.
- Below the zipper stop.
Fold away the fly shield before stitching

Fold back the fly shield and pin it in place. You shouldn’t stitch over it when doing the topstitching.
Stitch the zipper

Topstitch the zipper, starting from the top. Stop at the crotch seam, and backstitch to secure. For extra safety, you can do bar tacks along the crotch seam to reinforce the seam. But on dress pants, it’s usually not required.
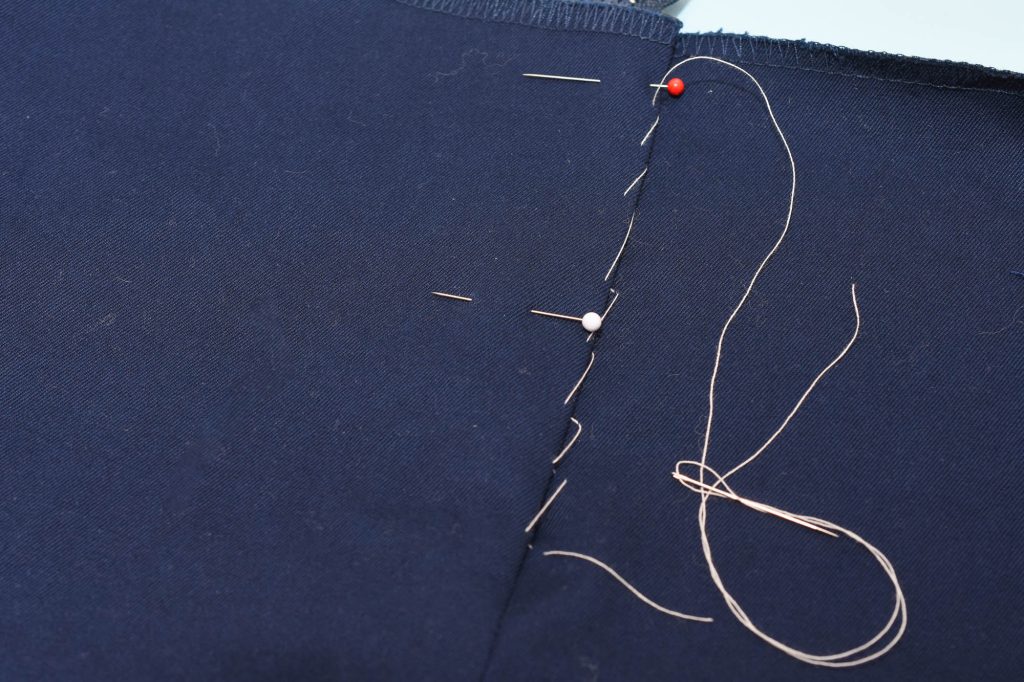
Remove the basting thread

This is pretty much the final step. Trim away the extra zipper before attaching the waistband.
Attach the fly shield to the extension

Attach the lower edge of the fly shield to the extension. You can do this by hand or by doing a few bartack stitches on the machine. This will prevent the fly shield from getting folded and flapping back and forth.
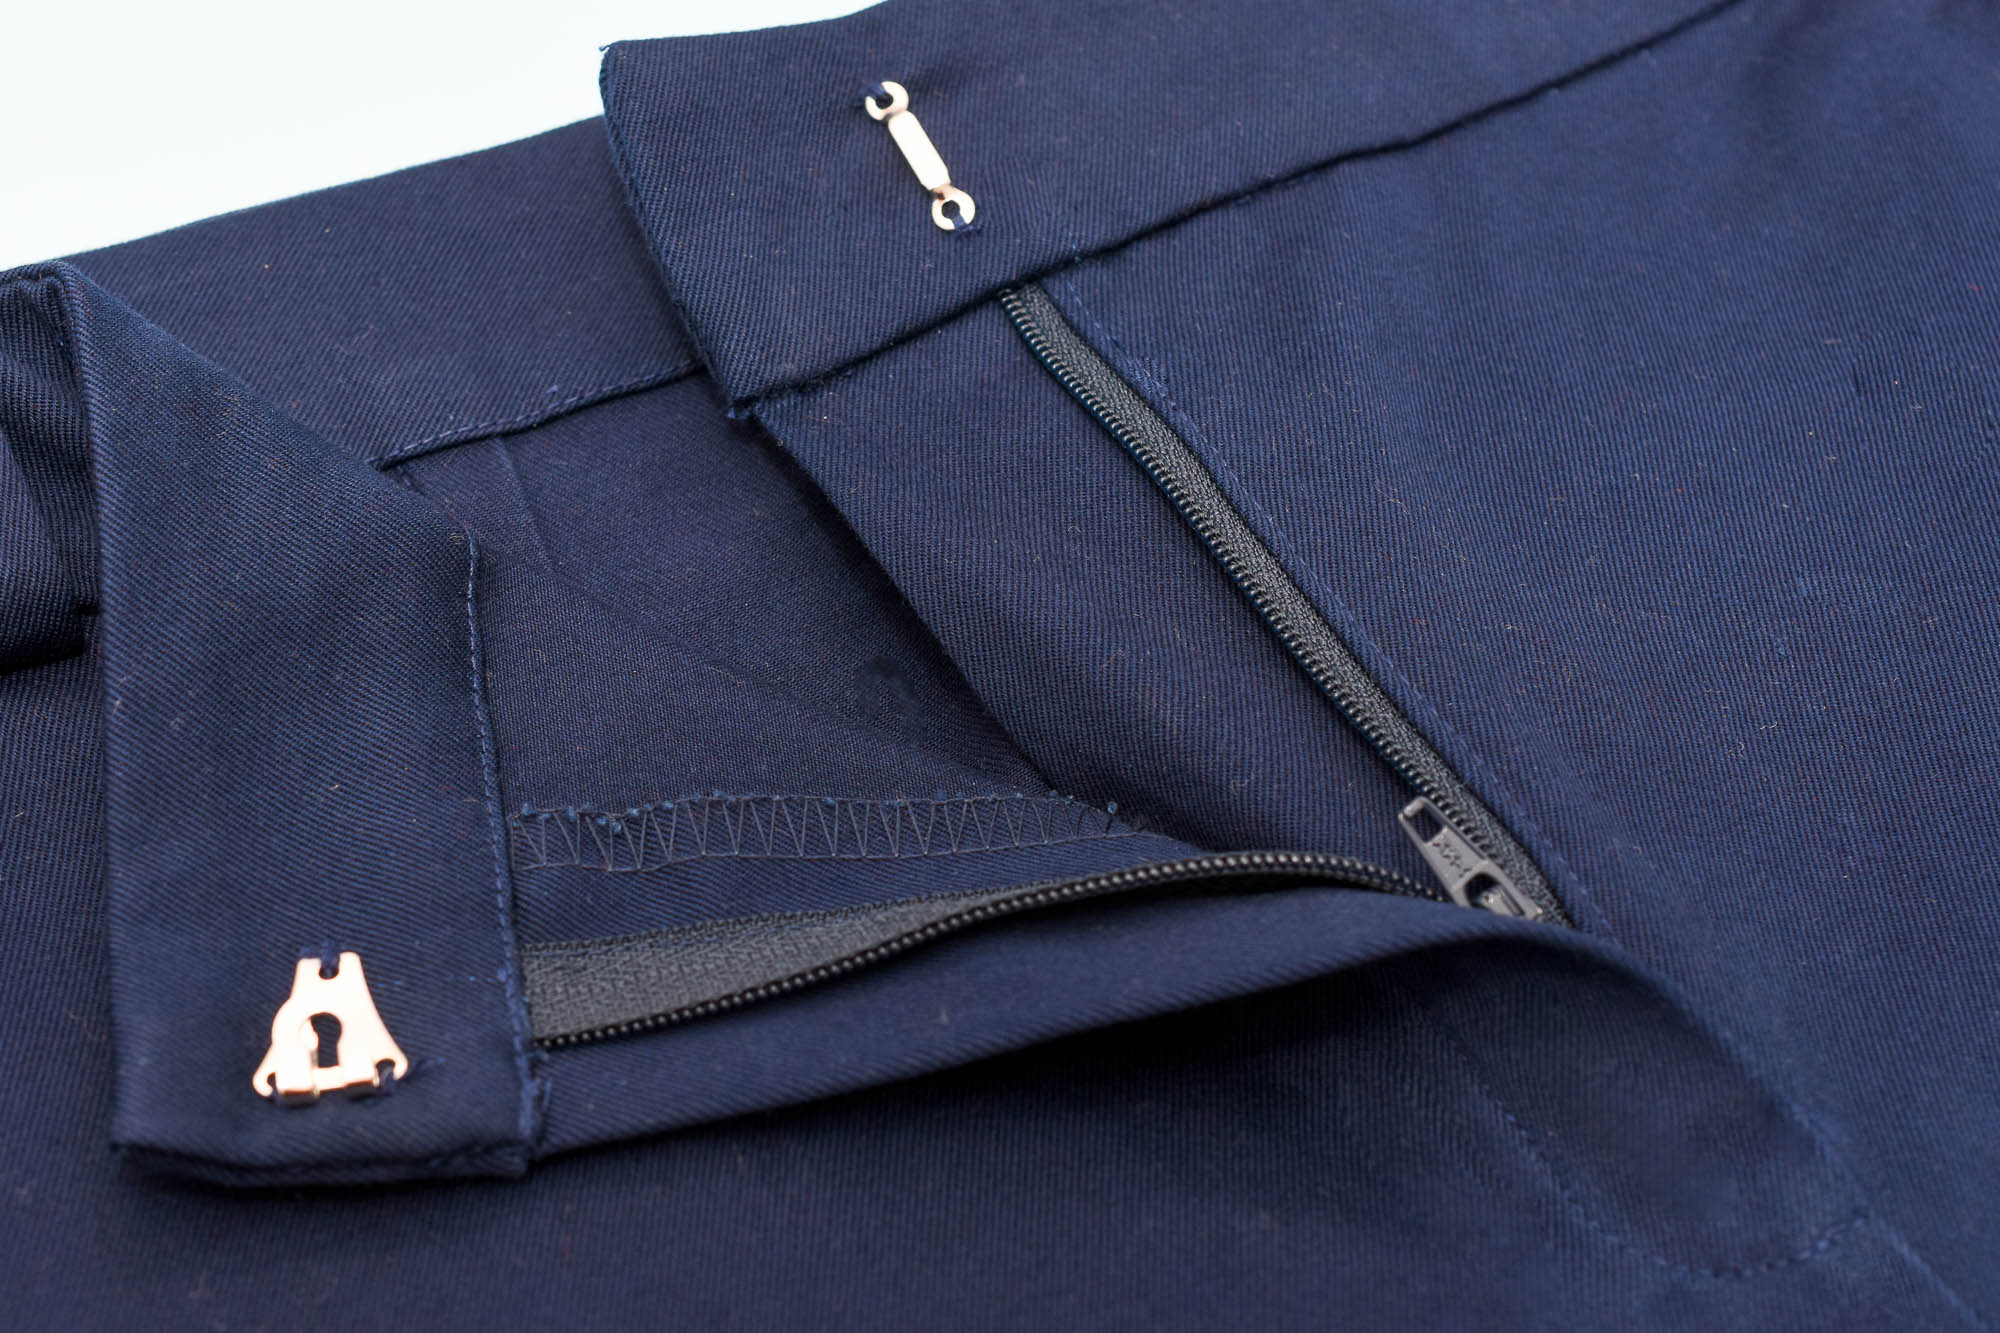
The finished zipper. See how neat it looks!
Sewing order for the crotch and side seams
After inserting the zipper sew the pant legs like you normally would.
- Sew the front and back inseam together. The seam should align at the opening of the front crotch if you stopped at the seam allowance (see step 1). If you find this fiddly, just make the front crotch opening a bit longer.
- Sew the outer side seams
- Then sew the rest of the crotch seam. Start from the open end of the front crotch and sew towards the back.
Optional sewing order
Another option is to use the garment industry method. If you do this you can close the front crotch seam opening, sewing all the way to the edge.
- Sew the back crotch on the flat (just like the front)
- Sew the inseam in one continuous seam, starting from one leg opening, and going all the way to the other leg opening. Make sure the front and back crotch seams align.
- Sew the outer side seams


1 Comment
Comments are closed.