
Some home sewing patterns make sewing the front pockets on pants overly complicated. Instead, I prefer to use a method inspired by a garment industry method that provides a smooth silhouette without gaping or the lining showing through. Plus it´s very easy to sew.
Why this method is excellent
By combining light lining fabric with small garment fabric extensions and eliminating several seams you’ll achieve a pocket that lies flat even on tighter-fitting pants or if you have a fuller tummy. Note that this tutorial is for slanted pockets, but with some tweaks, it could be done for other pocket types too.
You’ll need
- Pocket lining fabric
- Scraps from the garment fabric
- Stay tape or interfacing (optional but recommended on less stable fabrics)
- Tissue paper to draft the pocket pattern pieces
Drafting the pattern pieces
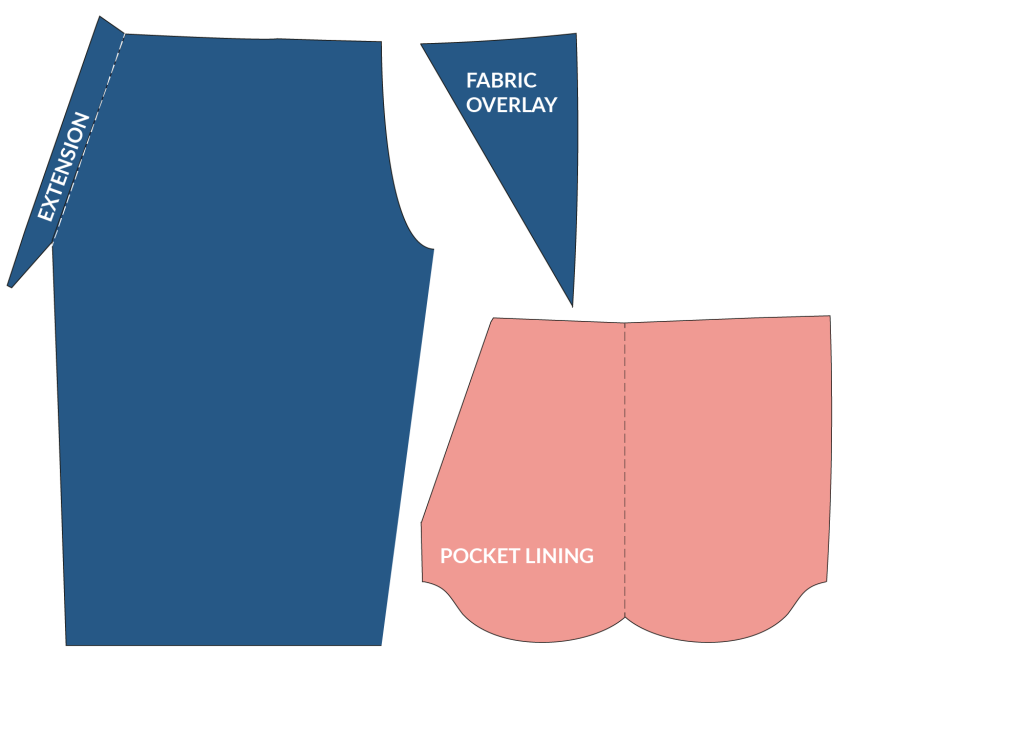
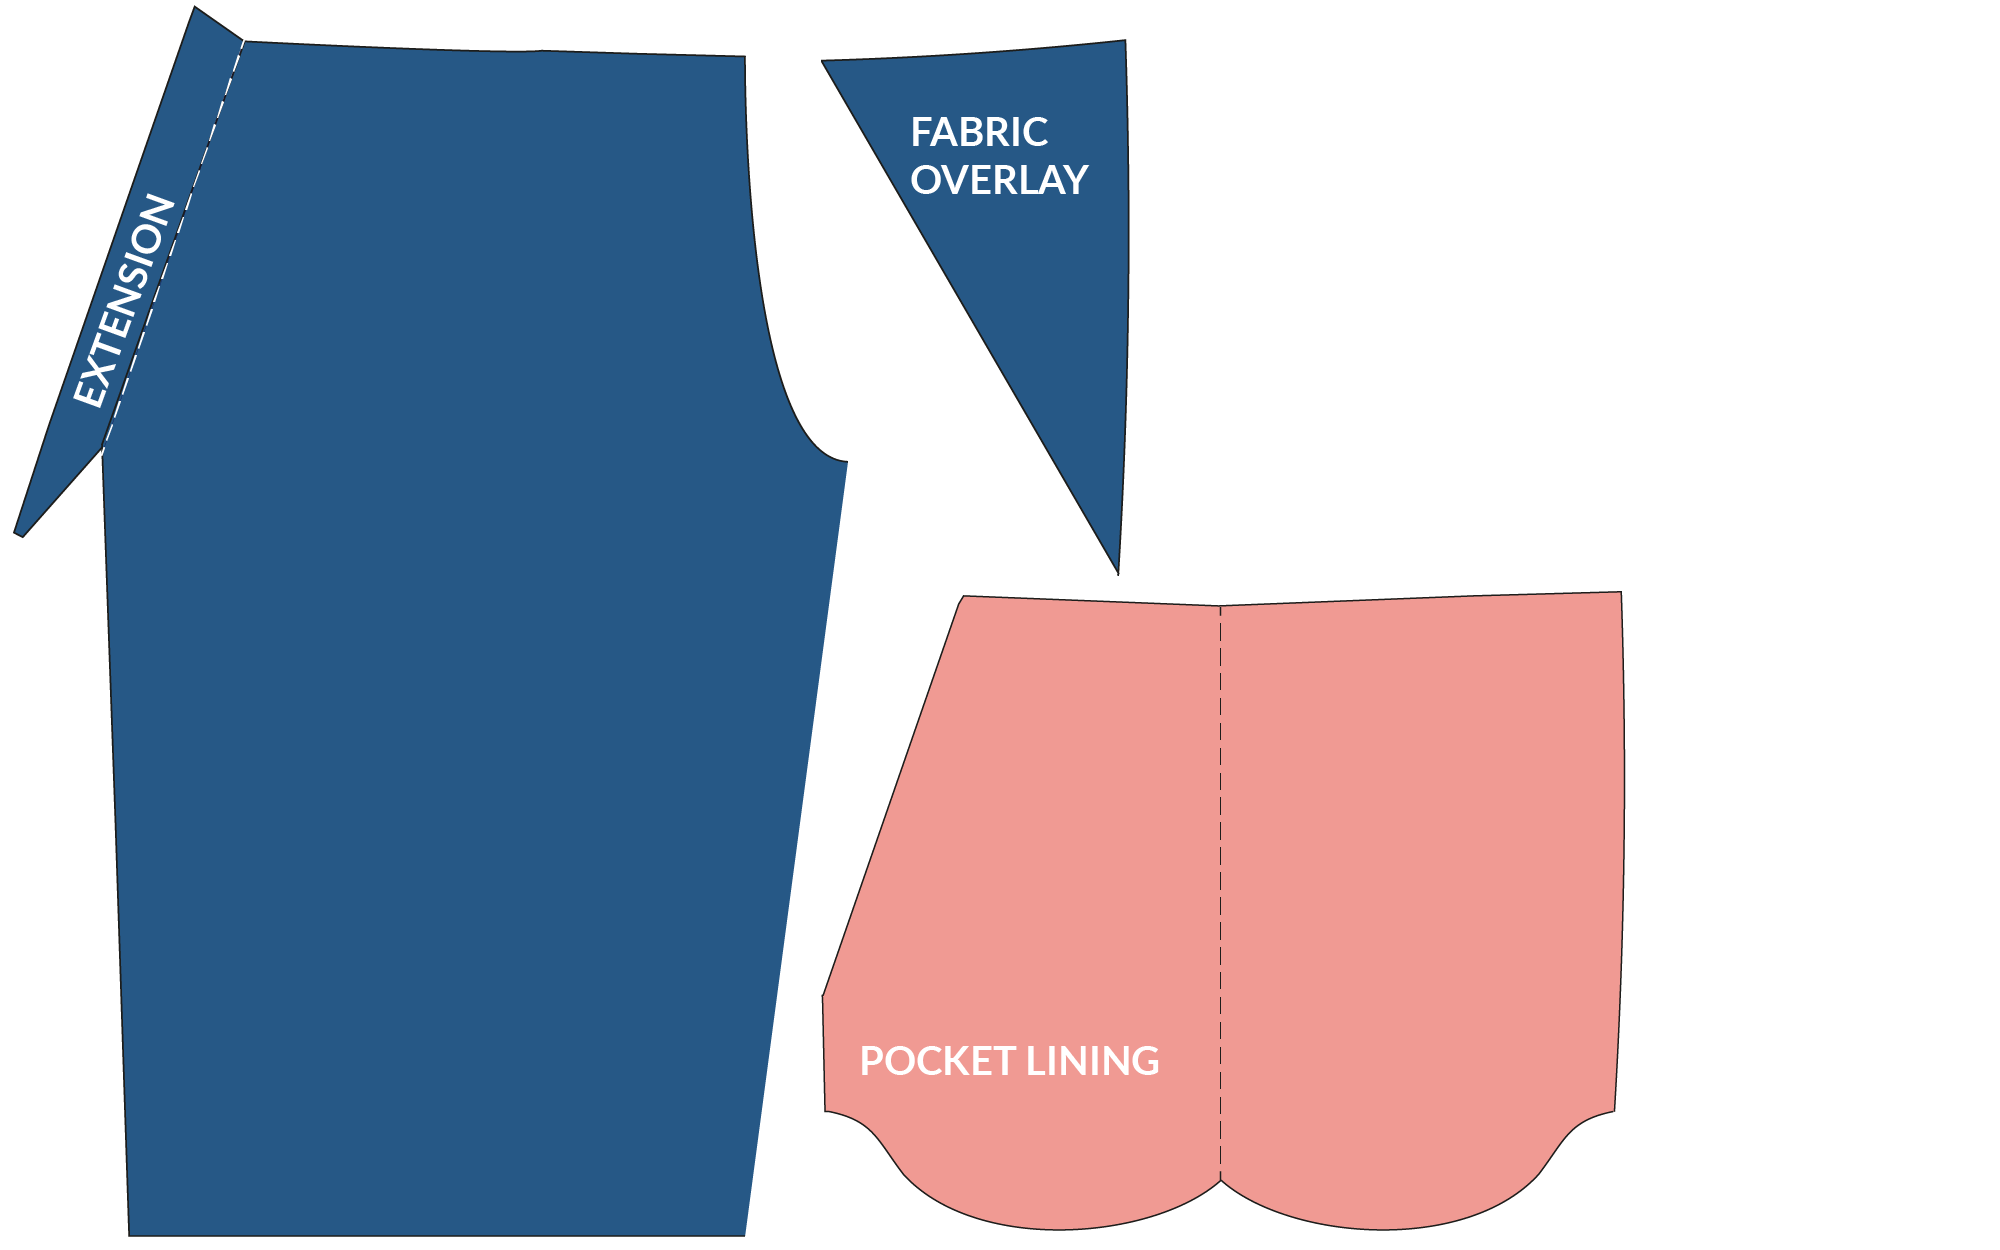
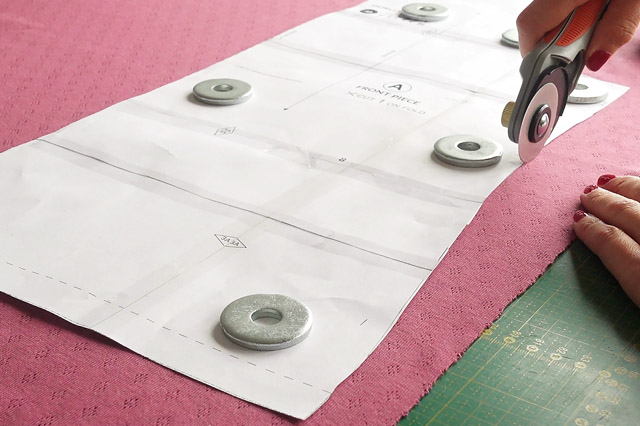
Depending on the original pattern you might need to draft new pocket and extension pieces. Luckily you can use the original pattern and just do some minor tweaks to create the new pieces.
Pocket lining
We are going to make the pocket lining a single piece that is folded in the middle. Removing the seam eliminates chafing and you won’t get an unsightly vertical seam peaking through the pants mid-thigh.
It’s easiest to join the existing pocket pieces to create a single piece. You can also draft a new pattern by overlaying tissue paper on the original pattern.
Pocket facing extension
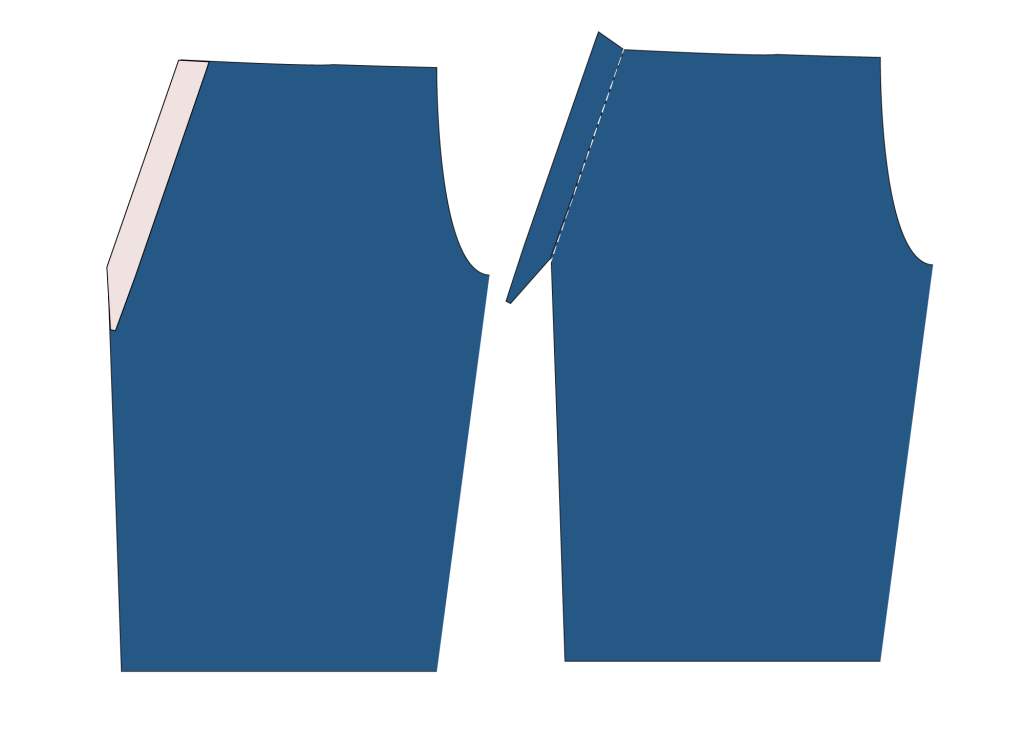
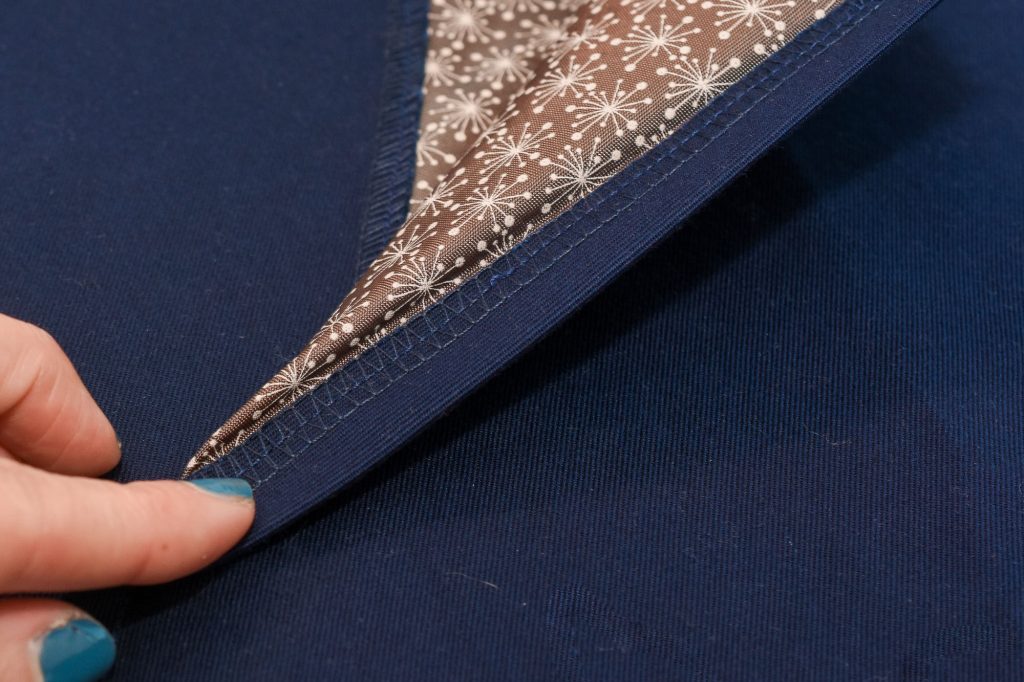
To prevent the front pocket lining from peaking through extend the seam allowance on the pocket opening to approximately 3–3.5 cm ( 1 1/4″). Simply mirror the shape of the front pant pattern piece to create the extension. You can of course make this a separate piece as well and attach it to the front opening, but it adds a bit more bulk.
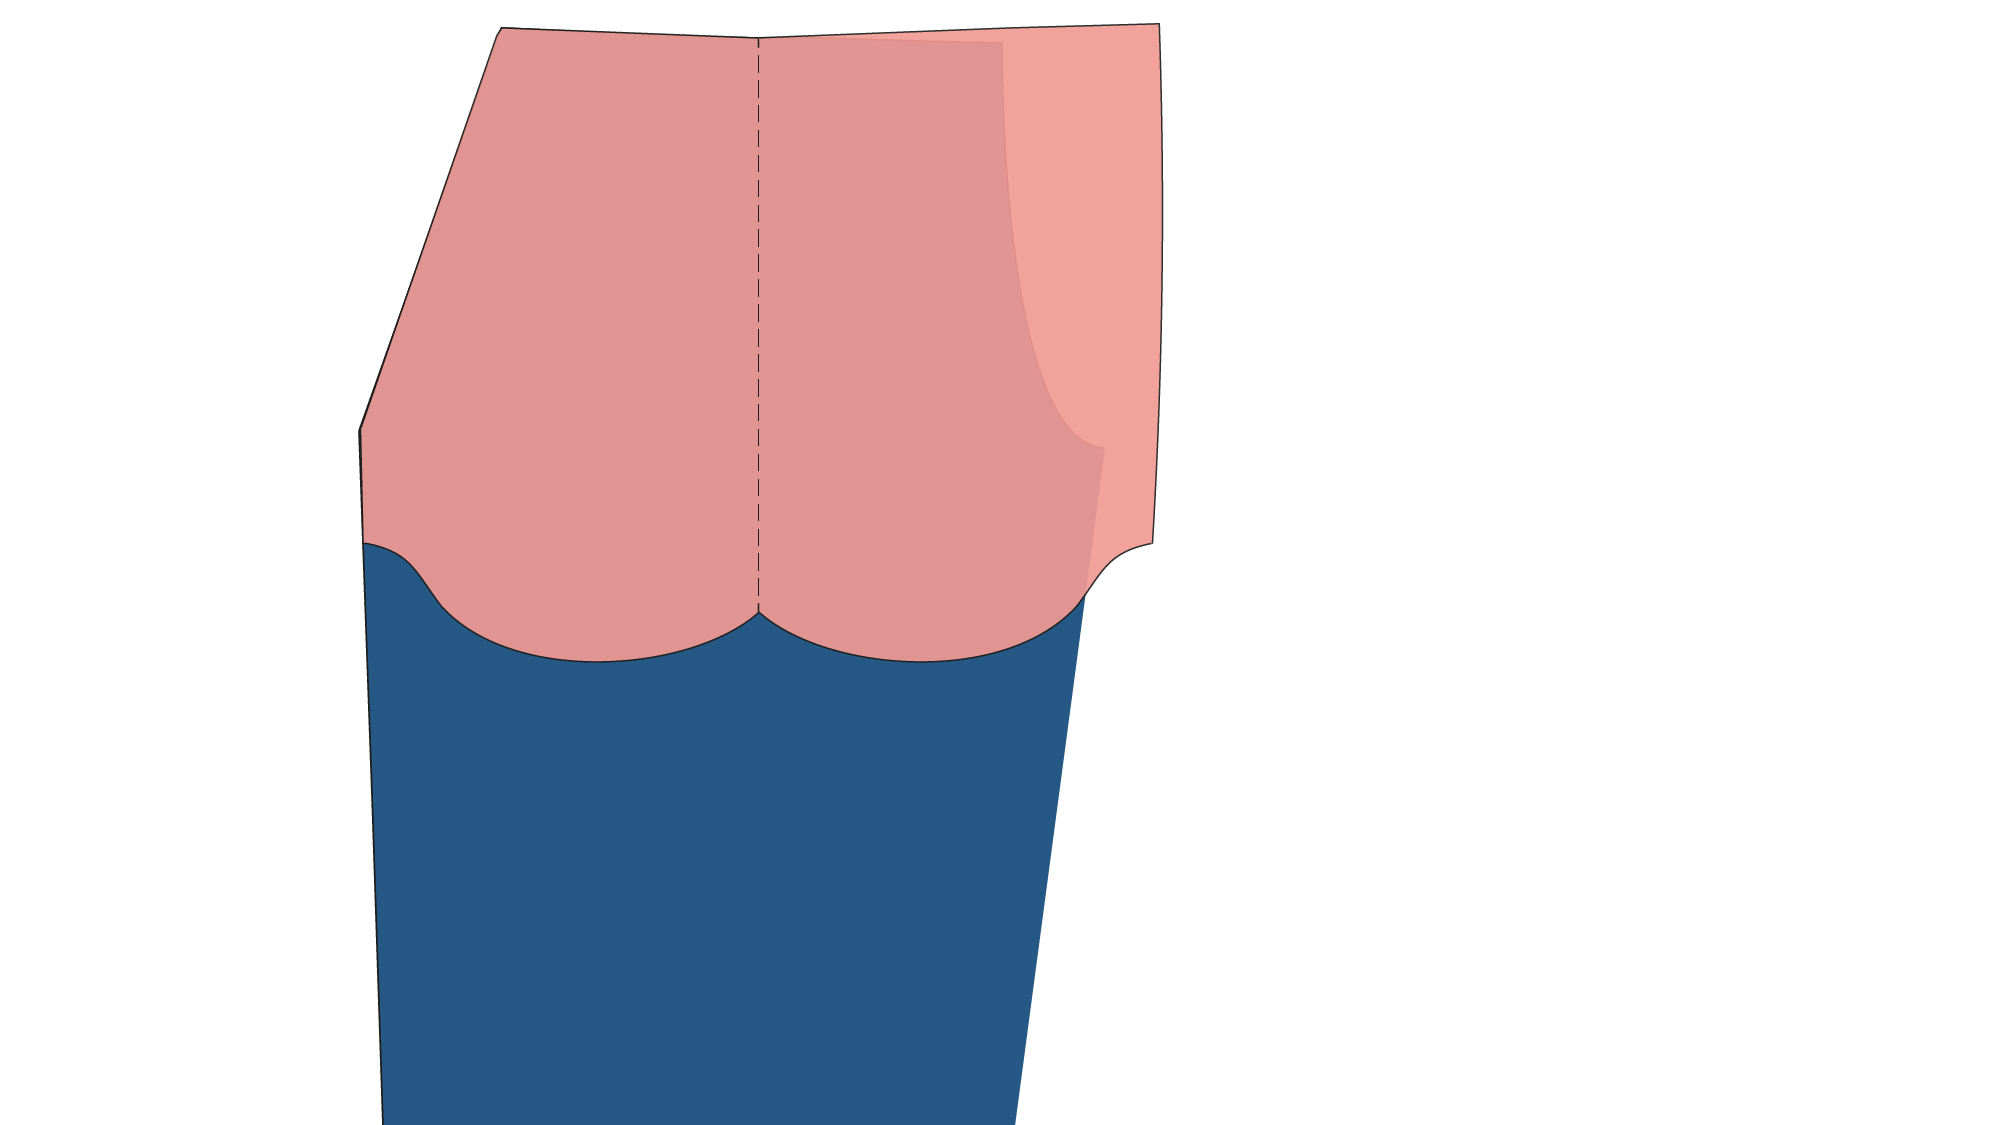
Fabric overlay facing
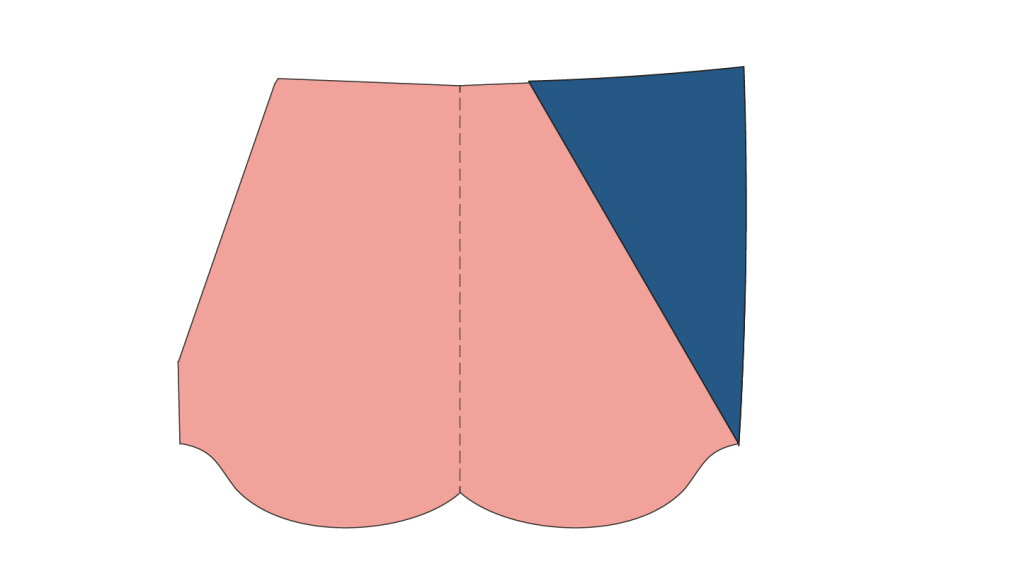
To hide the lining fabric you also need to add an overlay patch on the inner pocket lining. Draft the piece over the pocket lining bag. Extend the top of the overlay about 5 cm (2″) beyond the pocket opening to make sure no lining will be visible.
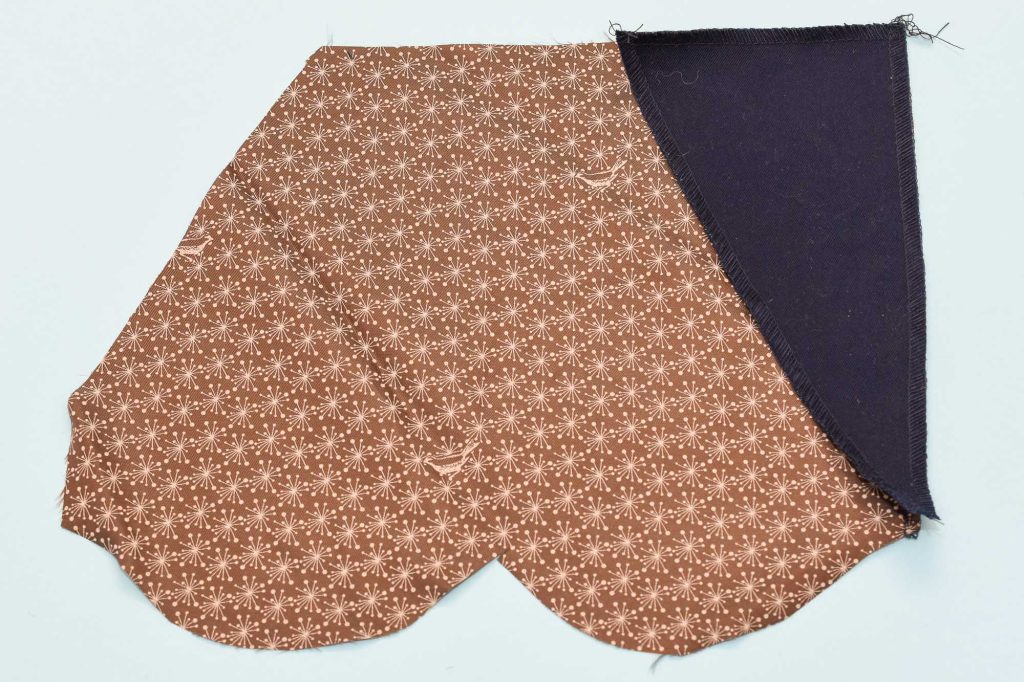
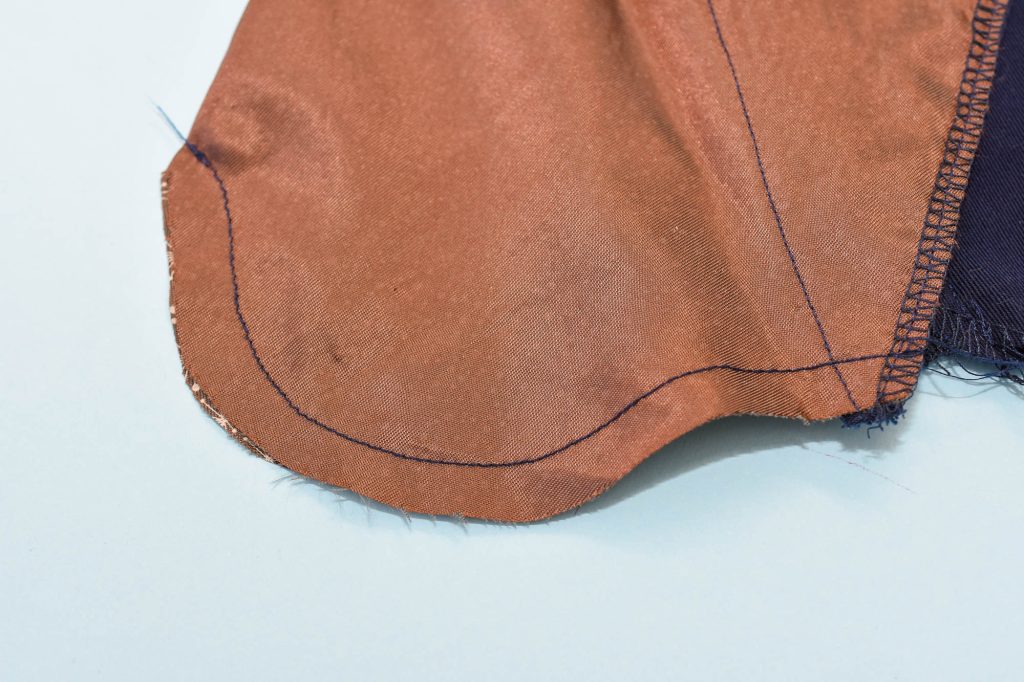
The finished pattern pieces
Sewing
Interfacing and overcasting
Interfacing
For more stability add a strip of interfacing on the reverse side of the extension before overcasting. This is especially important if the fabric is soft or stretchy.
Overcasting
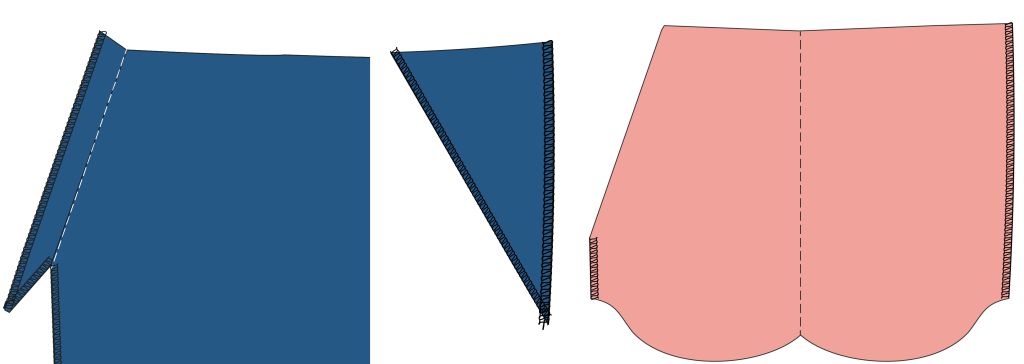
To save time and reduce bulk, only overcast the edges that won’t be enclosed or are finished at a later stage (such as the bottom edge of the pocket lining). But of course, you can overcast every fabric edge too before sewing, the method shown in the illustration here is just a suggestion.
Sewing the pocket
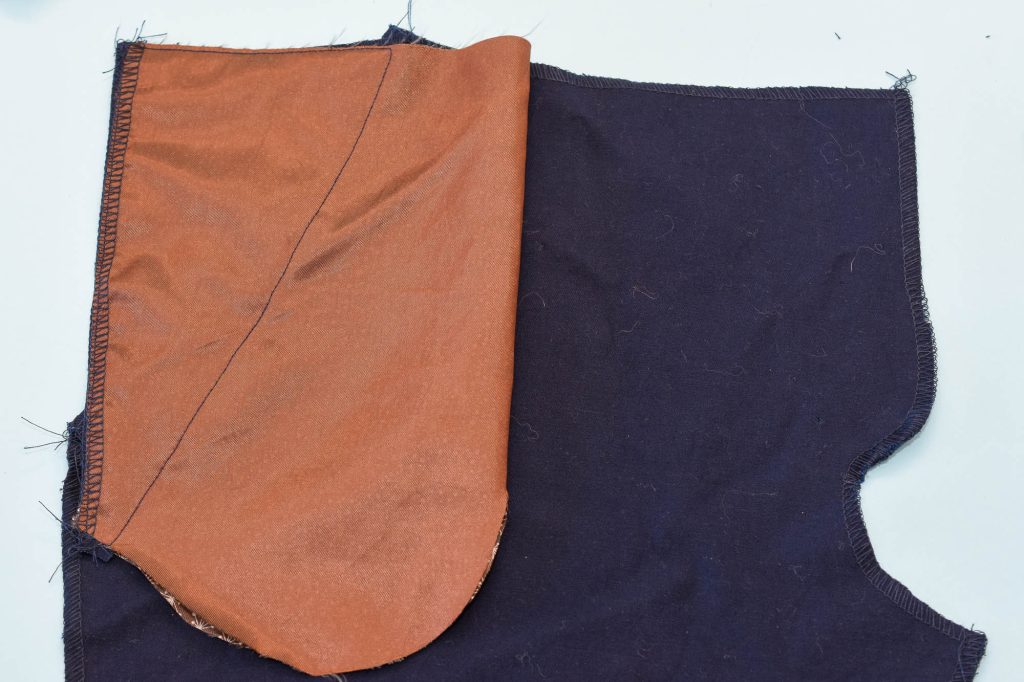
Attaching the overlay
Place the overlay on the pocket lining.
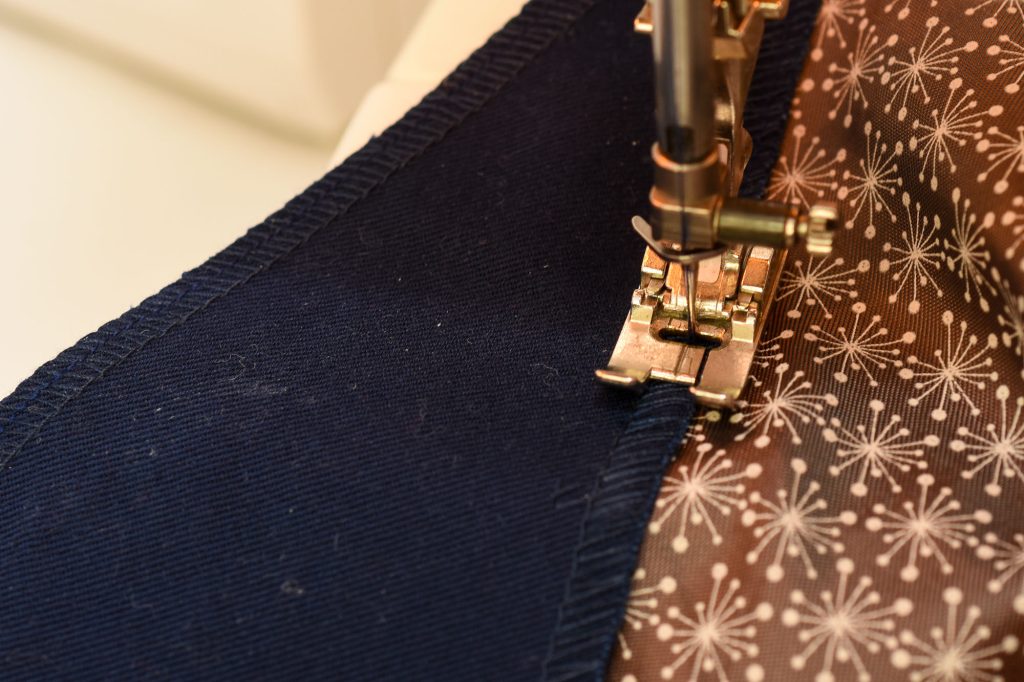
Attach the overlay by stitching close to the edges using a straight stitch.
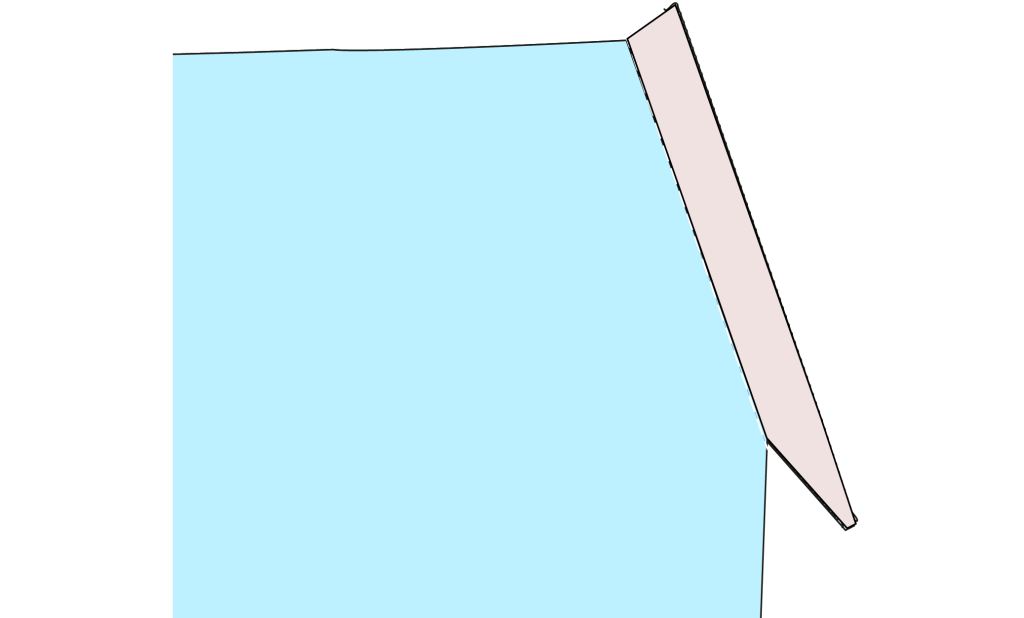
Press in the extension
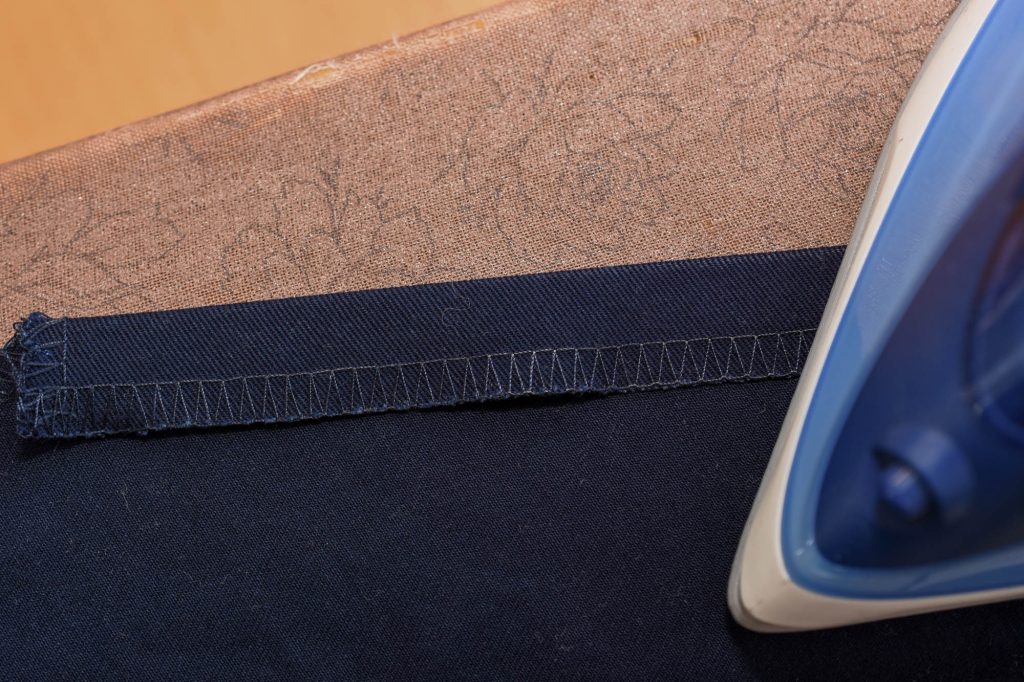
Fold in the extension along the pocket opening line. Press with an iron.
Insert pocket lining under extension
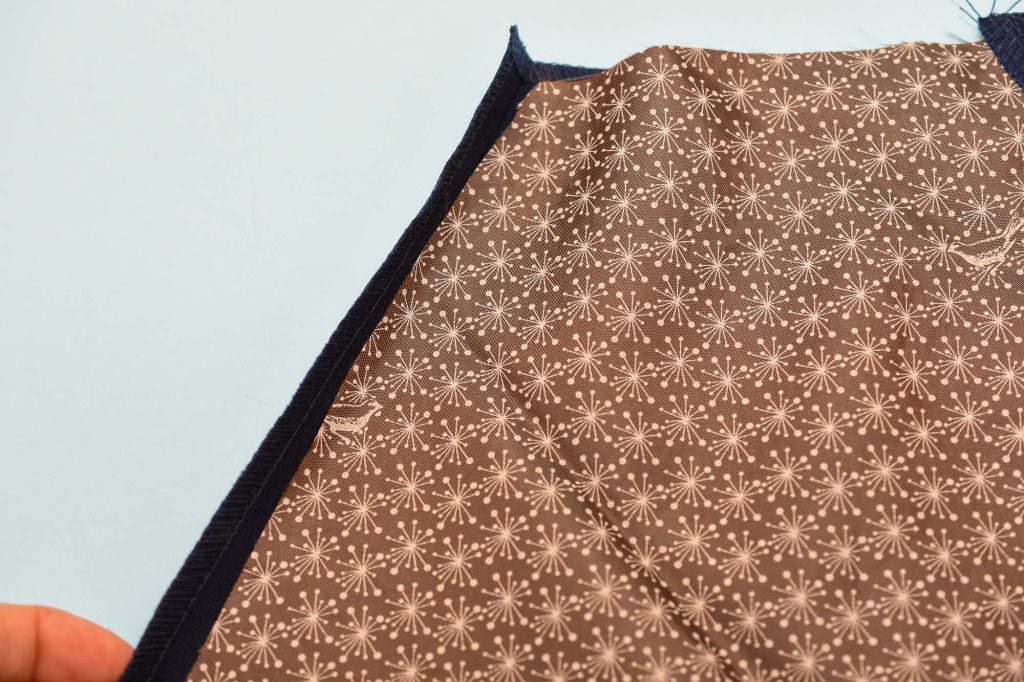
Slide in the pocket lining at the folded line of the extension. Make sure it aligns exactly all the way.
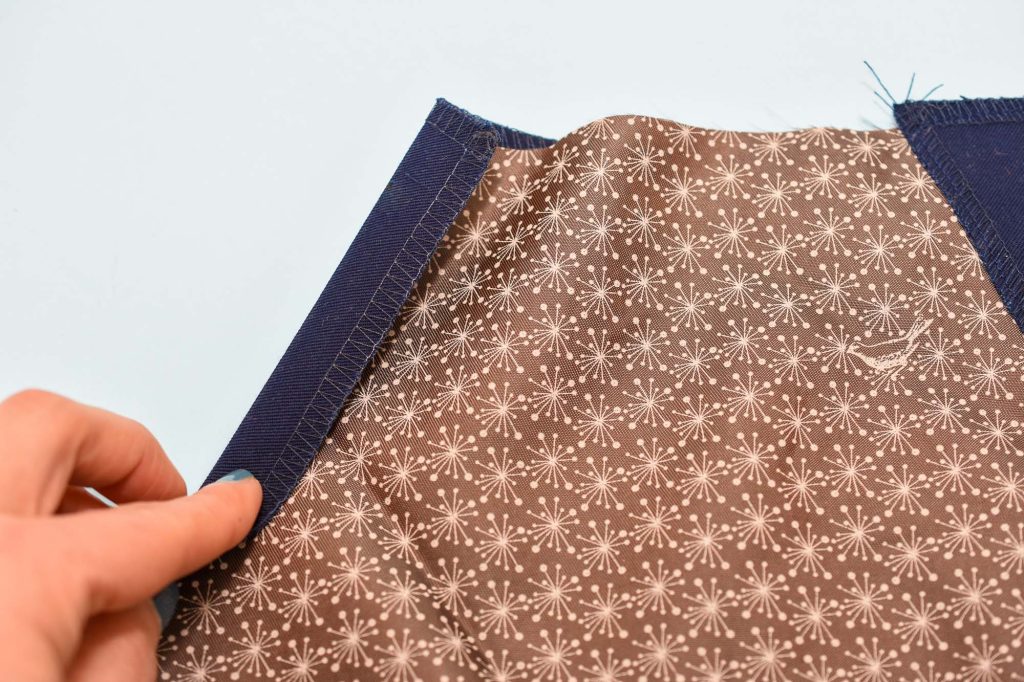
Fold over the extension to enclose the lining. Pin to keep the fold in place.
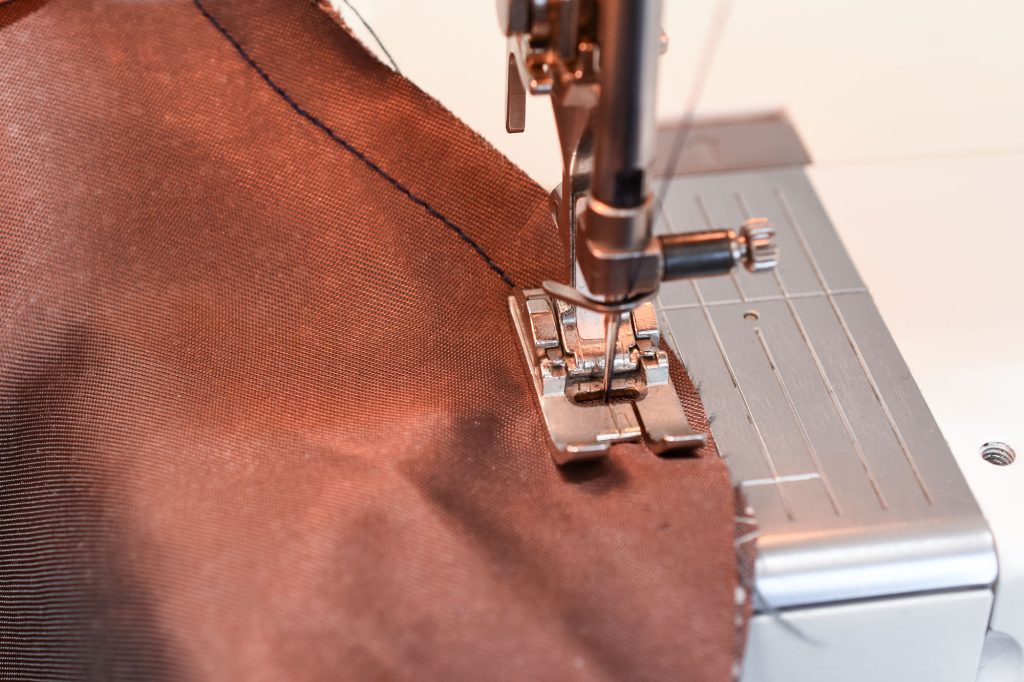
Stitch the pocket opening
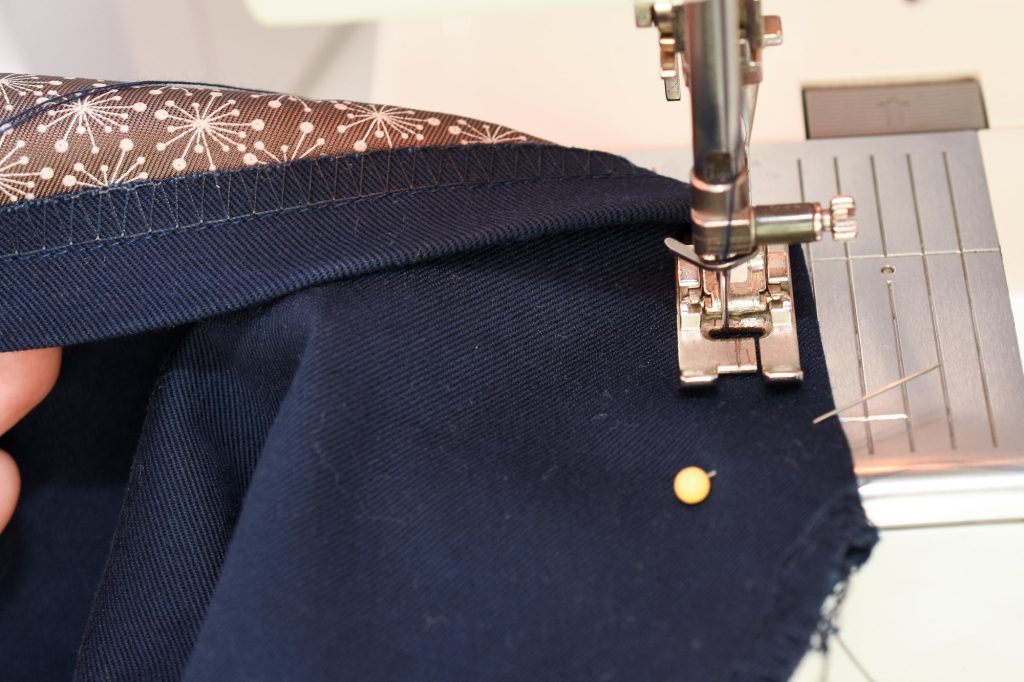
You have two options here.
Either topstitch the extension from the right side using a straight stitch (shown above).
Or stitch the extension only to the lining, close to the edge just like you did with the overlay piece in the previous step. This way there will be no visible topstitching on the pocket opening, but the opening might lie less flat.
Understitch close to the folded edge to prevent this from happening. Understitching also prevents unravelling if you haven’t overcasted the pocket opening edge of the lining.

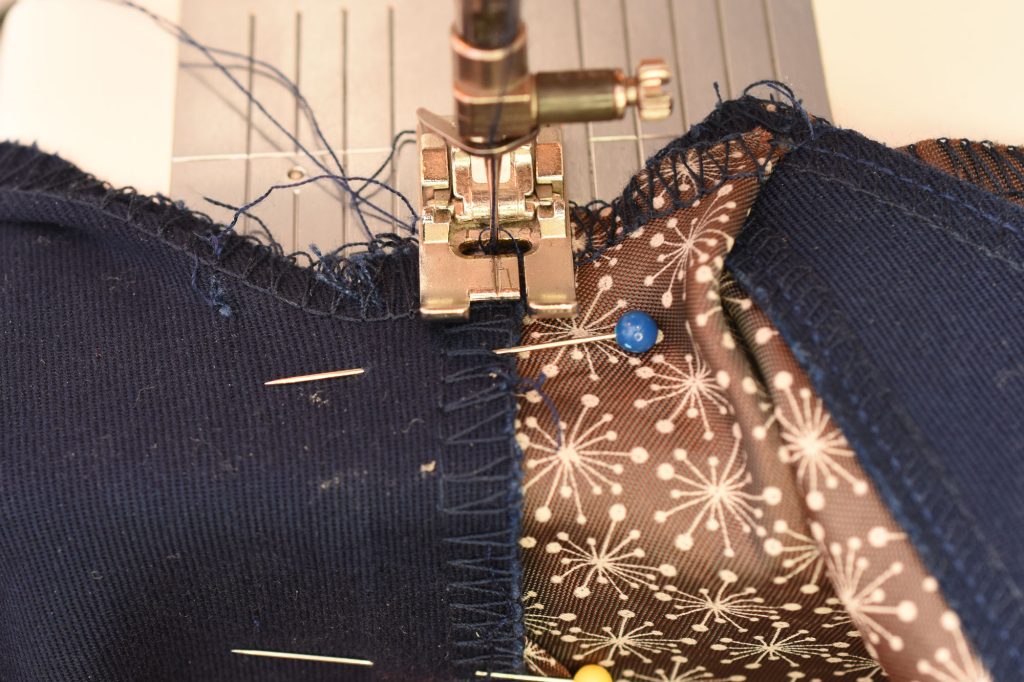
Fold the pocket lining
Fold over the pocket lining, right sides facing in preparation for sewing the bottom and finishing the pocket.
Stitch the bottom of the pocket
Sew along the lower edge of the pocket to close it. We are doing this before overcasting to save time and remove even more bulk.
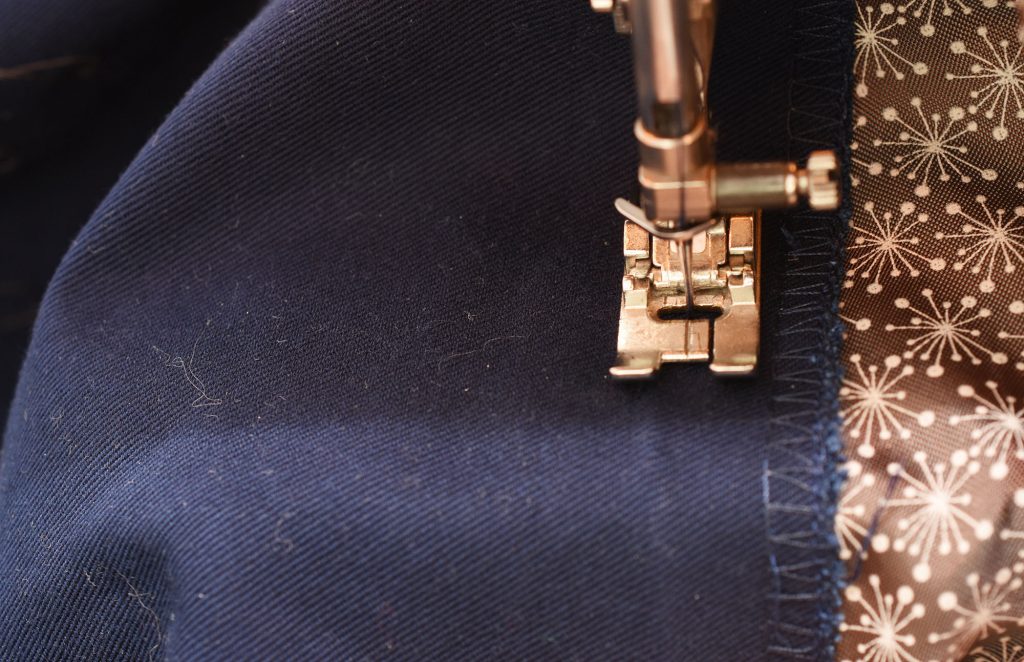
Overcast the pocket lining
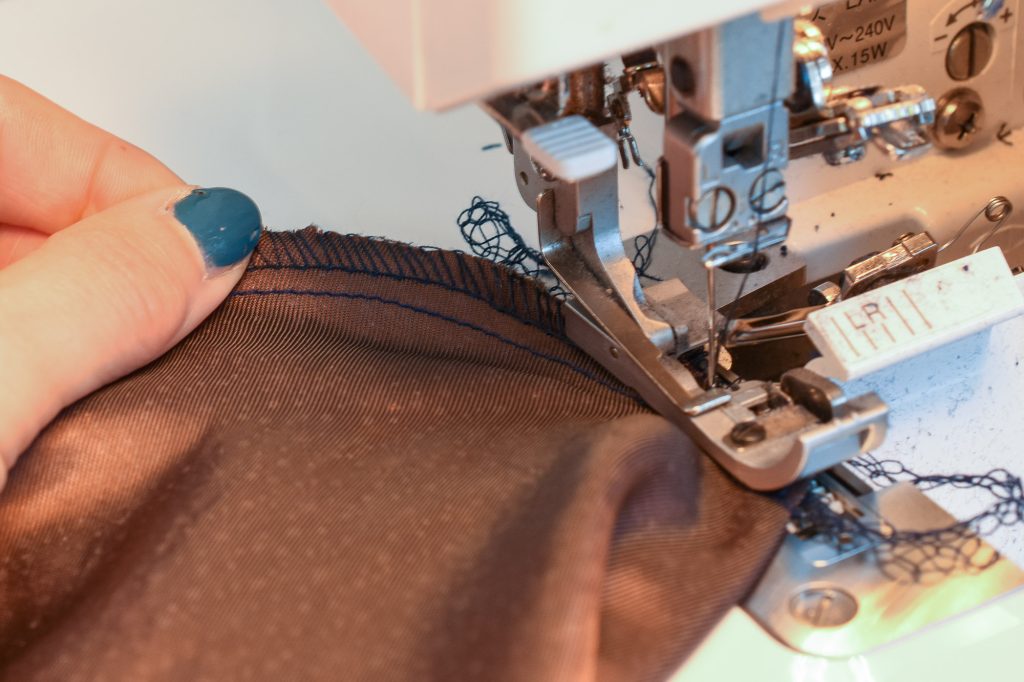
I’m using a 3-thread wide serger overlock to finish the edges. But a regular zigzag works well too. You can of course use a French seam too for a more beautiful finish.
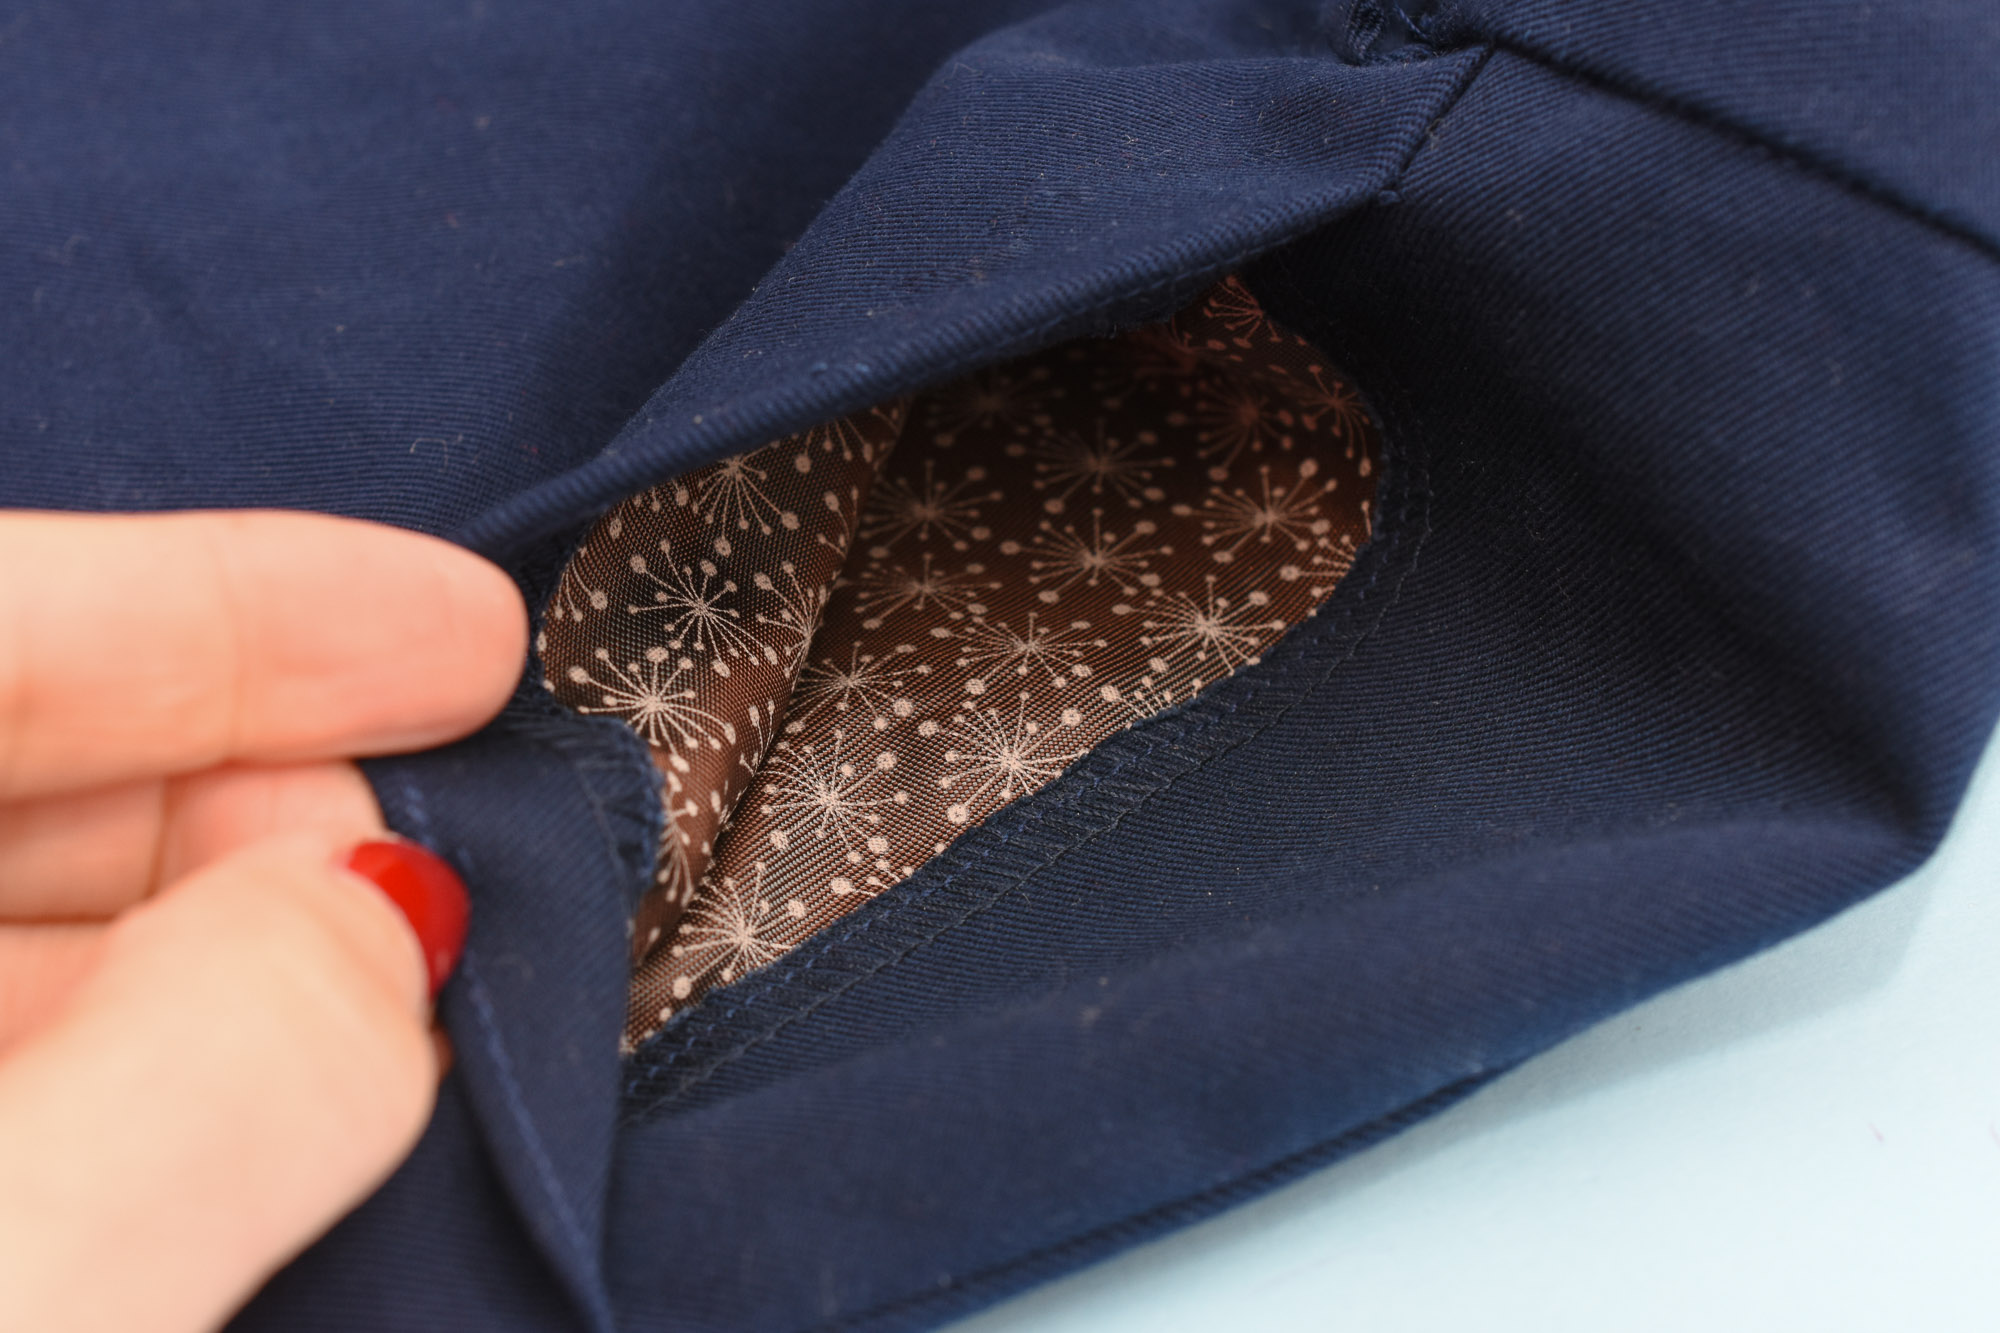
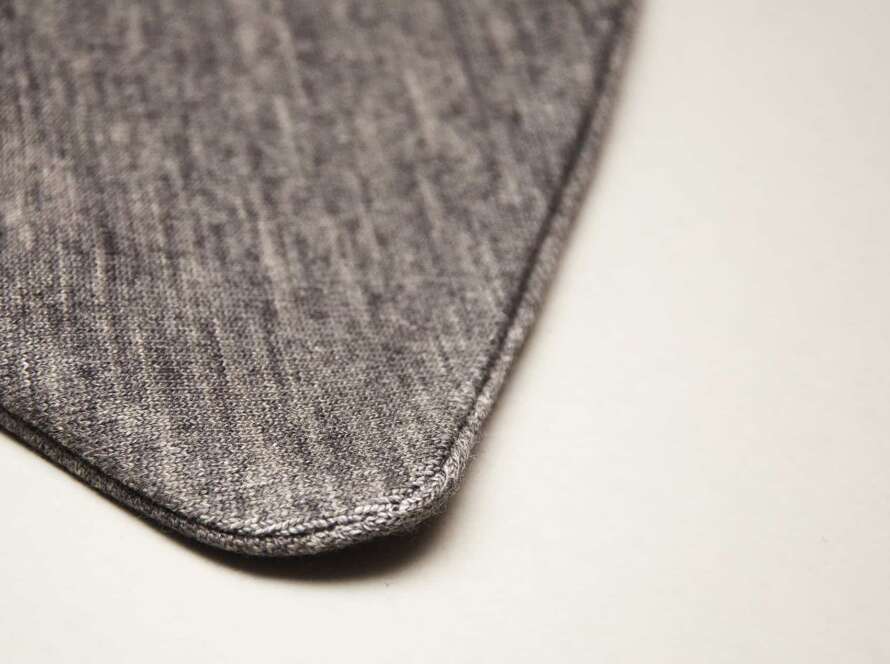
The finished pocket
Hopefully, this tutorial has given you some new ideas on how to sew front pockets quickly with a minimum of bulk yet with a beautiful finish.
4 Comments
Kathy Zachry
This is brilliant! Won’t you please make it available to pin on Pinterest?
Larissa Rocha
I love this! Thank you so much!
Laraine Clarke
Thank you so much for these tutorials; I can’t tell you how many times I’ve bodged these processes, especially the waist bands. The little tweaks you have given on all three processes should make the world of difference. I can’t wait to start some serious trouser making, as trousers have been my biggest fear. You’re never too old to learn. Many thanks. Laraine (74) years 💃🏽
Comments are closed.