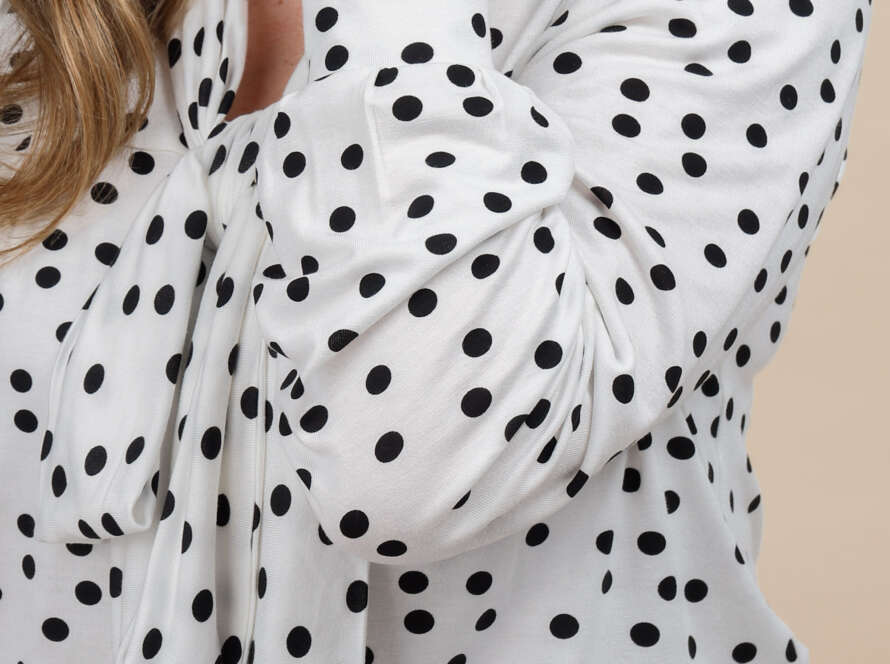
Now it’s time to attach the tie-neck collar, the defining feature of the Tyri Tie-Neck Blouse. The steps are straightforward, but here you have to pay extra attention to the instructions, as there are a few steps that can be a bit fiddly if you are new to this style of sewing.
Preparation
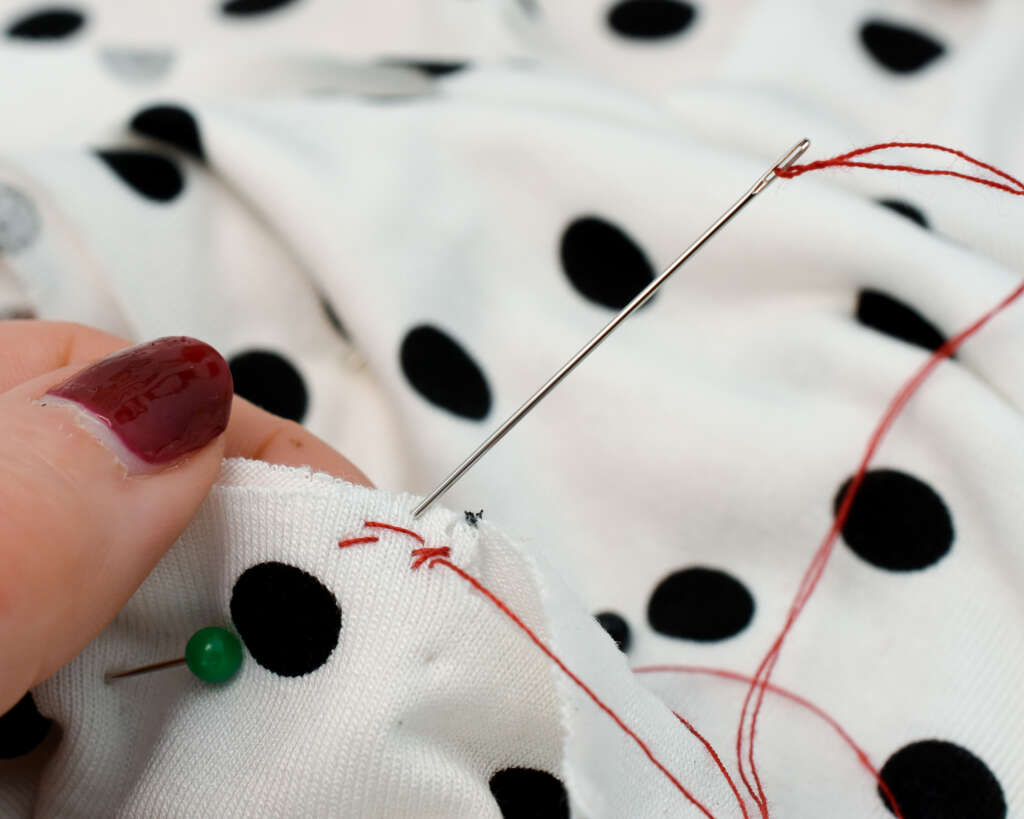
Reinforce the notch area
Before you cut into the collar notches (1), you need to reinforce the area. We have already fused the spots, but I also recommend sewing short stitches to prevent the fabric from breaking beyond the clip.
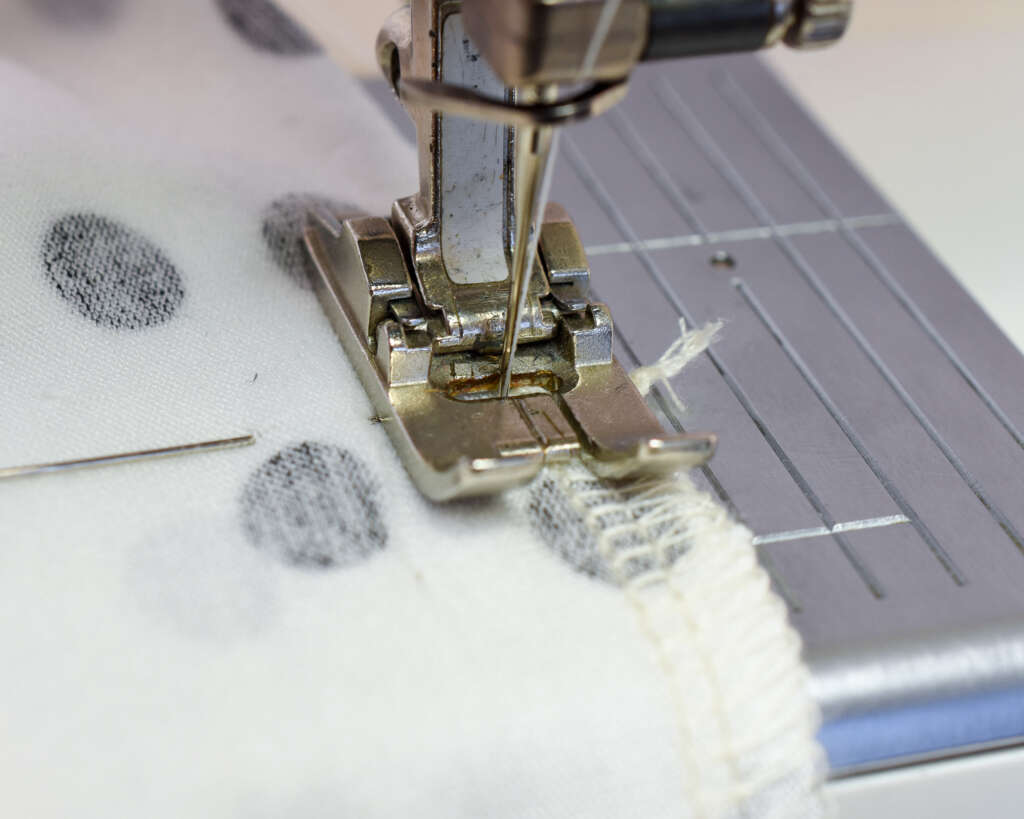
Sew a few short stitches both vertically and horizontally at the corner of the side seam. This strengthens the fabric so it won’t break when you clip into it.
Don’t stitch past the notch or into the overlock seam; keep it contained to the corner area.
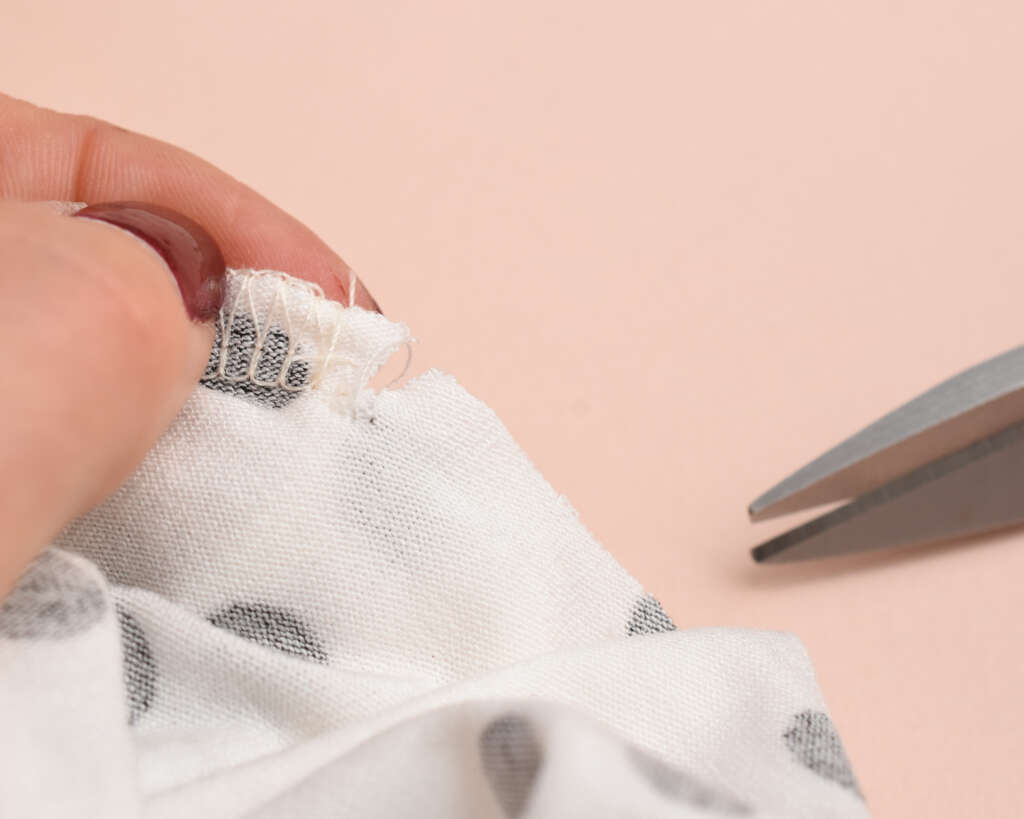
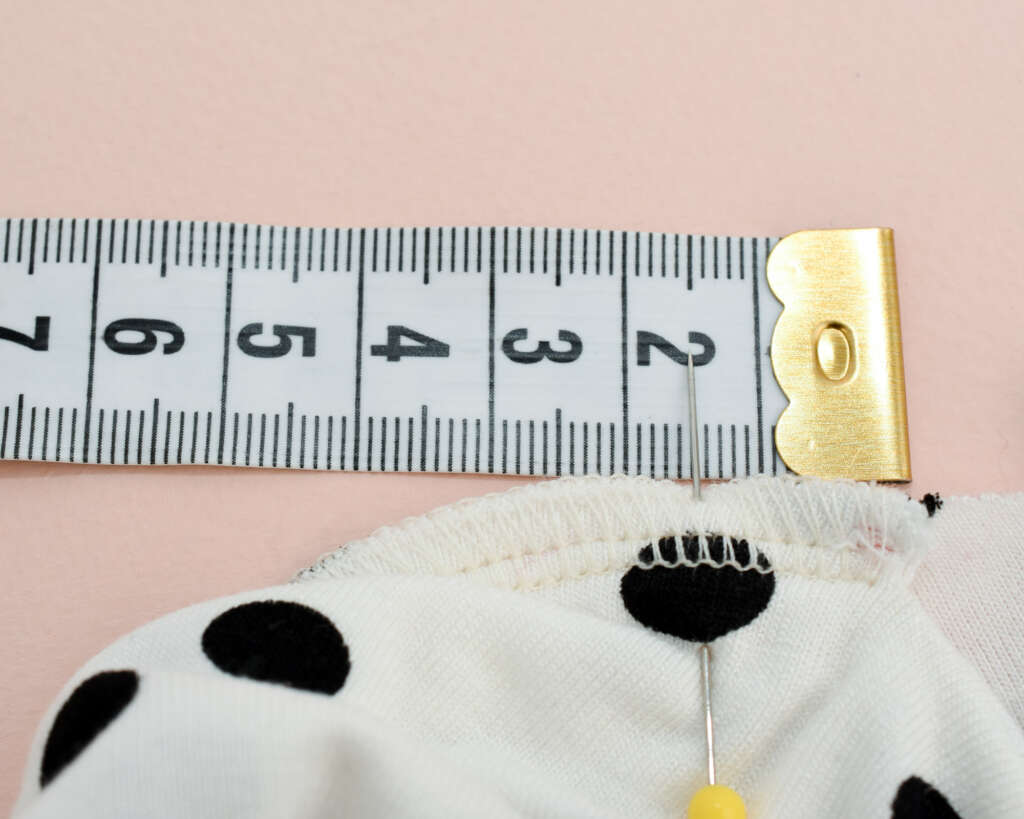
Clip the notches
Place a pin along the seam line first; this acts as a stop point so you don’t accidentally cut too far (sorry, no photo of the pin, I forgot to capture this part, but you can of course see the pinned step in the instructions and in the video too)
Then clip into the notch on the collar, right up to the end of the stitching. Repeat on the other side of the collar.
This cut is what allows the collar to turn and sit properly at the neckline, so accuracy matters here.
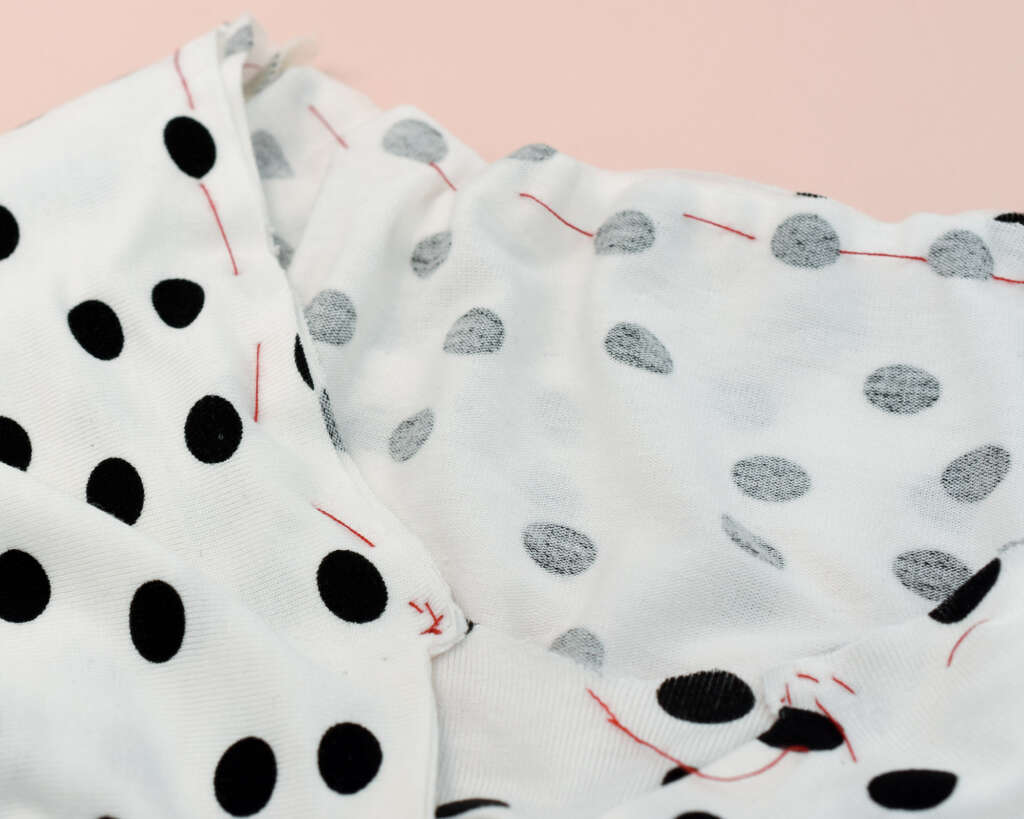
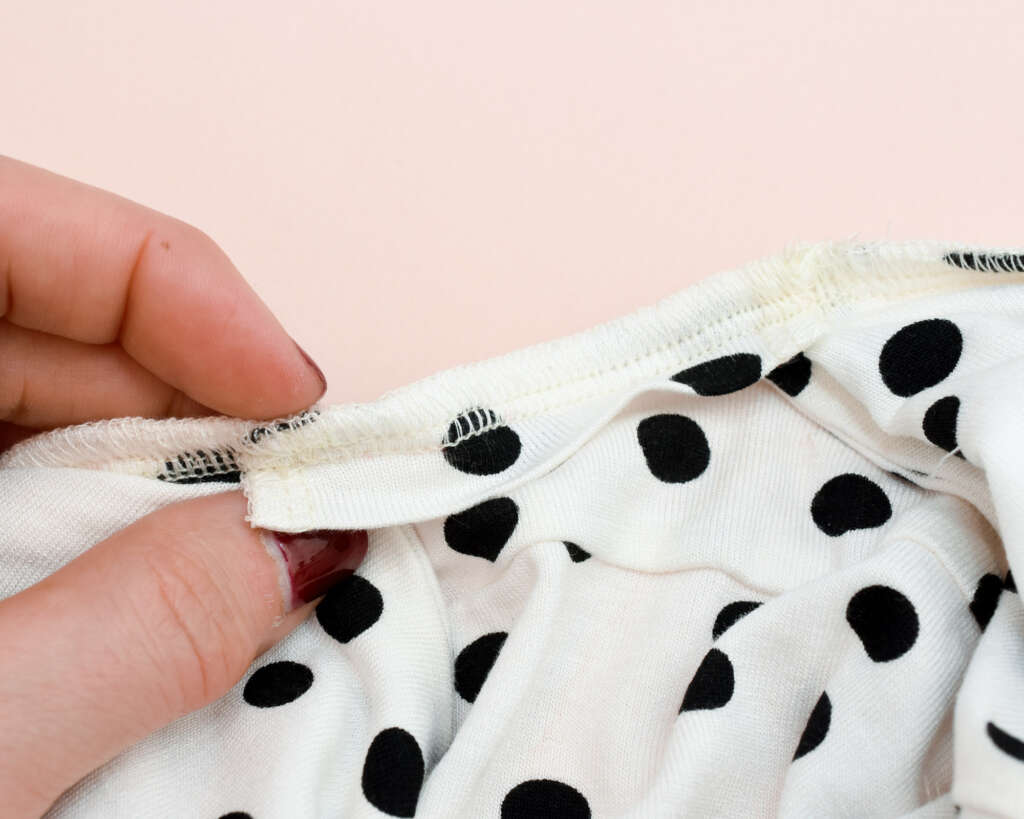
Turn and press the corners
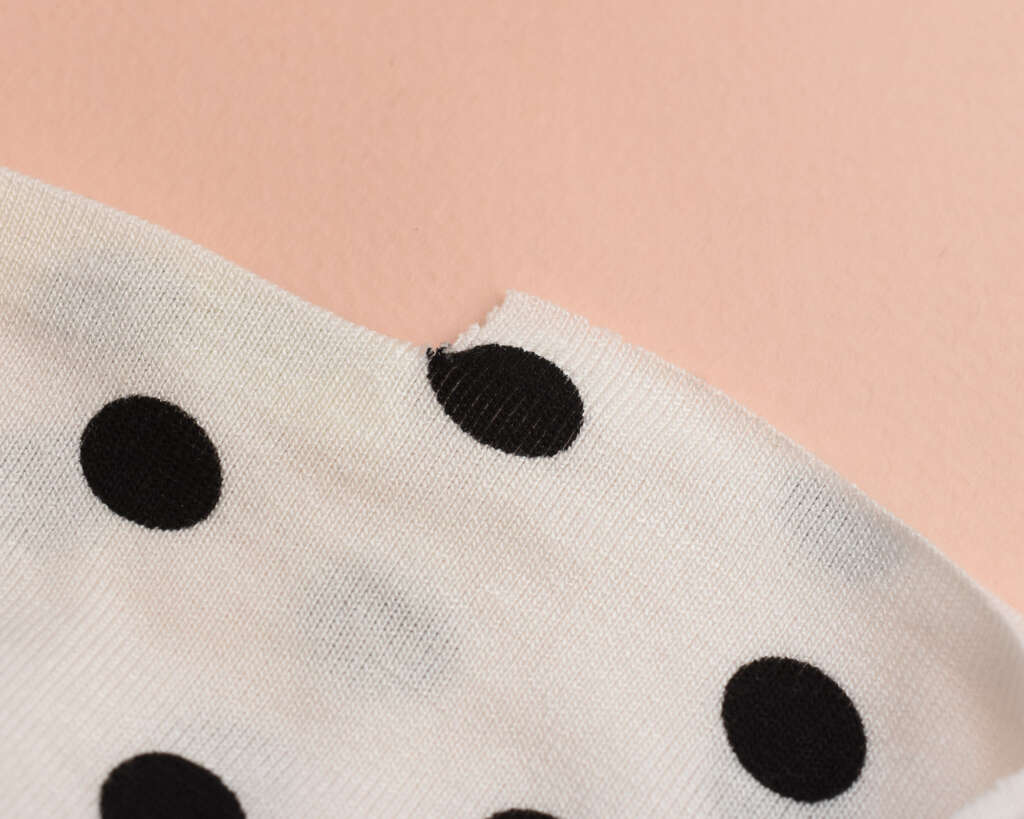
Turn the collar right side out. At the clipped area, fold the corner up.
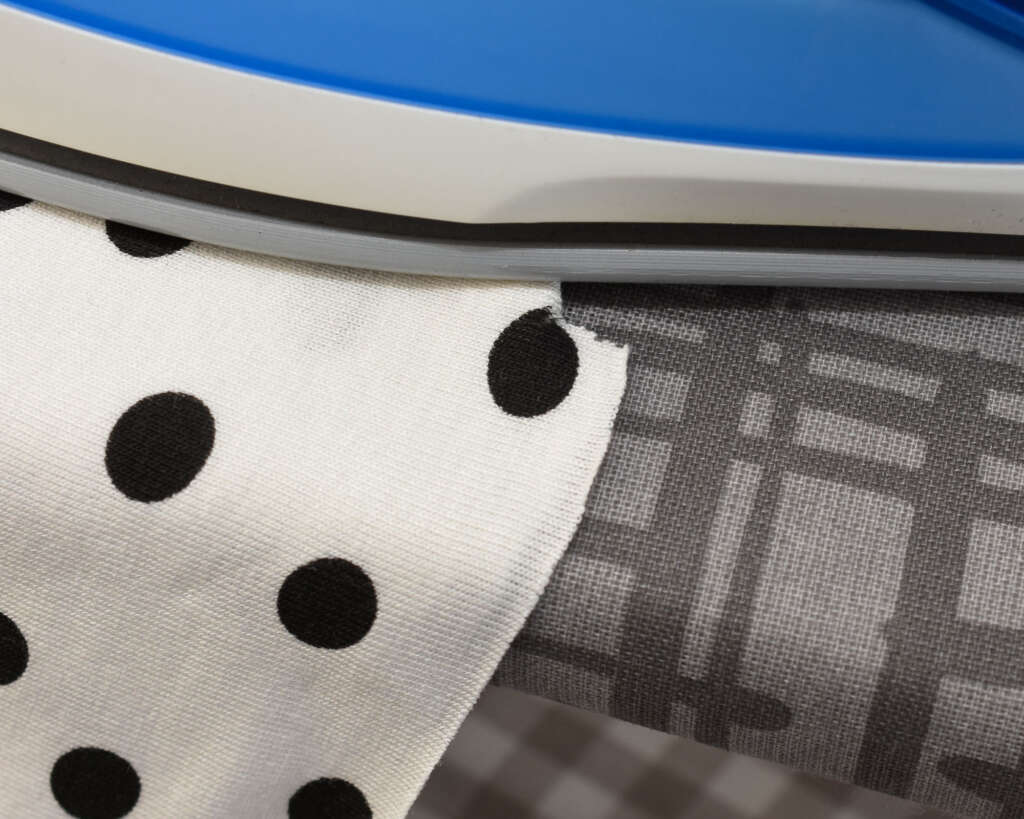
Press the clipped area and corner; this helps set the shape before attaching the collar to the neckline.
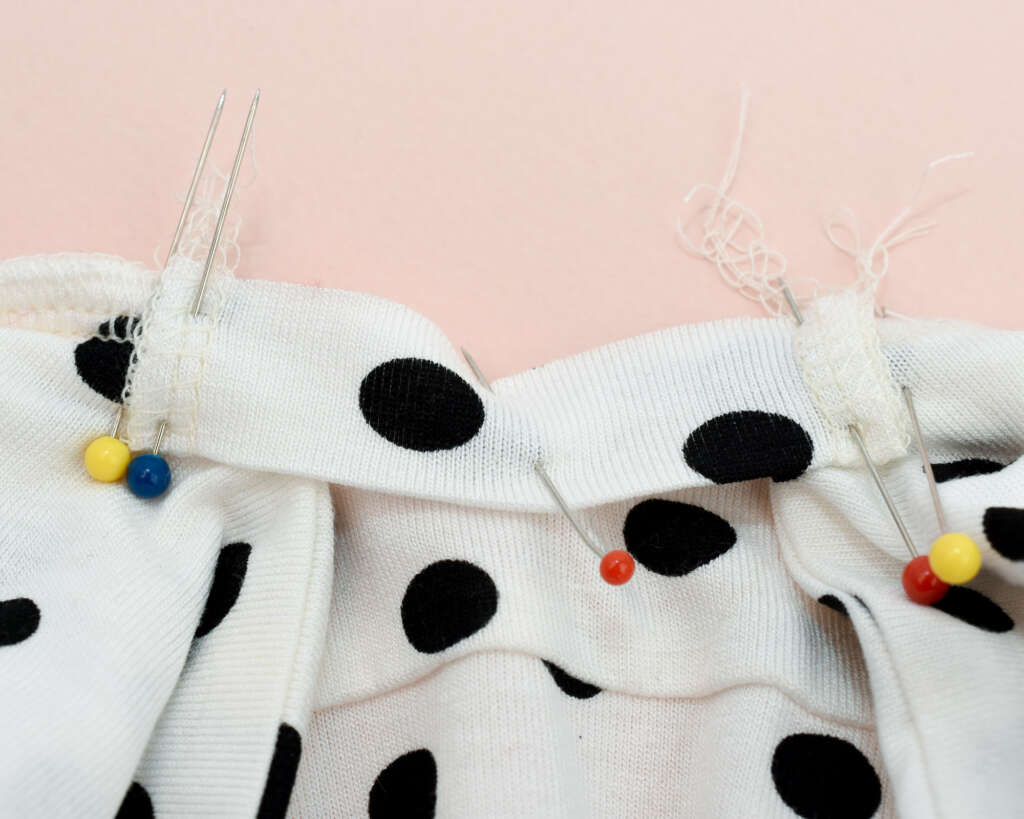
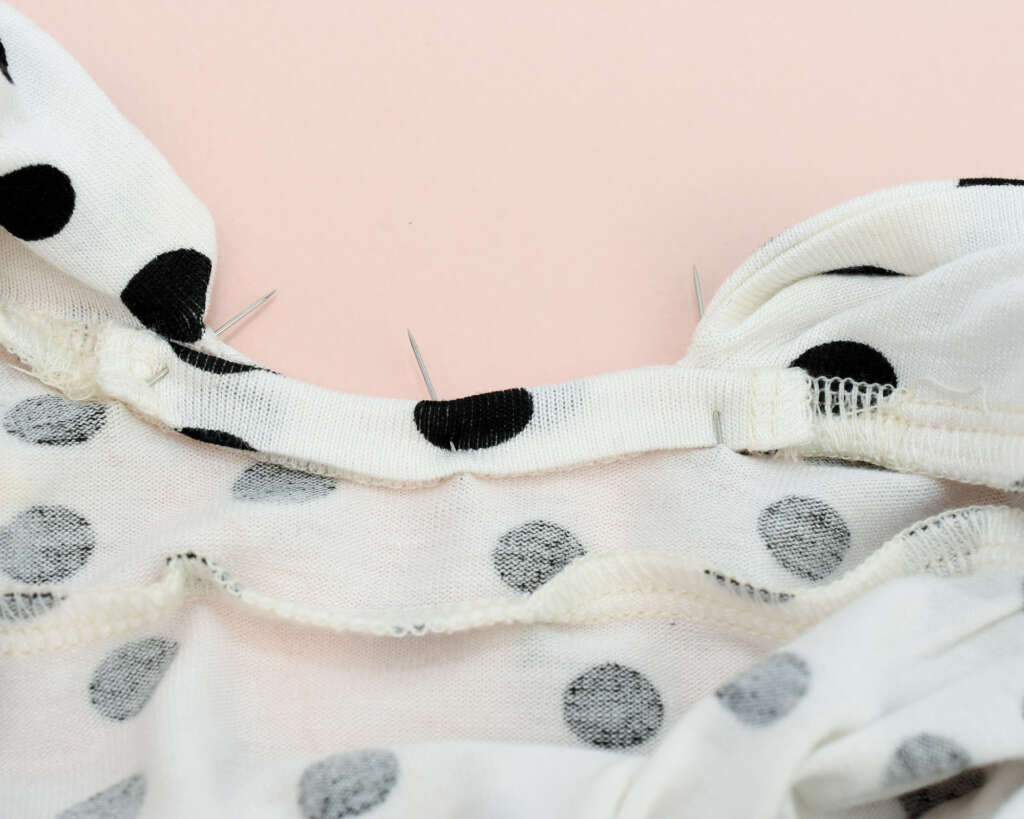
Attach the collar to the neckline
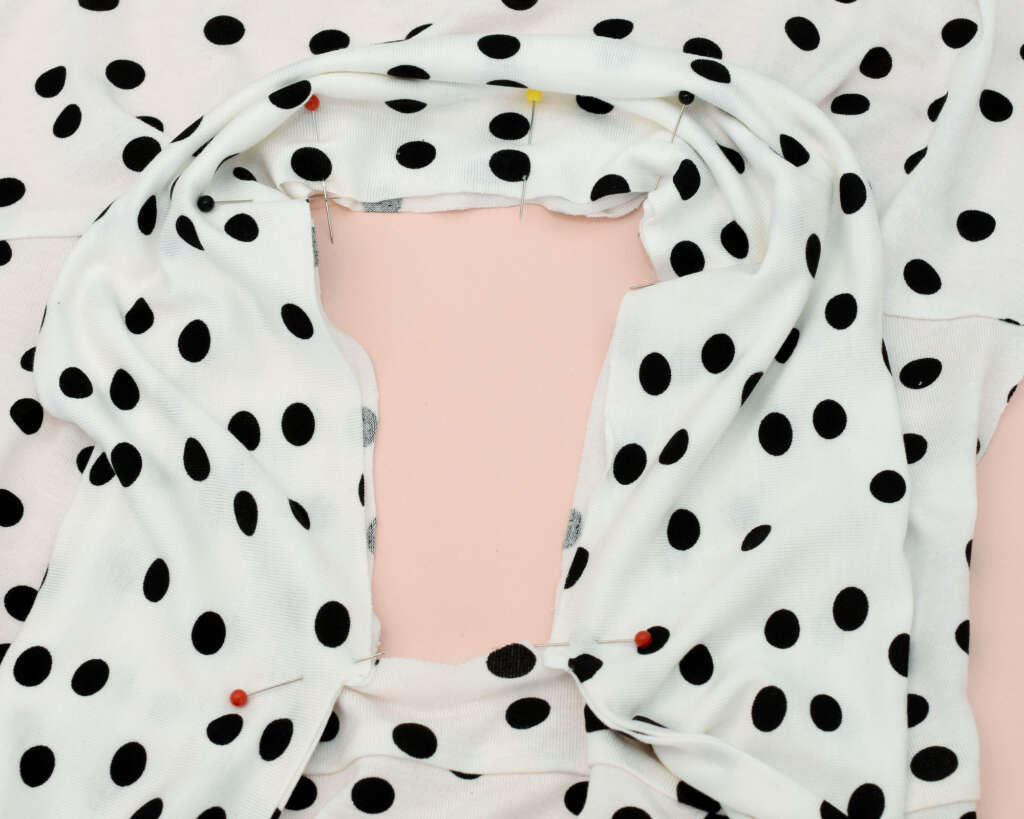
Attach the collar to the neckline
Place the collar along the back neckline, right sides together.
Match the center back points first, then stretch the collar slightly to meet the shoulder notches. Pin in place.

Move to the front neckline and align the collar with the front notches and the corners of the neckline.
Here, you only need a slight stretch, much less than at the back. Pin or baste to keep everything stable.
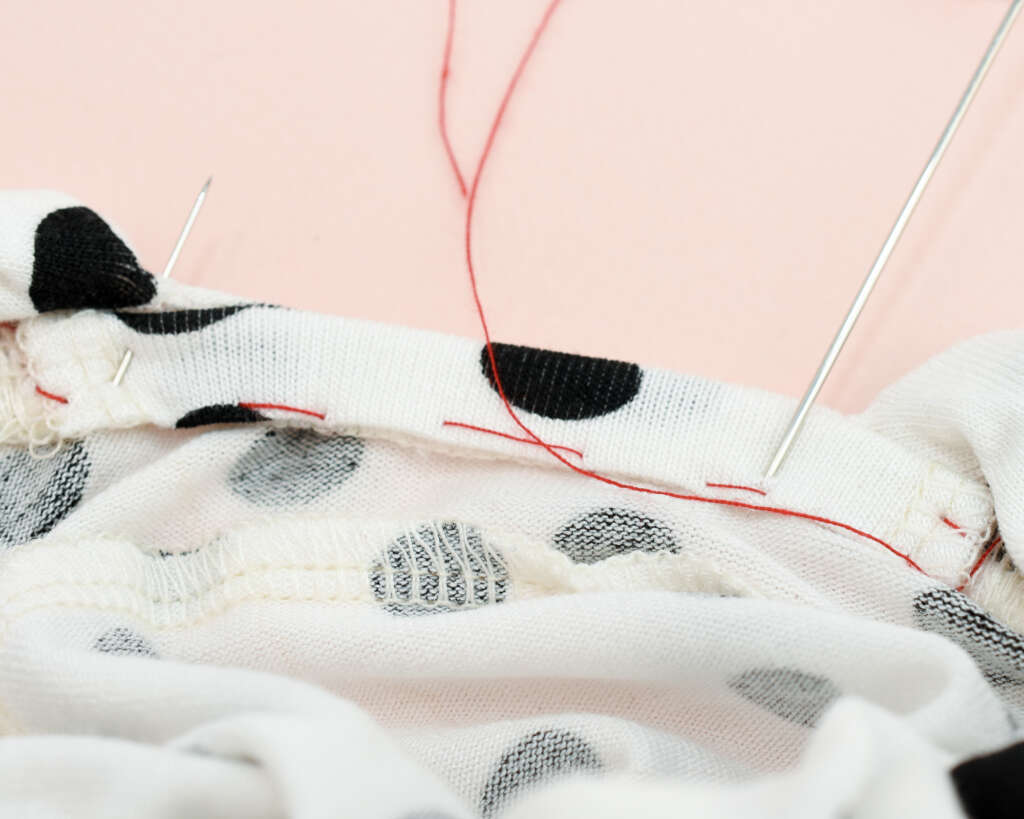
Baste the corners
Before sewing the full seam, baste the collar corners to the neckline. This step keeps the corners from shifting, which is especially important since this area has to be aligned exactly.
To make sewing the collar to the neckline easier, you can also baste the entire area. This is especially helpful if the fabric is slippery
Check the neckline
Before sewing the neckline, do a little check that:
- The collar sits aligned against the entire neckline
- The corners are aligned with the neckline notches
- All the notches match up.
If something is off, it’s much easier to adjust now than later.
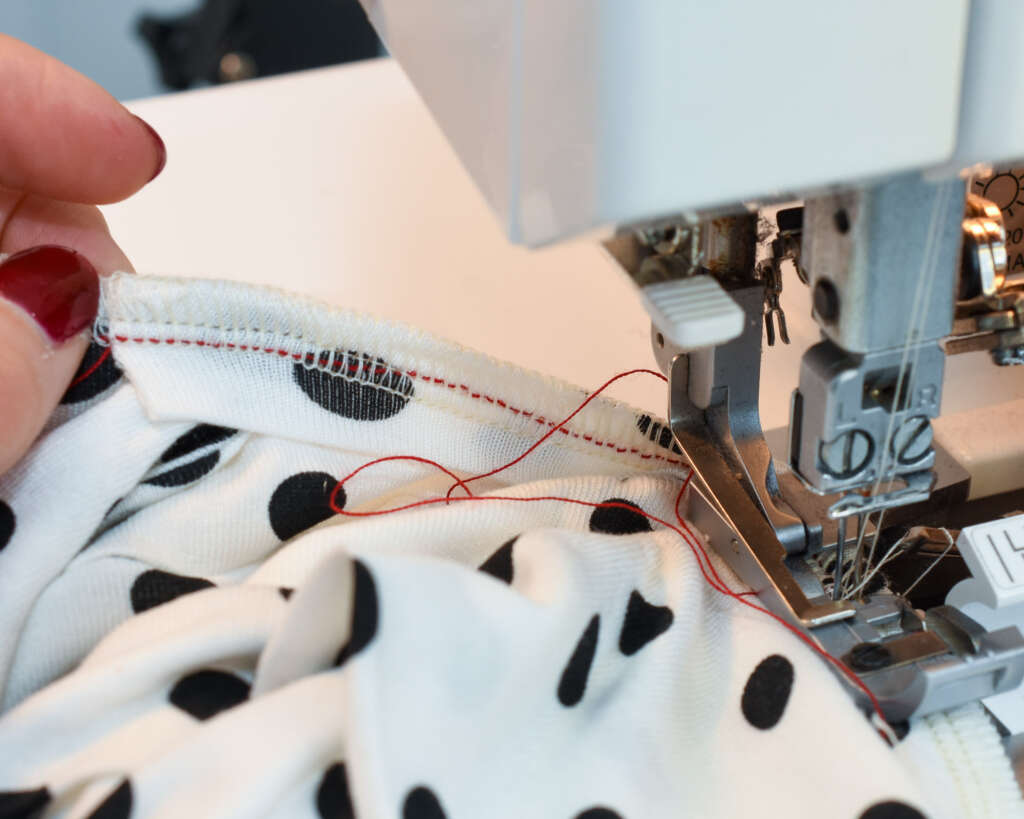
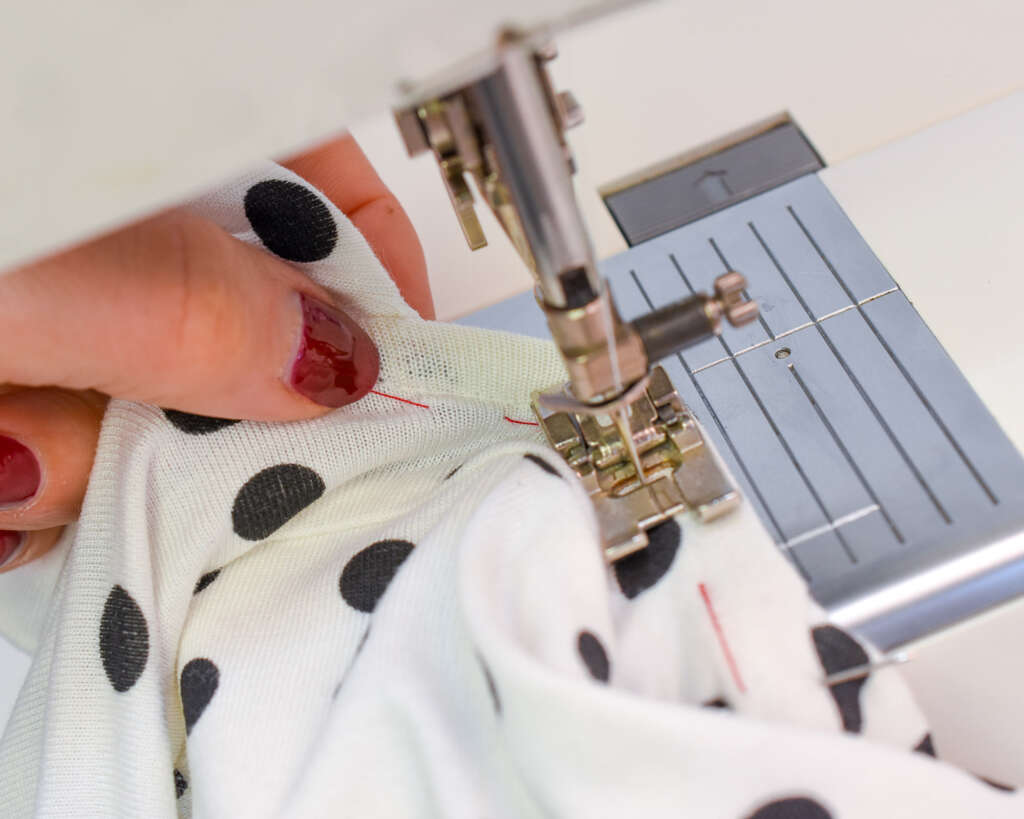
Sew the collar to the neckline
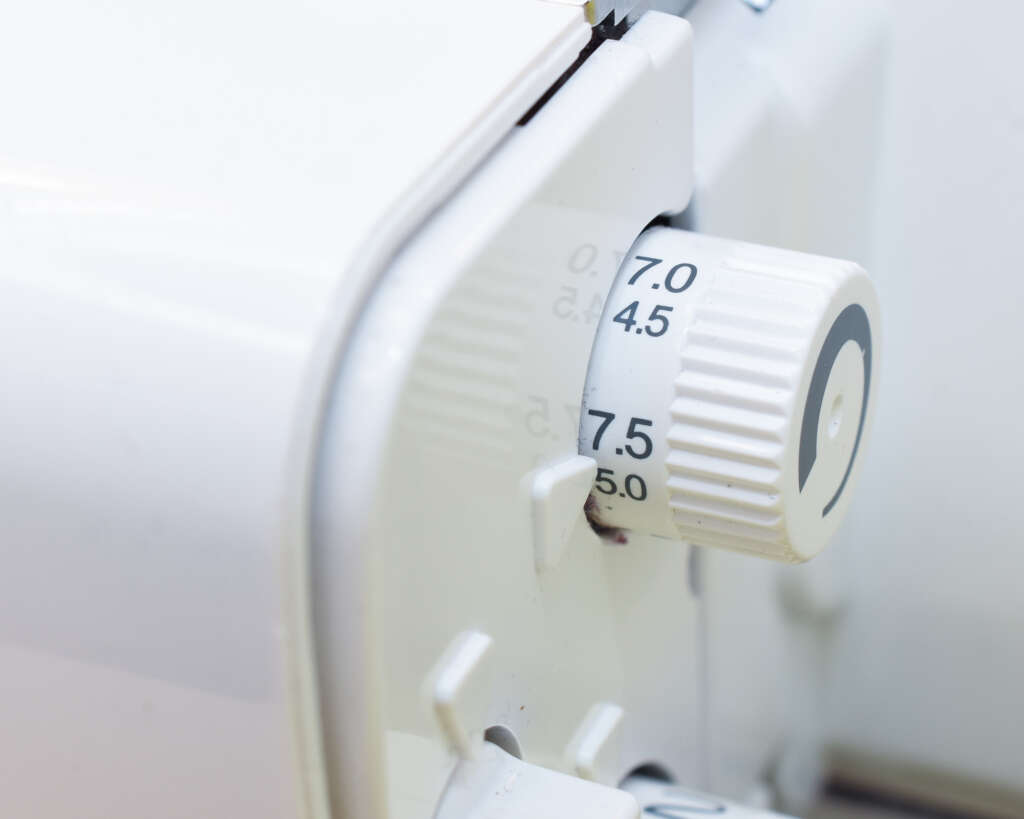
Set your machine on 7.5 mm overlock width.
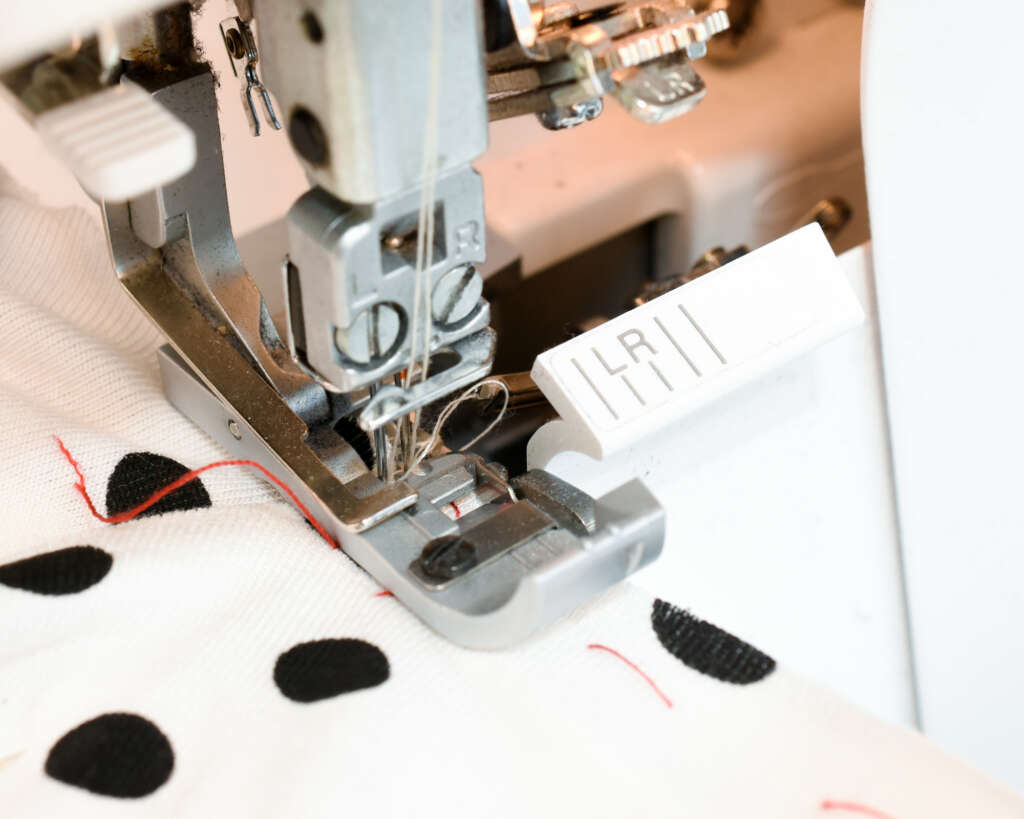
Start sewing at the right clipped corner with the collar facing up. Starting with the hand wheel rather than the pedal makes this step easier to control. Tip: Place pins perpendicular to the edges to help gauge where to start and stop.
Stitch around the neckline and finish at the opposite edge. Again, use the hand-wheel to stop at the exact right spot.
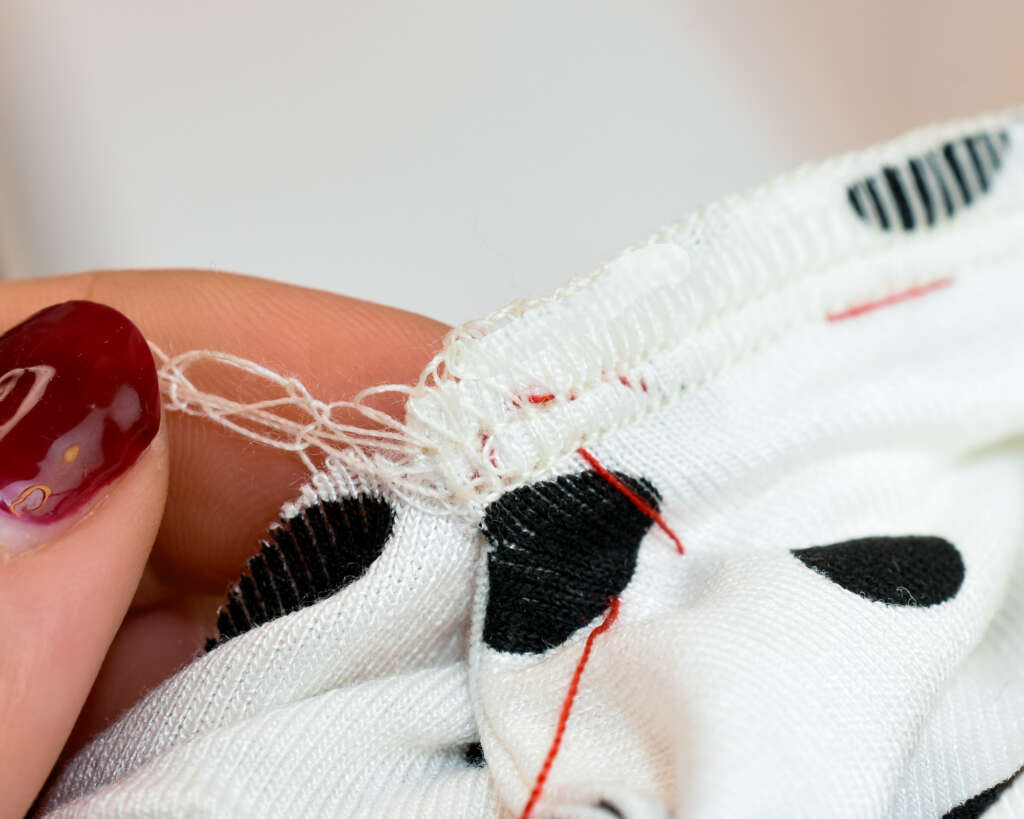
And the other corner. You don’t need to secure the threads here, as they will be sewn over. Just clip the extra strands.
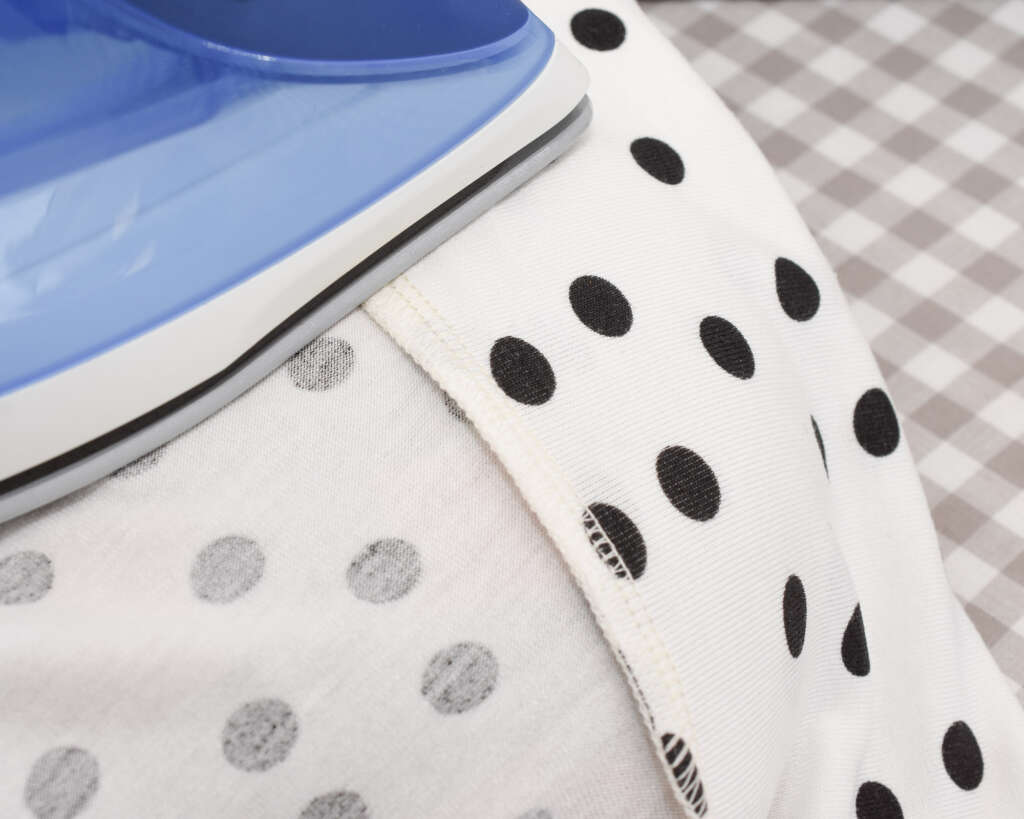
Press the seam allowance down towards the bodice.
Facing
To finish off the neckline, we need to attach a strip of facing to hide the raw edges and collar corners. The facing pattern piece included is drafted to fit most stretchy knit fabrics. If your fabric is very stretchy with less recovery, you might need to shorten the length slightly and add some width to compensate for the fabric being stretched out more.
Prepare the facing
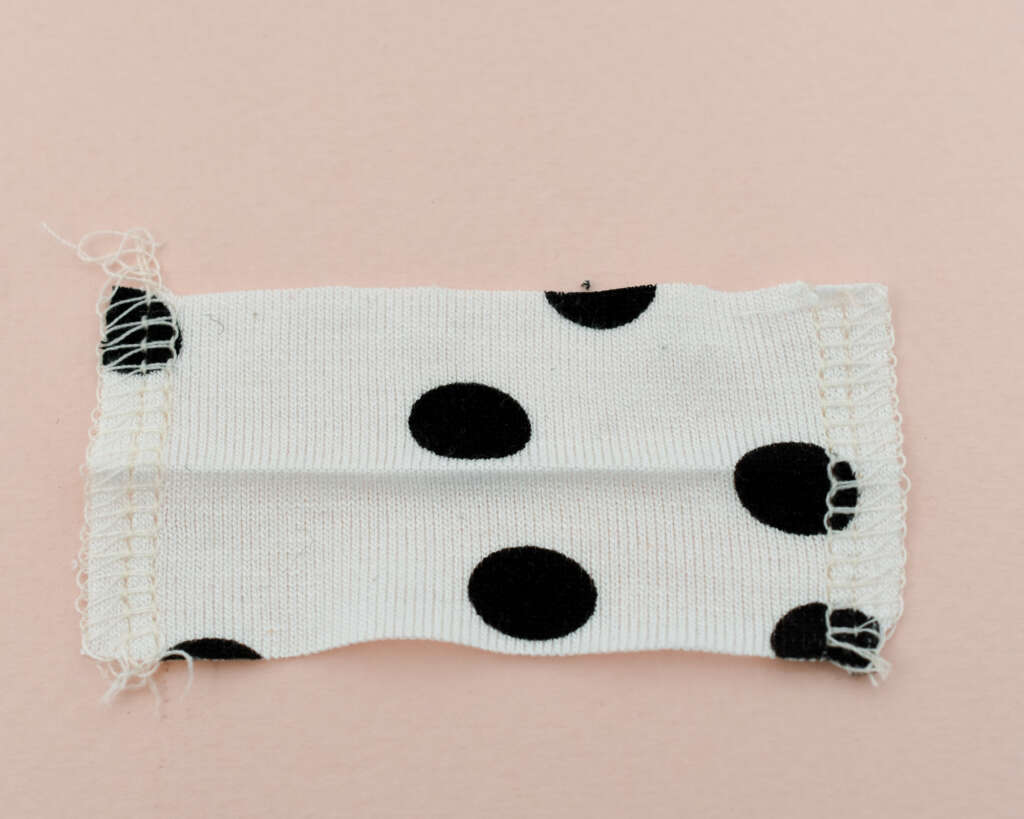
Serge the side edges with an overlock stitch (optional, but it looks cleaner).
Fold the facing lengthwise with the wrong sides together and press.
Attach the facing
Mark 1.5 cm (⅝”) in on both sides to where the facing should be stretched.
Place the folded facing along the outer edge, with the open edges facing the neckline. The facing should cover the collar edges (extend 1.5 cm in, as shown in the previous image). Stretch the facing to fit and pin along the seamline.

Baste the facing to the neckline using hand stitching or by machine with long stitches. This makes attaching easier.
Stitch the facing
With the facing facing up, stitch along the seamline using a 7.5 mm overlock width.
Tip: Disengage the serger knife to protect the neckline seam.
Fold and baste the facing

Fold the facing over the neckline towards the inside. The fold should be about the same width as the seam allowance or slightly wider. Press the folded facing.
Pin or baste the facing in place. Again, I prefer basting over pinning when sewing these types of fiddly details.
Topstitch the facing
Topstitch the facing from the outside using a narrow zigzag, following the shape of the facing.
- Start at the collar seamline and stitch along the edge until reaching the lower edge of the facing.
- Pivot and stitch along the edge, then pivot again at the other end.
- Backstitch at both the start and finish to secure the seam.
Tip: If it is difficult to sew along the edge from the right side, topstitch from the inside instead. The neckline might stretch out a bit during topstitching, but the fusible interfacing on the inside and the facing with negative ease will prevent most of this issue.
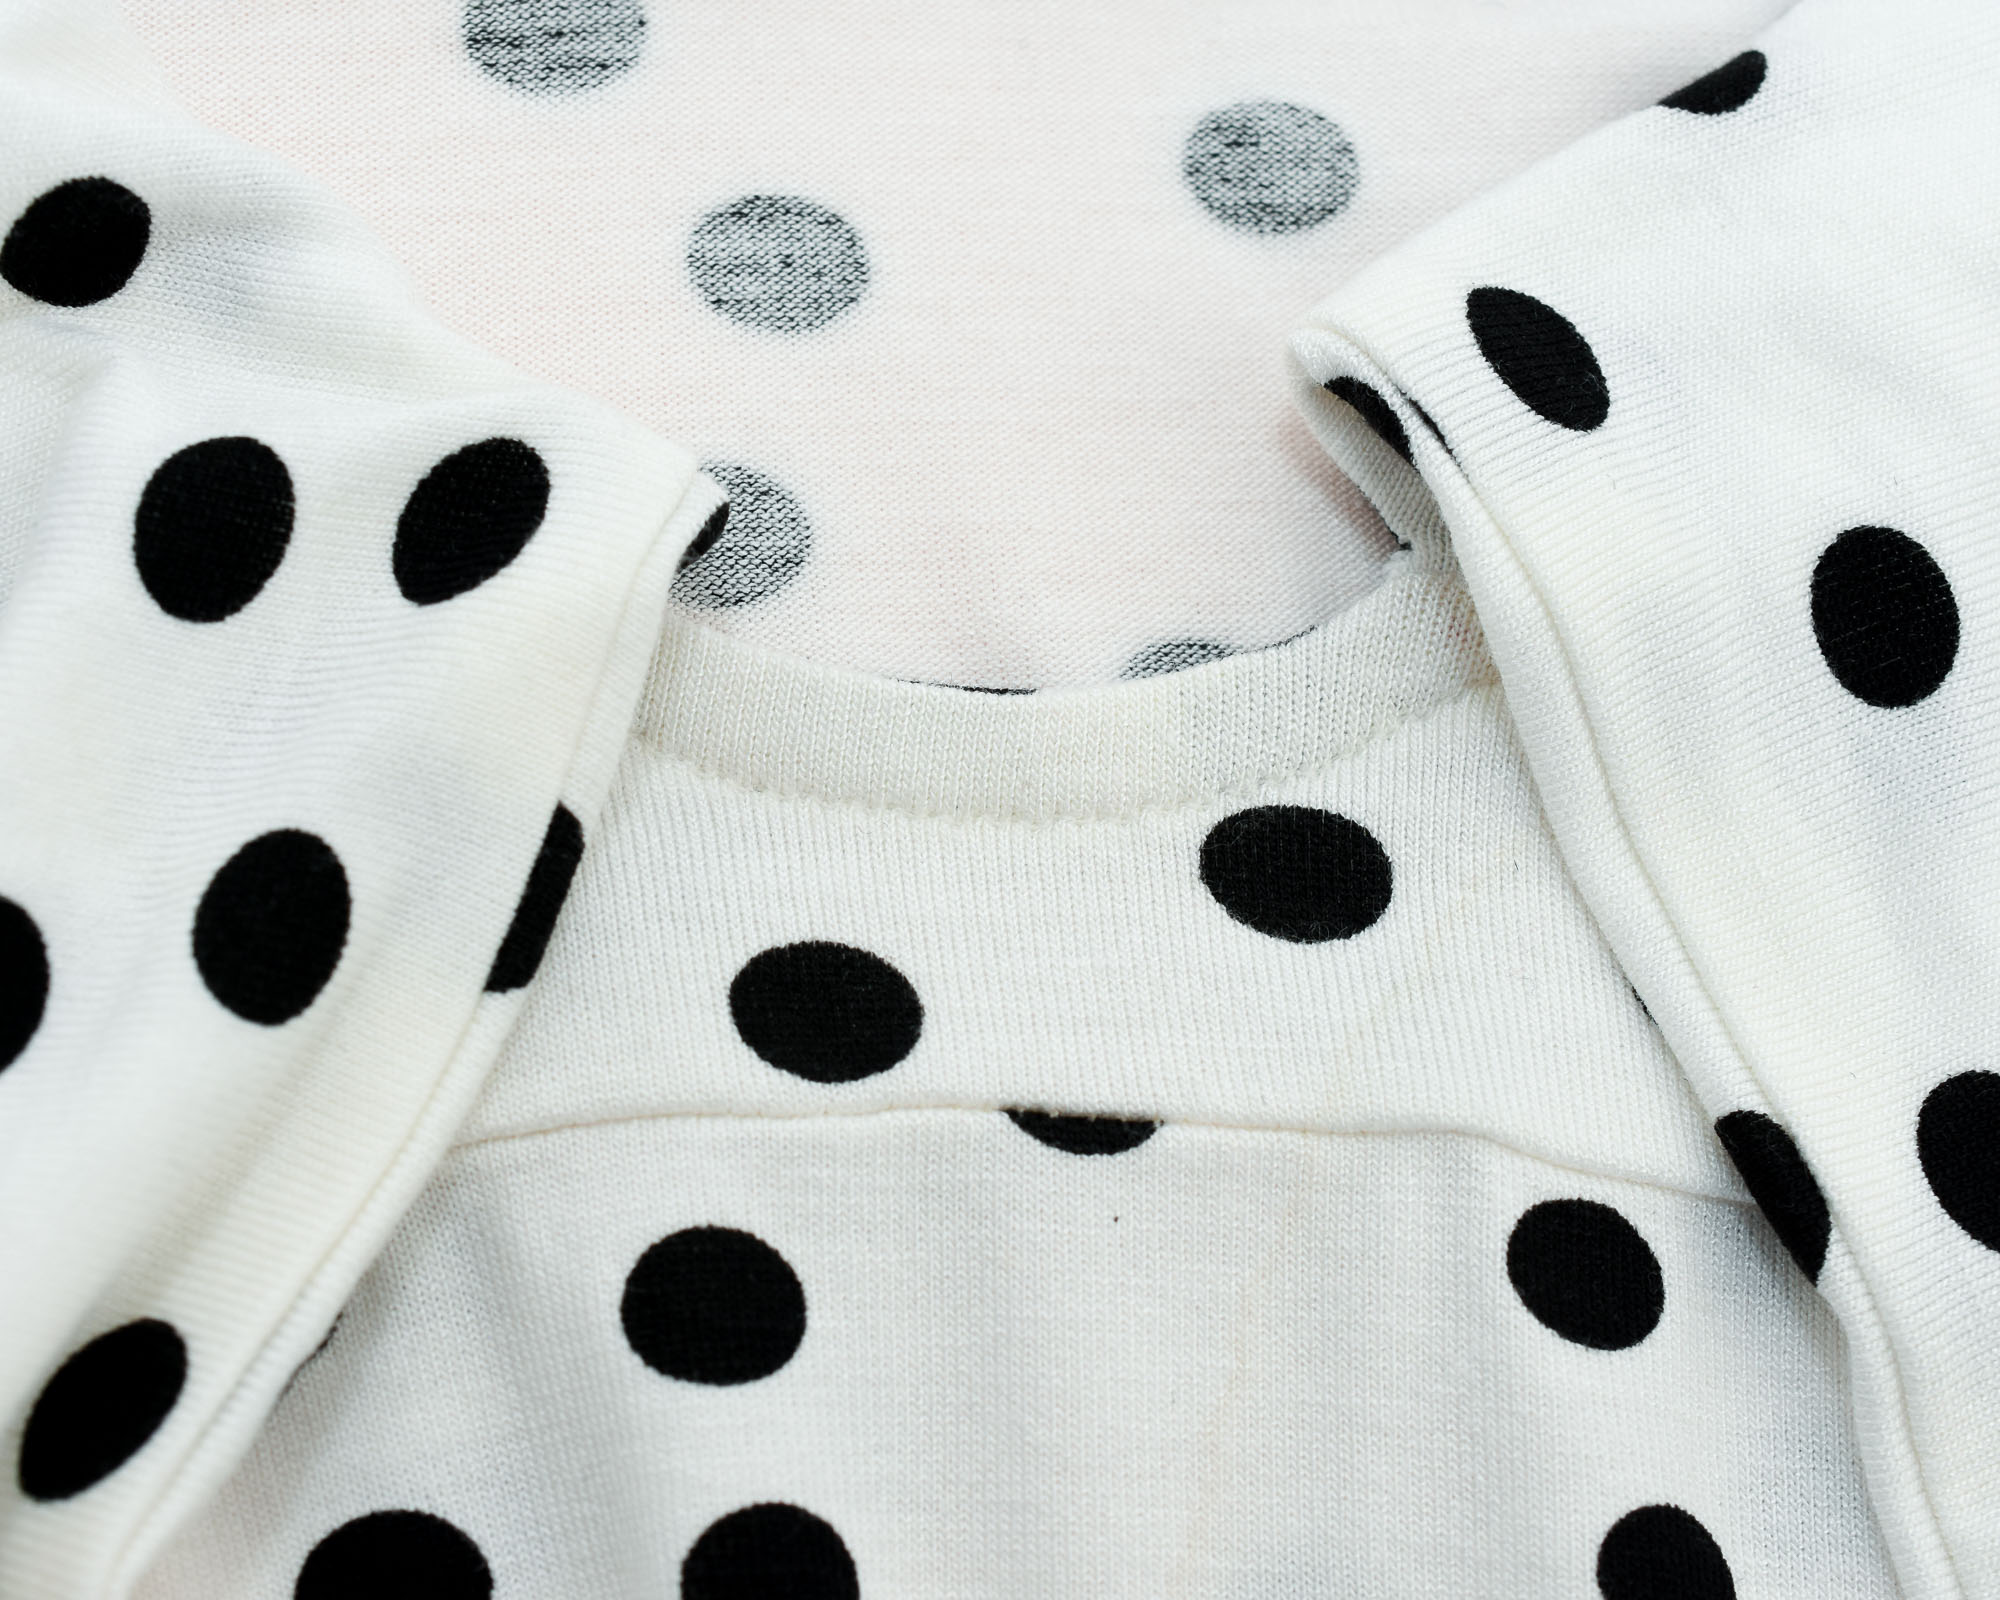
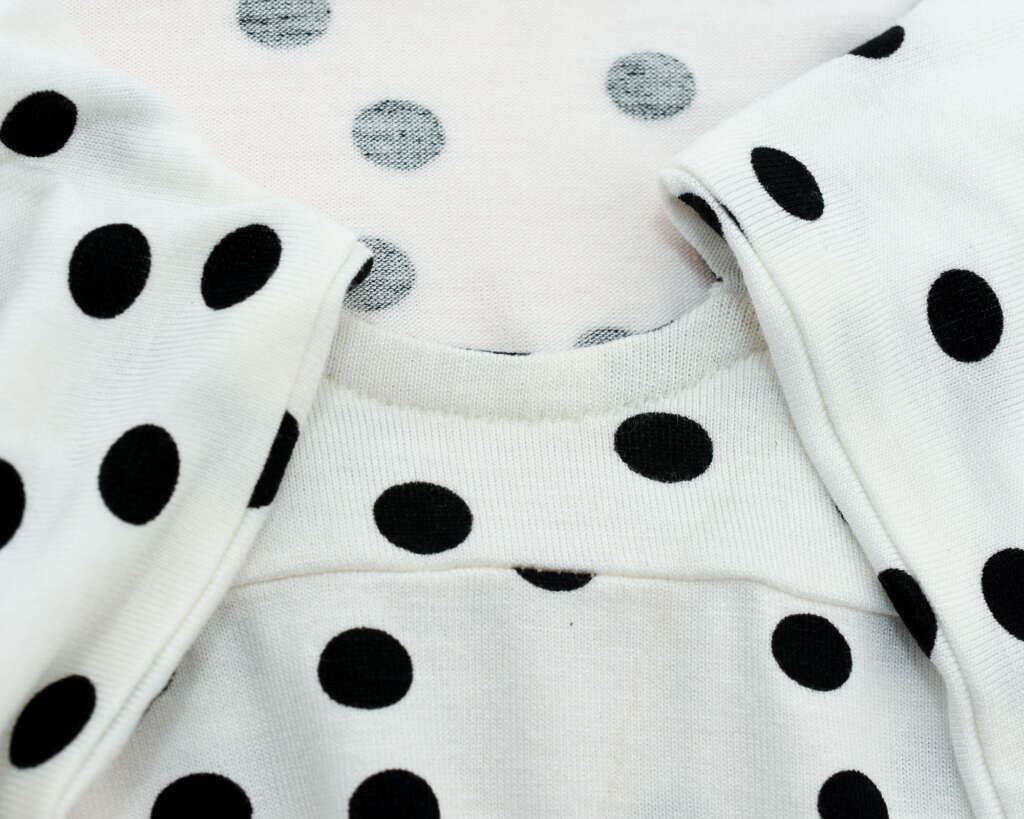
The finished neckline. This step is the only part that might be a bit challenging when sewing the Tyri Blouse. So take your time, baste and go slow, and the result will look really polished.
Now you have finished the tie-neck piece of the Tyri Sew-Along, and next up is sewing the sleeves.