
In this tutorial for the Tyri Tie-Neck Jersey Blouse, I will show you how to achieve really crisp corners on the collar ends, which can be done on knits if you use the right methods.
Also, if you’re making the long tie version, don’t join the ends right away. It’s much easier to sew and shape the details while the pieces are still separate. You’ll join them later once the ends and sides are sewn.
Fold and press the collar lengthwise
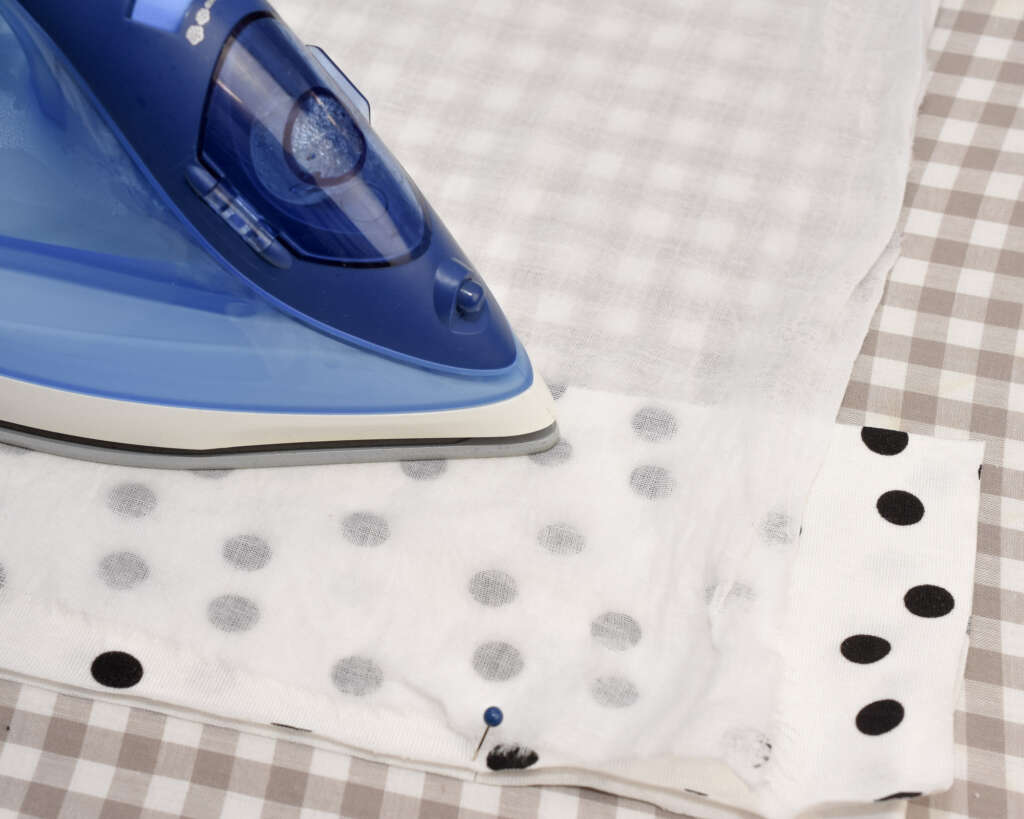
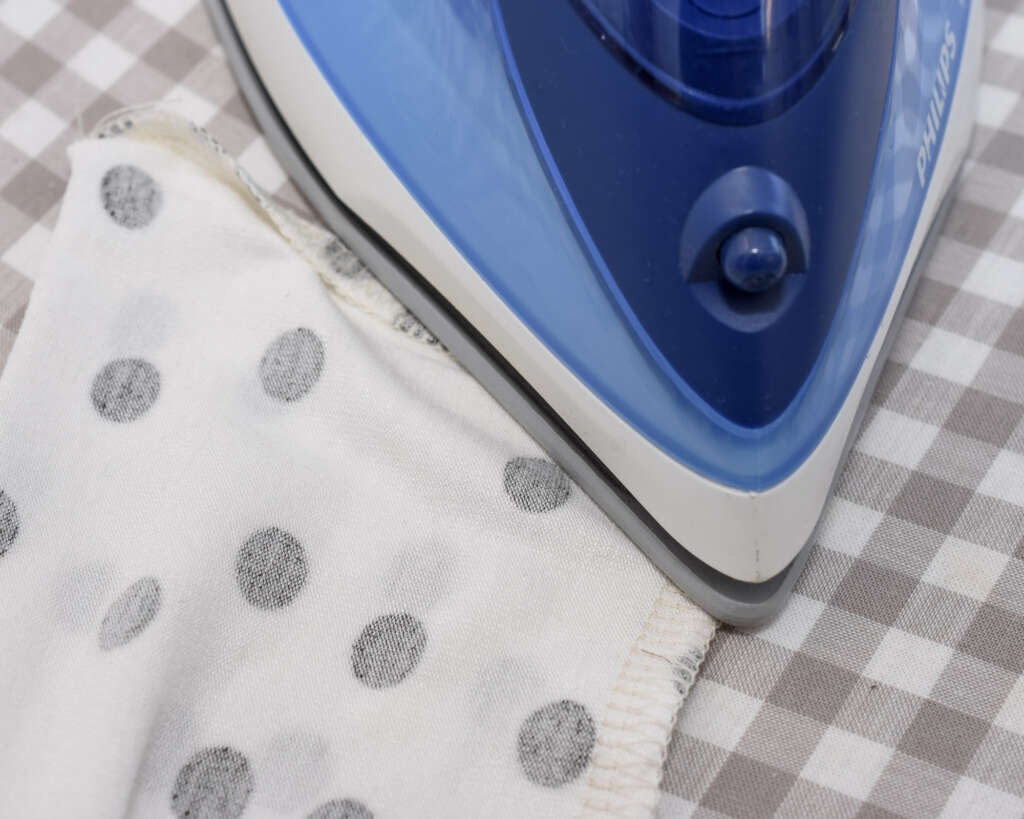
Fold the collar pieces lengthwise with the wrong sides together, and press to create a sharp crease. It’s easier to do this before you sew the collar seams. Tip: If the fabric you are using is quite soft and slippery, you can first pin down the folded fabric onto the pressing board. This makes pressing easier.
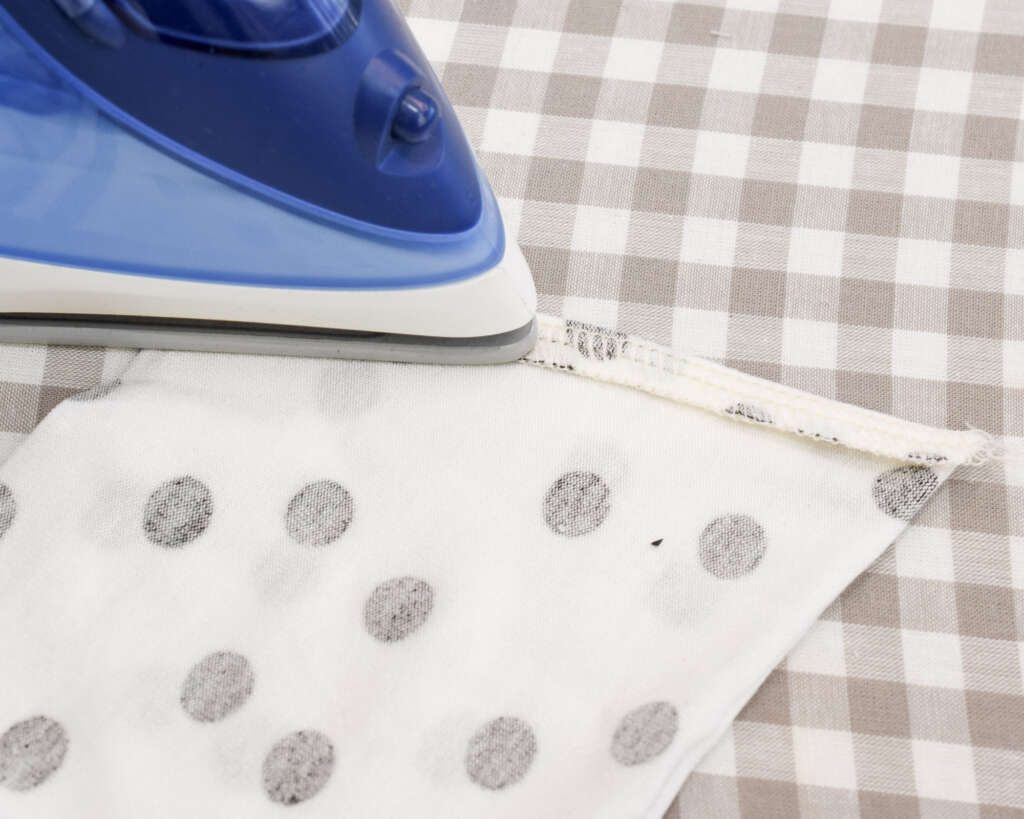
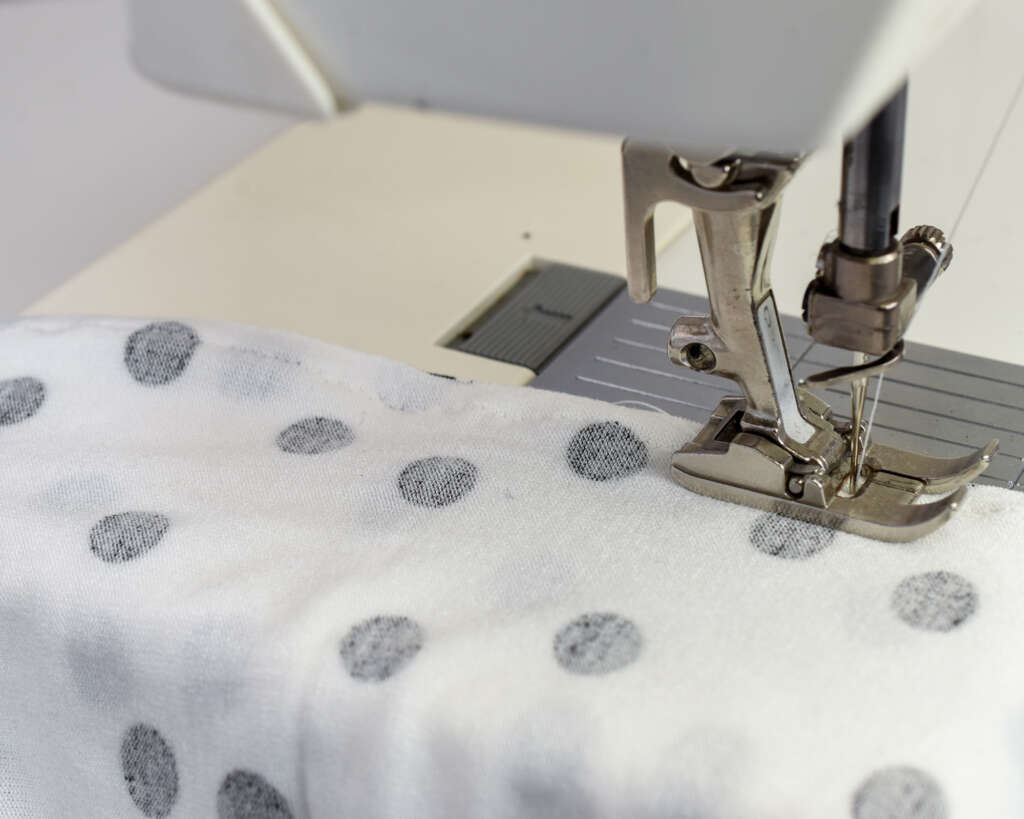
Stitch the lower edges of the collar
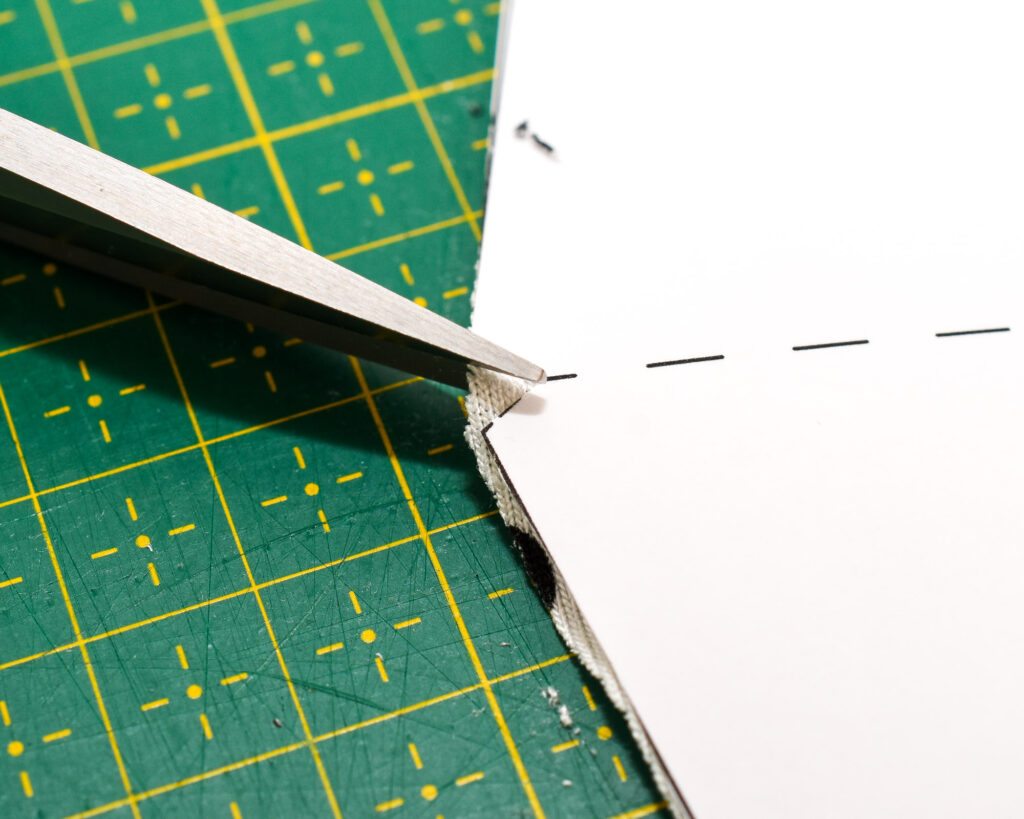
Remember that the folded corner should be clipped into a triangle to make shaping the collar easier.
Fold the collar opposite way so the right sides are facing each other.
Start sewing from the folded corner rather than the raw edge; it will keep the layers from shifting while sewing and give you a cleaner corner at the tip.

After stitching, fold in the seam allowance along the stitch line.
Press the fold.
Turn and shape the collar
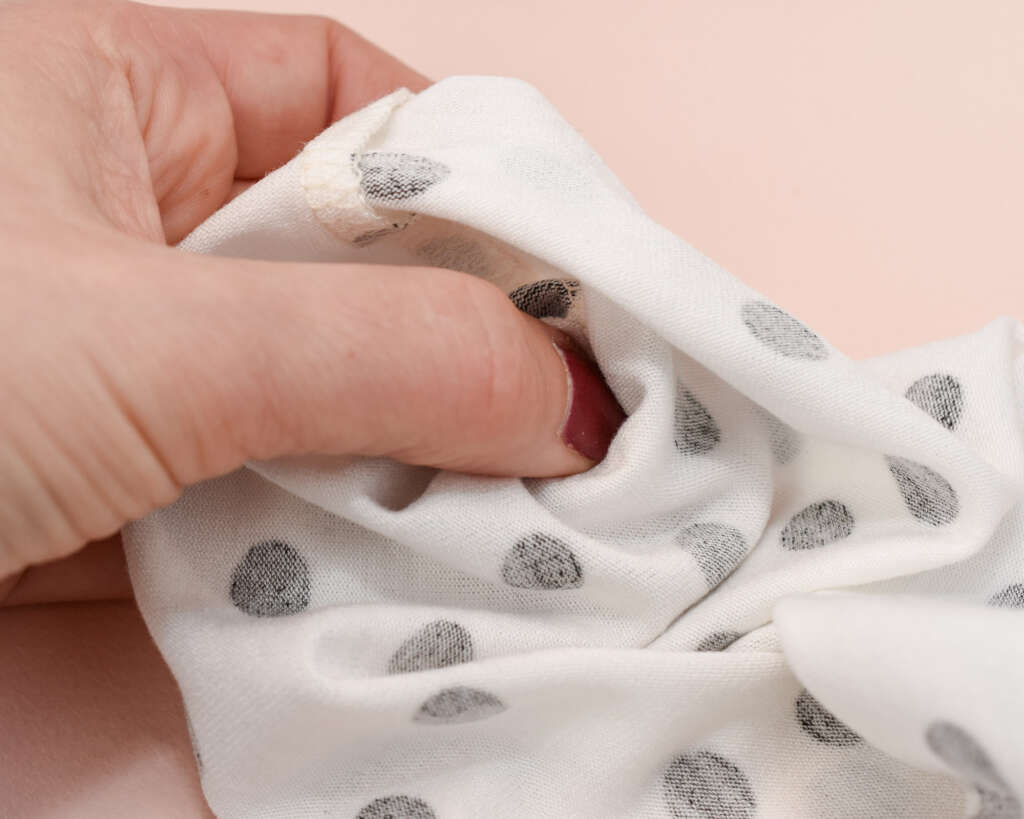
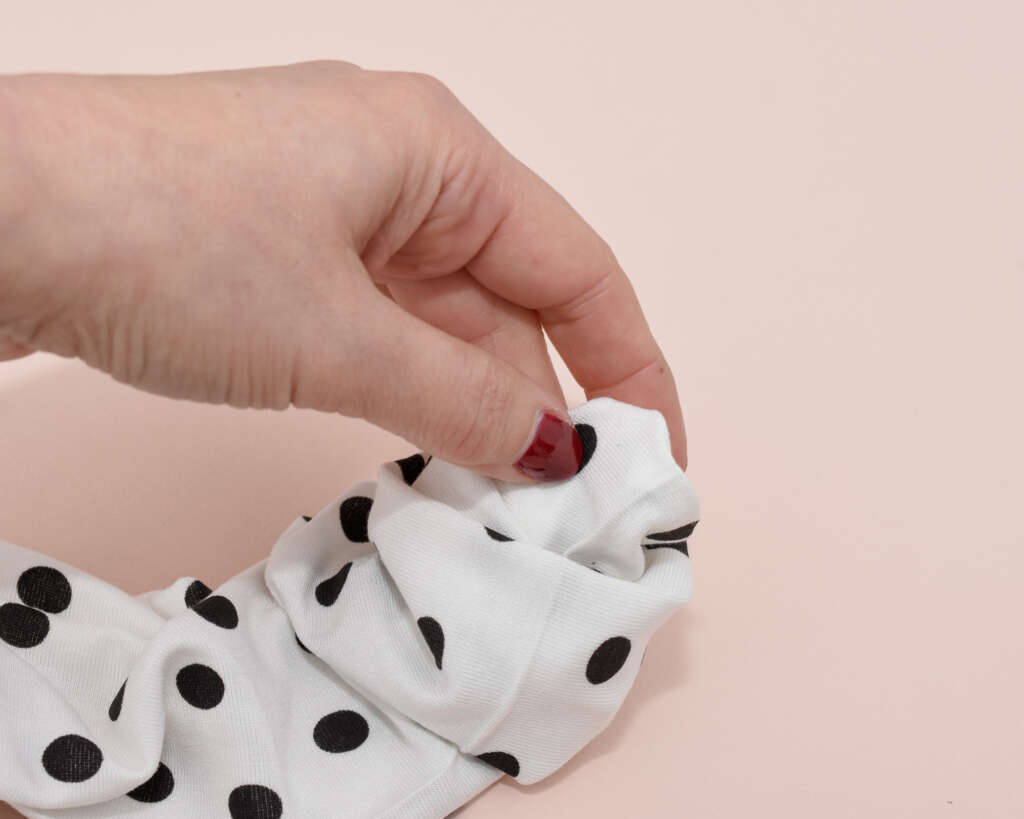
Pinch the fold with your fingers and turn the collar right side out.
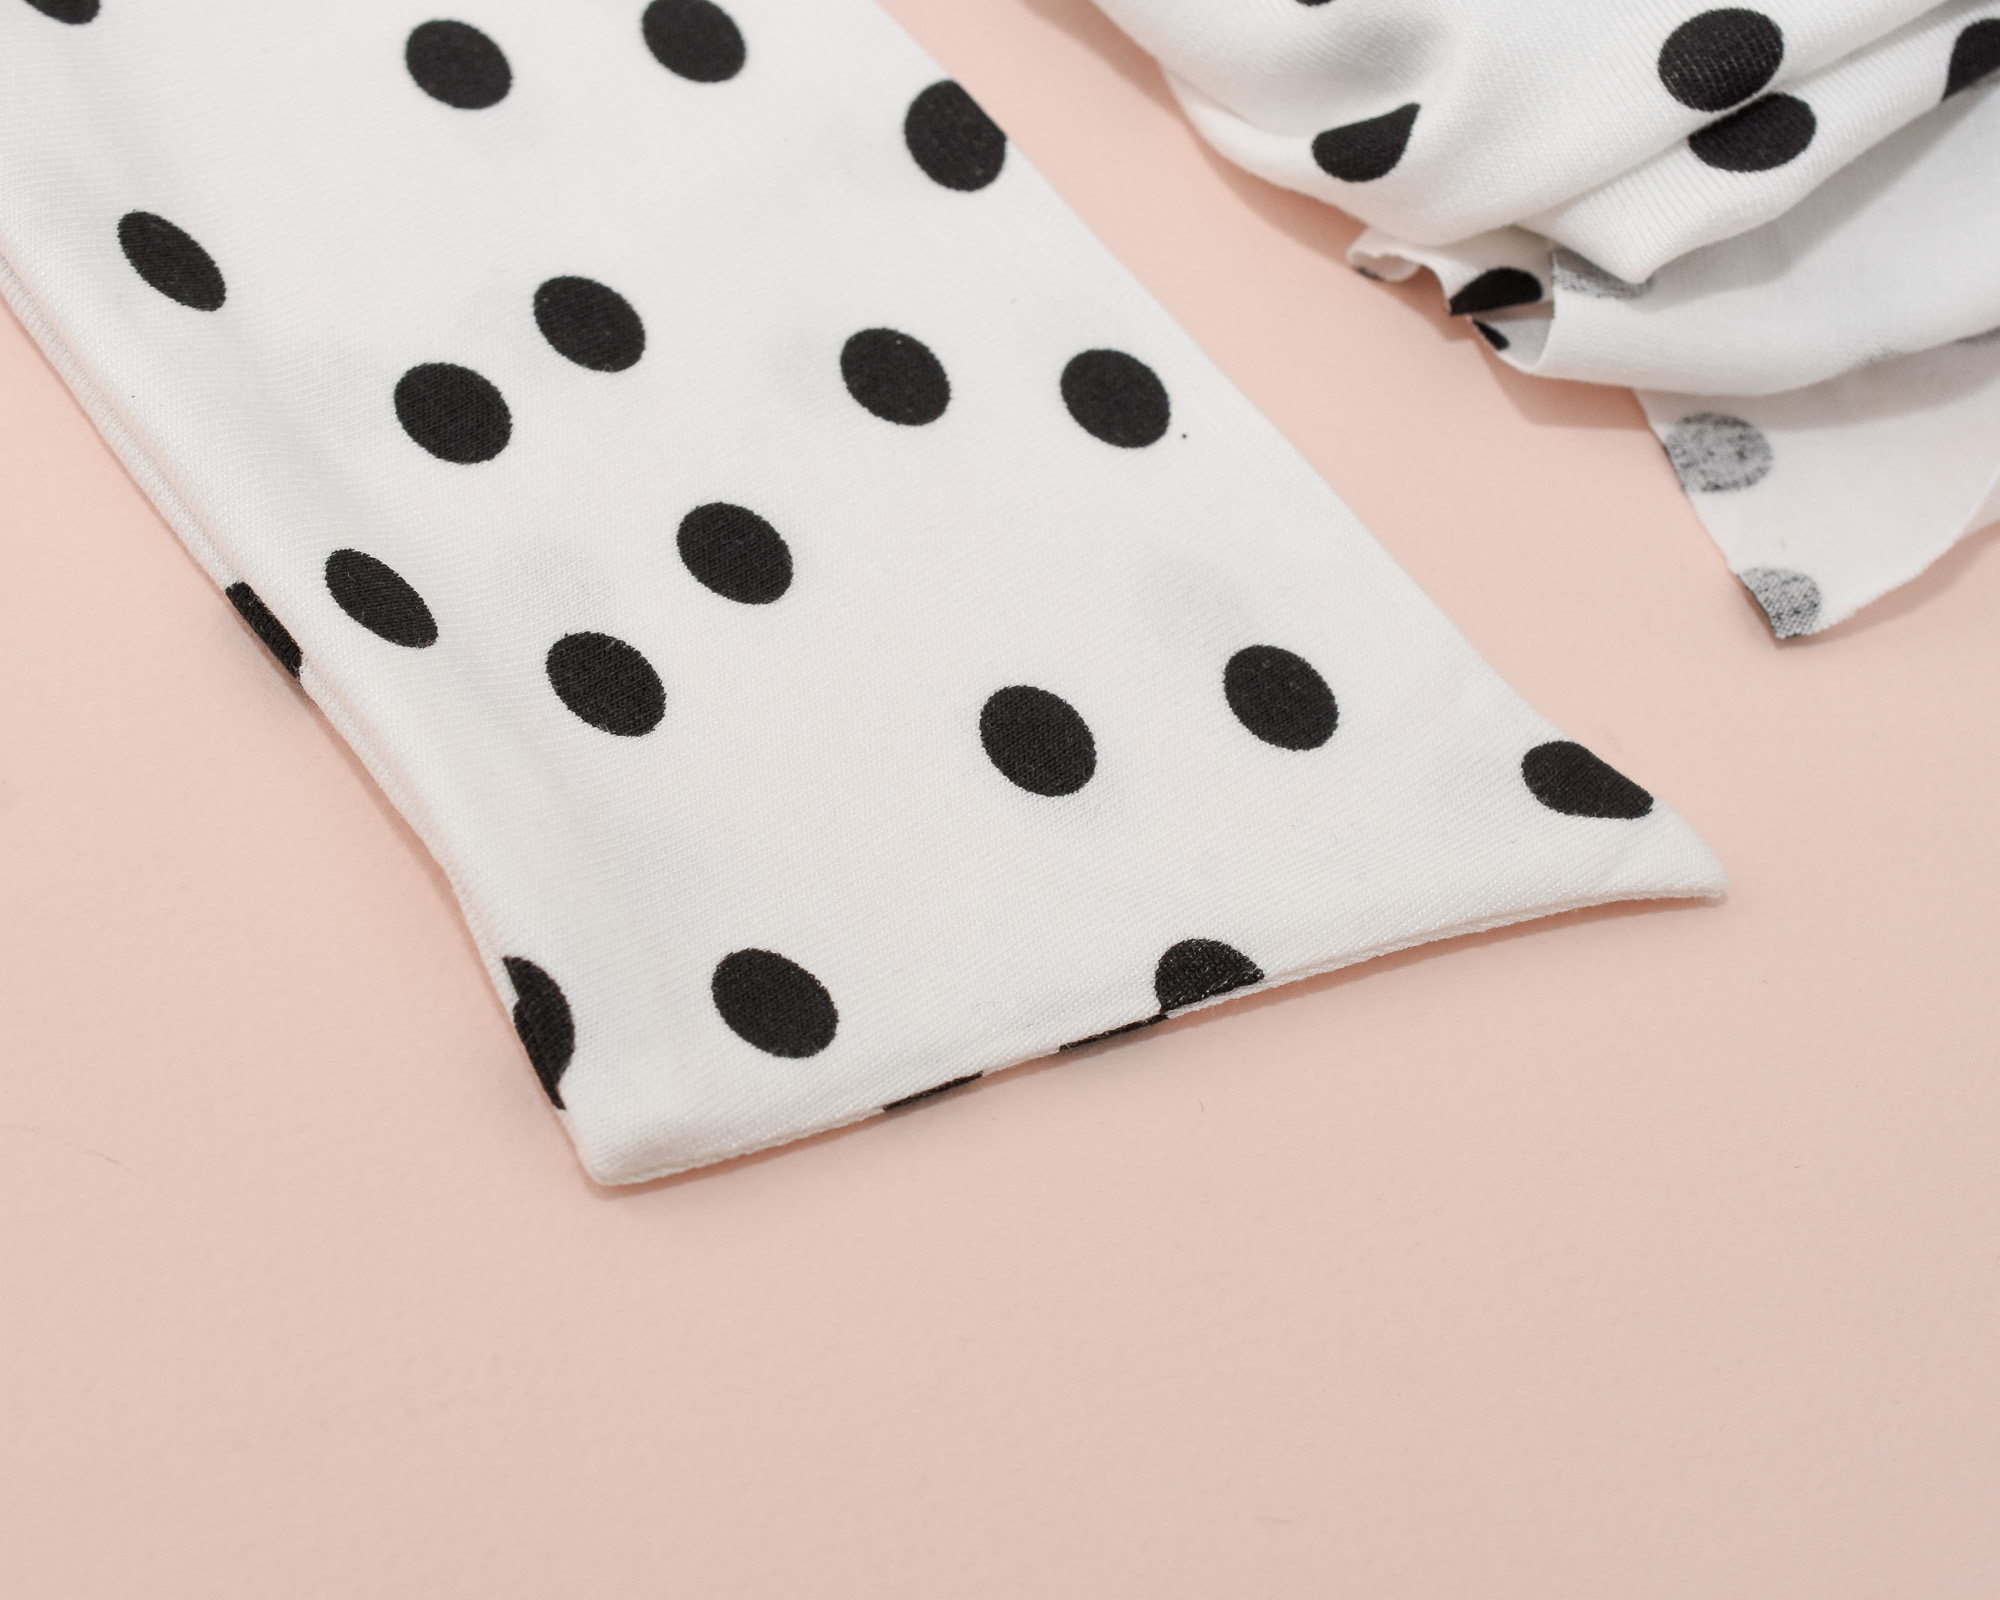
If the corners look a bit rounded, use a point turner (Amazon affiliate link) (or something similar) to gently shape the corners. Then press again from the right side to define the edges.
Sewing the sides
Preparation
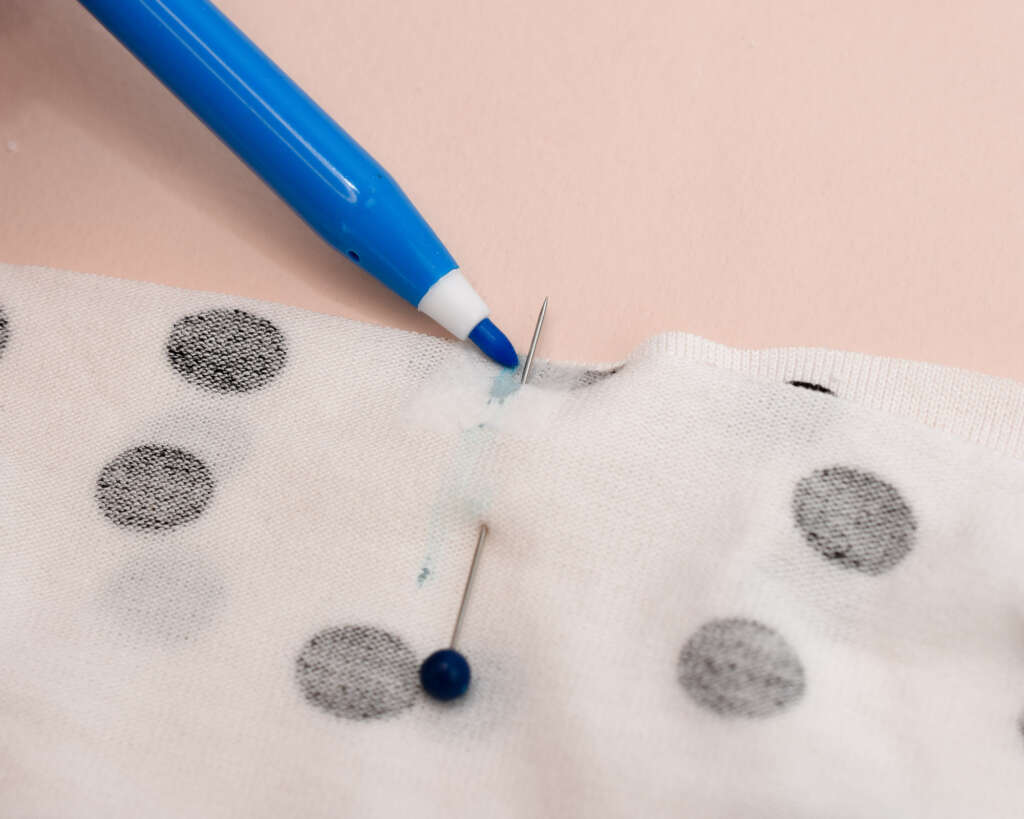
Mark the notches (1) on the wrong side of the collar with a long line. Mark on the side that will be facing up when you are sewing the sides. Doing this makes it much easier to see exactly where to start sewing.
I’m using a water-soluble marker here, (Amazon affiliate link), which I highly recommend. Just remember to remove the line with water before pressing, otherwise the colour might set permanently in the fabric. You can also add a pin for extra visual help.

Fold the collar lengthwise, right sides facing and pin or use wonder-clips (Amazon affiliate link) to keep the layers in place.
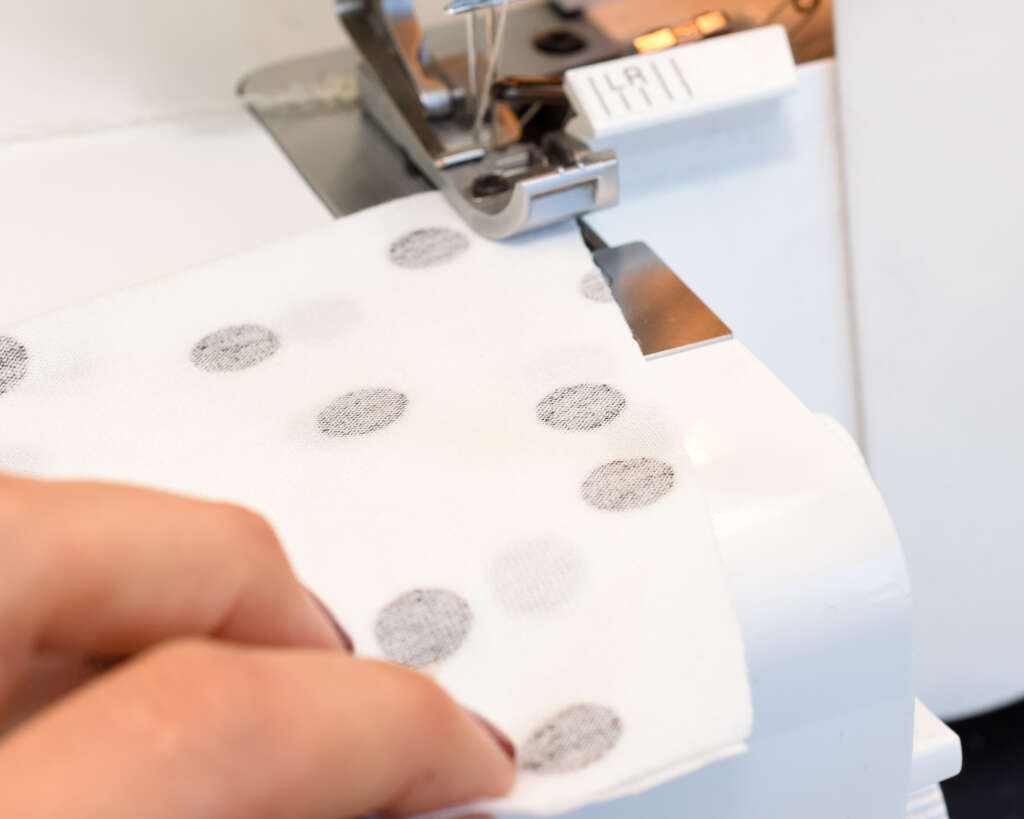
Stitch the sides
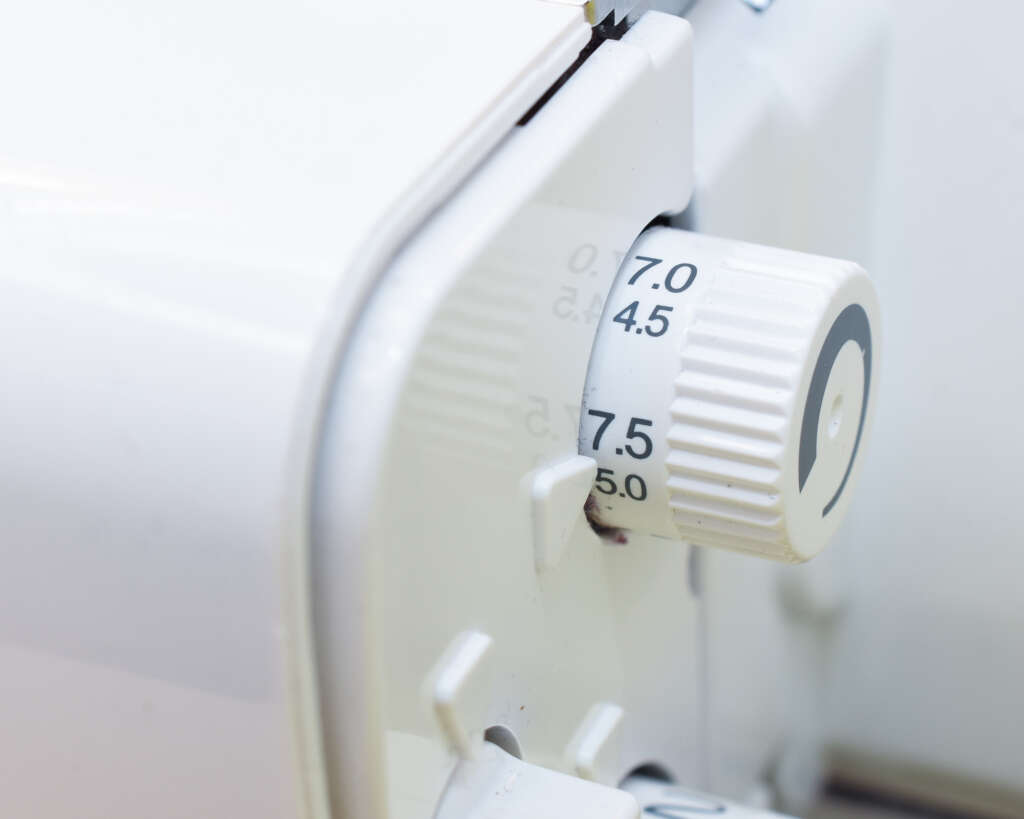
Set your serger on a 7.5 stitch width. We are using a sliglthly wider seam allowance here to make attaching the collar to the neckline easier.
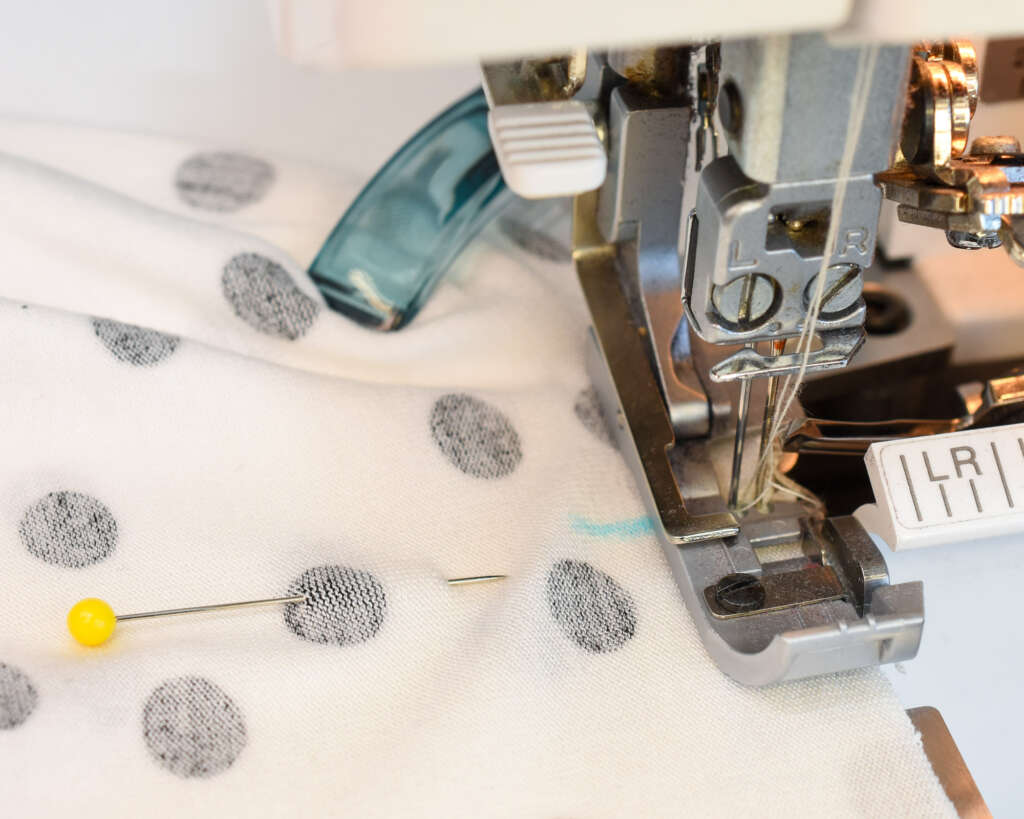
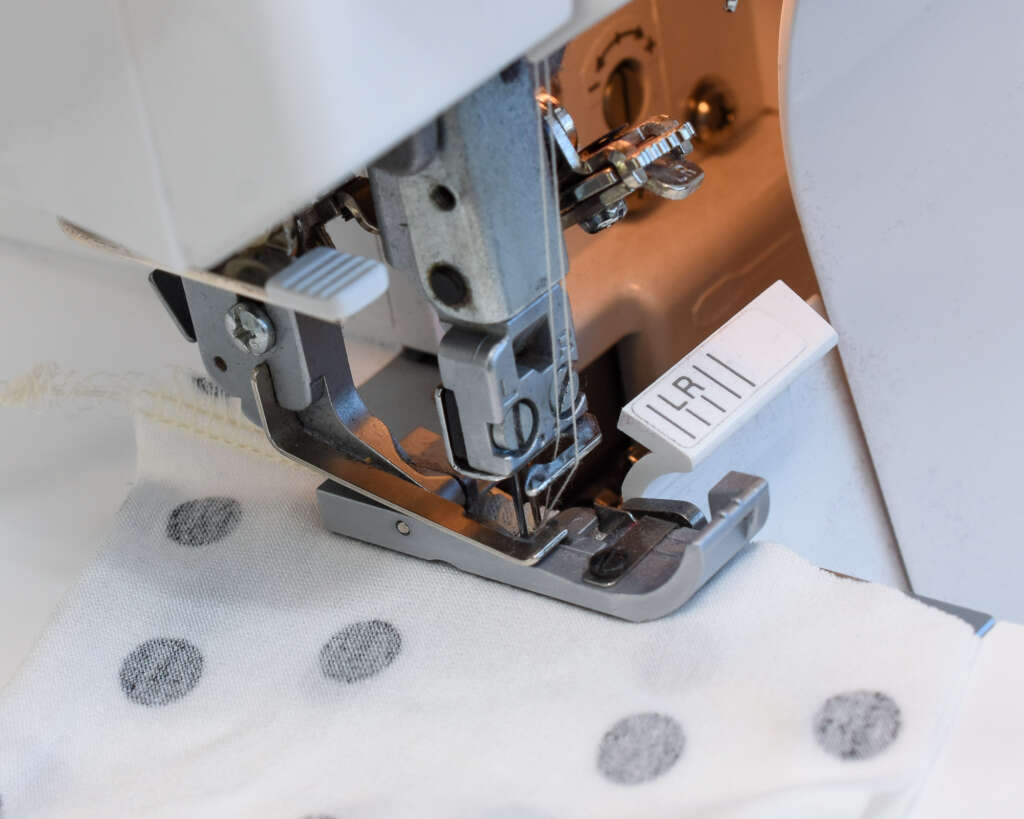
Start sewing exactly at the marked notch. Use the hand wheel to position the needle precisely before you begin.
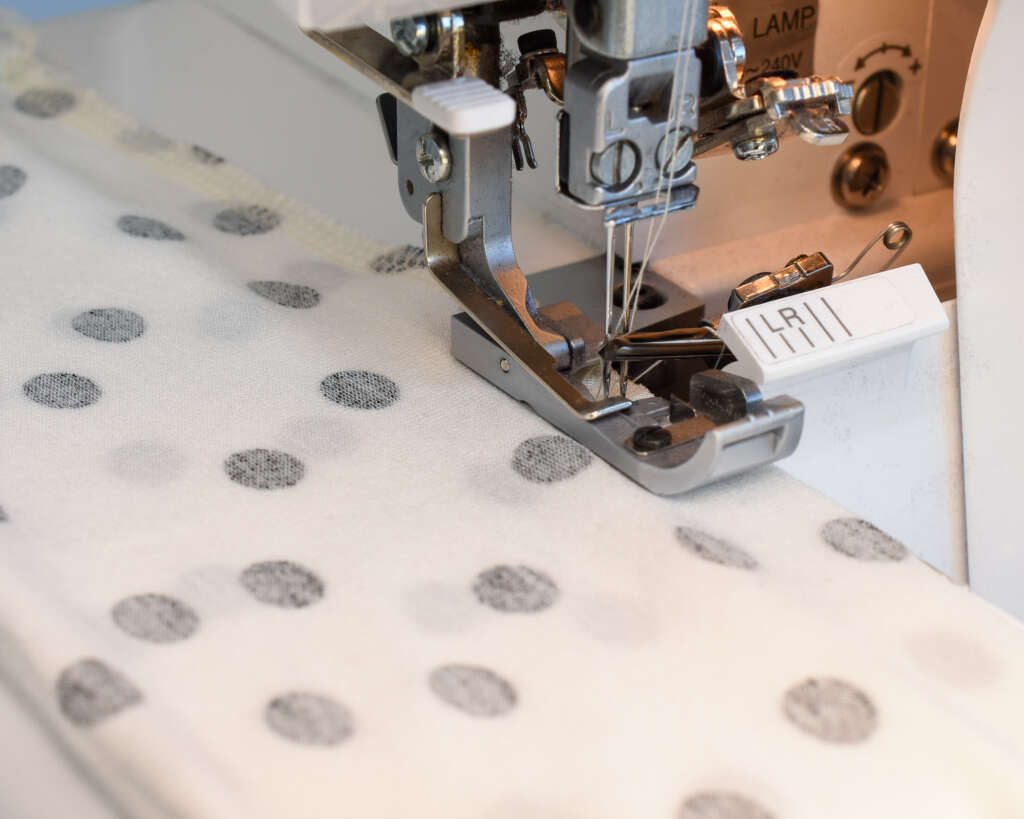
Then sew down along the sides toward the tie ends. Repeat on the other side. For extra safety, secure the overlock thread strands using your preferred method.
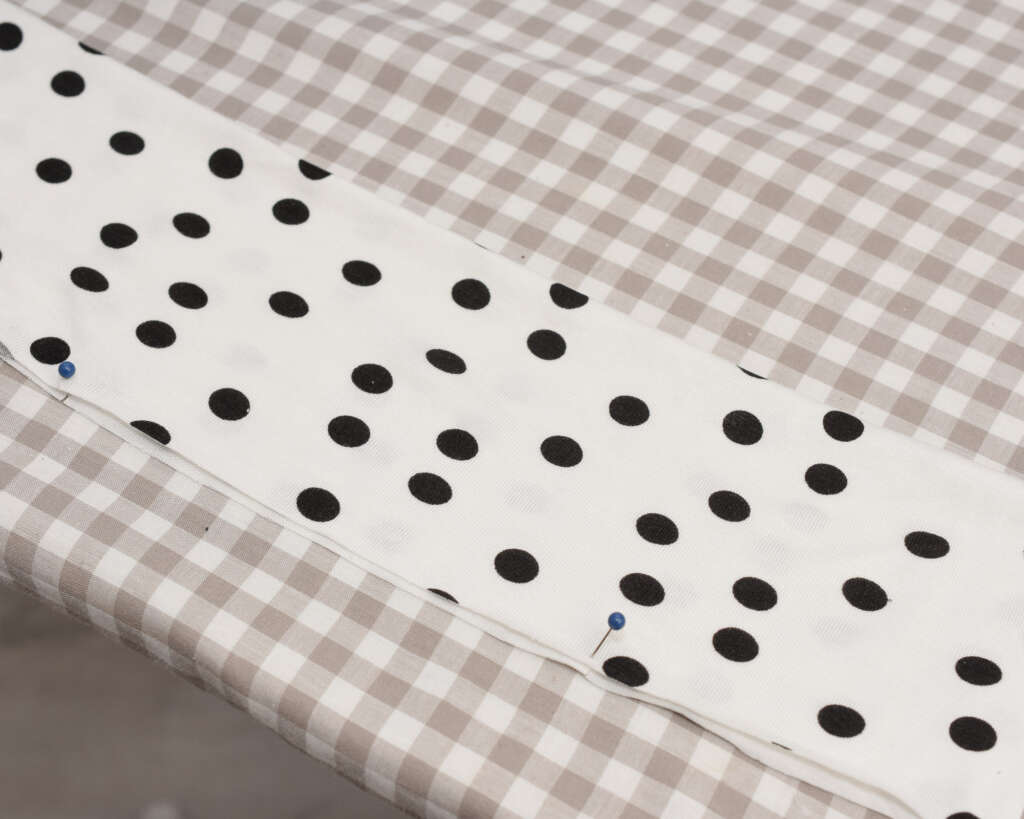
Remember to remove the markings before pressing the collar seams.
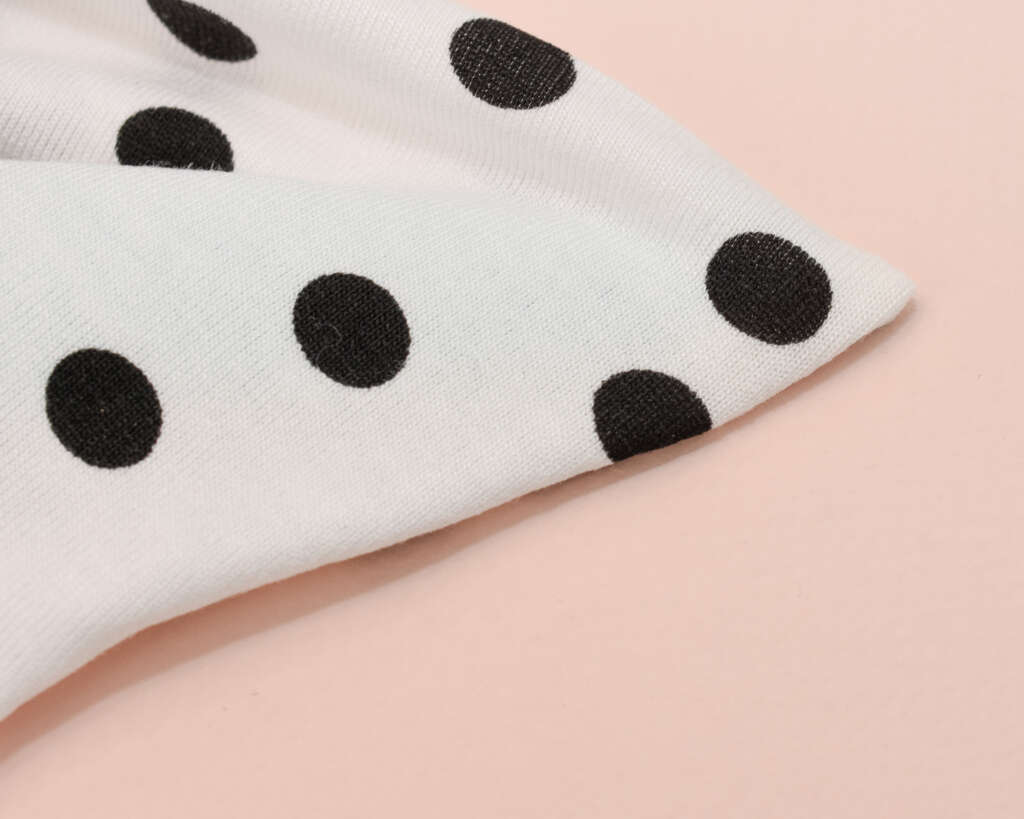
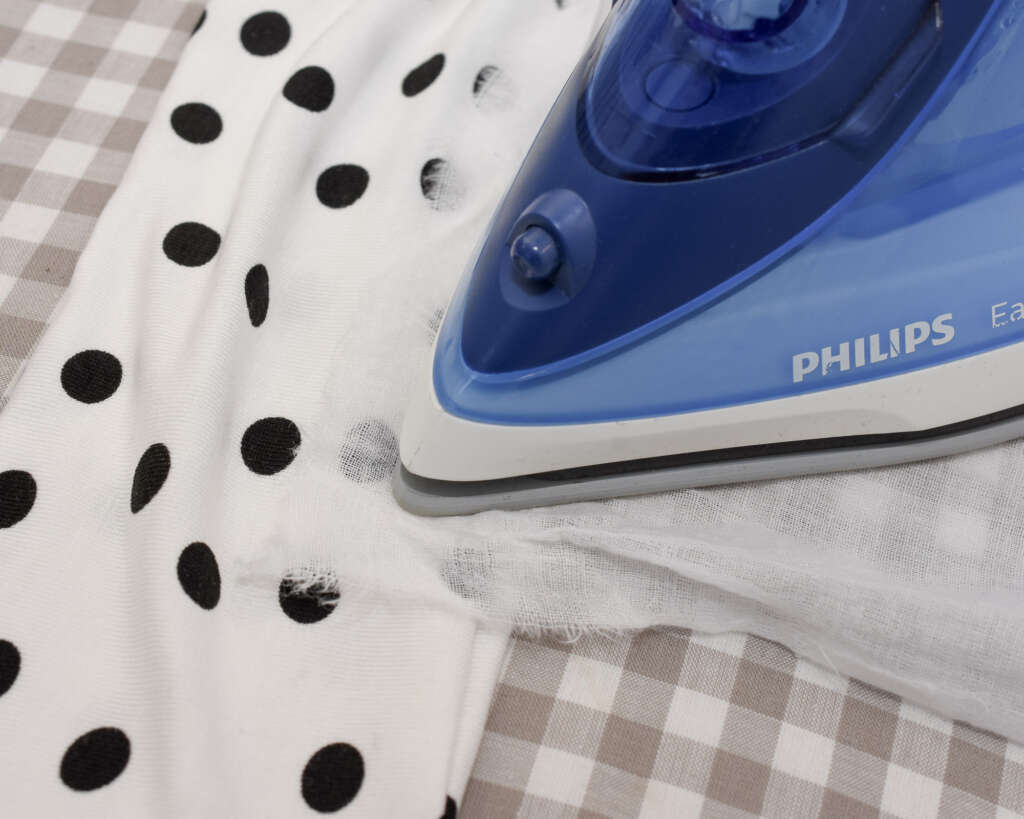
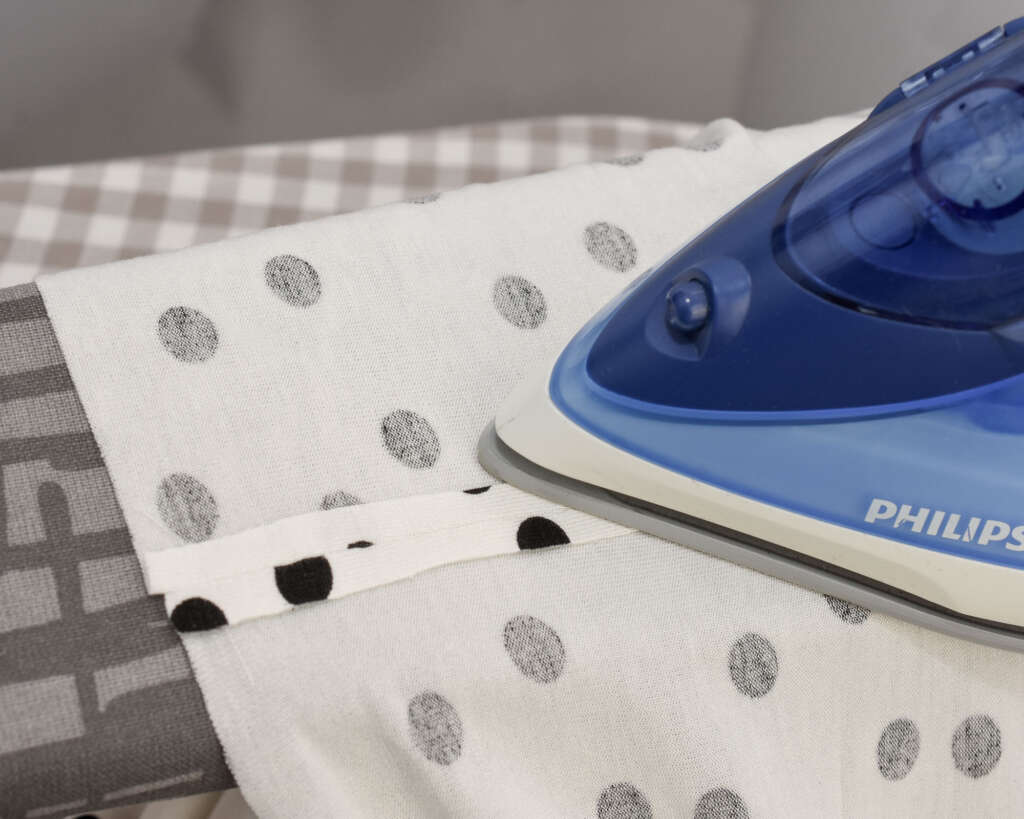
Press the corners and sides
Fold in the seam allowance of the edge along the stitching line and press. This step helps the edges roll neatly to the inside and makes the outer corners sharper once turned. (I noticed that my pressing is looking a bit messy in this photo, pushing the fabric, but hey, it worked out fine :))
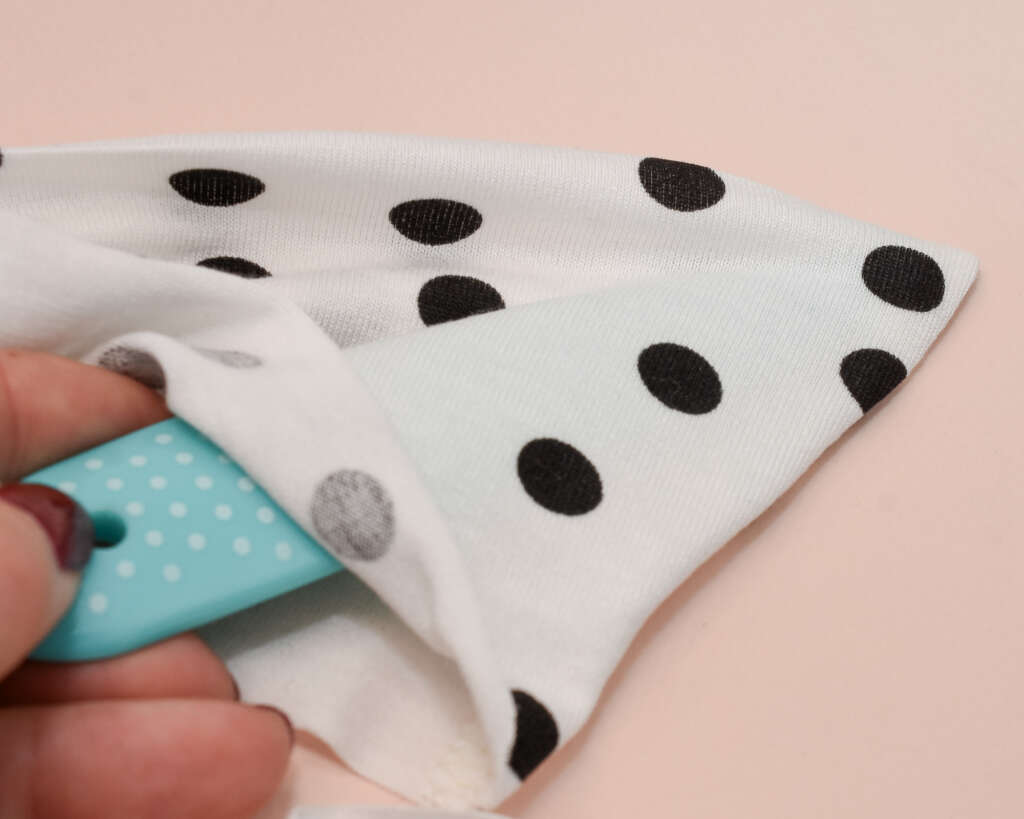
Turn the collar right side out again
Press the side seams from the right side to make them flat. Again, just a reminder to remove any markings before pressing.
Then press the corners a final time to shape them properly.
Join the collar ends (long tie only)
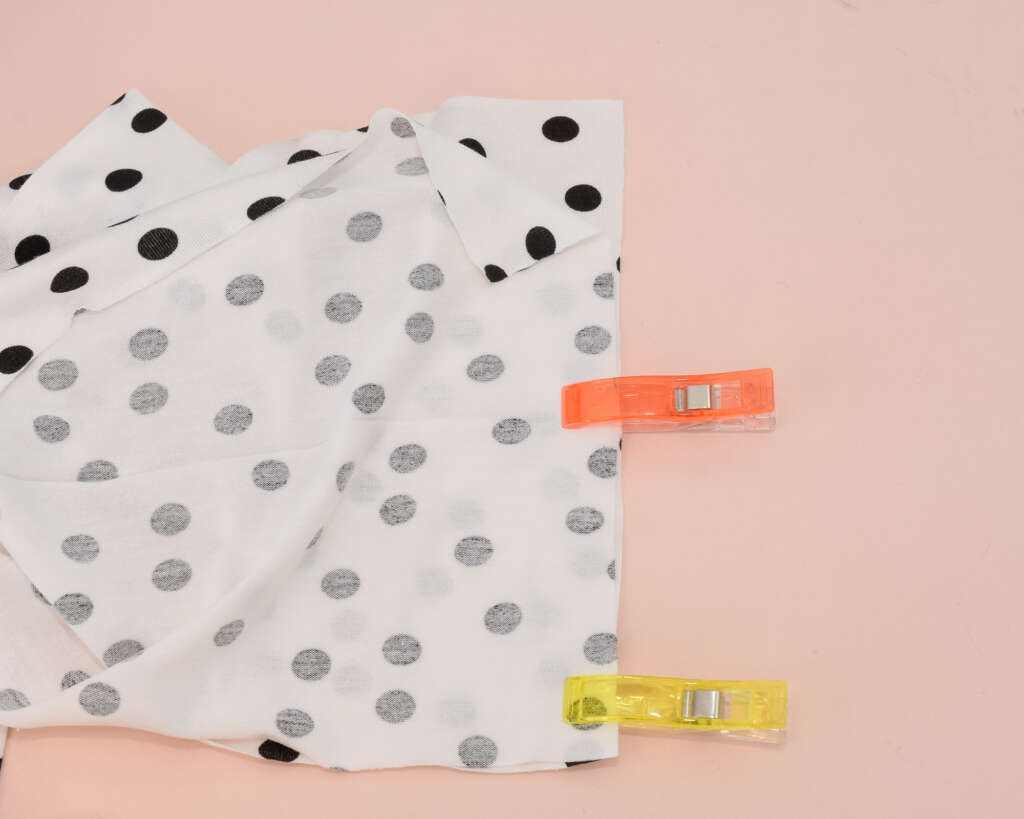
If you’re sewing the long tie version, align the ends right sides facing and pin or use wonder-clips.
Sew the sides using a very narrow zigzag stitch; the stitch width should be about 0.5 wide. Using an arrow zigzag stitch rather than a straight stitch prevents the seam from breaking as it has a little built-in stretch.
Press the seam allowance open to flatten the seam.
Now the collar is done, the next step in the Tyri Sew-Along is to attach the collar to the neckline.