
You don’t need to knit in order to create a pair of handmade mittens. In fact, you can whip up a pair in less than an hour just using your sewing machine and some fabric scraps.
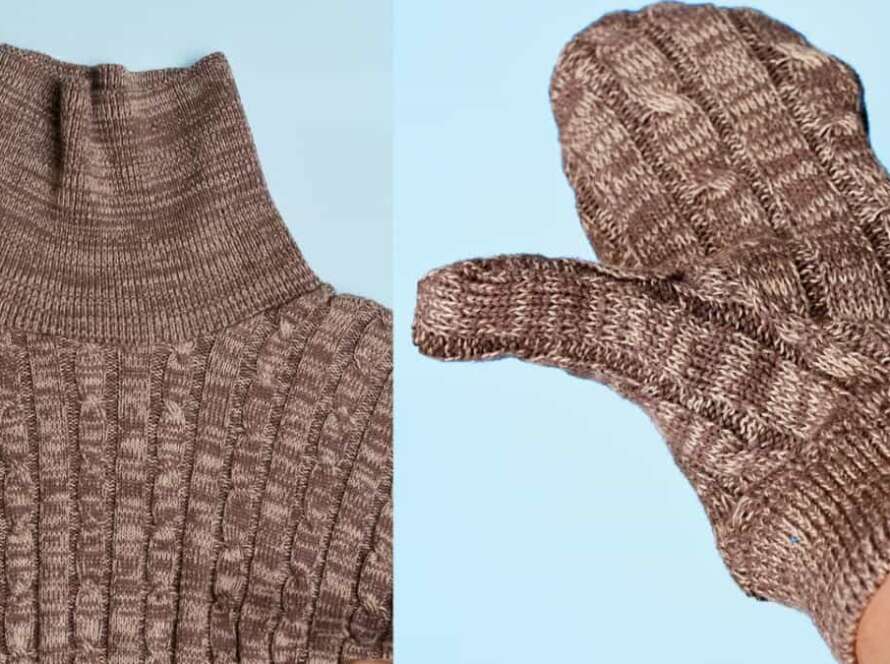
Since I created the Tova mittens sewing pattern last year, I have not bought a single pair of mittens and they are also fantastic to use for refashioning projects, such as turning an old sweater into mittens.
So in this tutorial, I want to show you step-by-step how to a pair of mittens are constructed when you sew them on just a regular sewing machine.


1. Cut the fabric pattern pieces
For the glove part, I’m using a quilted knit fabric that I had in my stash. The glove fabric just needs a little bit of stretch, and felted wool is also an excellent option And the ribbing is a heavy wool/acrylic rib with great recovery. I recommend using more stable ribbing that retains its shape since the cuff should ideally sit quite snug.

2. Attach the thumb piece to back palm piece
Right sides facing, the wrong side up, sew along the curved line. Right now it might look like nothing like a pair of mittens, but soon the magic will happen.


3. Fold the thumb piece in the middle so that the edges meet
This is in preparation for stitching it together, now it might look a little bit like a puzzle in the pictures, but when you have it in your hands it will all make perfect sense.
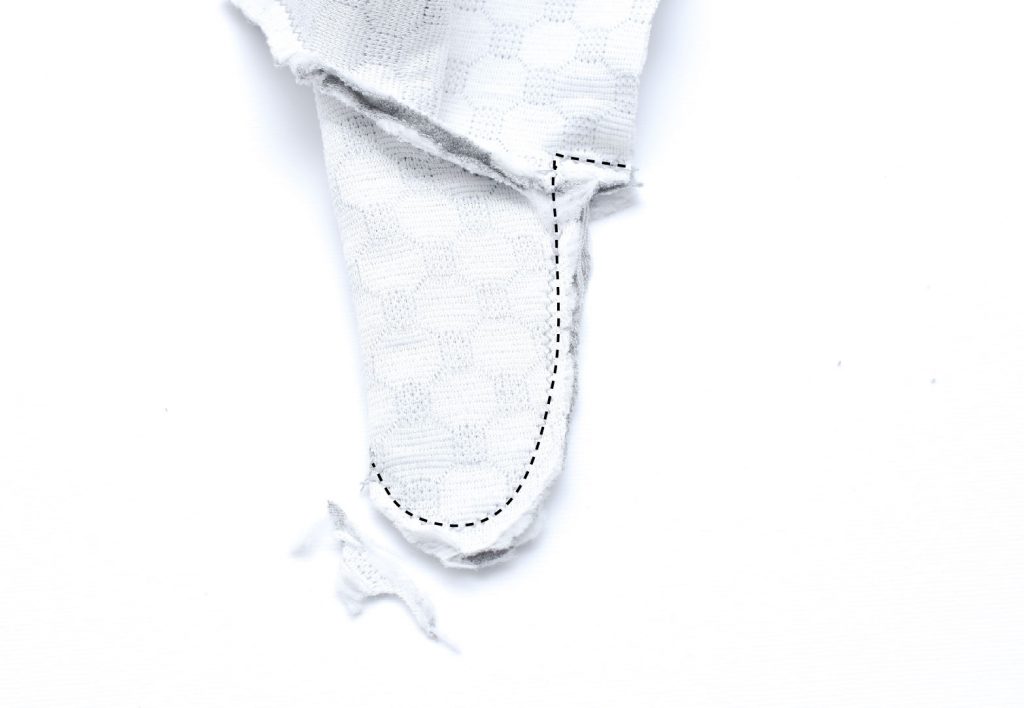
4. Stitch the thumb
Start at the corner, then pivot where the thumb begins and sew all the way around. Trim the corner to round out the shape of the thumb. I like to use a narrow zigzag stitch for this step. You can also reinforce the corner for extra security

5. Clip the corner where the thumb begins (optional)
A little clip will make the corner easier to shape but is not necessary.


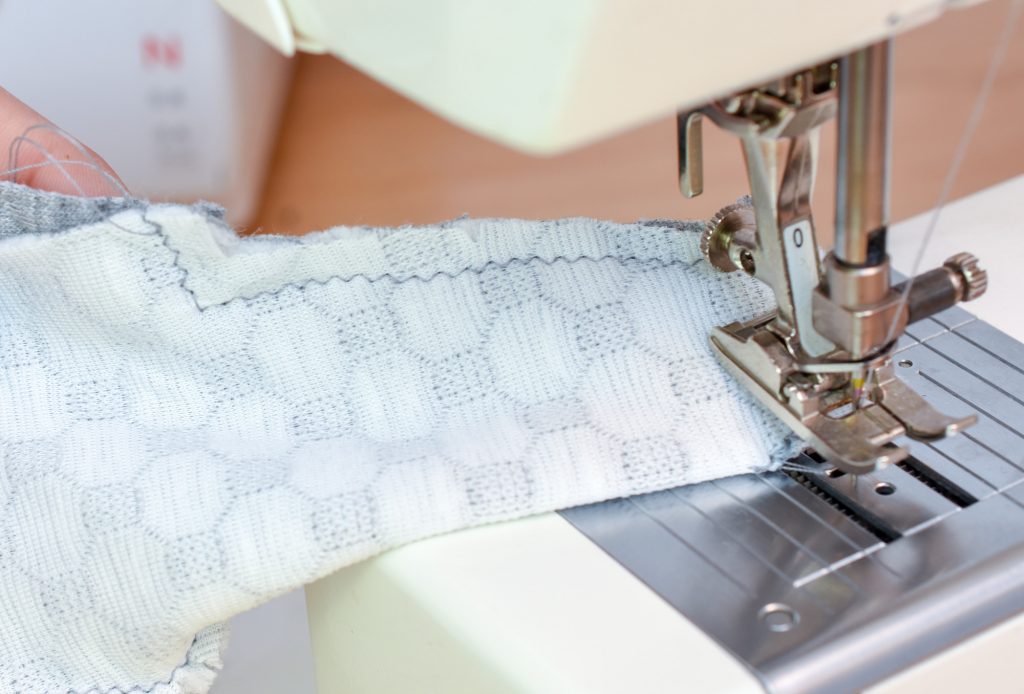
6. Stitch the front and back palm together to create the mitten
Place the back palm (with the thumb) on top of the front palm piece. Right sides facing. Make sure the thumb is folded towards the middle. Stitch along the entire glove, using a narrow zigzag stitch or a stretch seam.


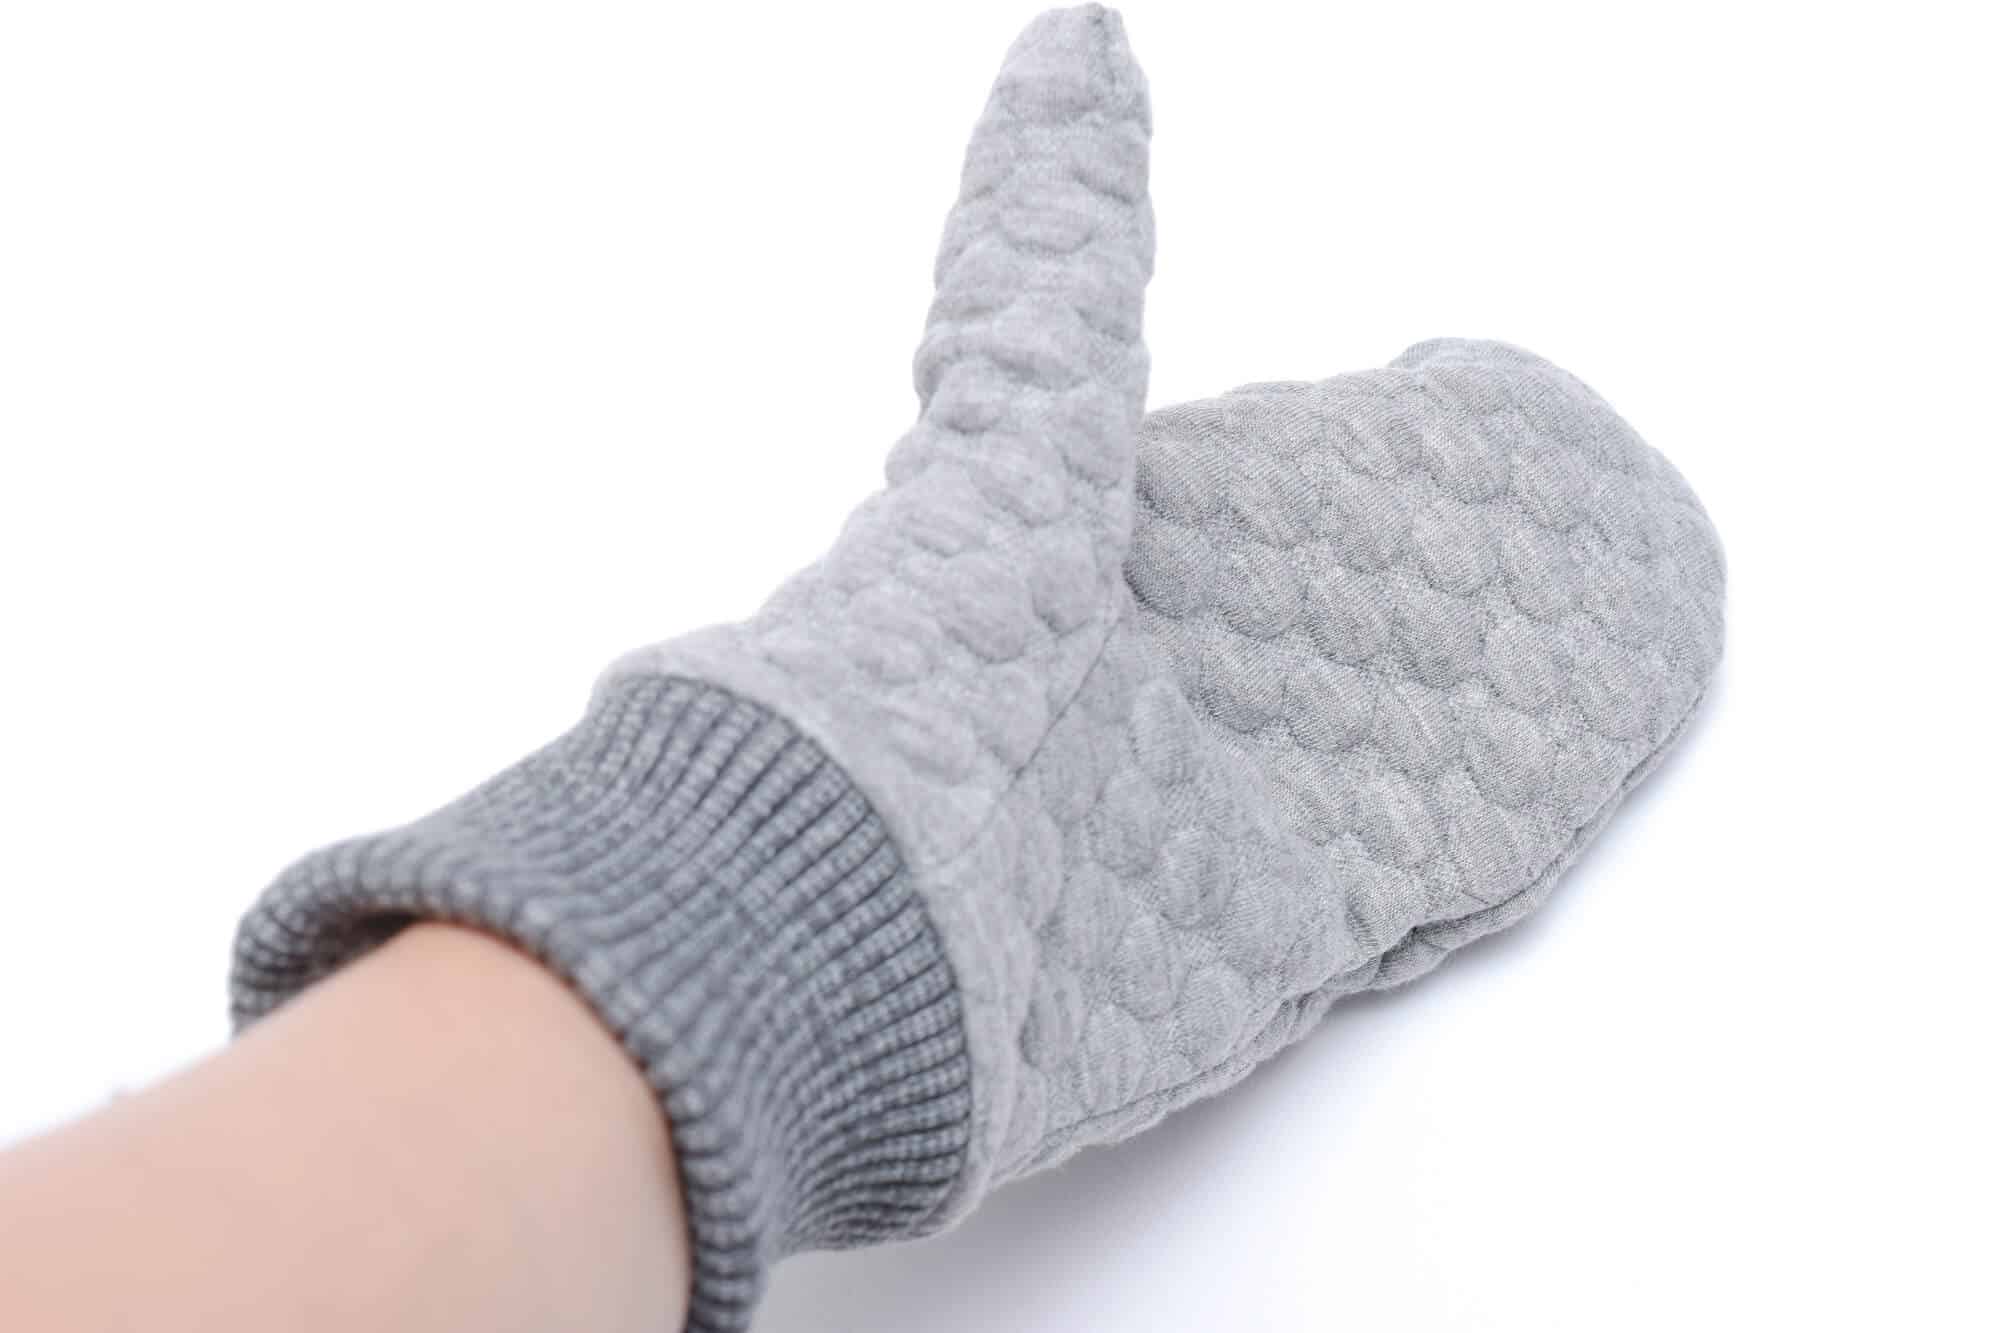
7. Turn the mittens outwards
Now, this little puzzle is starting to like a mitten, it’s like magic! As I told you, it would all make sense, once we got going. Notice the corner underneath the thumb. This is the corner pivot that we did in step 4.


8. Sew the cuff
Stitch together the ribbing to create a round piece. Fold lengthwise to turn the tube into a cuff.


9. Attach the cuff to the mittens
Pull the cuff over the glove. Match the notches. Then sew the ribbing to the mittens using a stretch seam or a narrow zigzag stitch. The cuff on the Tova Mittens is around 80% of the glove width and needs to be stretched out while sewing.

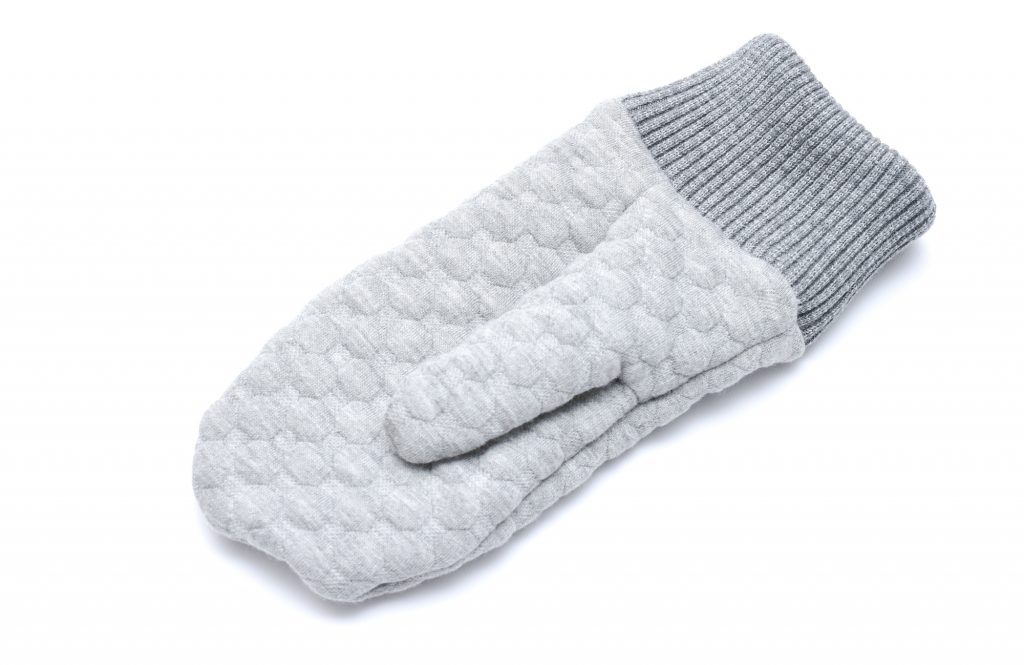
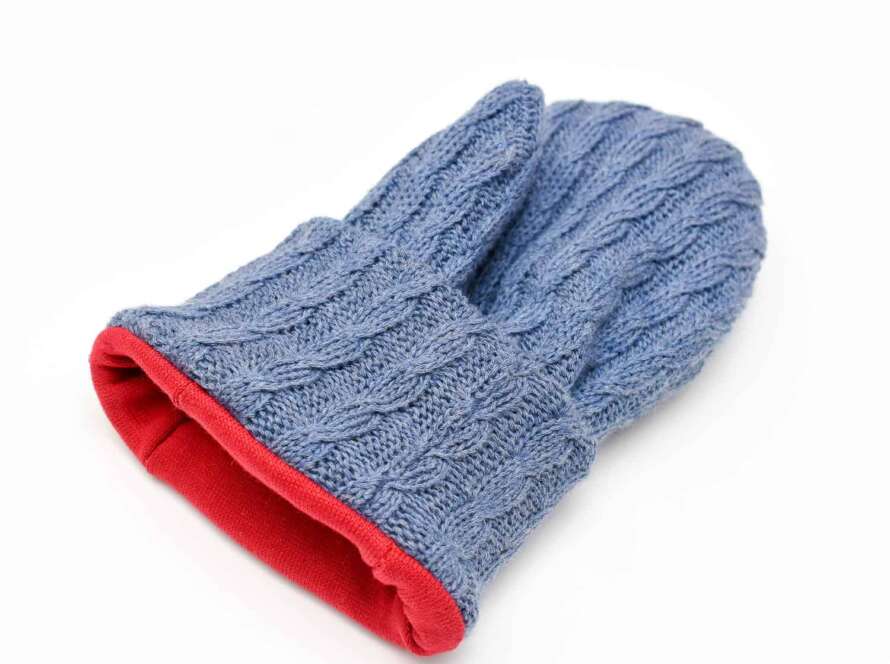
The finished mitten
As you can see, this is a quick project that doesn’t involve a heap of steps. The technique I’m using is inspired by how mittens are sewn in the garment industry, which often employs techniques that can look a little puzzling at first, but once you put it in practice it’s actually very straight forward.
If you like, you can also line the mittens using my tutorial for a clever way to line mittens with zero chafing seams.
Check out the Tova mittens if you want to know more about this pattern.

4 Comments
Comments are closed.