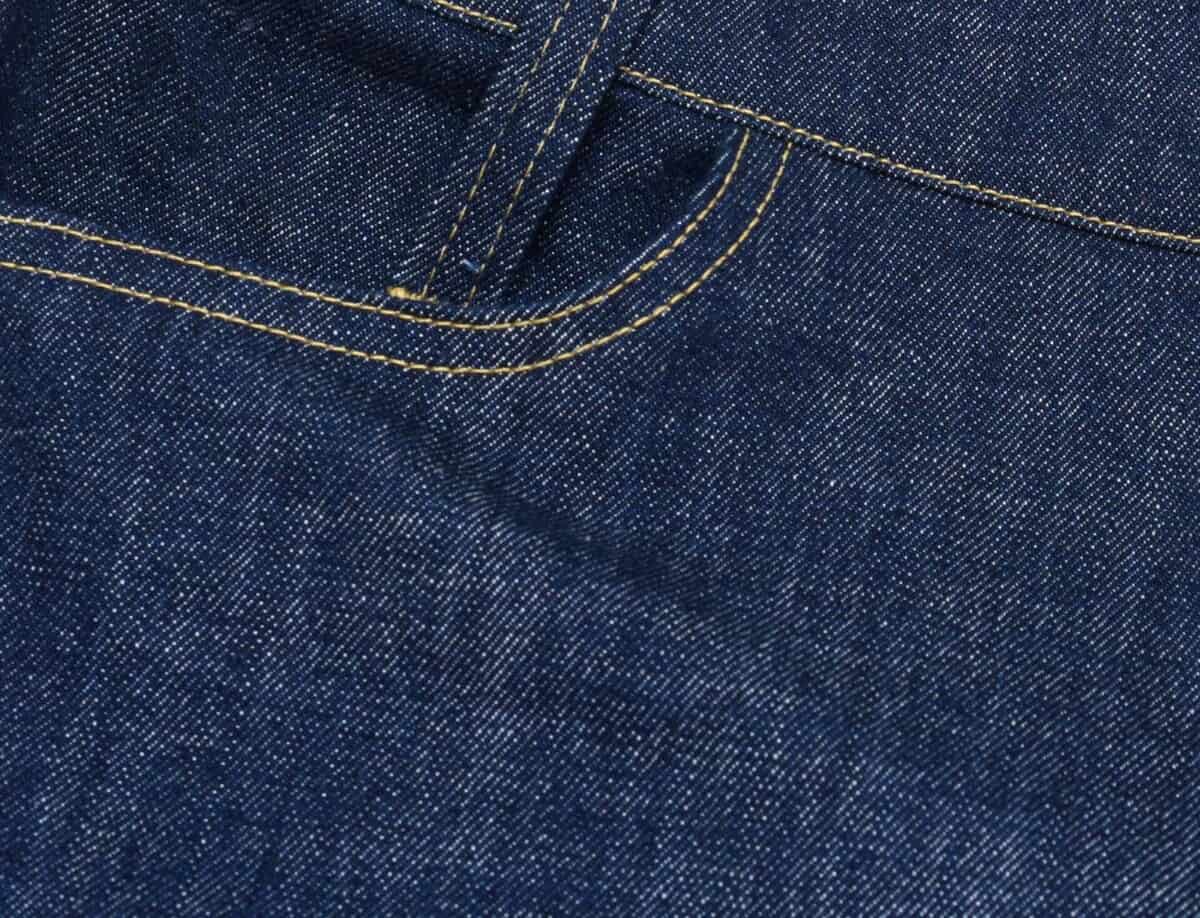
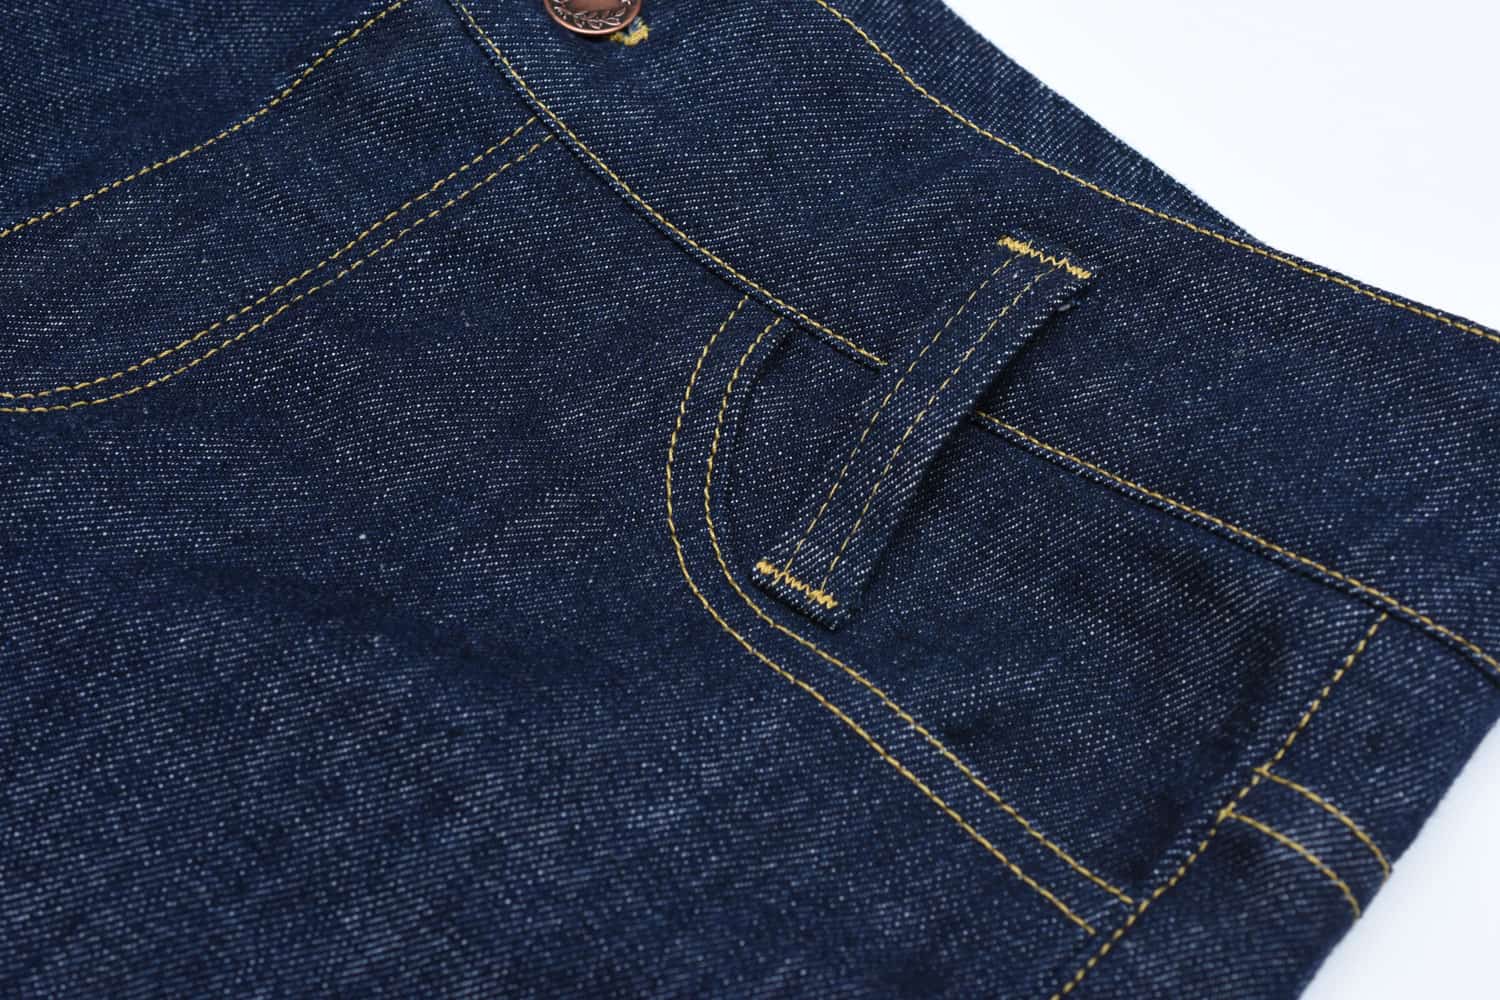

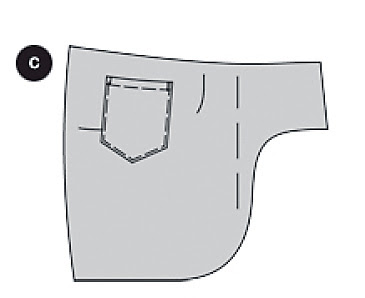
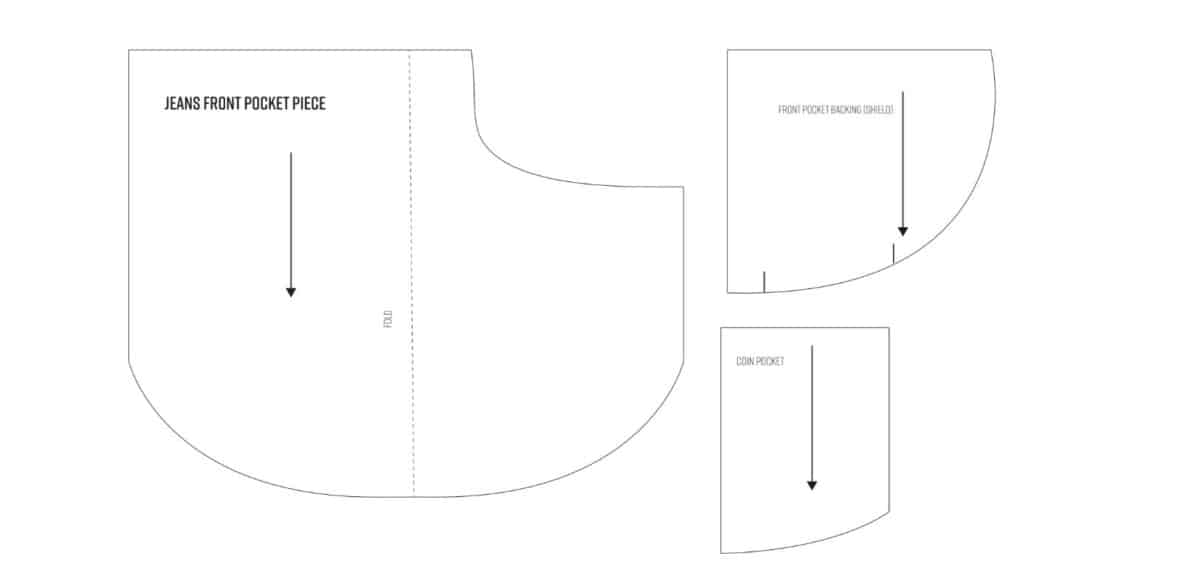
Want to sew jeans front pockets that looks exactly like the ones from big brands such as Levi’s and Lee? In this tutorial, I’ll show you how to make professional front pockets. A lot of jeans sewing patterns have a front pocket pattern piece that looks like this:
But if you look inside your jeans, the pocket usually looks like this:
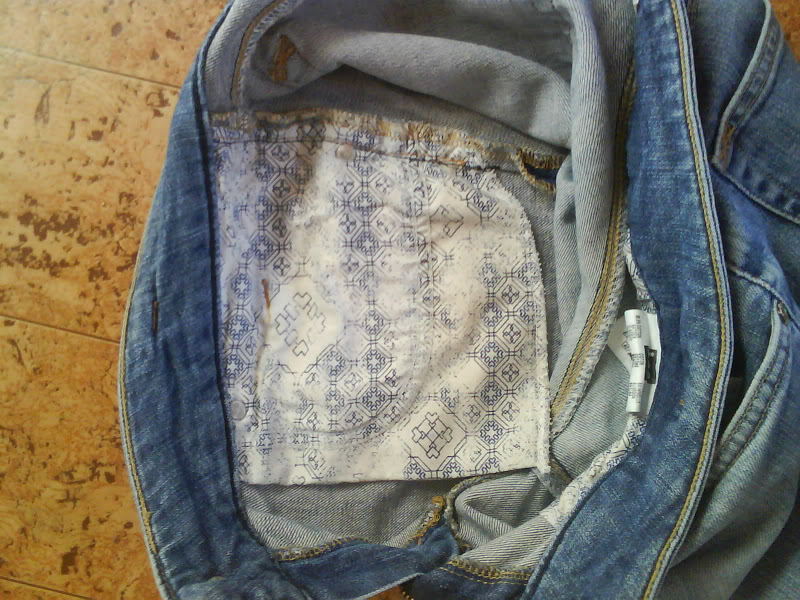
Which is the method I prefer and is what I’ll teach in this sewing tutorial
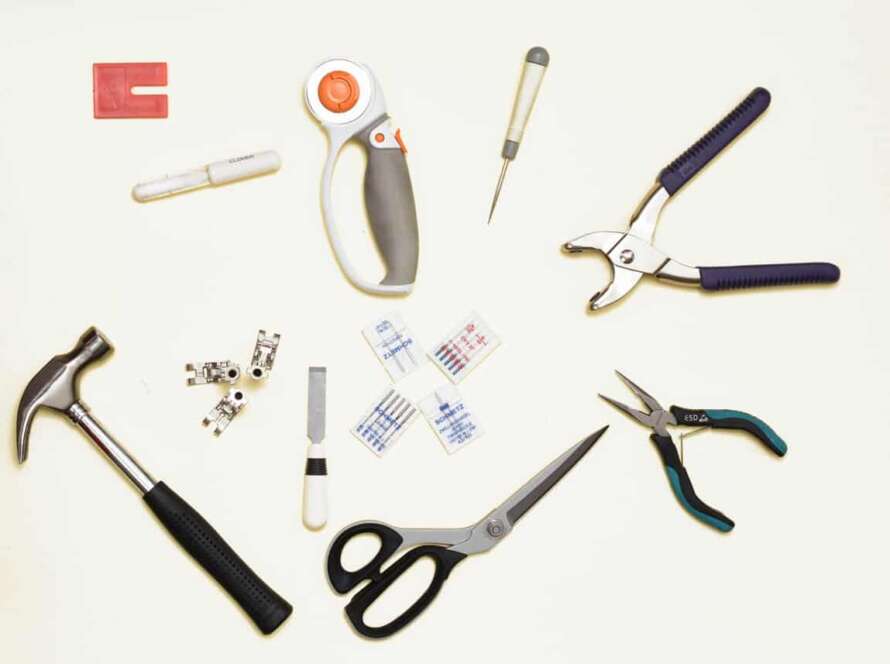
To make professional jeans front pockets you’ll need
- Durable but soft lining fabric, in cotton or cotton/poly blend (I’m using a recycled shirt in this tutorial)
- Topstitching thread
- A presser foot with an edge guide (optional)
- Jeans or topstitching needles
1. Create the pattern pieces
If you don’t want to draft your own front pocket pieces. you can download my free jeans pattern pack.
Or if you want to make your own pattern, follow these steps:
Draft the pocket pattern. Just take a pair of jeans you already have and measure the pocket. Then draft the pocket using the original pattern lining piece as a guide for the hip shaping and curve of the pocket opening. This is how the end result will look like. The lower end of the pocket can be a little curved too, as it will prevent lint from getting stuck in the corners.
Draft the lining patch: Create a rounded shape that will cover the entire pocket opening plus a bit more.
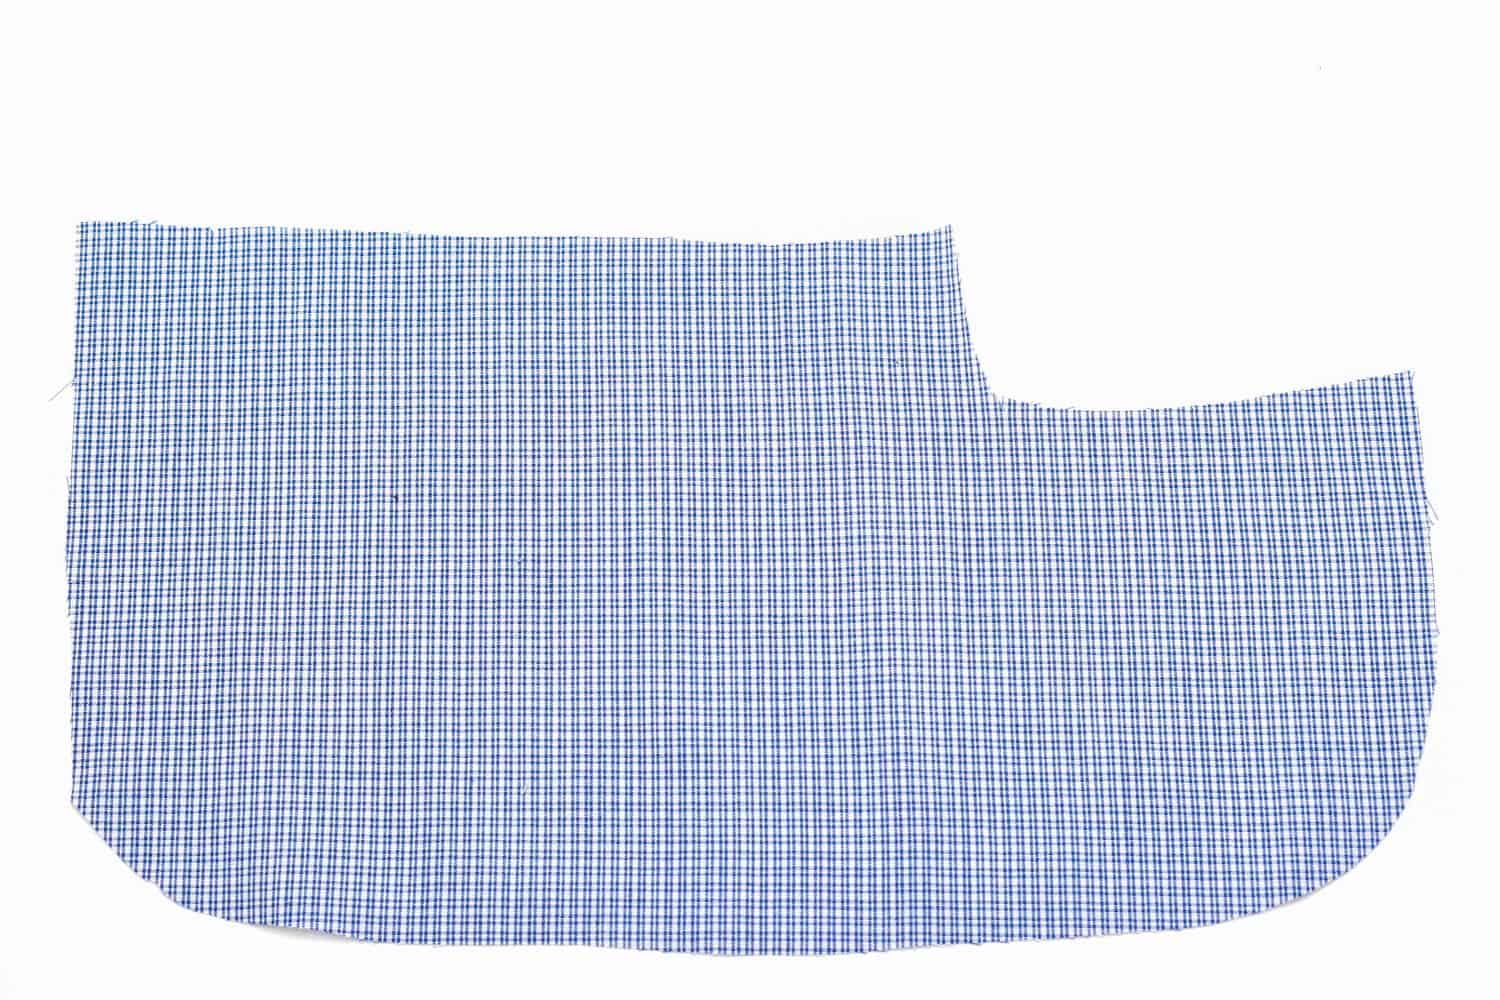
2. Cut the pattern pieces
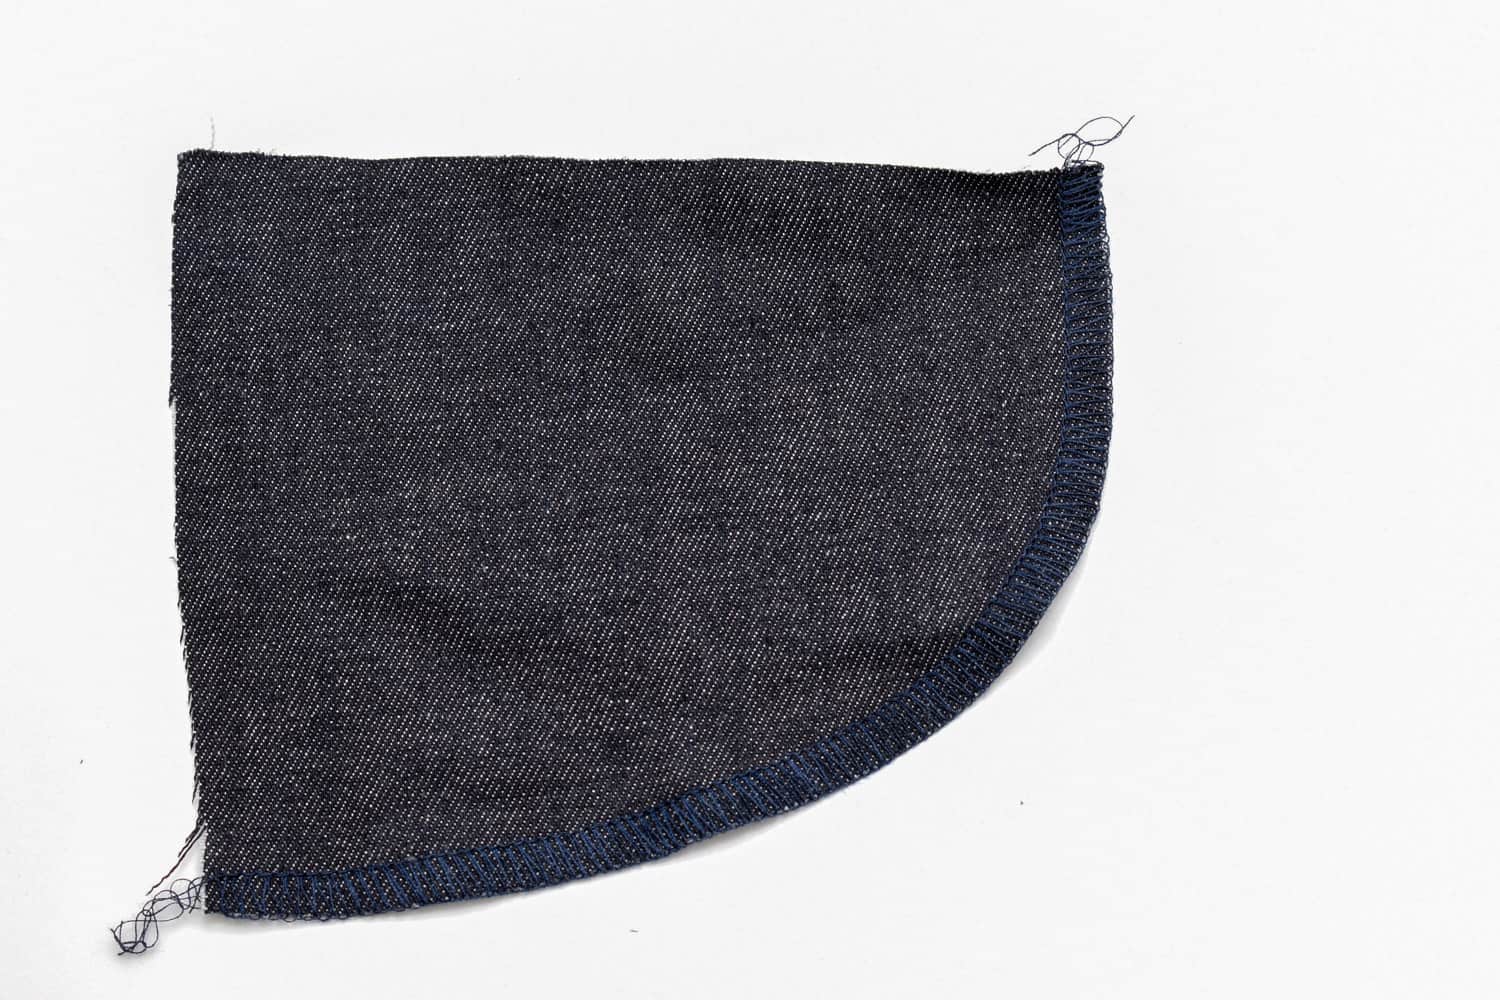
Serge or overcast the patch. You can also overcast the lining before sewing, but I will do it at a later stage, which more closely mimics the time effective garment industry method.
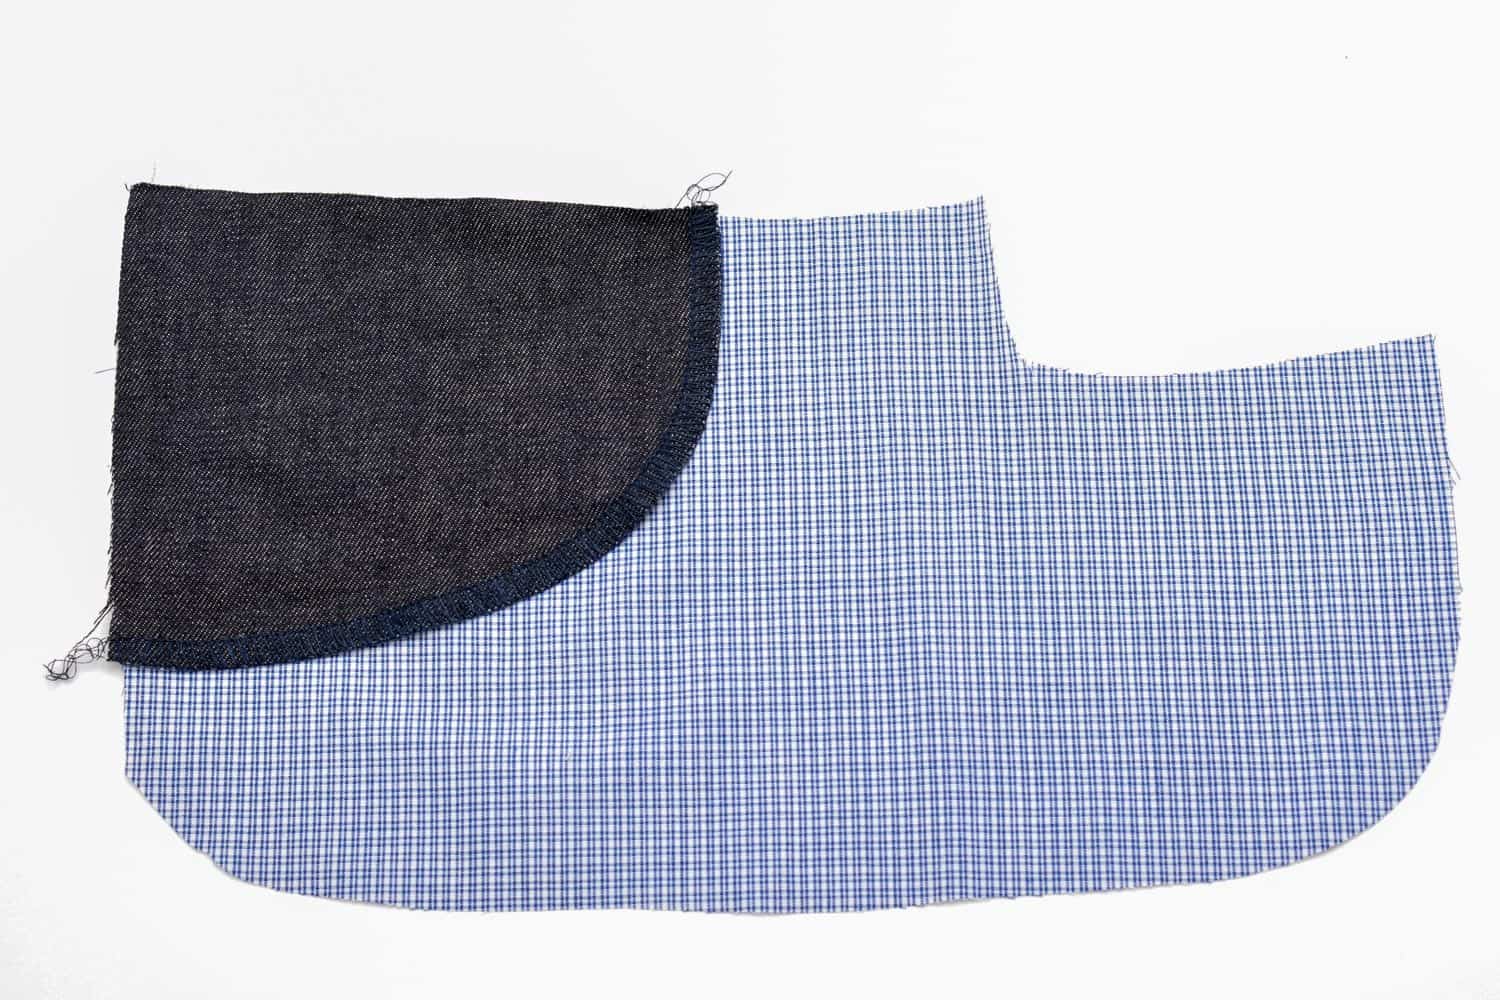
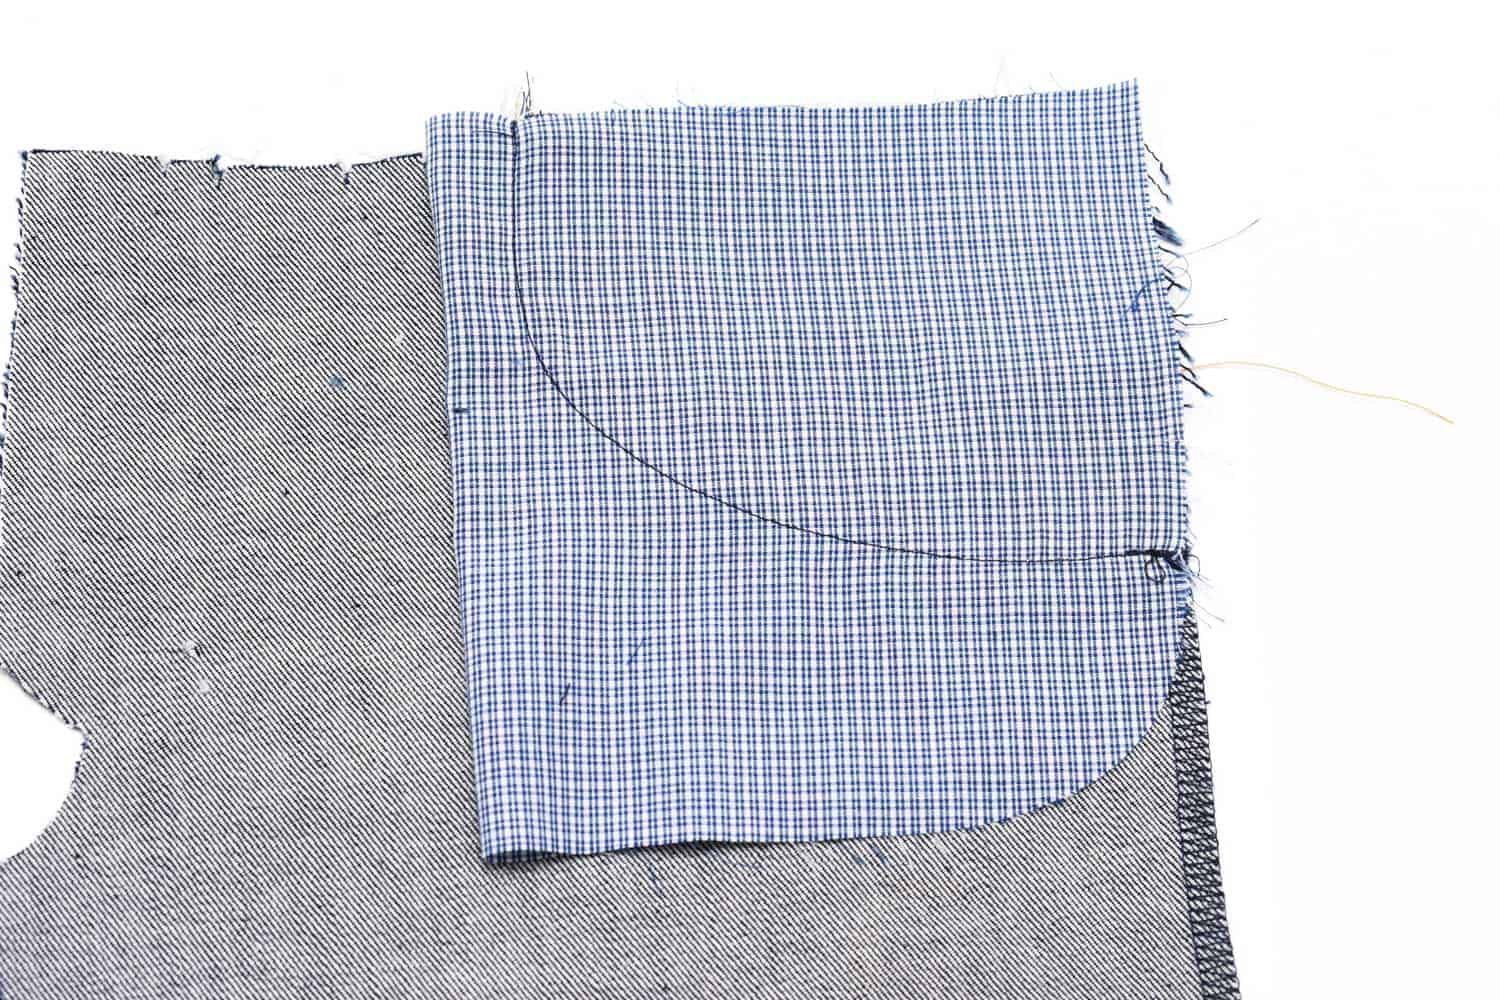
3. Stitch the patch
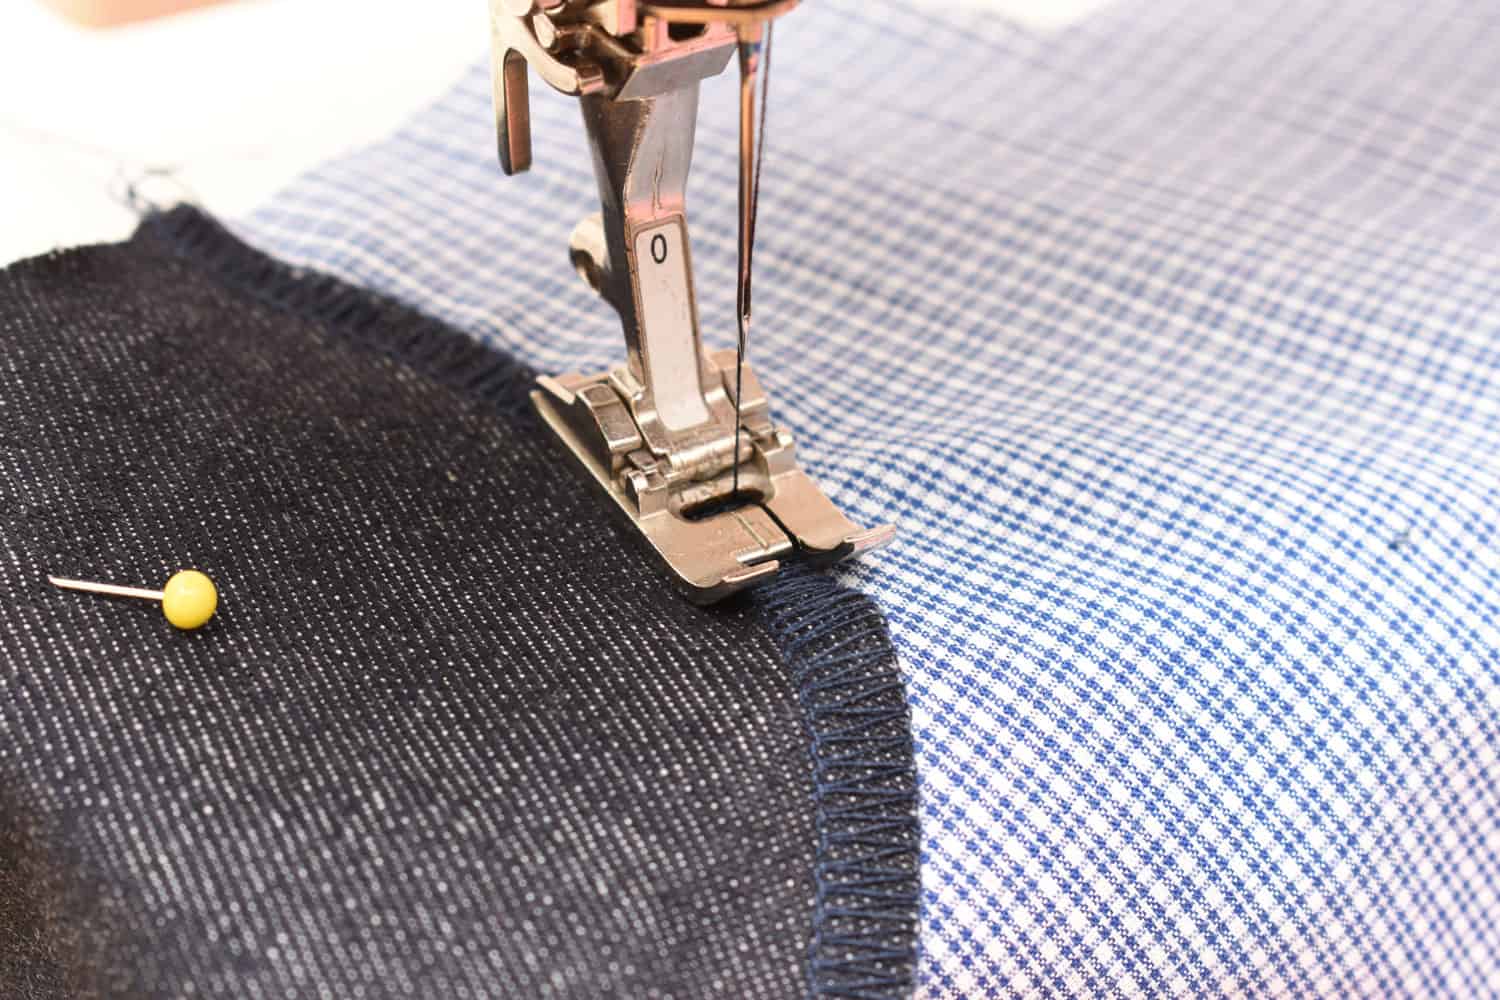
Place the patch on top of the lining. Attach the patch using a straight stitch over the serged edge. You can also use two rows of stitching, which is common in factory jeans making. If you are making a small coin pocket as well, attach that one now before you continue to the next step.
4. Attach the pocket lining to the front piece
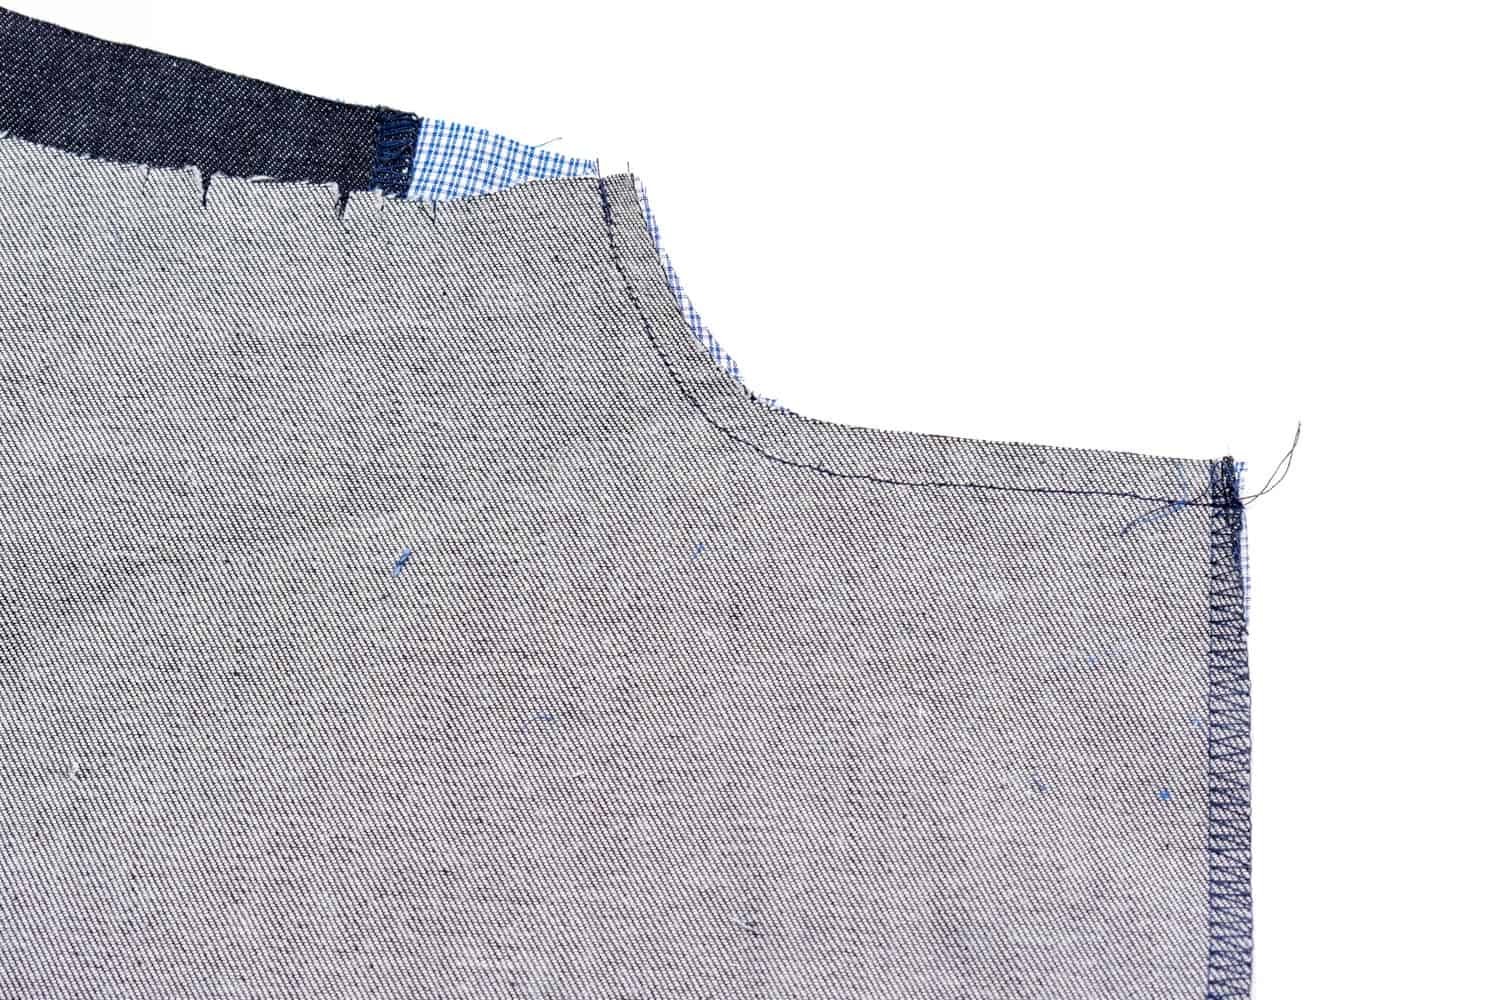
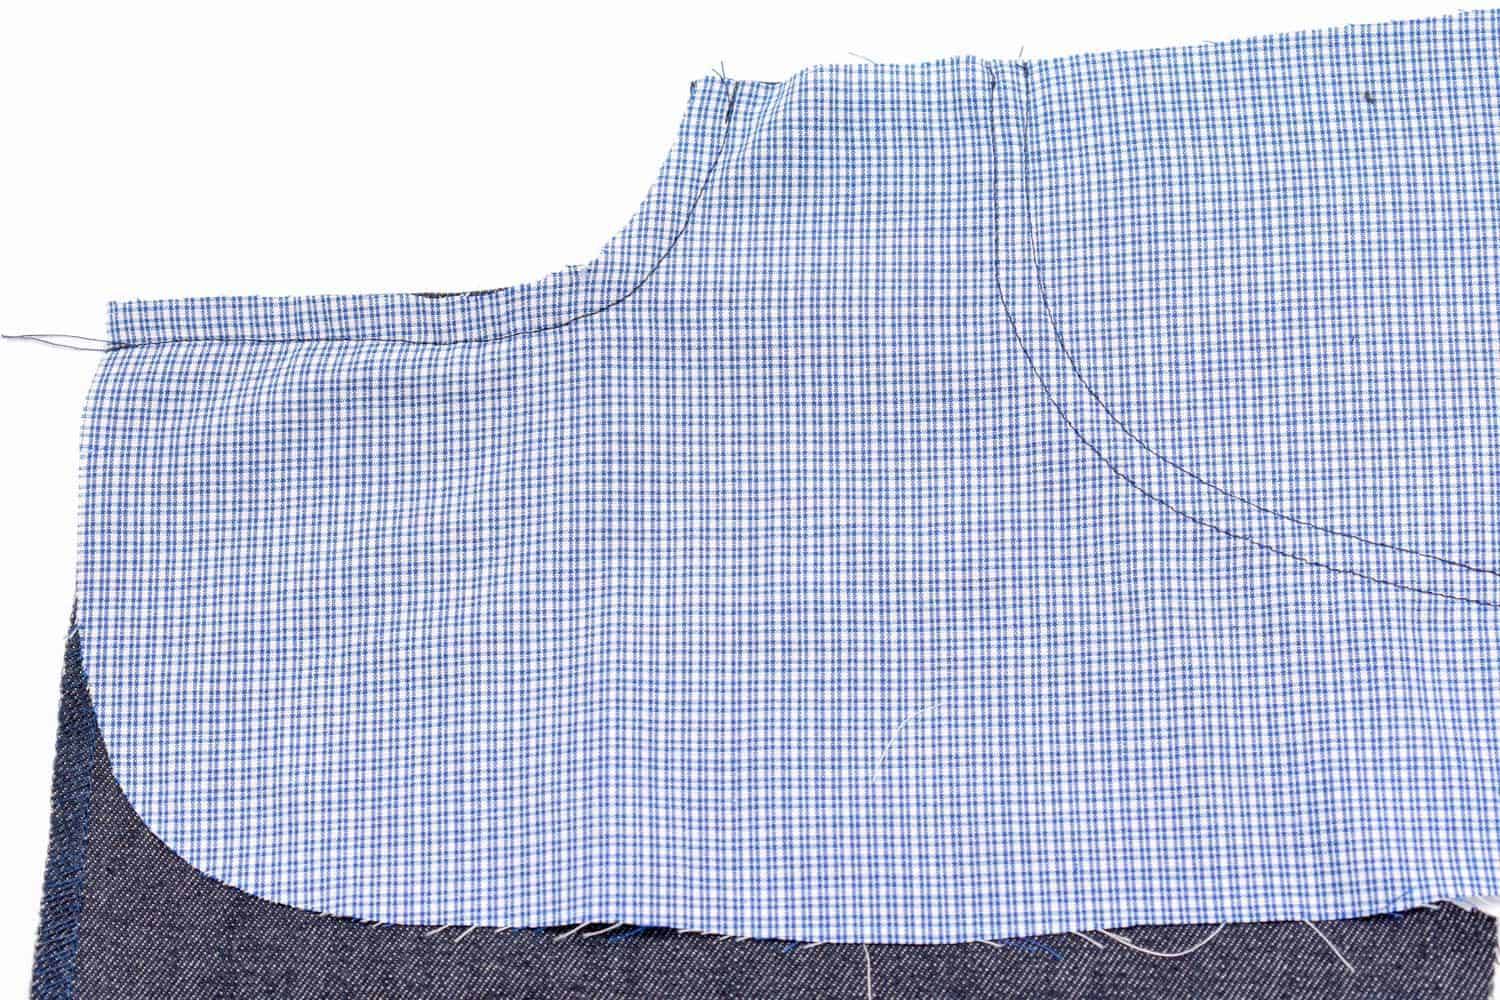
Place the lining on the pocket opening and make sure that the pocket and the patch will end up in the right place when folded. Stitch fairly close to the edge as a narrow seam will make the pocket opening curve look better.
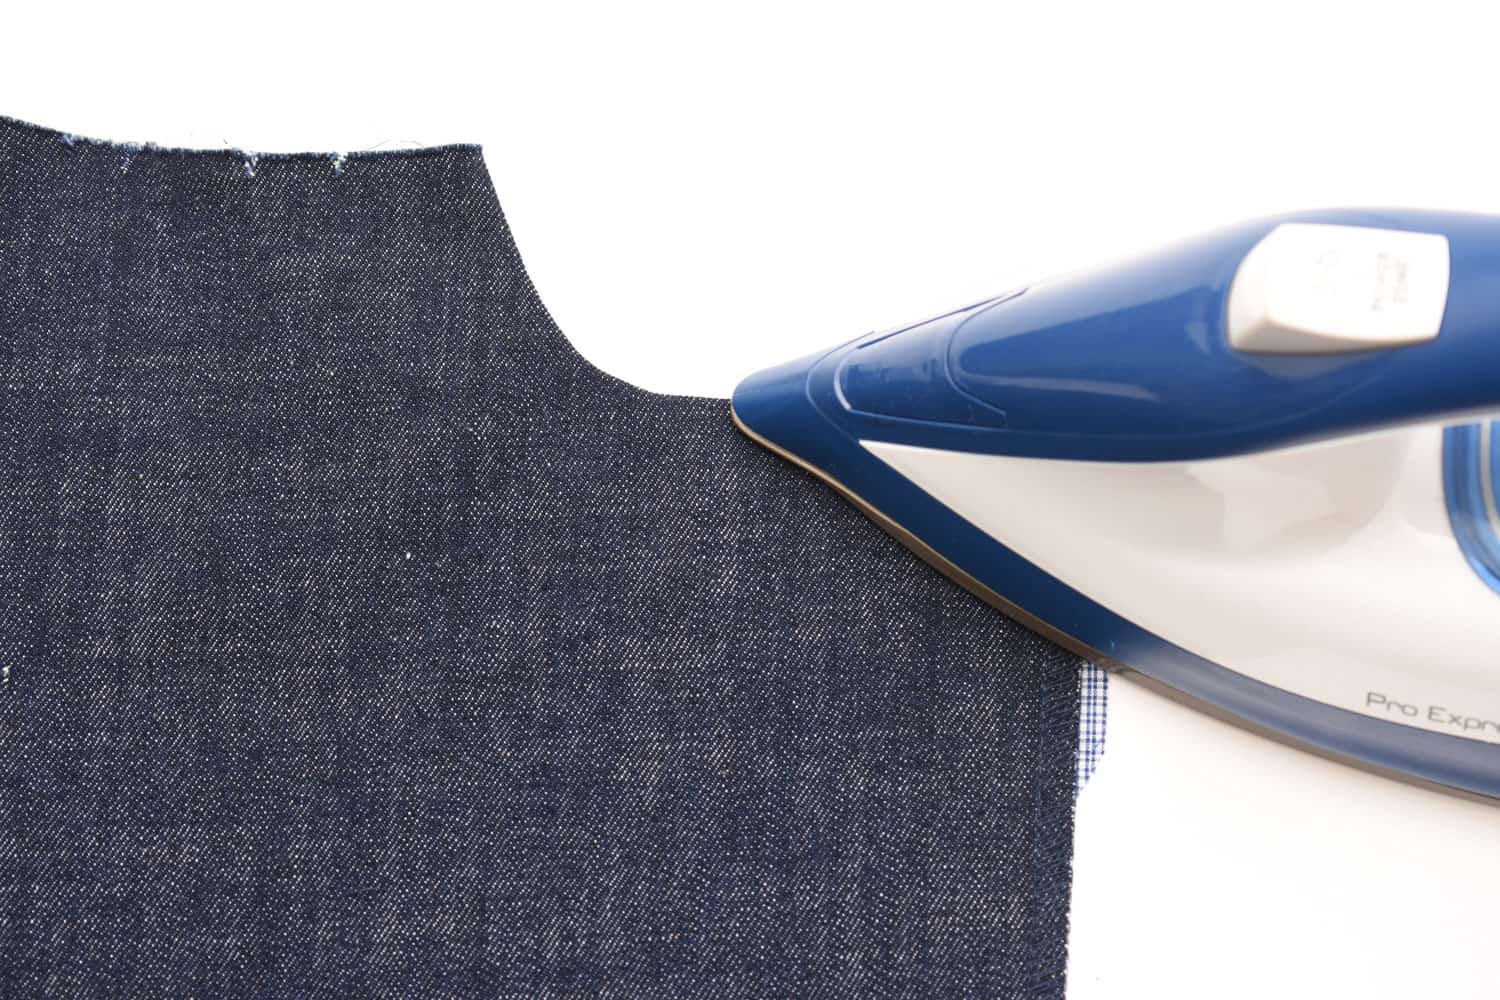
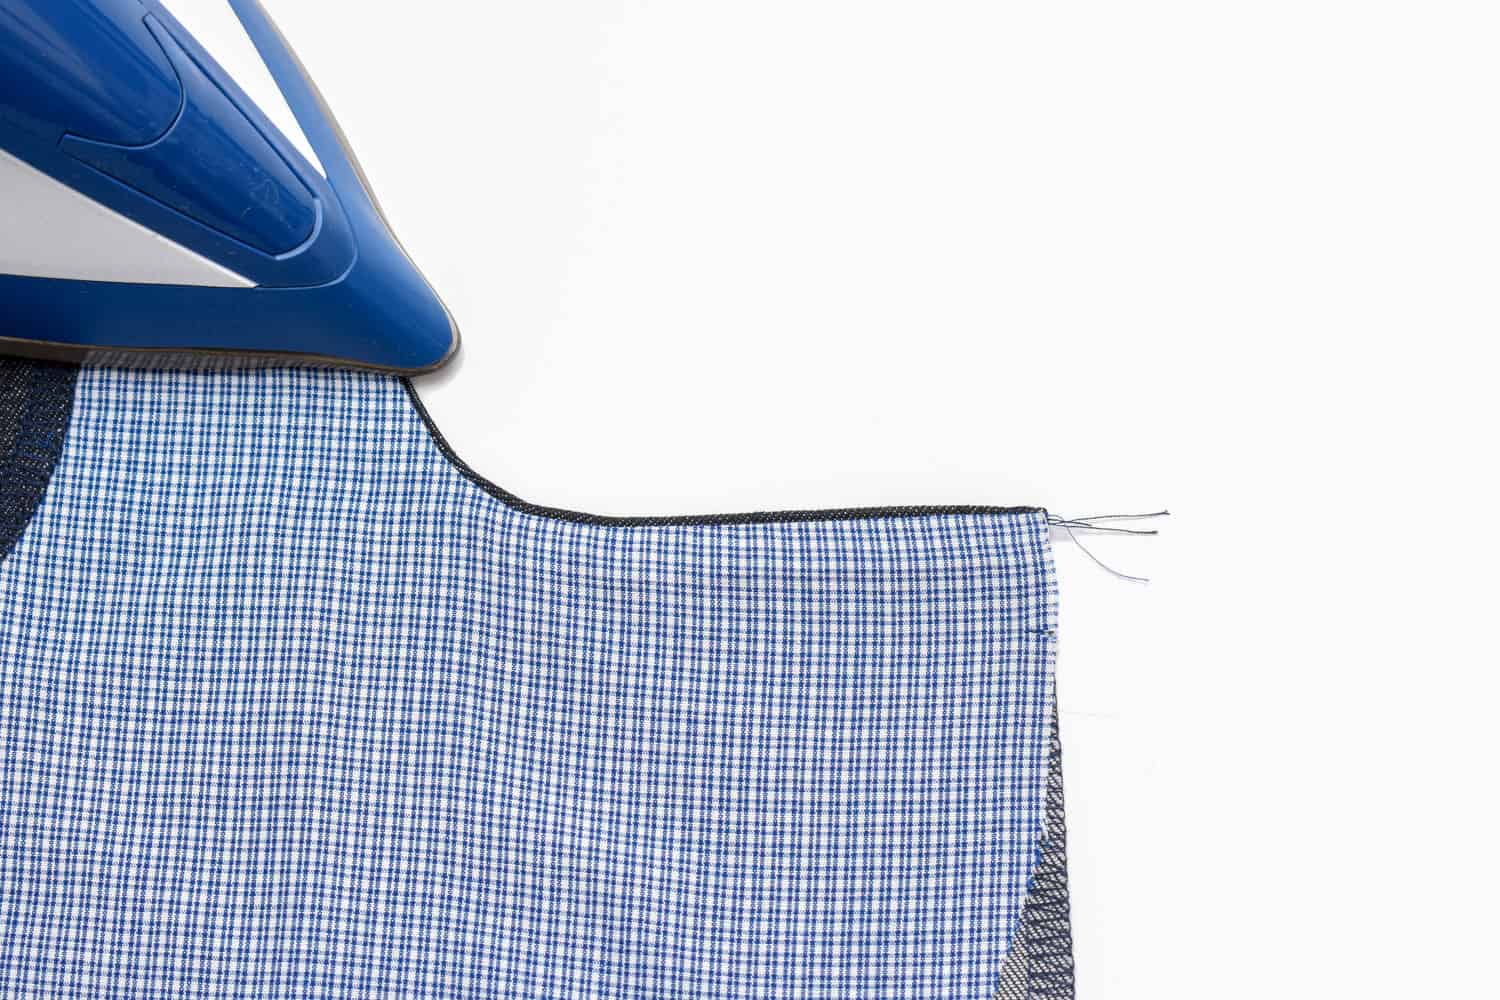
5. Fold over and press
Let the front fabric overlap slightly to the inside so that the lining won’t show through.
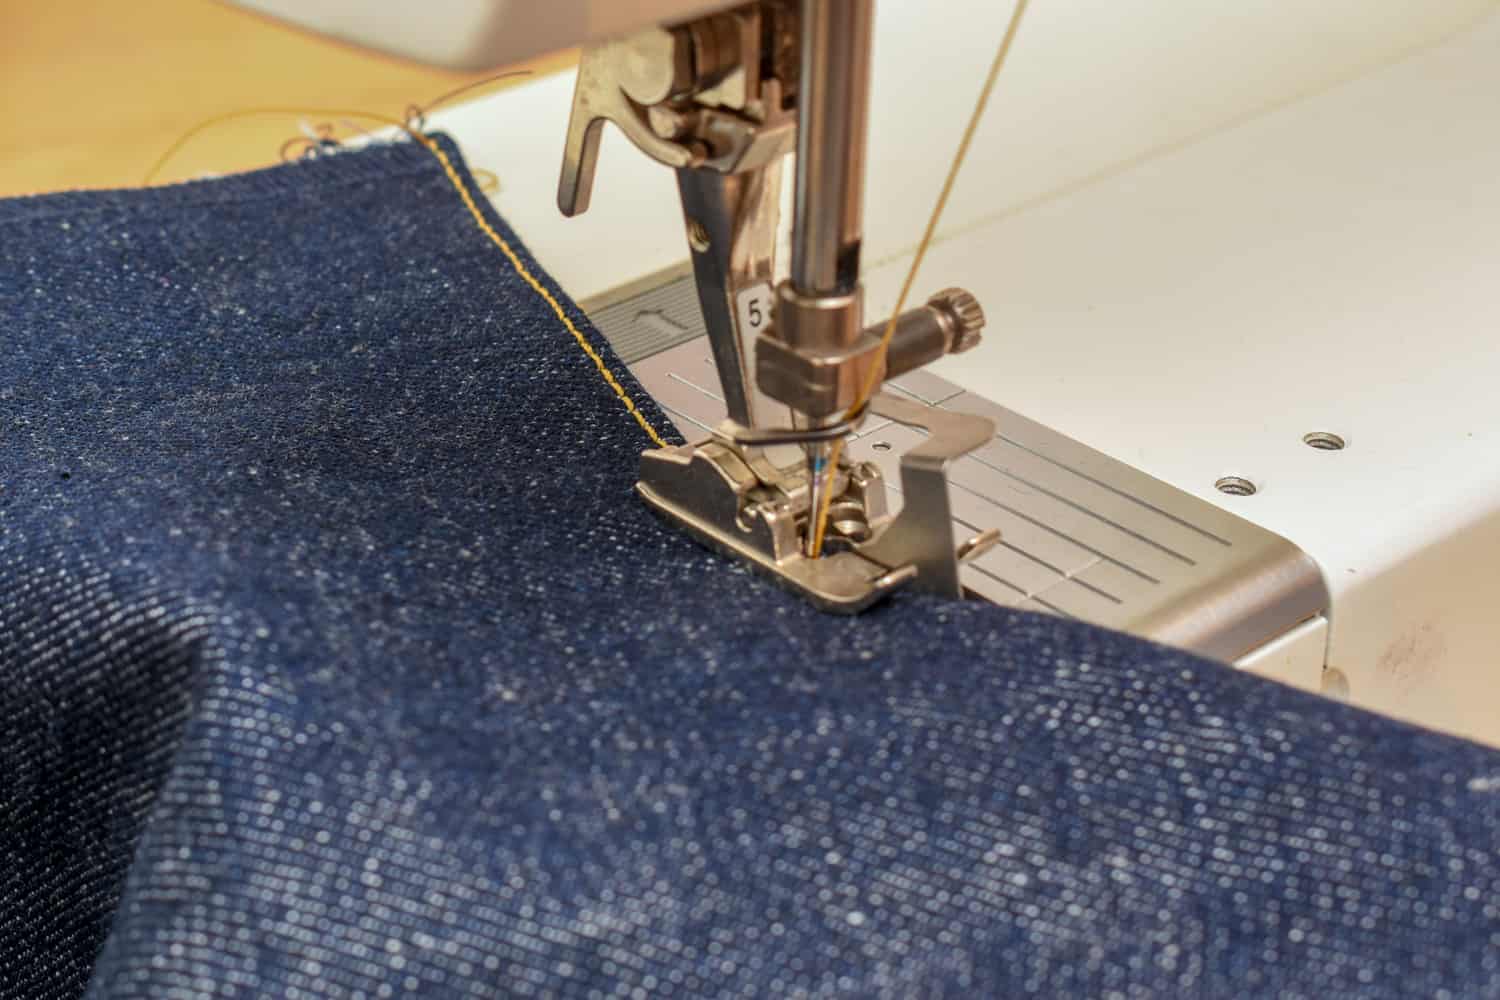
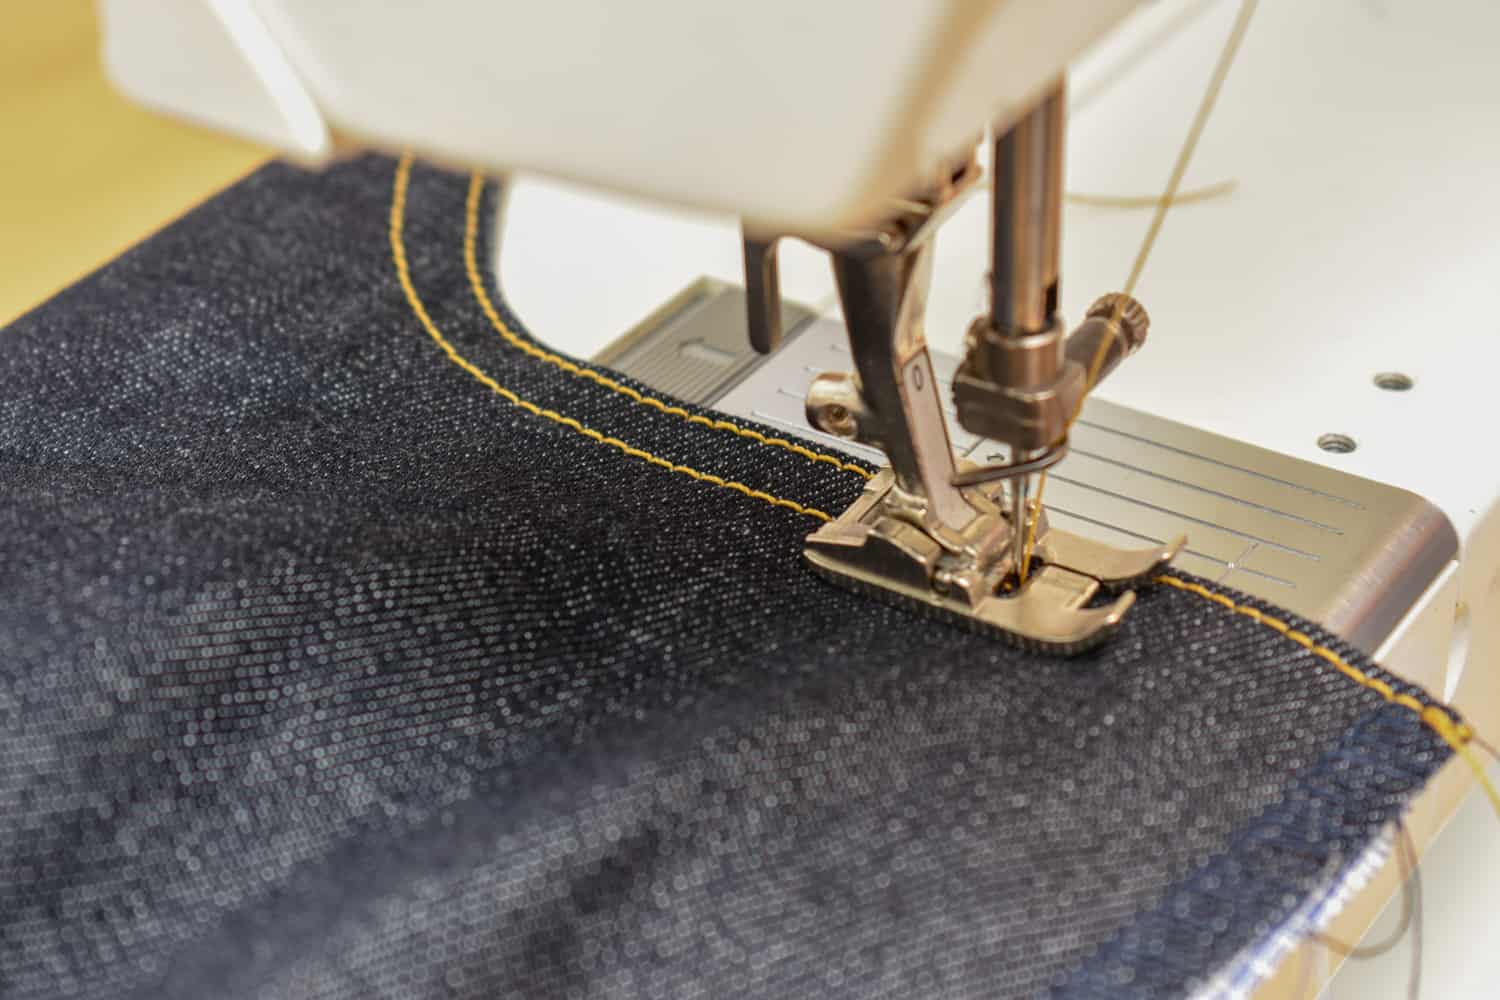
6. Topstitch the pocket
Stitch close to the edge for the first row, Using a presser foot with an edge guide will make this easier. Stitch the second row with a regular presser foot, using the edge of the presser foot as your seam guide

7. Stitch the bottom of the pocket
Fold the pocket lining in the middle and stitch with a straight stitch. Overcast the edges after stitching the pocket together.

8. Baste the pocket
Machine-baste the side and top to keep the pocket lining in place when sewing the side and waist seam. This: method is both quick and easy and makes your jeans look totally pro!
Watch the video tutorial of how to sew jeans front pockets:
The video tutorial also includes instructions for how to add the fifth coin/key pocket.
Other tutorials in the jeans making series
Sewing the jeans yoke and side seams
Sewing a jeans zipper with a fly shield
Sewing jeans back pockets like a pro
Sewing a curved jeans waistband

8 Comments
Lotta@TroublemakerStreet
Hei Johanna,
Tusen takk for en super blogg hos søta bror, eller mer korrekt, søta søster! ;P Vel, nok skandinavisk for nå, dette er jo Internet… 🙂
Simply loved your projects on your blog and was thrilled to find the Jeans Project! Making my own "adapted" (for wheelchair use and lots of sitting) and fitted jeans, is one of the things I'd really like to try one day in not too long, I hope. For instance I'd like to try making jeans from a combination of denim and softer stretchy material (e.g. soft stretch on the backside for comfy sitting)… Haven't sewn any clothes for 20 years, so I'll be starting with some easier projects first though…
So I'd really love to read your tutorials etc., but when I tried entering your zipper tut, I ended out in different places on the blog each time, and not once did I get to the tutorial. Would you please check into this problem? If you could post a different URL or something for me to try, I'd be super happy!
Your site sure is one I'd like to revisit often for inspiration, as you obviously like stuff I too love, I was more or less drooling watching your slideshow! WOW, how many great items! I hope I'll be able to make similar from watching your pictures, or maybe you have helping articles about those too? Haven't been around to explore it all yet – but I will! You're bookmarked!!! 🙂
Again, thanks a lot – it sure is appreciated! Just have to say – it is wonderful how people like you take your time to share your experience the way you do, even with step-by-step instructions so others can enjoy the fruits of your labour too! The net is so wonderful that way, it has pulled out and inspired the "dugnad" spirit in people. I'm using the word here, since as far as I know, there is no English word for this phenomenon (although they do use the word -bee similarly about helping out), so why not borrow this Scandinavian/Norwegian one? There's a long tradition of trading words between (old) Norse and English, both ways, so why not now? Just found out that you do not have a word for "dugnad" in Swedish either, although Finland-Swedish have one, "talko" (See this Wikipedia article http://nn.wikipedia.org/wiki/Dugnad )). The "dugnad" spirit in many ways had died amongst most people in the years up to around 1995 when most of us got net access. Most people just had to deal with their own things, people did not gather to help eachother out for no pay as much as was so common previously. I mean, earlier, if you wanted to redecorate your place, all you needed to do, was to invite to a "dugnad" and friends and family would come and work for some beers and a pizza. And we all returned the favor with what we were best at at a later time. It worked out wonderfully for all. As people got more busy though, things slowly changed for the worse. But already at around 1995 things started changing for the better and look now – people all over the world are pitching in on wonderful websites, all for free, just to share and help others with similar interest! That's one heck of a huge "dugnad", that's for sure! And hopefully, as this gets more integrated in people's mindset, it will spread out to again include all those jobs at home that we so often can't do by ourself, but not necessarily can afford to hire somebody to do… If not, we at least found a different way to extend the same to others online, and that I find of extreme value to the community and mankind. It is a valueable part of culture, I think! So a huge thanks for your contributions!!! 🙂
Johanna
Hej Lotta!
Roligt att höra att du gillar min blogg! I tried really hard fining a Swedish word too for dugnad, and as you say there is no real equivalent. And thank you for noticing the error on the tutorial. I have fixed it now. Using a stretch/denim combo sounds intriguing. Actually I have seen recently a kind of denim knit in stores that looks almost exactly like regular denim. All the Swedish kids are wearing this now, like denim leggings. I think it's a cotton/polyester/lycra mix. I imagine it's much more comfortable then regular skinny jeans! Maybe that would work for your project?
Antoinette
I haven't commented earlier because I didn't sit down to really study your tutorial till now. And I don't have any questions! It's very clear and well-photographed. Thank you!
Gail
I'm looking forward to reading this in greater detail when I start my own jeans. I bought fabric and a pattern a while back but so far they haven't screamed sew me now.
Kaith Ladios
Hi Joanna! I just have to say I love your blog and your line of clothes are just too adorable. I keep coming back to look at them! I am starting my jeans project right now, but before I keep visiting your tutorials to admire and study your work. For me your Anita jeans are just perfect. I have a problem though, I can't seem to access the tutorial pages. Could it be a problem at my end? Thanks and more power!
Comments are closed.