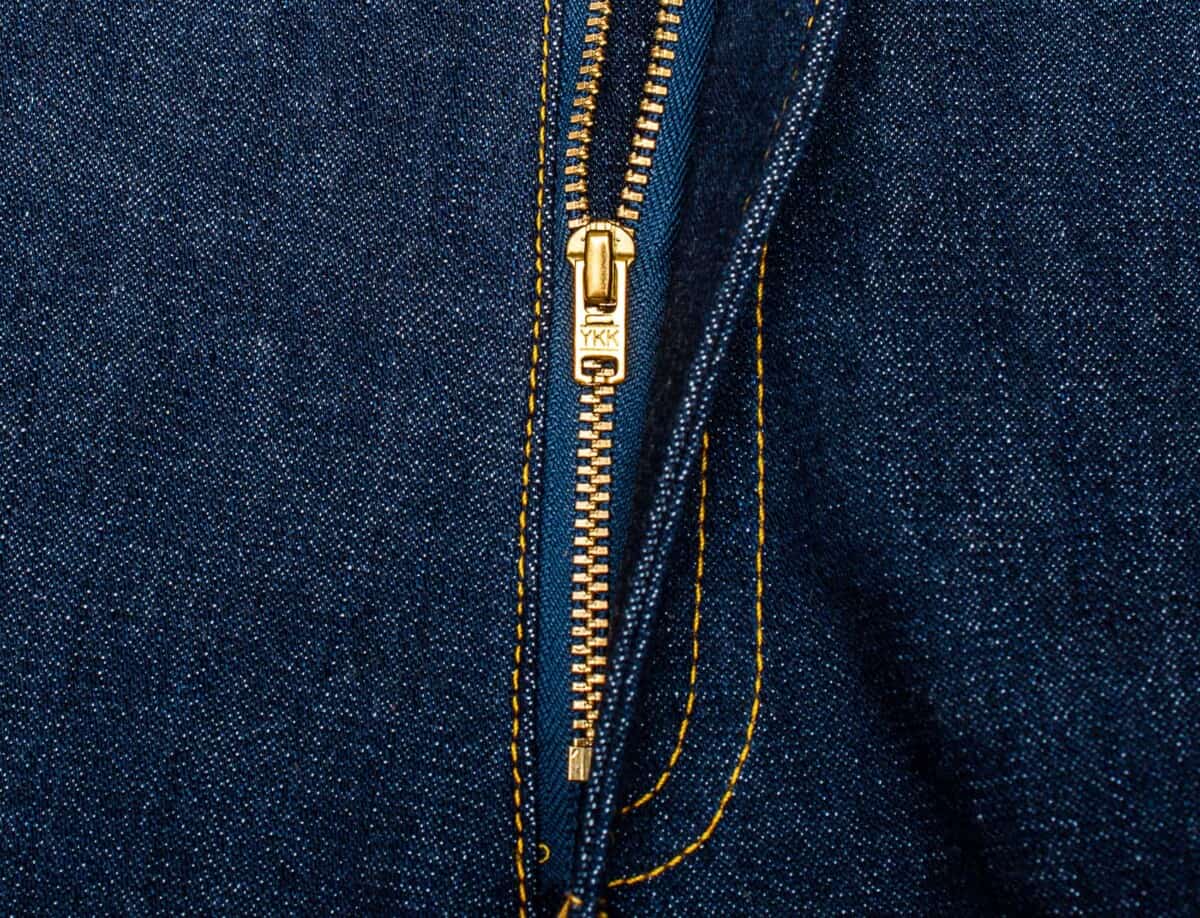


In this tutorial, I’ll show you all the steps to sew a jeans zipper with a separate fly shield. It’s designed for jeans sewing pattern that has a fly facing extension and uses a mix of industrial techniques and home sewing methods, and is a great way to make your home sewed jeans looking more professional.
If you want to learn how to install a jeans zipper exactly how they do in the garment industry, with a separate facing and some really cool assembly techniques, stay tuned for my book about sewing jeans (coming fall 2020).
Tools for sewing a jeans zipper
- Metal jeans zipper
- Topstitching thread
- Zipper presser foot
- Interfacing
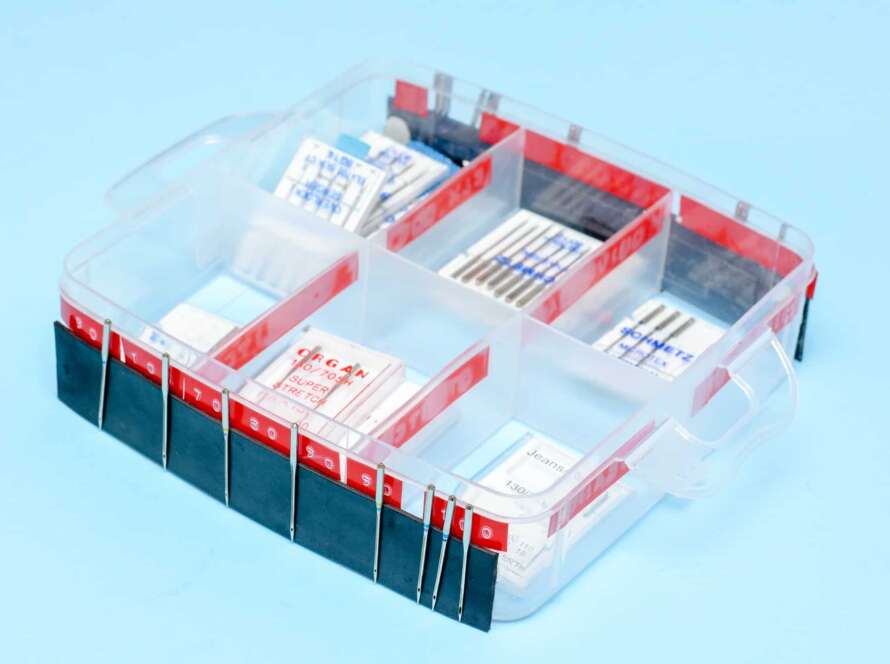
- Jeans or topstitching needles
- Cardboard
- Tracing pen (optional)
- Awl
1. Mark the crotch seam

Using an awl or any other sharp object, punch a hole where the crotch seam should end. Punch just outside the seam allowance. This method is much quicker than a pen or tracing paper.
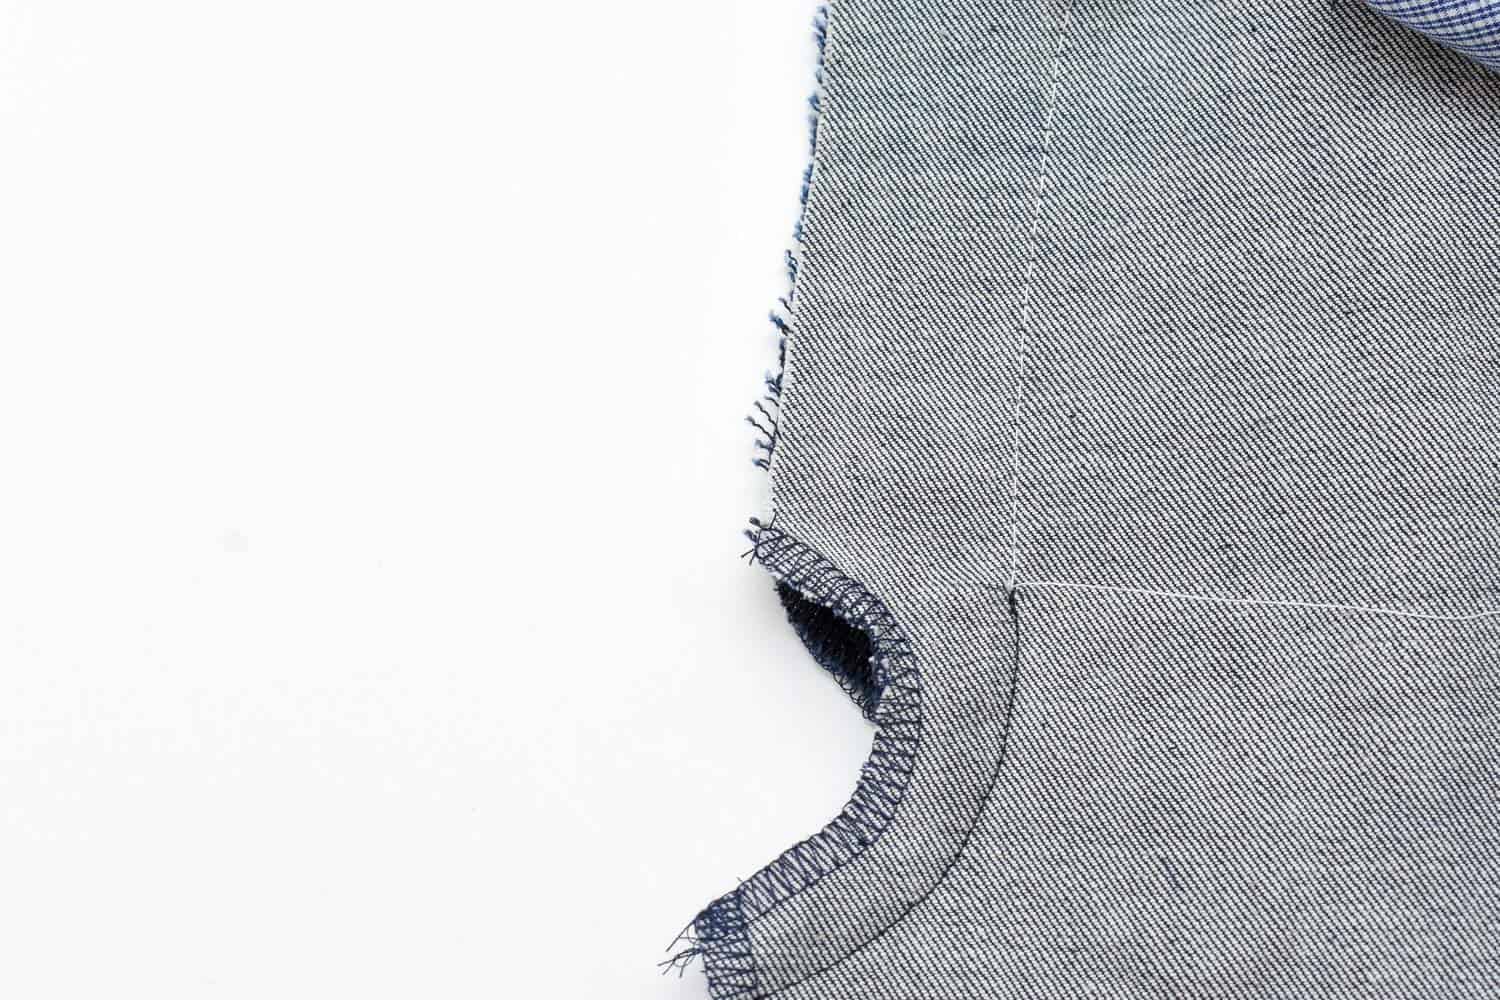
2. Sew the front crotch
Sew the front crotch seams together, ending where the little hole is (blue thread)
Baste the remaining crotch seam (white thread). This is where the clipping and the second hole comes in handy.


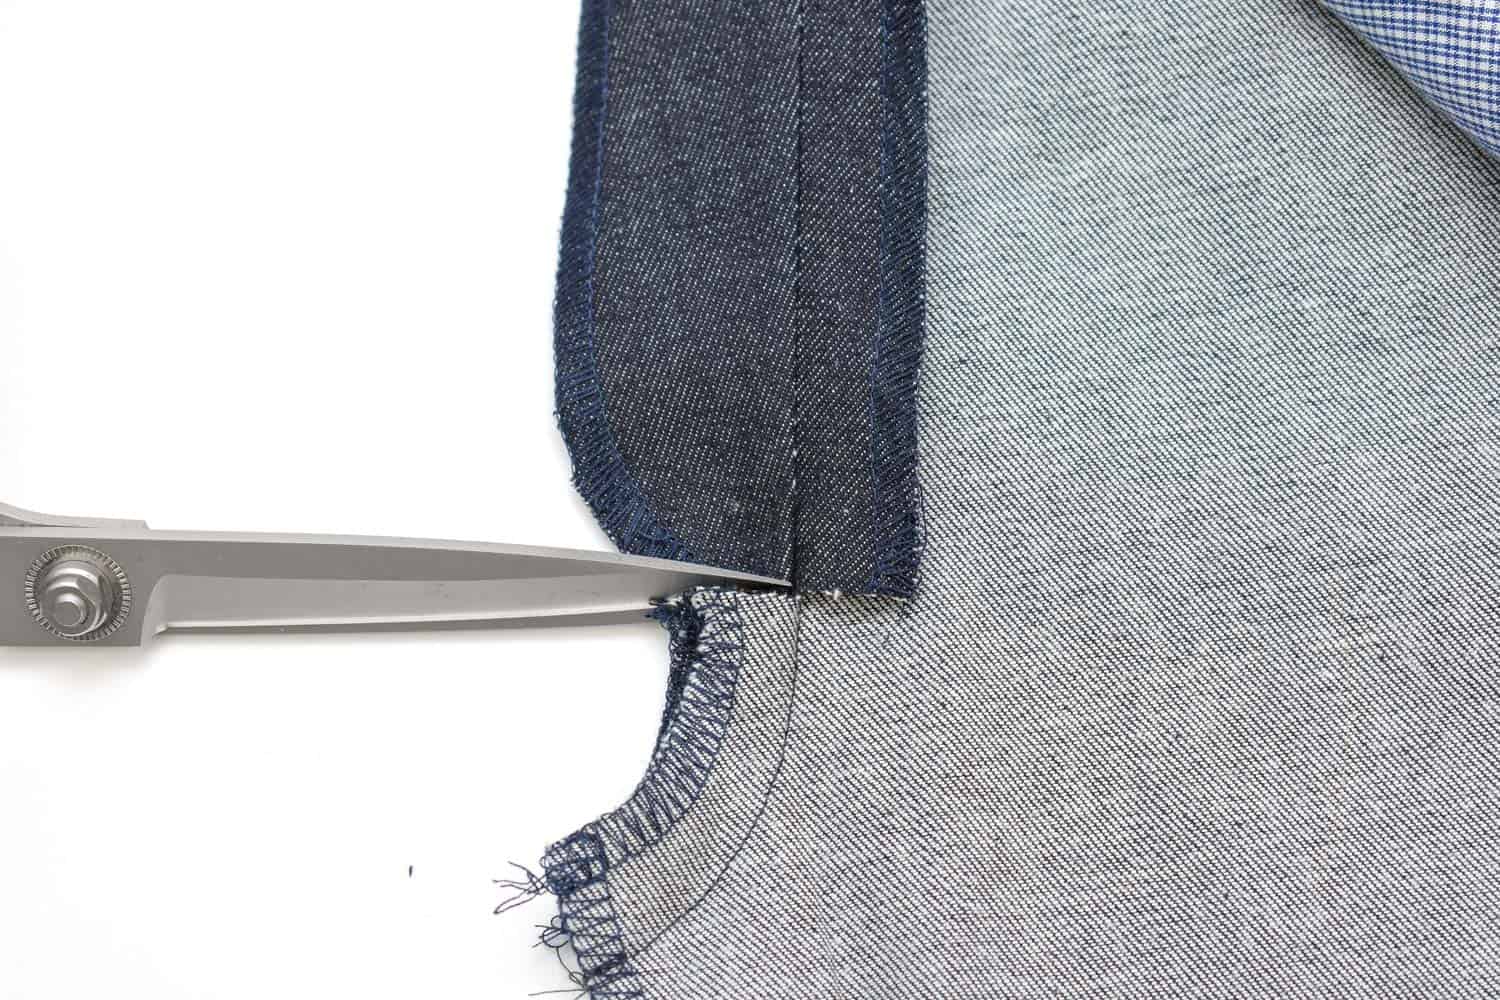
3. Trim away the right flap
Then trim away the right flap so that only around 1/2 inches/1.25 cm remains. Overcast the edge.
4. Topstitch the crotch seam (optional)
Clip the crotch seam just below the flap. The flaps should be open and the crotch folded to the left.
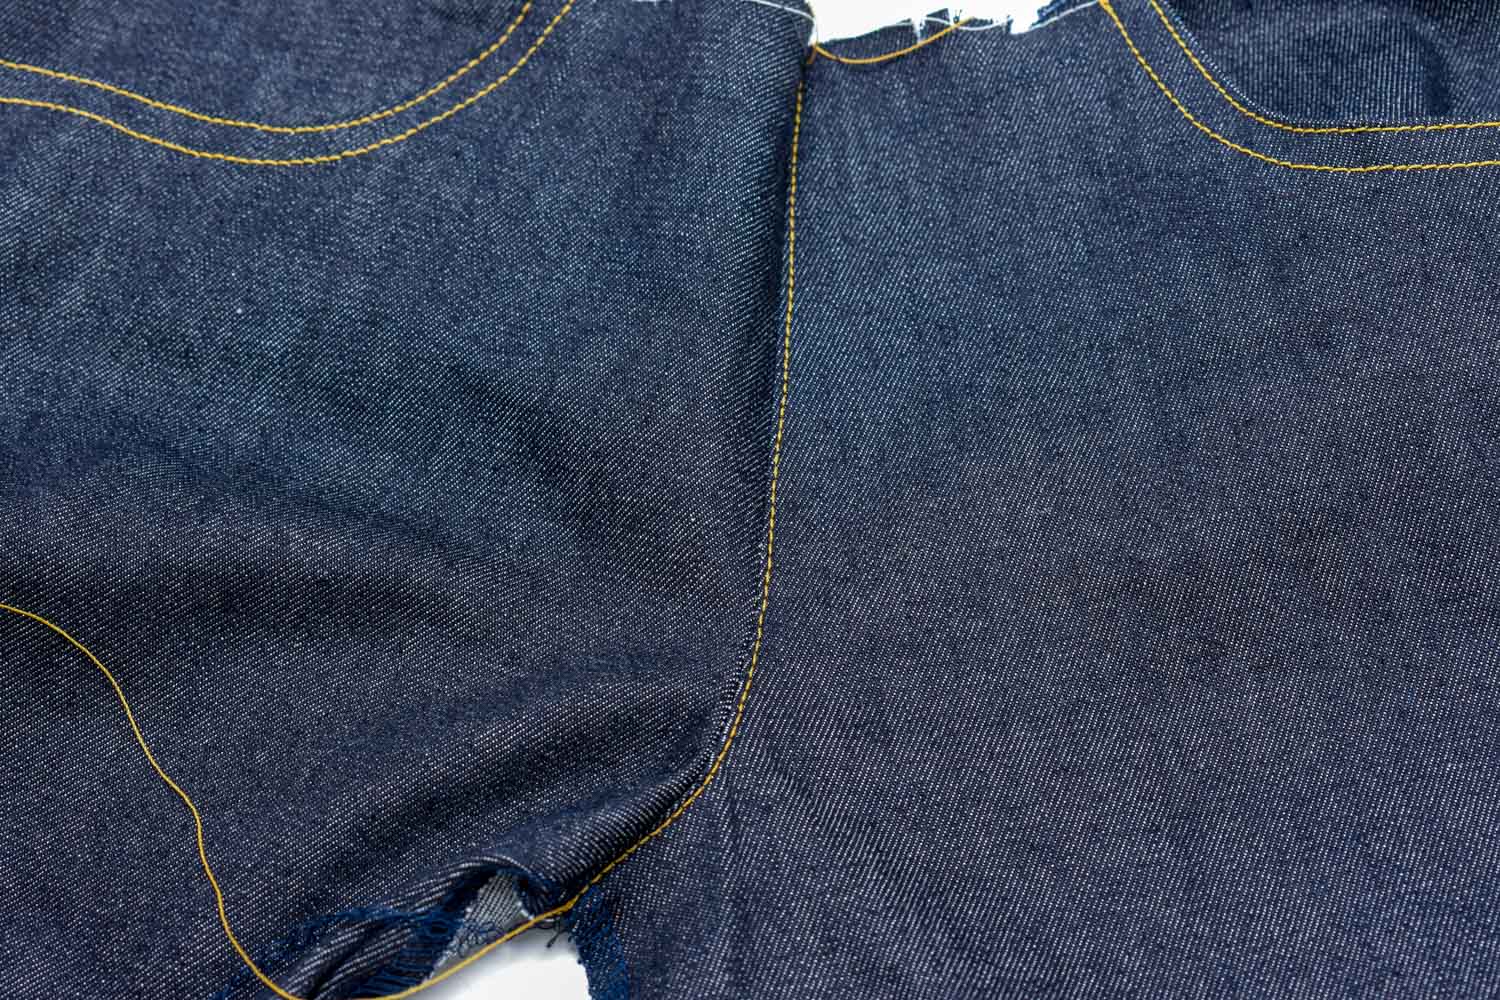
Stitch close to edge from the right side. The seam should be on the right side from the crotch

This is how the stitched seam looks on the inside. Notice who the seam is folded to the left and flaps are opened.

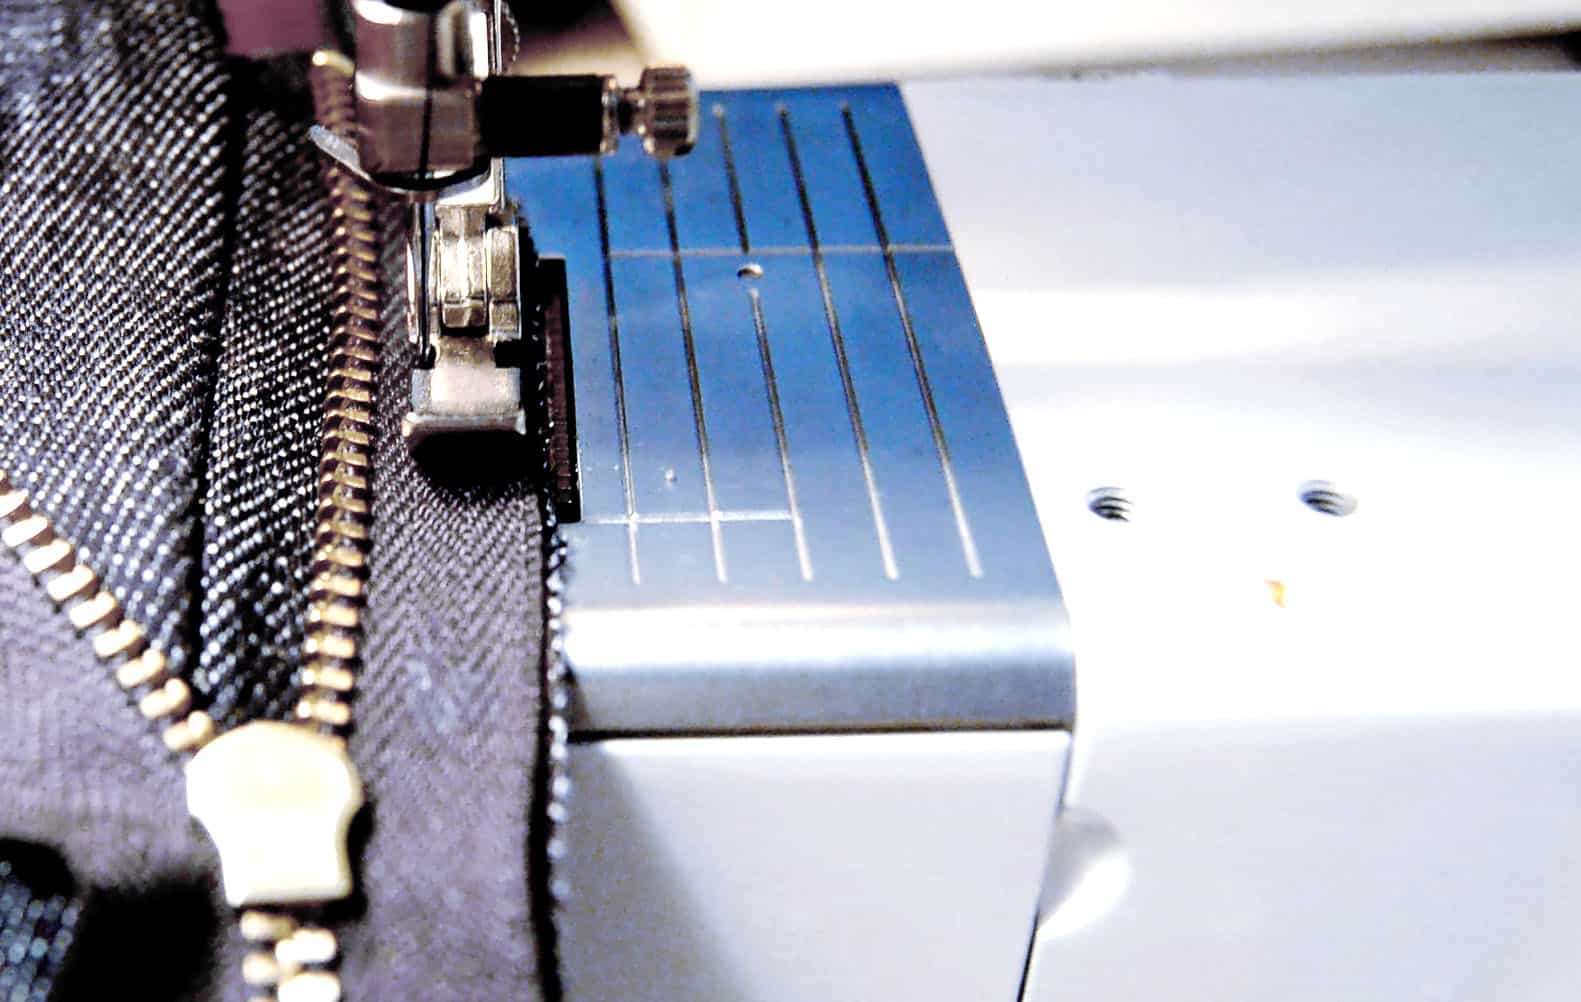
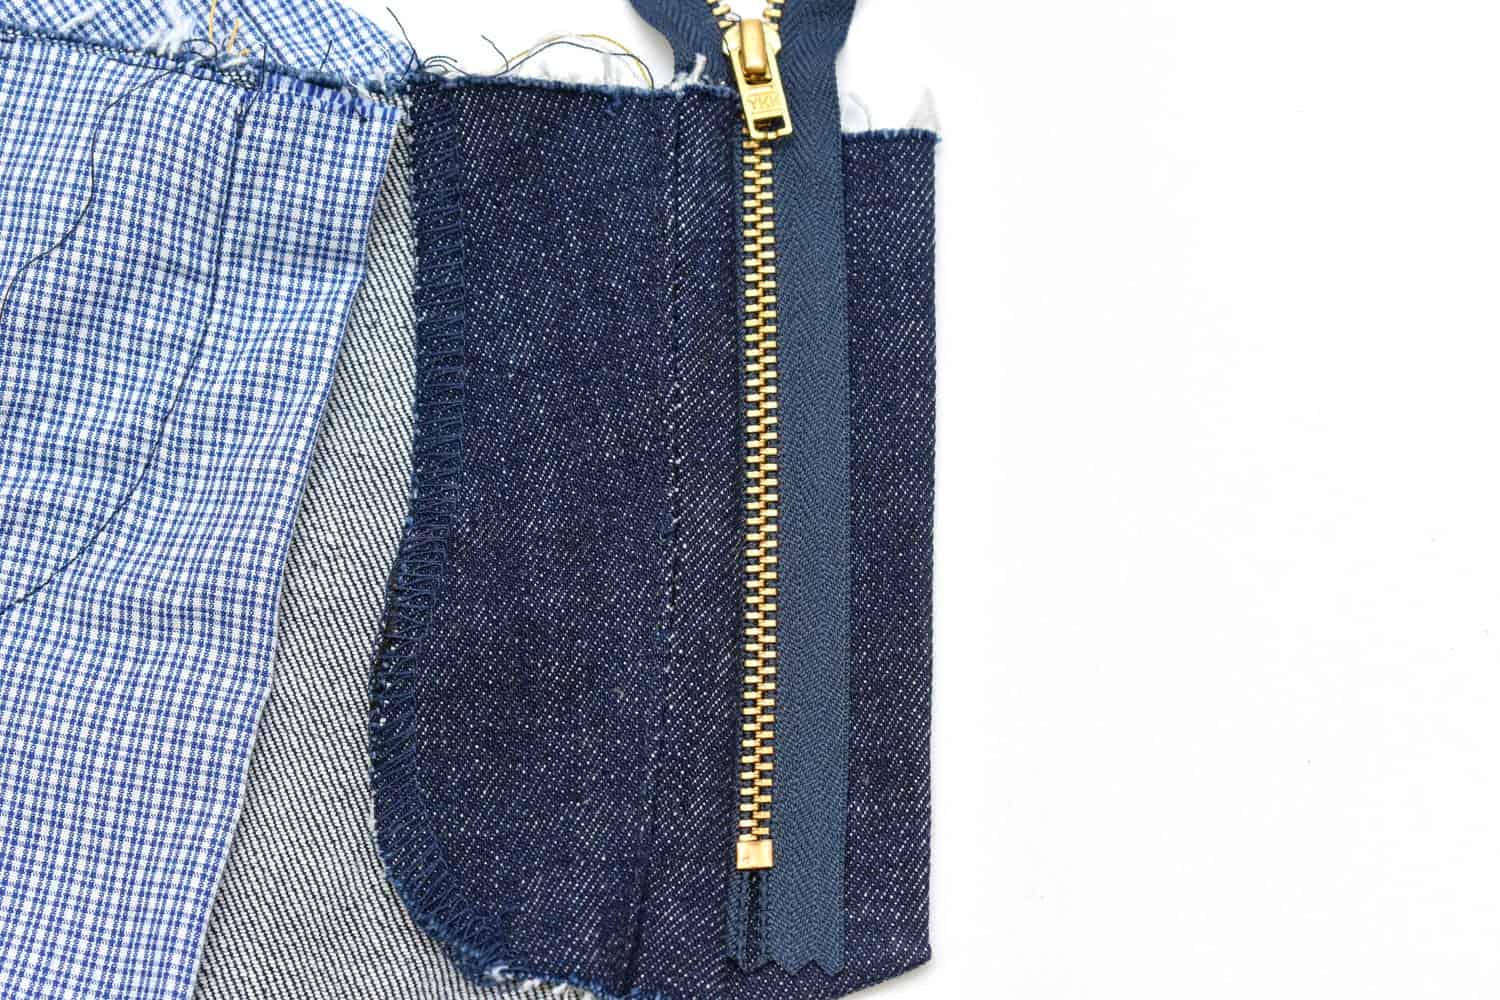
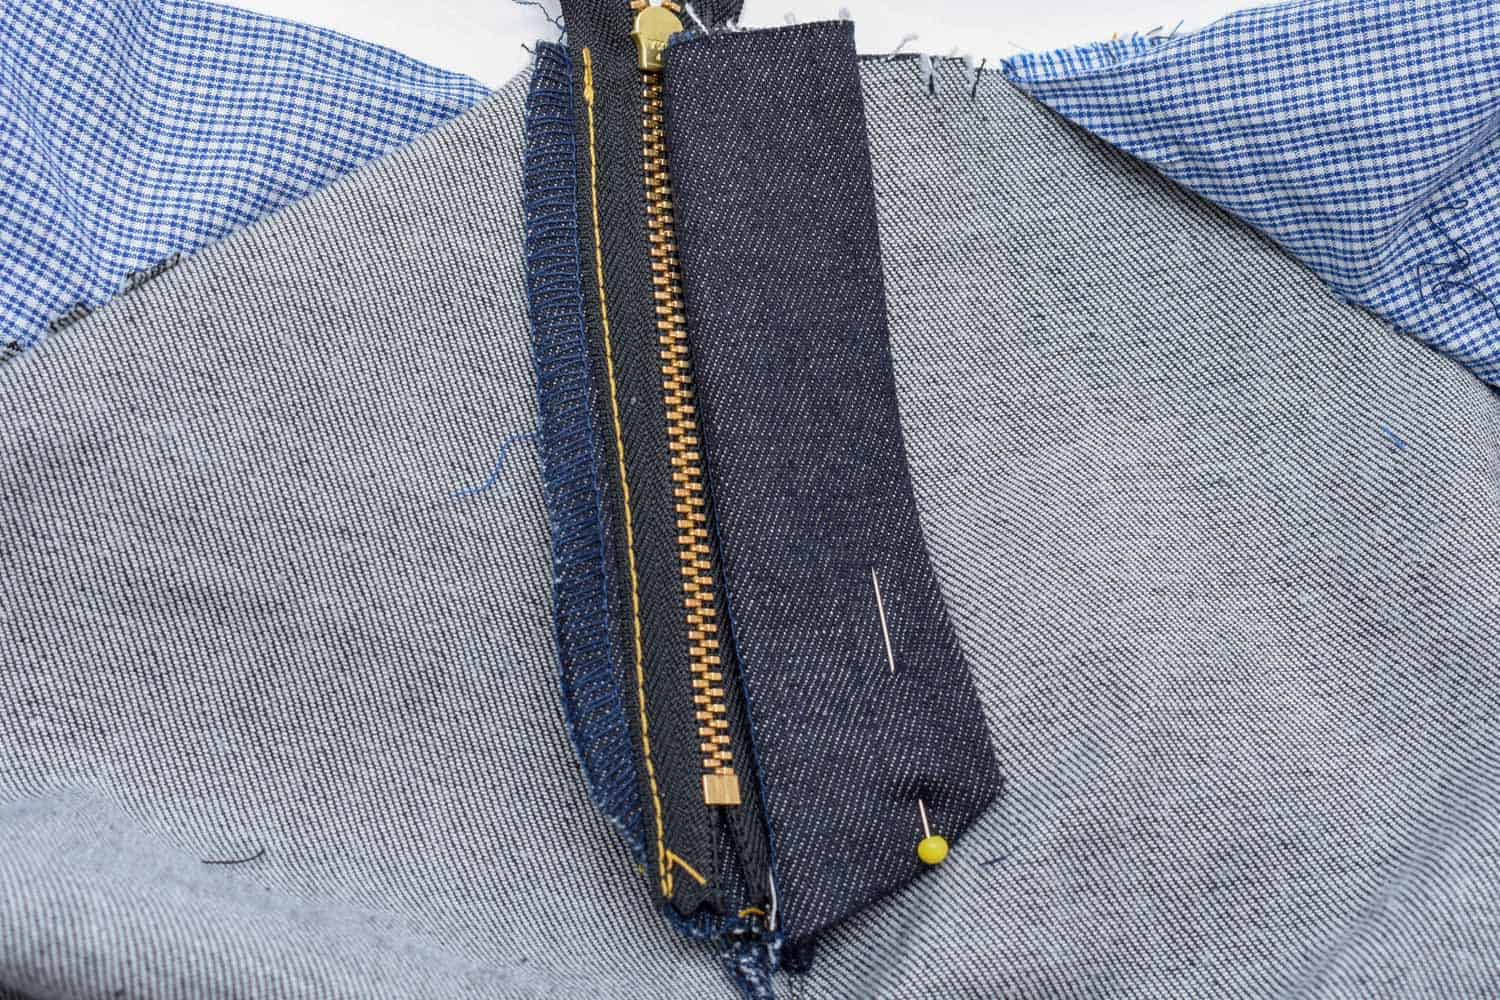
5. Attach the zipper on the trimmed flap
Place the zipper face down on the right (and trimmed) flap and stitch it to the flap, fairly close to the zipper teeth. Fold away the jeans front pieces so that you will only stitch on the flop.
6. Sew the zipper shield
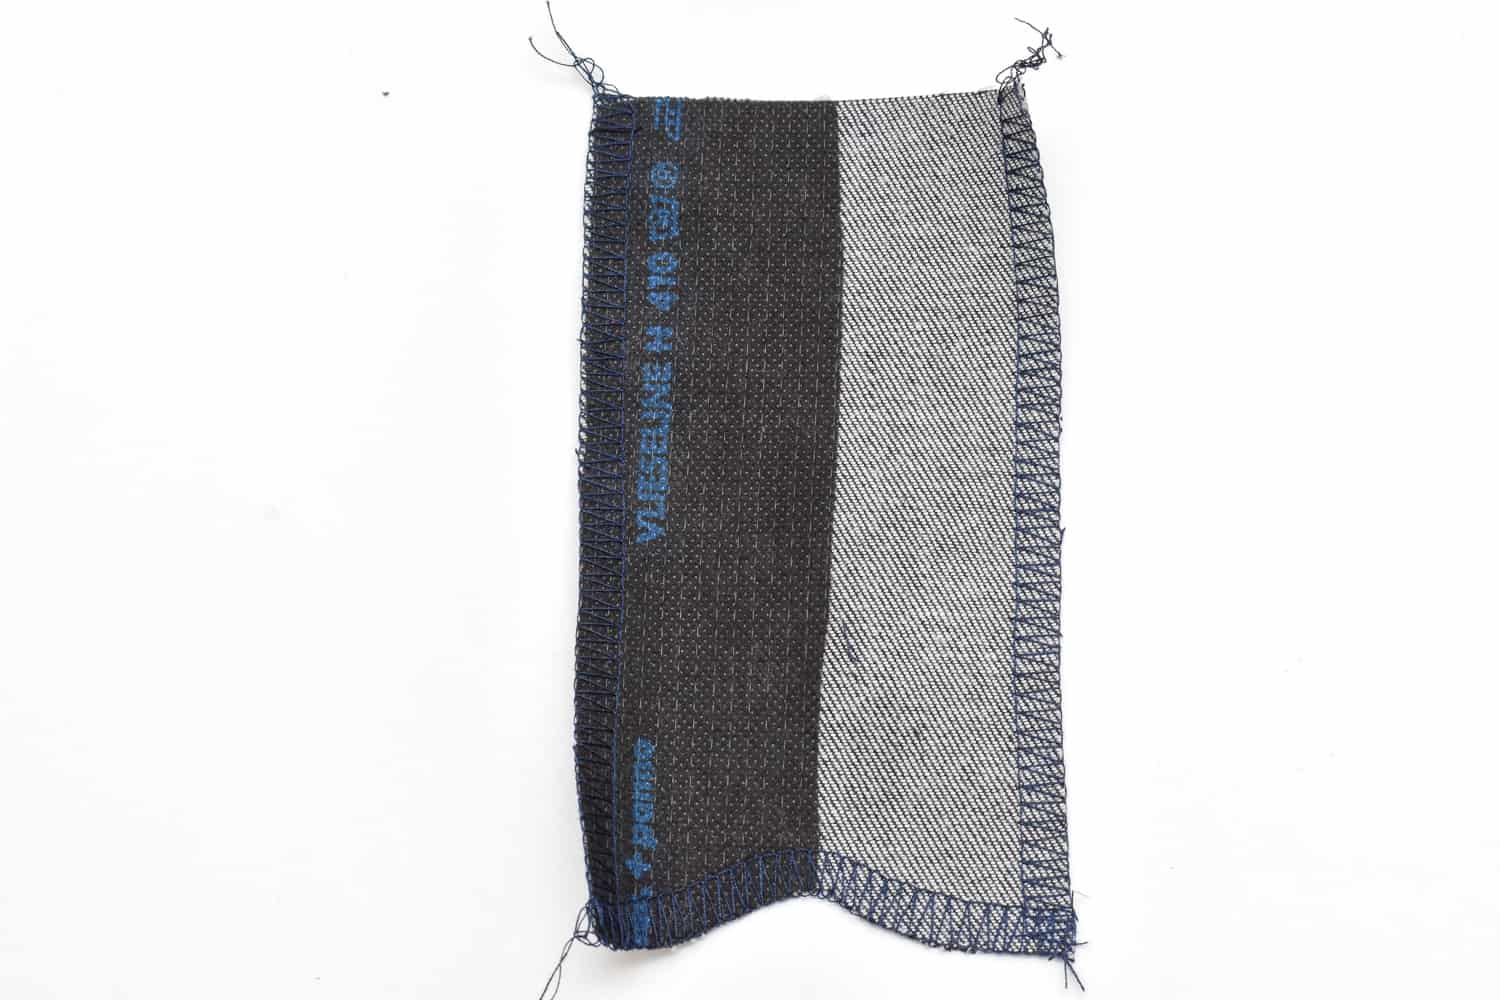
Interface one side for added stability and overcast the edges,
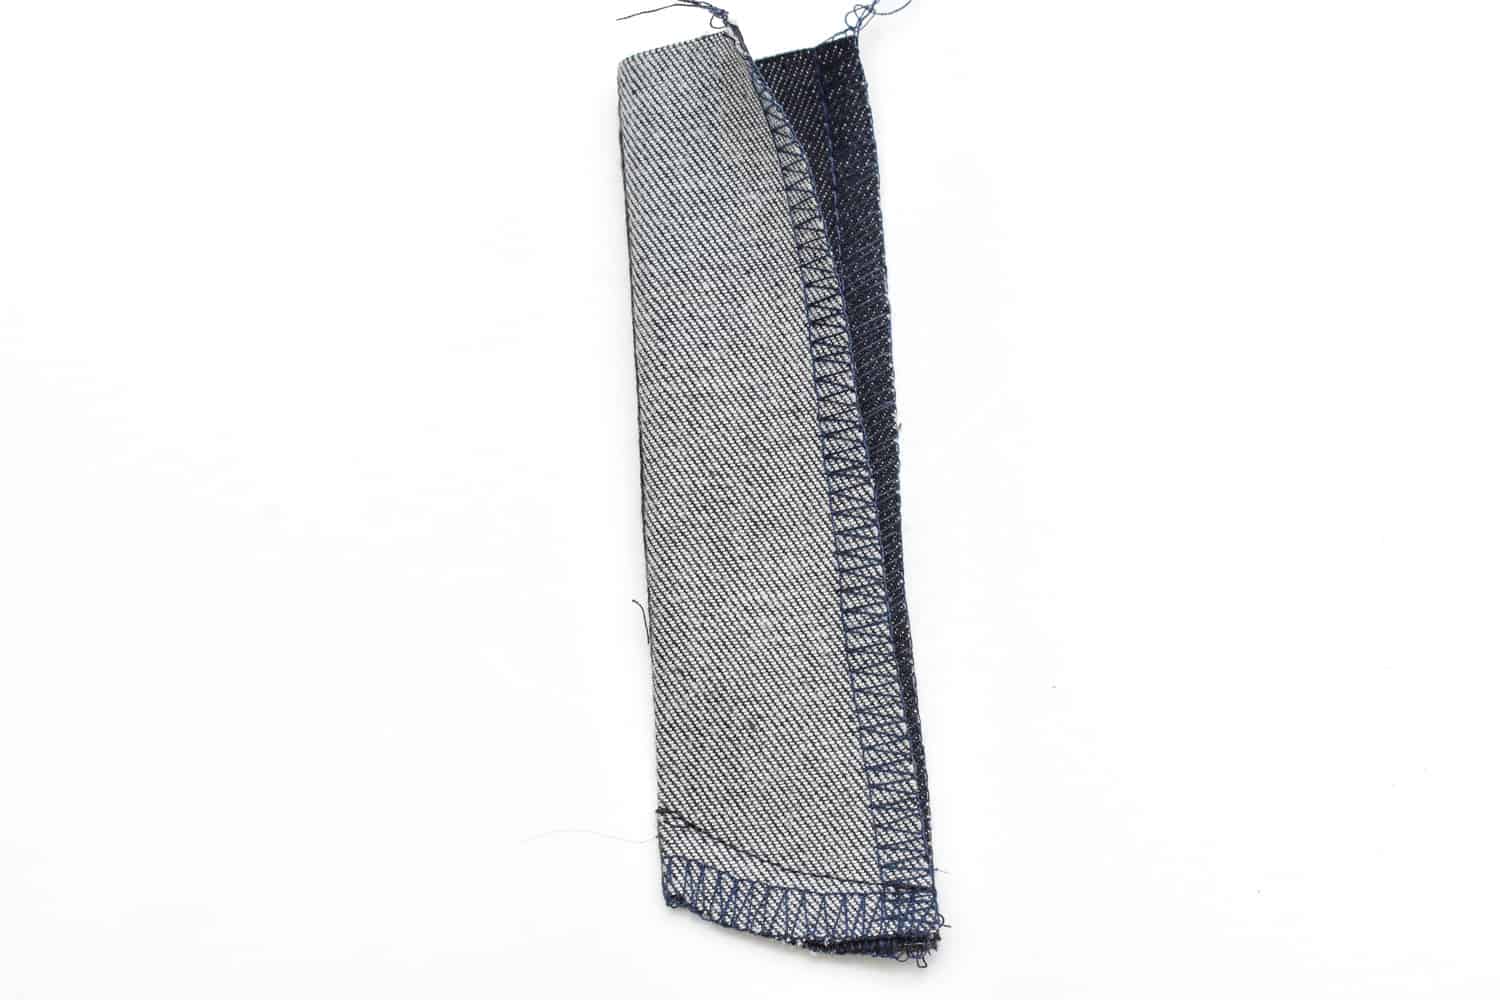
Then sew the bottom seam of the shield.
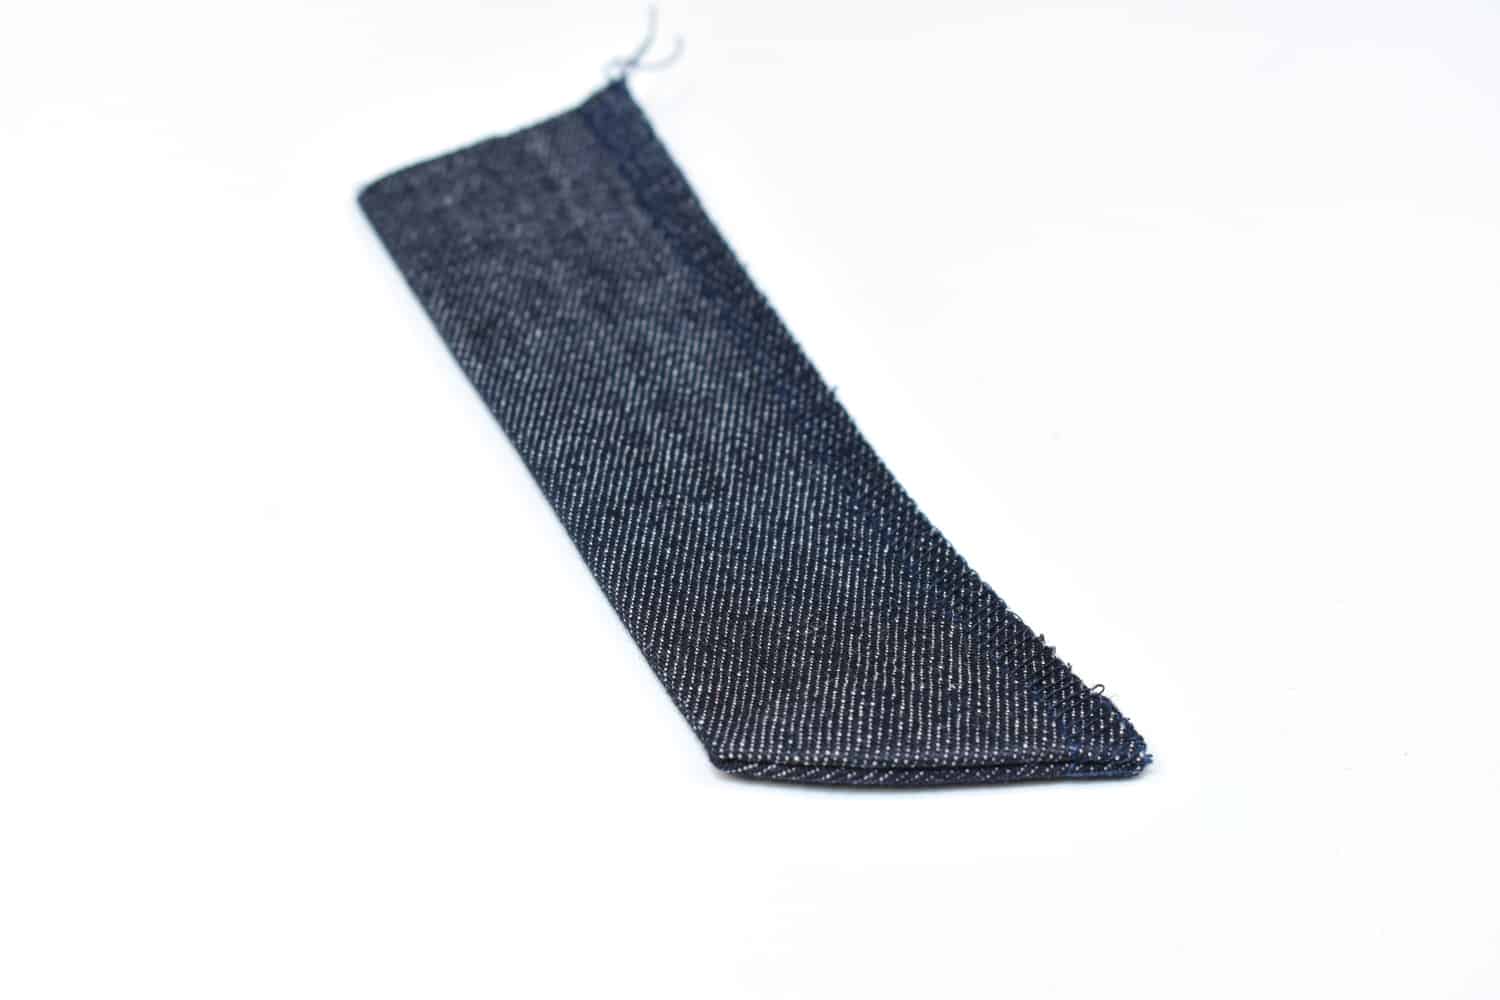
Turn and press. There is no need to close the side seam if you want to create a shield the way it’s done by denim manufacturers.
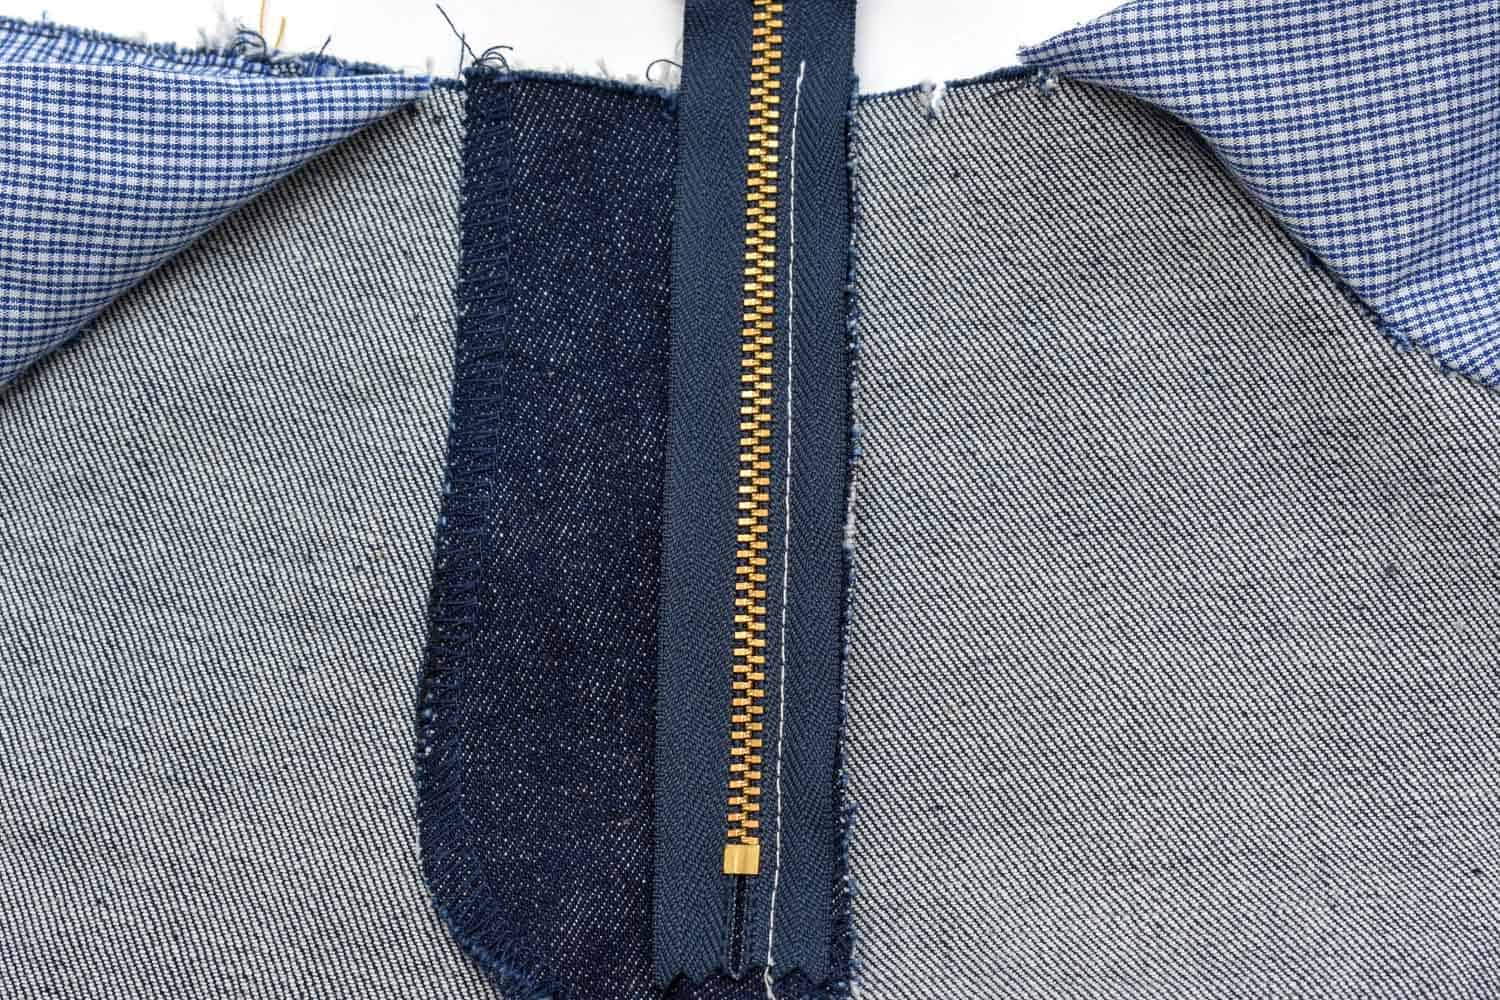
7. Attach the fly shield
Slide in the shield underneath the trimmed flap and zipper.
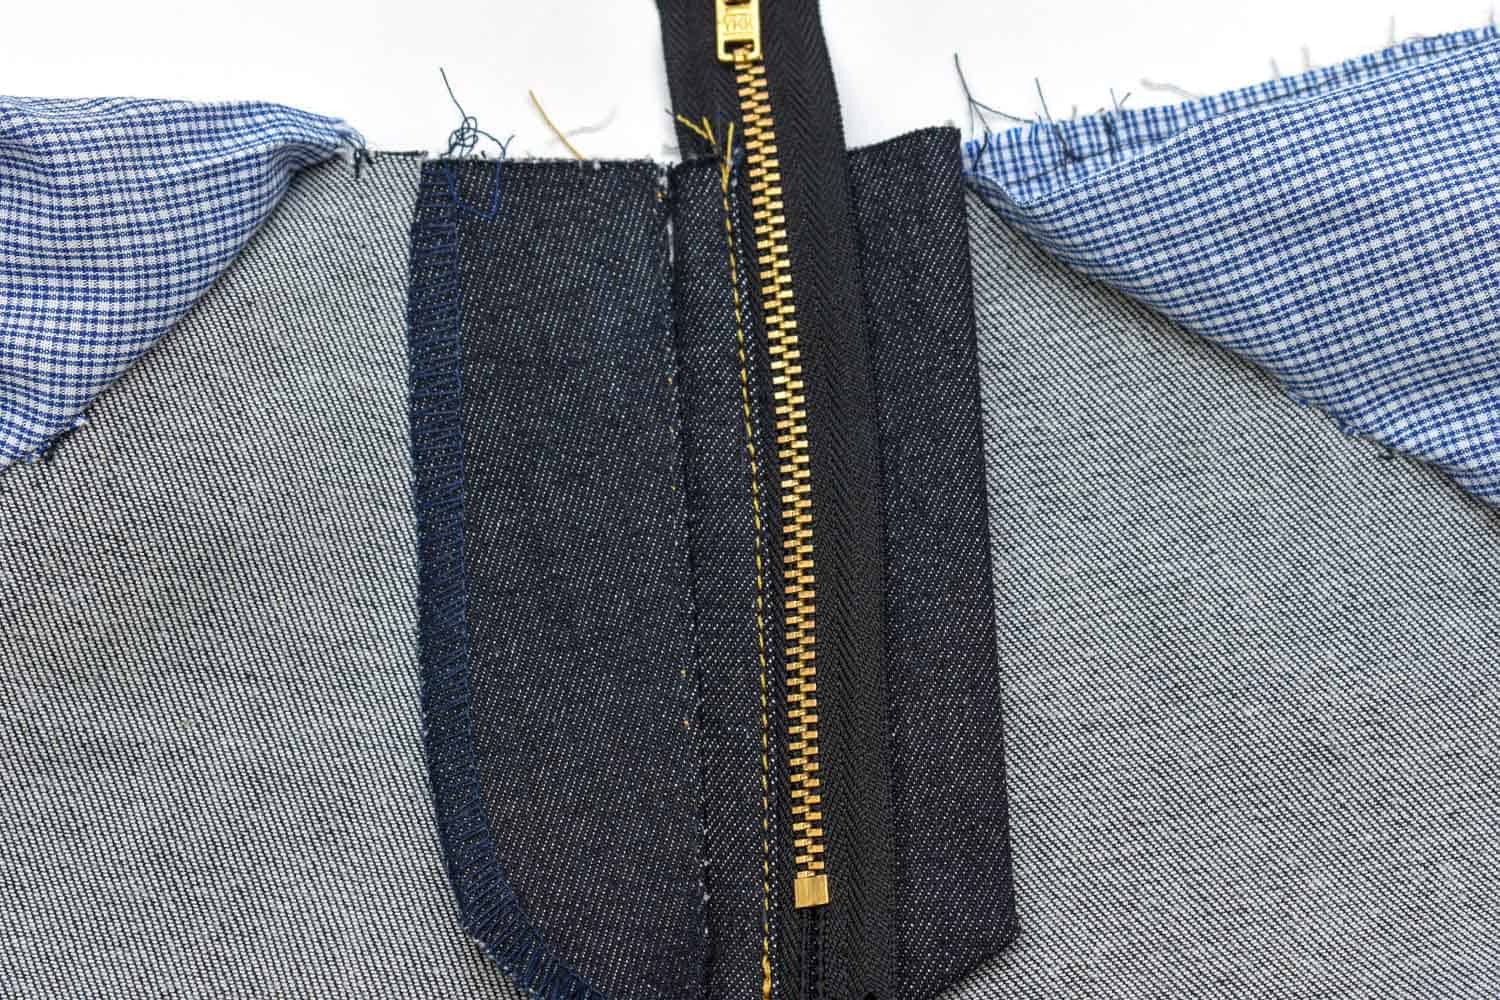
Topstitch the on the left side of the zipper to attach the shield.

The finished shield, attached to the crotch seam.
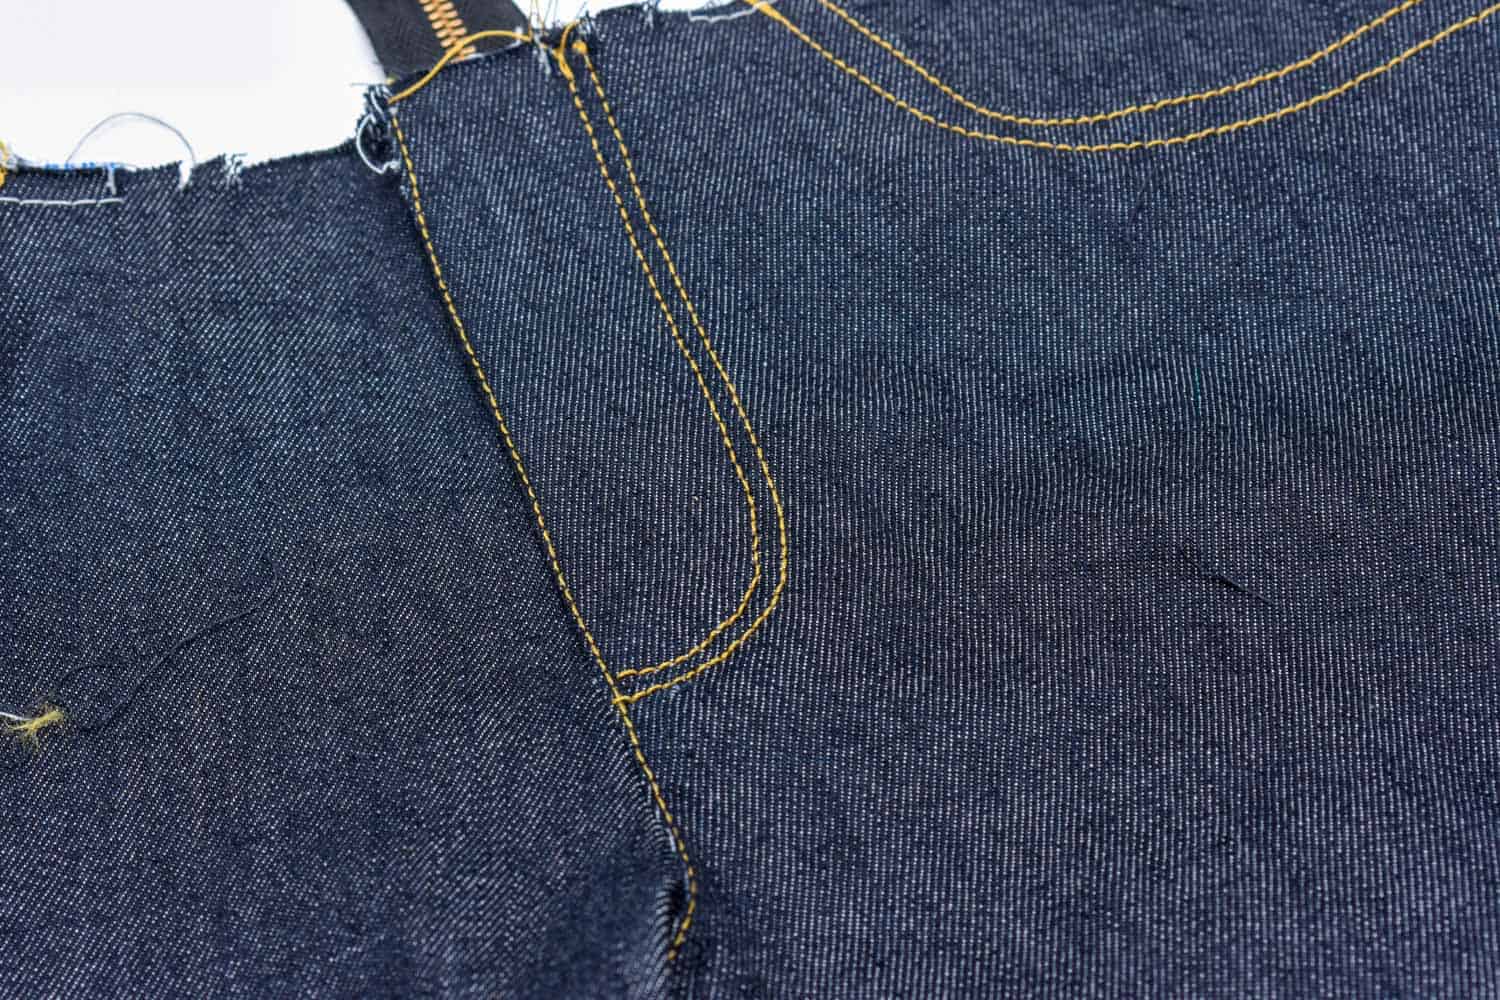
8. Prepare for topstitching the zip fly
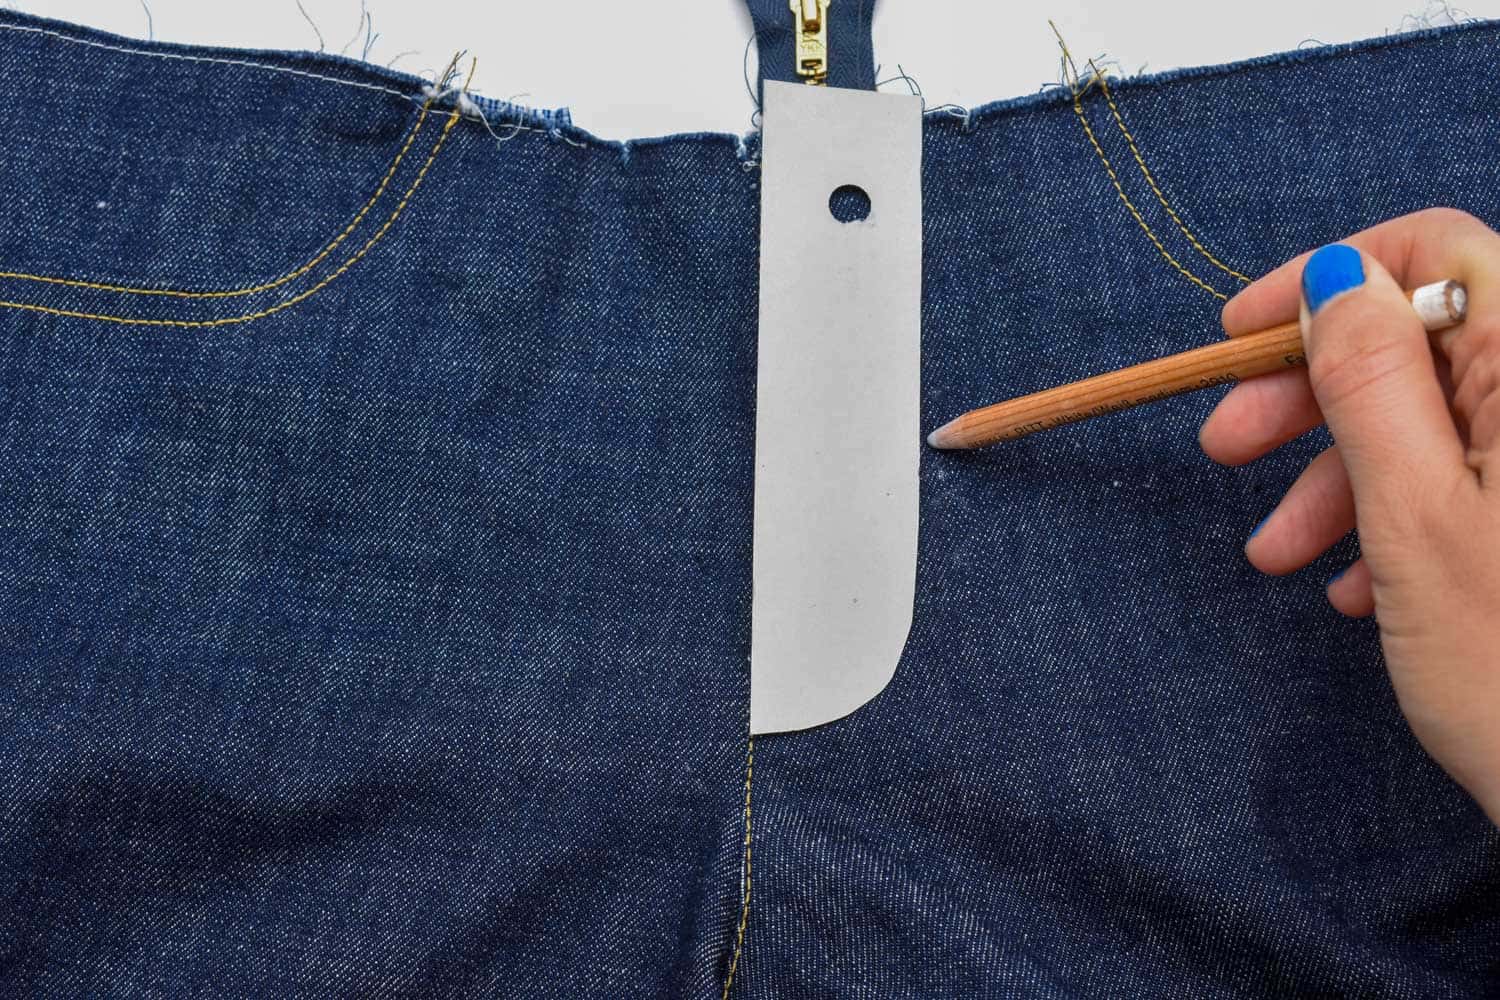
Option 1: Mark the seam on the fabric using a template.
Fold the fly shield to the right and pin it in place.
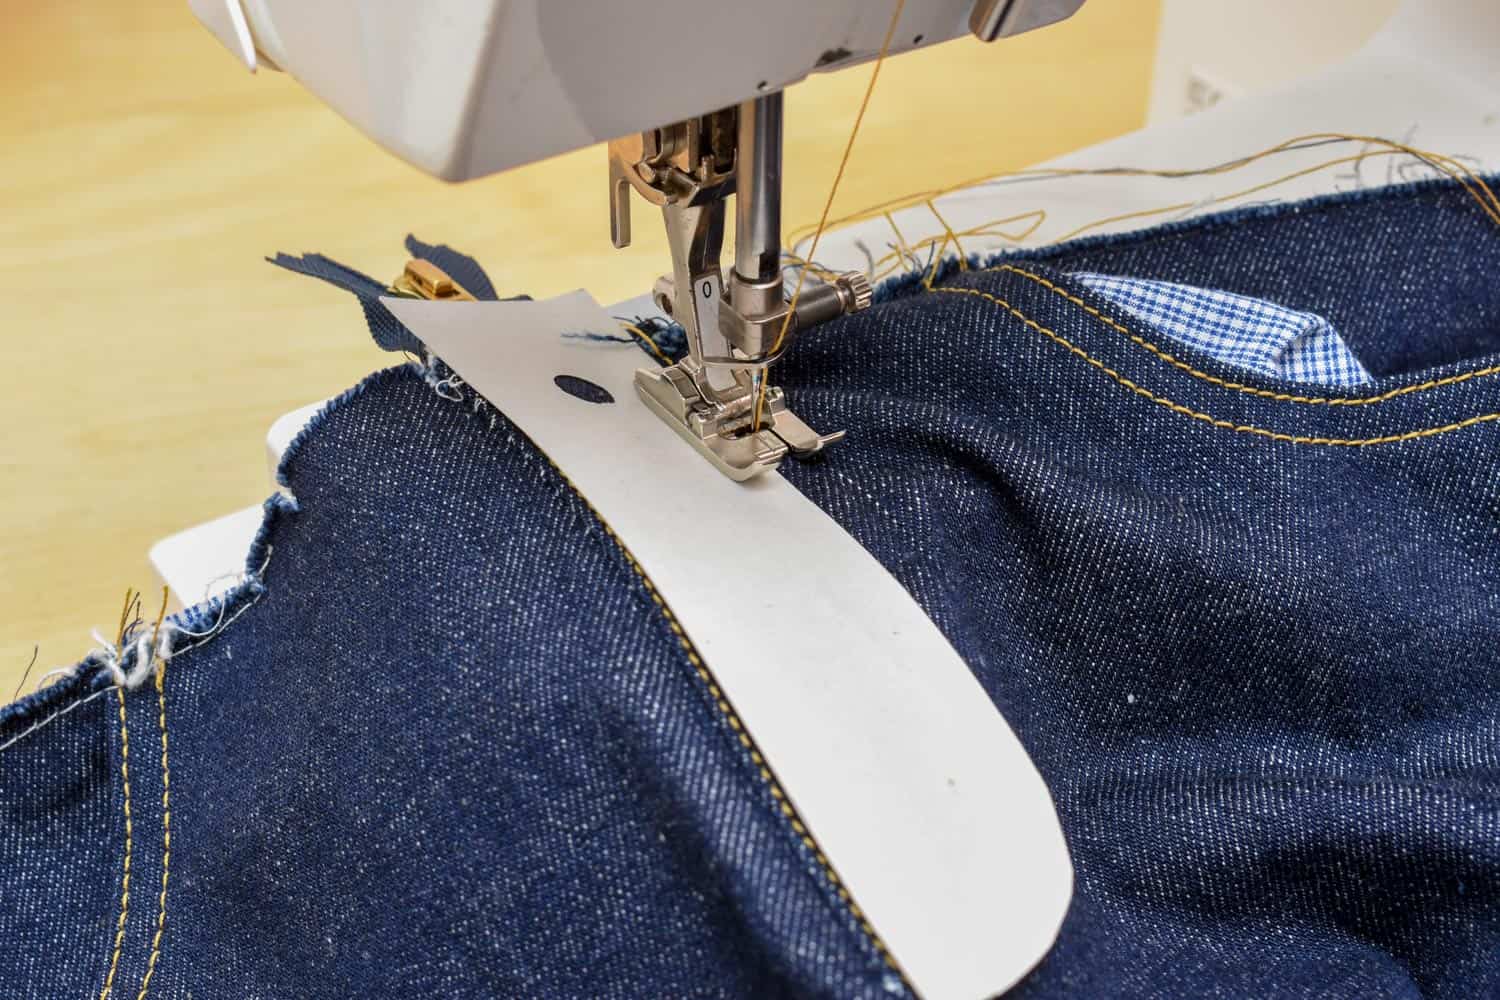
Topstitch the seam using (option B) a paper template. This a professional technique that is better than marking or tracing.
The first row of stitches is finished. You will secure the lower edge of the stitch from the other direction once the topstitching is done.
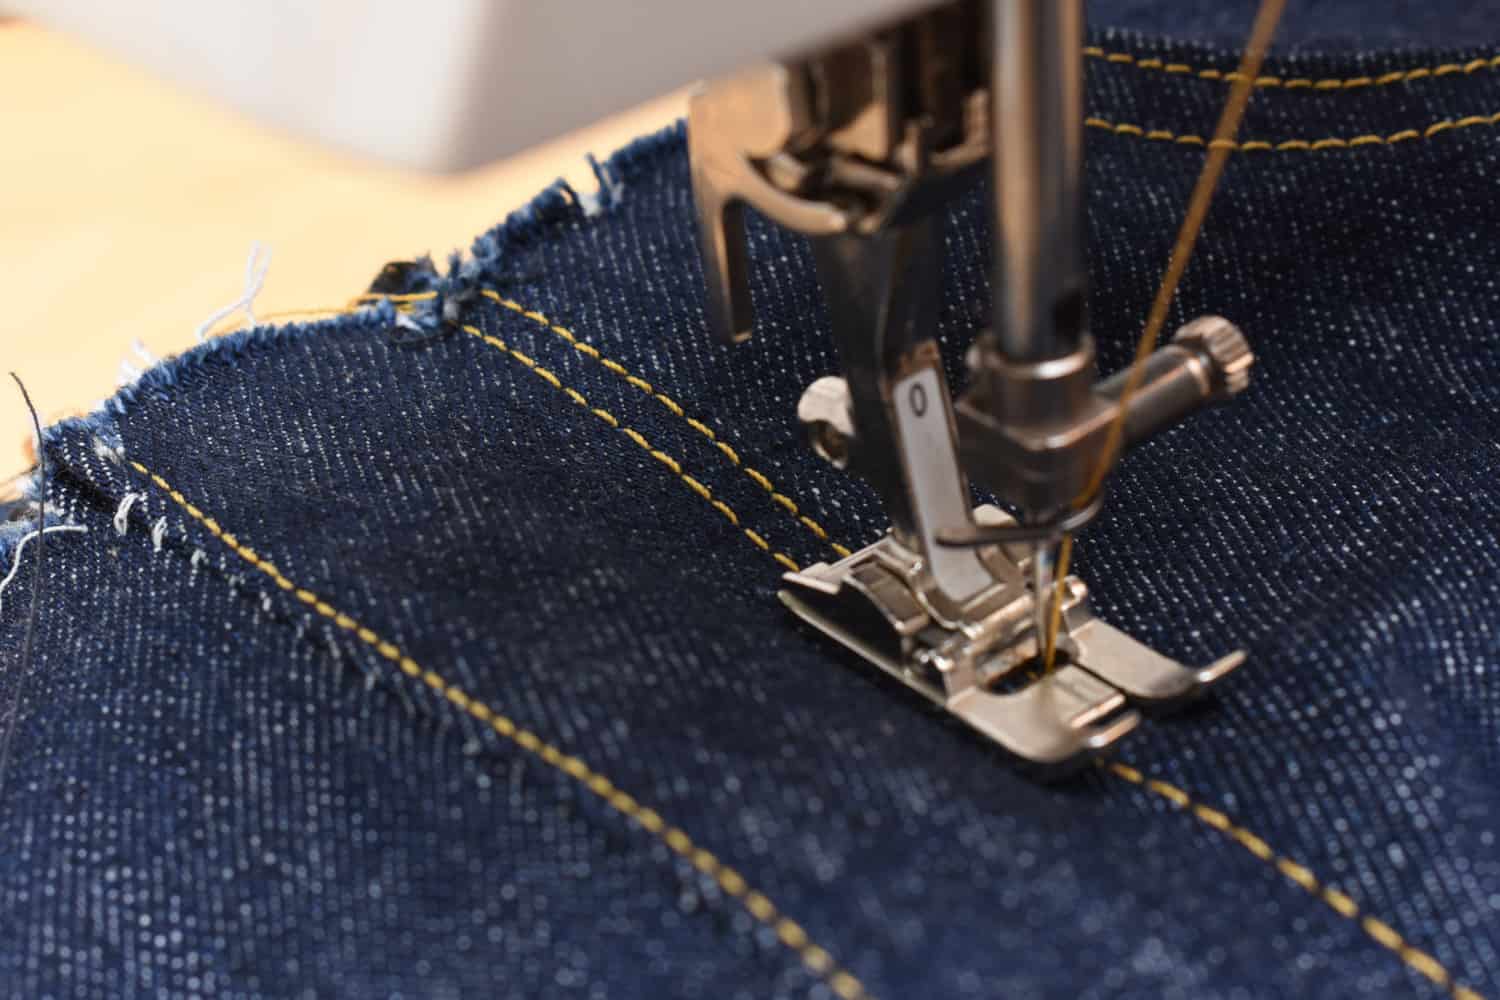
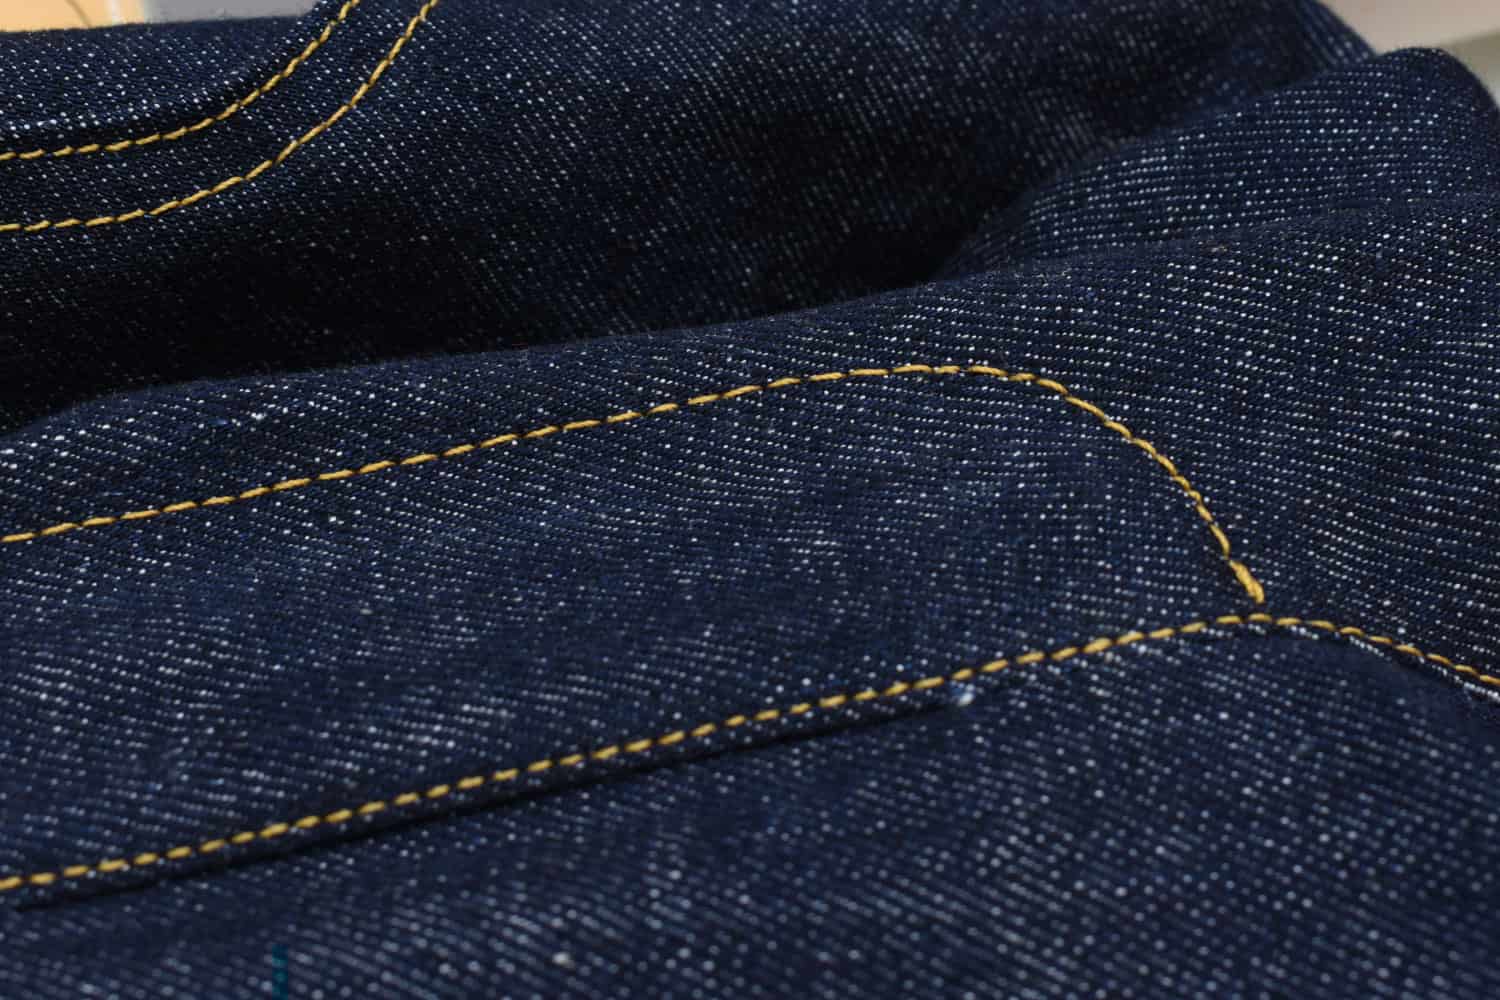
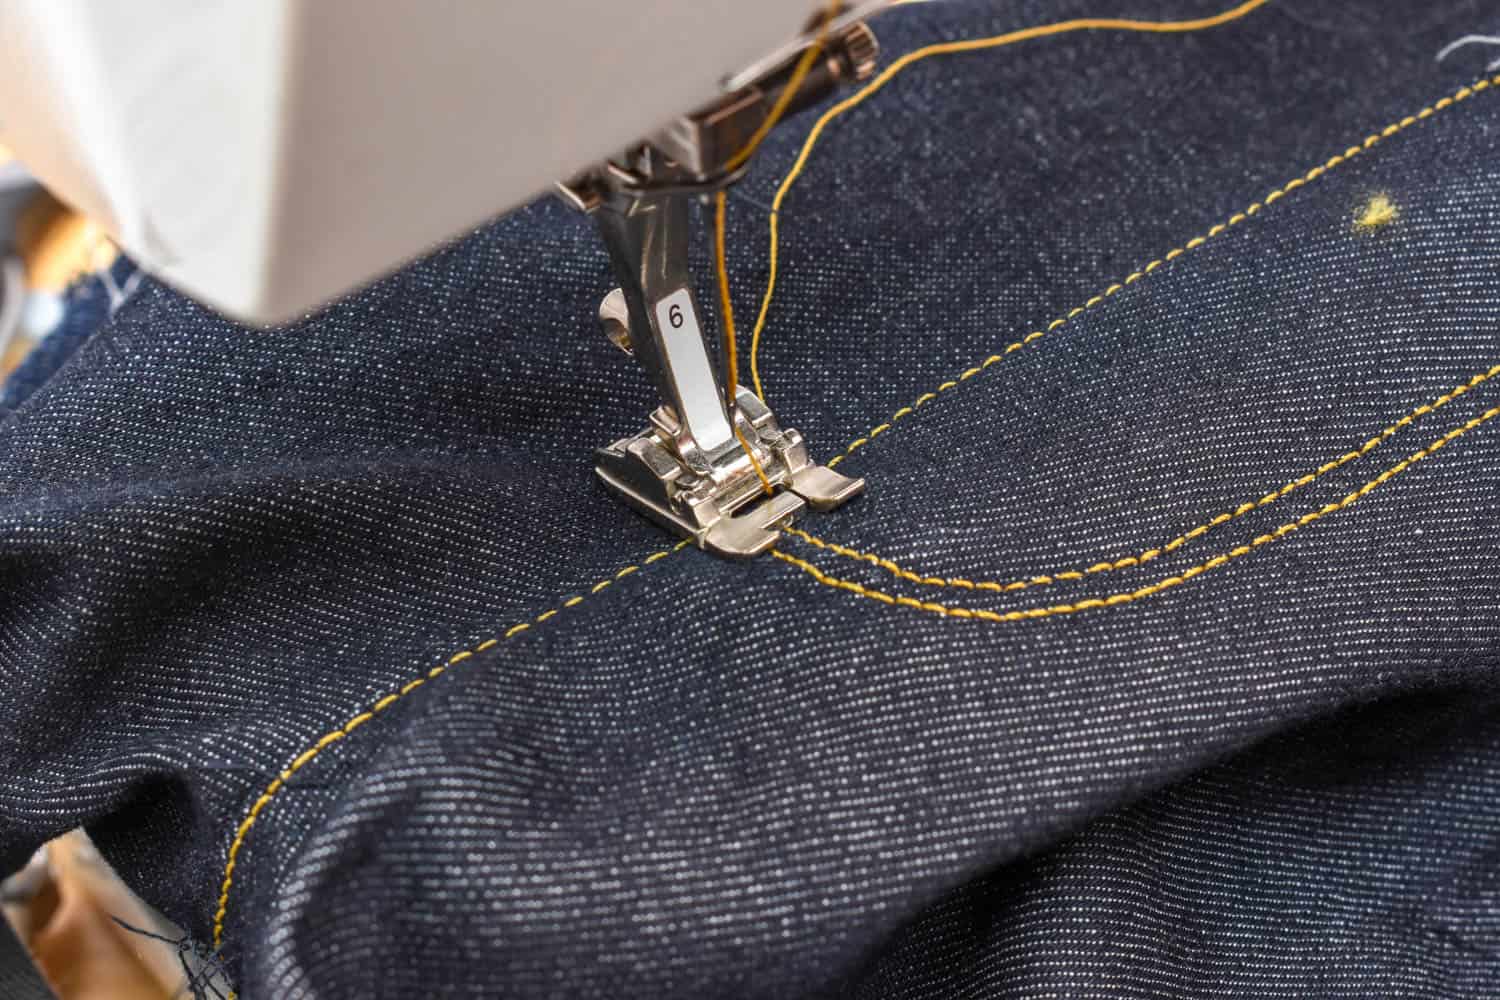
9. Topstitch the second row
Use an edge of the presser foot as your guide.
10. Remove the basting to open the crotch sam

10. Fold the fly shield to the left
This will prepare for the bar tacking seams that will keep the lower part of the shield in place
11. Stitch bar tacks
This will both secure the crotch seam and keep the fly shield from flipping back and forth. Now the jeans zipper is finished!
Other tutorials in my jeans making series
Sewing the jeans yoke and side seams
How to sew front jeans pockets the professional way
Sewing jeans back pockets like a pro


12 Comments
Jenny
This is such a great tutorial. Thanks! I look forward to the rest.
Antoinette
First things first: How was Madonna???
Really well-photographed tutorial. I actually sewed most of a pair of shorts last week from a Simplicity pattern and they essentially had this same method for sewing the zip-fly — I'd never seen instructions for pants to be put together this way, but mine came out pretty darn good for a first try. Yours, with the topstitching, look fantastic, very professional. Are you using a special thread for topstitching?
And I like the collapsible tutorial! Where in the world did you find instructions for that? Very helpful.
Cecilia
I know this is an old post, but I came across this tutorial and I wanted to thank you for sharing! It is so well explained, the pictures are really clear, I had sewn zippers to jeans before for my little daughter but now I've following your tutorial and it much easier.
Soco
40 years in the garment industry in different capacities, never baste or used pins, is all about volume and speed. I calculated about 12 minutes to perform your operation, back in my days the rate at piece work for a 7 inches zipper was 15 cents. Sorry, but using your method wouldn’t be profitable, and it was indeed a desired operation.
Rachael
Please share your method. This tutorial is for home sewers who have the luxury of time.
Liezel Bosman
Hi. I`ve learned so much from this tutorial, thank you.
There is one thing that you do not mention which I figured out while putting a zipper in this way: Before topstitching the fly, you have to fold everything out of the way and stitch the zipper to the flap of the fly at the back, otherwise your zipper is not attached to the left and the right front pieces?
Barbara Harris @ sewing machines view
I was scared to do this project. But I did it (in one night too!) and it turned out great! I had to rip out the zipper 1.5 times, just as you said, but your pep talk and the reassurance that it was normal helped me a lot. Great tutorial!
Peter
I’ve been struggling sewing a zipper fly for a week now and someone just lit the room!
Comments are closed.