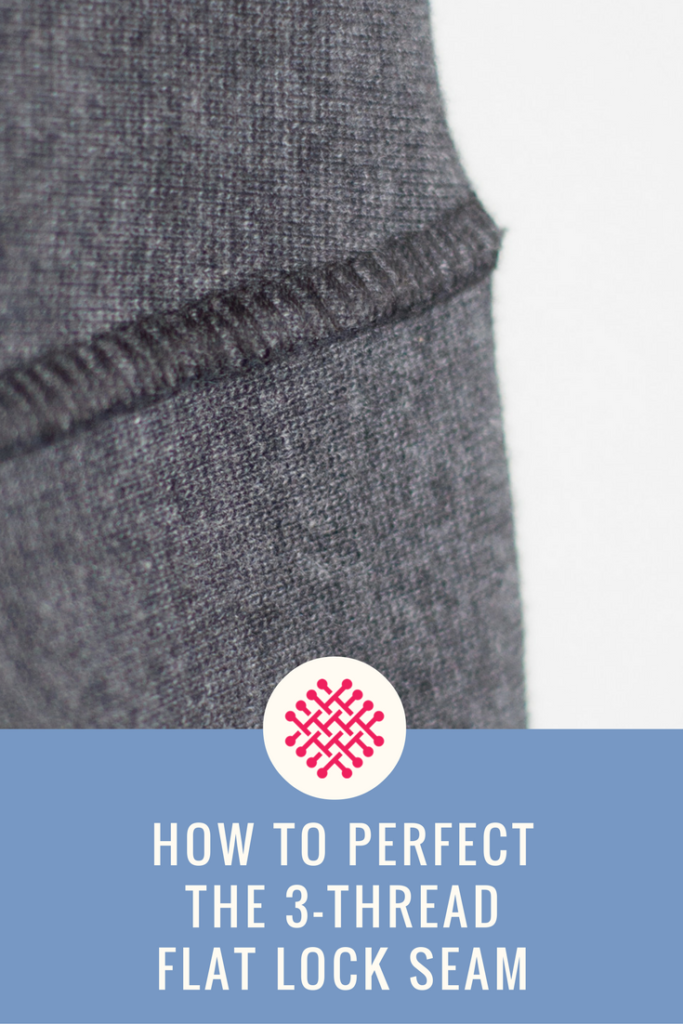
 Well, perfect is an overstatement. But I will share the methods I’ve employed to achieve a 3-thread flatlock that looks pretty good when pulled apart. The challenge with 3-thread flatlock is getting it flat, as it oftens looks bulky when pulled apart which is why I’ve always preferred the 2-thread version. But when I did my bike helmet cap I decided to be really methodical in my approach with the 3-thread version. The trick is striking the perfect balance between very little tension in the needle and upper looper and very high tension in the lower looper.
My top five tips for sewing a 3-thread flatlock seam
1. The needle and the upper looper tension needs to be really loose
My sewing manual recommends 2 for the needle (out of 9 notches). But I got better result when lowered the needle tension to 1.5 . My upper looper was set at 1.
2. The lower looper needs to really tight, but don’t make it too tight
This is the number one trick I think, nailing the lower looper tension. My manual said 7 (out of 9) which was not tight enough. However maximum tension was not ideal either since the seam popped when stretched! Hence why it is so important to make samples.
3. The secret weapon for a successful flatlock seam might be wooly nylon
While I got decent results with regular serger thread it wasn’t until I switched to wooly nylon that the seam began to look really good. The reason: Woolly nylon adds tension in the looper, according to the book Serger secrets, wooly nylon in the lower looper adds tension equal to 2-3 notches. On my serger I found it to be more 1.5–2 notches, but I guess that depends on the machine. Also the wooly nylon is fluffier which covers the fabric better than regular thread.
4. Increase the cutting width
When pulled apart it is paramount that the fabric aligns with the seam so there is no gap between fabric and thread. I found that increasing the cutting width half a notch (i.e. turning the lower knife lever to a higher number) made the cut close enough.
5. Press, press, press
The final step is to give the seam a good pressing. But not too hot obviously, we don’t want melted seams!
Bonus tip. Take a photo of your serger with the perfect settings and store the image in a safe place!
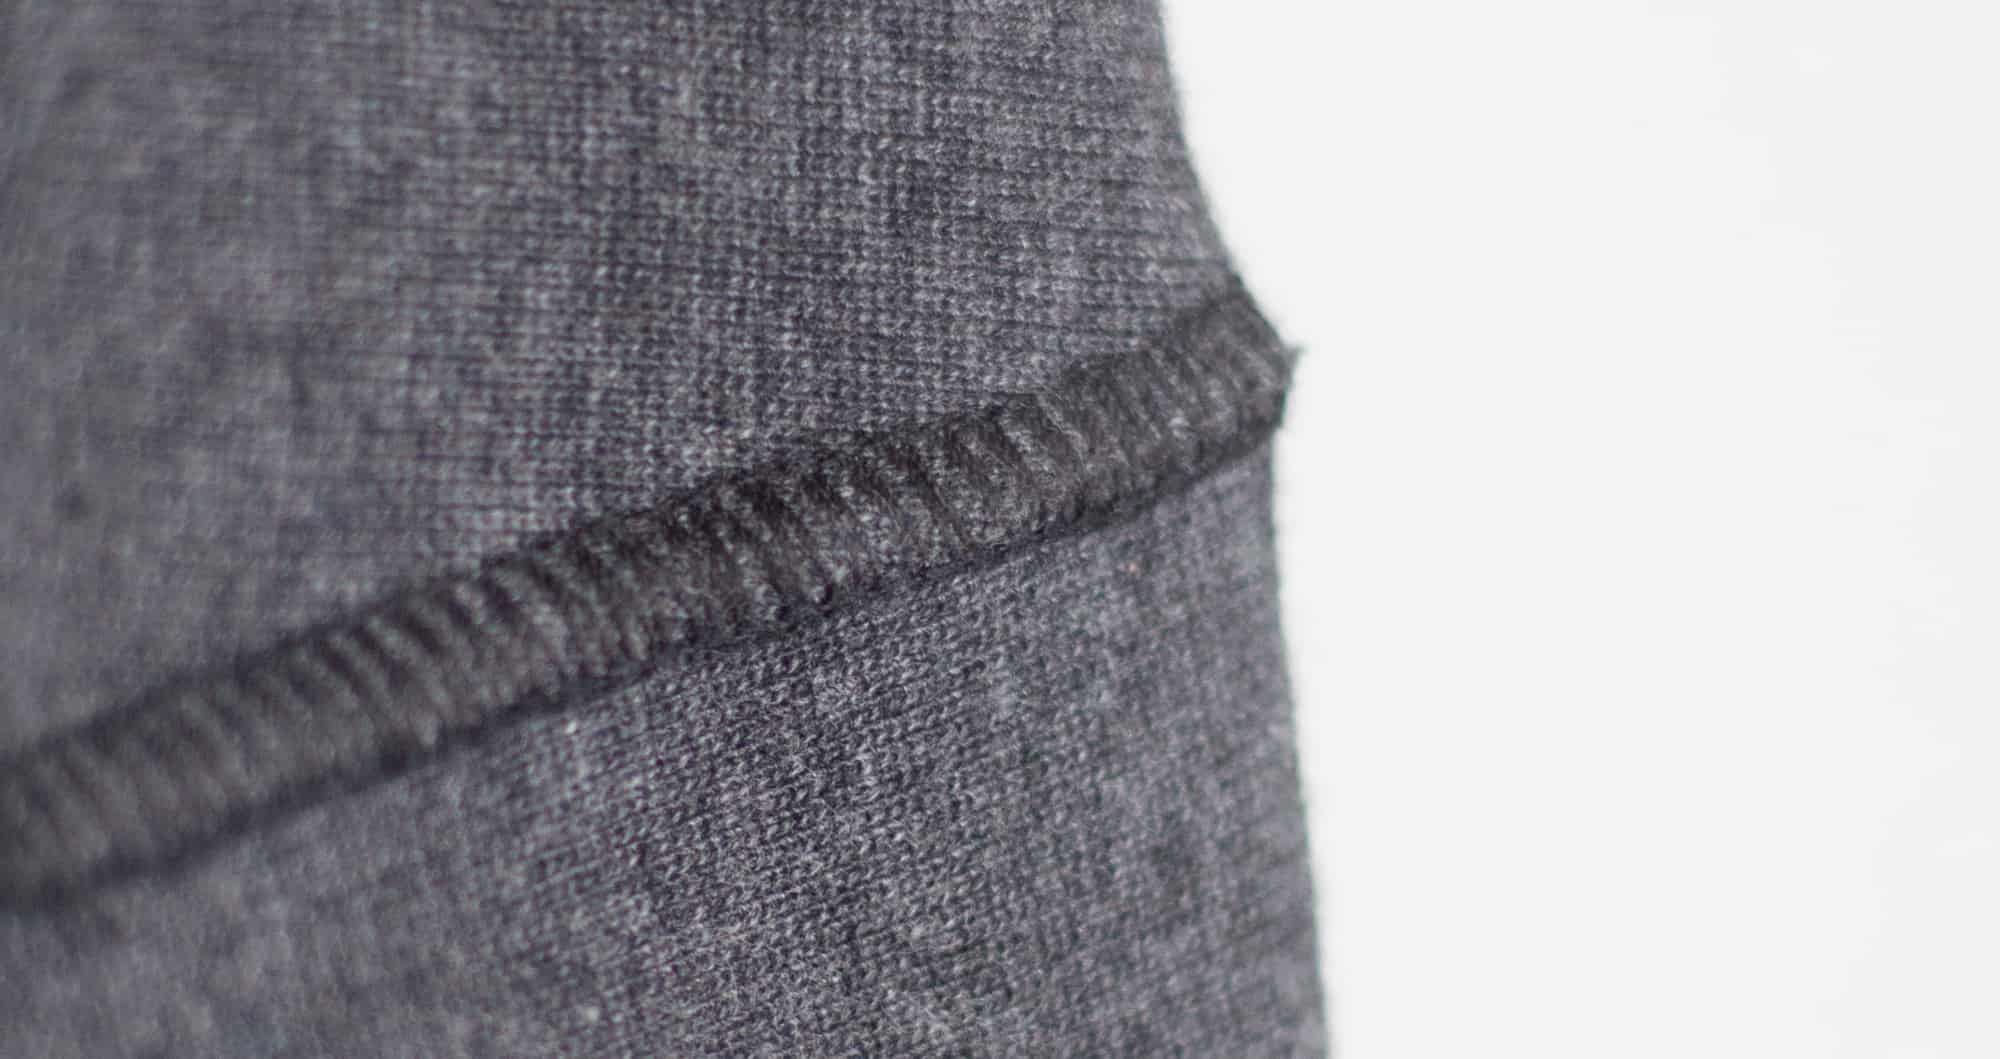
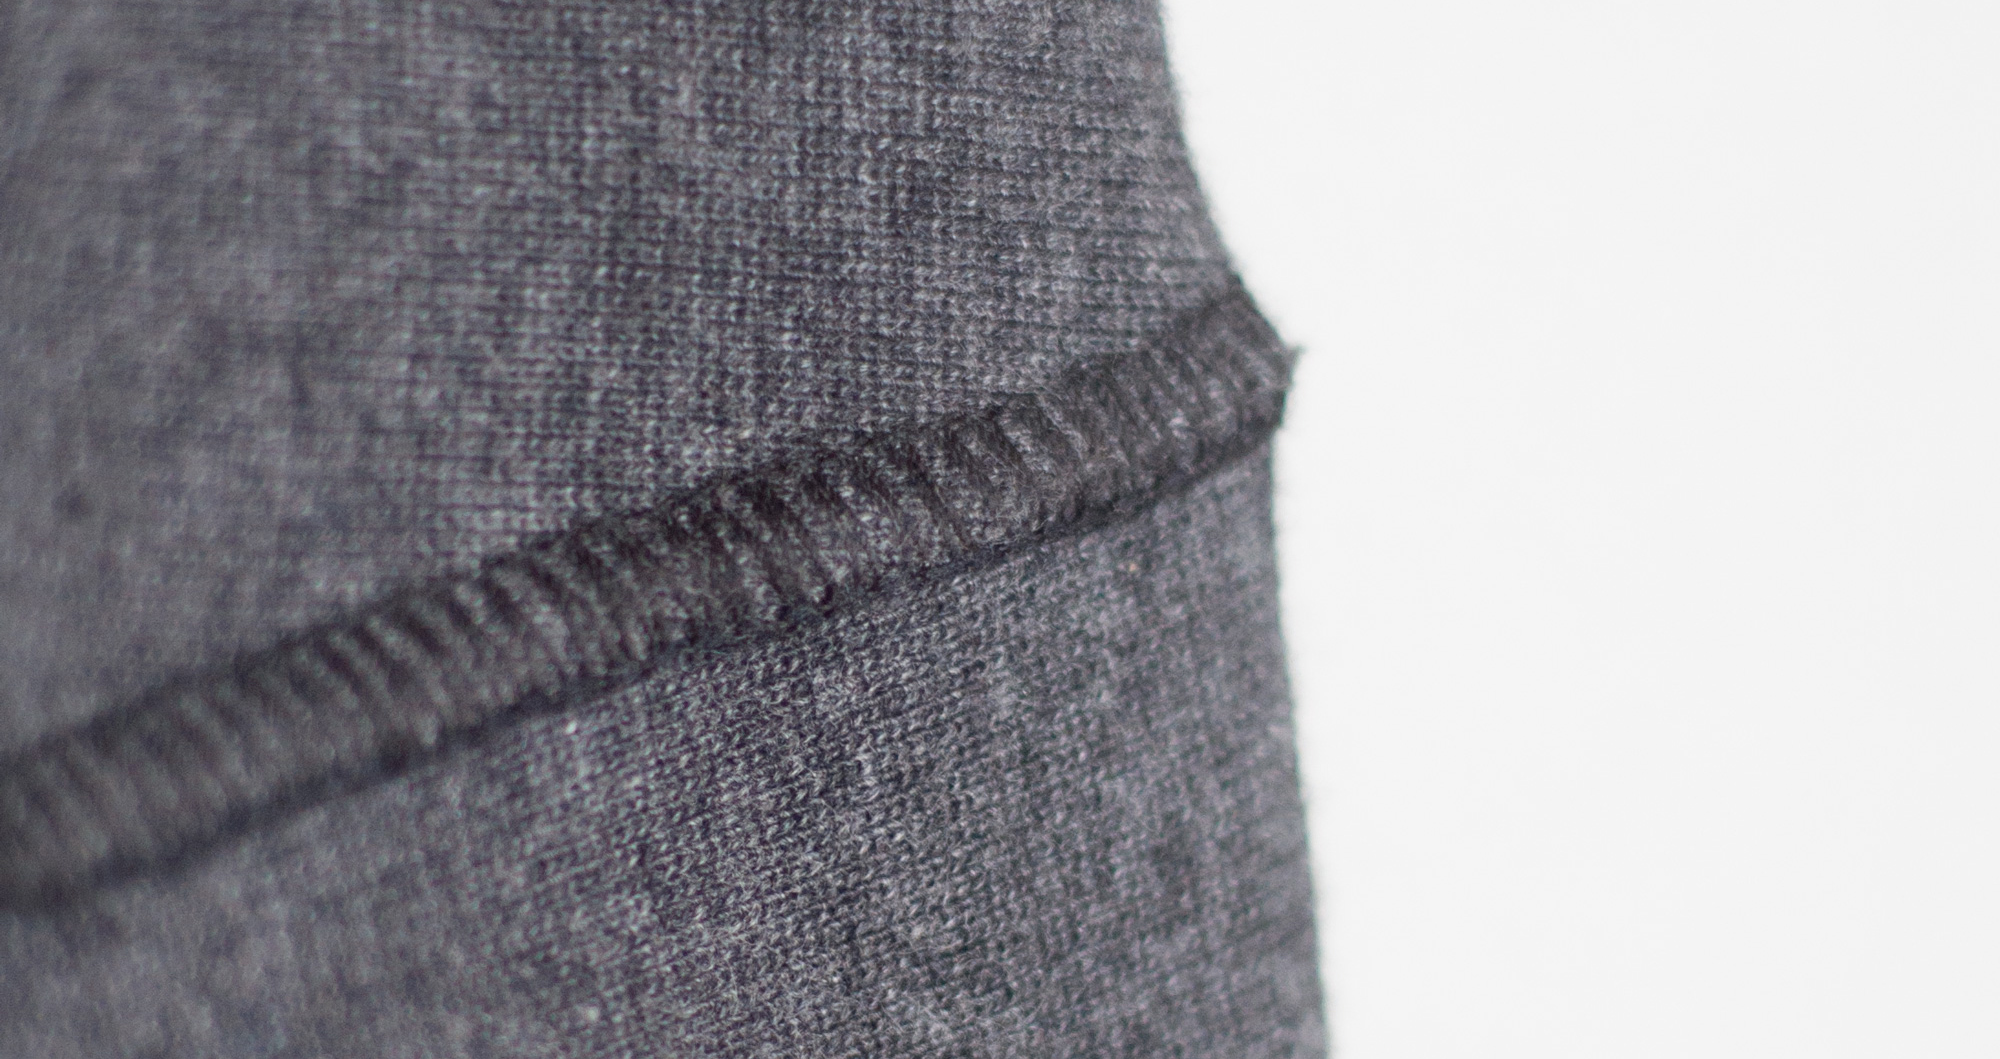
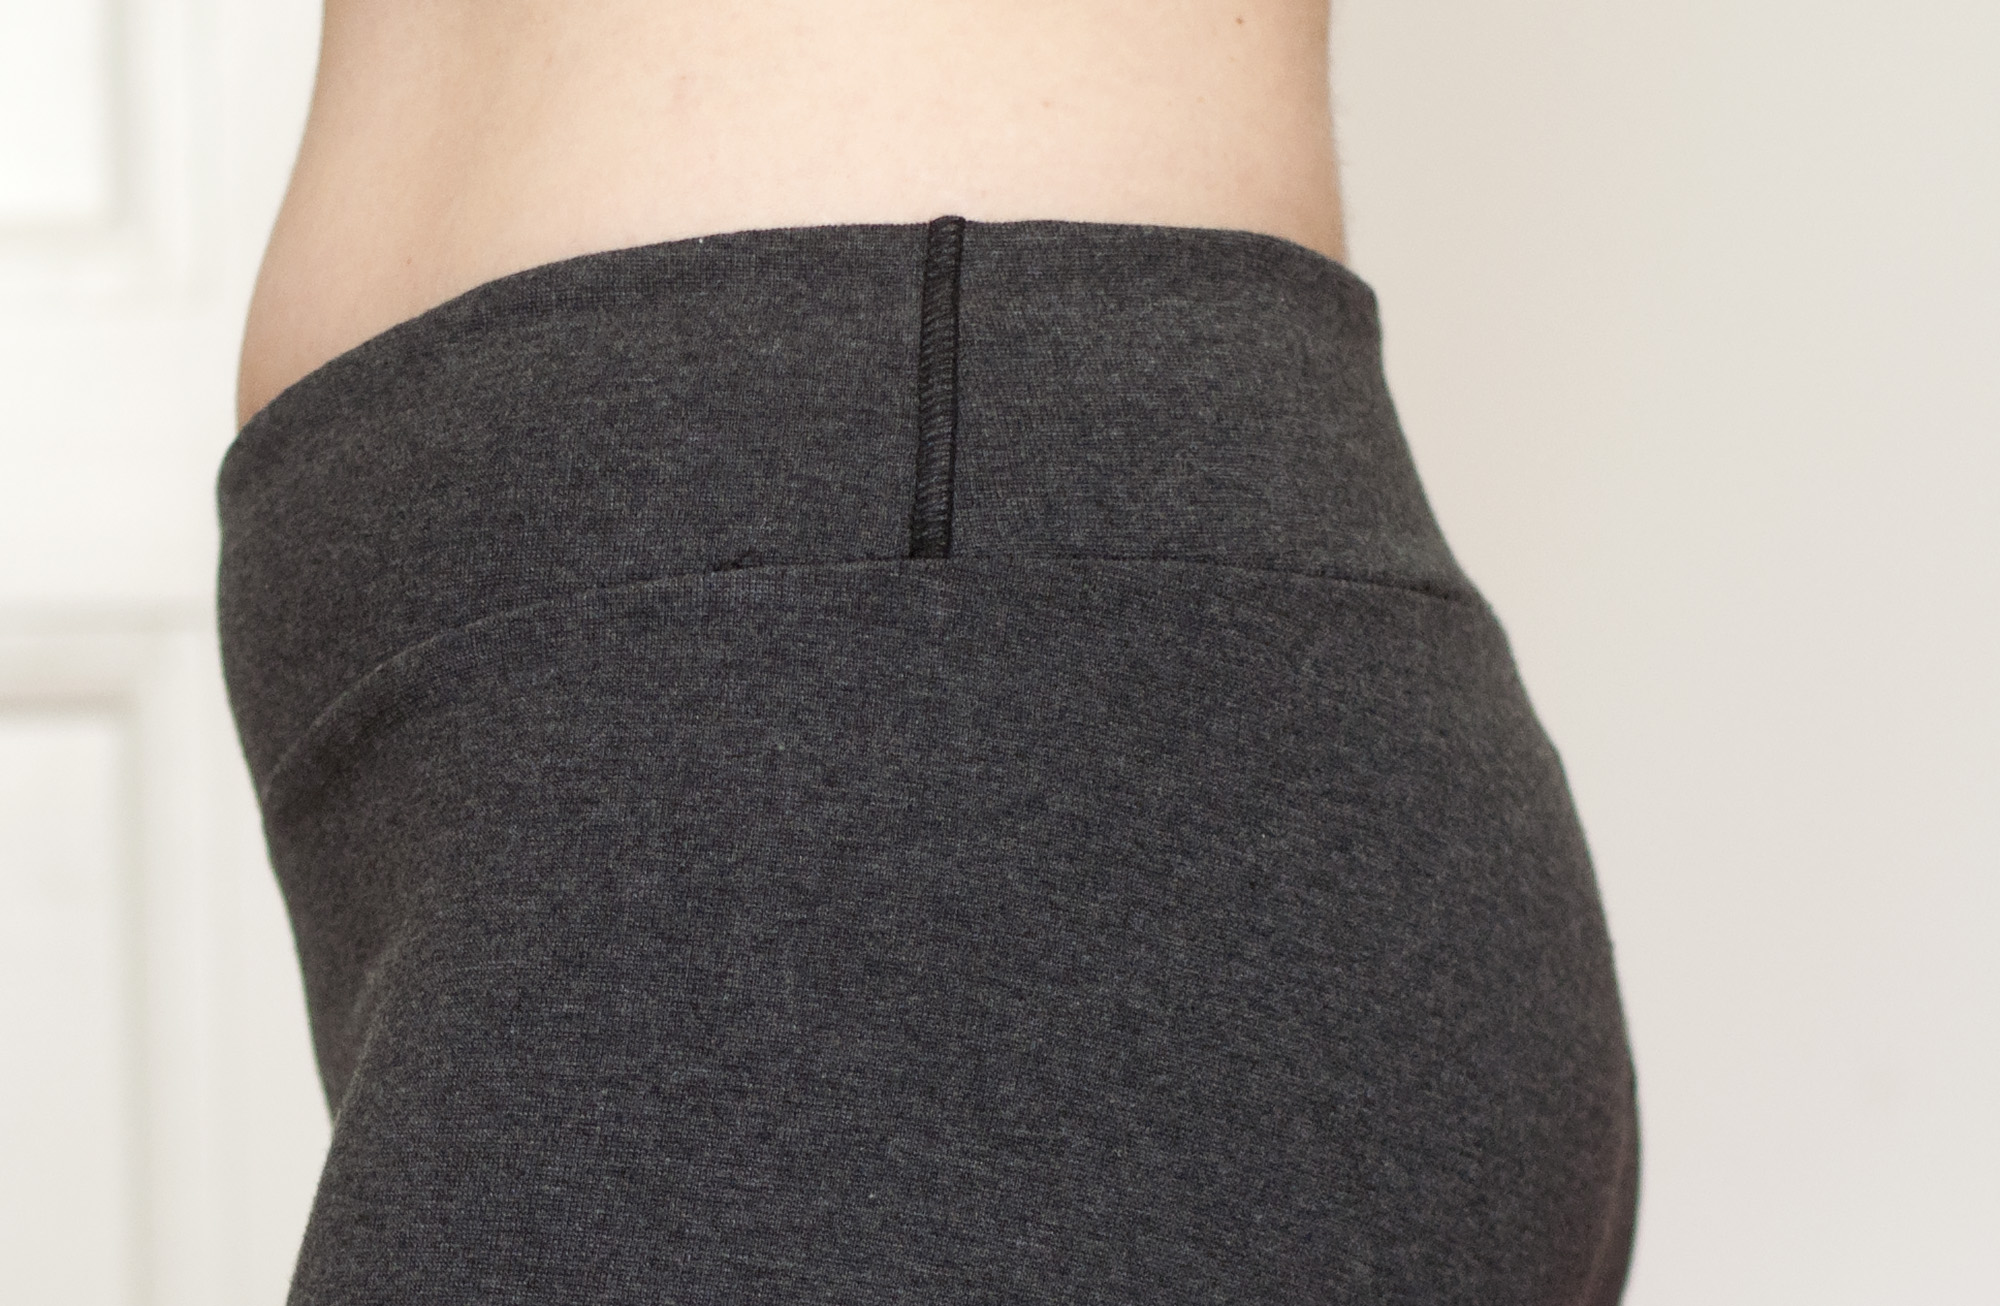
Upper and lower side of the 3-threaded flatlock seam

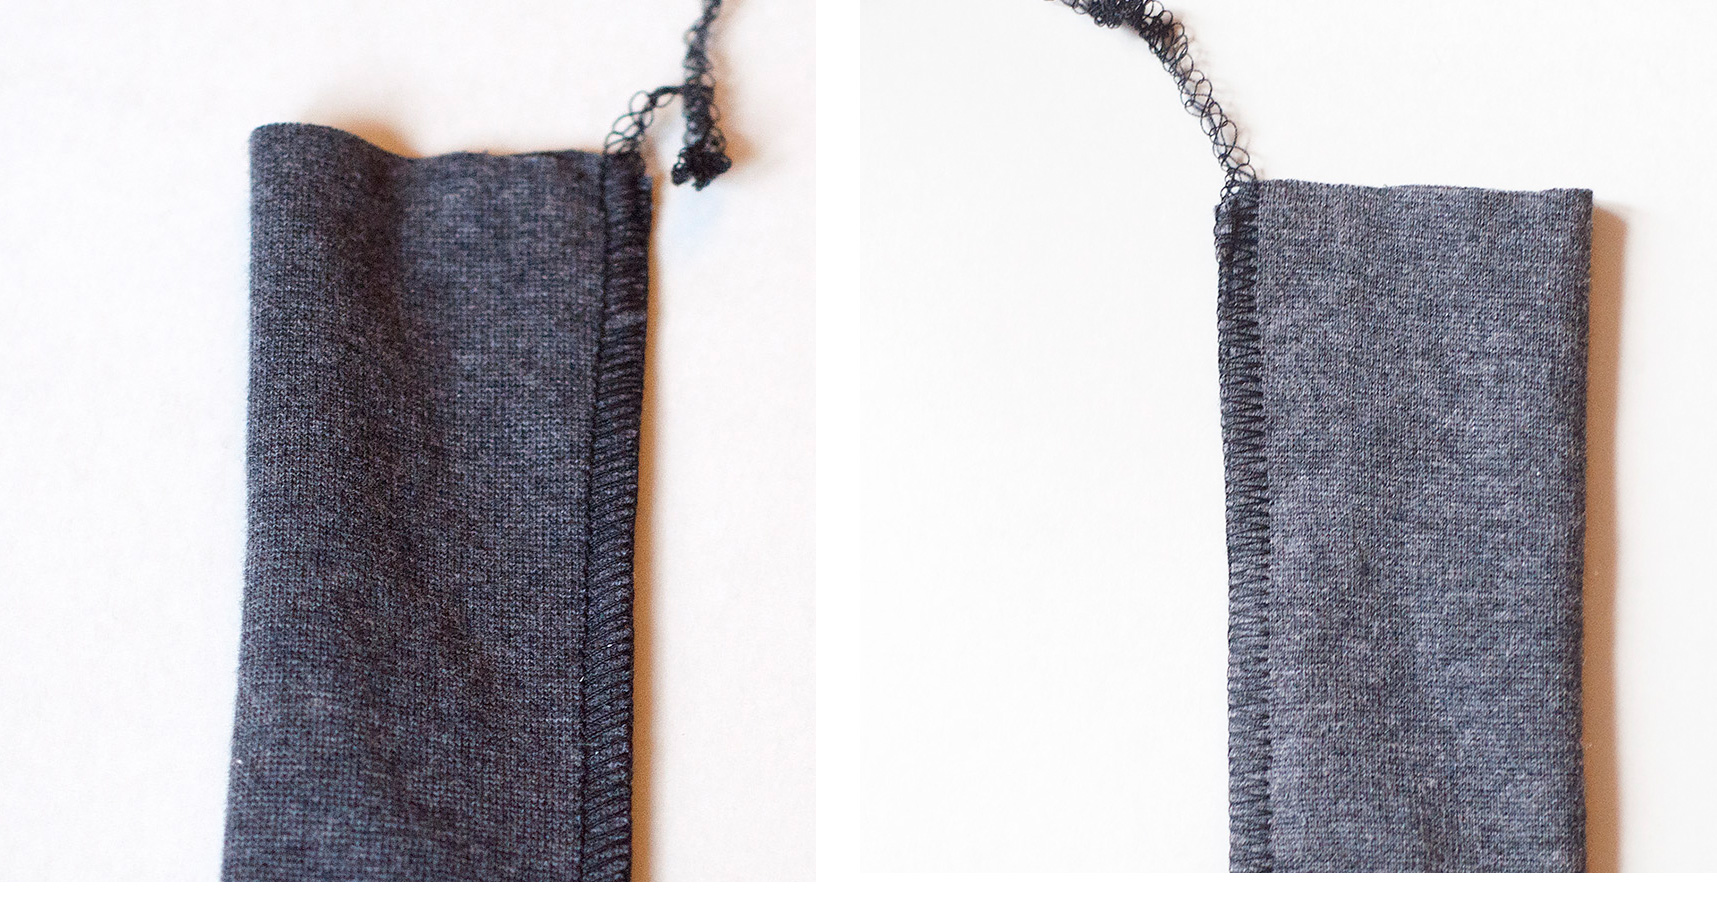
Pulling the flatlock seam apart to create a flat seam
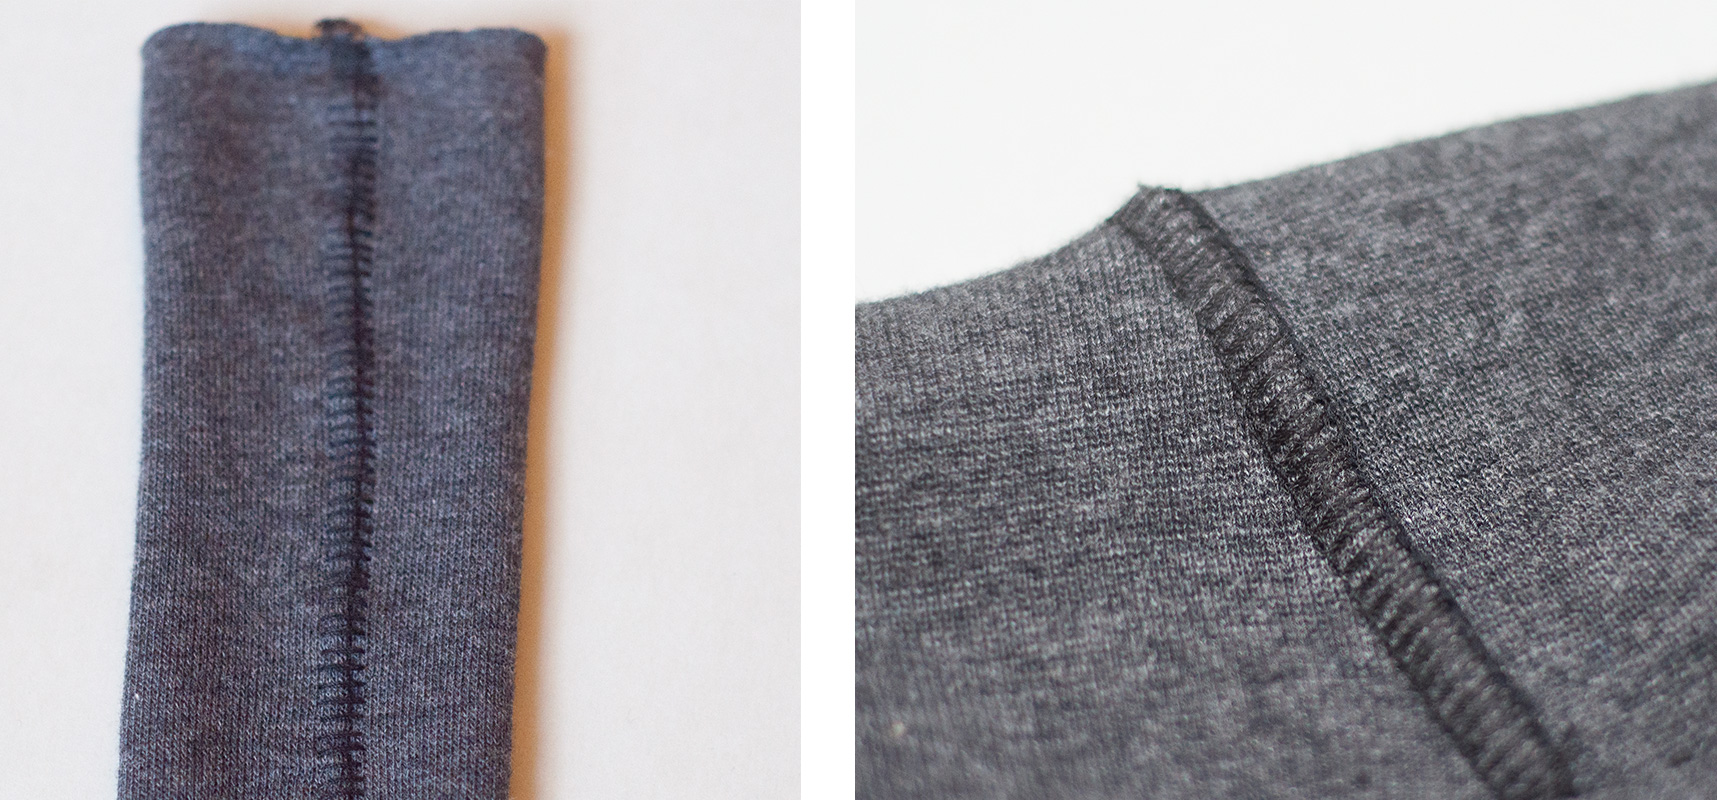
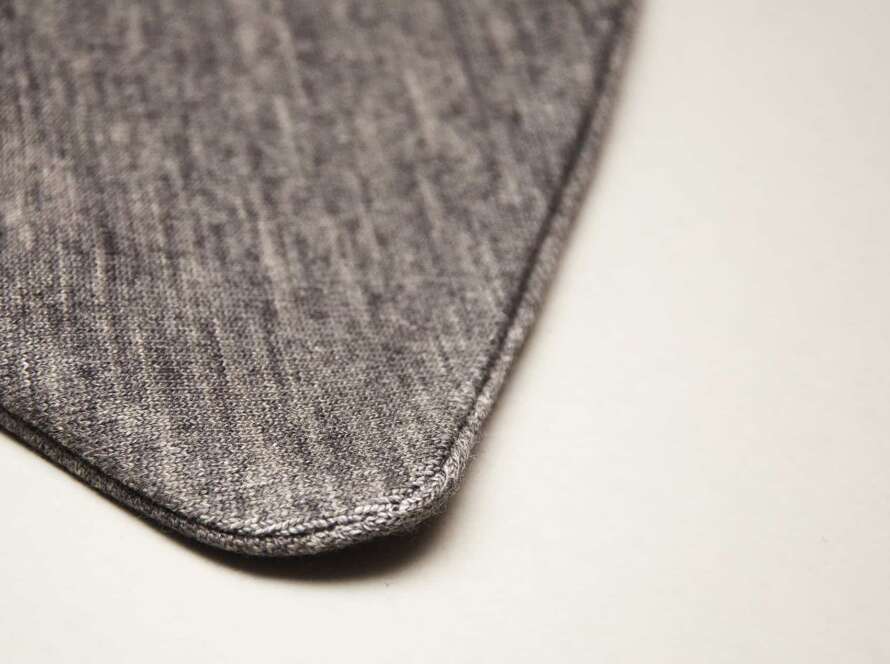
Needle side and the finished pressed 3-threaded flatlock seam
Hopefully you found my experiments useful, And if you have any tips on flatlock seaming, please share in the comment fields.
8 Comments
Marianne Kerckhoffs
Hi.
Is Woolf nylon the same AS seraflock thread?
In Denmark it May be called Seraflock.
Johanna
It could be, at least according this site https://www.macculloch-wallis.co.uk/p/9122/speciality-threads/mw/mettler-seraflock-1000m It looks quite similar to me. That said I found that even those who are labeled woolly have different properties, some are flossier than others for instance
Diana C
Thanks for the tips! I’m learning so much from you. Question – which serger do you use? I think it’s time for me to invest in a better one.
Johanna
I have recently switched from the Pfaff I use in this tutorial to a Babylock Imagine that does really good flatlock seams with less tinkering compared to the Pfaff. The Babylock adjusts the tension automatically and was well worth the (steep) price!
Candace
One other thing that will help the flatlocked stitch to lie flat is to leave a bit of a space between the edge of teh fabric and the knife. I will look a bit wonky and like your stitch is all screwed up, but when you pull it flat, it will lie flatter as there will be less fabric in the middle of the stitches. This too is one of those things you have to try and retry until you hit it right. But, yo will be glad you did.
Rachel
Would you do spandex pants using the Flatlock stitch? Or is it really better to do a three thread narrow or something else?
Comments are closed.