
In this tutorial, I’ll show you how to sew together and attach the waistband to the Aila leggings, or any pair of leggings really. Getting the waistband right is probably the trickiest bit when it comes to sewing regular leggings, but don’t worry, I have plenty of tips for how to sew them right.
Stitches used for sewing a leggings waistband
- Sewing machine zigzag (for the elastic)
- Serger or sewing machine overlock stitch (for sewing together the pieces)
- Sewing machine twin-needle or 2-needle coverstitch (for stitching down the facing, optional)
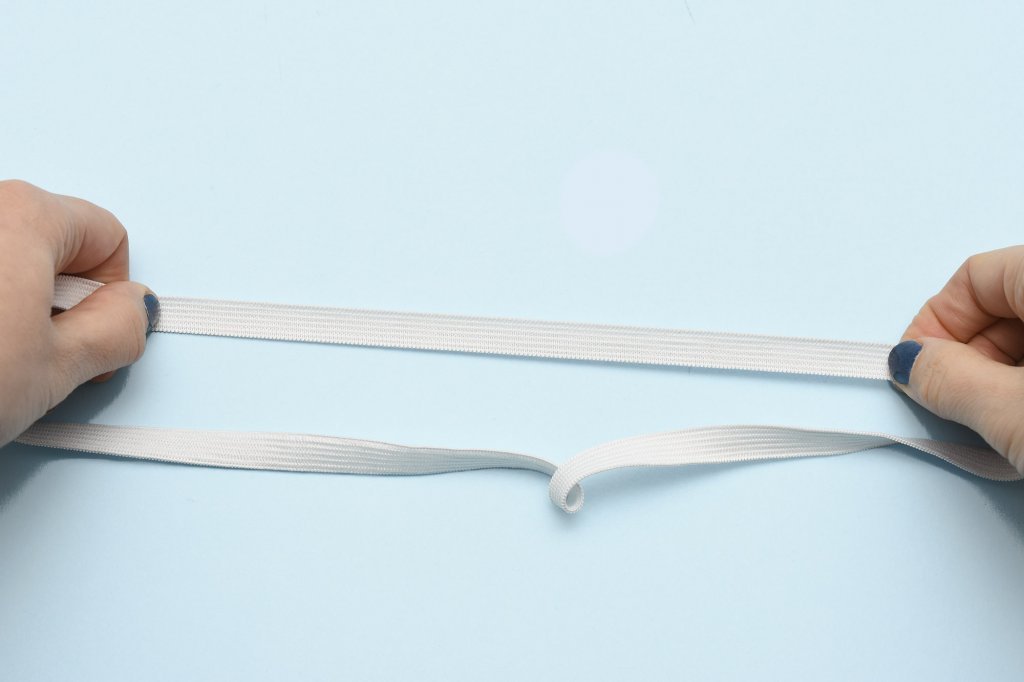
Pick the right elastic for leggings waistband
To keep the waistband in place when exercising you need to attach a narrow piece of elastic to the waist seam allowance.
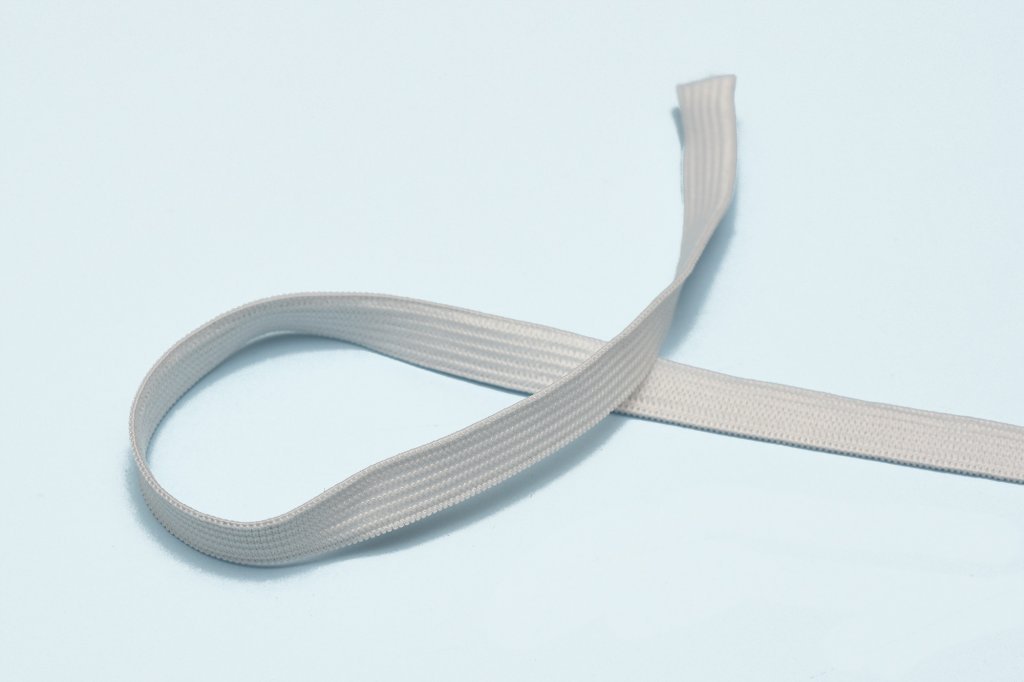
Best elastic width
1 to 1.5 cm (⅜ to ⅝”) is perfect. The narrower the elastic is, the less it will show through the fabric.
The best type of elastic
A knitted soft elastic or clear elastic. It needs to have a fair bit of stretch, ideally at least 50%. It’s important that the elastic is fairly thin since a thick elastic will show through the fabric and create a thick ridge.
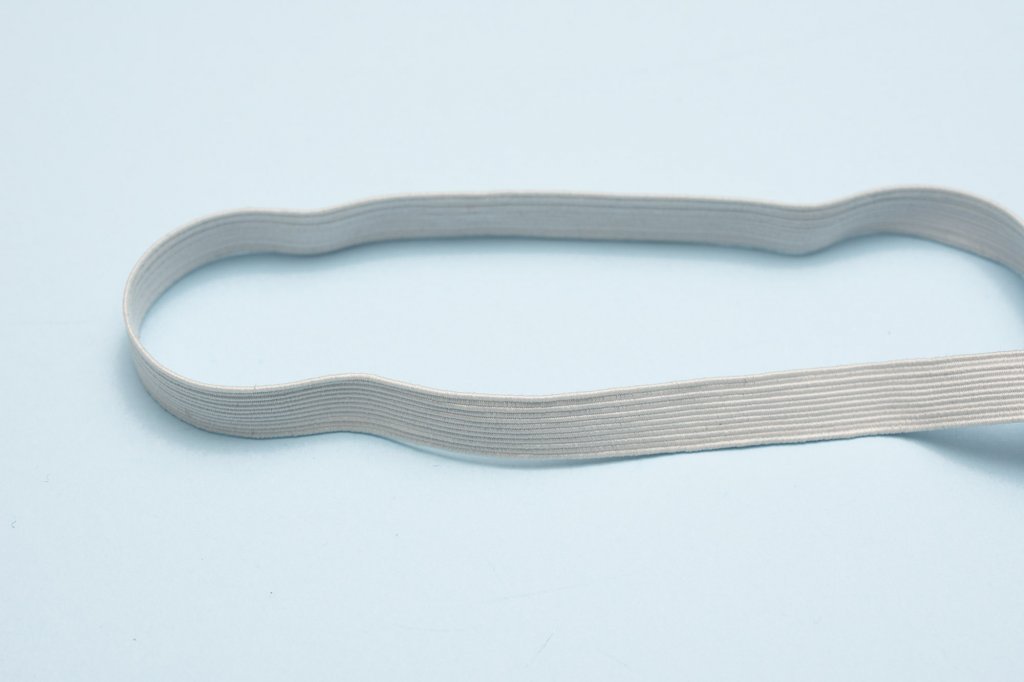
Elastics to avoid
A rigid heavy elastic is not a great combo with 4-way stretch fabrics. Another thing to look out for is thick ridges, which some elastic has. The ridges add bulk and also make it harder to topstitch the elastic due to the uneven surface.
Using power net or power mesh as underlining
Using underlining in the form of a body shaping net (more stable) or mesh (slightly softer) give the waistband the perfect amount of stability and shape. I use these on all my waistbands, and I highly recommend that you do too. To learn more about these materials and how to use them for the waistband, check out my tutorial on how to sew a body-shaping leggings waistband.
In this sew-along, I will use a power mesh, which is a bit softer than the net but still adds stability and shape to the waistband.
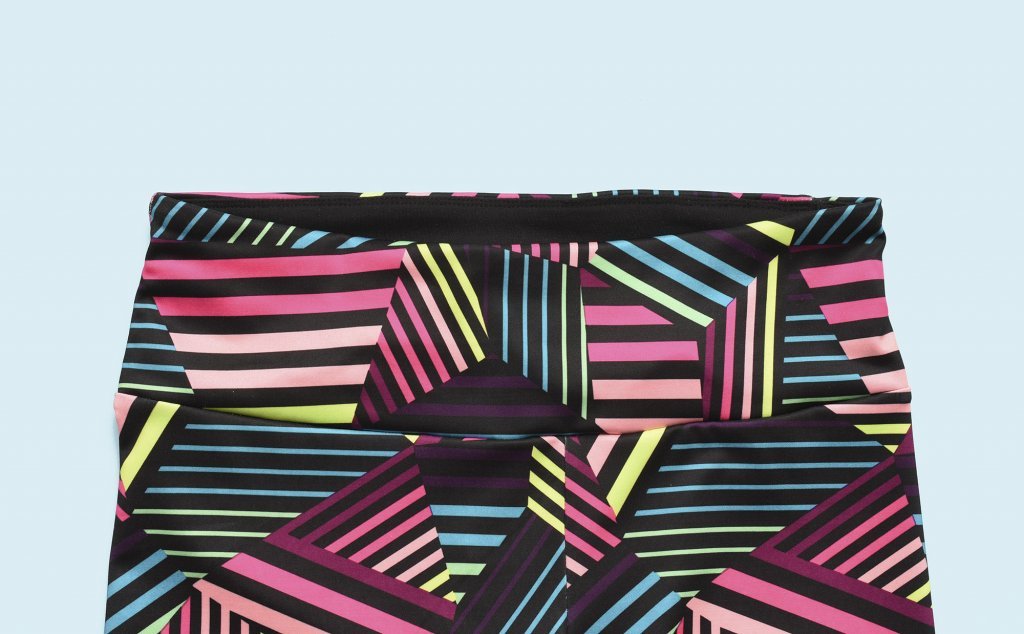
Why leggings should have separate inner and outer waistband pattern pieces
The Aila leggings have separate pattern pieces for the outer and inner waistband, where the inner waistband is slightly shorter so that the outer piece extends slightly to the inside, which is the secret to a beautiful, professional-looking waistband. This creates an even edge, with no seam allowance showing through. In my book, Sewing Activewear there is a tutorial on how to draft the inner waistband facing if your leggings pattern lacks this pattern piece.
Fabric choices for the inner and outer waistband
If I’m using a fabric with slippery surface or thicker thermal fleece fabric, I often use a different fabric for the inner waistband (the facing). My preferred choice for the inner piece is Supplex since it has such a soft hand. A stretchy sports mesh is another good option and something you can see in some RTW leggings.
Sewing the waistband
Preparation
If you are using underlining, add these pieces on top of the wrong side of the inner waistband. Pin in place. Check out my tutorial on how to sew a body-shaping waistband for more info.
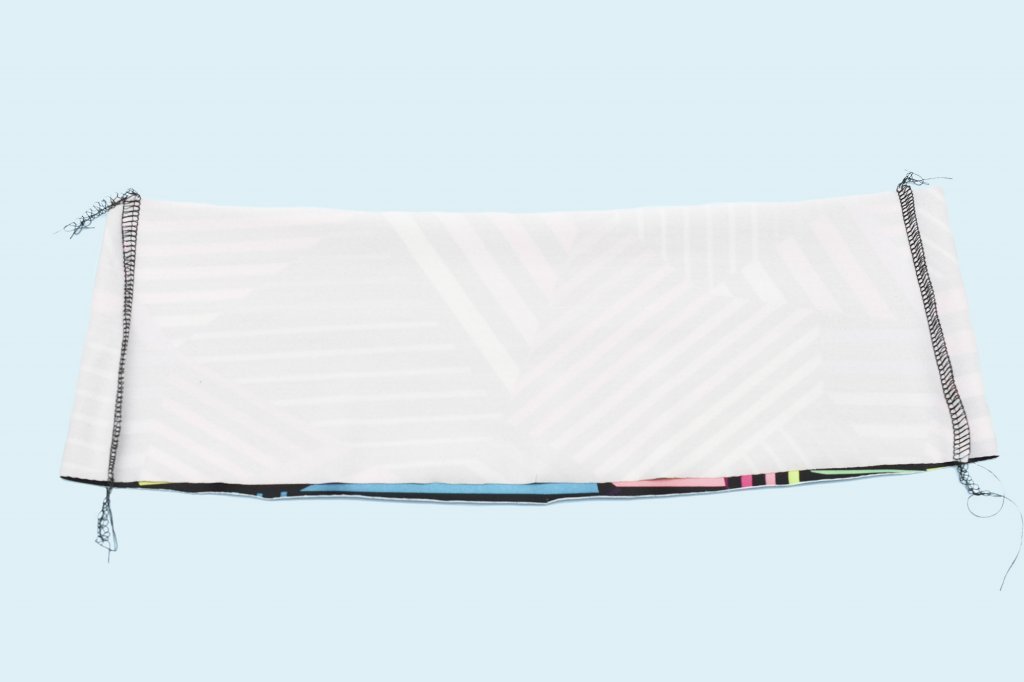
1. Sew outer waistband
Sew together the side seams of the outer waistband. Stitch the outer front waistband to the outer back waistband, right sides facing.

2. Sew inner waistband facing
Sew together the side seams of the inner waistband facing
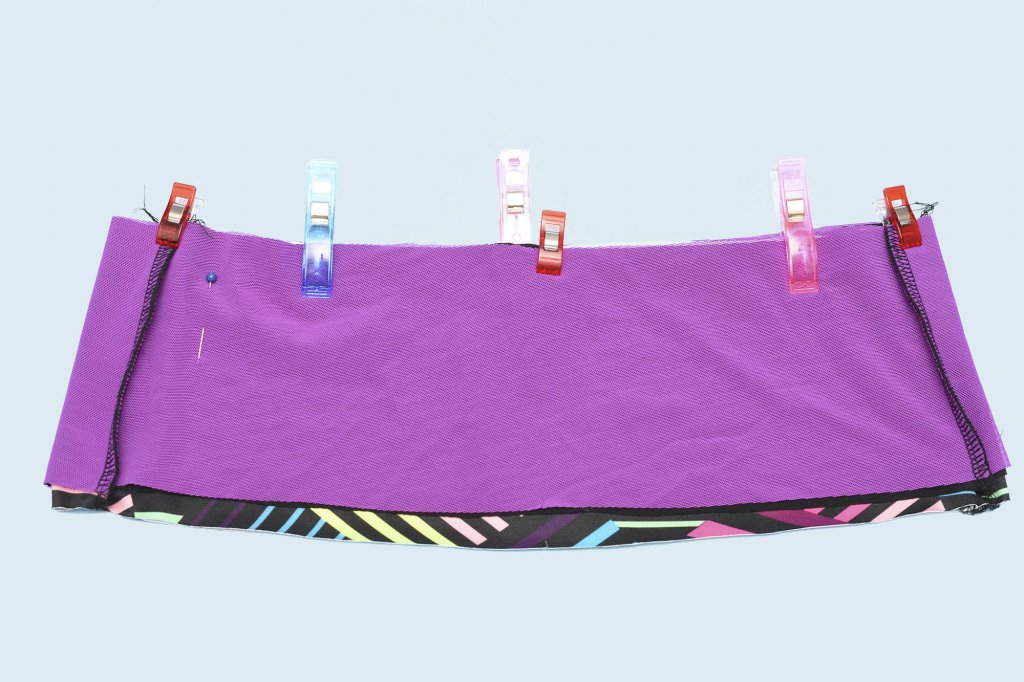
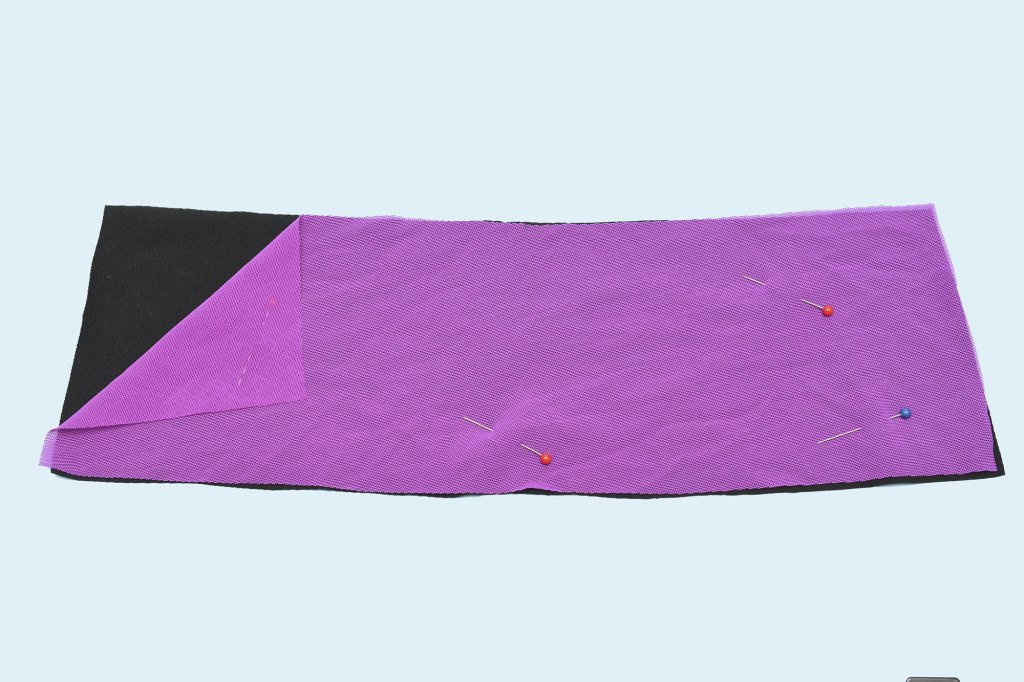
3. Place the waistband pieces together
Prepare for stitching the waistbands together. Place the outer waistband over the inner waistband facing, right sides facing, matching mid-front and mid-back notches. Use wonder clips or pins to keep the pieces in place.
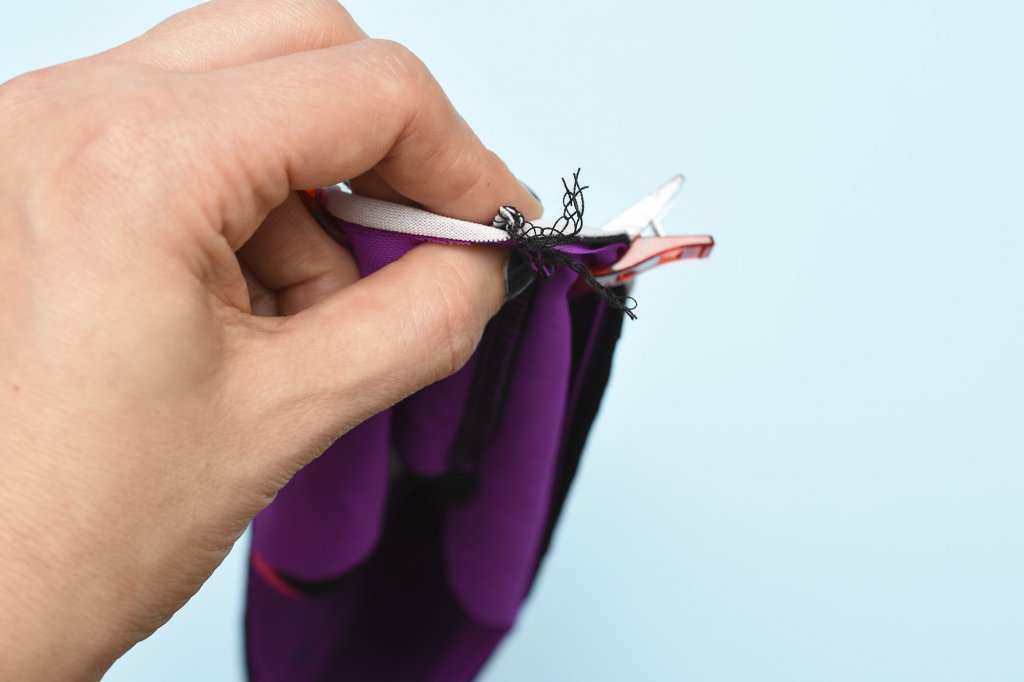
4. Fold the seam allowances
Flip the seam allowances of the outer and inner waistband in opposite directions, this will remove bulk and make stitching easier. I like to fold the seam allowances of the outer waistband to the back and inner to the front, but I don’t think it really matters.
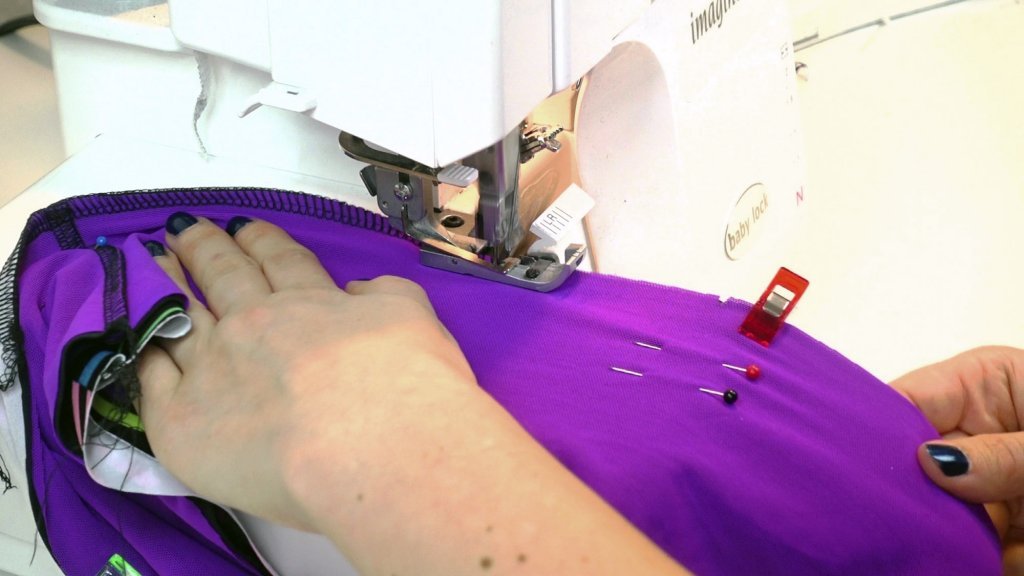
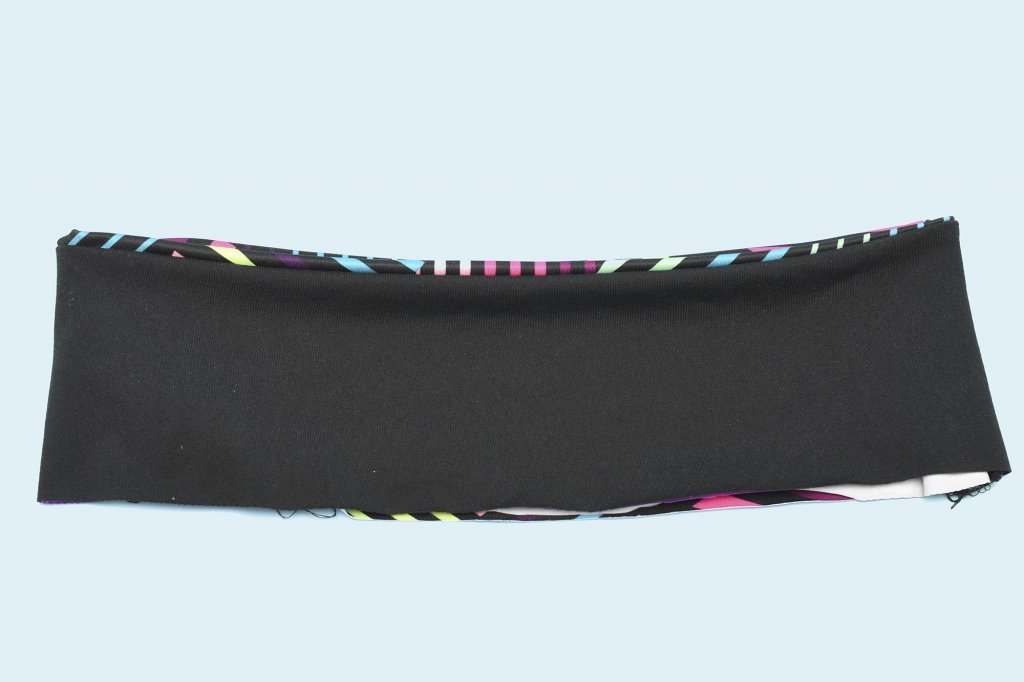
5. Stitch the waistband
Sew together the inner and outer waistband, matching the mid-front and mid-back notches on all layers. Use a sewing machine stretch stitch or a serger overlock seam.
6. Cut the elastic
The elastic should be the same length as the waistband + the seam allowance needed for closing the elastic loop. Some elastic can be a bit too soft and doesn’t recover 100% when stitched over, so pre-stretch the elastic to make sure it won’t stretch out more when sewn.

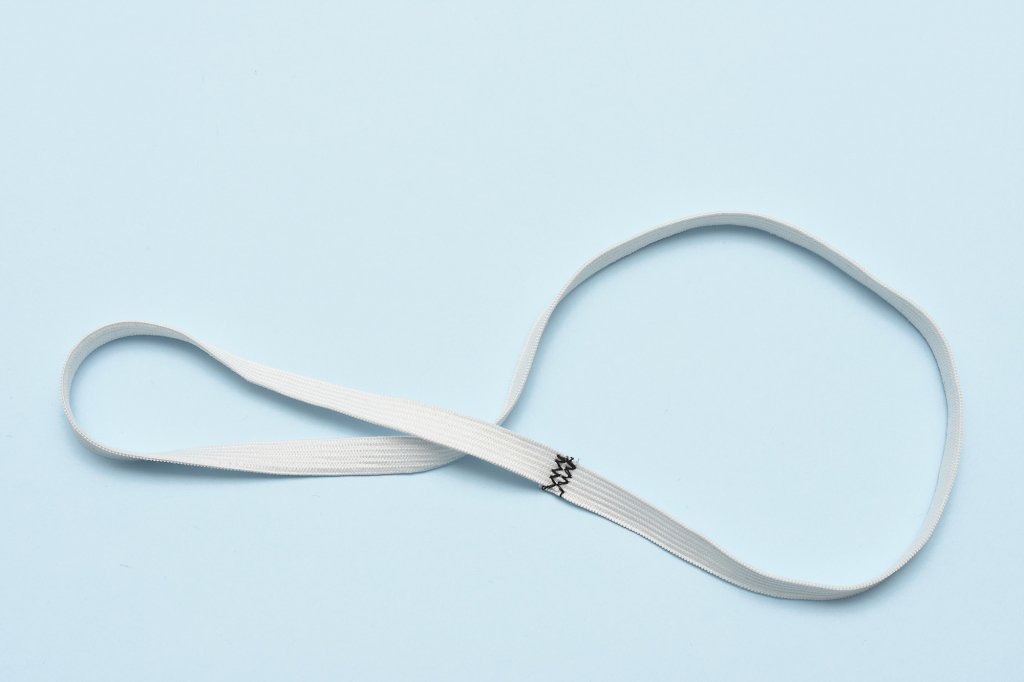
7. Close the elastic loop
Overlap the ends of the elastic around 1 cm (⅜ in). Stitch together using two rows of zigzag stitches.
8. Place the elastic on the seam allowance
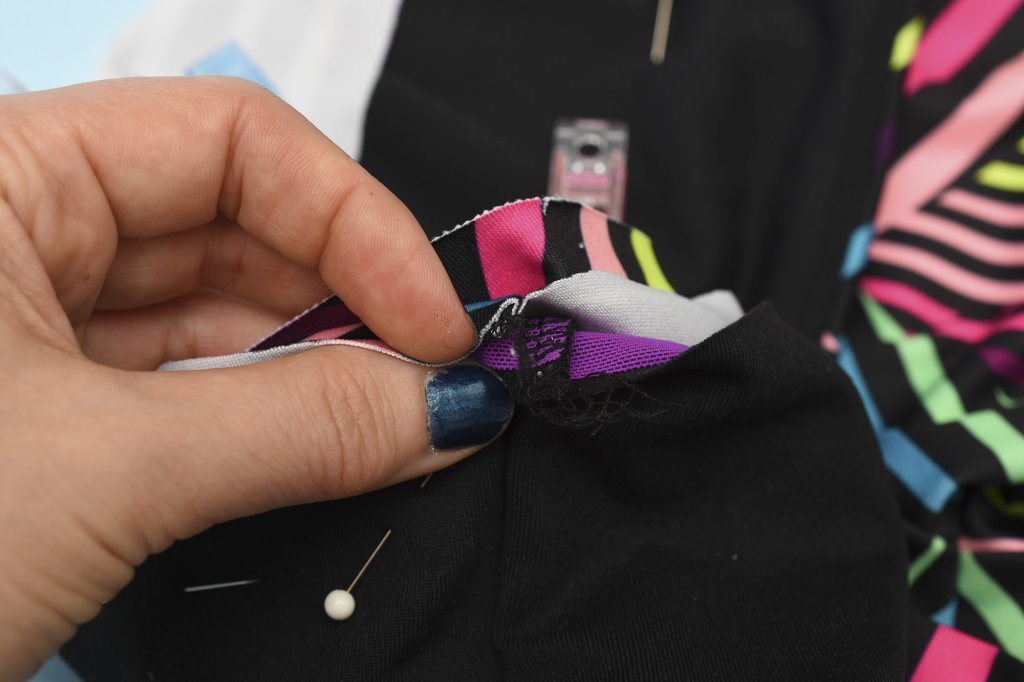
The elastic should be placed on top of the seam allowance facing the outer waistband. The edge of the elastic should align with the inner edge of the seam allowance. Make sure the elastic is evenly distributed along the waistband. The elastic and the waistband piece should have the same circumference.
Tip: If you find it hard to keep the elastic in place when stitching over it, hand baste the elastic onto the seam allowance.
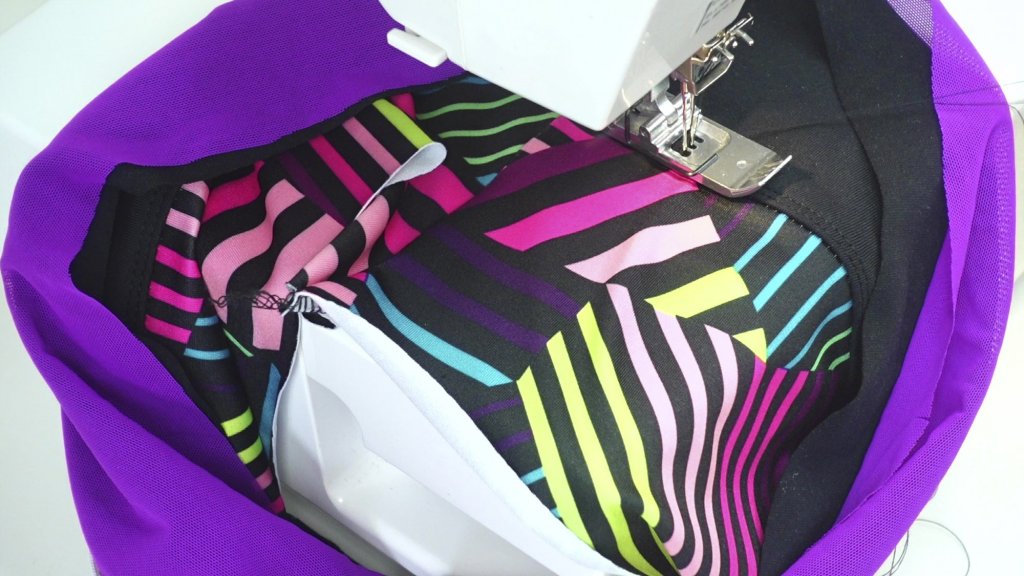
9. Stitch the elastic to the seam allowance
Stitch on top of the elastic close to the edge using a medium to a wide zigzag stitch. Make sure the elastic isn’t stretched out further, so keep it fairly taut when you are sewing the elastic to the seam allowance.
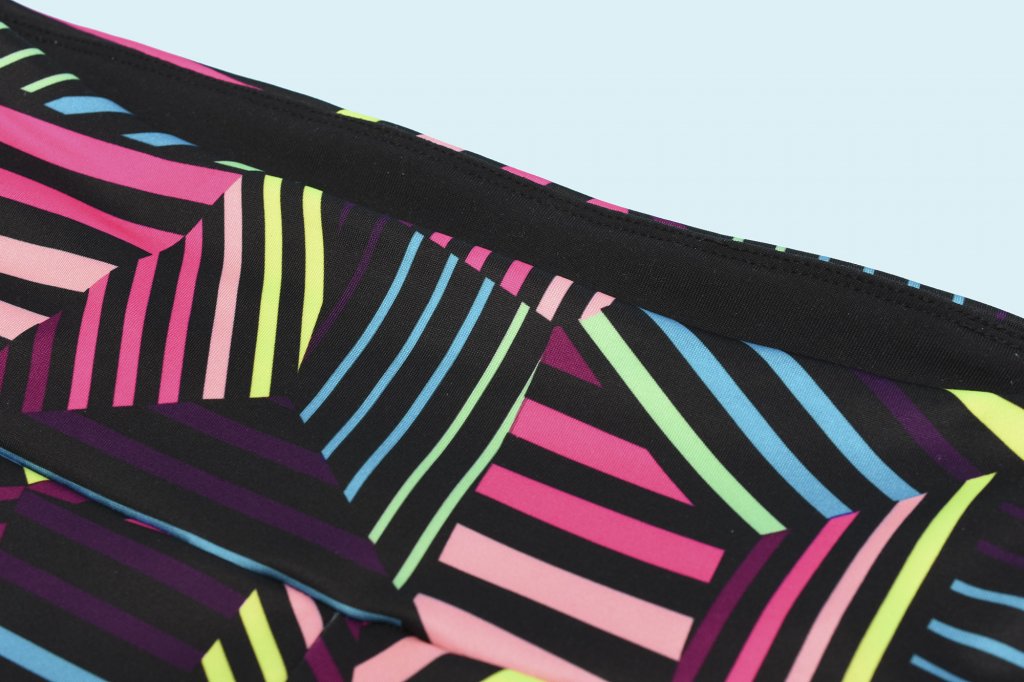
10. Understitch the inner waistband facing (optional)
This step is completely optional, but it does a better job of keeping the inner waistband in place.
Turn seam allowances towards the inner waistband. Stitch over the inner waistband seam, close to the edge, using a twin-needle or a 2-needle coverstitch.
If you are new to this type of sewing and have problems with skipped stitches or stretched out seams, just skip this step. Your waistband will look absolutely fine regardless!
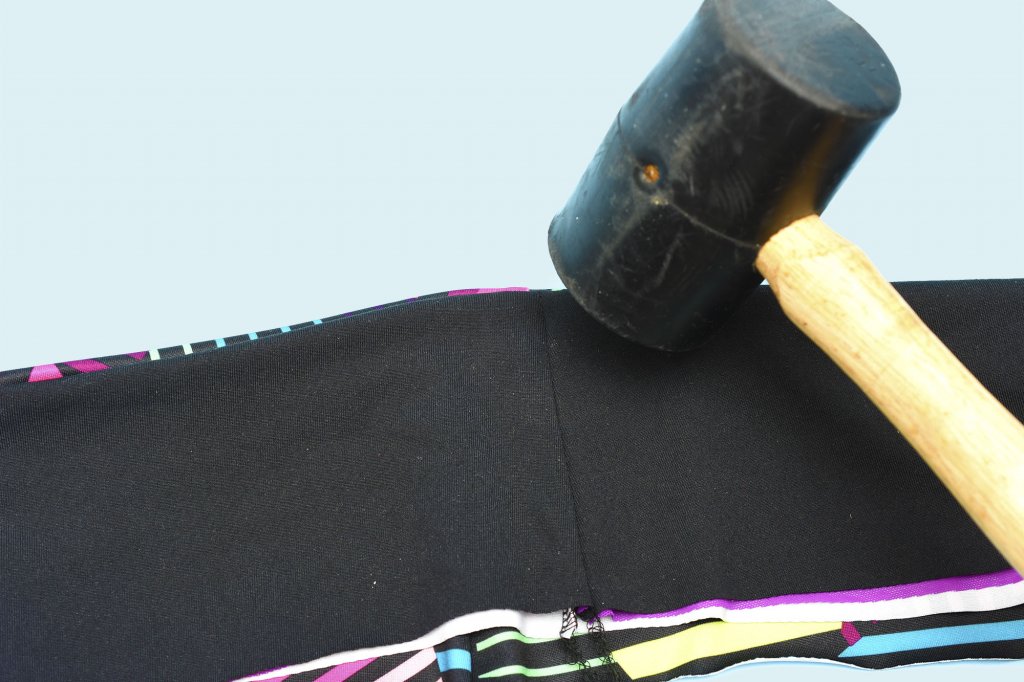
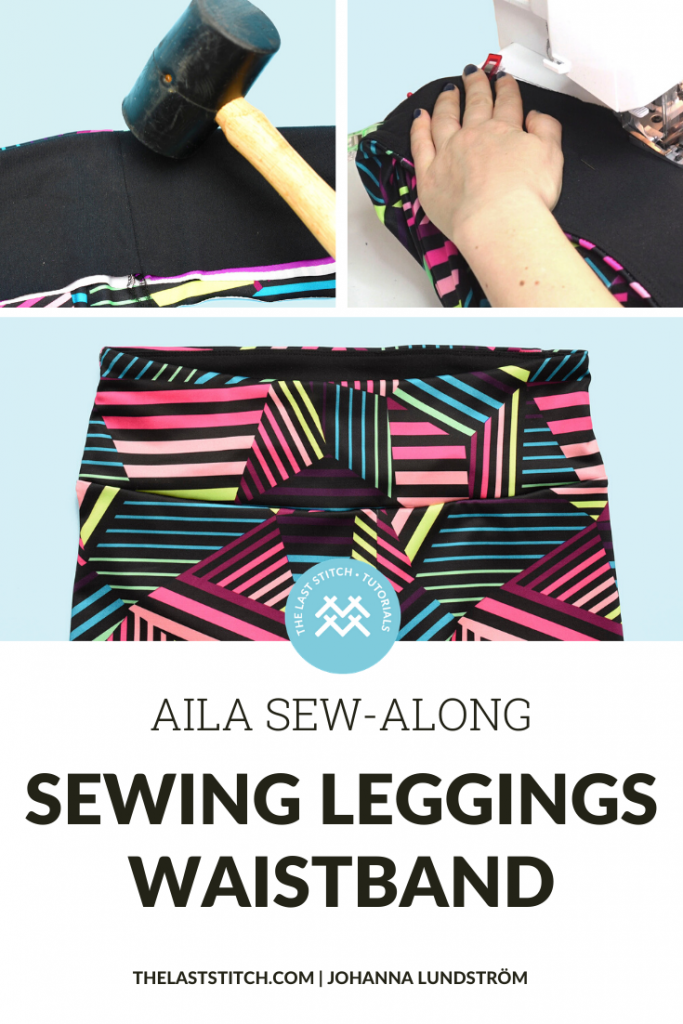
Tip: To remove bulk hammer down the seams before stitching. This improves the machine feeding and prevents skipped stitches.
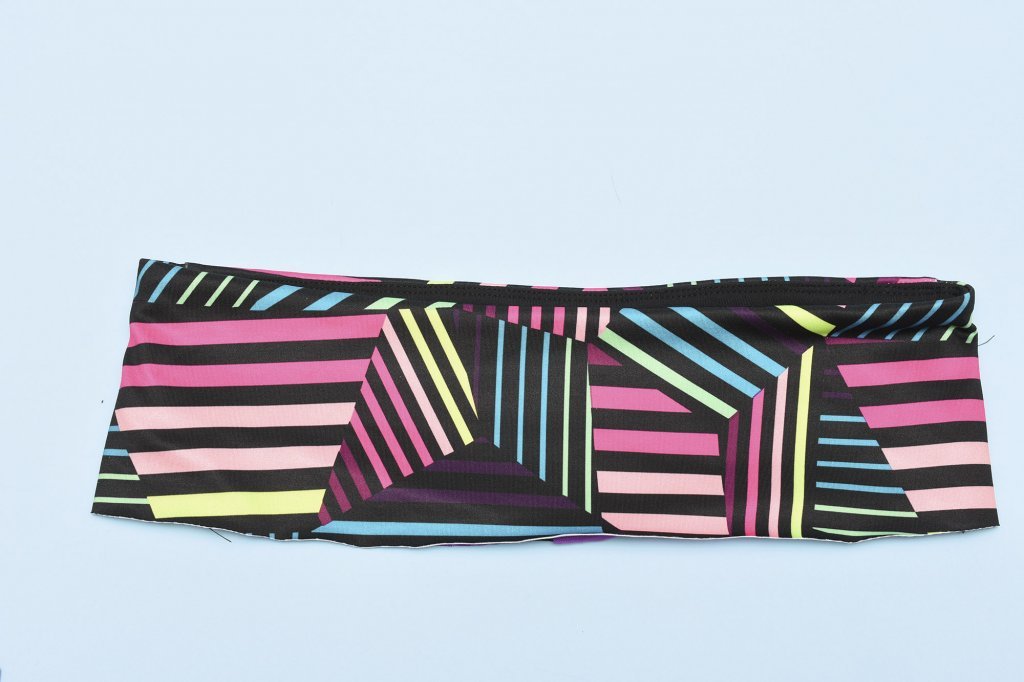
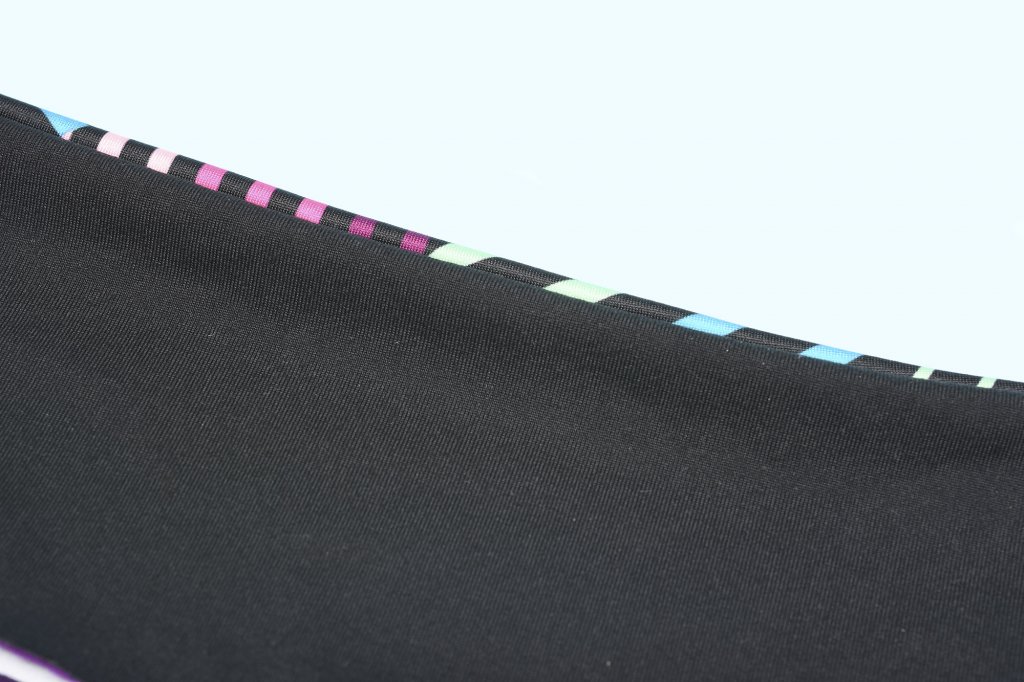
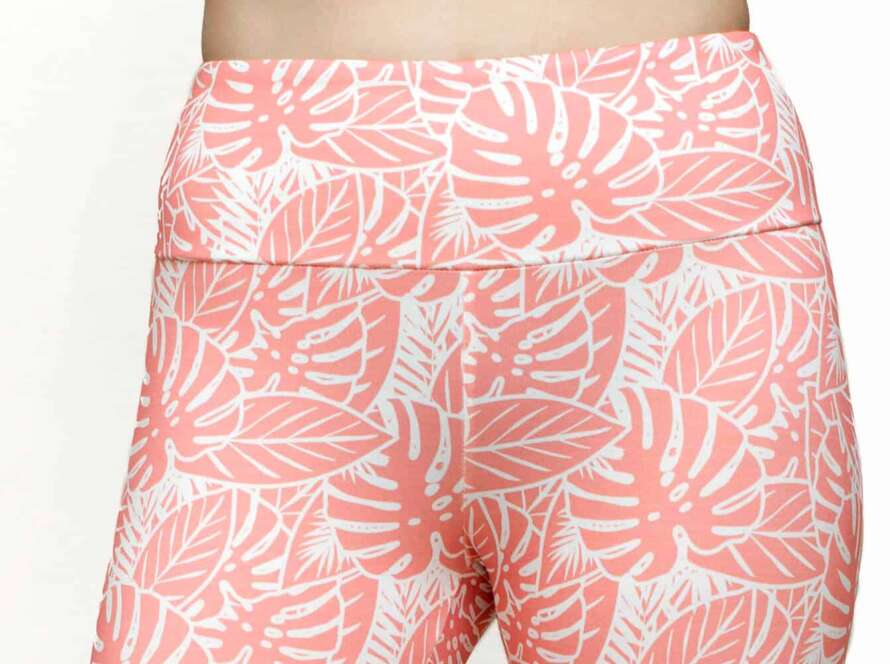
11. The finished waistband
Turn over the facing to the inside of the waistband.
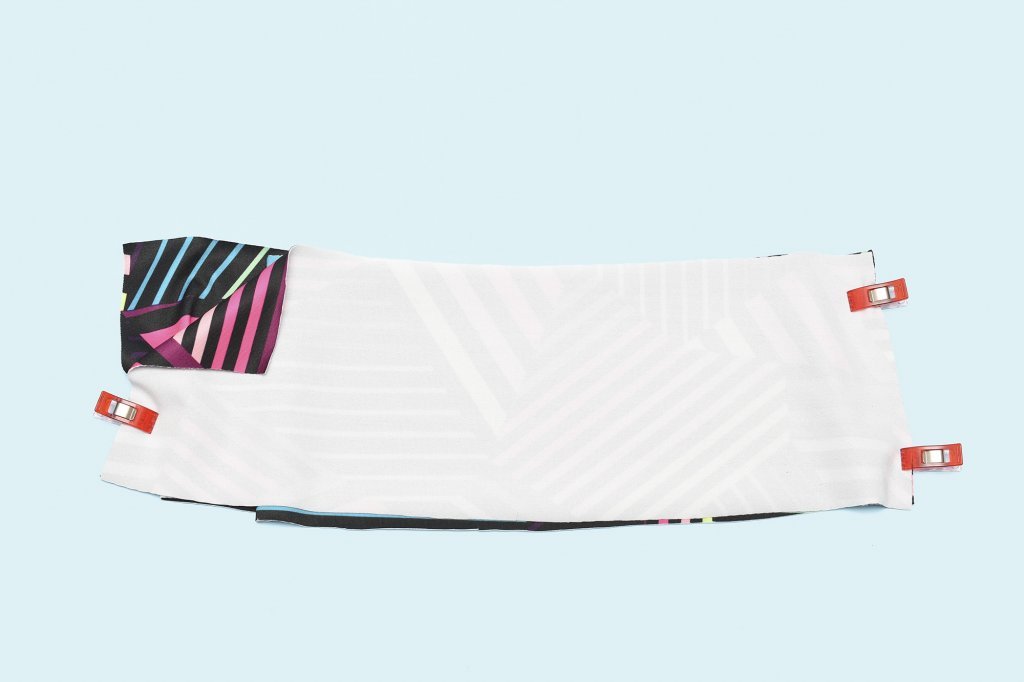
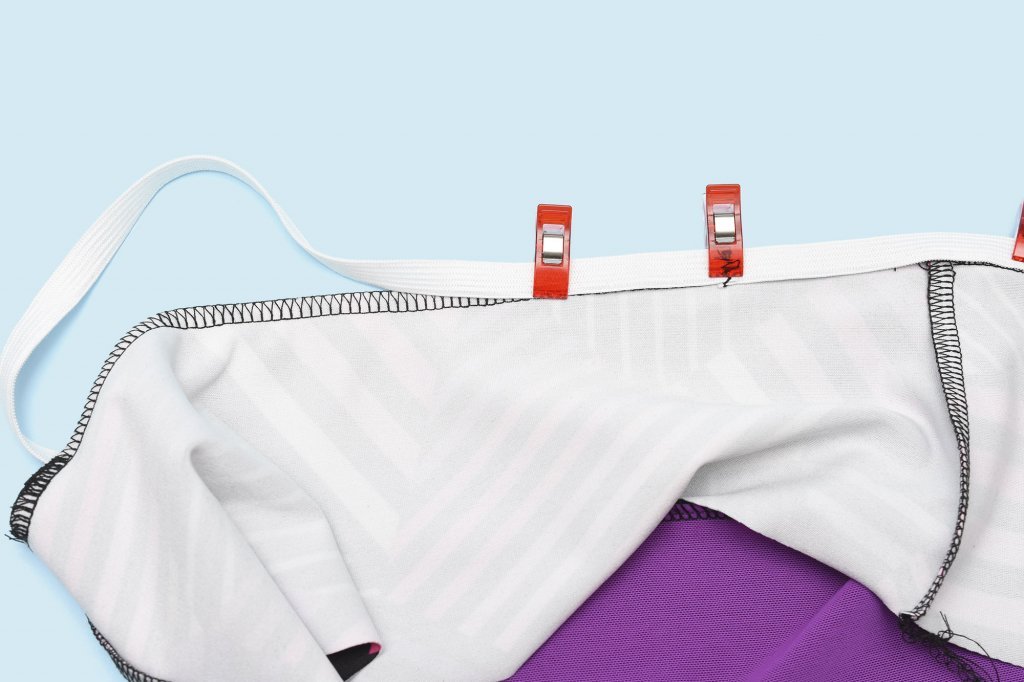
12. Attach the waistband
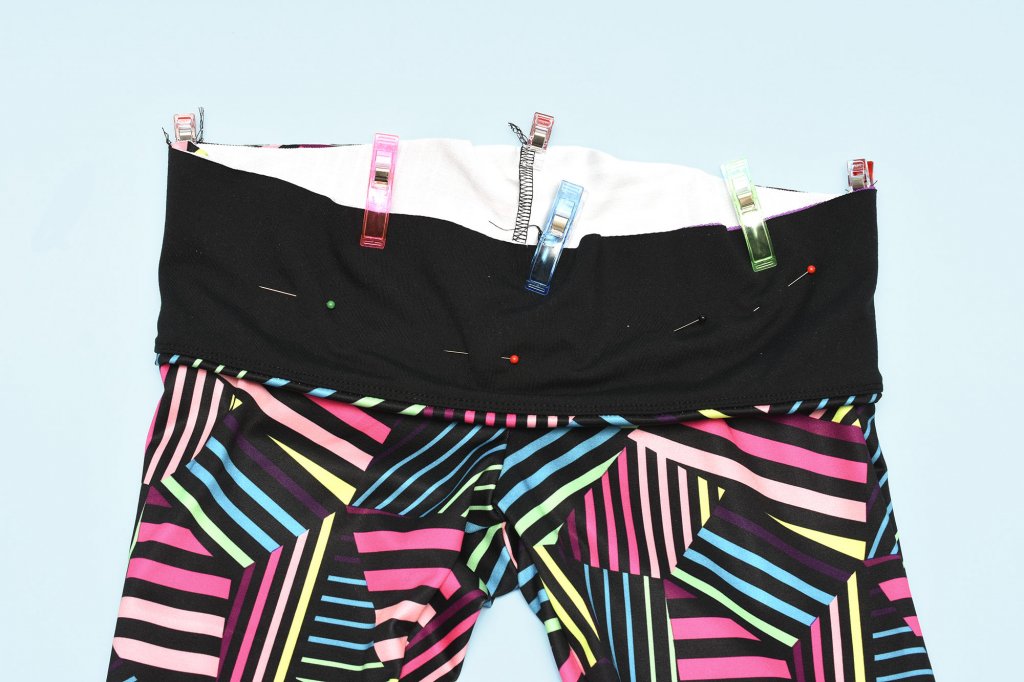
Place the waistband inside the leggings, right sides facing. Make sure the notches and the seams on the waistband and leggings align. The waistband mid-front notch should align with the front crotch seam and the back notch and back crotch seam should also align.
The waistband and the top opening of the leggings have the same circumference on the Aila leggings (and most leggings pattern I think).
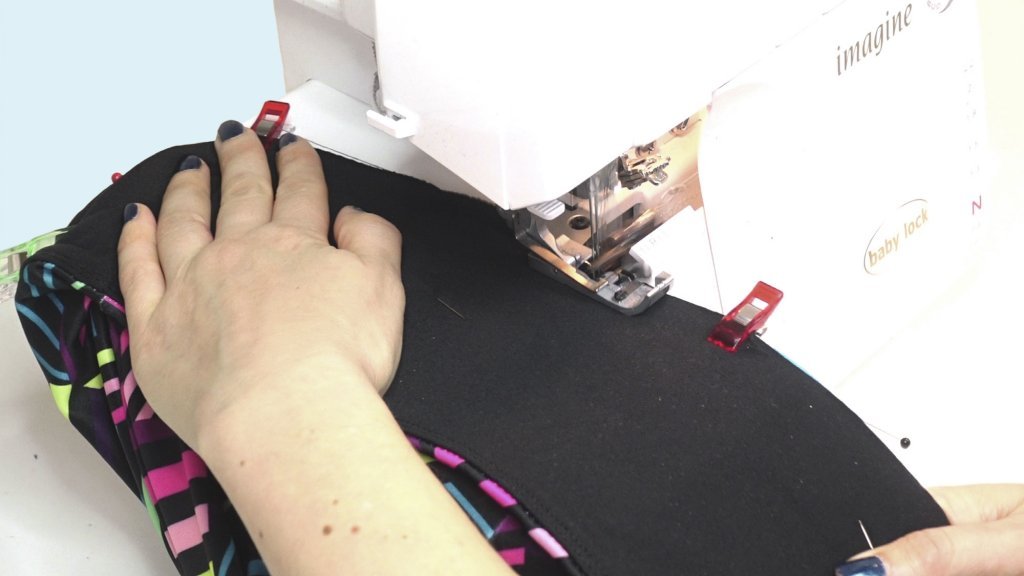
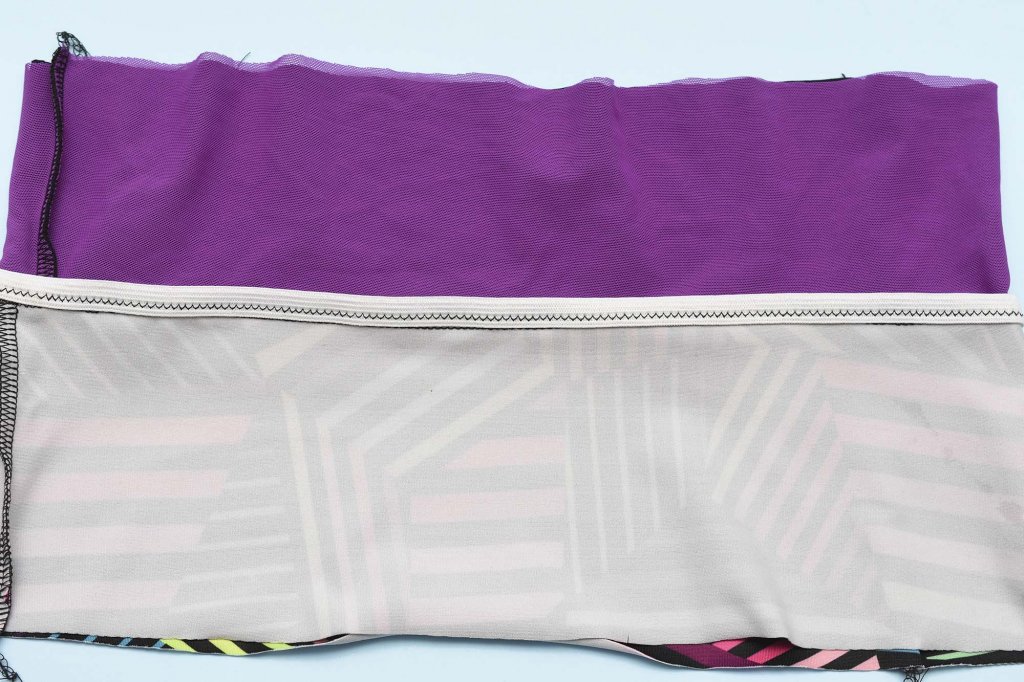
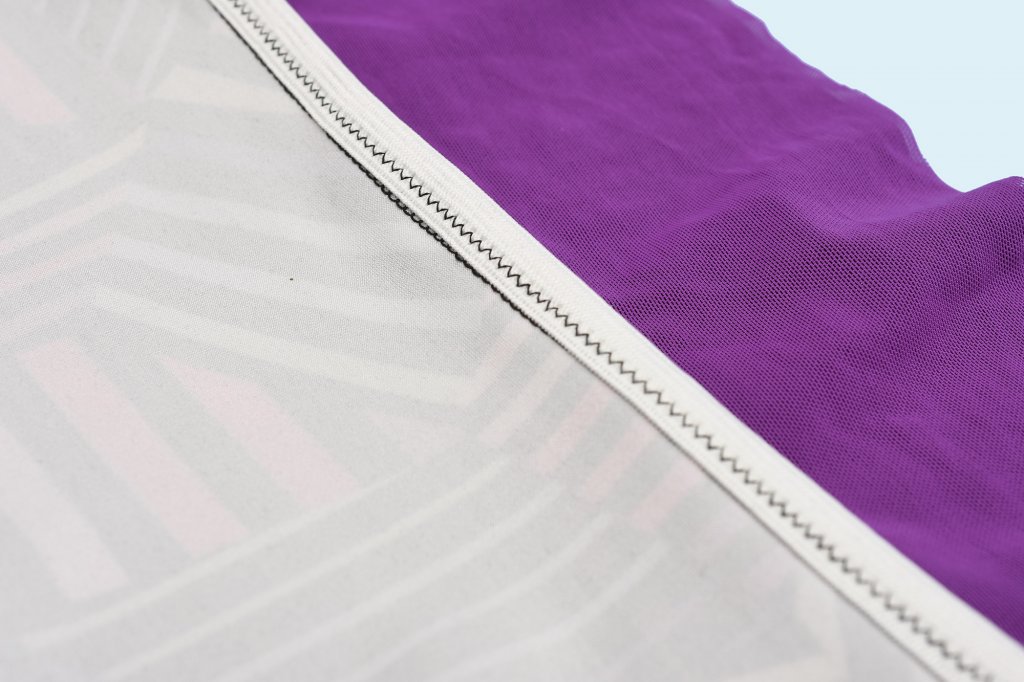
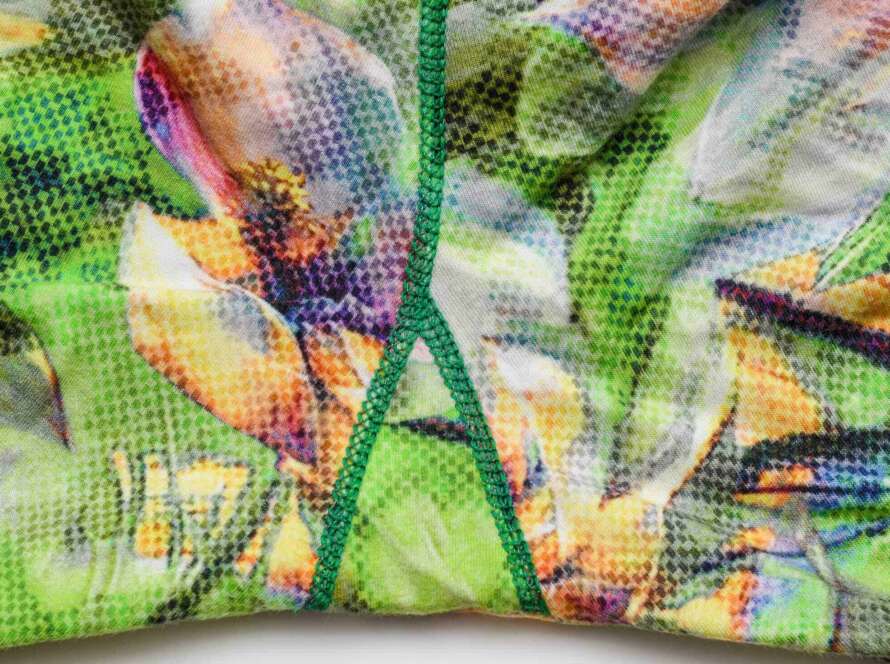
13. Sew the waistband to the leggings
Use a serger or sewing machine stretch seam, stitch along the edge with right sides facing. I prefer to sew with the waistband facing me, as I think it makes the stitching easier and more precise.
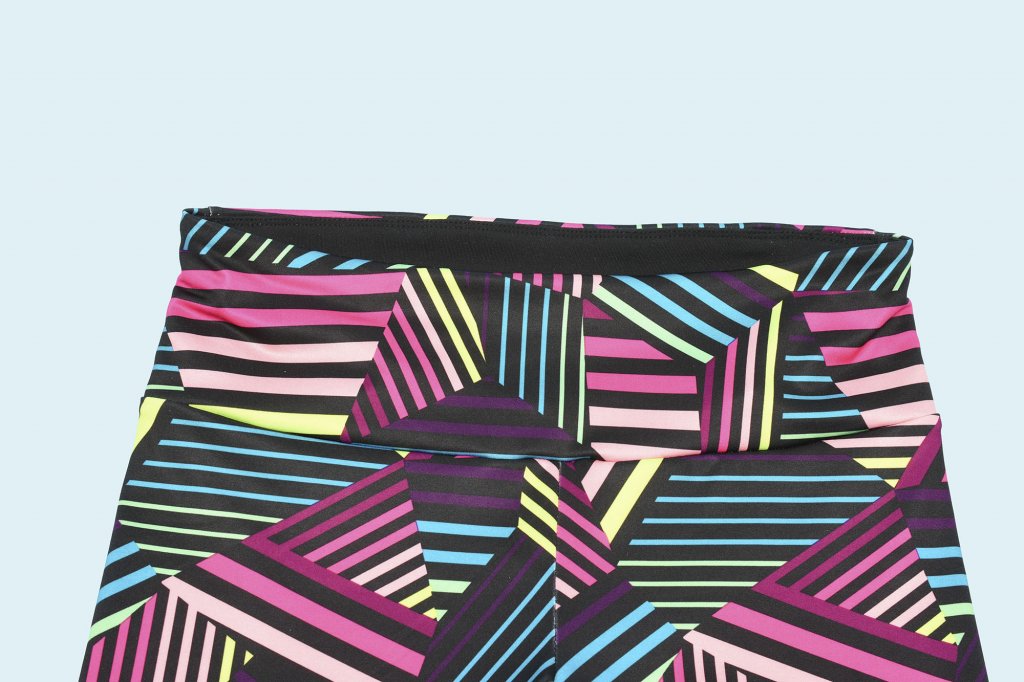
The waistband is done!
This is, in my humble opinion, the best method for making sure every step is done as accurately as possible. Making sure you use the best techniques and notions is crucial, and if you pay attention to those and follow the steps I showed you in this tutorial, plus practise, of course, you’ll end up with an awesome-looking waistband for your leggings.
BTW, did you know that the Aila leggings pattern also comes with a round tummy version of the waistband?
As someone with a bit of a tummy, I’ve never been able to find well-fitting a waistband on neither RTW leggings or in a leggings sewing pattern. Instead, they created the dreaded muffin-top effect and kept riding down too since the waistband didn’t follow the shape of my tummy.
So this was a crucial issue for me to fix when I created the Aila pattern, since I know I’m not alone in having this problem with leggings. And I’m happy to report that this version is just fantastic for those of us with a rounder tummy!
Aila Leggings Sew-Along
- Join the March #stitchactivewear sew-along!
- Video: Sewing Activewear Plans + Join My #stitchactivewear Sew-Along
- Best Fabric Choices for Workout Leggings: Aila Sew-Along
- Watch the replay: Live – How to Sew Activewear
- Sewing the Crotch and Inseam on Leggings: Aila Sew-Along
- How to Hem Leggings: Aila Sew-Along
- Video: Sew Your Best Leggings Ever
5 Comments
Iyana
Great post! Would you recommend using rubber elastic like what is used for swimwear?
Comments are closed.