

Here you’ll learn how to hem on a coverstitch machine after the side seams are sewn which is perfect to use if you are hemming a t-shirt, a dress or some other garments that have a pretty big opening. Hemming smaller tubes, such as leg openings and sleeves can be a bit more tricky, as most coverstitch machines lack a free arm. But with practice and a methodical approach, it is certainly doable and I’ll show you some tips for that too in this tutorial.
1. Prepare for hemming
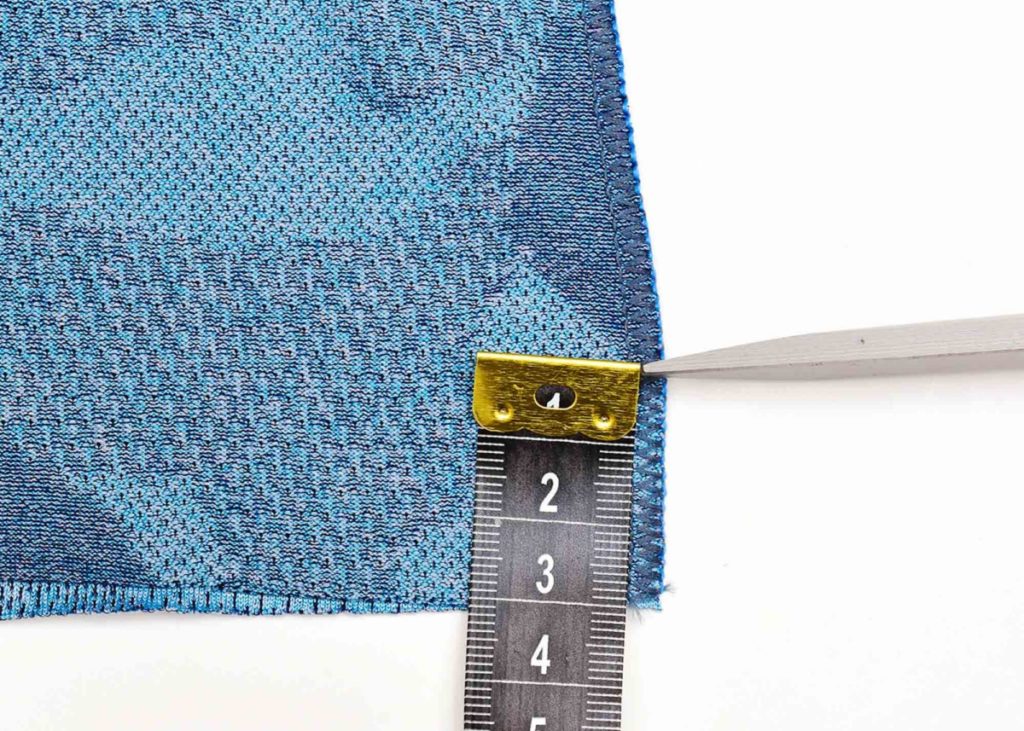
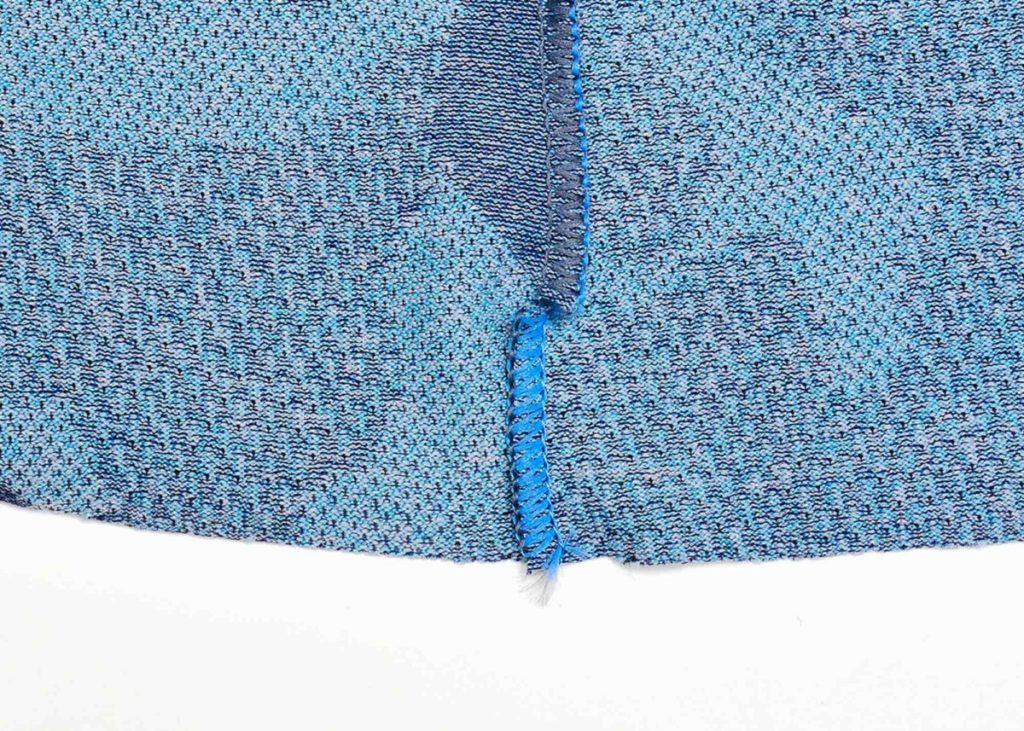
Make sure the edges of the fabric are evenly cut. I prefer to use a rotary cutter when cutting since it makes it so much easier to get those edges even. To make hemming easier over bulky seams, clip the side seams at the fold and lay the clipped seam in the opposite direction. Just make sure that the cut is very small and that the seam you are using is sturdy enough to withstand a little clip.
2. Fold the hem
On materials that can take a little heat, ironing the fold is recommended as it makes hemming easier.
Tips for keeping the fold in place
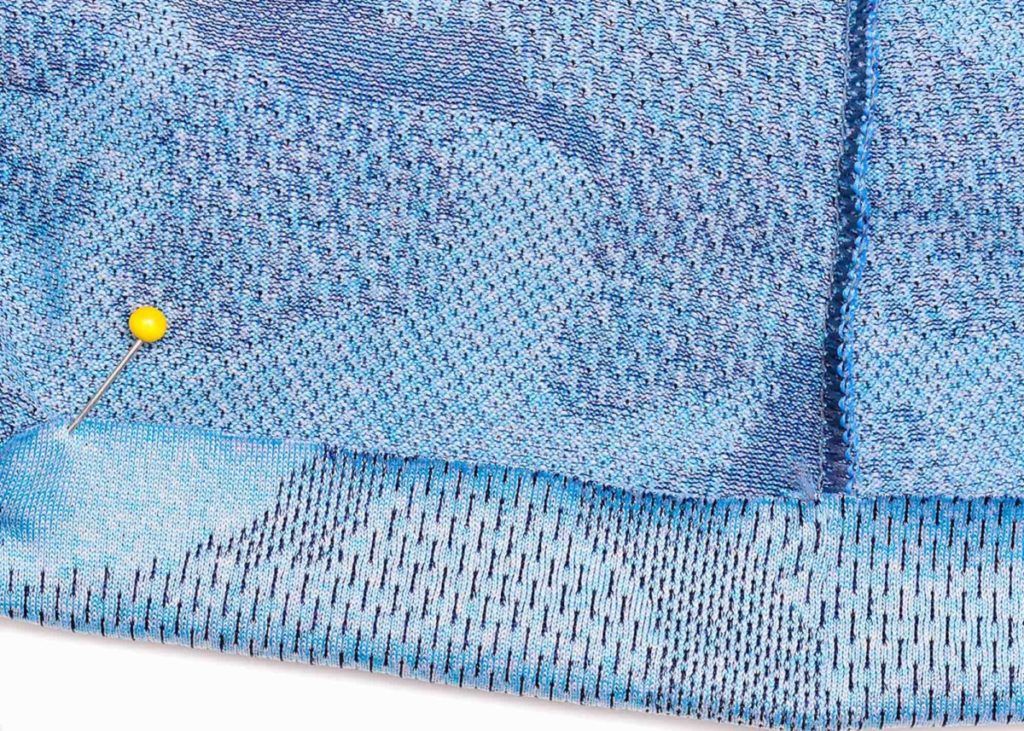
- Don’t over-pin when coverstitching, just add a few and remove them before you’ll get too close with the machine.
- Wonder clips (pictured above) is another option.
- You can also hand-baste the hem using large and loose stitches.
- With practice, you’ll likely be able to hem using just your fingers to keep the fold even.
3. Start sewing
Always begin at the back of the garment, just after the side seam. Pull all the threads back and to the left before you start sewing to make sure they don’t get snagged once you start sewing. Use a seam guide for an even hem if your machine lacks a built-in ruler.
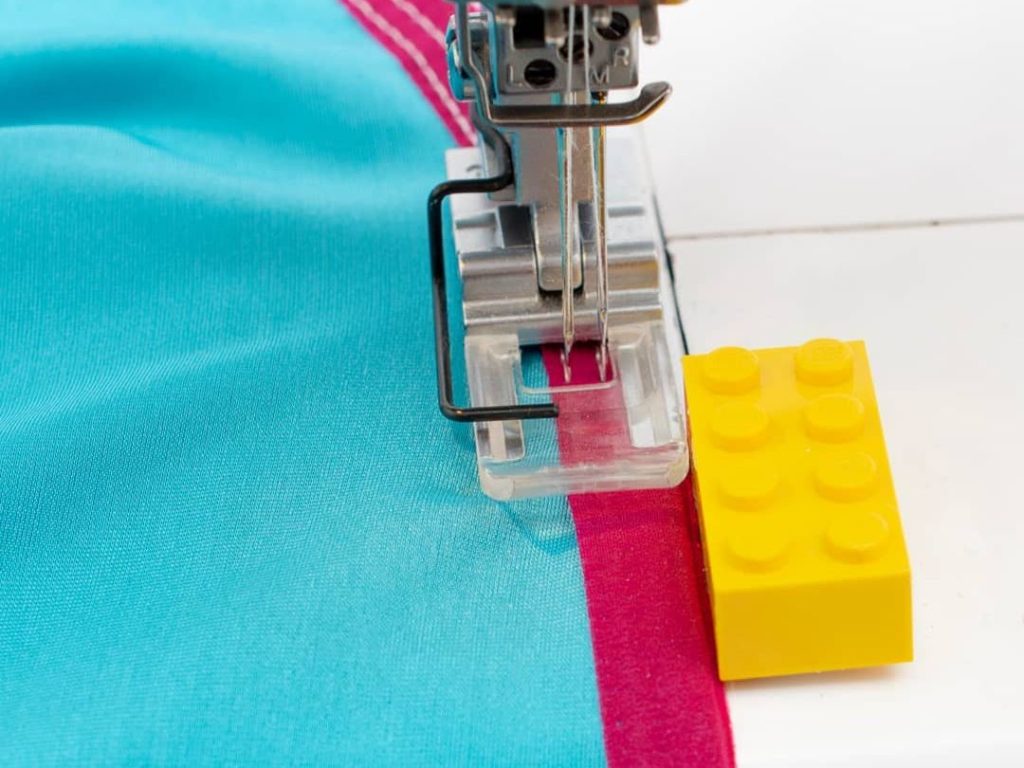
You can also use a piece of Lego attached with some sticky pads/Blu Tack to help you sew straighter.
Another tip is to gently guide the fabric, but do not pull, to make sure it is evenly fed to avoid twisted seams.
Notice the pink threads? Those are basting threads that are really helpful when it comes to keeping the fabric in place.

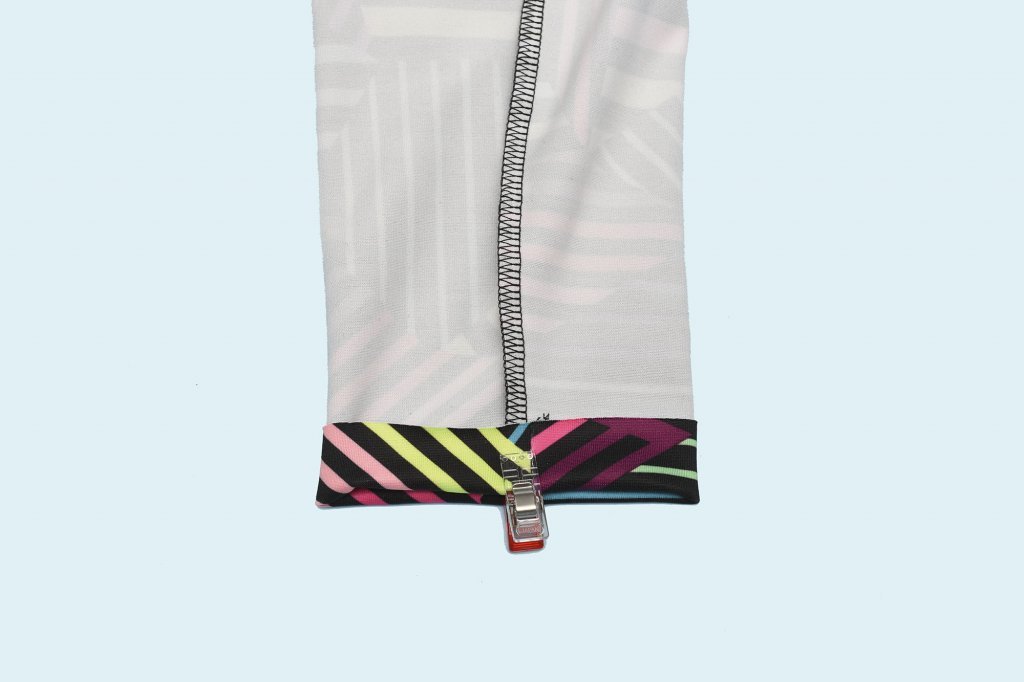
4. Finish the seam
If you are sewing on the round, sew over the beginning stitches for a couple of centimetres (an inch or less).
Then lift the presser foot to release the tension. Check your machine manual for the specifics of how to release the threads and tension.
For finishing the seam, see How to secure a coverstitch seam for methods to keep the threads in place. This is very important since the threads will unravel quickly if you don’t secure them properly.
Video Tutorial: 7 Tips For Perfect Coverstitching
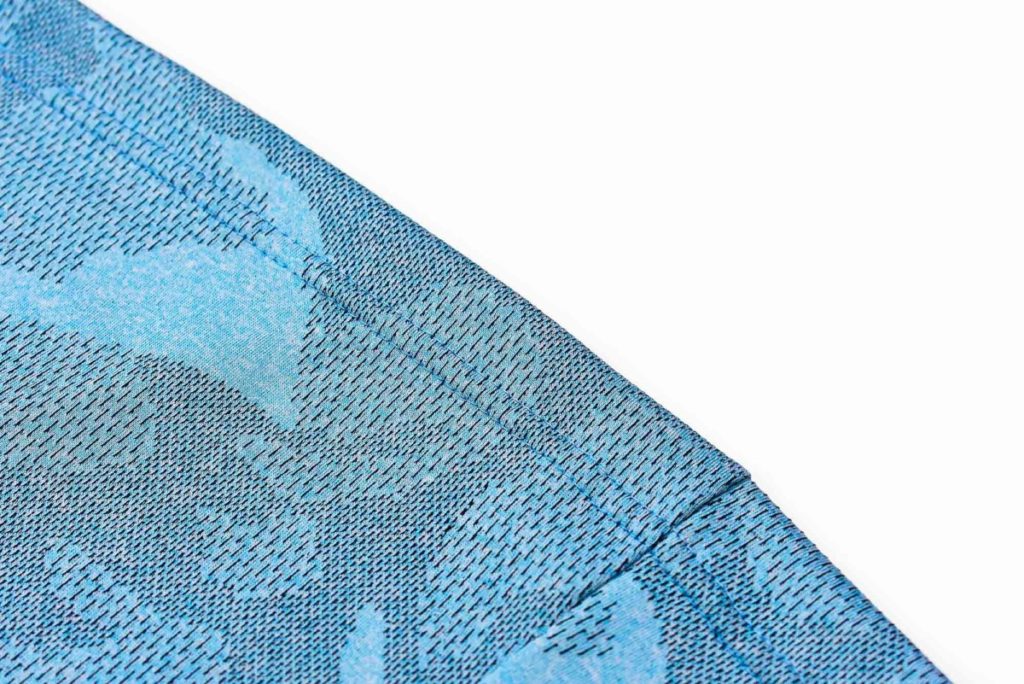
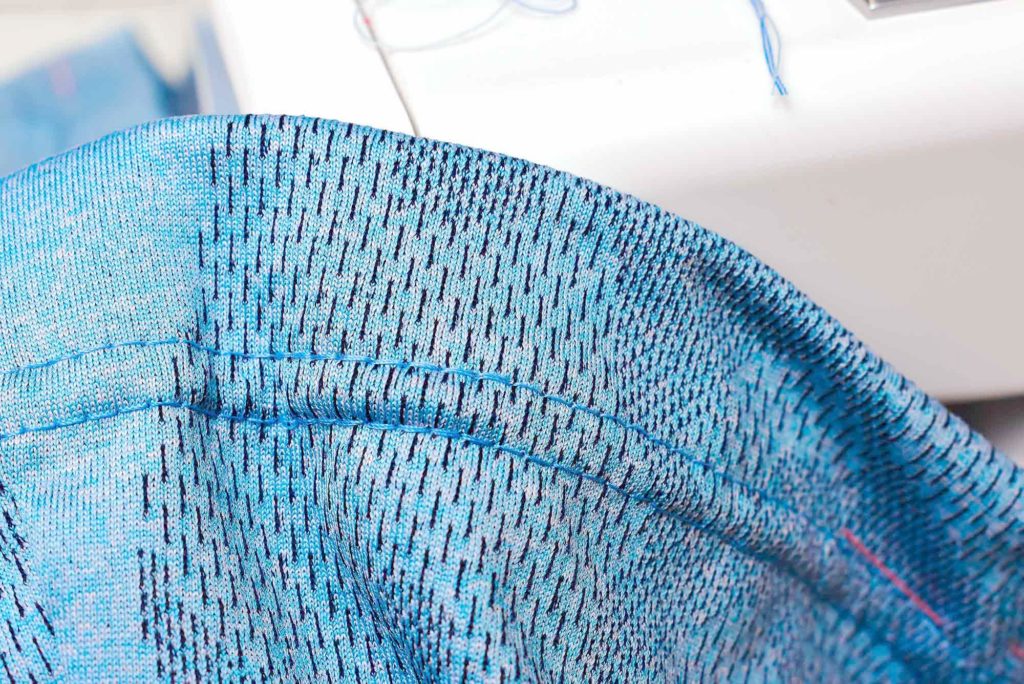
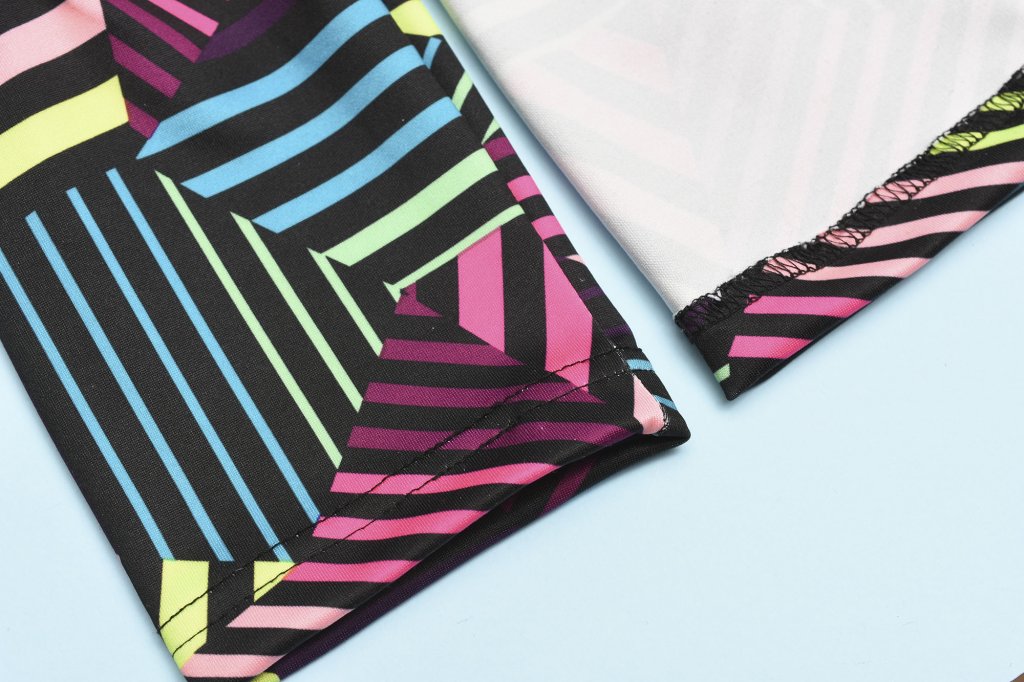
The finished coverstitch hem
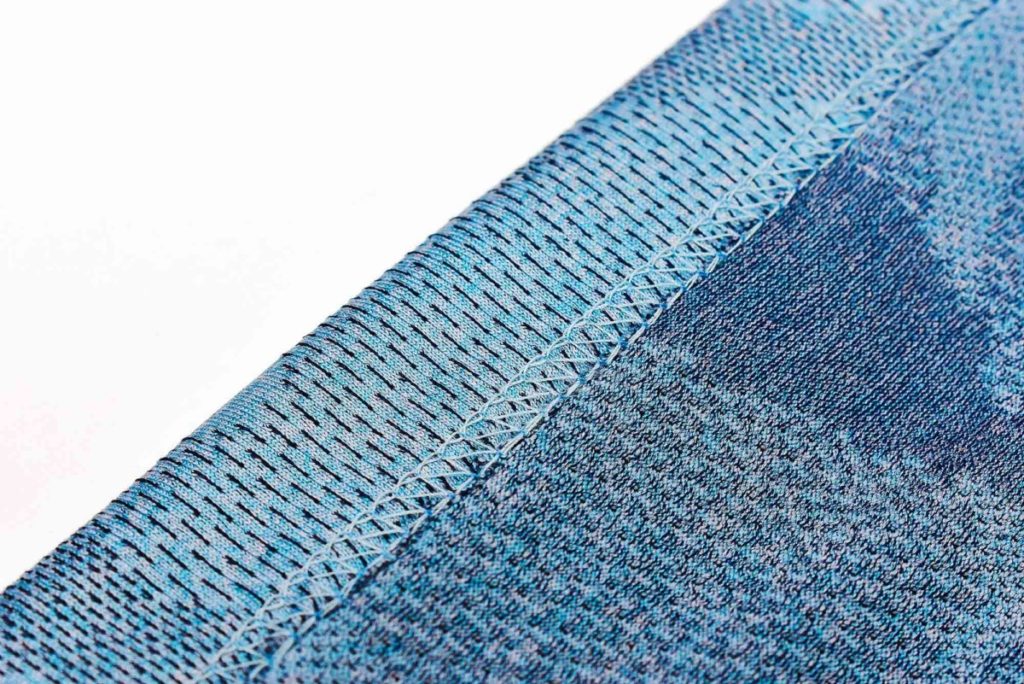
A coverstitch machine will achieve the most professional-looking hem on stretchy knits. Plus it has excellent stretch and recovery compared with many sewing machine stitches. For a neat finish, try to sew as close to the edge of the fabric as possible. But beware that if one needle only hits a single layer of fabric you’ll run a bigger risk of tunnelling.
Having problems such as skipped stitches, uneven feeding or tension issues? Download my free Coverstitch Troubleshooting Guide. Or you can, of course, get my book Master the Coverstitch Machine that will really help you master all aspects of coverstitching.
How to hem a narrow opening on a coverstitch machine
Coverstitching narrow openings such as the hem on sleeves and leggings can be a struggle when using a coverstitch machine since they usually lack a free arm which can make hemming on the round a pretty painful experience, with uneven feeding and stretched out fabrics being the biggest issues.
Oftentimes it makes more sense to hem the pieces flat, i.e. before you sew the side seams, but if you want that nice clean look of a tubular stitched hem, here are some tips!
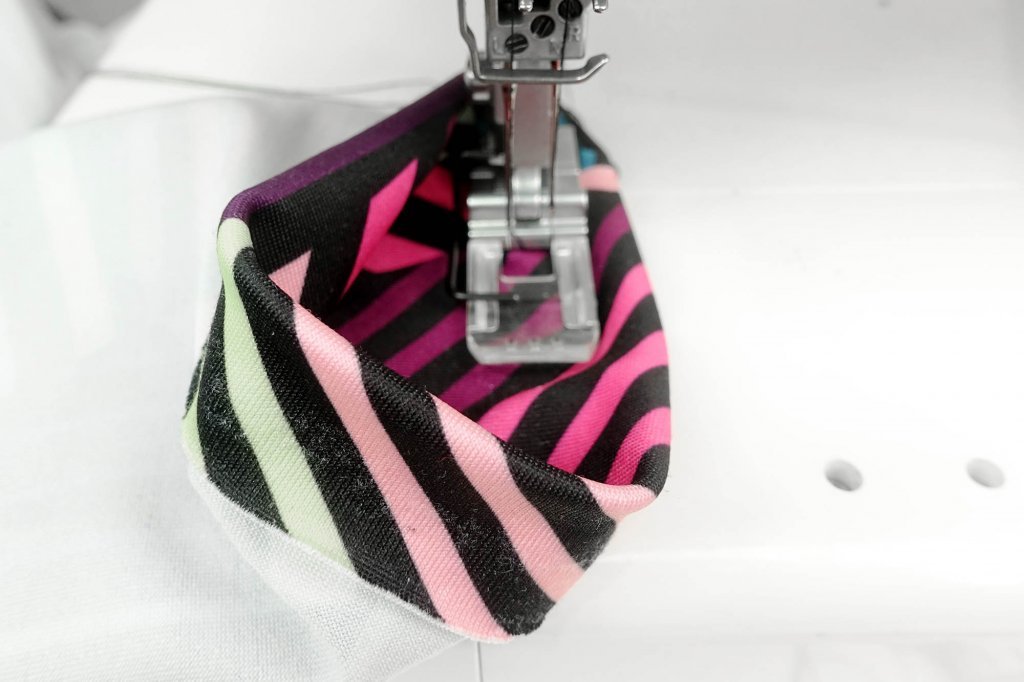
Turn the opening inside out for better control, but you still sew from the right side of the fabric of course,
Start stitching at the underarm seam or inseam, since that will usually be quite hidden. I like to start just after the inseam as I find that starting on top of the seam can mess up the initial feeding sometimes, but I guess it depends on the machine
If the hem stretches out when doing coverstitching on the round, try increasing the differential feed setting to remedy that. Also, make sure you don’t pull the hem while sewing.
So this how you hem knits on a coverstitch machine. If you sew a lot of stretchy knit fabrics, buying a coverstitch machine can be a worthwhile investment since the finished hem will look so much neater and have better stretch and recovery compared to a twin-needle stitch done on a sewing machine. But be prepared to do some practise and don’t hesitate to experiment with things like stitch length, differential feed and presser foot pressure, since small tweaks can make a big difference.
And as I mentioned above, if you want to really master your coverstitch machine and learn how to use it beyond hemming knits, check out my book Master the Coverstitch Machine.


2 Comments
Gloria Mraz
When doing a coverstitch hem, how do I line up so the underside just catches the edge of the turned up hem?
Comments are closed.