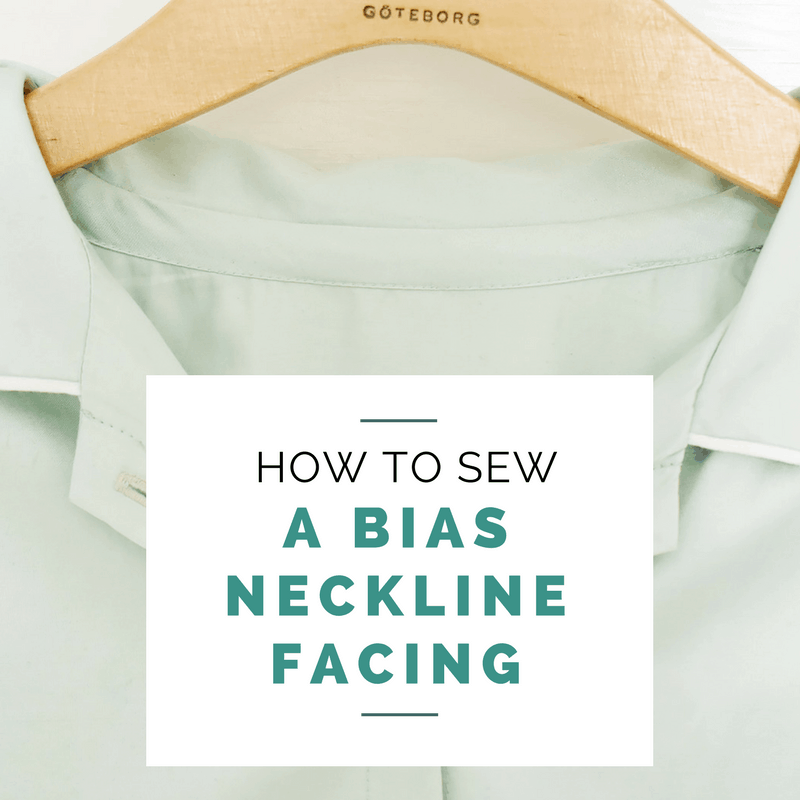
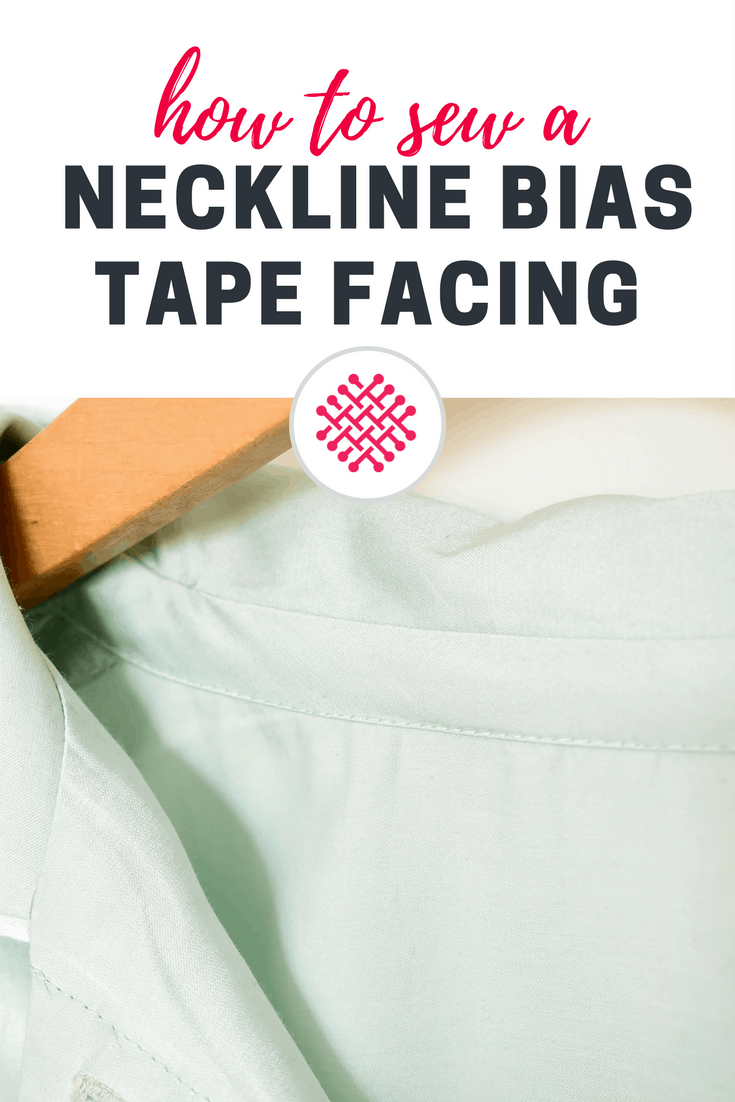
Getting a neat cover of the neckline seam is a constant holy grail for me when making tops and blouses. I’ve tried so many methods and seldom have I been satisfied with the result. But with 2017 being the year of learning loads on new sewing tricks I decided to make another stab at this when I made my Burdastyle blouse and share the results. Of course I picked a horrible fabric (wrinkly silk/cotton sateen) just to make matters even worse! But enough of the rambling and on to the tutorial.
Here my top tips when sewing a bias tape to a neckline seam
- Make the bias tape narrow. The wider it is the harder it will be getting a nice result. The finished width here is about 2 cm. But it could have been even more narrow, I think.
- Make the bias slant outwards. Don’t attach the bias tape to the facing using a 90 degree slant. Since the shoulder seam is slanted outwards, the bias tape should also be slanted. The stretch of the bias will not be enough to compensate for this.
- Sew (don’t topstitch) the upper edge of the bias tape. Attaching the tape to the neckline seam by stitching along the seam line and then folding the tape over leaves less room for errors compared to topstitching the entire band in place.
- Check the outside of the garment before stitching the bias tape in place. Making sure it looks flat will reduce the amount of wrinkles on the outside.
Those are my main pointers. Not lets get on with the tutorial!
Tutorial on how to attach bias tape to a back neckline seam
1. Cut the bias tape.
Well just a rectangular strip on the bias 🙂
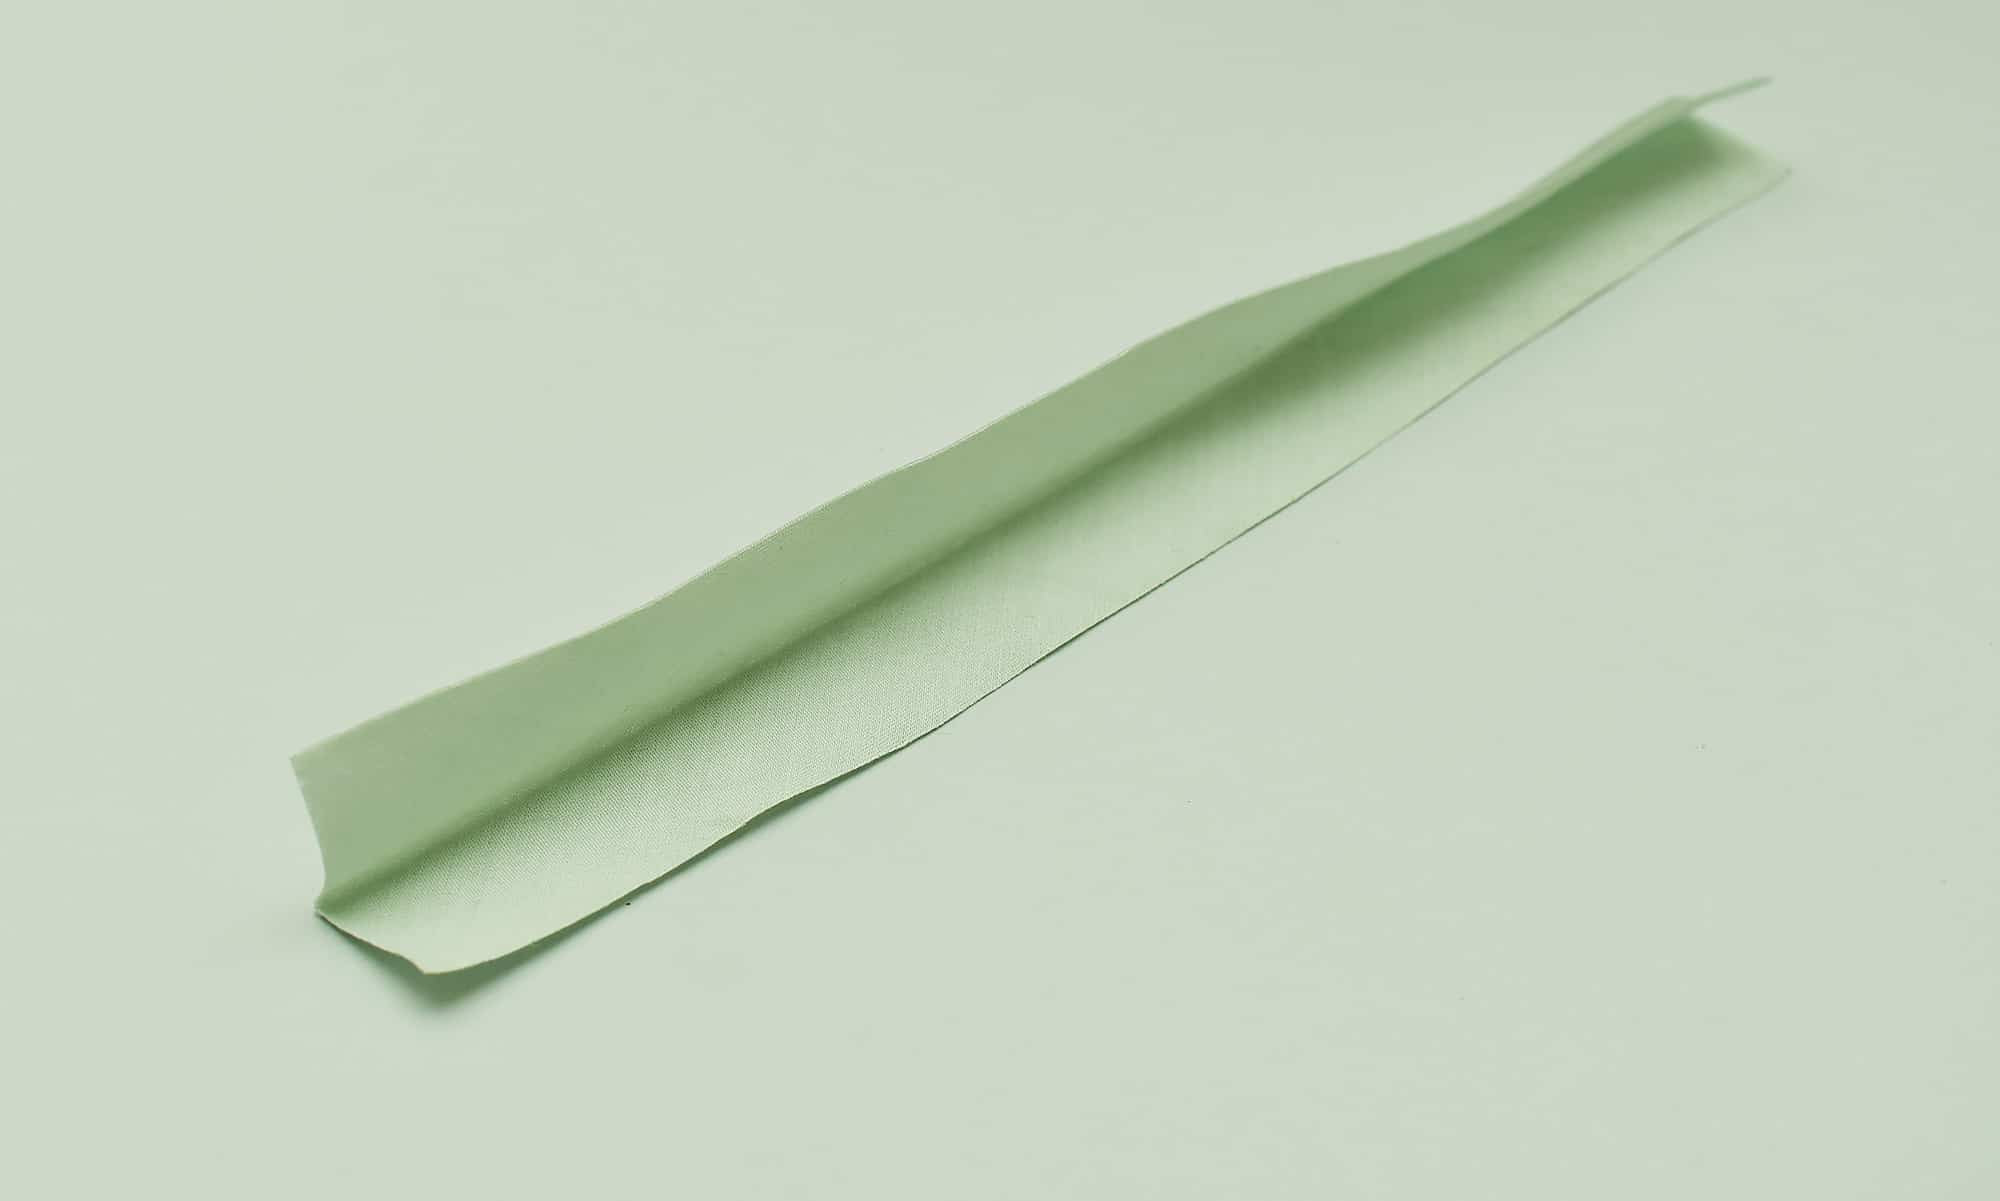

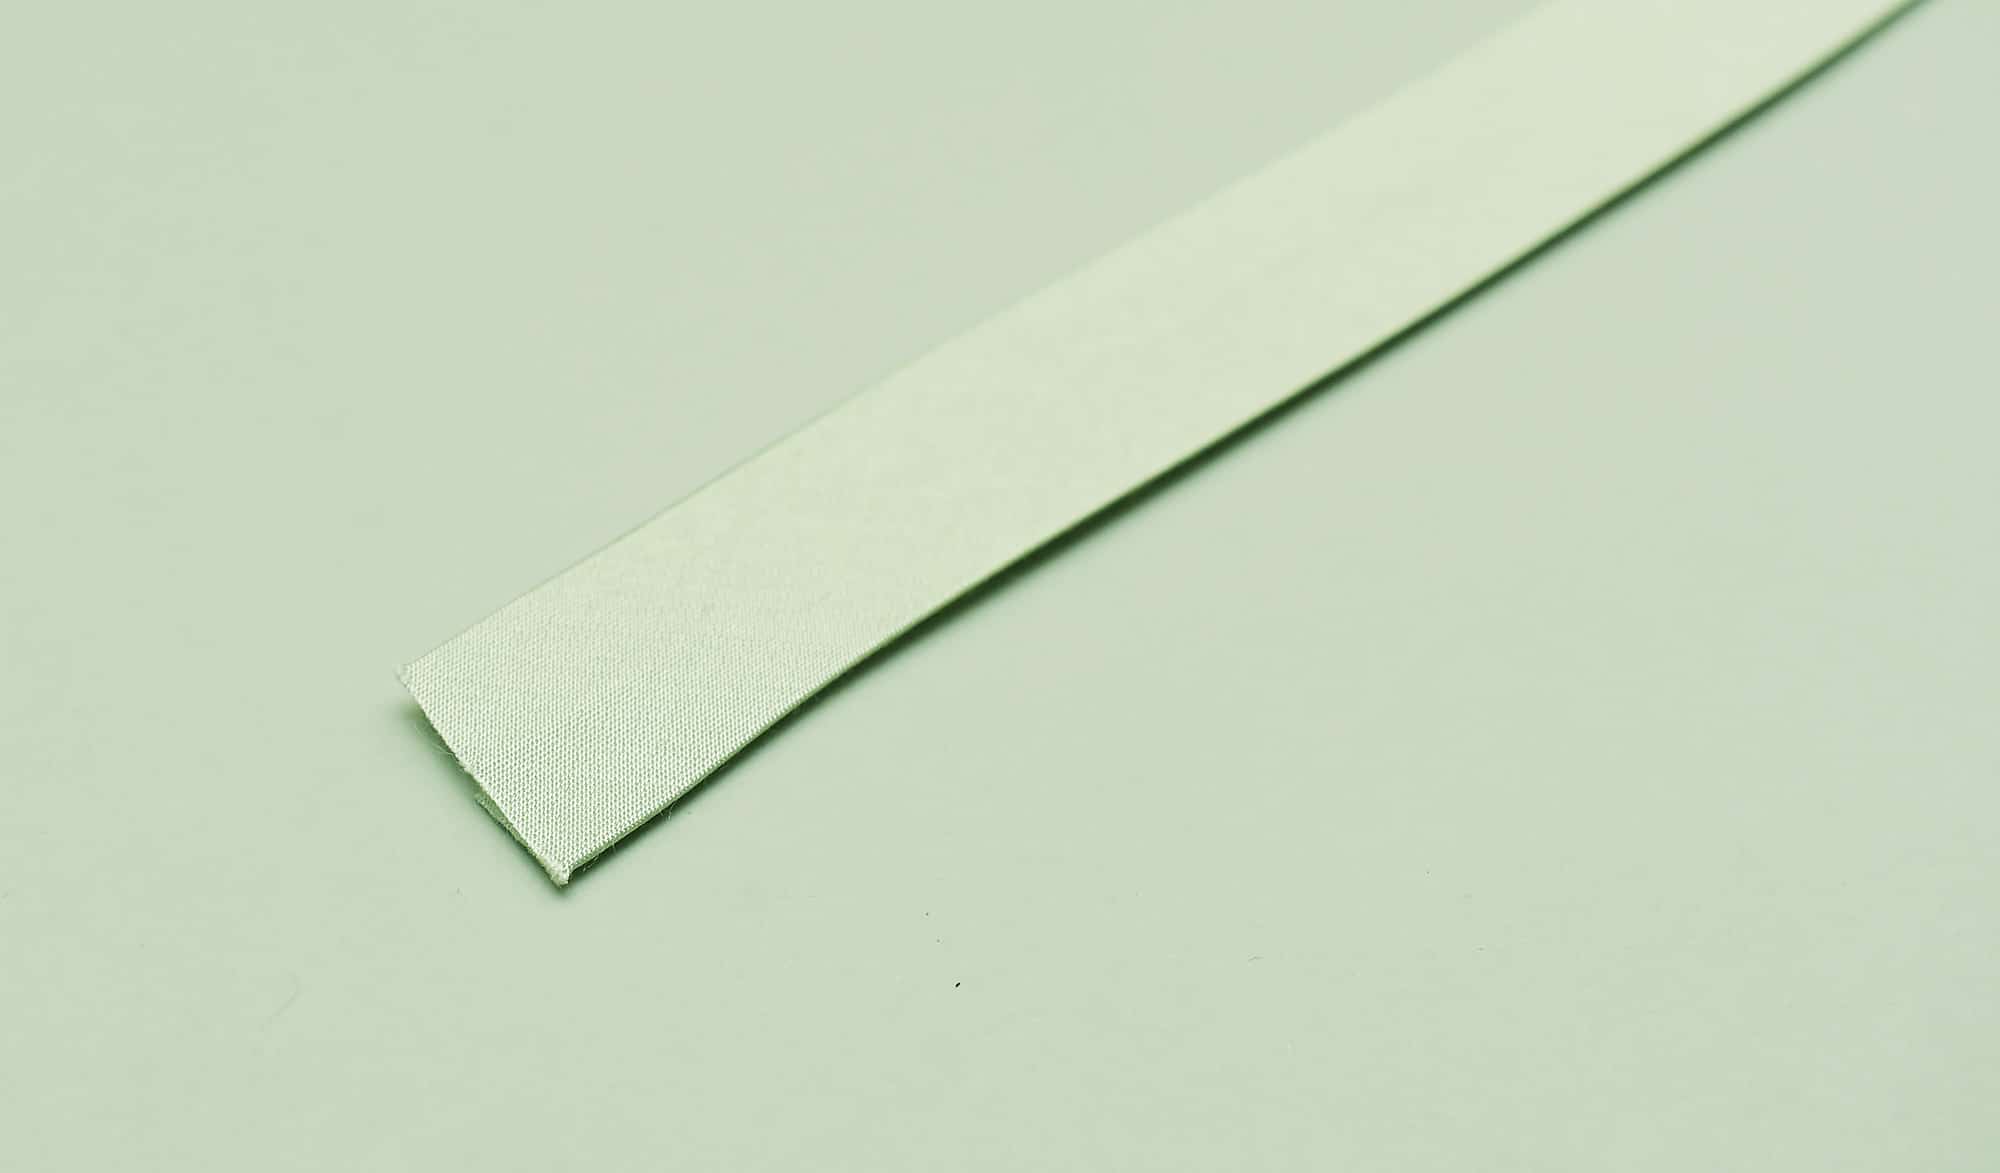
2. Create the fold either with a bias tape maker or by pressing.
To create a bias tape without a tool, just fold the bias tape in the middle and press. I then use the fold as a guide when pressing in the edges.

3. Attach the bias tape to the front facing if you have one.
I prefer to only attach the bias tape to one side of the facing, so I can adjust the length easily during the sewing process, since bias tape has a tendency to stretch out when sewn. Remember to slant the seam outwards, so that the bias tape is longer at the lower edge.
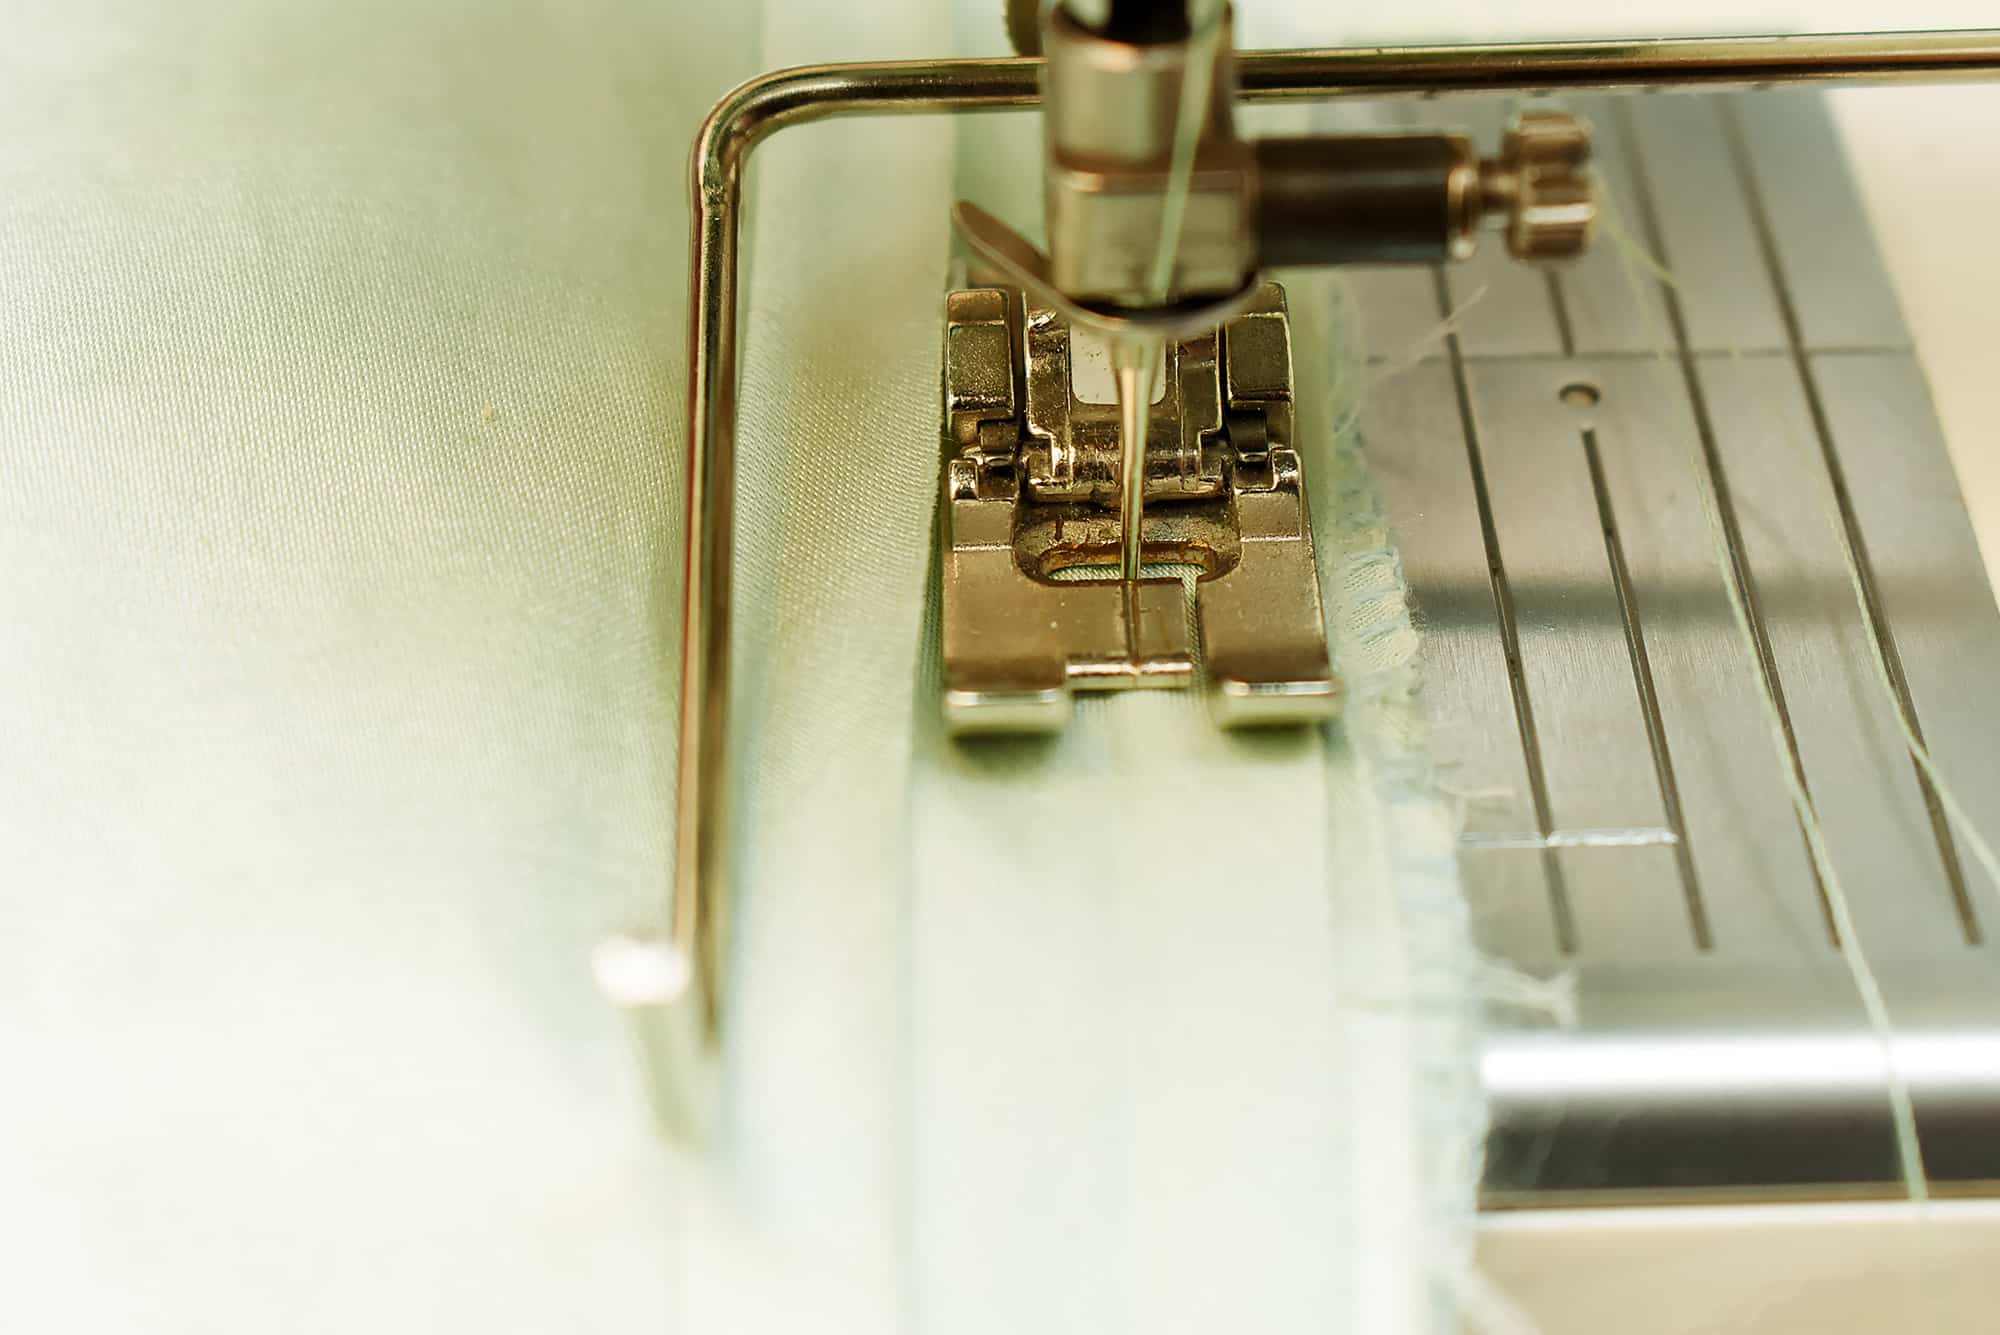
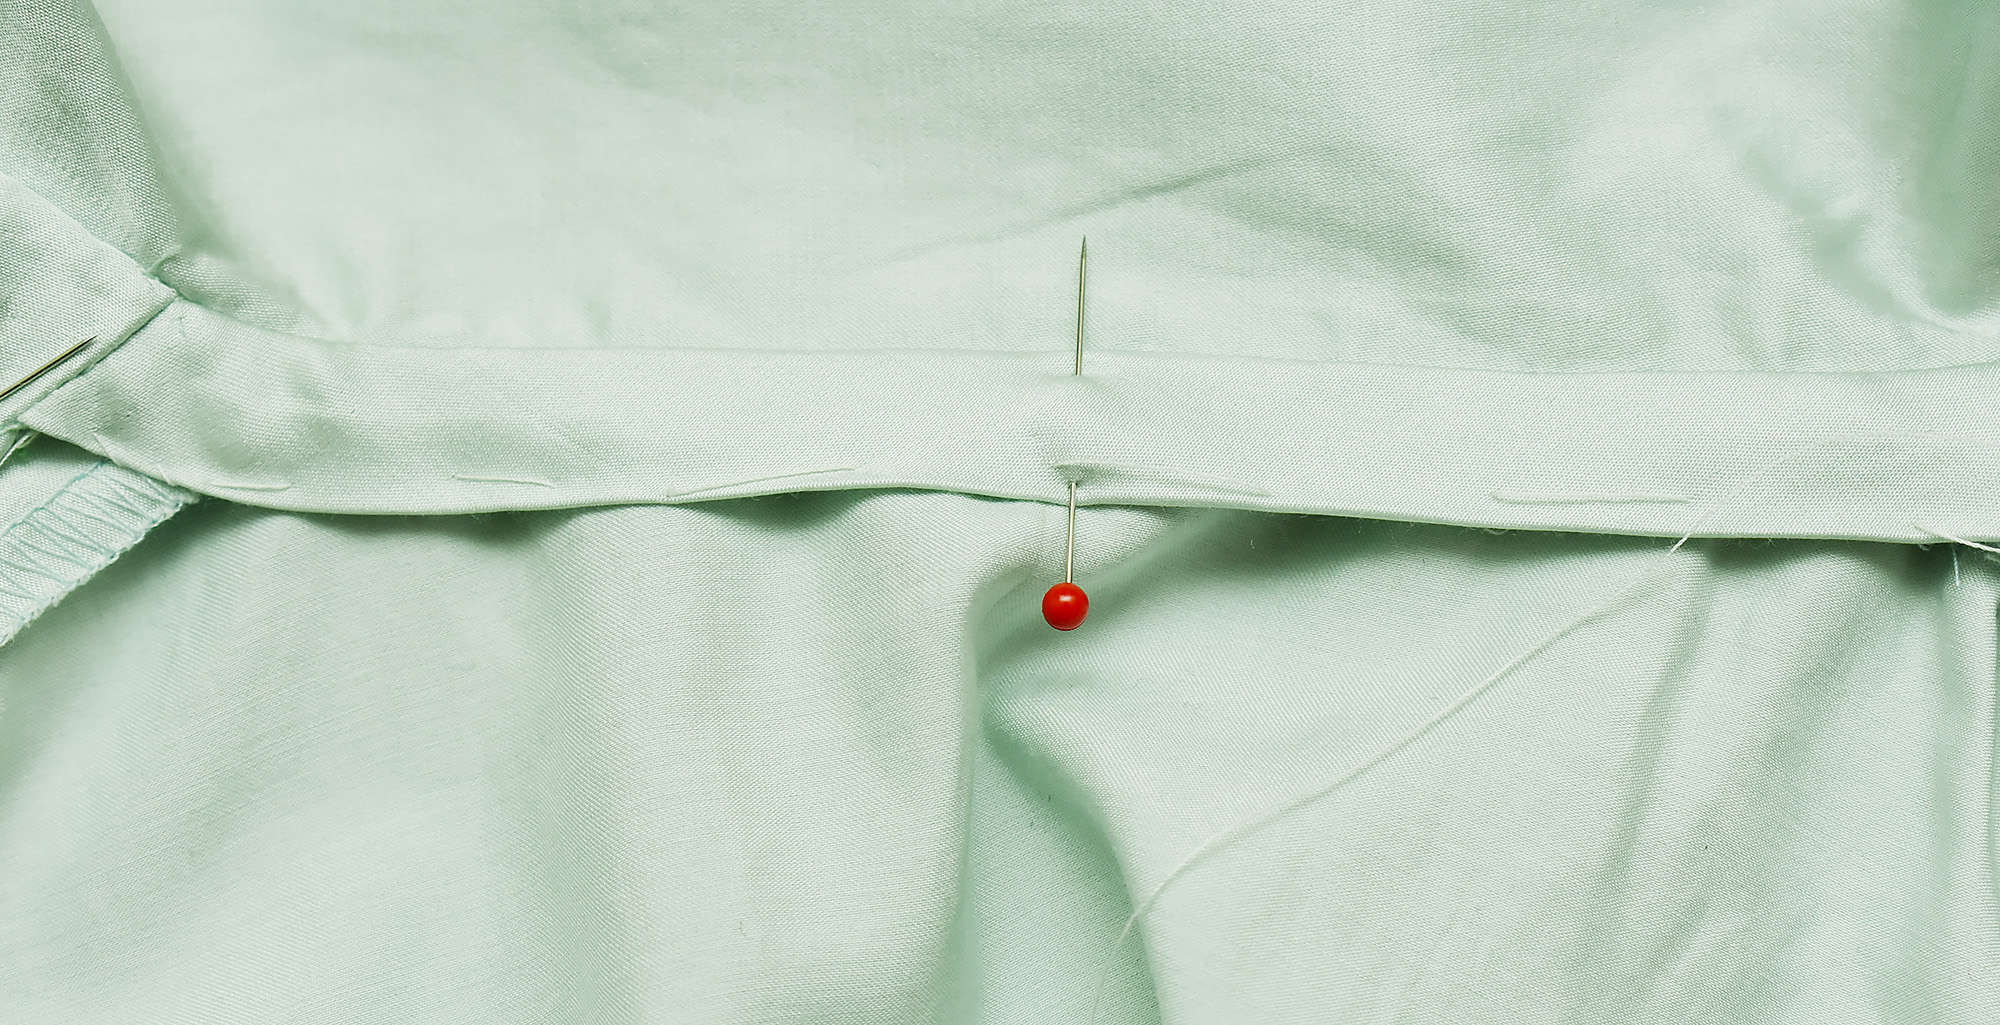
4. Attach the bias tape to the seam allowance.
Try to not stretch out the bias tape too much when sewing as it will make it too narrow. I used the ruler on my sewing machine to make sure it was sewn evenly.
5. Attach the end to the other facing and cut off any surplus fabric.
Again slant the seam outwards.
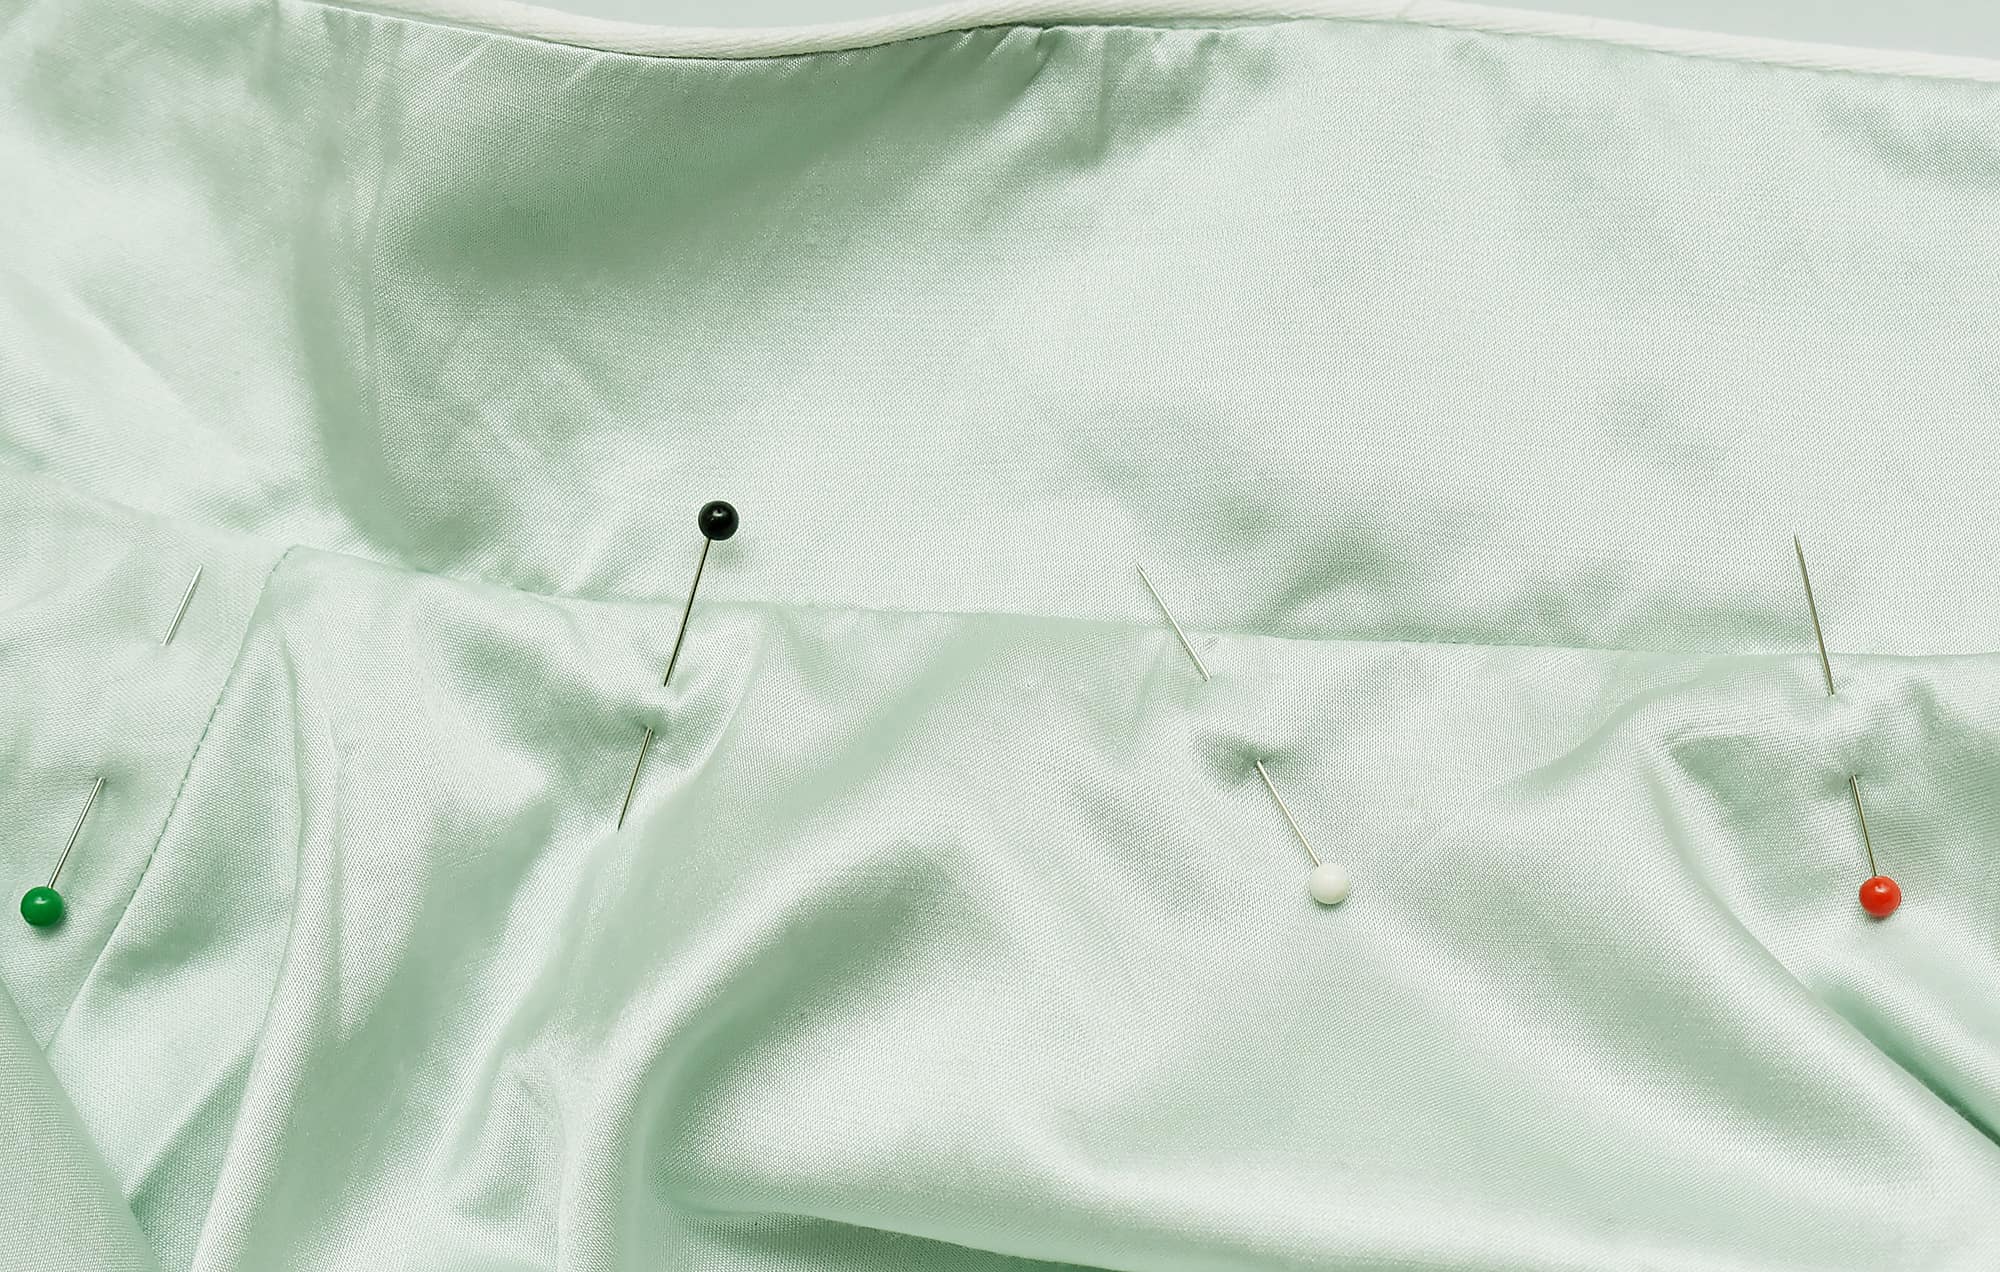
6. Pin the bias tape from the outside
This might sound counterproductive. But the biggest struggle for me has been getting the outside flat, without any wrinkles. This area is of course hidden by the collar, but I like my clothes to look nice both inside and out. So this time I started attaching the bias tape from the right side, to make sure it looked reasonable flat and it made a big difference.
Once you are happy with how it looks on the inside and outside attach the edge of the bias tape to the bodice fabric with basting.
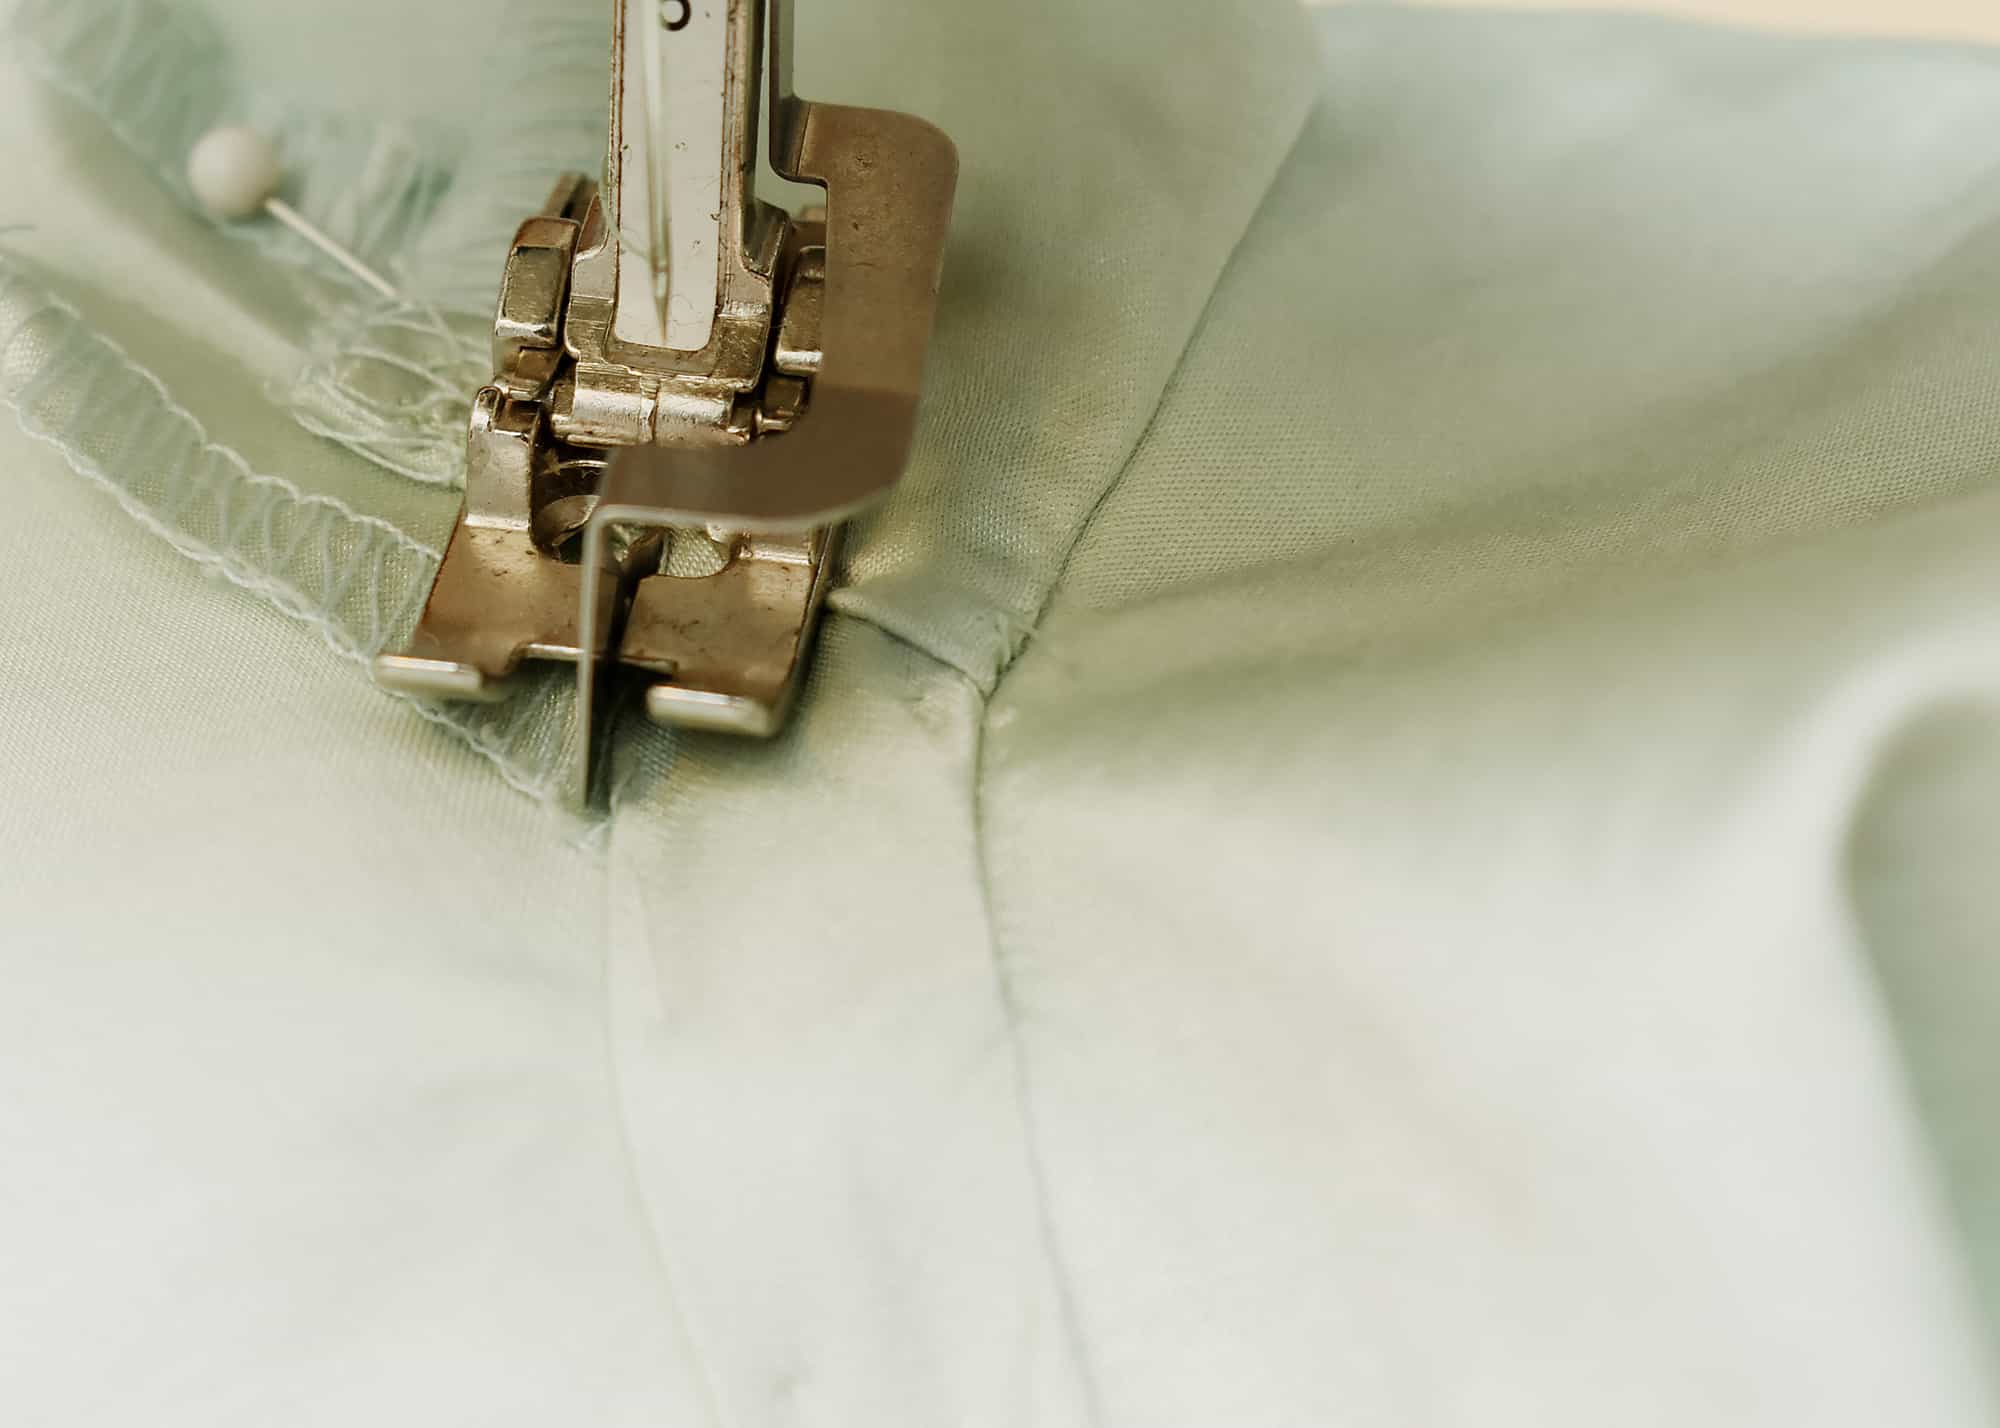
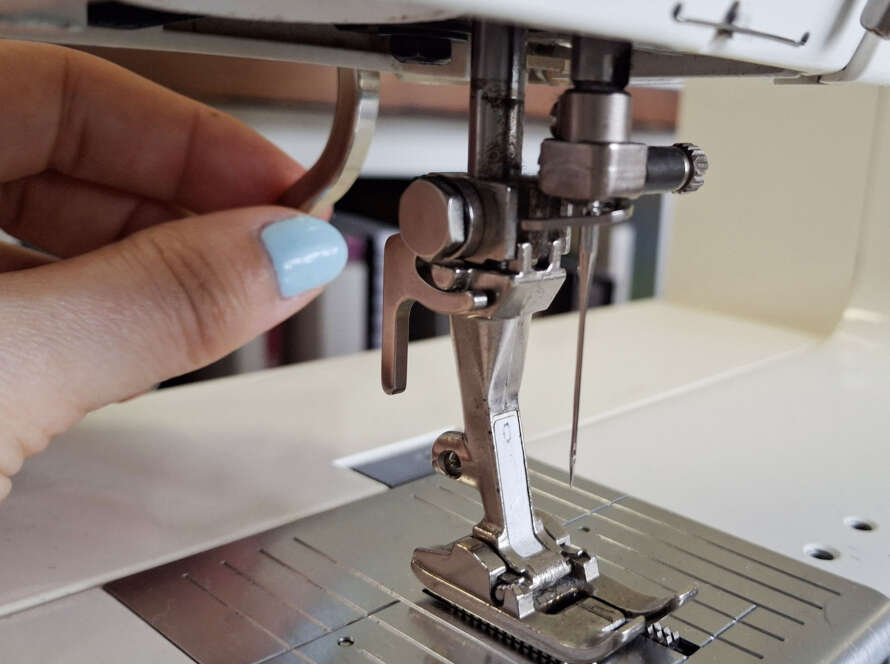
7. Topstitch the bias tape in place.
I like to use the blind hem presser foot as guide to make sure the result is even.

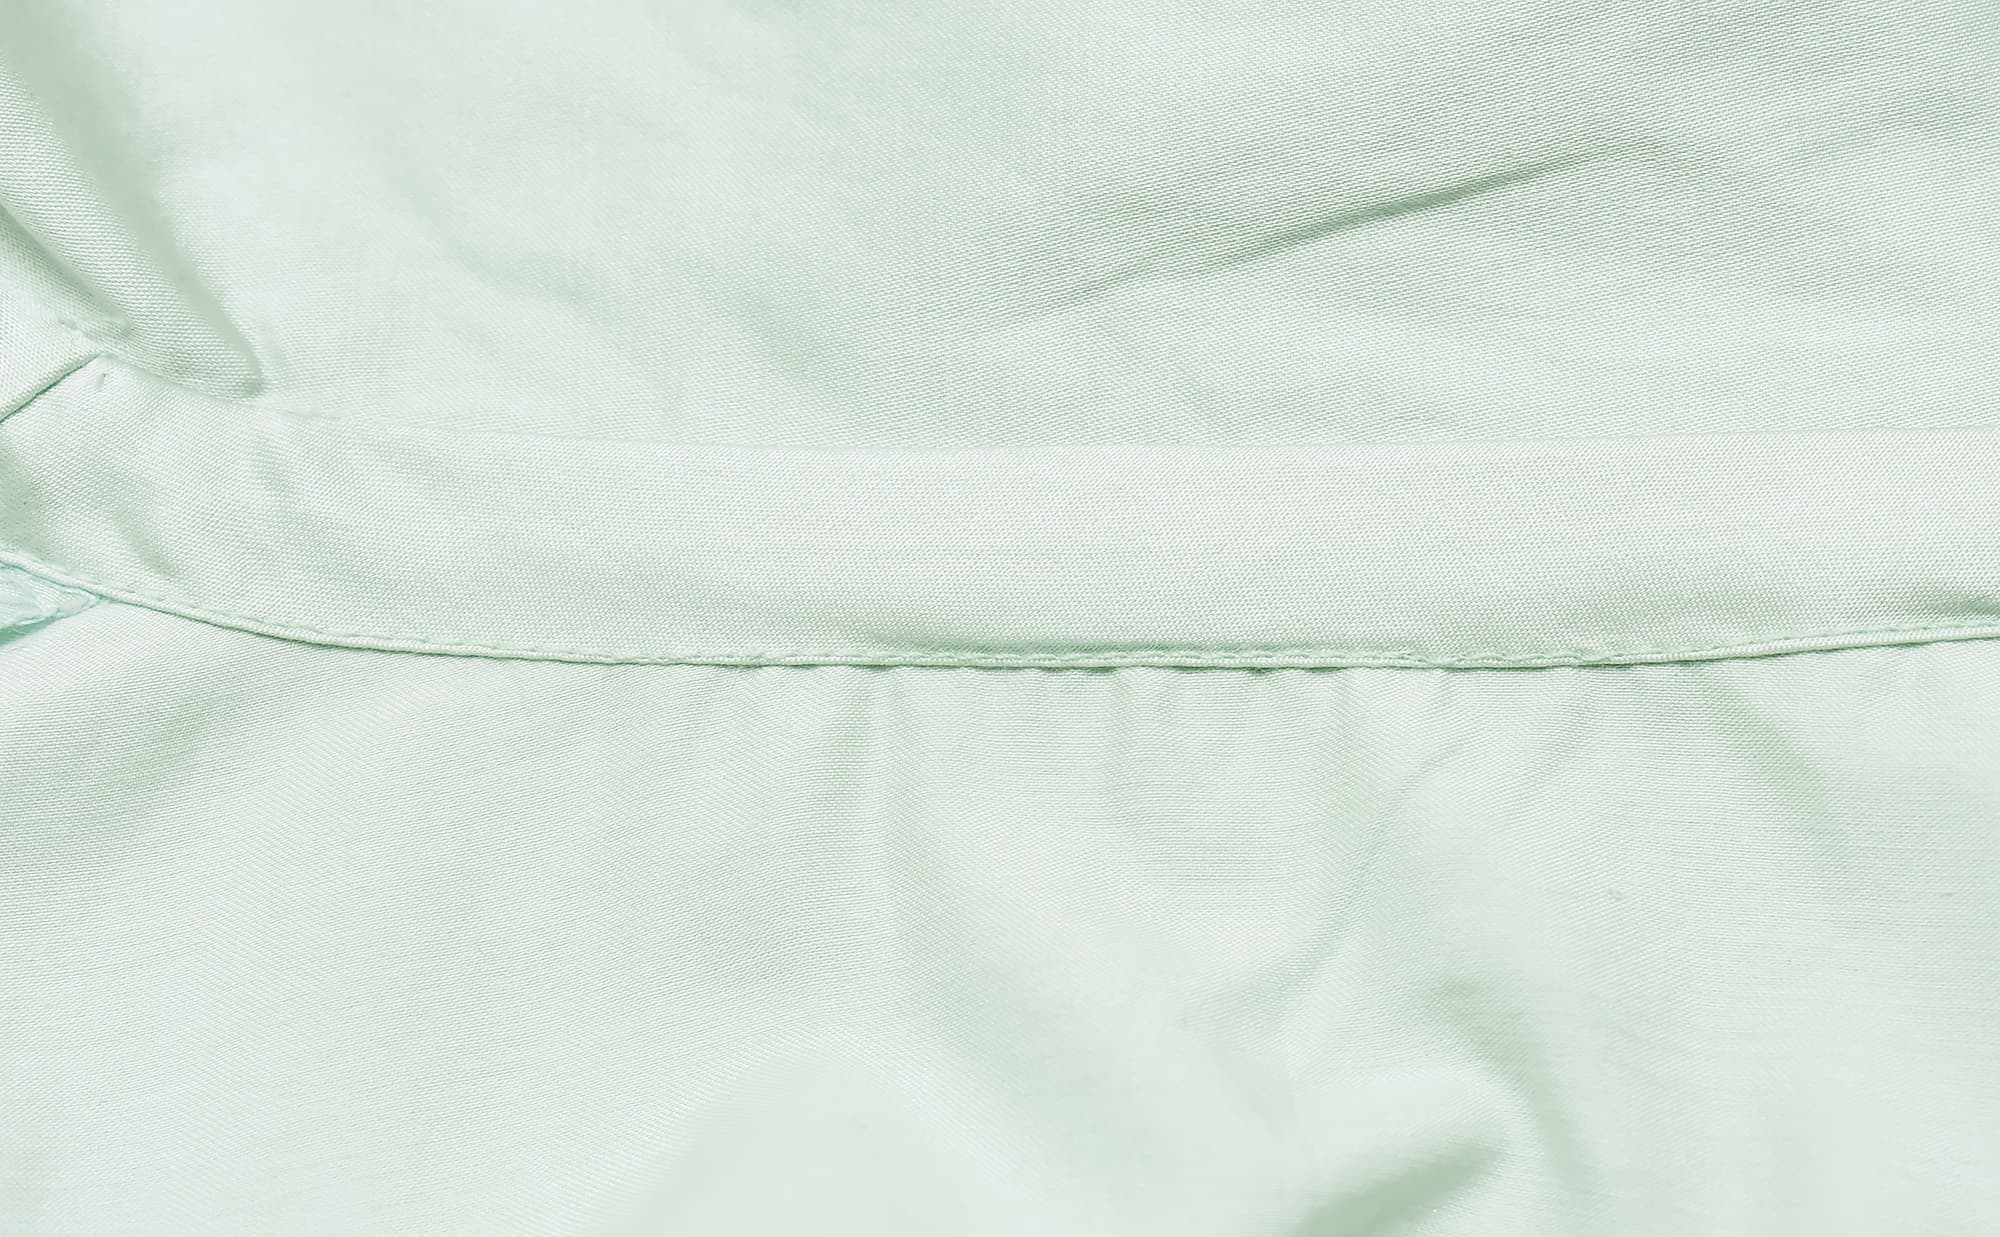
The outside after the topstitching. Yes there are still wrinkles, but this looks way better than any other bias tape silk project I’ve done in the past. If I had done the bias tape even more narrow and increased the slant at the shoulder seam more, I think it would have managed to get a perfectly flat result.
The inside of the blouse. I’m happy with the result, especially since this fabric is really hard to work with. And if I had used this method on say cotton shirting, I think it would have looked even better.

And here you can see the full neckline and collar application. I saw another method in a sewing book, and that was to just fold the bias tape in half and do a french binding application instead, where you just attach the raw edges to the collar seam, fold over and then stitch down the lower edge. That might be easier, but the method I used creates less bulk.
P.S. I have also done a tutorial on how to cover the back neckline on a knit top with a decorative ribbon
3 Comments
Esther
Hi Johanna! Thanks for the nice tutorial! So this is the mint green silk blouse you made. I love the color. Was it hard to control the fabric? Maybe next time, you can show us how you made it. As always, you have inspired me to sew better. Cheers!
Johanna
Yes it was a bit hard, not as bad as say charmeuse, but I was not able to achieve the sort of finish I strive for. This is the second time I work with a cotton/silk, and it is both stiff and wrinkly, so hard to get flat looking seams, there is some creases and wrinkles here and there!
sonia
voici une chose que je veux absolument maîtriser avant 2018! … HOU!!! Il me reste 2 mois pour cela!….
je trouve votre couture plutôt réussi! BRAVO! ….. Merci pour ce tutoriel et ces conseils!…
a moi de pratiquer maintenant!
Bises de France!
Comments are closed.