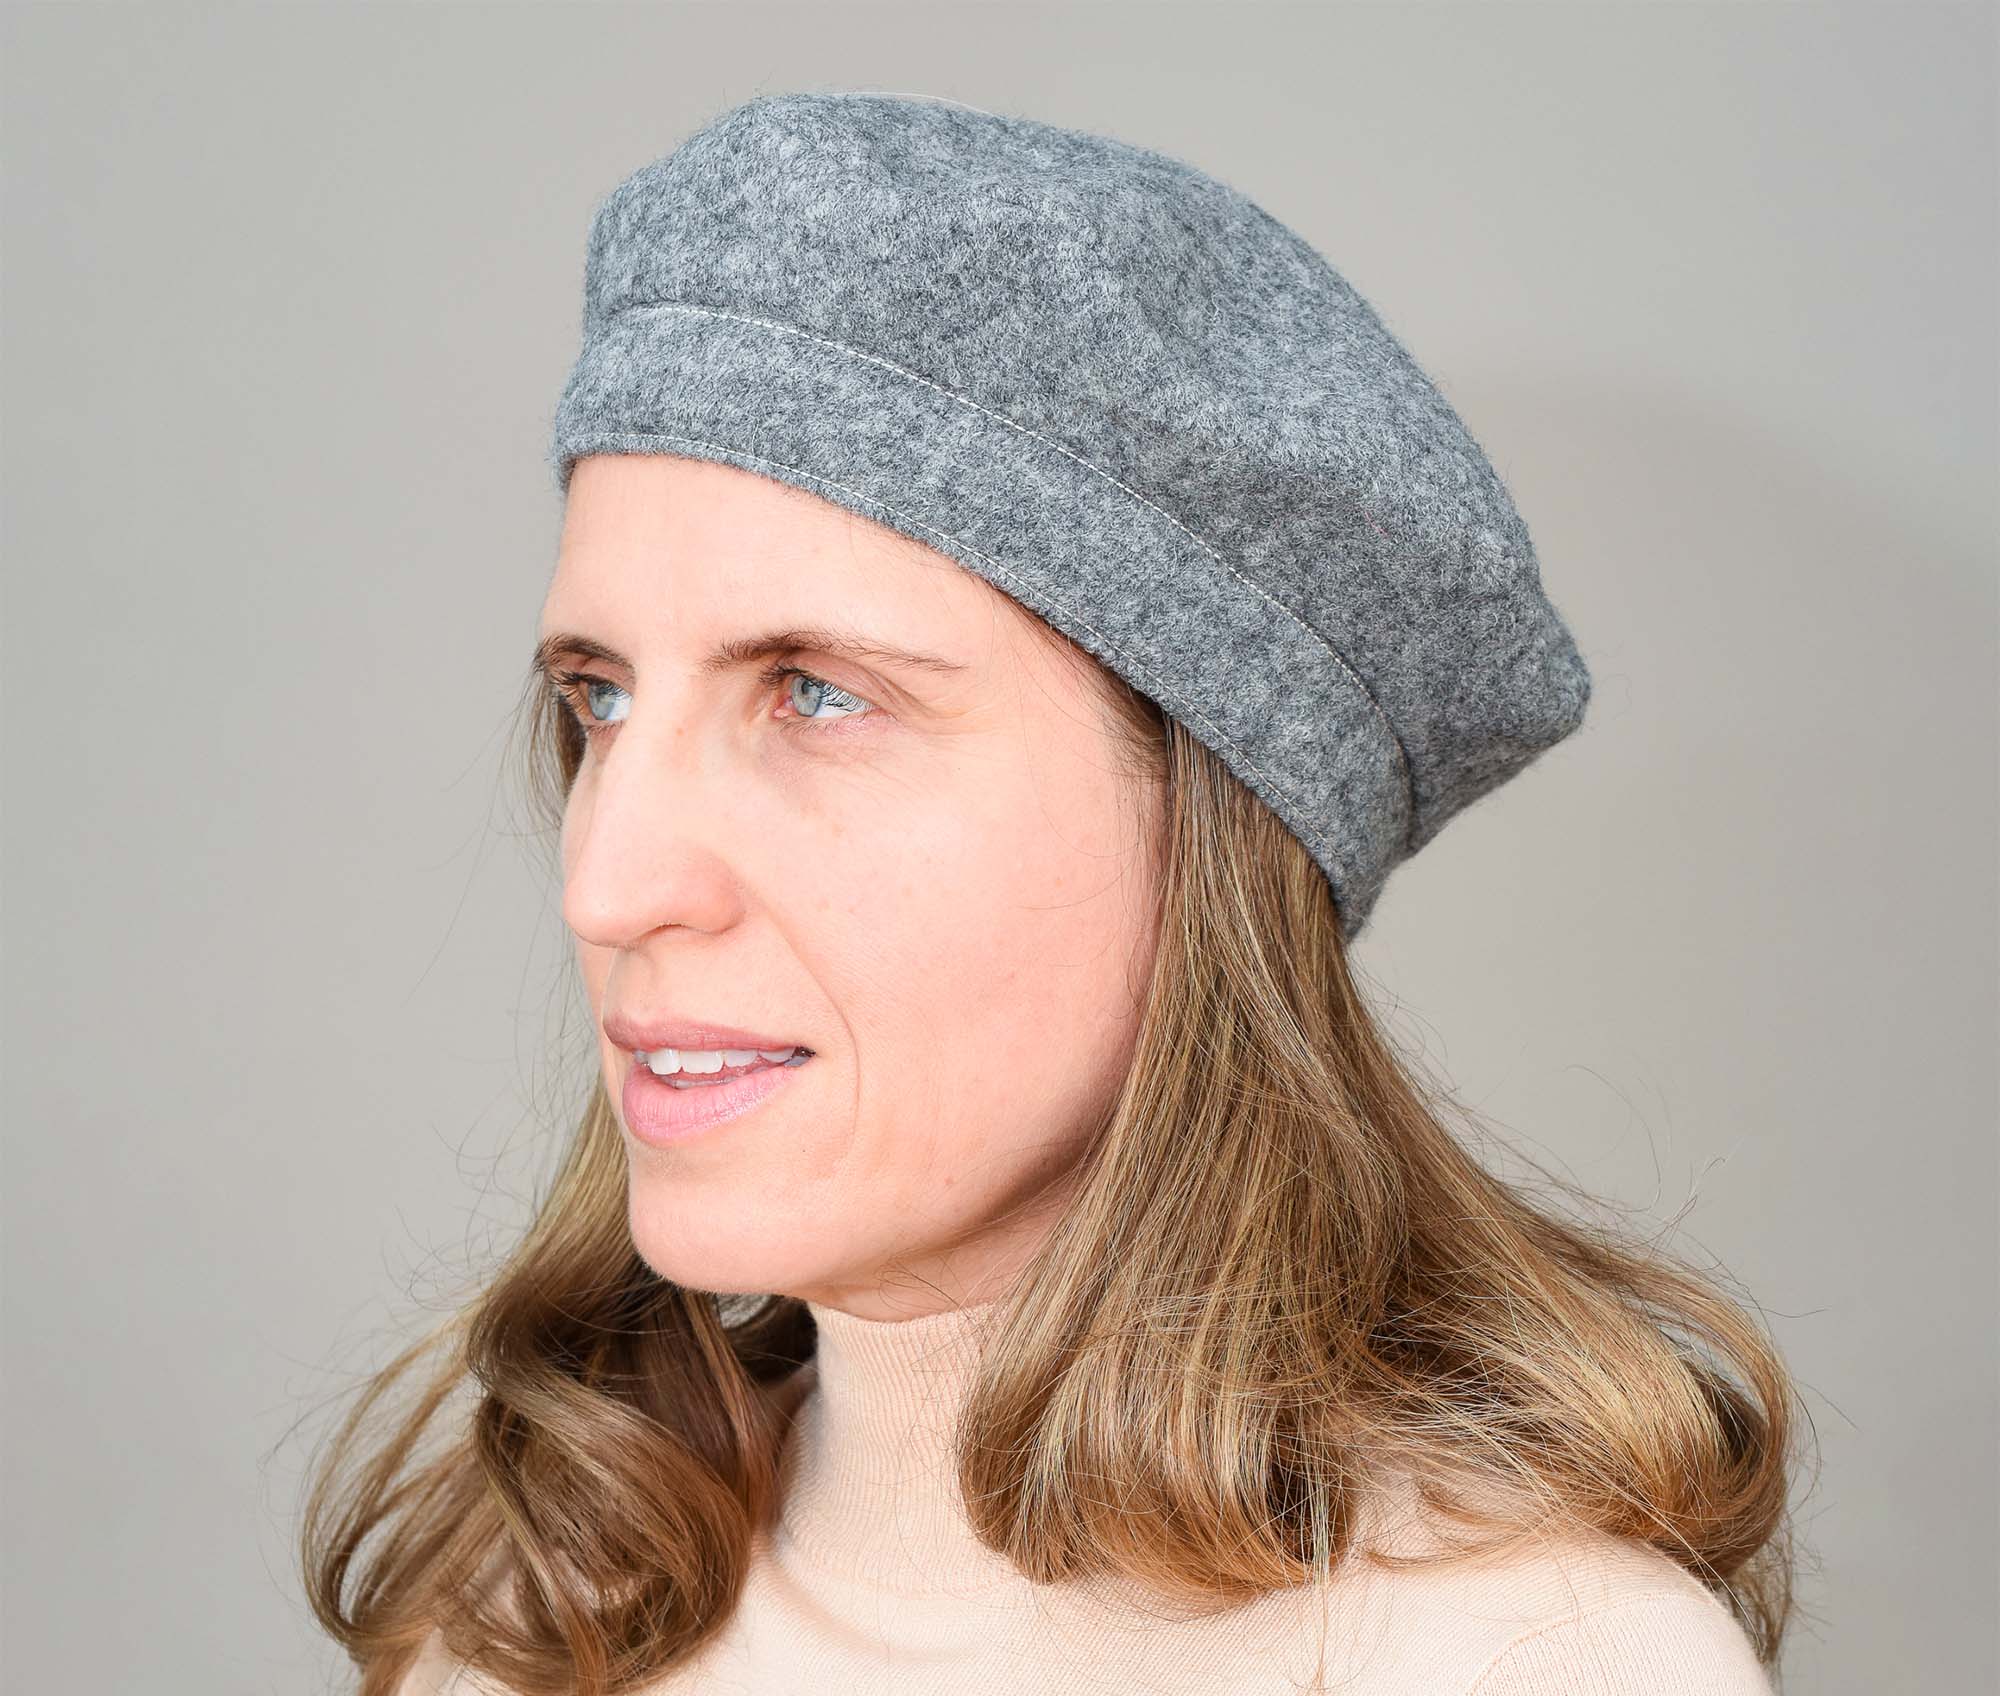

Want to sew your own chic French beret? Then follow this easy step-by-step tutorial. No pattern is required to make this beret, but to make it even easier, I highly recommend getting my Iselin Beret PDF-pattern which includes many different style variations and comes in five different sizes.
Fabric recommendations
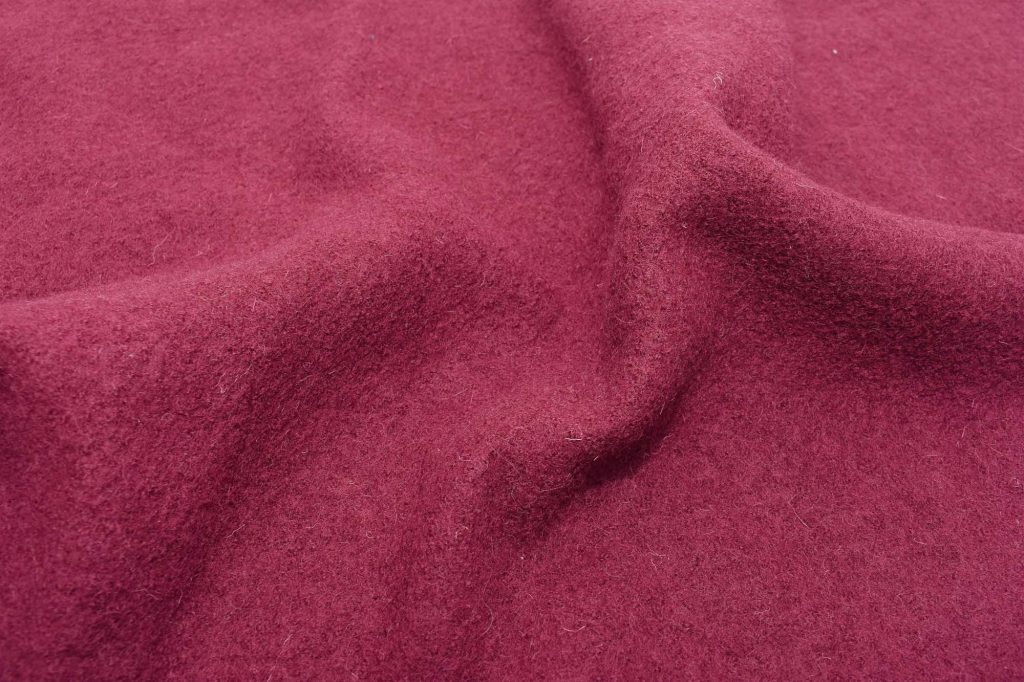
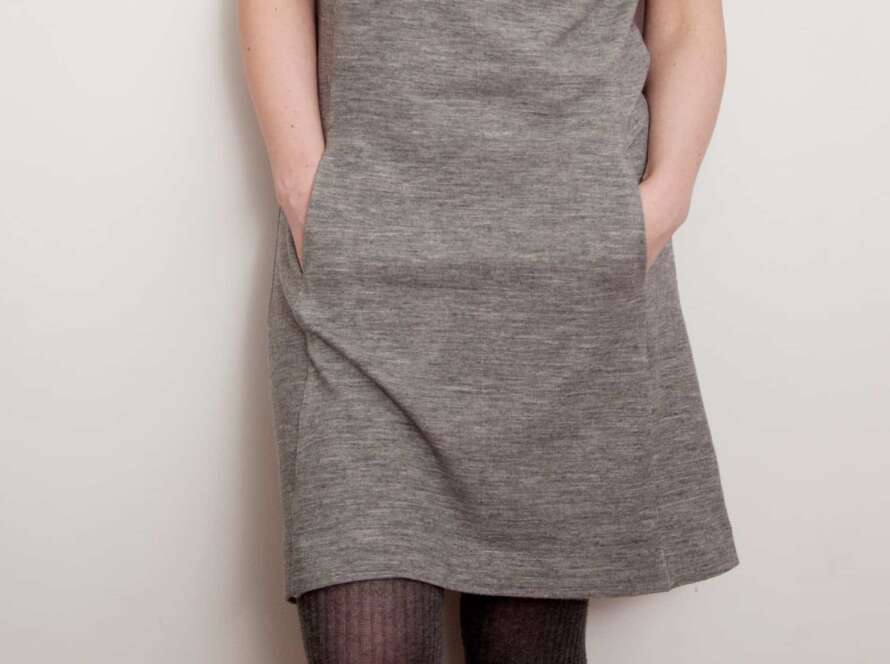
- Felted wool
- Fleece fabric
I recommend using a fabric with a little stretch, such as a felted wool knit or fleece. In this tutorial, I use felted wool knit with around 20% stretch.
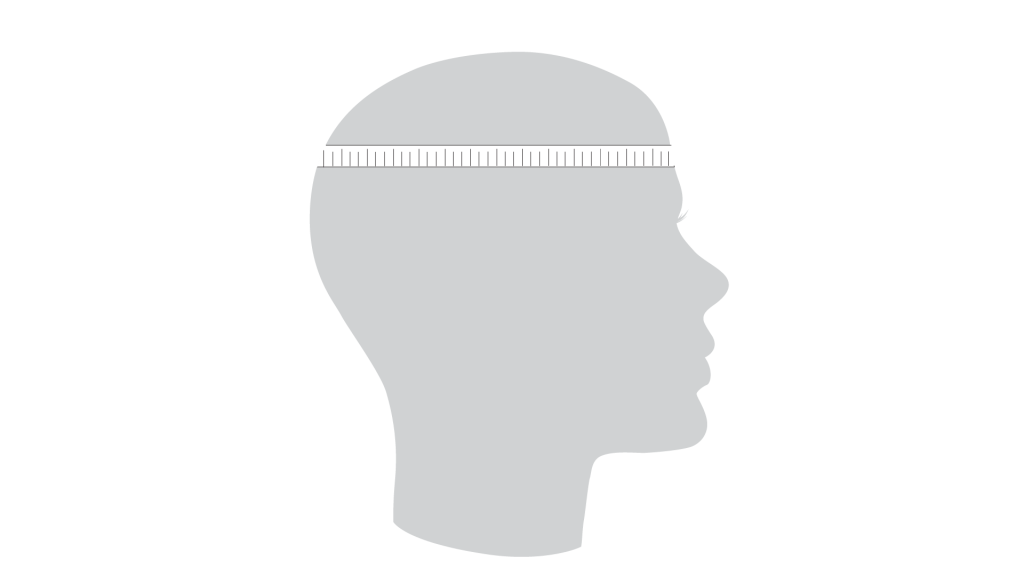
Take your measurements
Before you draft the pattern, you need to measure your head circumference; this will determine the opening in the beret and the headband size.
Then decide the diameter of the beret. Most RTW berets will have a diameter of 26-30 cm (10 to 12 inches), so use that as a starting point for an adult beret.
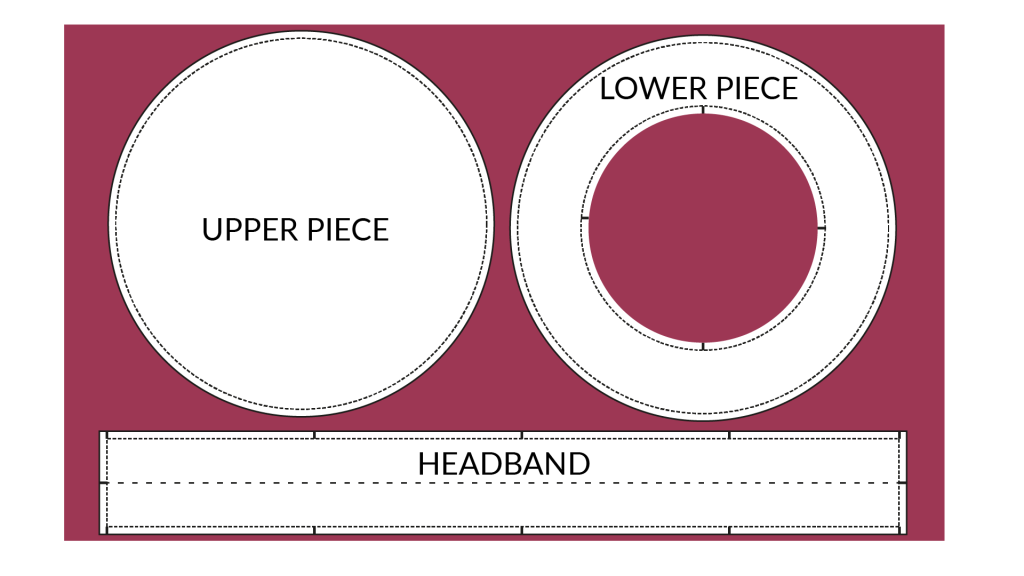
Draft the beret pattern
1. Draft the upper piece
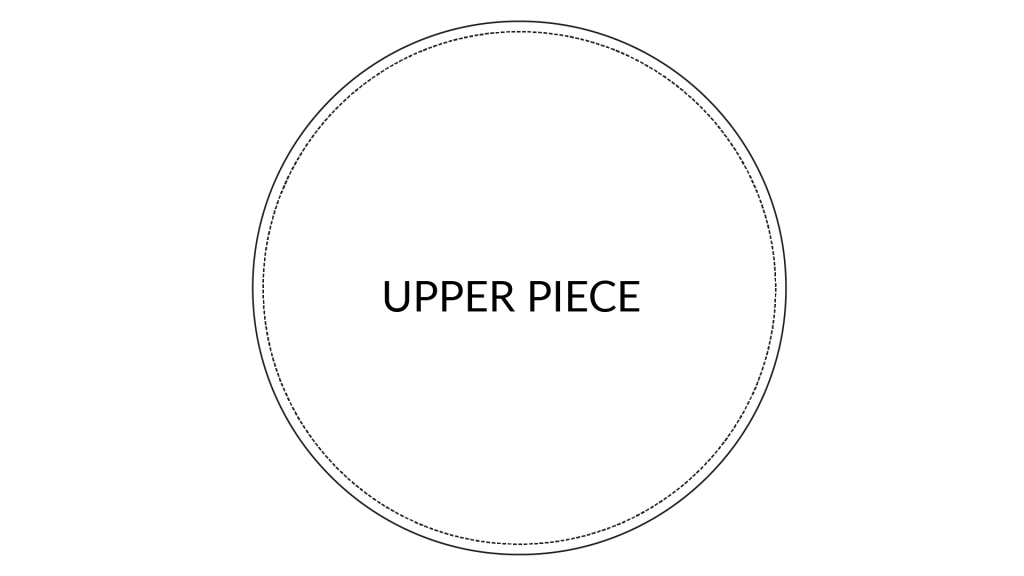
Draft a circle with your chosen diameter. You can use a compass or a plate or draft it in an image editing program on your computer. This will create the upper part of the beret.
Add 0.6 cm (¼ in) seam allowance.
2. Draft the headband

Headband length calculation
- If using a fabric with minimal stretch, the headband length should be your head circumference + 1-2 cm of ease (less than an inch).
- If the fabric has some stretch, make it slightly shorter than your head circumference.
- If you use a fabric with a lot of stretch, such as rib-knit, I recommend using more negative ease. So if your head circumference is 56 cm, the finished band could be around 15% shorter and stretched out when sewn and worn.
By the way, the Iselin Beret Pattern includes three headband patterns, so you can pick the version that best fits the fabric you are using.
Headband width
- When folded, a good headband width is between 2-5 cm wide (1-2”).
Draft a rectangular pattern piece that has 2x the finished width + and your chosen length. Add 0.6 cm (¼ in) seam allowance.
3. Draft the lower piece
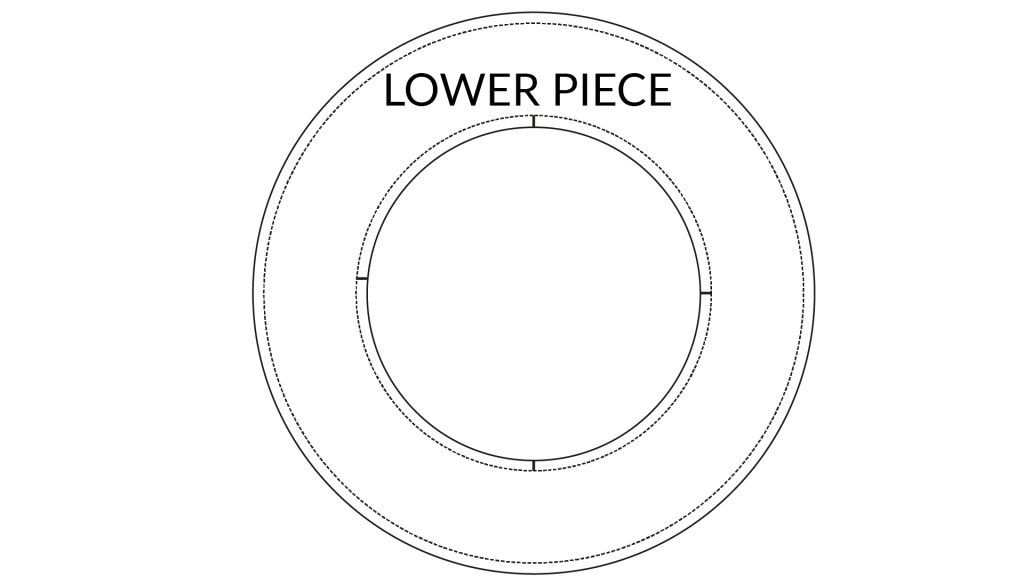
This pattern piece consists of two circles.
- The larger outer circle will have the same size as the upper piece.
- The second inner circle will have the same circumference as your headband without seam allowance.
- Make sure the inner circle is centred.
- Add 0.6 cm (¼ in) seam allowance.
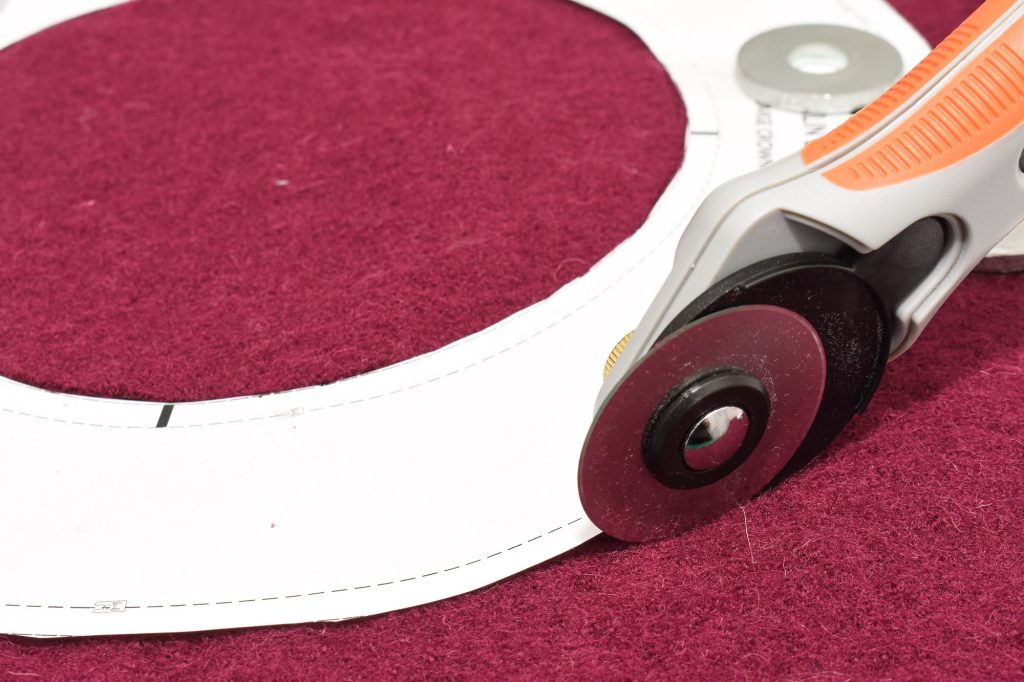
Cut the pattern pieces
- Cut 1X of the upper piece.
- Cut 1X of the lower piece.
- Cut 1X of the headband. Make sure the band is cut in the direction where the fabric has the most stretch if you are using a knit fabric.
Sewing the beret
1. Sew the crown
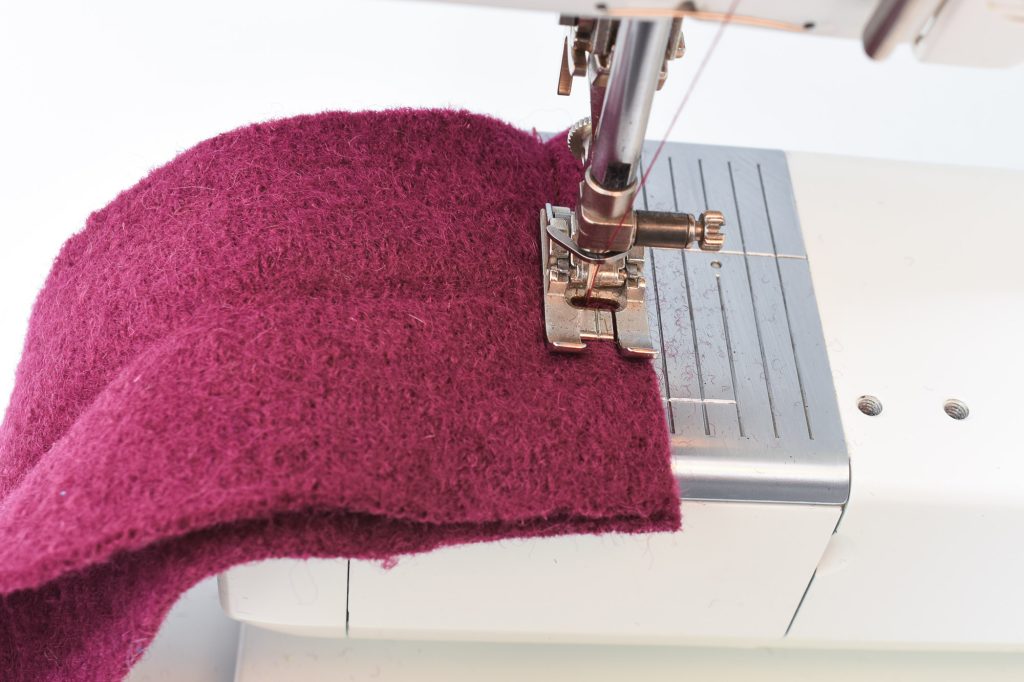
Place the lower piece of the beret on top of the upper piece, right sides facing if your fabric has two different sides. Pin along the inner opening.
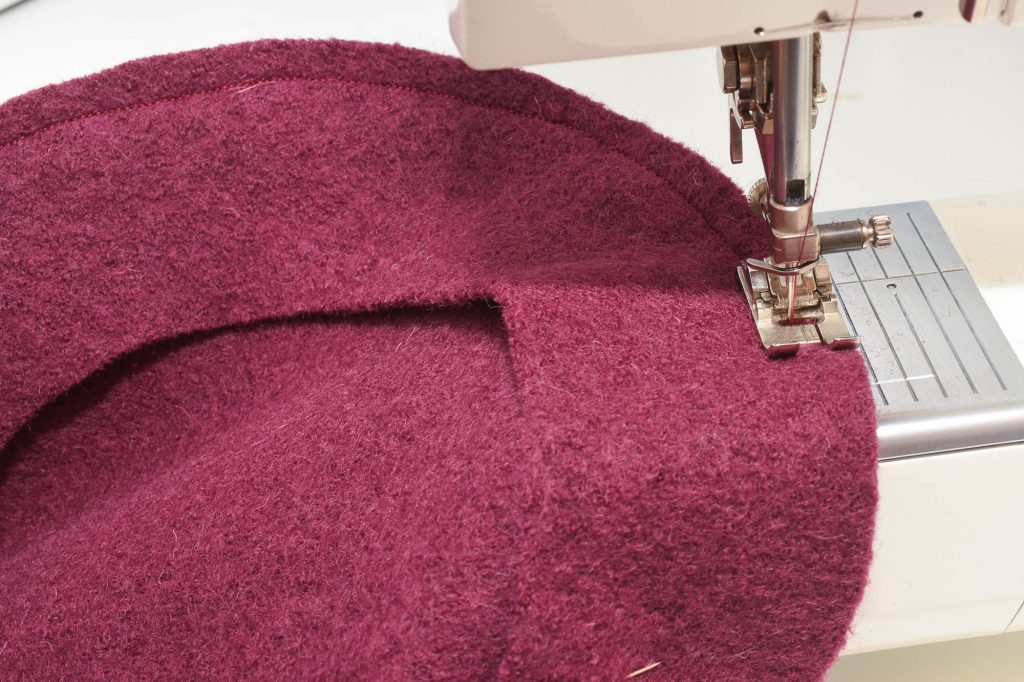
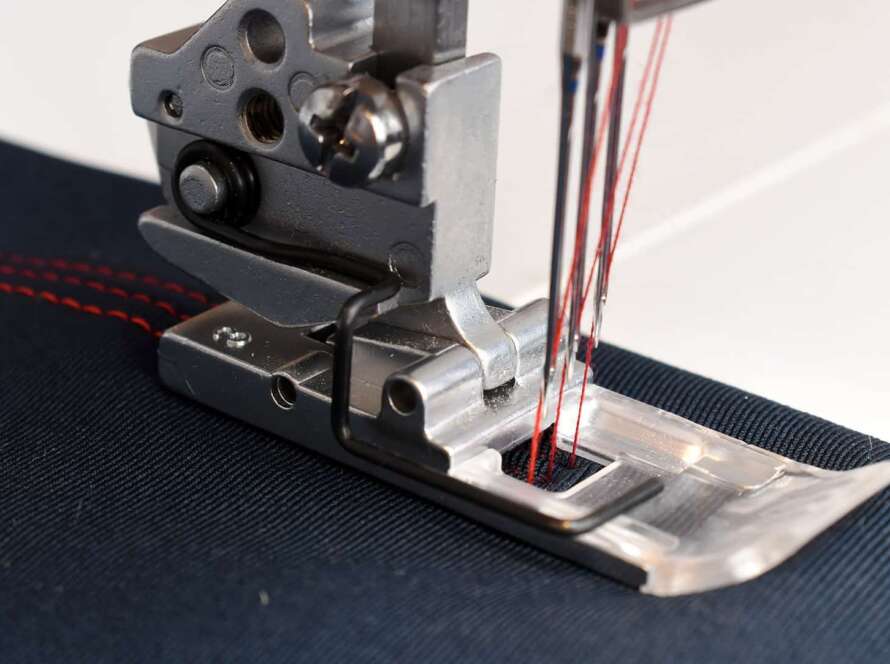
Sew together the pieces using the edge of the presser foot to help you sew the seam evenly.
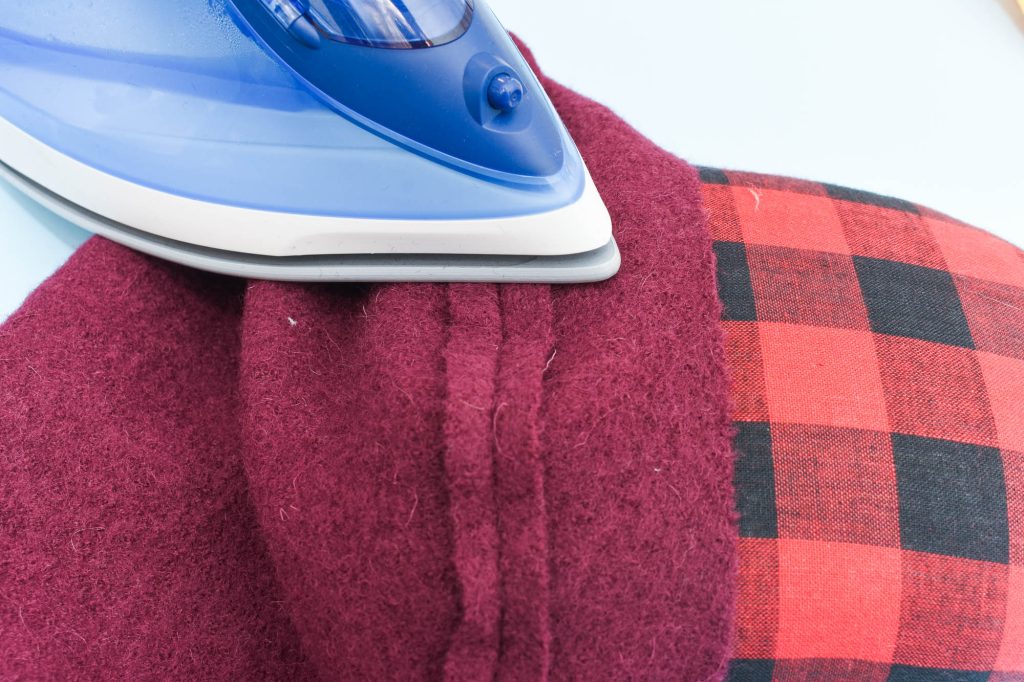
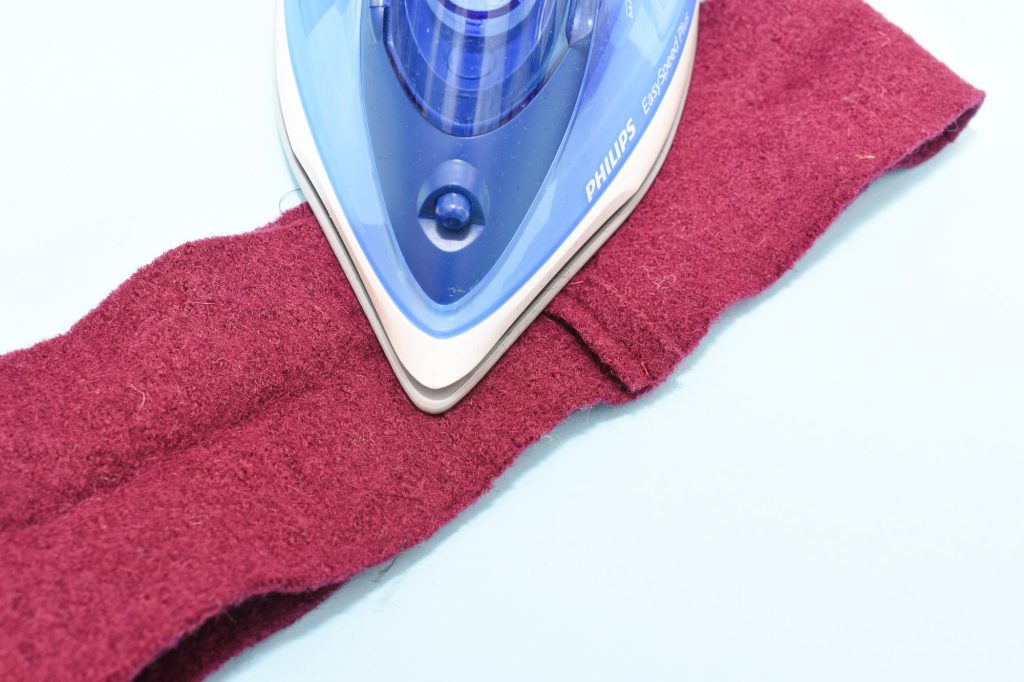
Press the seam flat. Open up the seam allowance and press with an iron on low heat until the edges are open and flat.
Tip: Test the heat settings on a fabric scrap before ironing on the fabric. Materials such as wool and synthetic fleece can only handle low temperatures.
2. Sew the headband
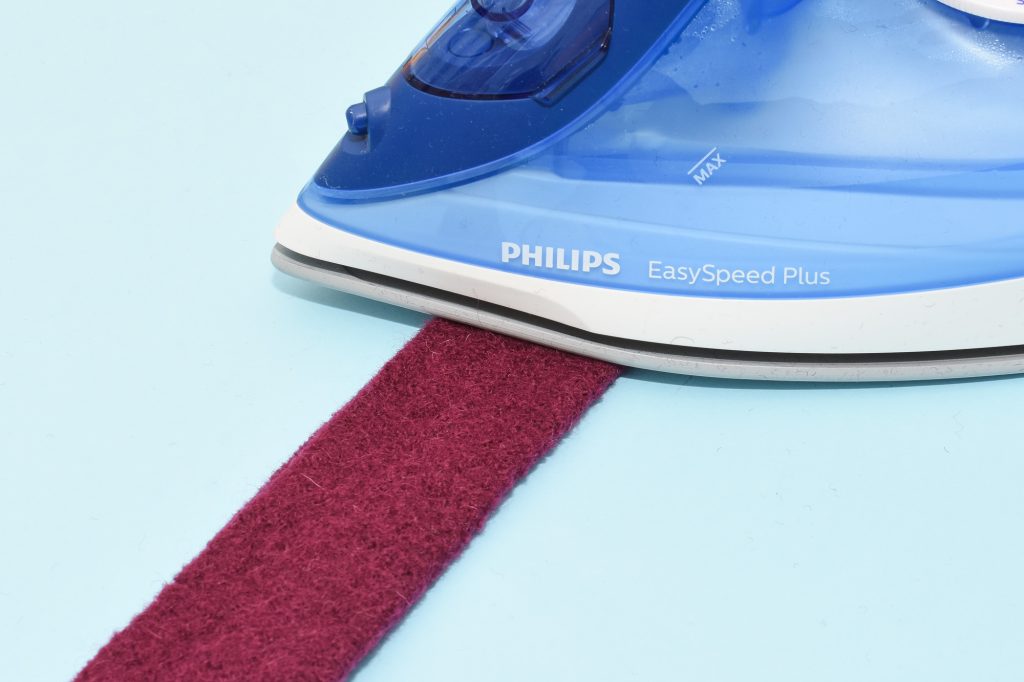
Fold the band lengthwise and press.
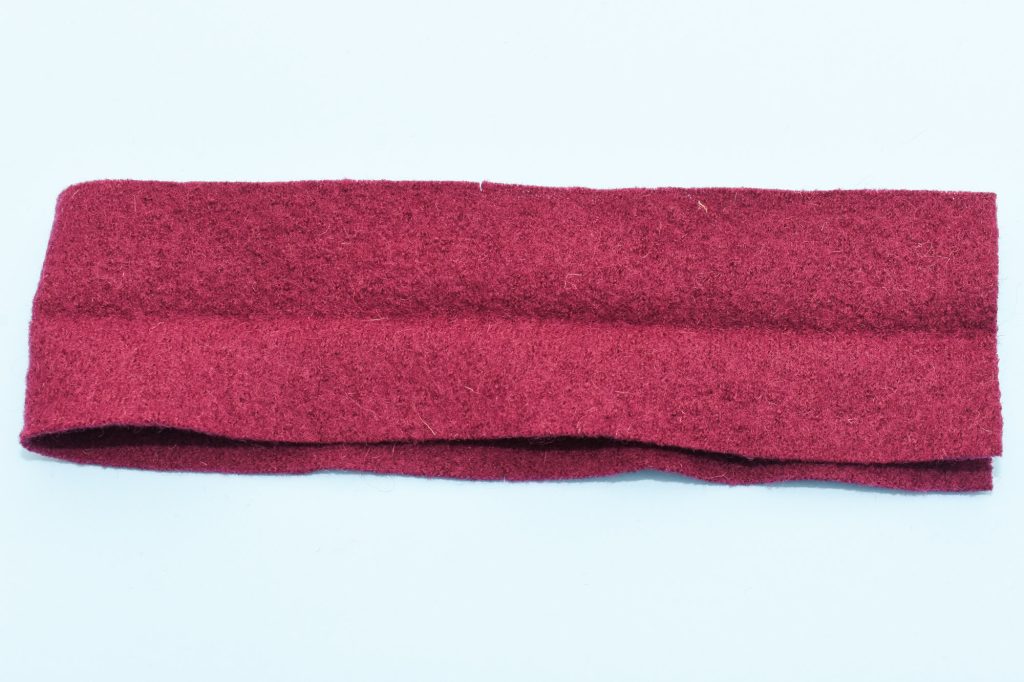
Fold over the headband, right sides facing.
Sew together the headband to form a loop.
Press the seam allowance open.
3. Join the headband and crown
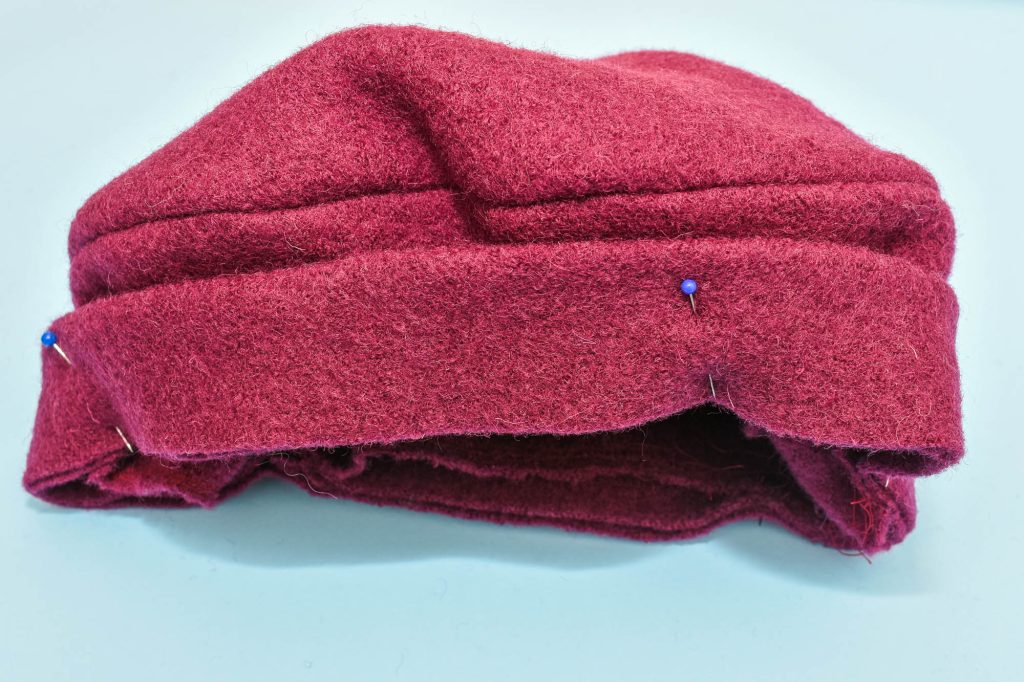
Attach the band to the inner circle of the under piece, outer sides facing. Pin in place.
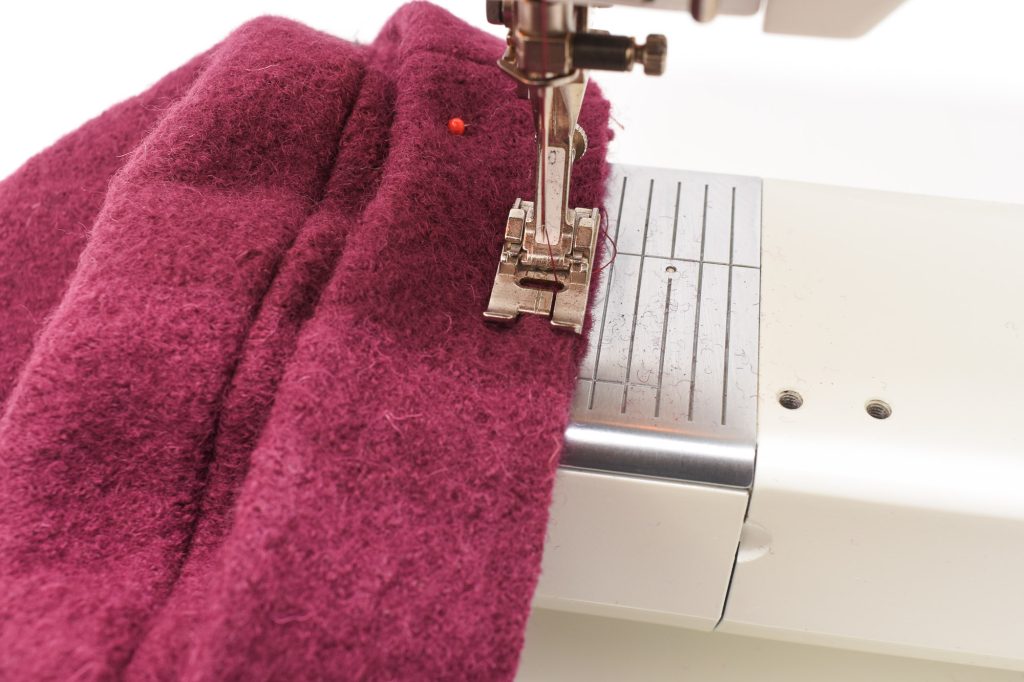
Sew together carefully, making sure the pieces are evenly distributed. If using a stretchy headband that is shorter than the inner circle, stretch it to fit.
Tip: If you use the Iselin Beret Pattern, there are markings on the pattern pieces to make this easier.
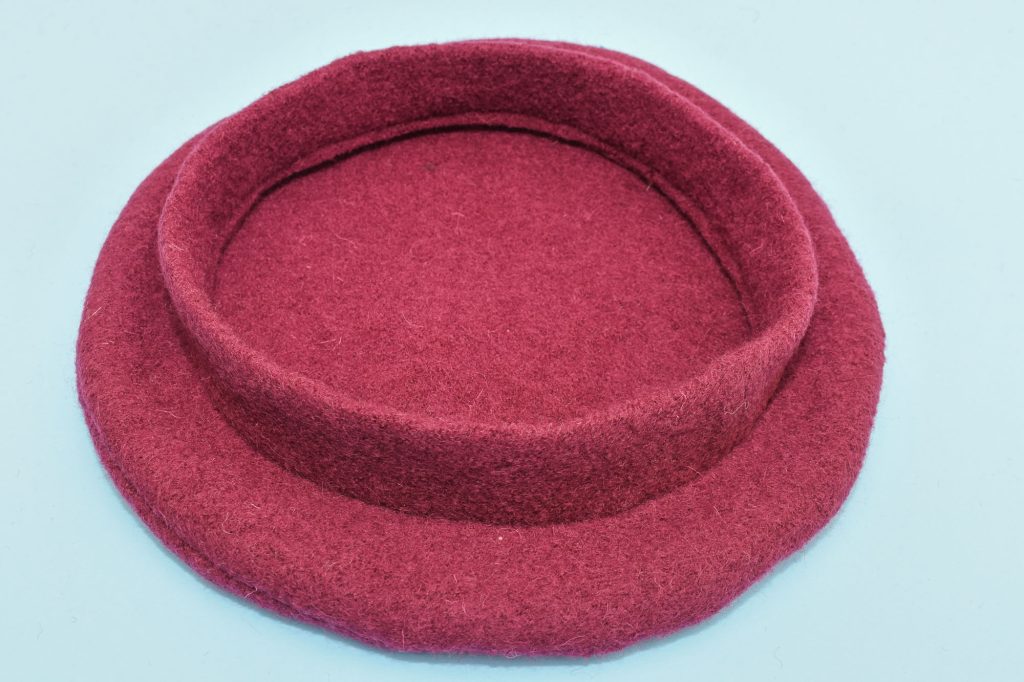
Inside the beret.
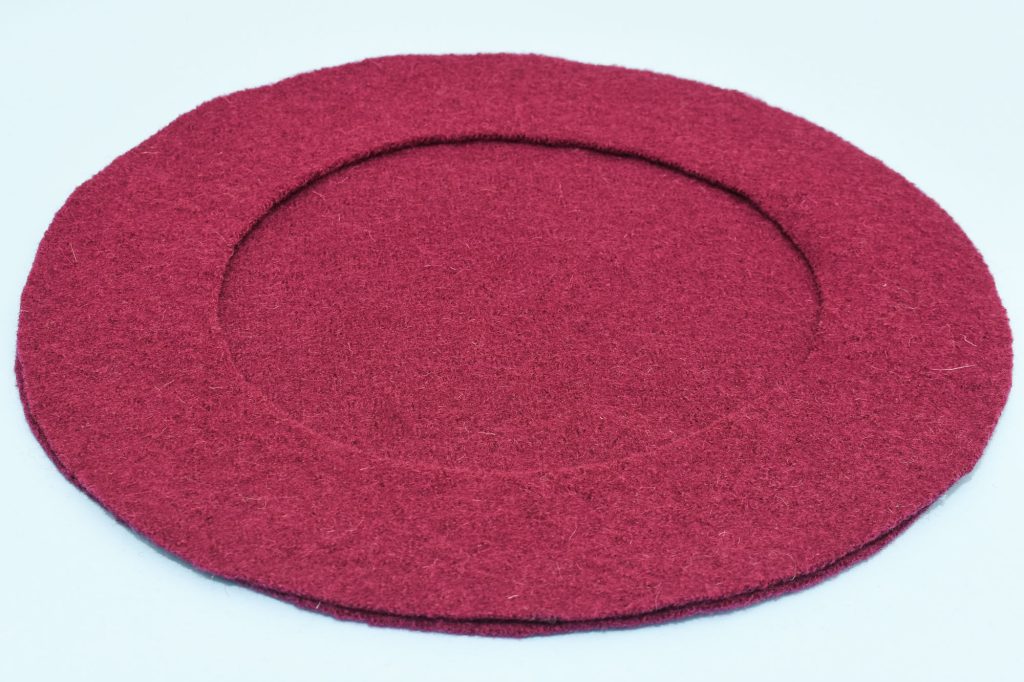
The finished beret
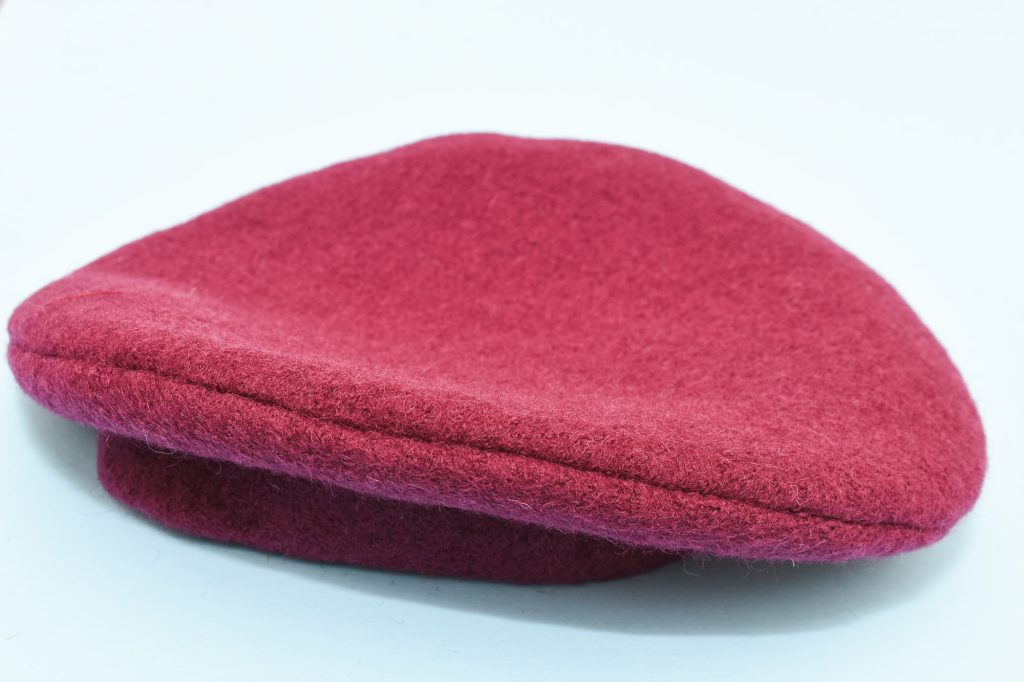
The finished beret.
Video tutorial: Sew A Stylish Beret
You can add topstitching to the headband and crown to make the beret even more unique!

Or you can use a rib-knit fabric to sew the headband.

Would you prefer a beret without a headband? Then check out the Iseline Beret Pattern for instructions on how to make one.
3 Comments
Nancy
Thanks so much for this tutorial – I whipped one of these up for my daughter this afternoon out of some leftover fleece and she is thrilled with it. I liked being able to customize it to her exact head measurement. I cut the band just slightly smaller to allow for a bit of stretch and it worked great.
BettieMPeter
Let me tell you, I really adore berets! When wearing them I feel like I’m in Paris! A beret is always fashionable and comfy to wear. it makes everyone looks chic and attractive! So, for me sewing a french beret is going be a fun project! It’s a classic accessory. And it would add a touch of elegance to any sewing pattern collection.
Laura
I love this Beret and the tutorial is well made and easy to follow. …The only problem I’m having is now I can’t get Prince’s Raspberry Beret song out of my head! LOL!!
Comments are closed.