Want to make custom patches, but have no embroidery machine and perhaps only need a limited number? Then maybe my latest experiment could be of some use. It’s basically faking an embroidered patch using iron-on textile transfer film and some nifty, but simple techniques. So let’s get started!
Clothing patches tutorial
You’ll need
- Cotton fabric
- Ink-jet printer
- Textile transfer paper
- Firm fusible interfacing
- Sewing machine
- An iron

Start by designing the pattern for your patches on your computer and then make it into a mirror image, very important! In this case, I’m using my husband’s Twitch logo, that I vectorized in Adobe Illustrator. It was a birthday present, so I didn’t want to ask him for the original, obviously 🙂
Also adding cutting lines to your design will make the cutting step easier.

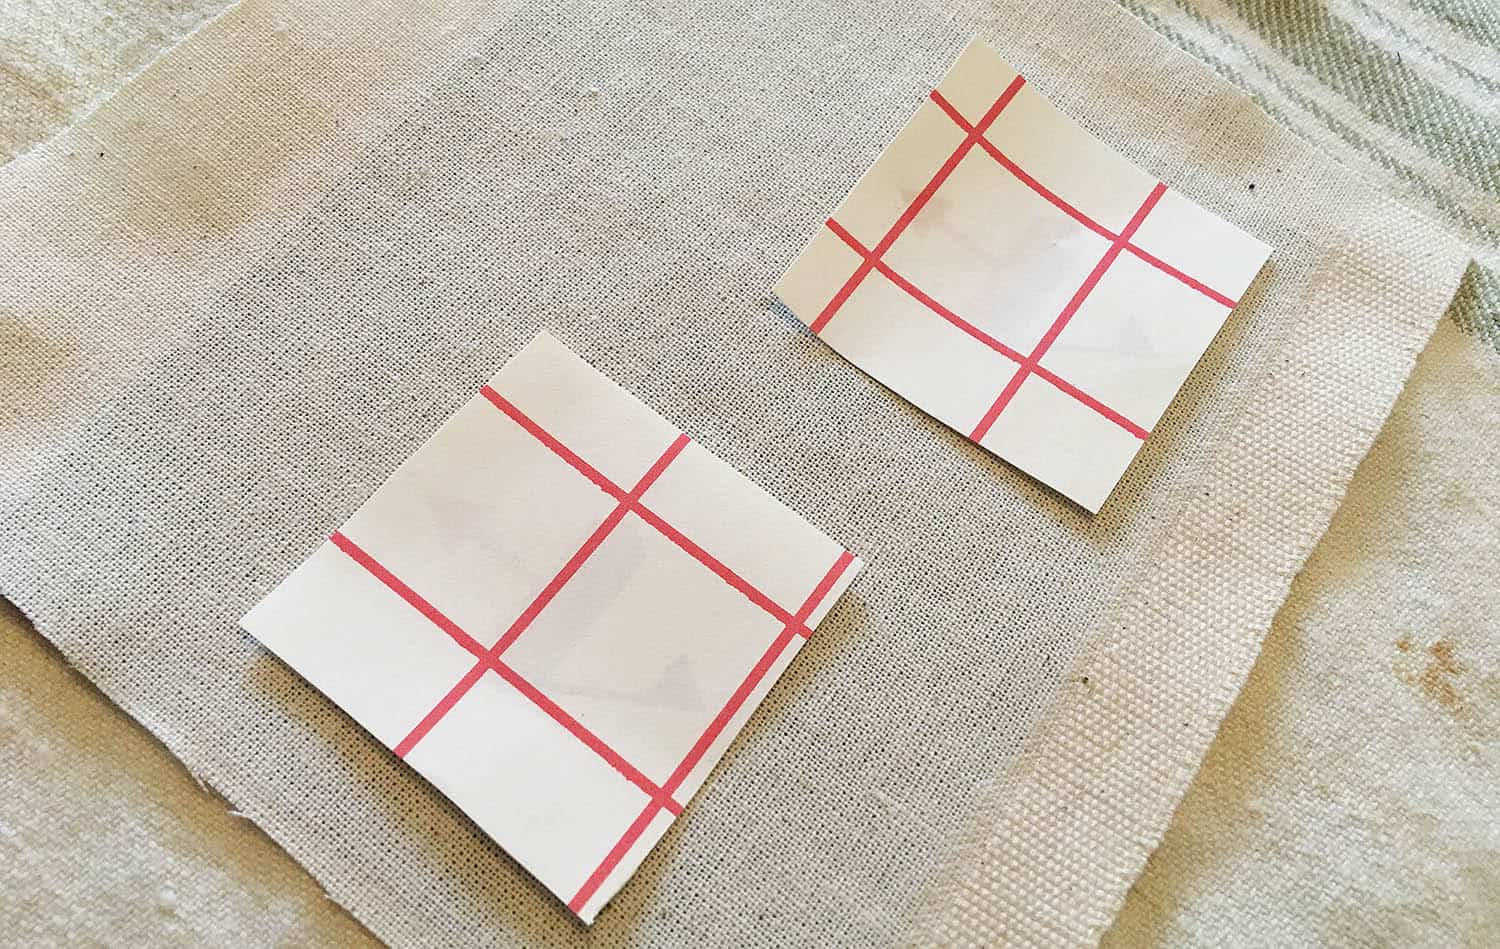
Print out the motif on textile transfer paper. I used some cheap shoddy transfer paper, so I think the result could be better if you invest in some quality paper.
Cut out the motif.
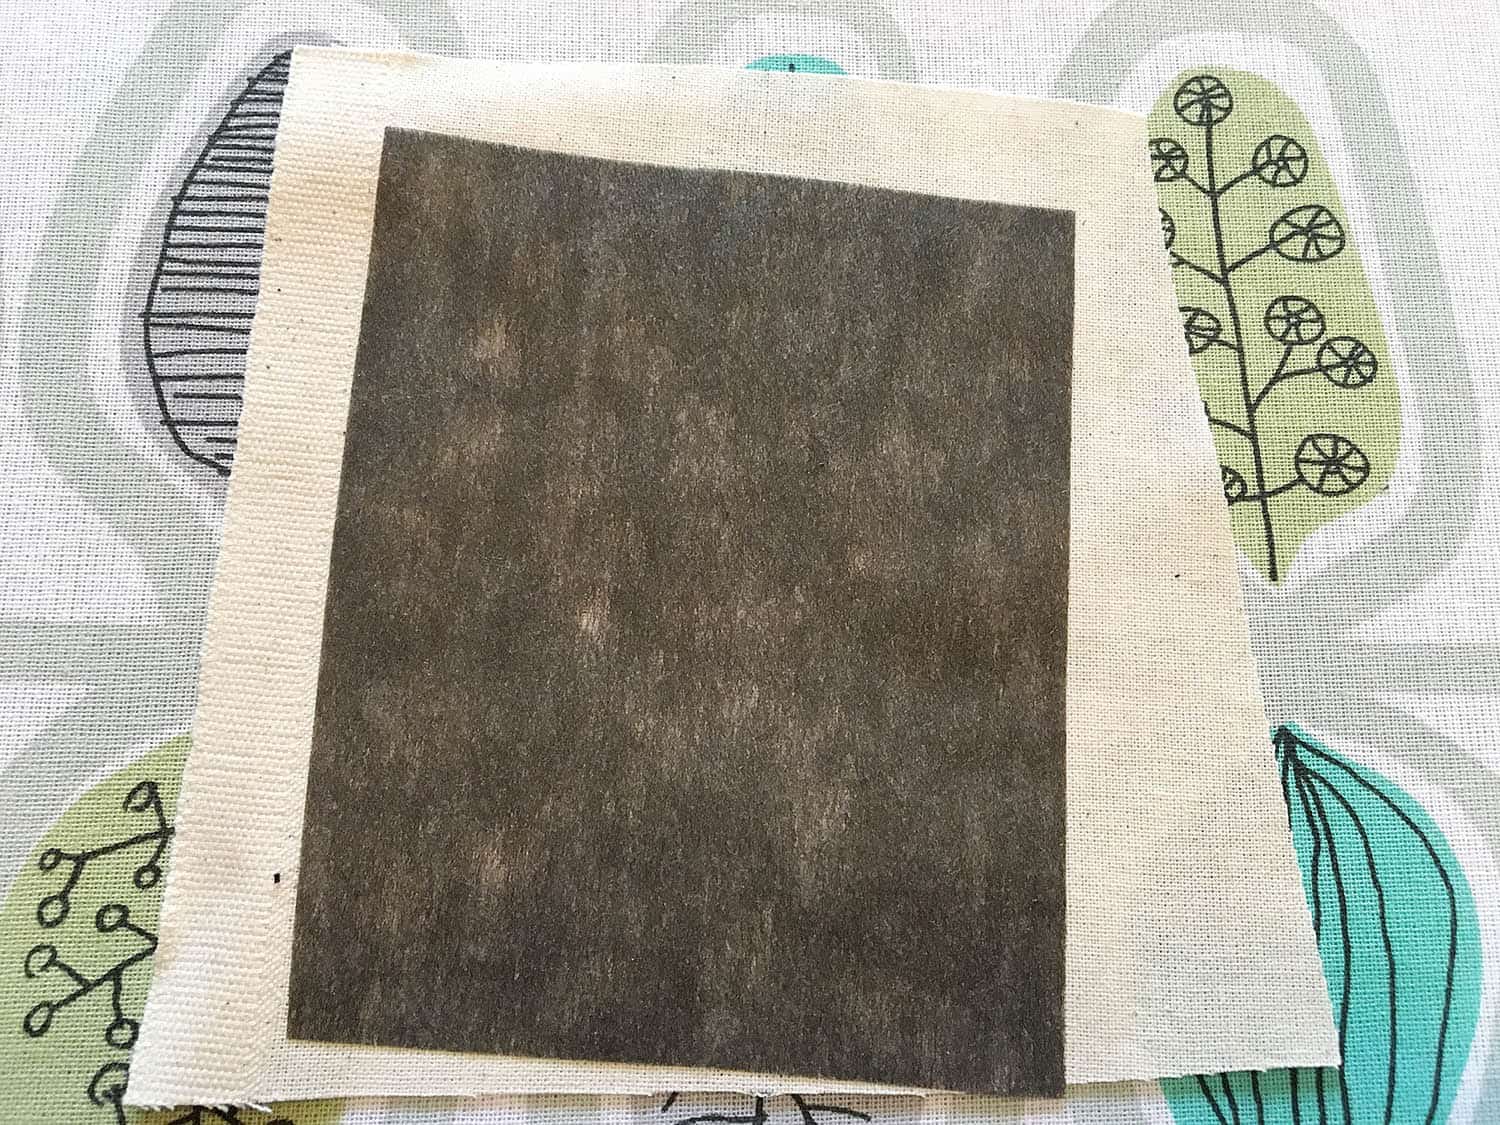
Stabilise the fabric with a fusible interfacing. The firmer the better I would say, mine could have been a bit thicker, but I used what I already had in my stash. Also, pick a fabric with an even surface, I used unbleached cotton from Ikea, but a better fabric would have improved the end result.
An option is to use a stabilizer that is sticky on both sides so that you don’t have to sew the patch in place.
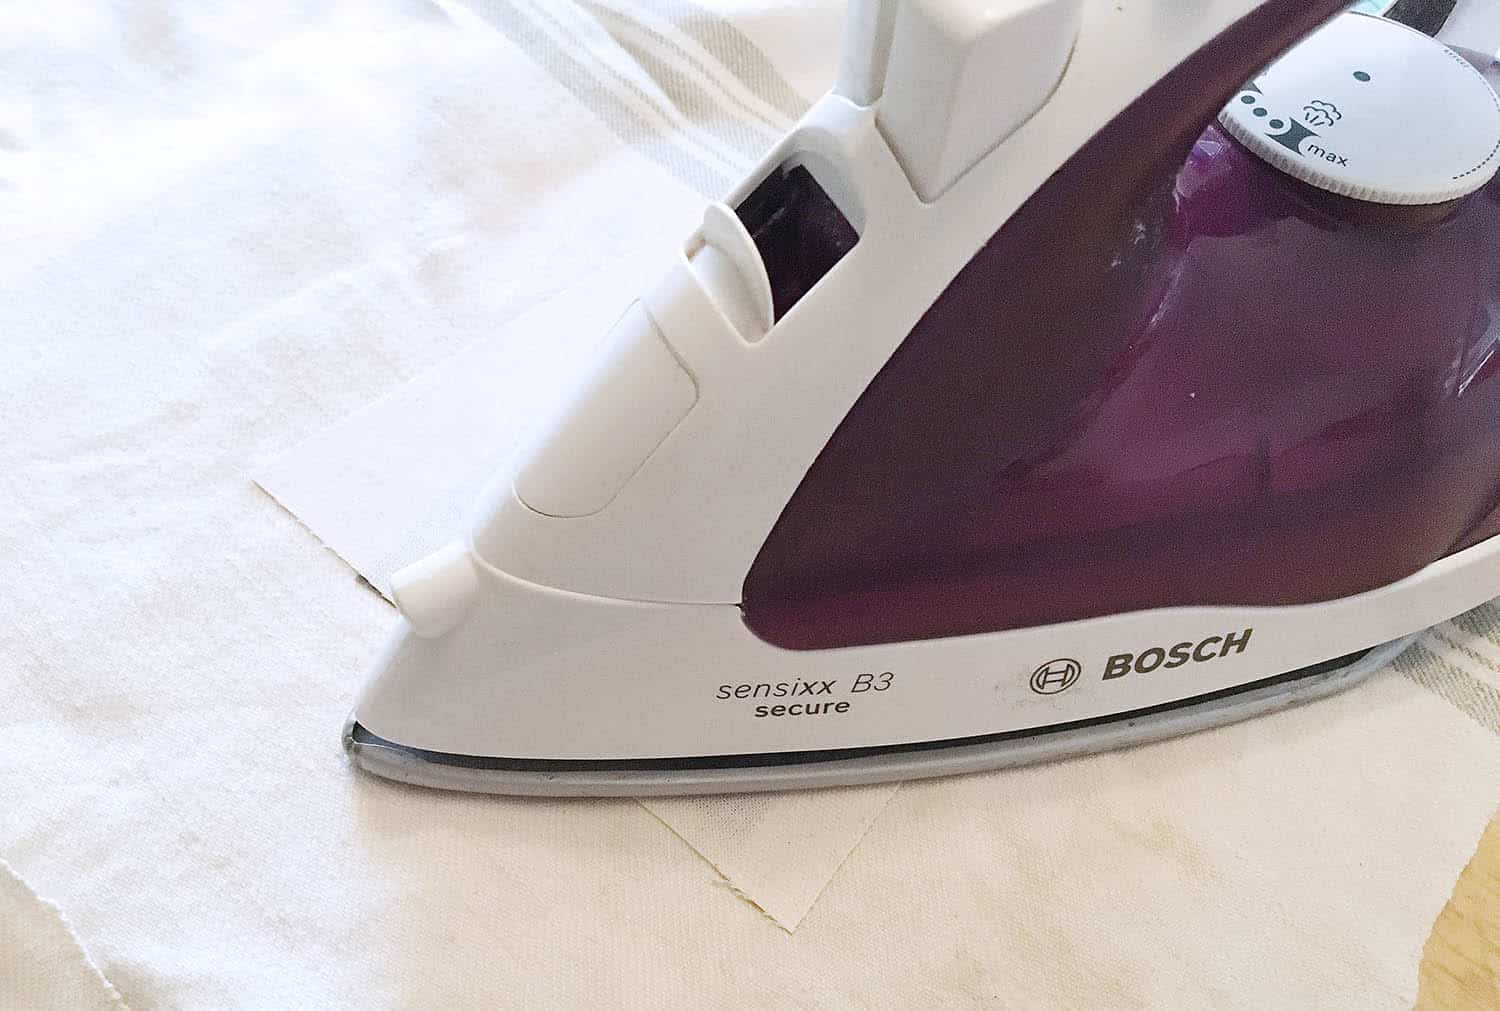
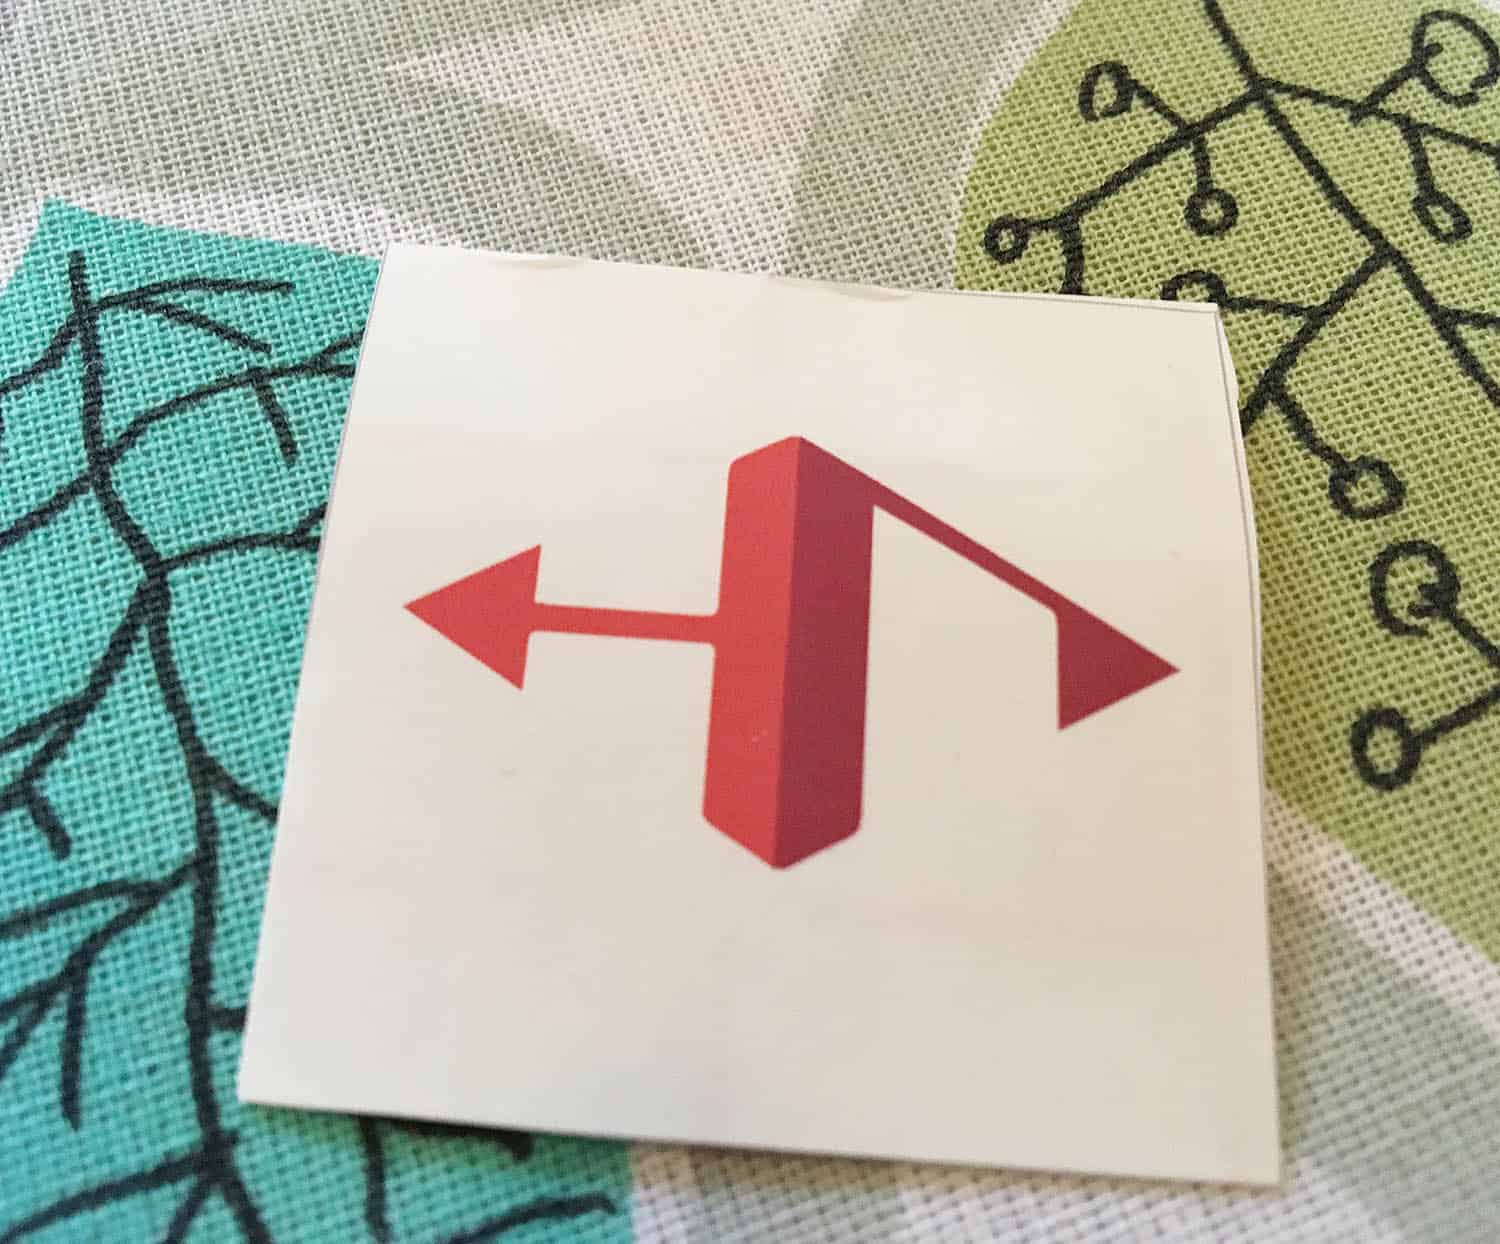
Transfer the motif. Read the instructions carefully, but in short, you place the motif facing the fabric and then press with a hot iron.
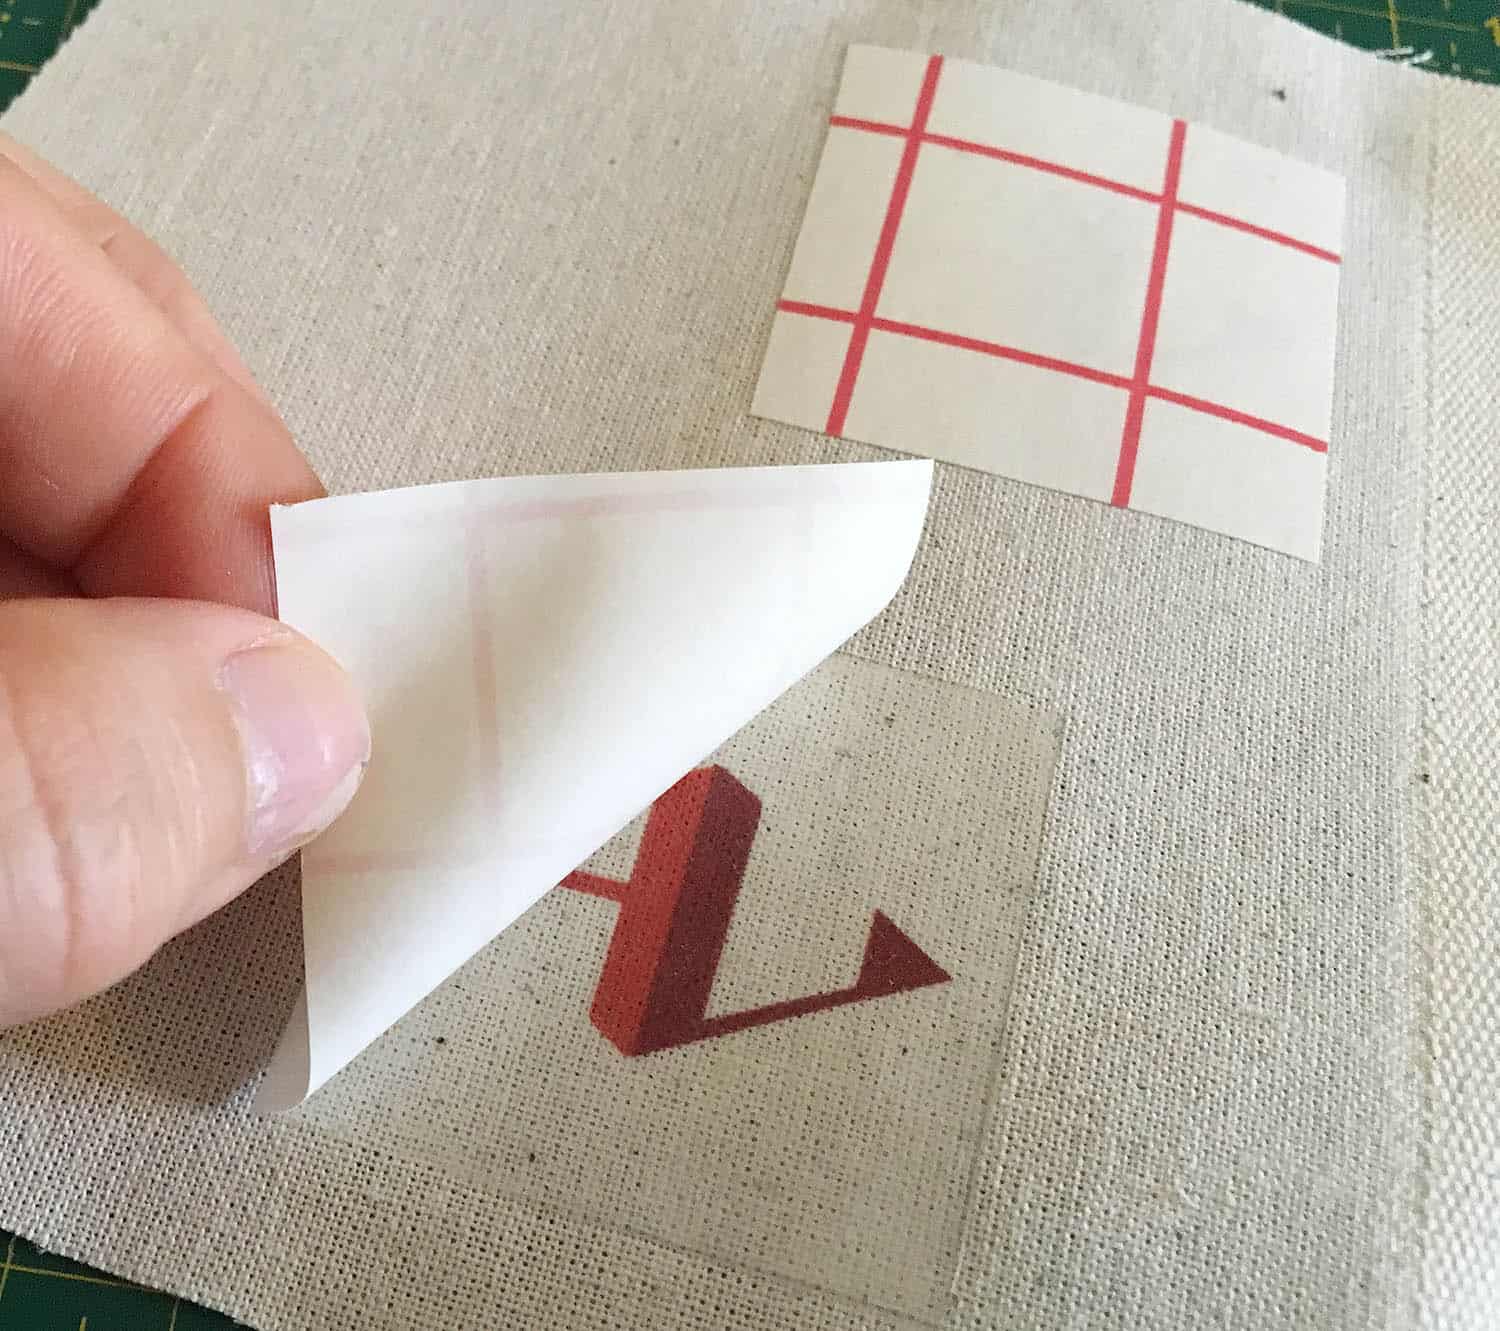
Remove the protective paper carefully.
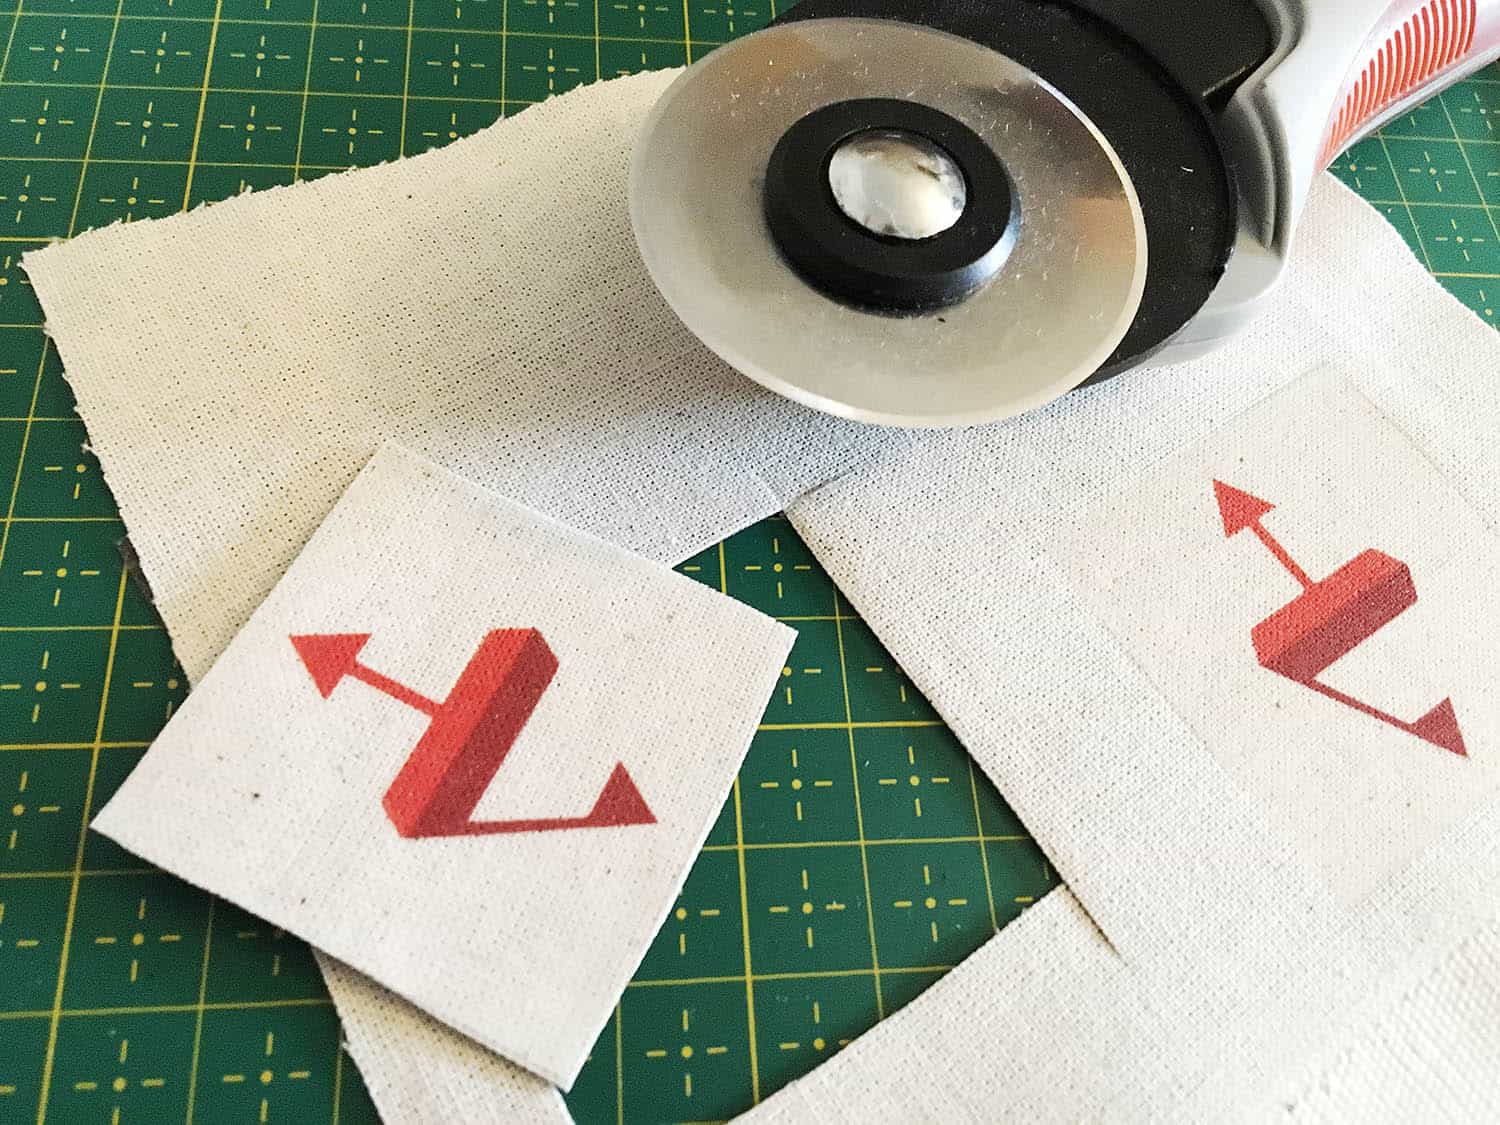
Cut the patch. Use a ruler to make sure it is cut evenly, I found this harder than I had anticipated.
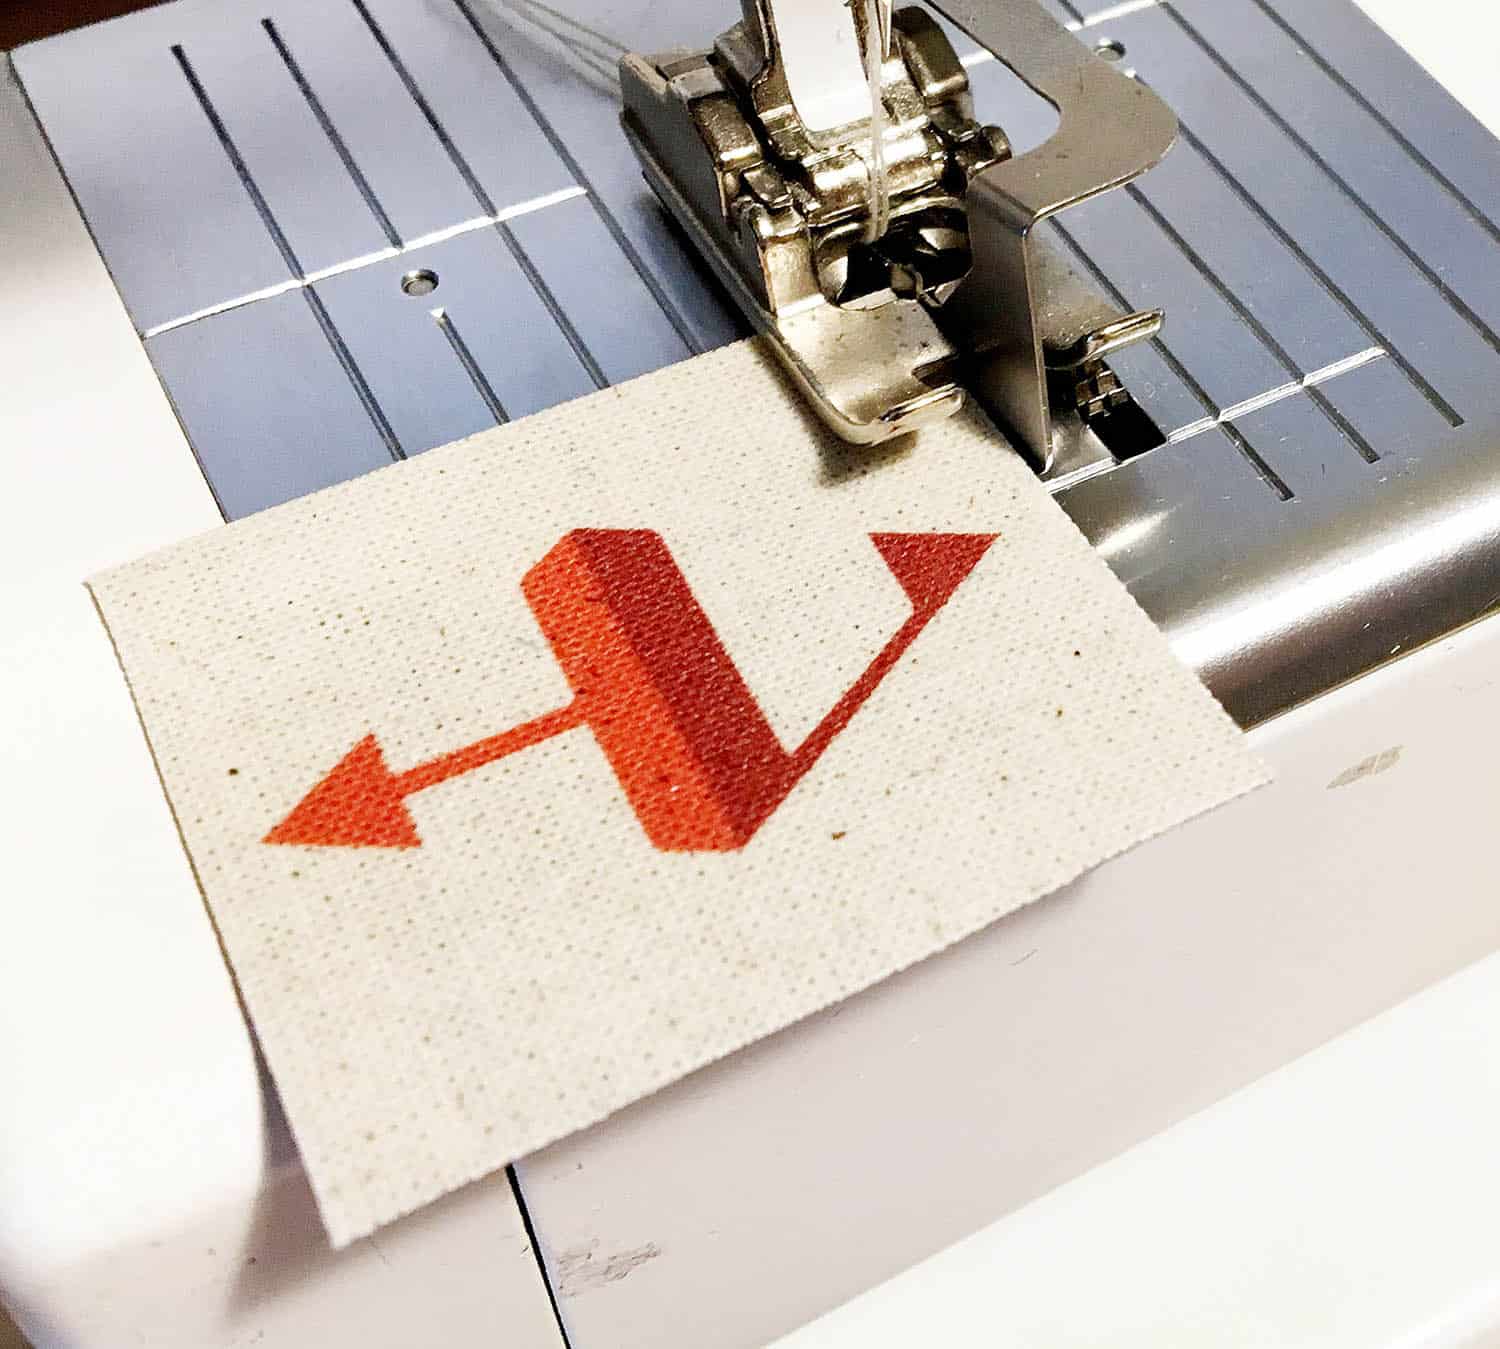
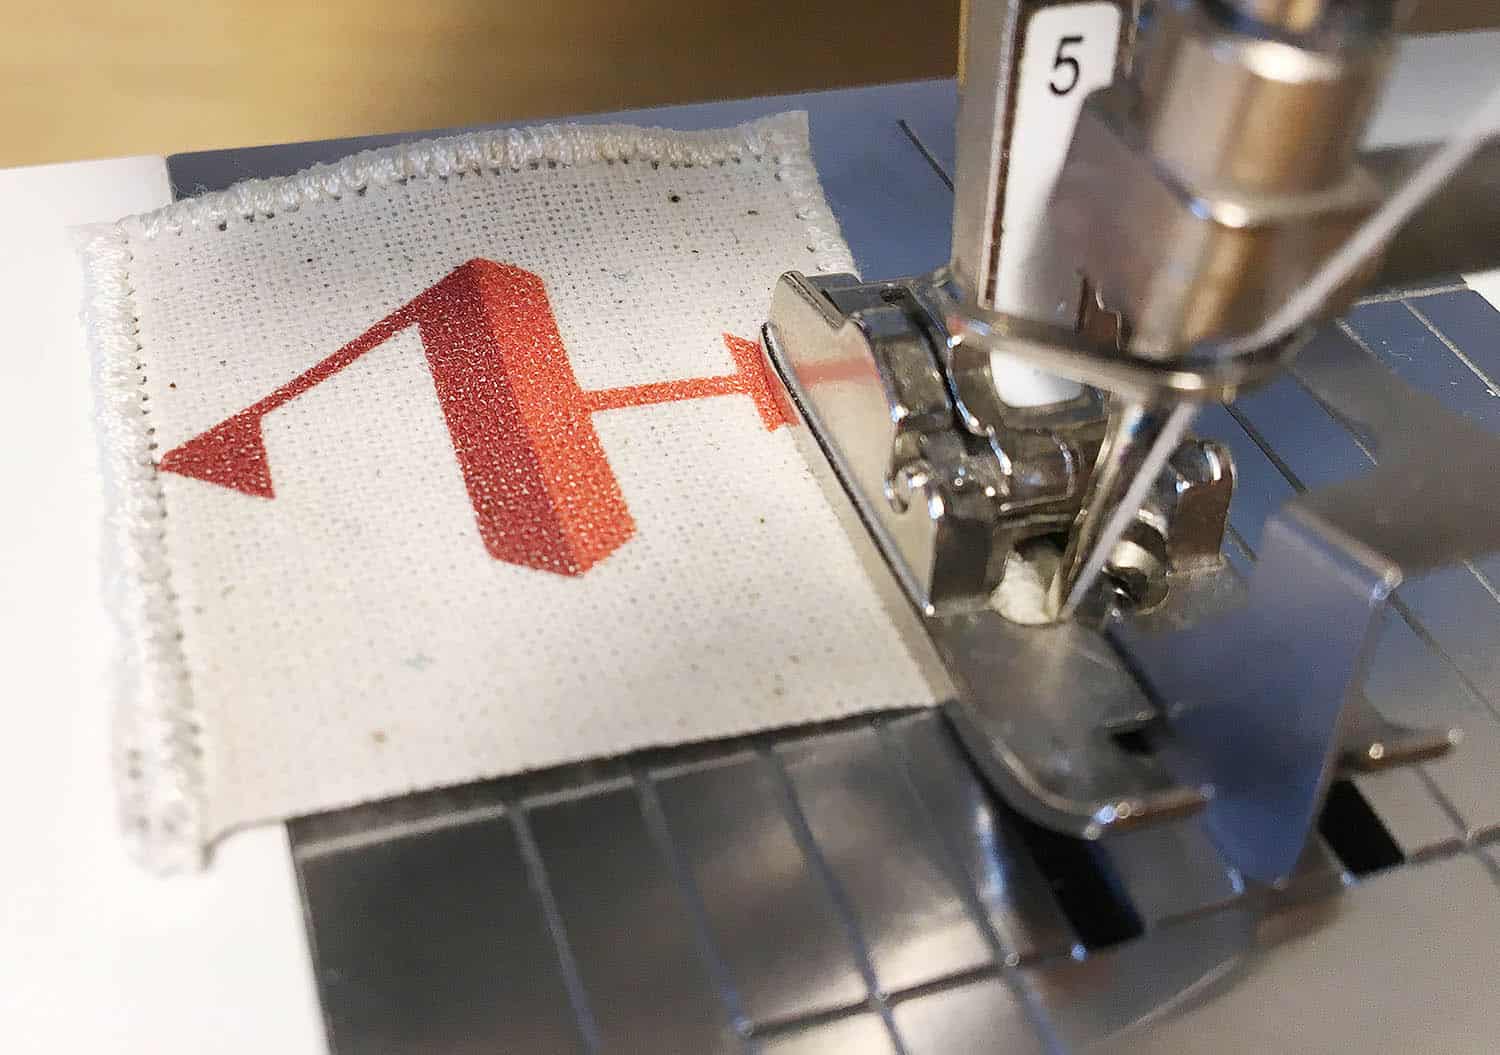
Stitch the edges. Use topstitching thread or two spools of thread and set your sewing machine on a zigzag stitch with a very short stitch length. Experiment before you start sewing on the actual patch. I used a presser foot with an edge-guide to help me sew straighter.
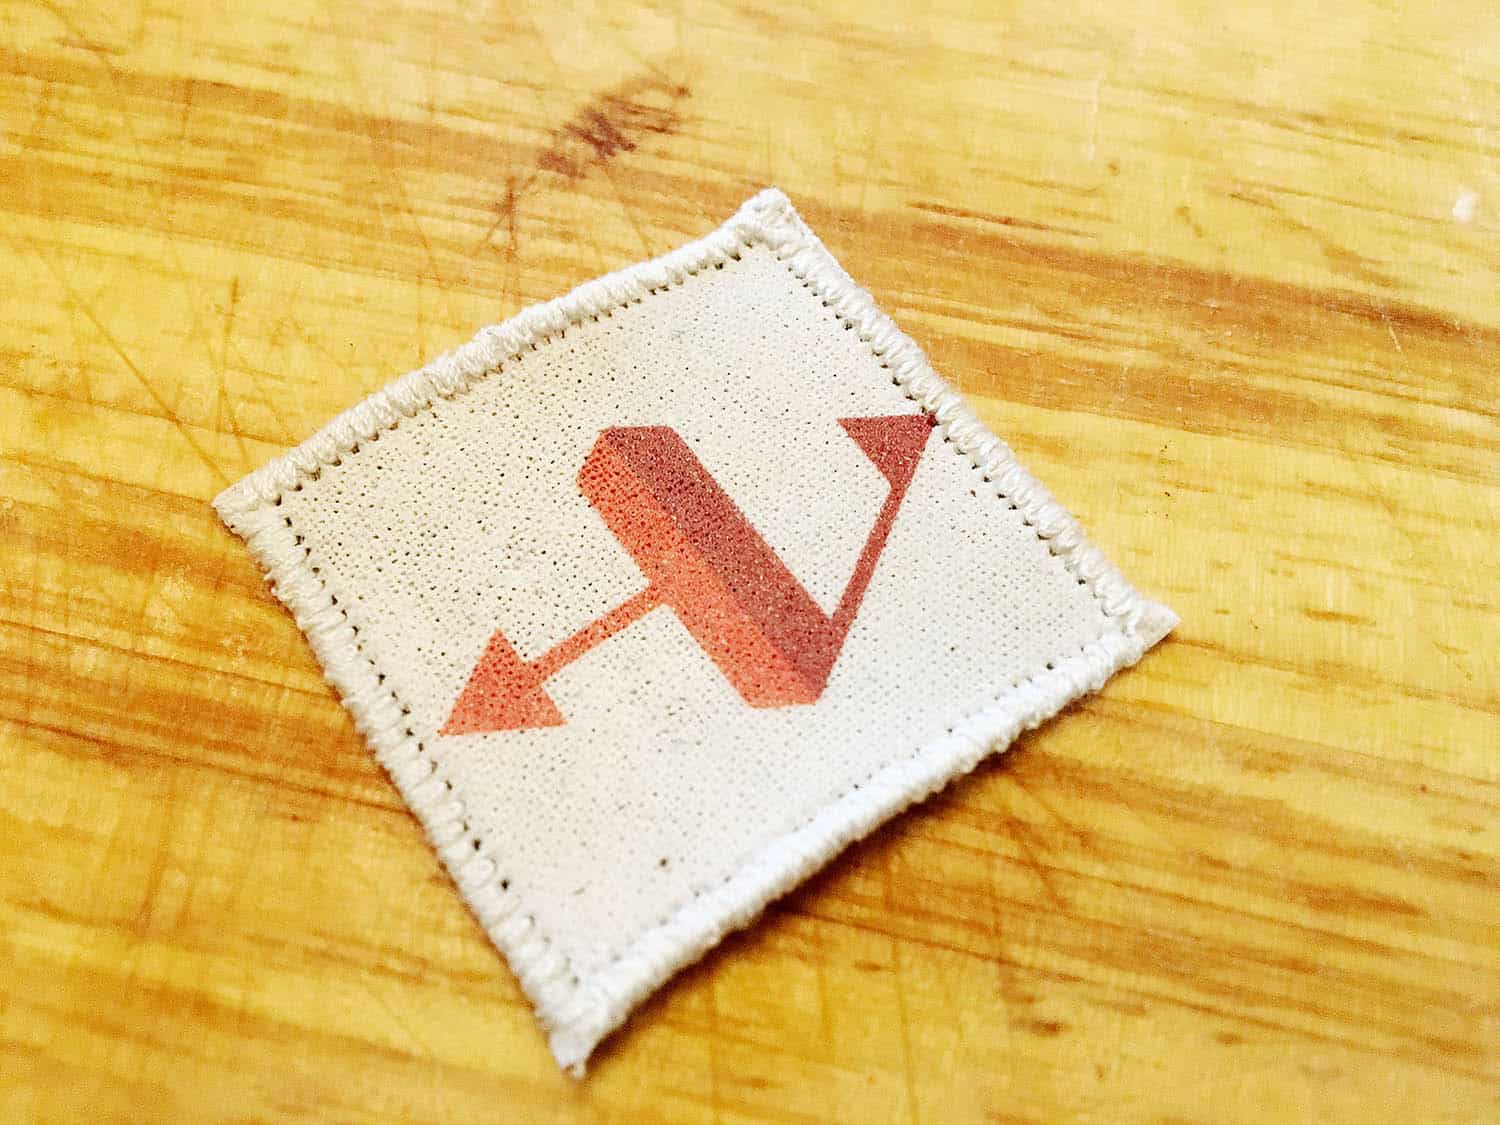
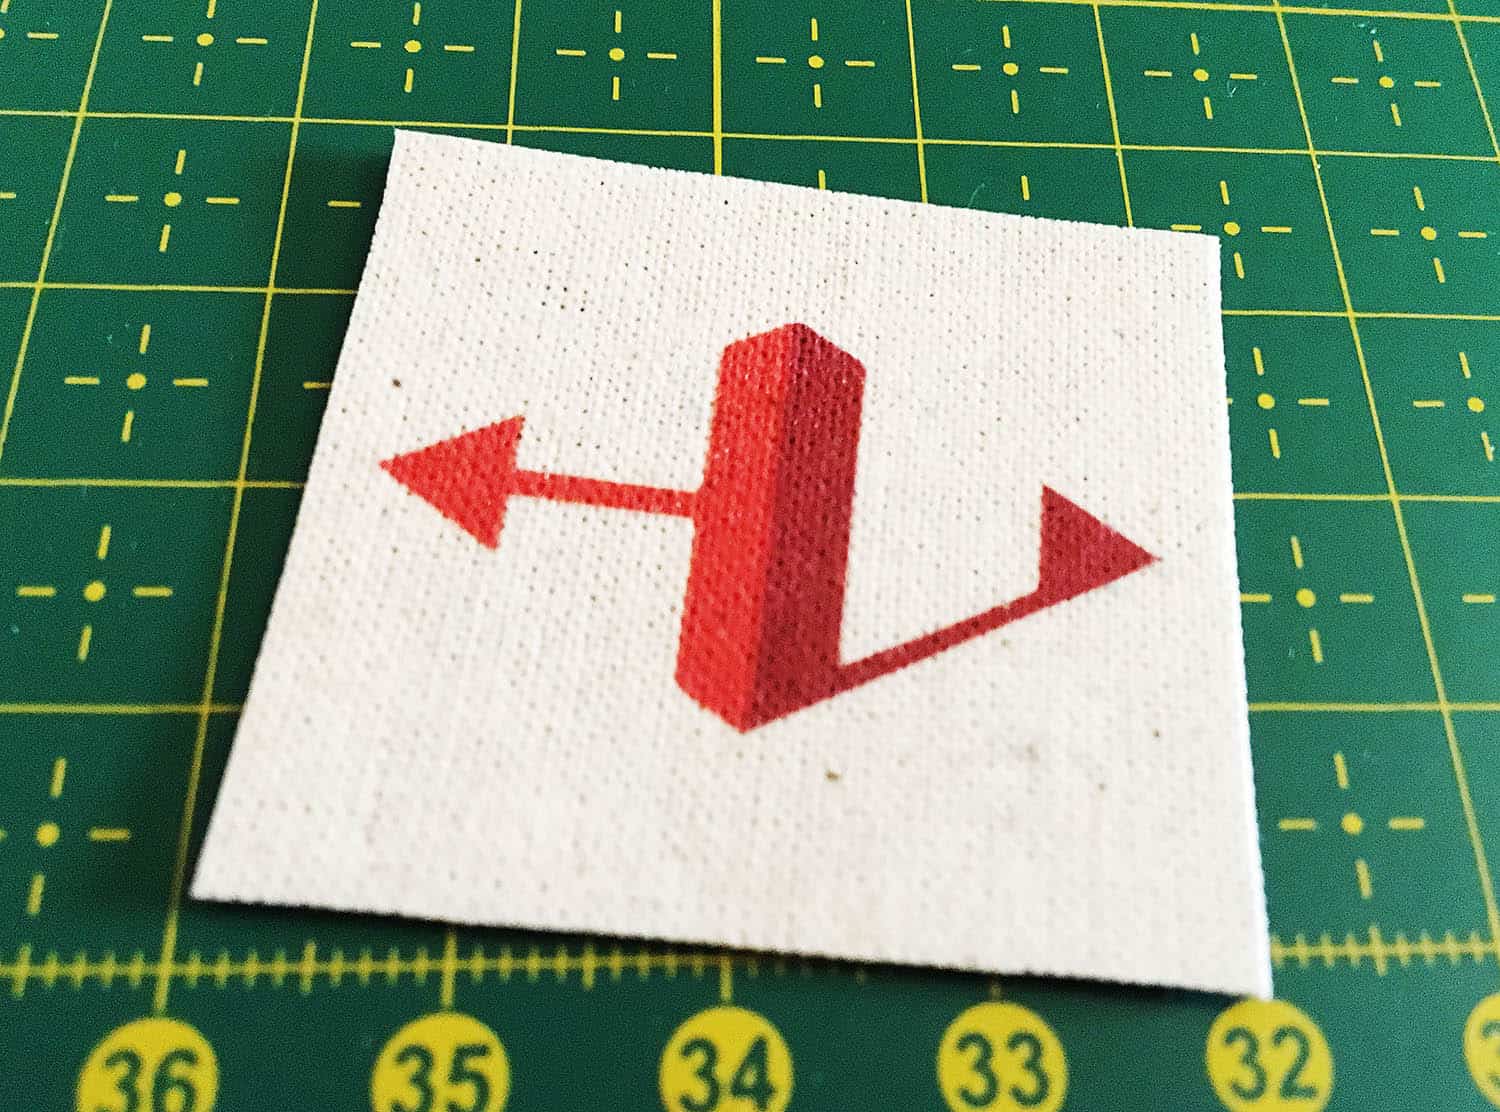
The finished patch. For a first attempt, I think it looks okay, but with a better fabric and more practice with the stitching, I think the patch could have looked much better.

Patch on a hat. I hand stitched the patch to a beanie that I sewed myself. Again the patch could have been better executed, but I’m sure you will do a better job using the principles I’m showing here!
P.S. I gave the hat with the patch to my husband earlier tonight, and was very happy with it!

7 Comments
Sew Old Fashioned
That’s a fun idea! Thanks for sharing this technique – I’ll be keeping it in mind for Christmas presents.
Johanna
Yay, I would love it if you tried it too, it’s definitely something that could have a lot of uses and this technique is pretty lo-tech, apart from the printer part I guess 🙂
Adrianne
I am currently making a memory quilt and the quality of the photo transfer paper is really important! Who knew? I think you did a fabulous job making your logo patch! I wonder if this method might work for making dressmaking labels?
Johanna
Totally, I still beat myself over that I didn’t travel across town to get the good paper, but I was in a hurry and bought the cheap stuff in the mall where I my work office is. I think for sure it could work for dressmaking labels, the only thing to consider is that the print side should never touch an iron. But ironing on the reverse side is safe
Cecilia Nilsson
I used this “print on fabric” method when I made my machine needle “case”, on one side I have a grid, printed and ironed onto fabric, with type of needle and size. I put used needles in the cell they belong, e.g. Topstitch 80 or Quilting 90, and I also have a pin for my sewing machine and I put the pin to show which needle is currently in the machine. The right side of the case has little pockets to keep the machine needle packets in. The only thing, which didn’t matter in this application, is that it also prints the “white” so the whole thing has a strange plastic feeling which may not be so nice if you use it on the inside of clothing.
Johanna
What a fantastic idea, this could be what I’m looking for. My current needle storage system is a mess, despite my best intentions. I think I will copy this 🙂 You bring up a great point about the print, there is a somewhat plastic feeling to the surface, even though mine didn’t even print the white, but there is still a coating.
Bradley Rebecca
I am glad to find it. There are so many bloggers working on this part but this is one of the best innovative post ever. Thanks for such post.
Comments are closed.