
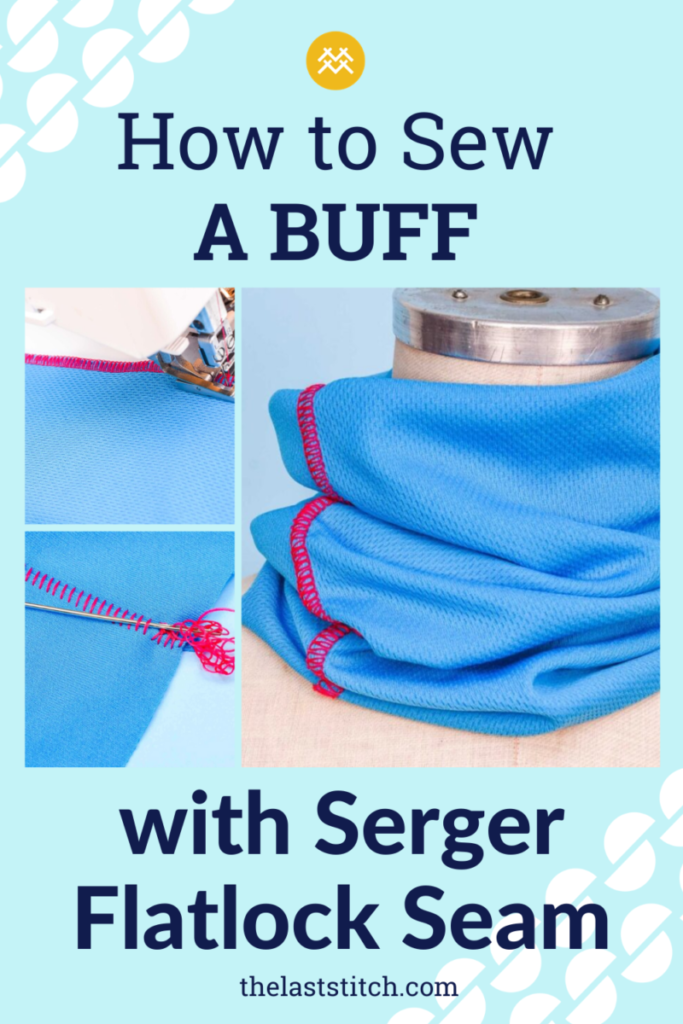
Here is how to sew a tubular scarf (buff) using a non-chafing 2-thread flatlock seam on a serger. It’s super easy and quick to make, and the end result will look very professional.
Suitable fabrics for a buff
Use a soft, lightweight and stretchy knit that is kind to the skin. Here are some excellent choices for sewing a tubular scarf.
- Cotton knit
- Wool knit
- Rayon or Bamboo jersey
- Soft breathable synthetic knits
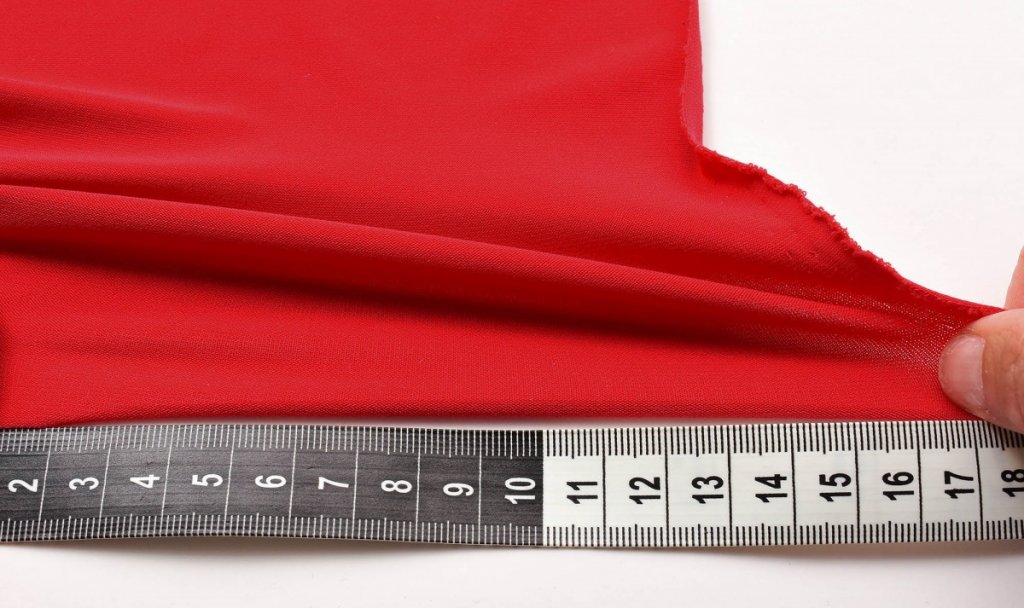
Opt for a knit that has at least 40% to 50% stretch across the fabric, since you want your buff to fit snugly, but not being constricting.
To test the stretch, take a 10 cm (4″) piece of fabric and stretch it out to see how much it expands.
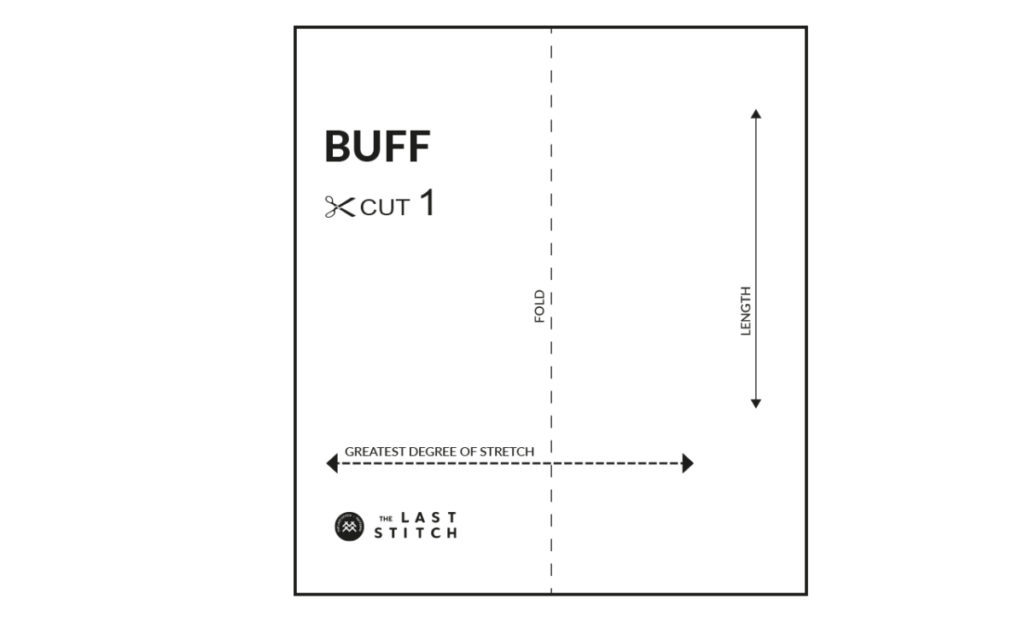
Making the buff pattern
You are basically creating a simple rectangular sewing pattern, where the size depends on both the head circumferance and the fabric you are using.
Here are some measurement suggestions for a long buff pattern.
Child
Width: 40 cm (15 ¾”)
Height: 48 cm (19”)
Adult Small
Width: 46 cm (18”)
Height: 50 cm (19 ½”)
Adult Large
Width: 50 cm (19 ½”)
Height: 52 cm (20 ½”)
A seam allowance for a wide 2-thread flatlock seam is included.
Note: Remember that the amount of stretch will affect the size of the pattern. If you are using a fabric with a lot of stretch, I recommend making the buff pattern smaller. A thicker fabric on the other hand will likely make the buff tighter and smaller, so you might need to increase the width for that.
You can also wrap the fabric around the head and pin it where it feels good to you. Use the direction with the most stretch when testing this.
Cut the buff
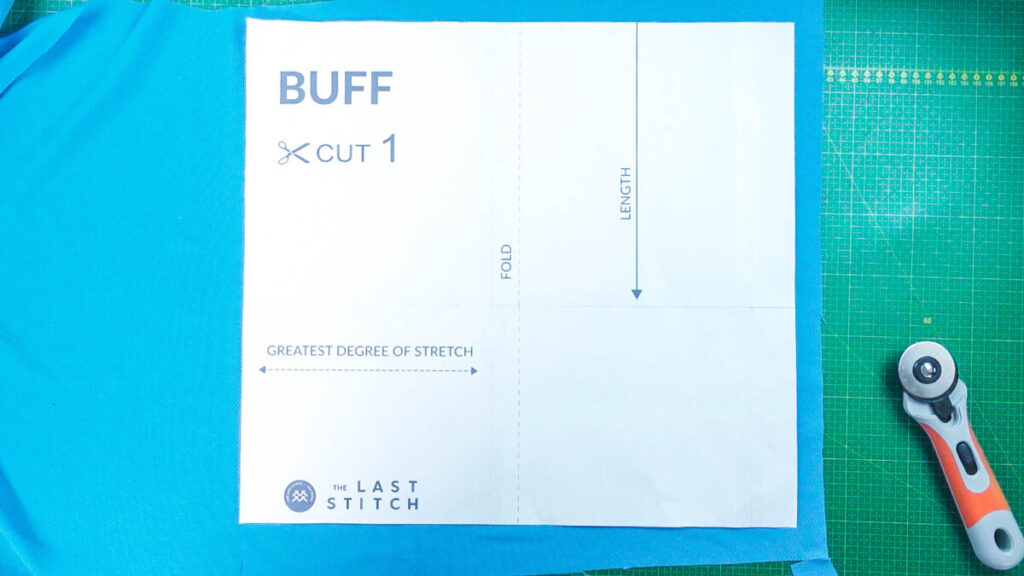
The width should have the same direction as the direction with most stretch on the fabric. When doing a flatlock seam you should ideally not cut the fabric with the serger knife, which means that the edge needs to straight and even. So using a rotary cutter and a mat is often the best option.
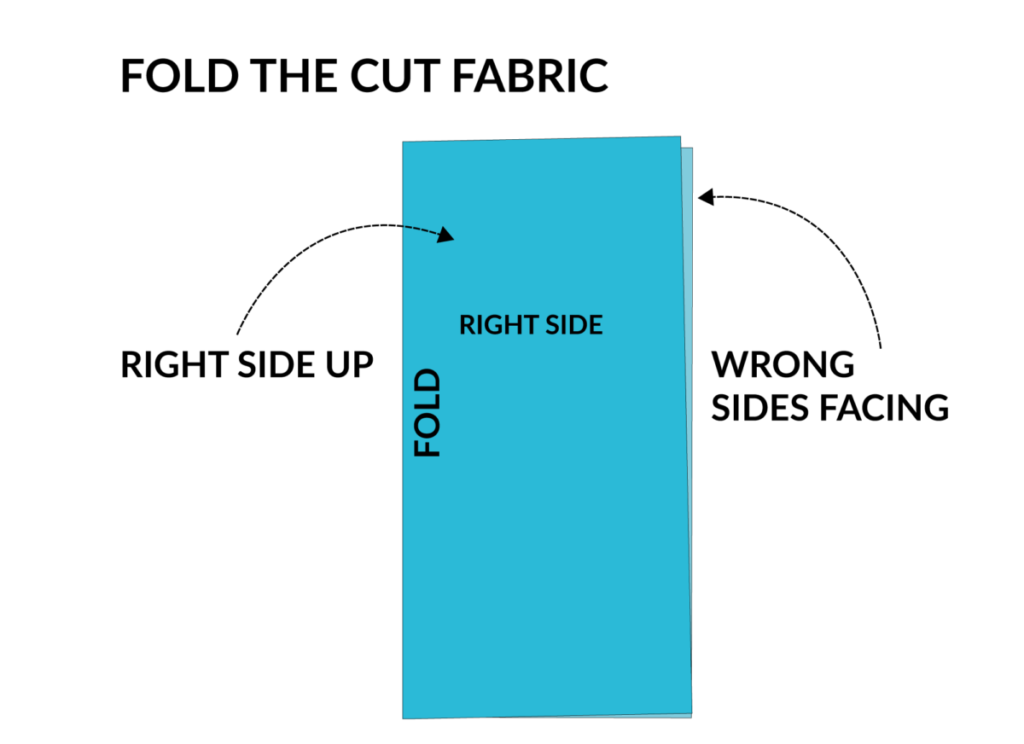
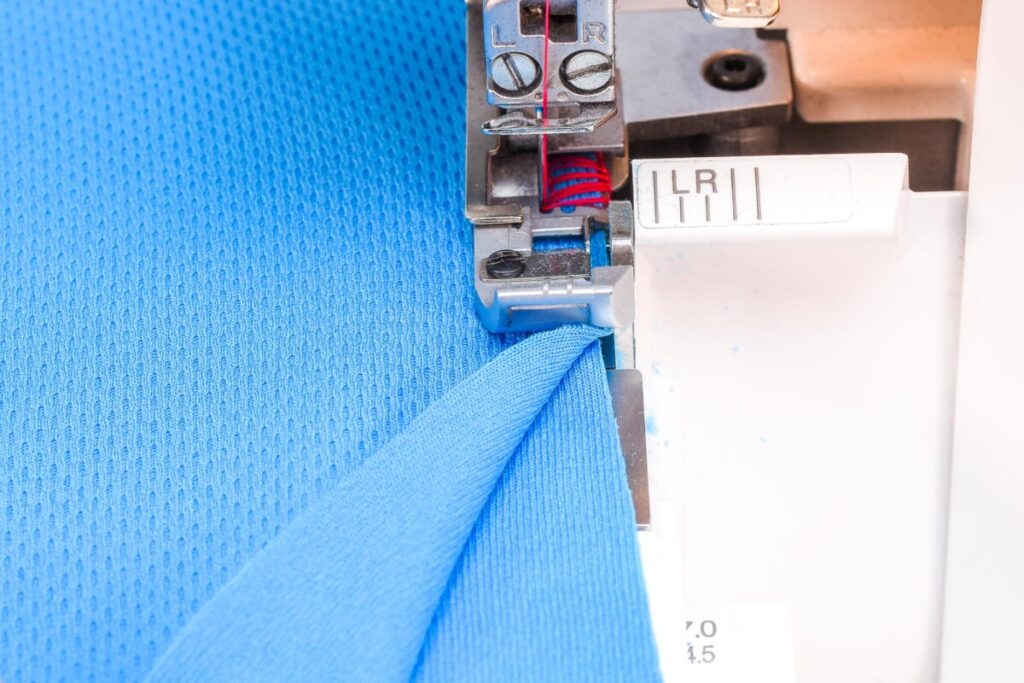
Fold the buff, wrong sides facing, right side up. Yes, you read that right, this the way fabric should be positioned when sewing a serger flatlock seam.
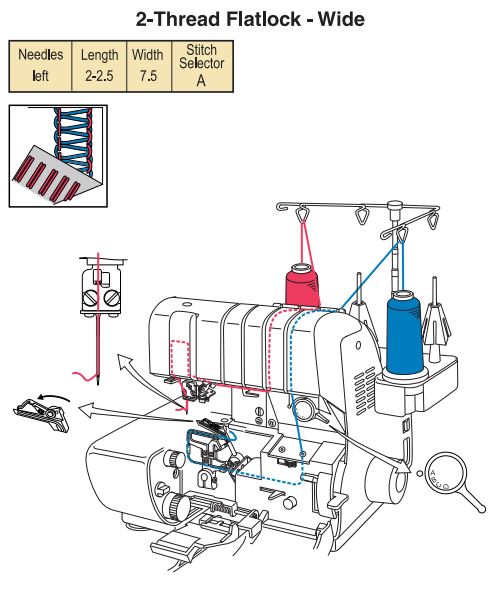
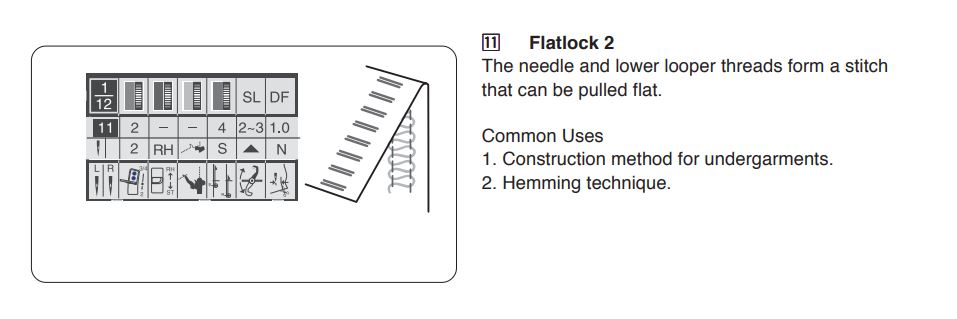
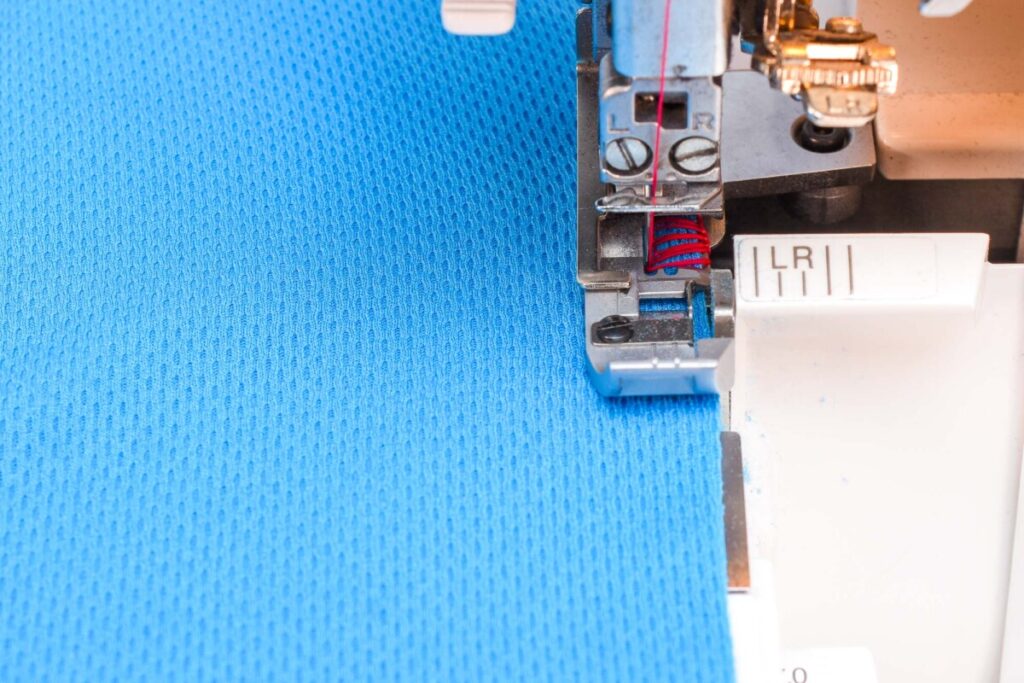
Thread your serger for a 2-thread wide flatlock seam
All sergers have a 2-thread flatlock option and read your manual carefully to figure out how to set up the stitch properly since it usually requires a different type of threading and/or a gadget (converter) in order to make this seam work.

Three tips for flatlock success
Before you start sewing your flat lock seam, here are three tips for making this sittch truly flat
- Position the edge of the fabric slightly away from the cutting knife.
- Either increase the needle tension or decrease the looper tension. This will also help the seam lie flat when opened. Note that on sergers with auto tension this isn’t possible, but Babylock, for instance, has a screw that you can adjust the looper tension with, that could be worth trying.
- Increase the stitch length to make the seam less bulky. But don’t make the stitches too far apart, as it might affect the durability of the seam.
Remember to always do a sample to ensure that the flatlock seam really becomes flat when pulled open.
Sew the buff
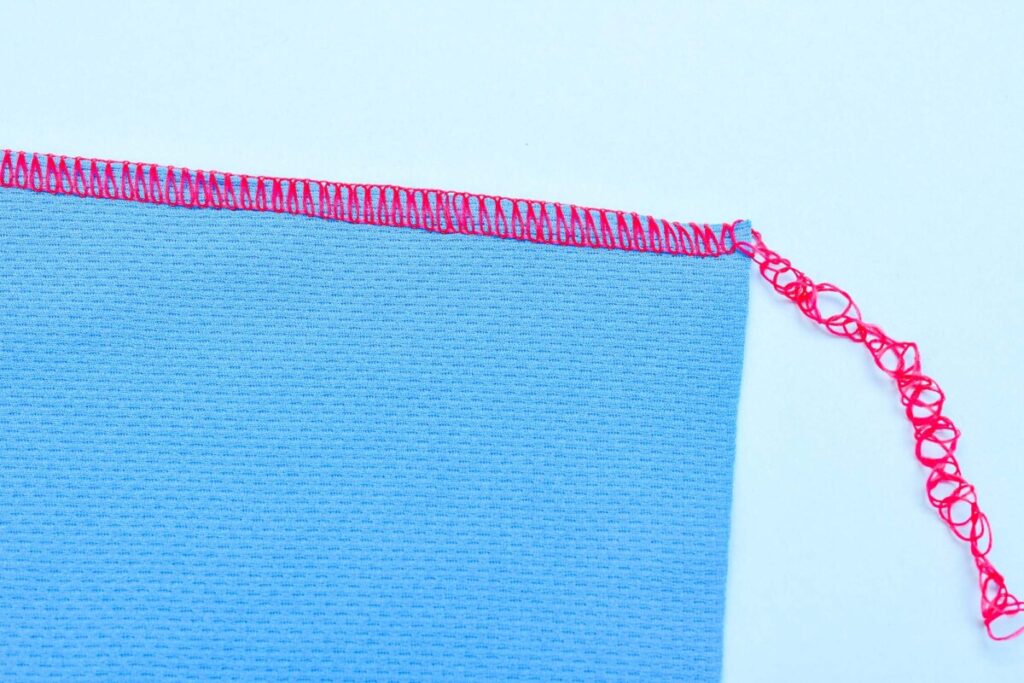
Before you start sewing, make sure there is a 10 cm (4″) long thread tail at the end; you’ll need this tail to secure the seam after sewing.
Stitch the buff, remember the right side of the fabric should be facing you. Meaning that you are sewing the buff from the outside instead of the inside which is what you do with most other stitches.
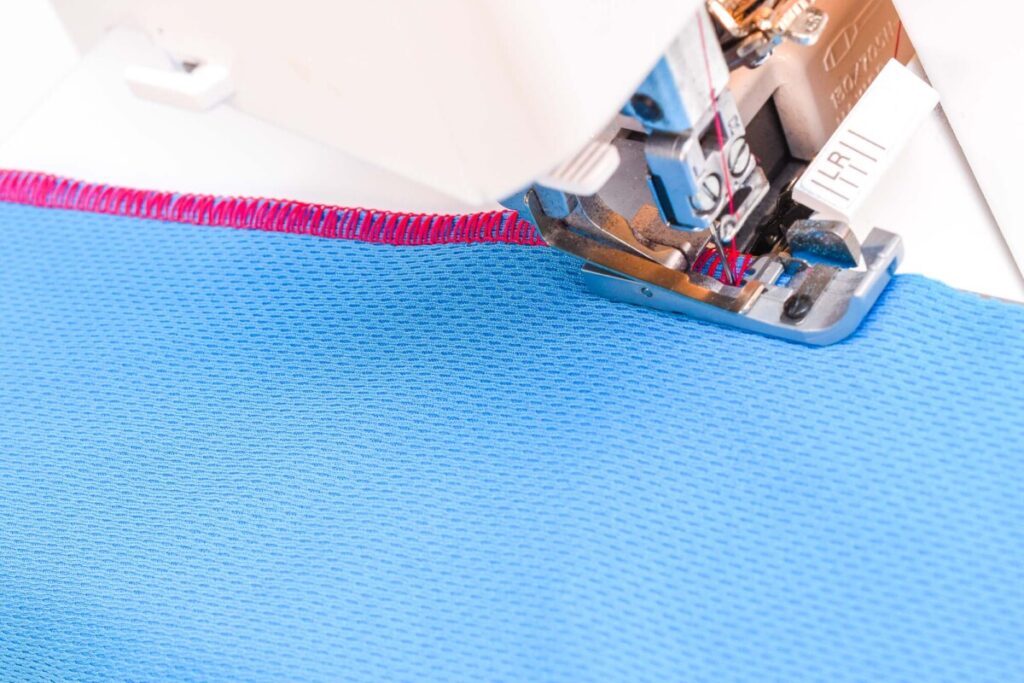
Here I’m using flossy woolly nylon for better coverage and a professional finish, to learn more about this thread check out my woolly nylon video.
When you reach the end of the fabric, keep sewing to create that long tail again.
Open up the flatlock seam
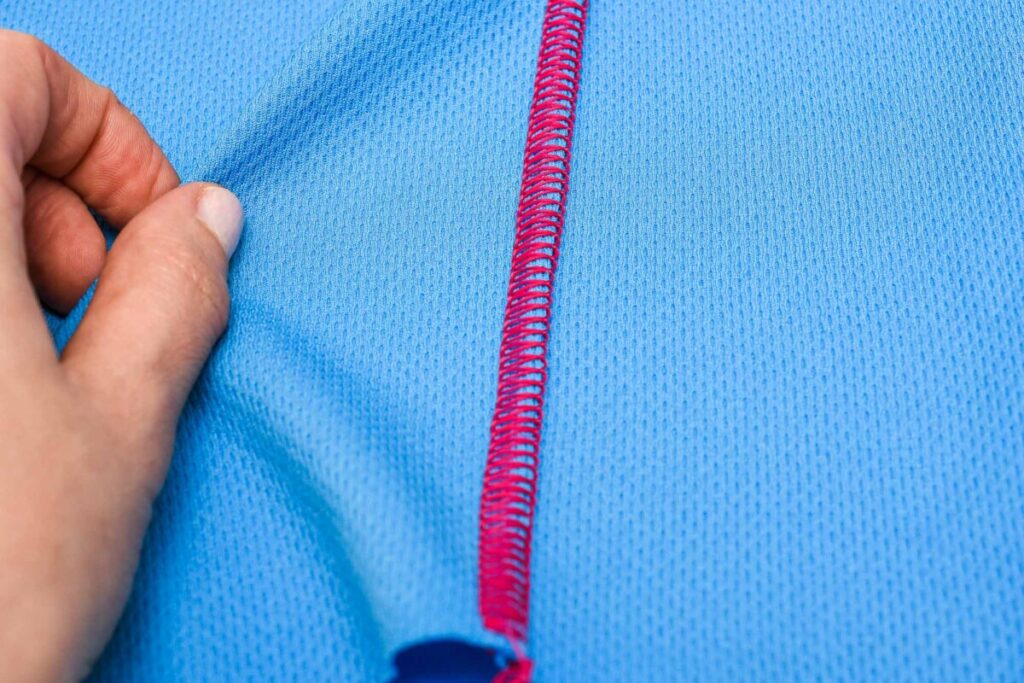
Open up the flatlock seam by pulling it. On the reverse side, you’ll see these ladders. Go over the seam one more time to make sure it really lies flat.
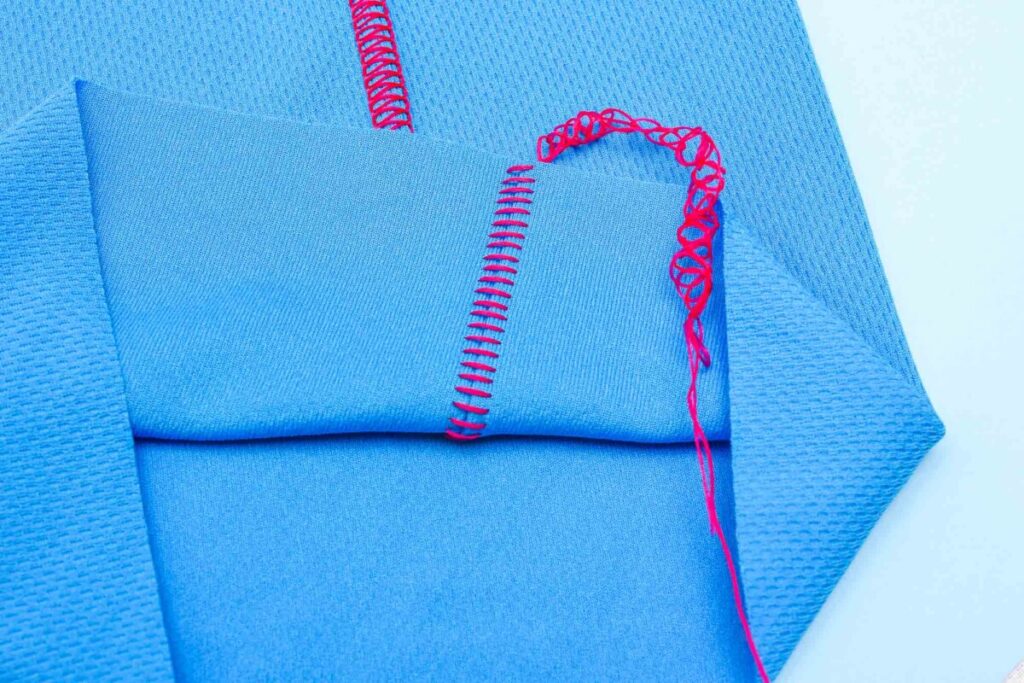
Secure the ends
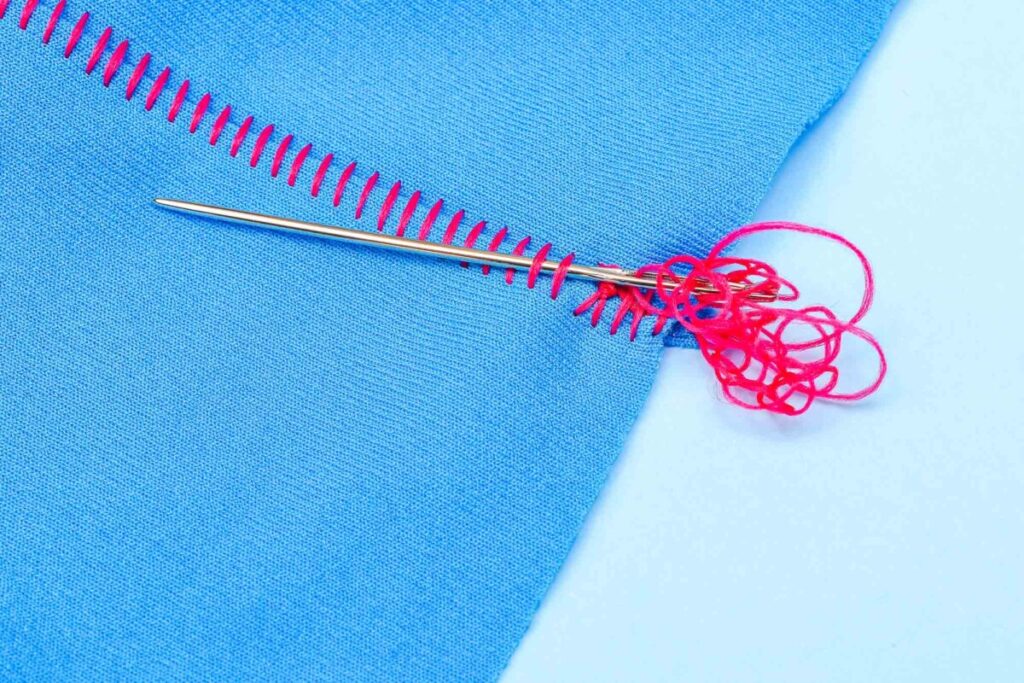
Secure the end by threading the thread tail into the eye of a large needle. Secure the seam on the reverse side by inserting the thread into the ladders and then finishing it off with a knot or two.
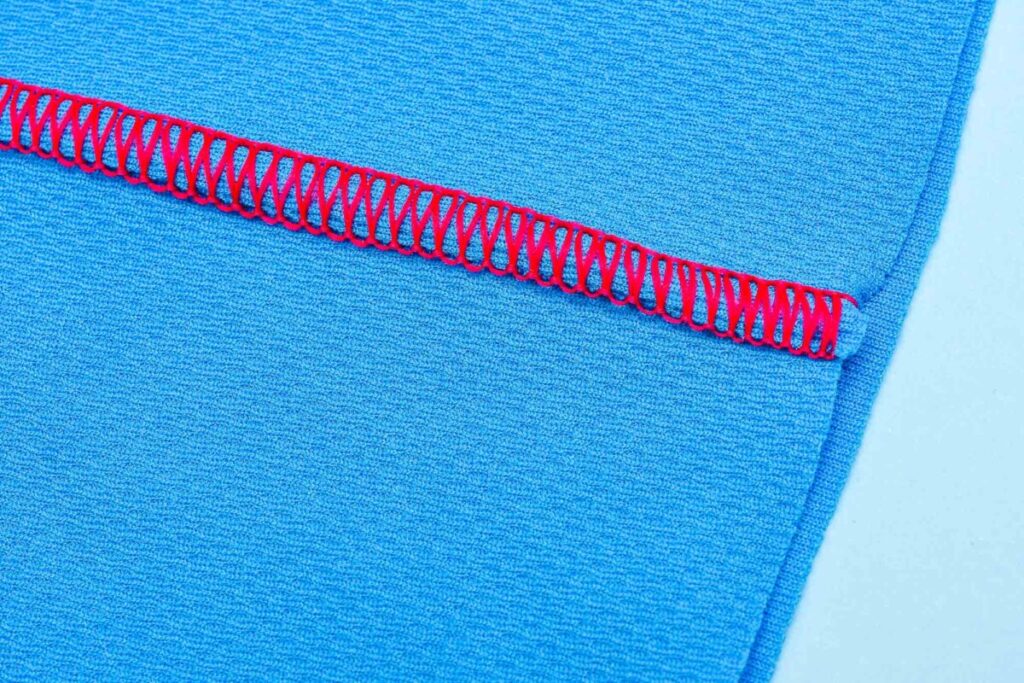
Repeat on both sides and trim the remaining thread. As you can see here there is a little fabric peeking through at the end, this is just a cosmetic thing and is due the longer stitch length. The seam is still secure.
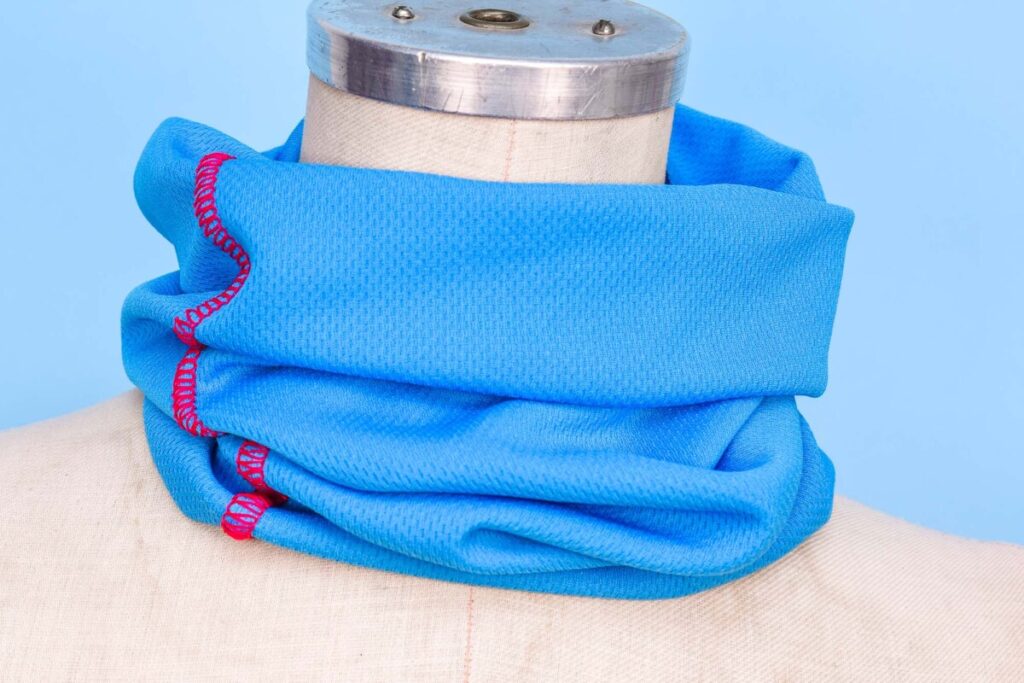
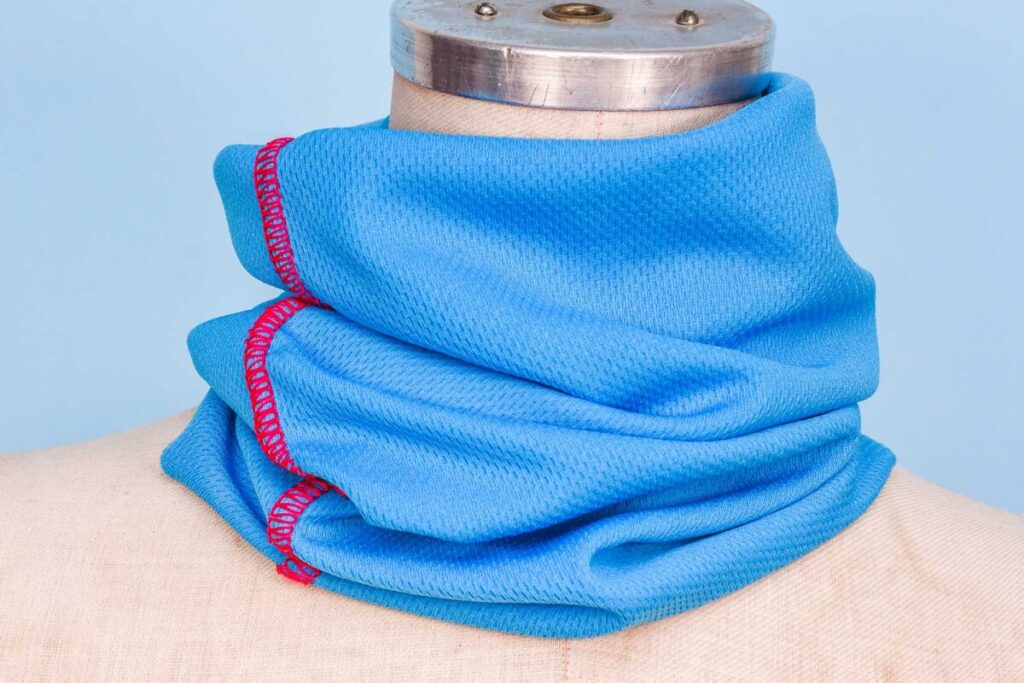
The finished buff. Look how neat and great it looks, with no chafing seams, meaning that this scarf will be so kind to your skin.
You can also check out this step-by-step video tutorial on how to sew a buff with a seger using the flatlock seam:
2 Comments
Pat
Wishing you every success in your new venture! I really enjoy your tutorials and learn a lot in the process. Thank you, Pat
Comments are closed.