To create the front pockets on jeans you’ll need the following pieces.
- Pocket piece
- Press template
BTW if your pattern lacks these pieces you can download the pattern templates I’m using in the video for free.
To learn more about jeans making, check out my book Sewing Jeans: The complete step-by-step guide.
I also have a step-by-step photo tutorial showing a slightly different method to sew jeans back pockets.
Transcription of the video instructions
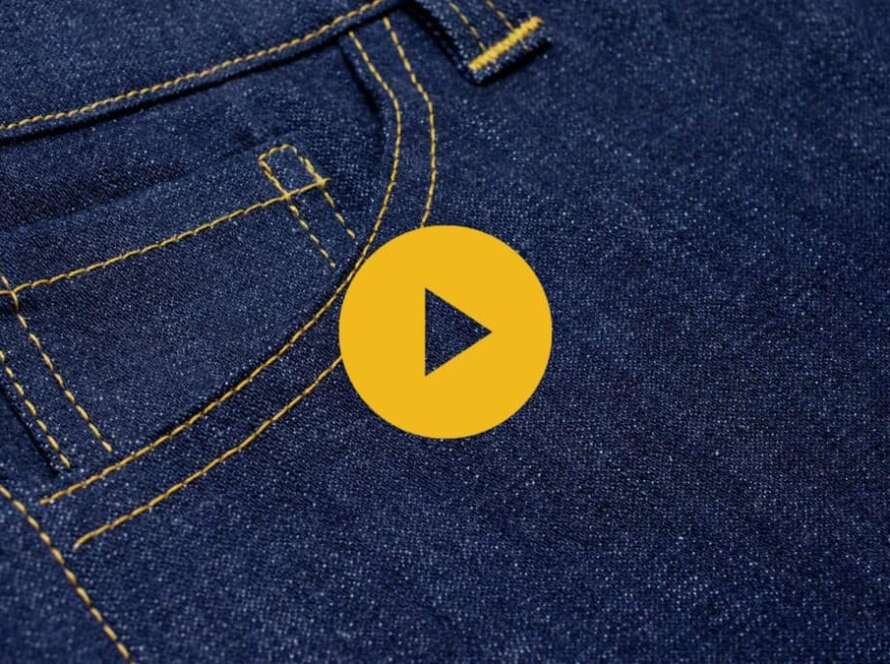
In this video, I will show you how to sew perfectly shaped, amazingly looking back pockets. In order to succeed with this, you need two things, a jeans back pocket pattern piece and a press template. The press template is made of cardboard and is the same size as the finished pocket.
Press and shape pocket
So what you do is that you shape the pocket by pressing in the seam allowances around the press template to create perfectly shaped pockets.
Start by folding and pressing the seam allowance of the pocket opening. Align with the edge of the press template, fold and press.
Then fold the pressed edge in the middle and press again.
Shape the remaining pocket, by folding in the seam allowance and pressing. A little steam can make this easier and it won’t ruin the template.
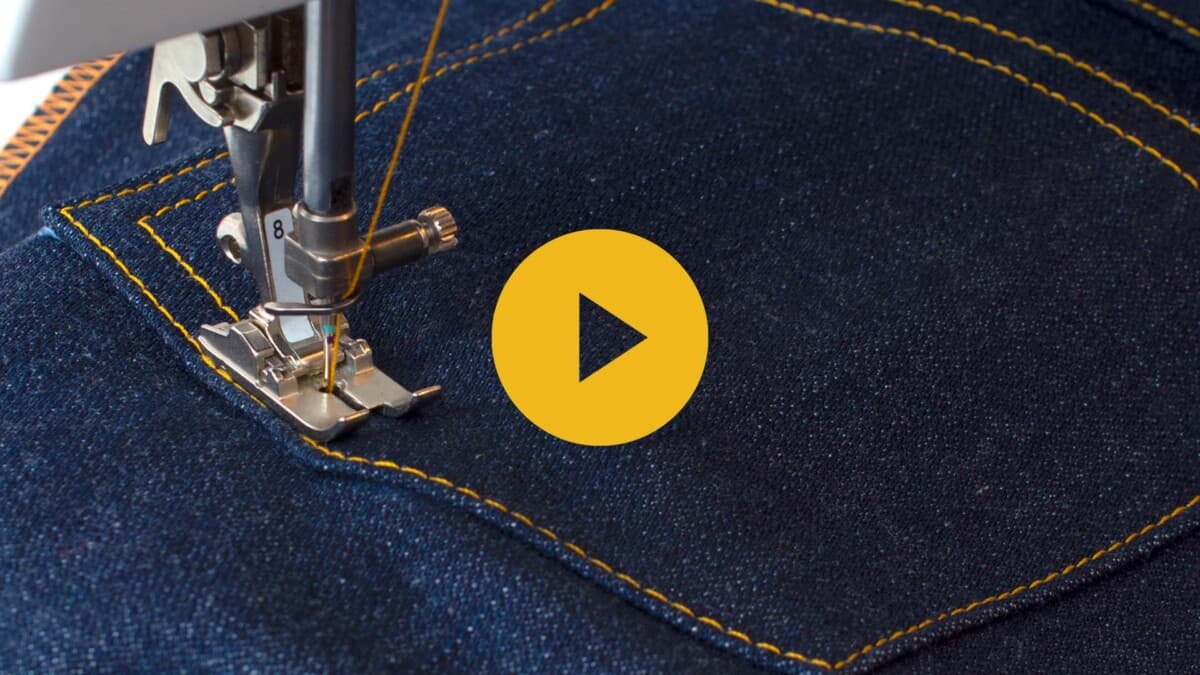
Topstitch pocket
Now your pocket is ready for topstitching. What you’ll do is to sew one or two rows of stitching.
For best result when topstitching I recommend the following notions:
Start by stitching the lower row, since this will keep the pocket fold in place when you are stitching the optional second row.
Make sure the thread strands are pulled back to avoid jammed thread which is a common issue when sewing with heavier thread.
Stitch the second row along the edge. To make this easier, you can switch to an edge stitch guide foot, which has a blade that you align with the edge. Most sewing machine brands have a foot like this in their accessories range.
Before you attach the pockets to the jeans, you’ll need to check that the pockets are exactly the same size. Place one pocket on top of the other one, and check all sides and corners. If you see that something is off, just fold and press again to adjust.
Pocket placement
Now let’s talk about pocket placements. On jeans, the center back topstitching, and not the actual seam ditch, should be your guide. Aim to have roughly the same distance between the left stitching and left pocket as you have with the right stitching and pocket. There is however no exact formula for doing to this, so experiment and see what works for your particular project.
Measure the distance from both the backstitching and the yoke to ensure the placement is even on both sides. Pin the pocket pieces in place, with a few needles.
Stitch the pocket to the jeans
Time to stitch the pocket in place. You will do the entire stitching in on continuous sequences as shown here, which means that you’ll end at the same spot as you started sewing, which both speeds up the process and creates a more durable seam.
Start from the right outer edge. Stitch along the edge until you reach the lower edge of the pocket, with the needle left in the fabric, lift the presser foot and pivot. Repeat this step at every corner and sew all the way up to the left outer edge.
Pivot again, sew for around 6 mm along with the pocket opening. Pivot and sew the inner stitch row along with the entire pocket. Use the outer edge of the presser foot as your guide to make sure the rows are evenly spaced.
When you reach the upper right corner of the pocket, pivot again and overlap that starting stitch to secure the seam. Instead of backstitching, which creates a lot of bulk, you can shorten the stitch length to secure the seam.
Add bartacks
To create a durable pocket that will stand the test of time, you’ll need to add some bartack as well.
Use a zigzag stitch with shorter stitch width and length. Always do a sample to make sure it will work on thick layers before you start stitching the pockets.
The presser needs to be horizontal when stitching bartacks, otherwise, the machine can’t feed properly. To level the presser foot, either fold a piece of fabric underneath the presser foot. Or you can use a tool like a j humpjumper to adjust the foot.
Stitch along the upper edge for a centimetre or so. You can also stitch diagonal bartacks if you prefer that look.
Now your jeans pockets are done! I hope you enjoyed this tutorial and to learn more about sewing jeans, you can head over to thelaststitch.com to learn more.

1 Comment
Comments are closed.