
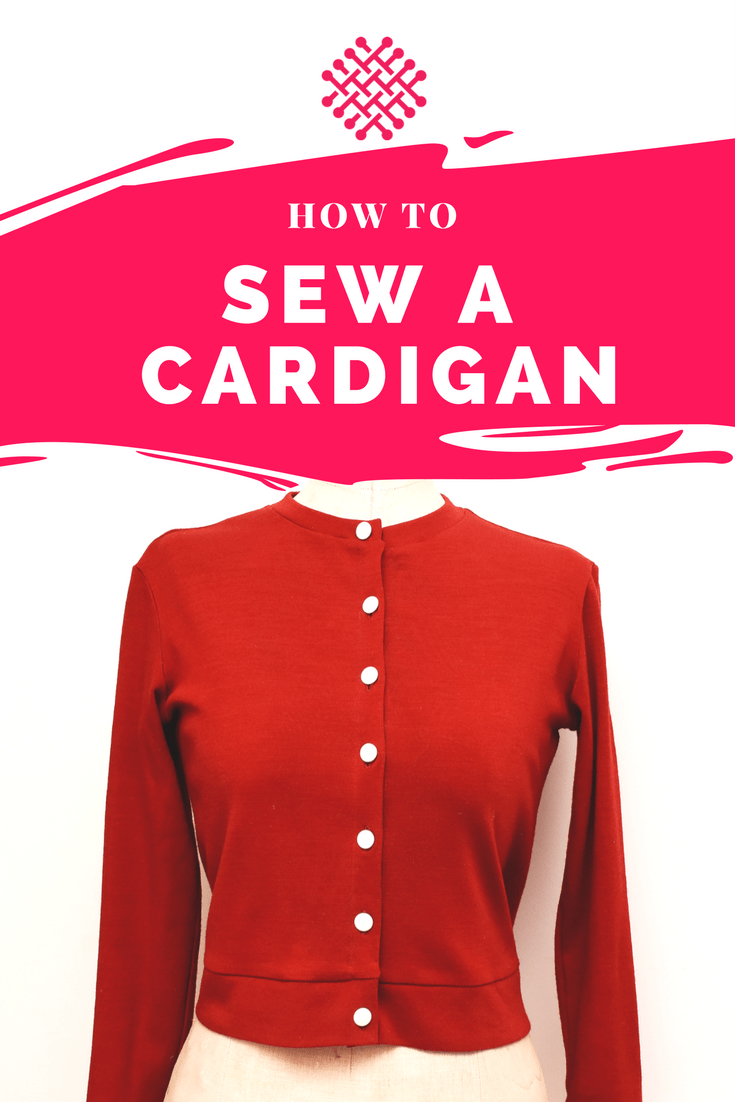
In this tutorial I’ll show you how to turn a knit top pattern into a classic crew neck cardigan. This is how I made my Grace Kelly inspired cardigan and as you will see from the directions and inner workings, it is actually quite easy.
To draft and sew a cardigan you’ll need
- A stable knit that has some stretch but not crazy amounts (I would advice against a thin rayon/lycra for instance). A double knit, sweater knit or a thick jersey would be awesome
- Fusible interfacing that only stretches crosswise
- A round neck knit top pattern that has some room in the sleeves/armscye
- Buttons
- Clear elastic or interfacing to stabilize the shoulders
- A decorative ribbon for the back neckline (optional)
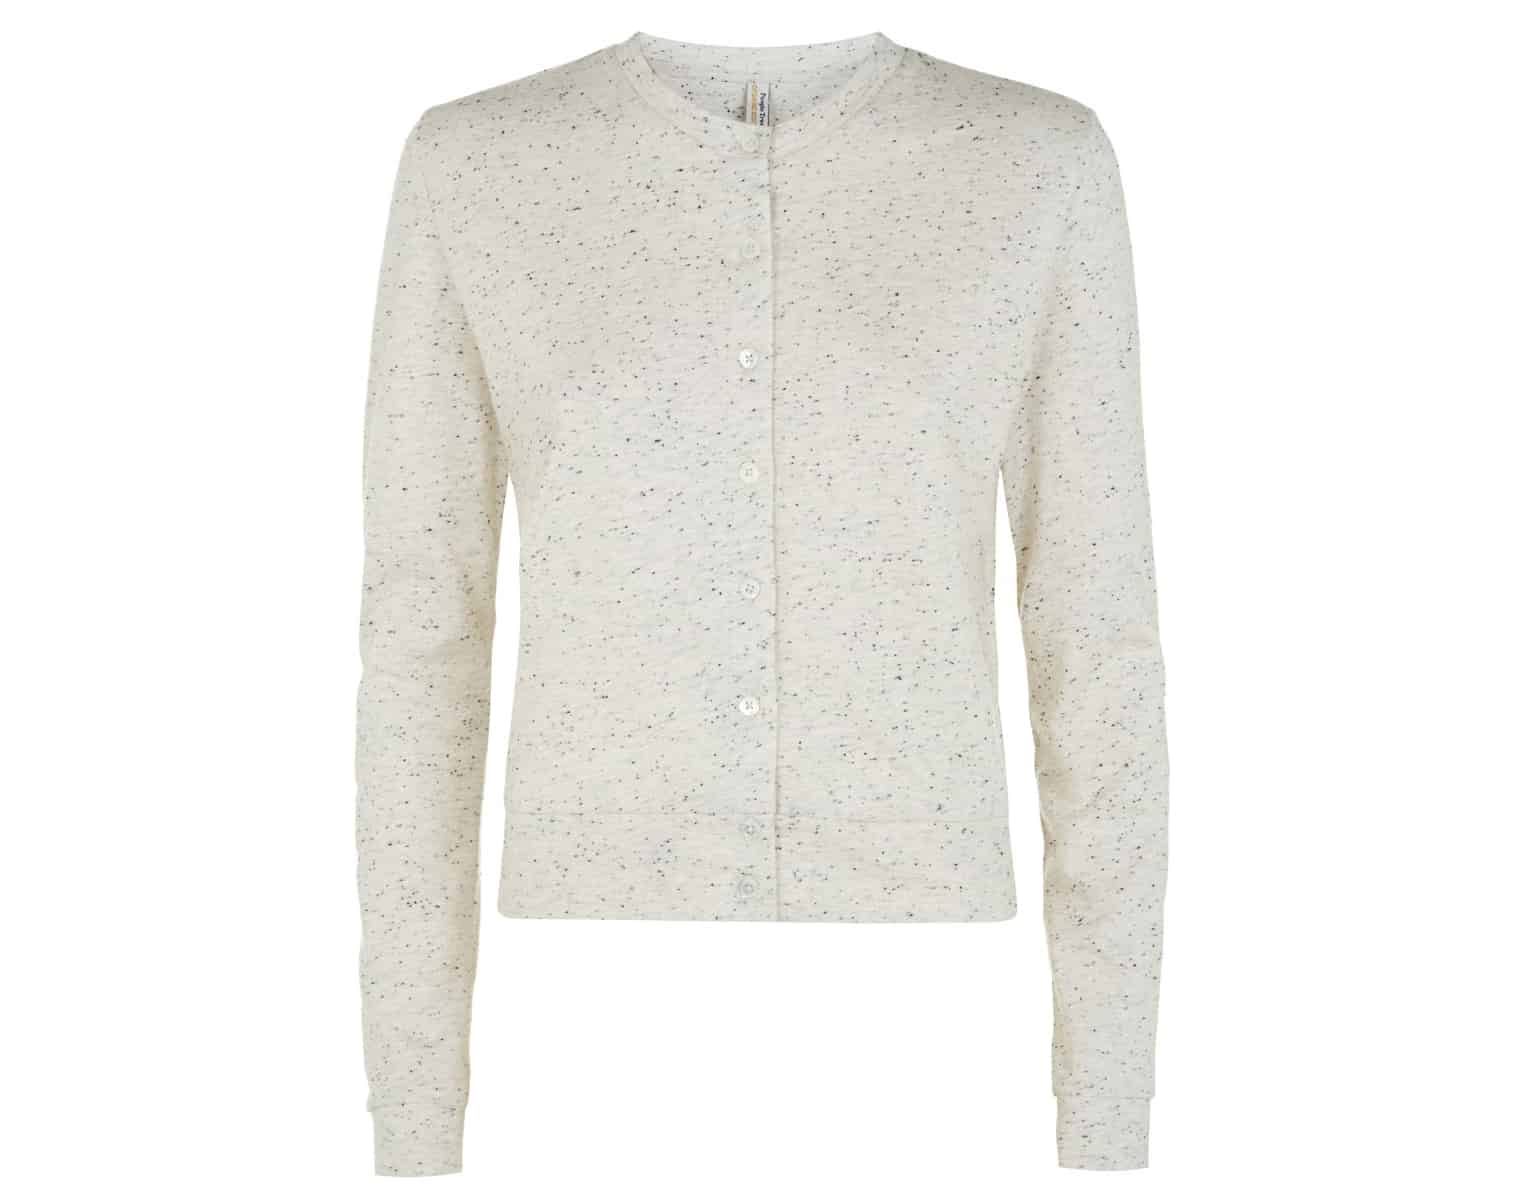
I used this cardigan from People Tree as an inspiration. The original fabric was a stable jersey and I think it was better suited than the wool rib that I used, because my cardigan ended up looking a bit more shapeless and I couldn’t quite achieve the same exact finishing as you’ll see in the images below.
So lets get started!
1. Add a placket to the front pattern piece
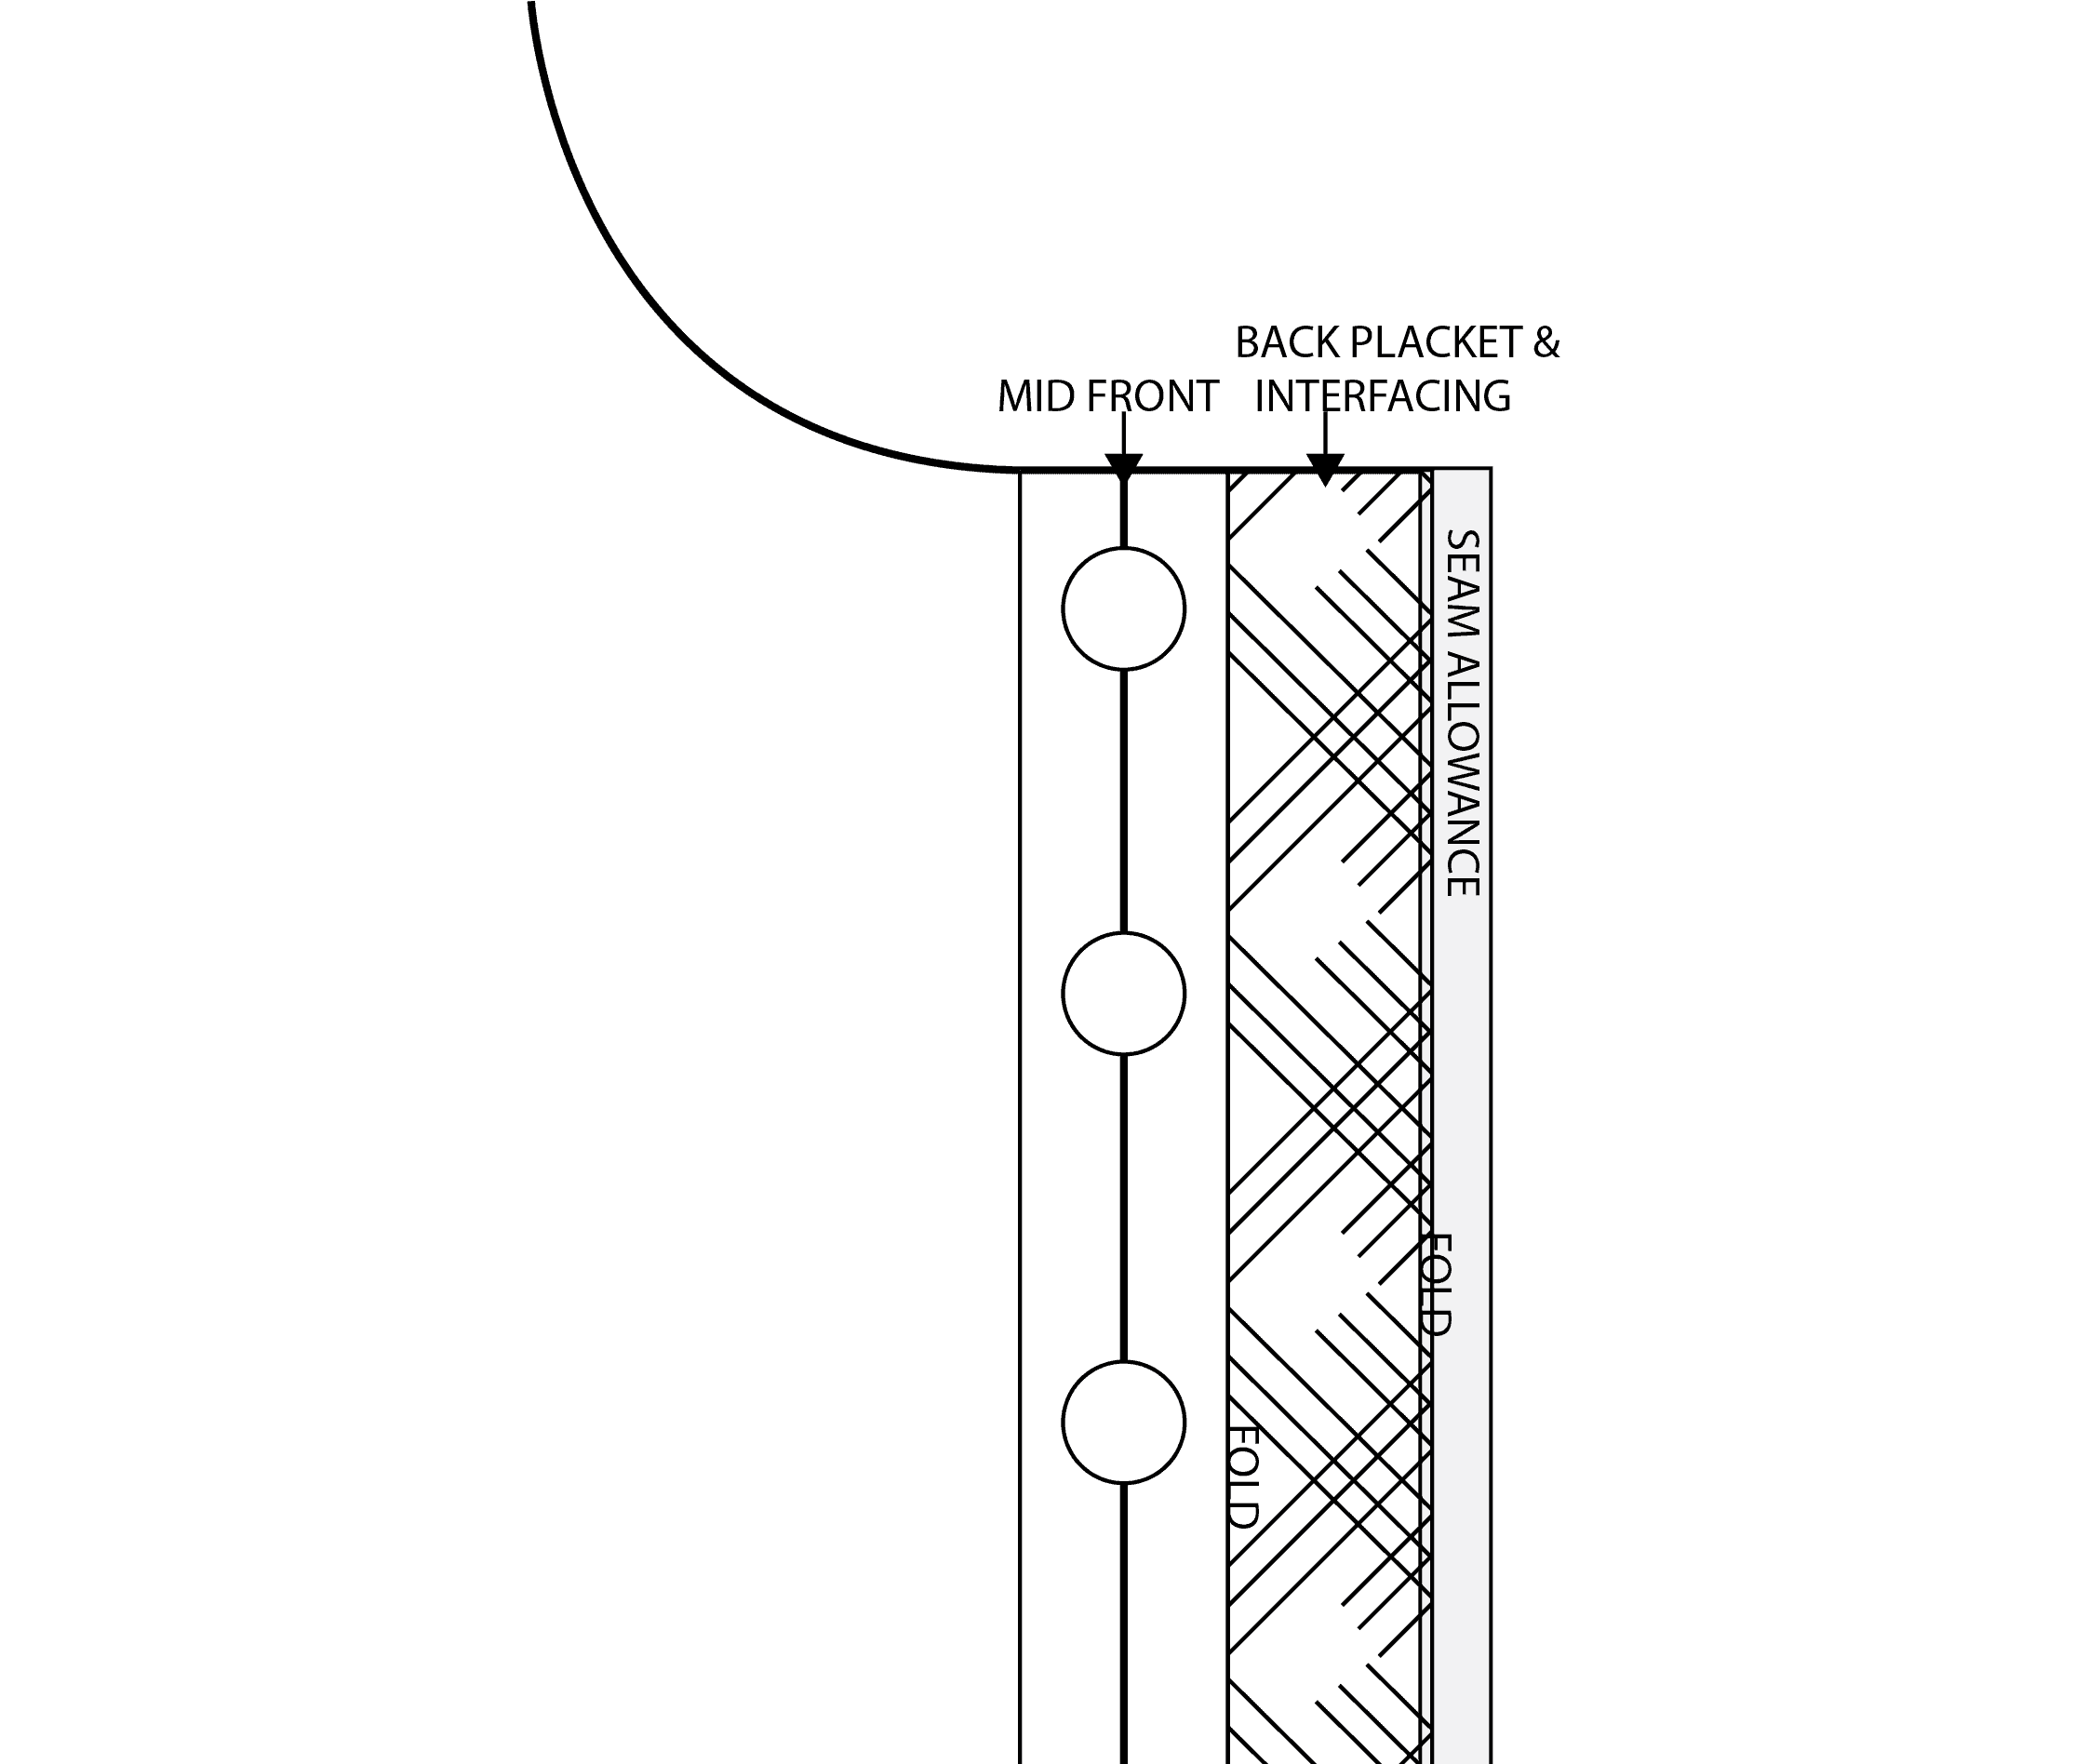
Lengthen the mid front piece to your liking to create a placket. I think I did mine 1 inch wide (2.5 cm) and also add a seam allowance that will be folded in on the inside.
2. Draft a waist ribbing piece
On my inspiration for this cardigan the ribbing piece was made of the same fabric and had the same width as the bodice. If you prefer a more fitted ribbing (which I think could be a good idea) see my 5 tips on sewing ribbing tutorial for determining the width.
3. Draft a neckline piece
Just draft a rectangle piece that has some negative ease, how much depends on the fabric. Again see my 5 tips on sewing ribbing tutorial for determining the percentage.
4. Draft a sleeve cuff ribbing
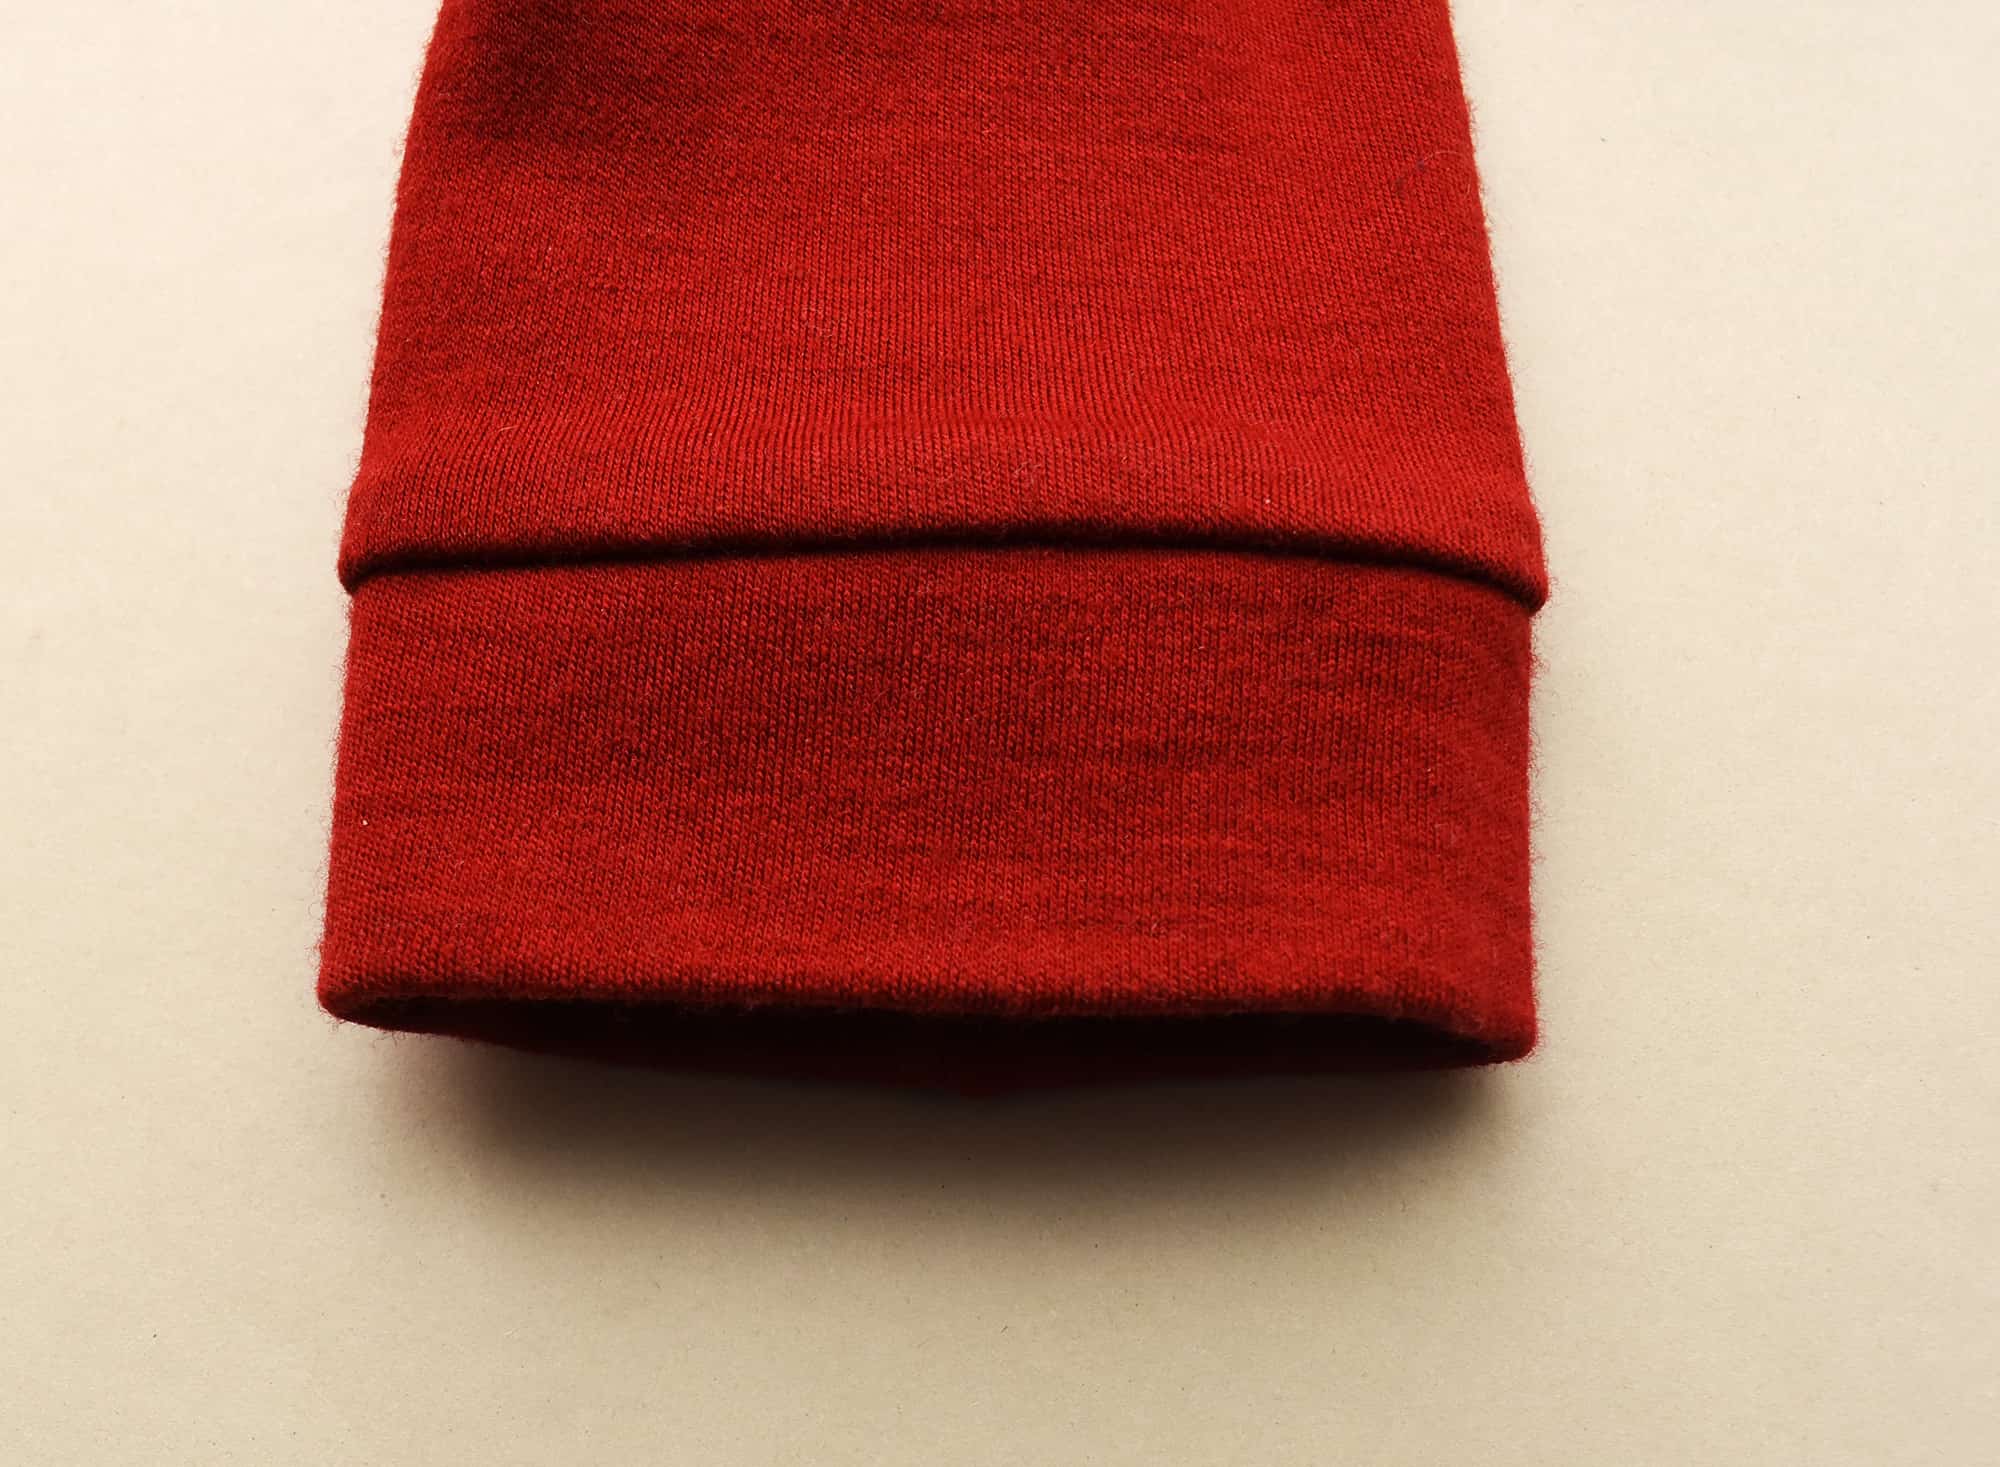
Again just a rectangle piece and it could either be the same width or have some negative ease.
5. Sew the cardigan together using these special methods
For more info, see my tutorial on how to use clear elastic to stabilize shoulder seams
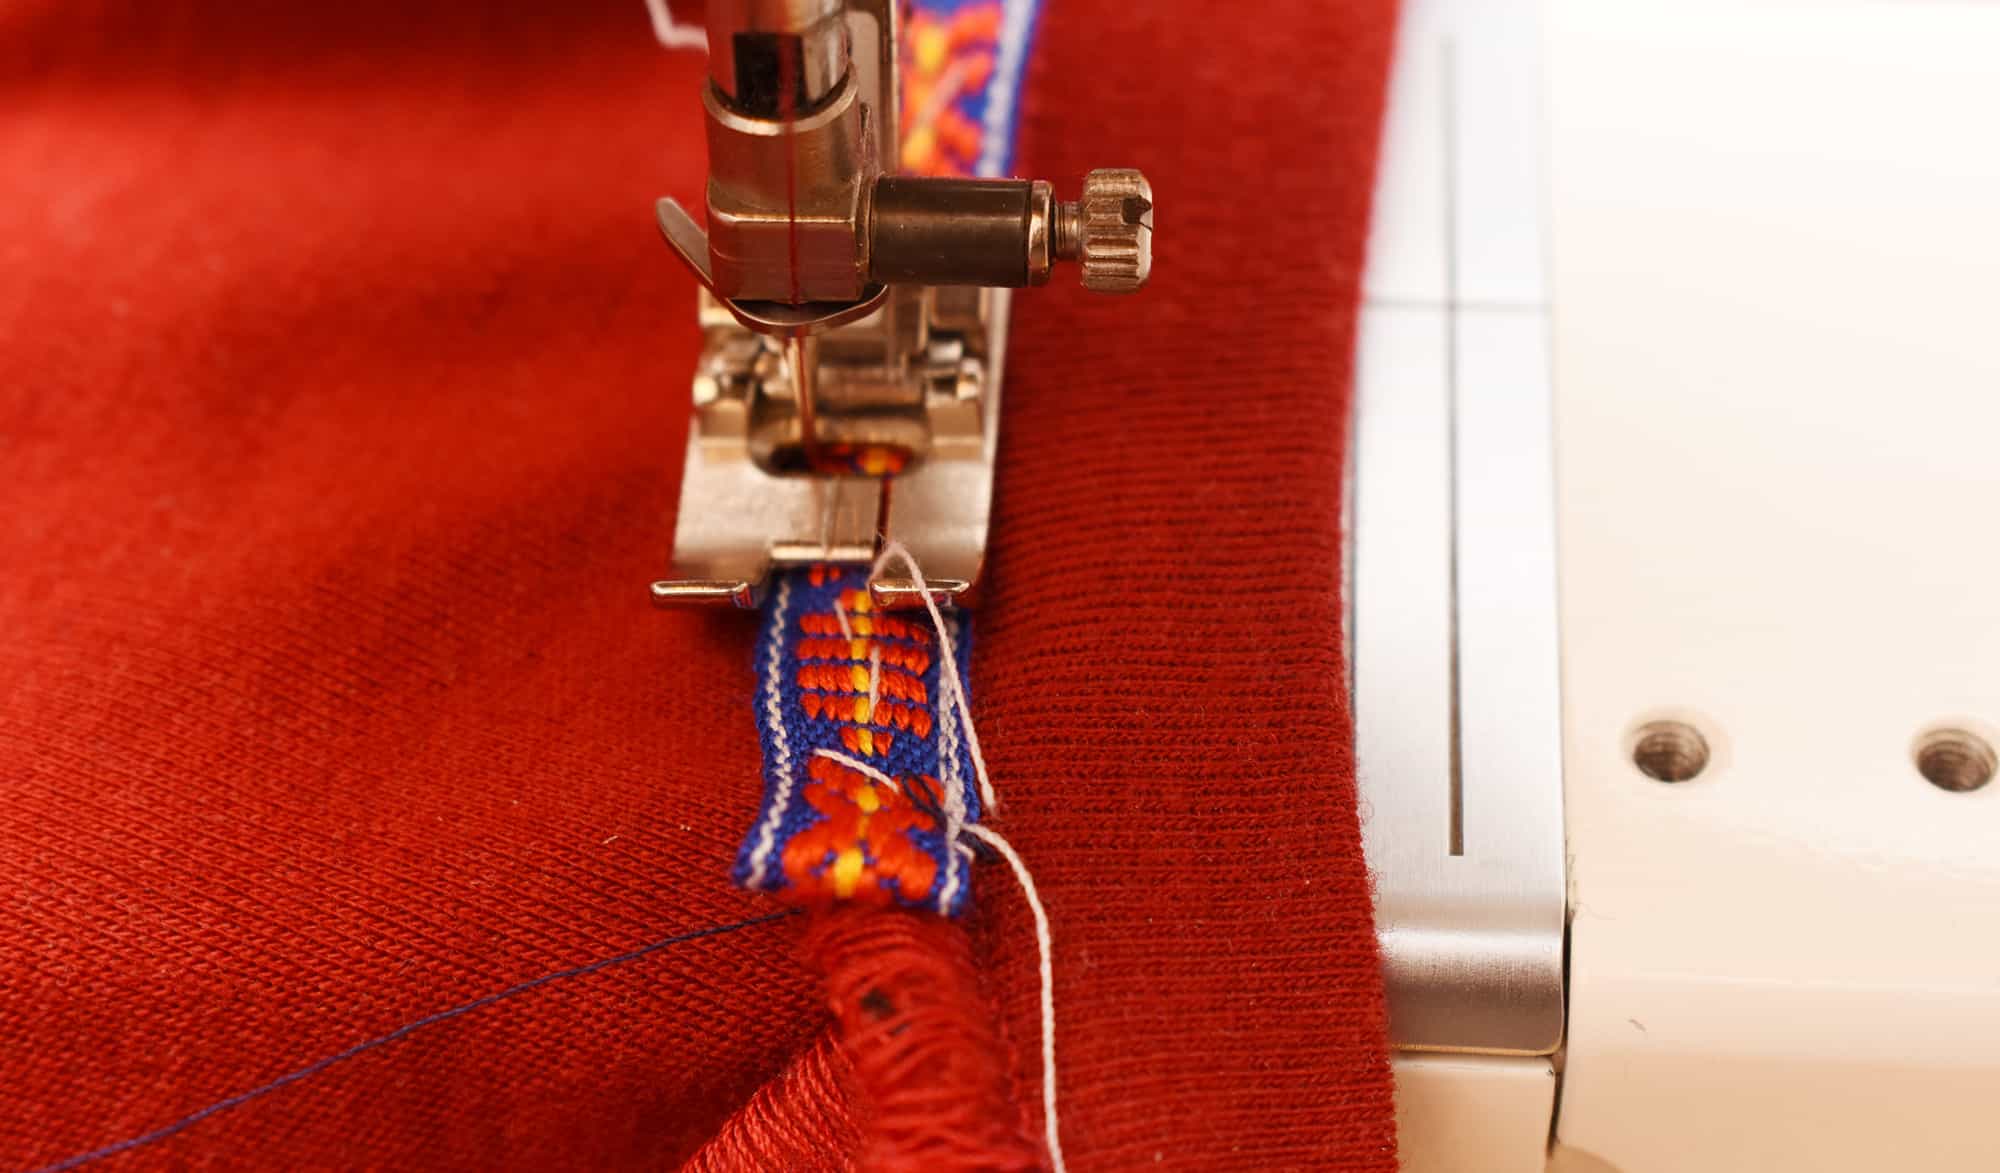
Because I used a rib knit I struggled getting the exakt finish that I strive for, so on the inside it is a little wobbly. But it doesn’t bother me much. (P.S. I got a comment regarding the look of my serged seams on the cardigan and why it looks odd and loopy. It’s called a stretch seam and was available on my old Pfaff and uses two needles but only one looper thread. Hence the loops. My new Babylock doesn’t have this seam from what I can tell)

6. Important points about the placket
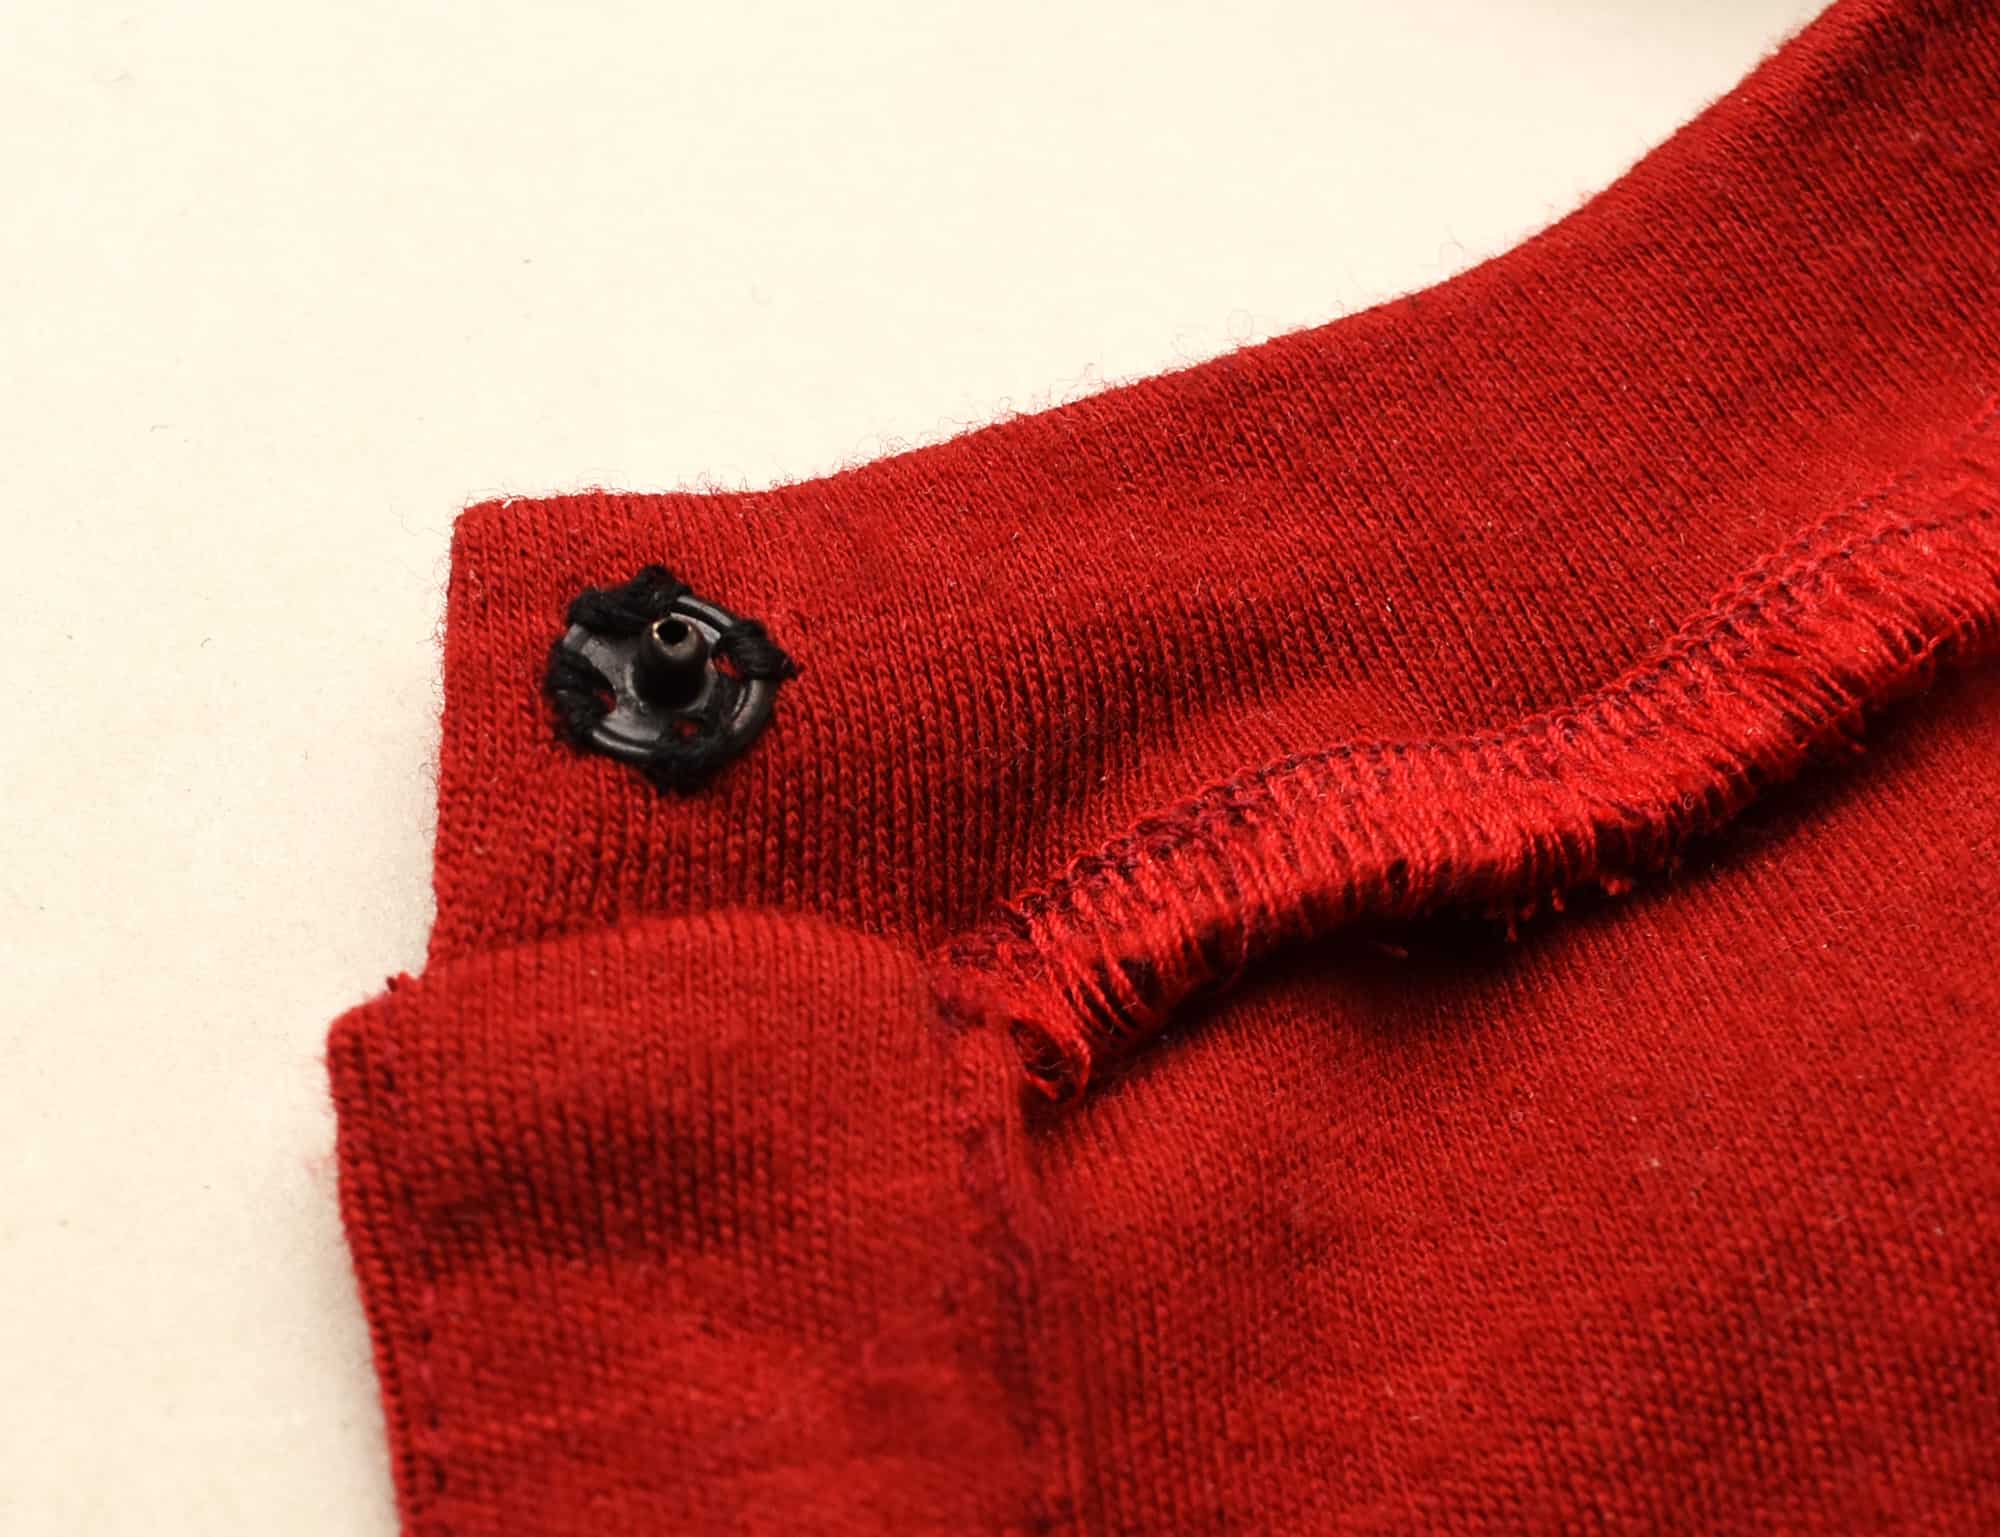
Interface it according to the illustration and the stretch should be crosswise.
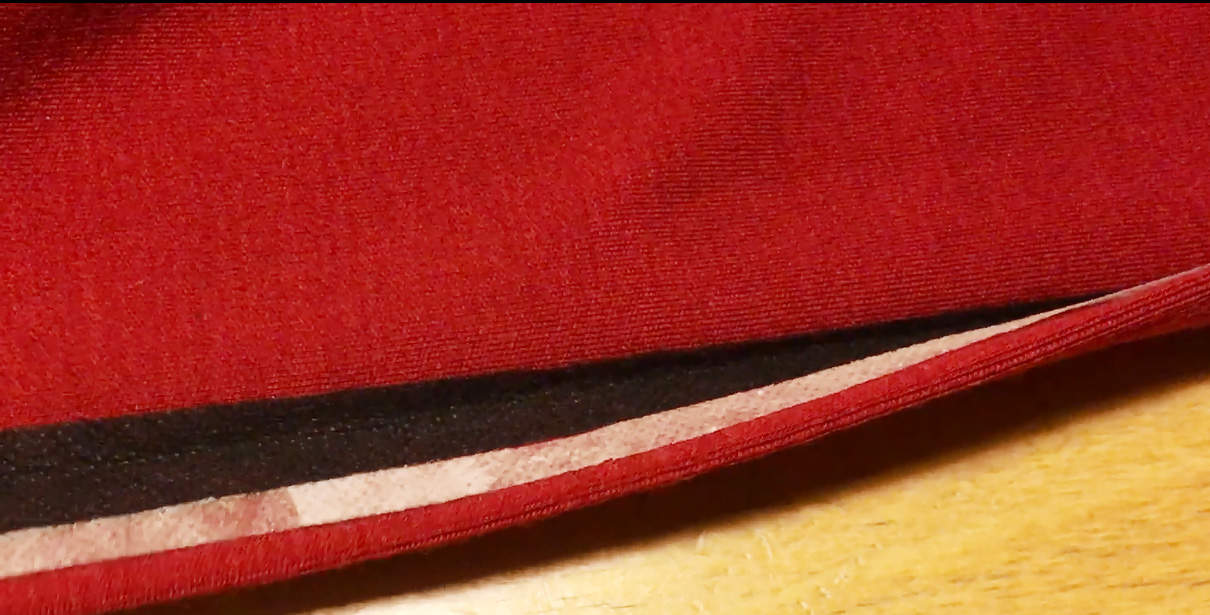
Here is how the placket looks inside before topstitching. Notice the black interfacing and I also used wondertape (Amazon affiliate link) on the seam allowance to keep the fabric in check (the white glue strip that is water soluble).
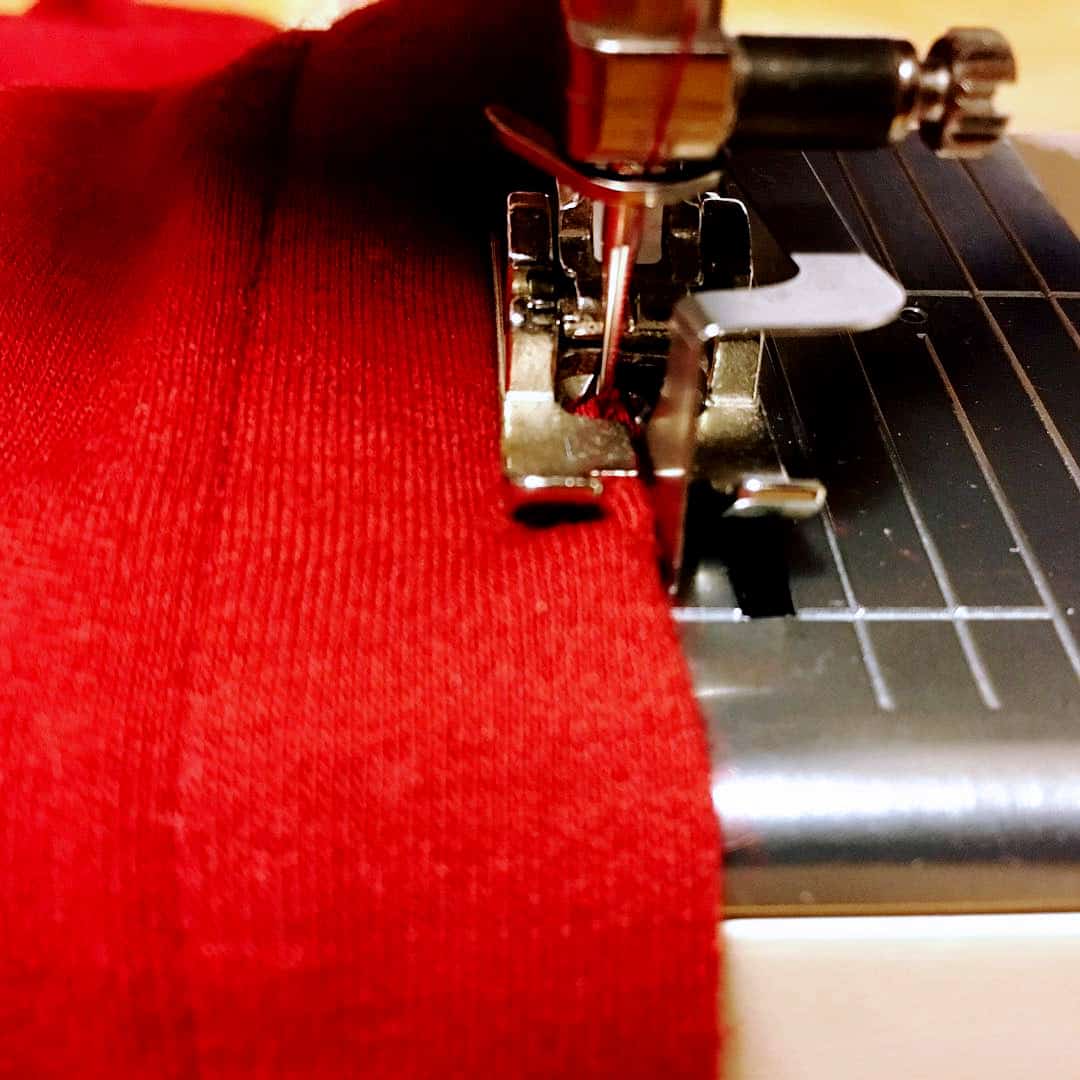
Then fold the seam allowance in and topstitch both the inner and outer edge. I like to use the blind-hem foot for the outer edge to make sure I sew straight. I think that there is an edge presser foot that can do the same thing.
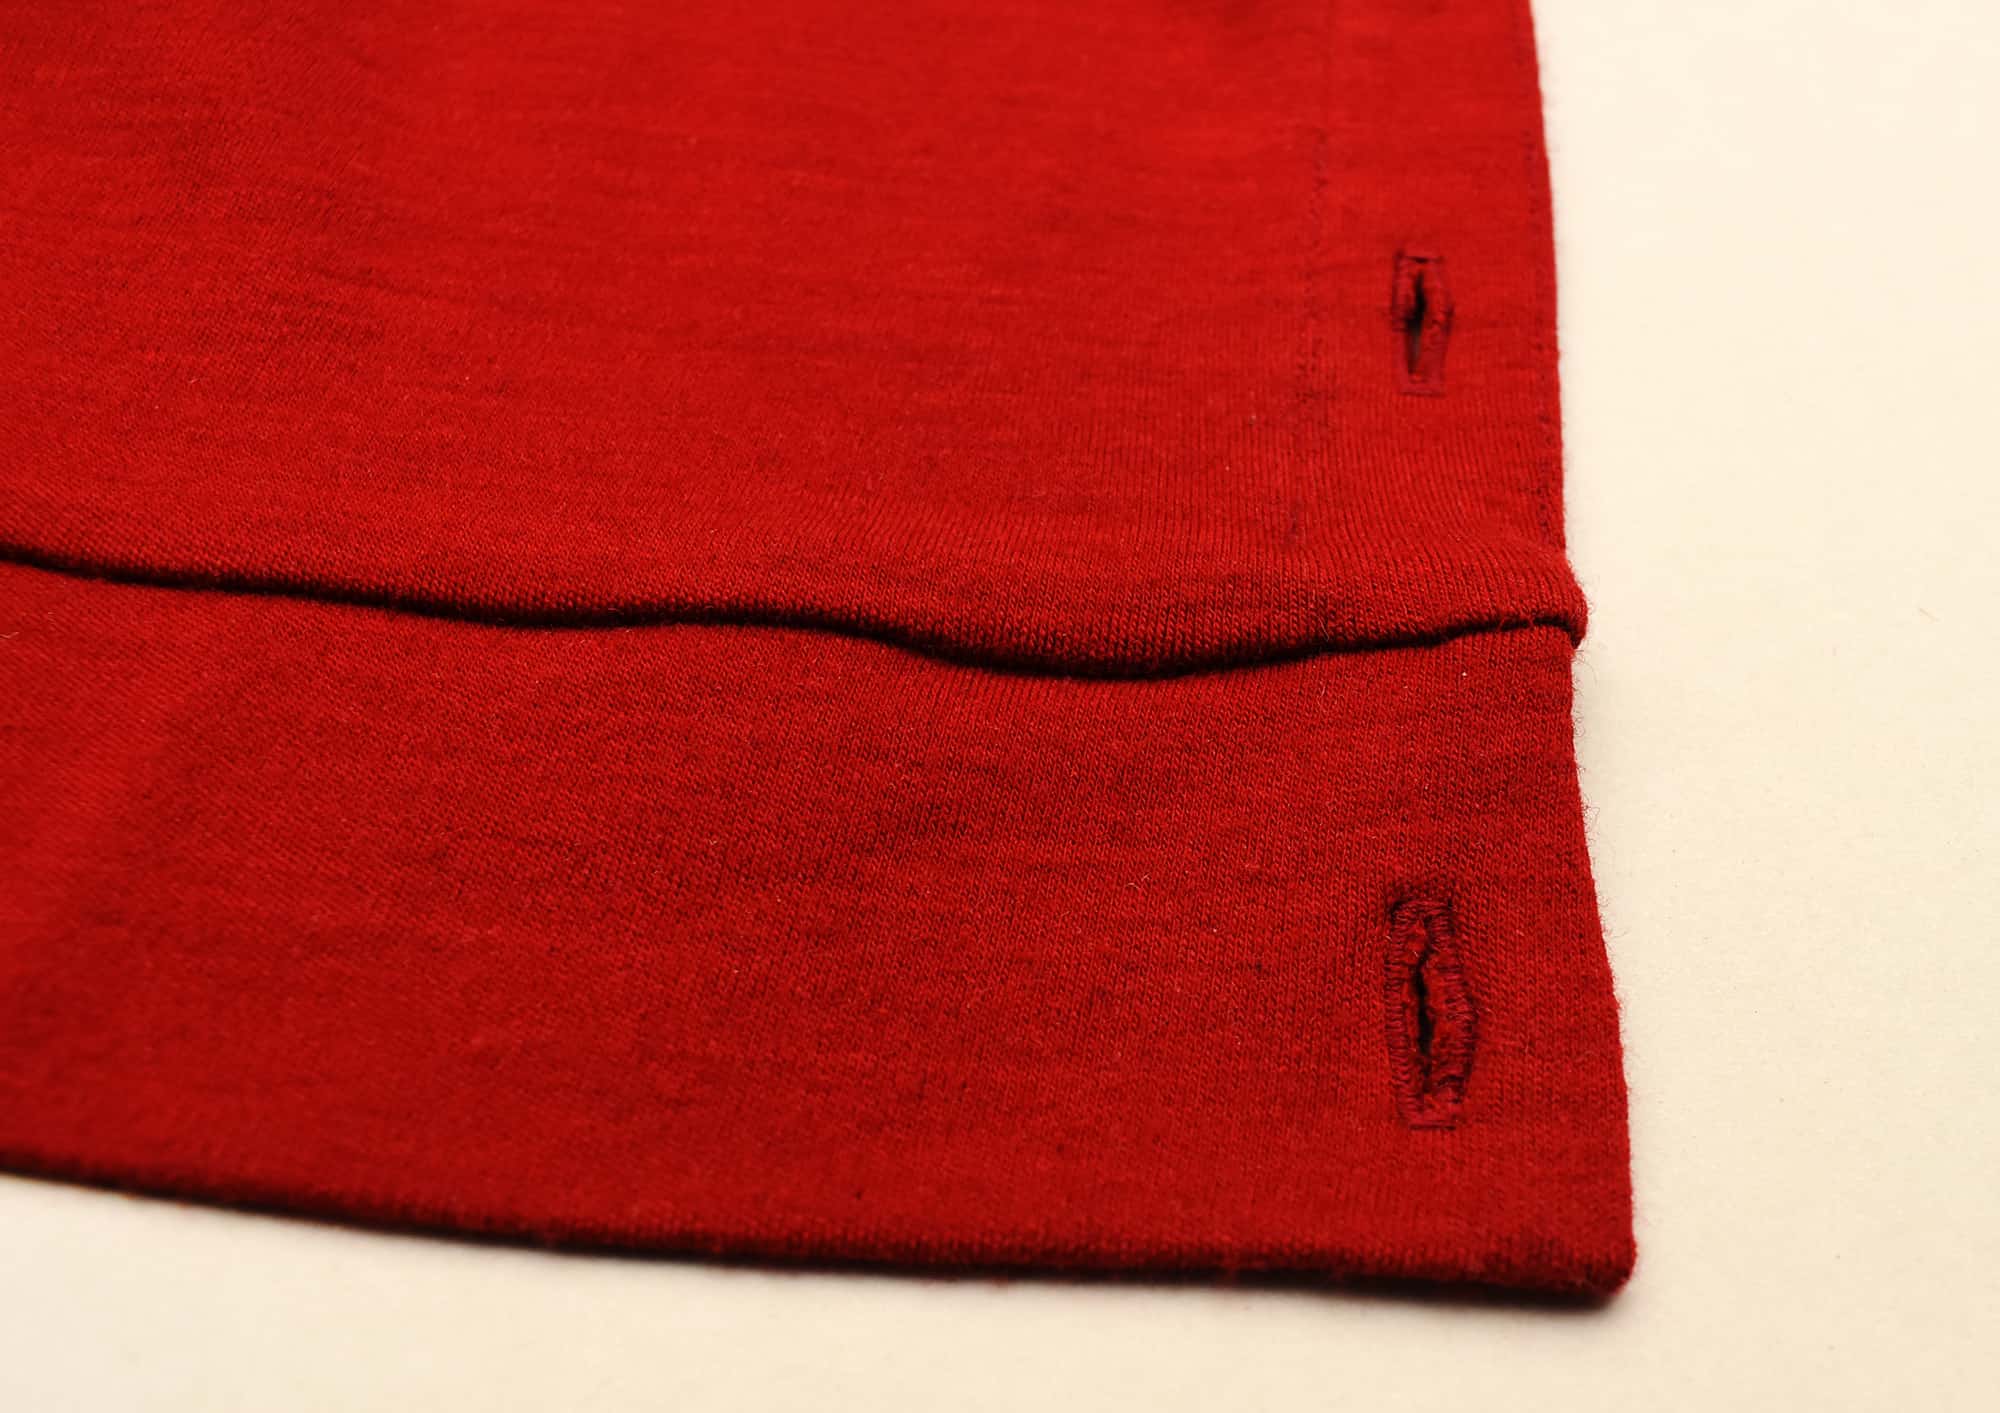
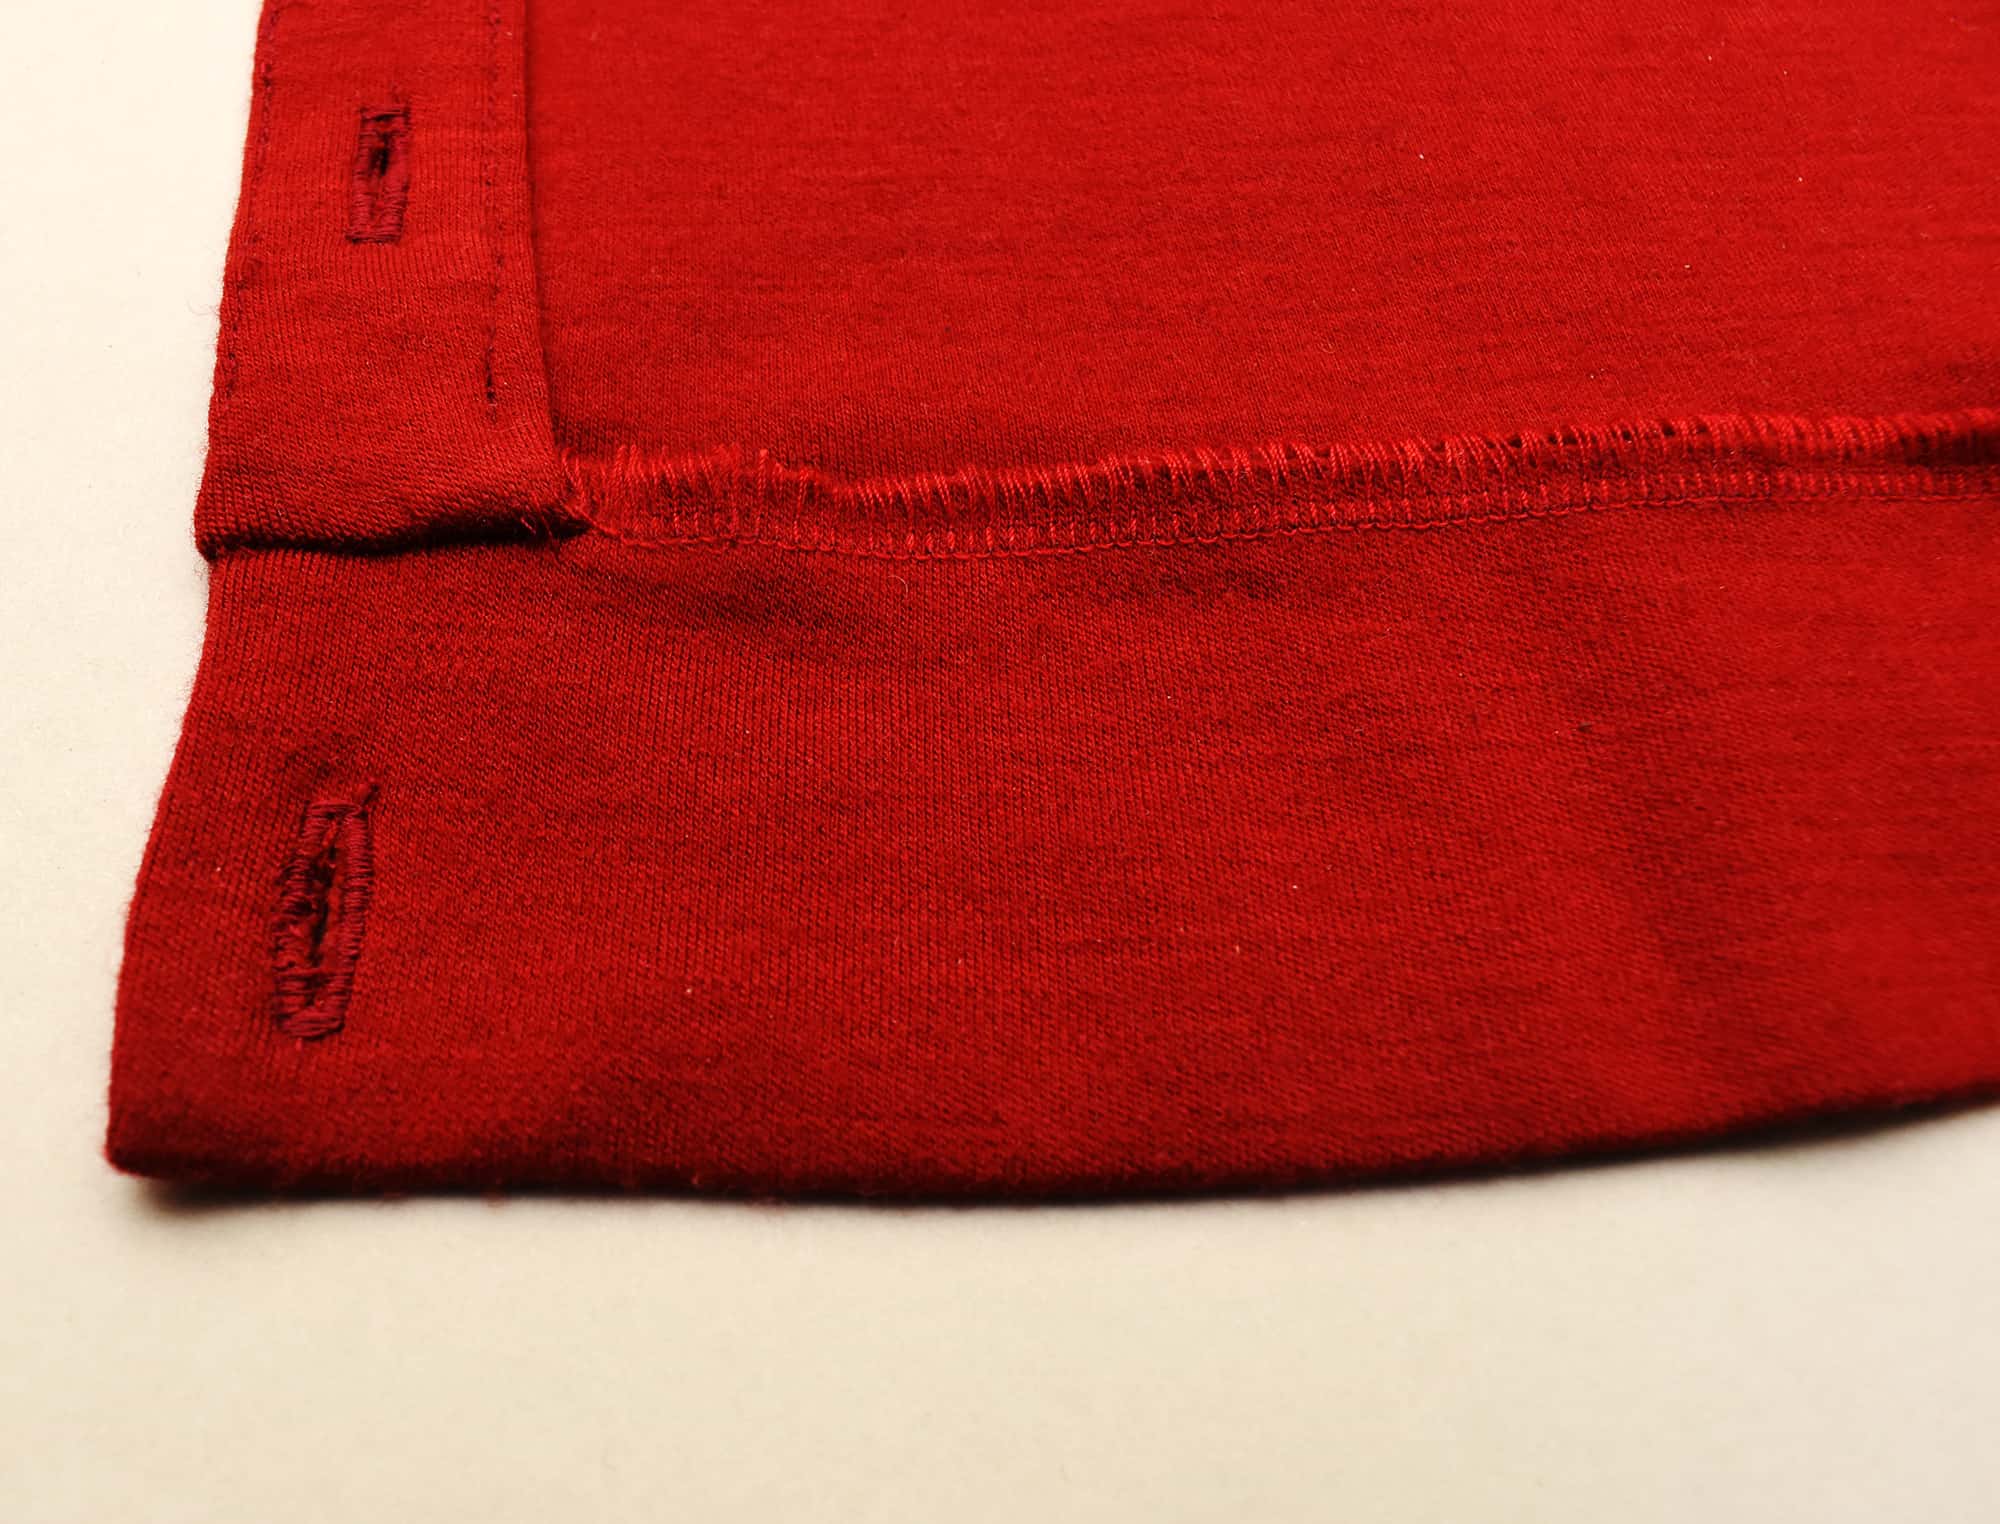
7. Sew the buttonholes
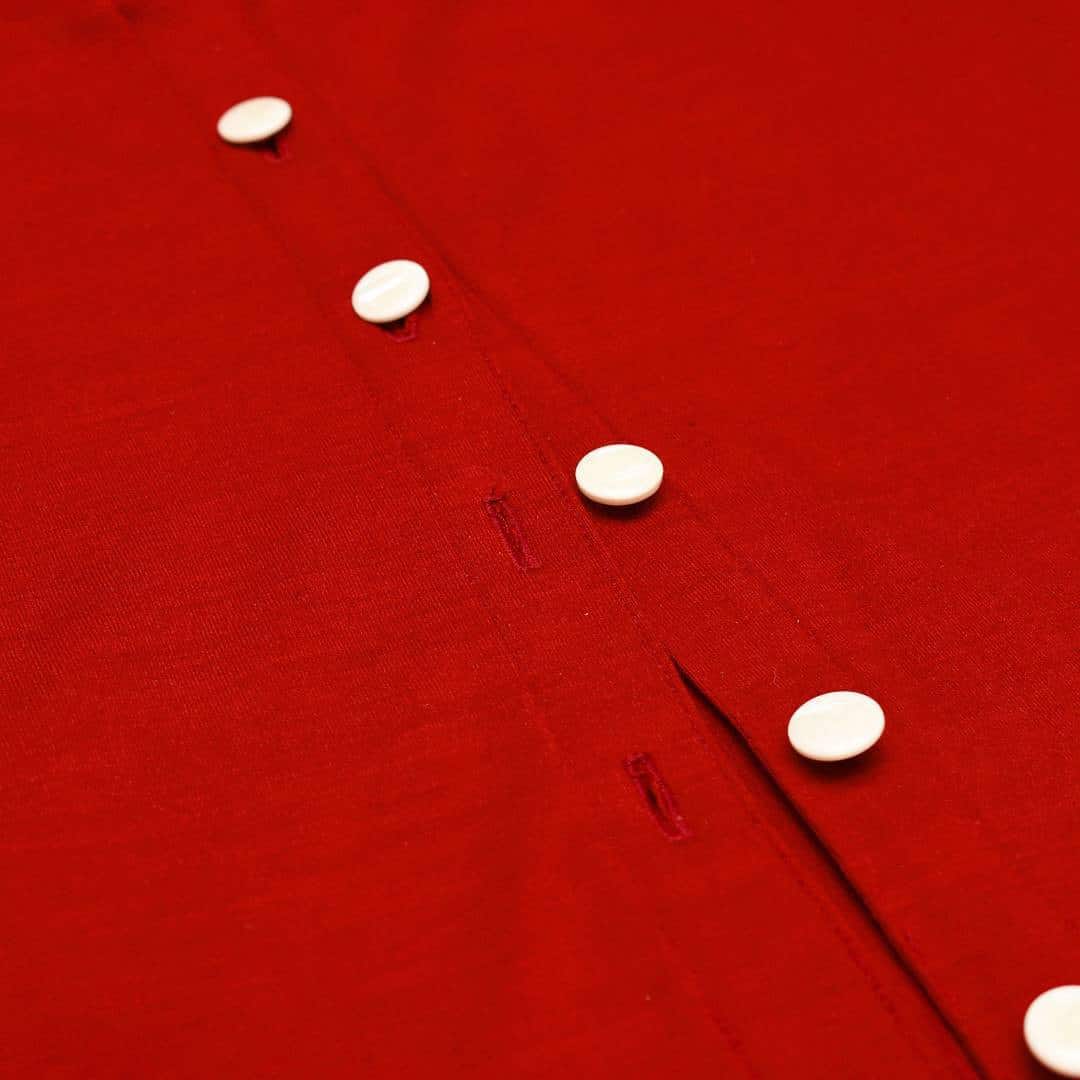
Using interfacing and sewing the buttonholes vertically will keep them stable. For this and ideas for more demanding knit fabrics see my tutorial for sewing buttonholes on knits.
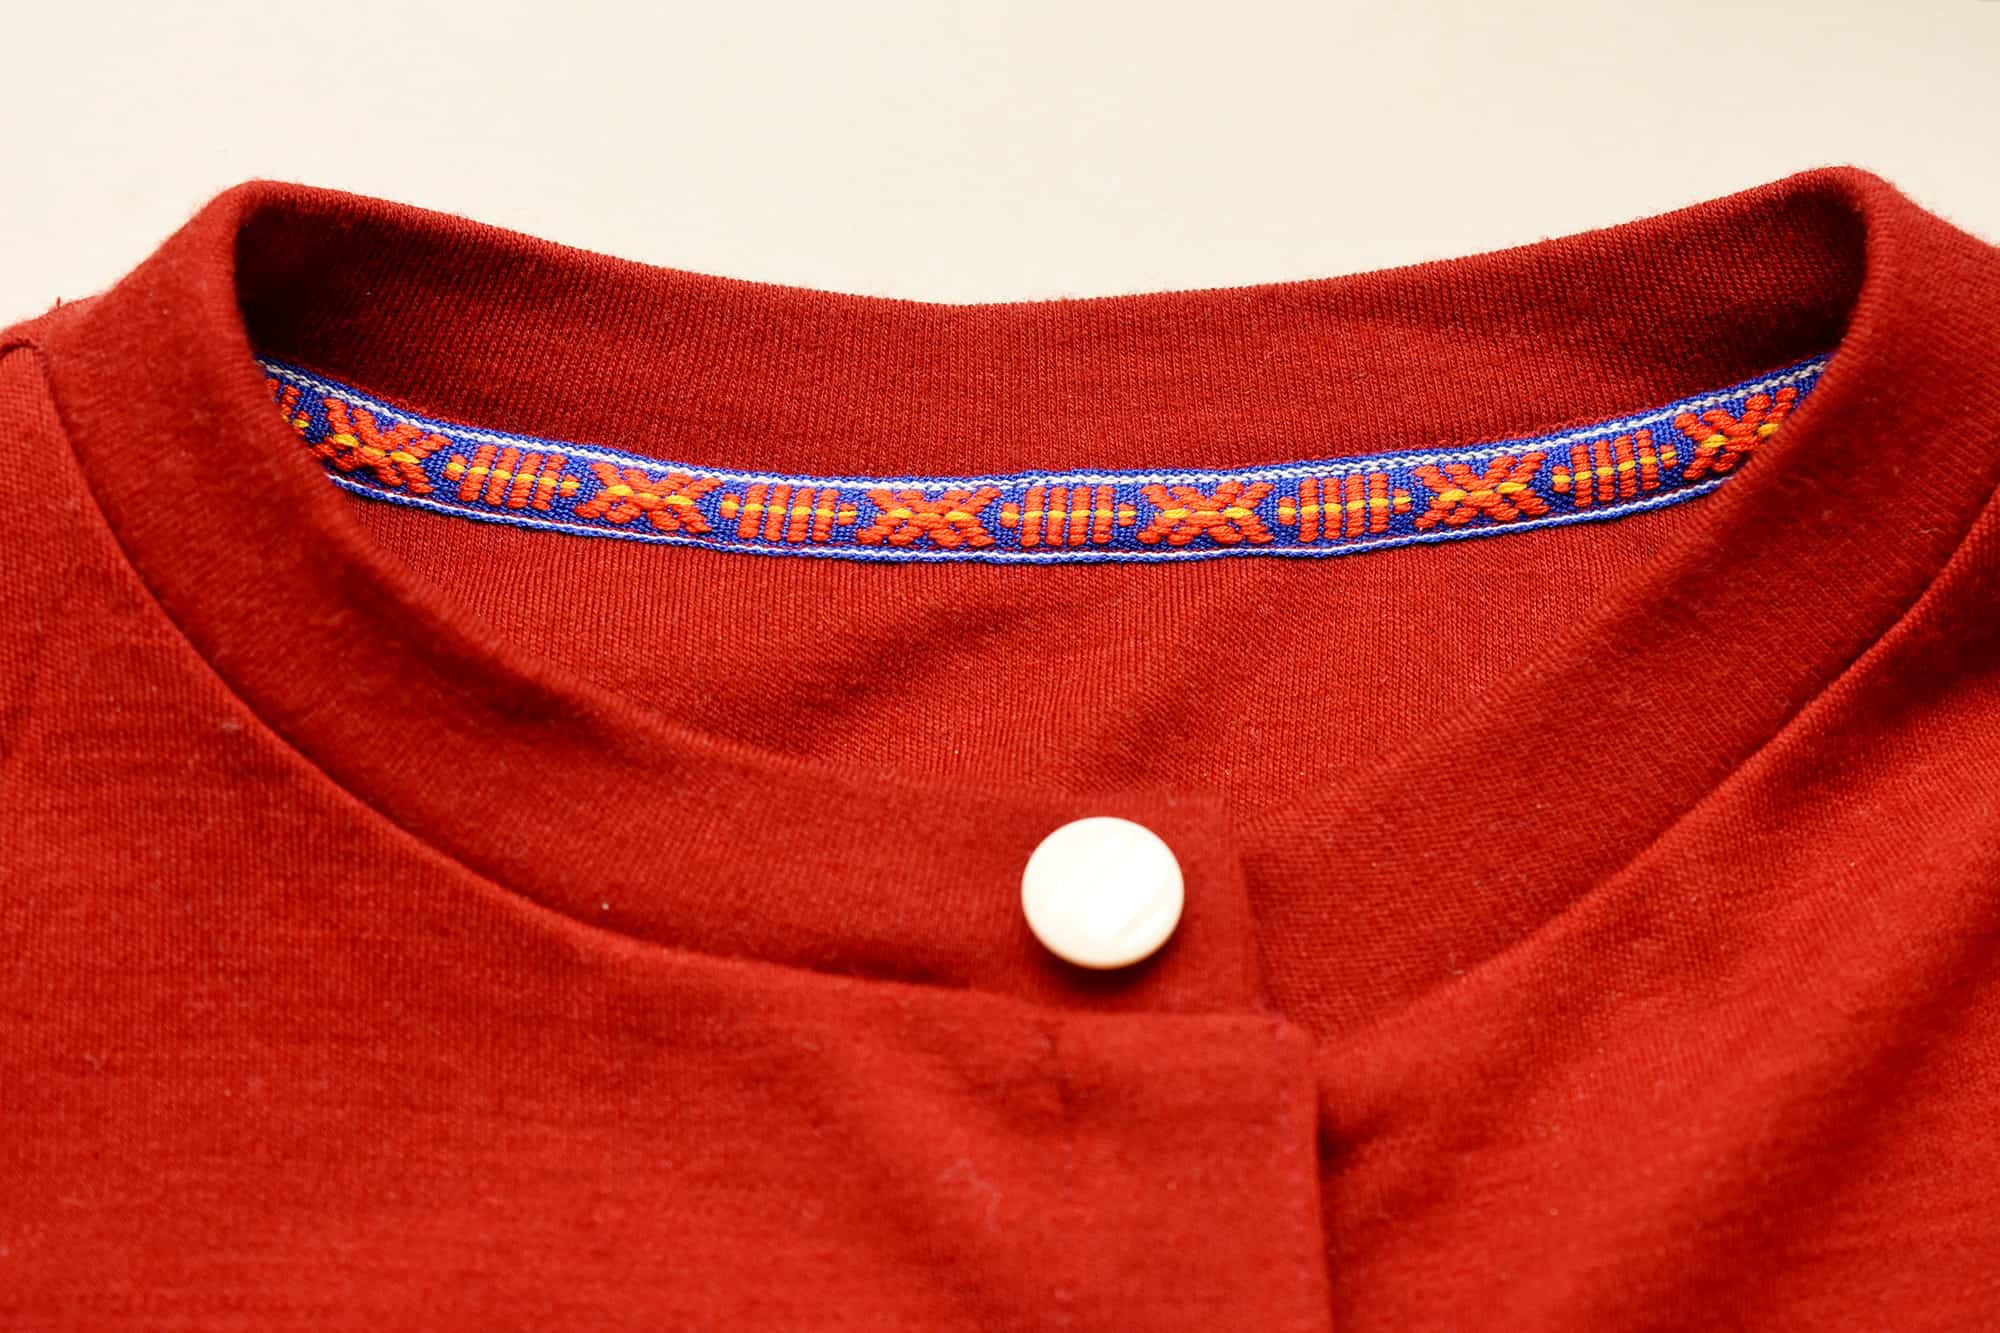
8. Cover the neckline seam with a ribbon

Again I have done a tutorial for how to cover a neckline with a ribbon.
So sewing your own cardigan doesn’t have to be hard!
Obviously this is not a complete pattern instruction for how to make a cardigan, but I have put together all the information I have on how to draft and make a simple cardigans into one place (i.e. this post) and hopefully this can be a starting point for how to make your own cardigan.
For more reading I highly recommend Connie Longs book Sewing with knits (Amazon affiliate link). She talks quite a bit about cardigan making and also has a tutorial for a v-neck cardigan.


6 Comments
Chris
I am interested in how high the placket sits above the neckline and below the hem before the waistband and collar pieces are added. You show it after it is sewn up but I’m not sure the order in folding them over onto each other at the top in the bottom of the pockets.
Johanna
You fold the placket towards the front, right sides facing (with the seam allowance tucked in). Then just sew the entire neckline seam and over the placket edges. Fold the placket back and the seam is finished!
Karey
Thanks for this. I just got a basic serger and have been thinking about a cardigan. But I am pretty sure I will need an fba (F/G cup) with dart or extra design seams that absorb it. I was contemplating hacking a basic knit top (like Burda plus #140 10/2010 graded down a size) but without a pattern lacked construction instructions. This tute is exactly what I was missing 😍
Helen
I am so interested in making this sweater. Is there a specific pattern that you could recommend?
Comments are closed.