
Darts are a wonderful way to add shaping to knit garments. And if you have a fuller bust, they might be crucial for a well-fitting top.
However, constructing darts on knits usually requires slightly different techniques than darts on woven fabrics when it comes to both marking and sewing. In this simple step-by-step tutorial, I’ll show you how to sew beautiful darts on stretchy fabrics, using some nifty tricks that you might not have tried before.
This tutorial contains excerpts from our book Fit for Knits.
You’ll need
- Tailor’s awl (Amazon affiliate link) or a regular sewing pin
- Sharp pair of scissors
- Regular sewing machine
Marking the darts
Because knits often have a soft surface, tracing chalk won’t always stick to the fabric. Instead, you can try an industry technique that requires no tracing.
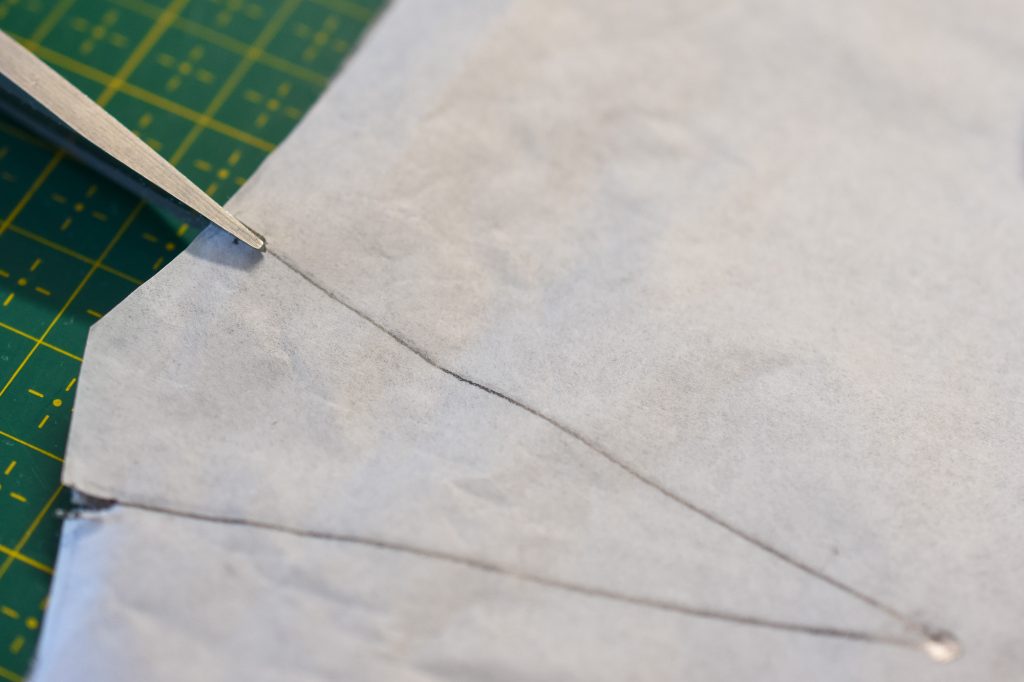
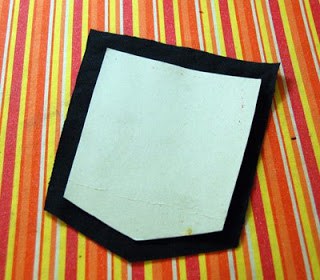
Cut notches
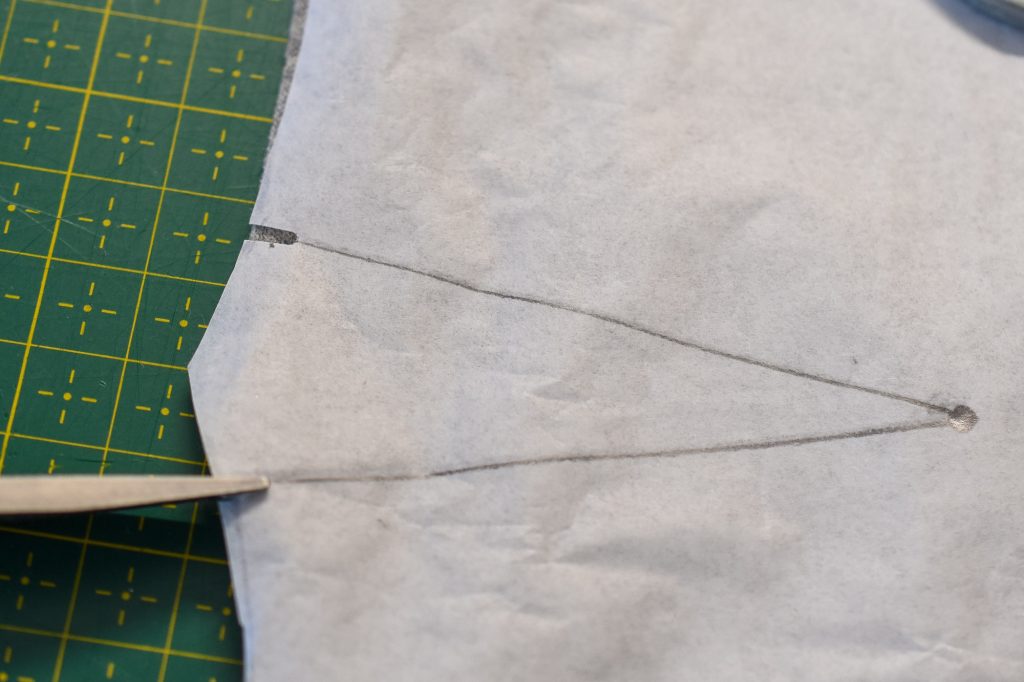
Place the pattern on the cut fabric piece. Either do them on a single layer (i.e. do the markings on one side at a time) or do them through both layers with the front piece folded in the middle. Cut two tiny notches in the seam allowance to mark the starting points of the dart. You need a sharp pair of scissors to pull this off. I highly recommend Kai’s scissors (Amazon affiliate link).
Mark the tip of the dart
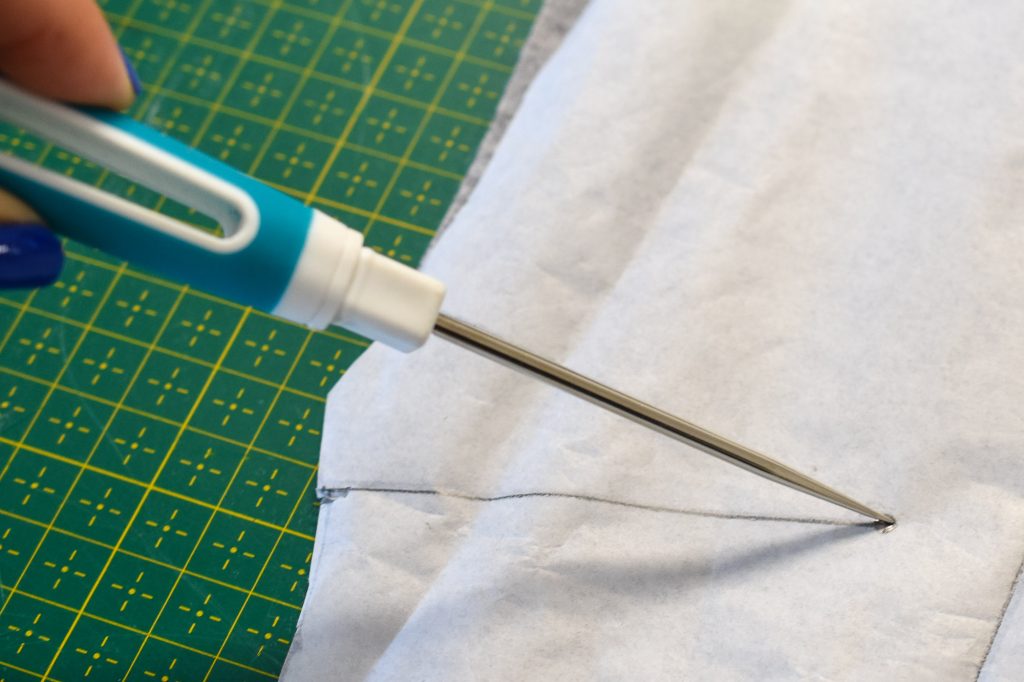
Punch a small hole in the fabric to mark the end of the dart. The hole is placed inside the dart and should not unravel unless the knit fabric is delicate (always do a sample).
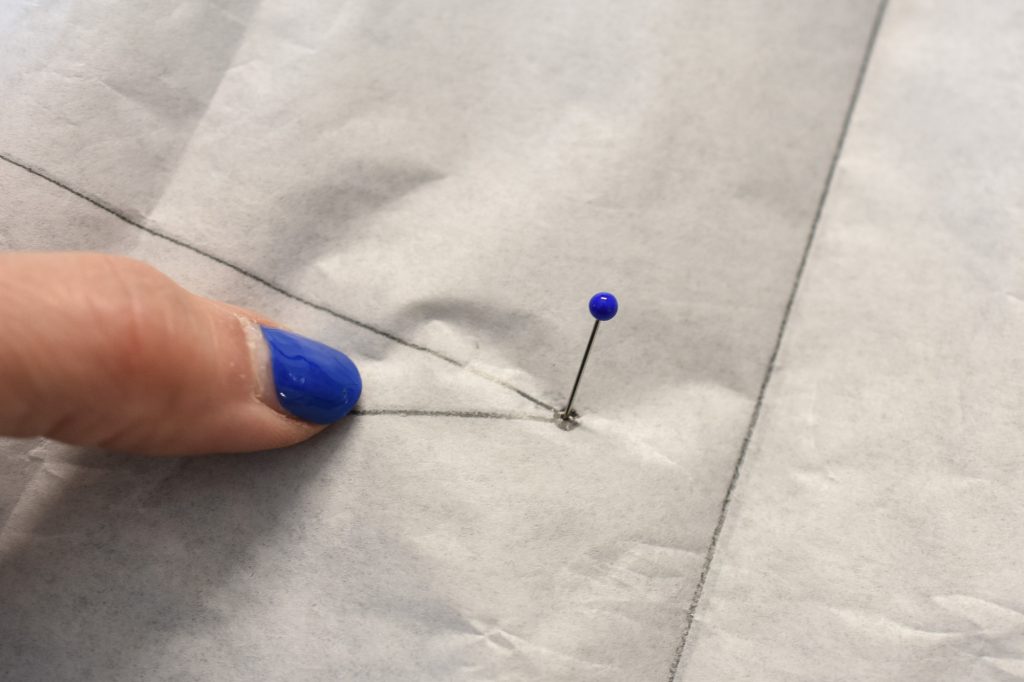
Use a needle, pin or small awl to mark the holes. If the darts are longer you can add small holes along the leg of the dart too.
If using a pin keep it in the fabric, since the hole won’t be big enough to notice otherwise.
Pin the tip of the dart
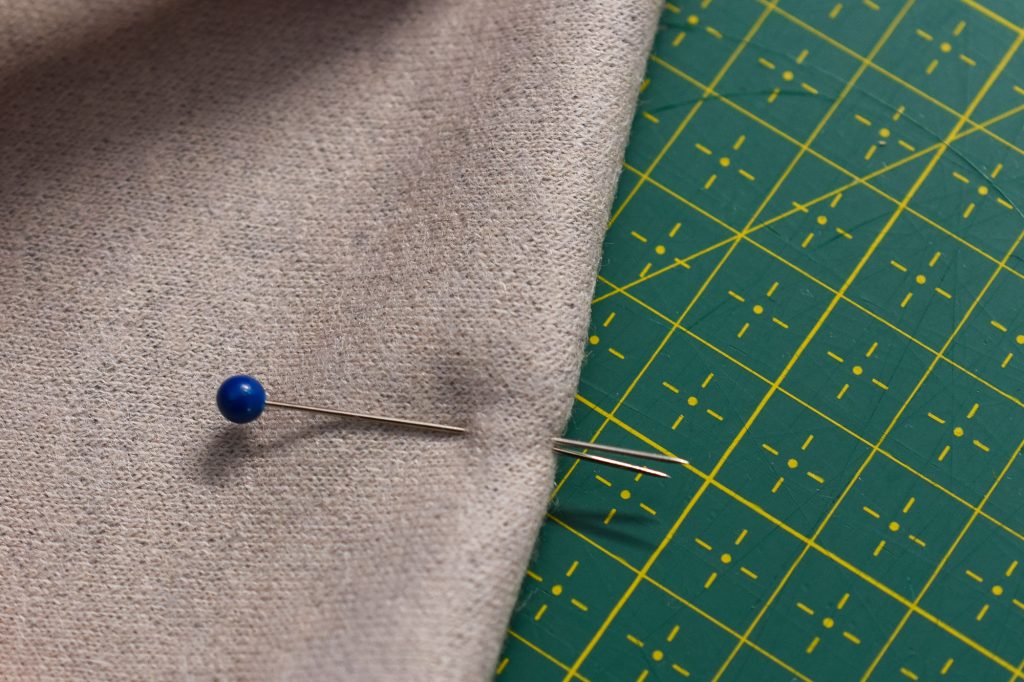
Remove the pattern. Fold the piece, right sides facing. Place a pin below the tip of the dart (i.e. just below the hole). If using a pin to mark the spot, you can remove that pin now.
Align the notches

Line up the cut notches. Pin the keep the folded dart in place.
Double-check the markings

Fold the pattern piece over the pinned dart to ensure that all the markings line up. Remember that the pin should be slightly below the tip of the dart.
Sew the dart
A narrow zigzag is usually the best stitch when sewing darts on knits. A straight stitch with a shorter stitch length can work if the fabric is very stable. But a straight stitch will likely break during wear on very stretchy knits. Always do stitch samples to test the settings. If you need more stretch, shorten the stitch length. If the zigzag creates an uneven “bumpy” seam, decrease the width to make the stitch straighter.
Narrow zigzag settings
Width: 0.5−1 mm
Length: 1.5–2 mm
Short stitch zigzag settings
Width: 0.5 mm
Length: 1 mm
Use this setting to secure the ends of the darts, combined with tying the threads into a knot.
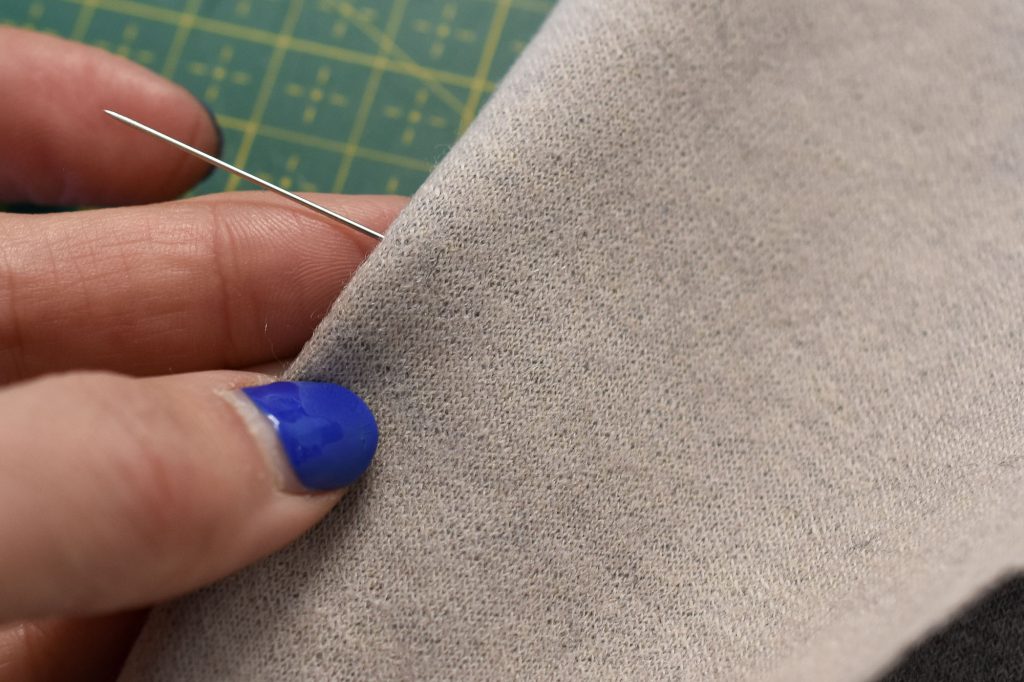
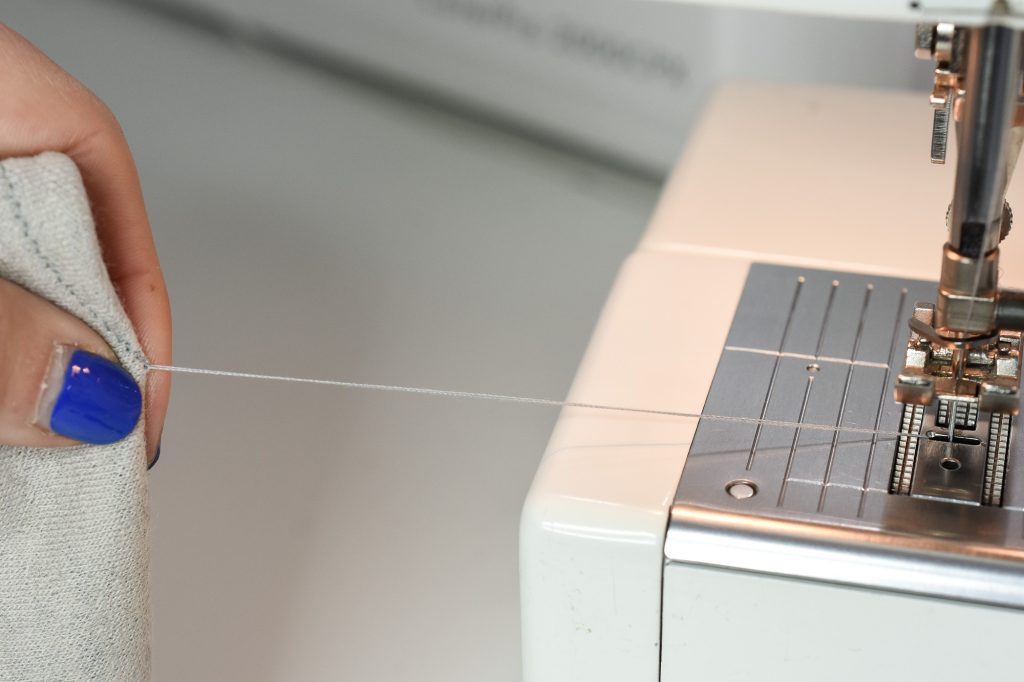
Use the needle thread tail as a sewing guide

Pull the needle thread towards the end of the dart, and pin the thread with your fingers, just below the dart tip. Make sure the thread is outside the markings. This method makes gauging easier.
Start sewing the dart
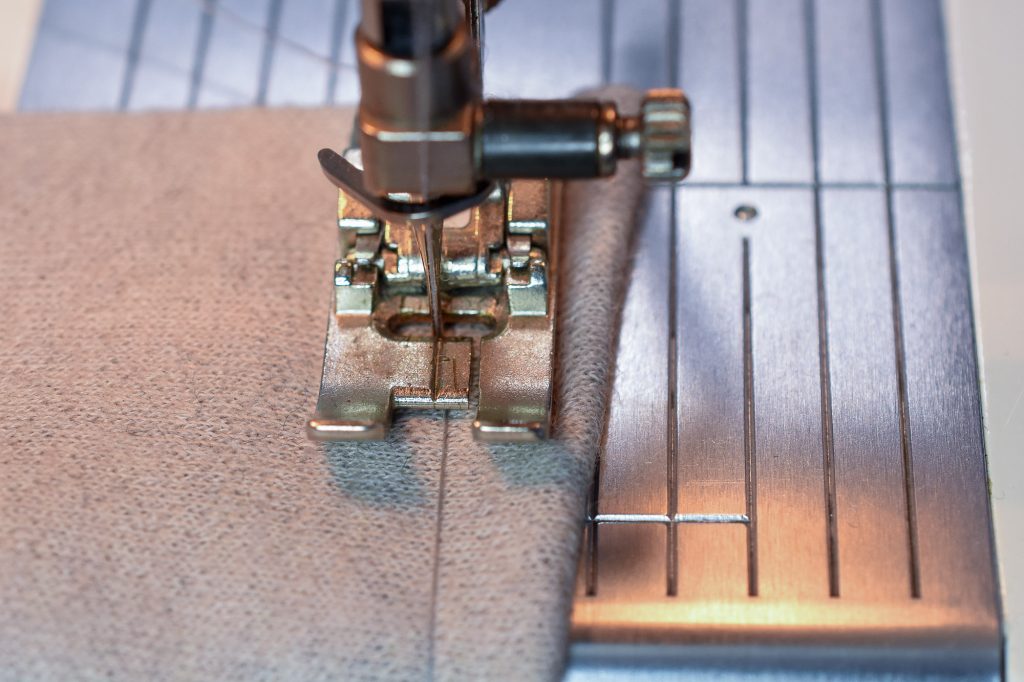
Start from the wide part of the dart, at the cut notches. Backstitch, and then stitch towards the end point. The seam must be outside of any hole markings so that the holes are enclosed inside the dart. Sew just outside the thread tail to make this easier.
Finish the dart with a smaller stitch length

Shorten the stitch length when you are around 1.5 cm (5/8″) from the tip. Remove the pin.
Sew the final stitches parallel to the fold, as close to the edge as possible to avoid a dimple at the tip of the dart. Don’t backstitch.
Pull away but leave the threads
Lift the presser foot and remove the project. Cut the threads, leaving 10 cm (4″)-long tails.
Tie the thread ends
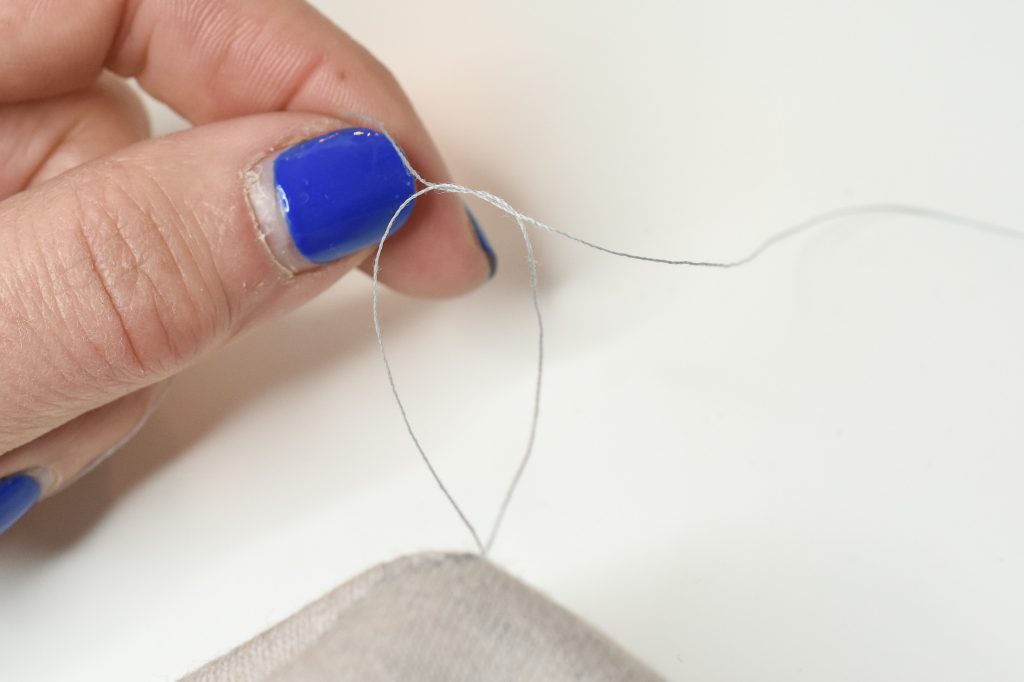
Tie thread ends together to secure the dart. This combined with a shorter stitch length at the end is sufficient to secure the stitching. For extra safety, you can tie a second knot.
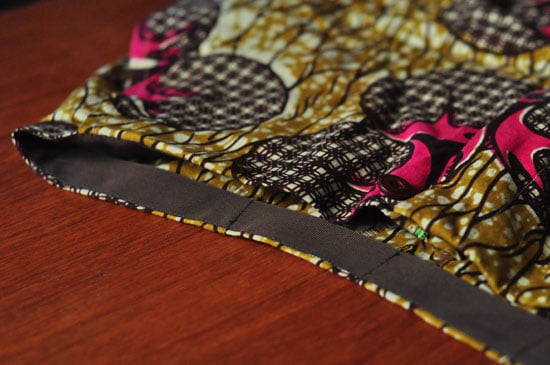
Press the dart
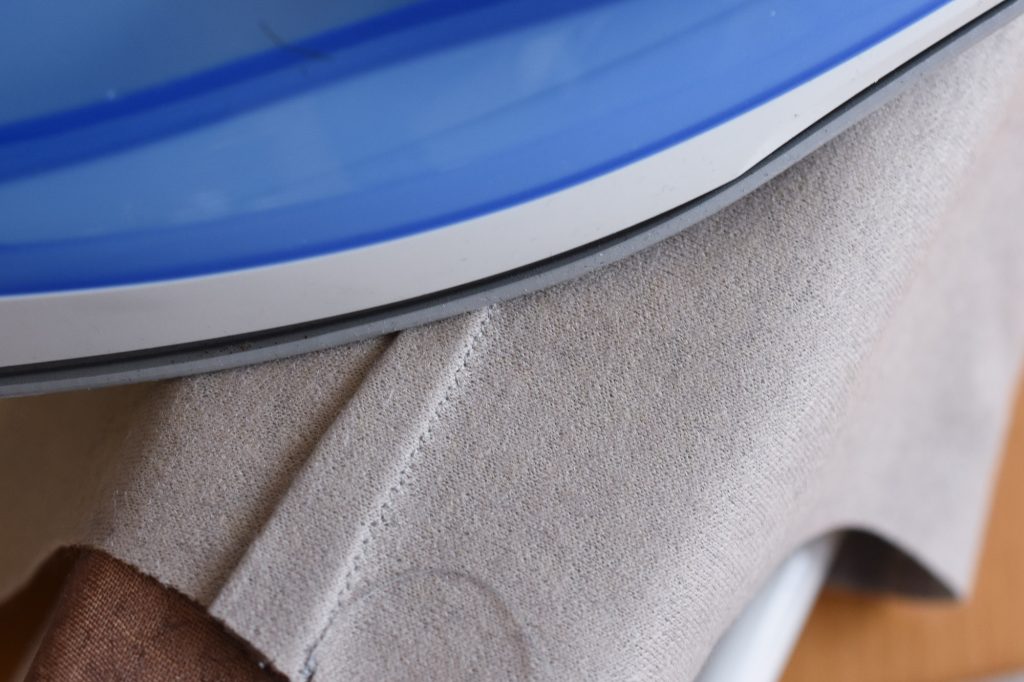
Fold and press the dart. On a bust dart, fold it downward. Fold vertical darts towards the centre. Iron towards the dart point, on the reverse side. To smooth out the dart even more, do a second pressing on the right side of the top. Use low heat and a pressing cloth to protect the fabric. If there is puckering or dimples, use steam or moisture to flatten out the seam even more.
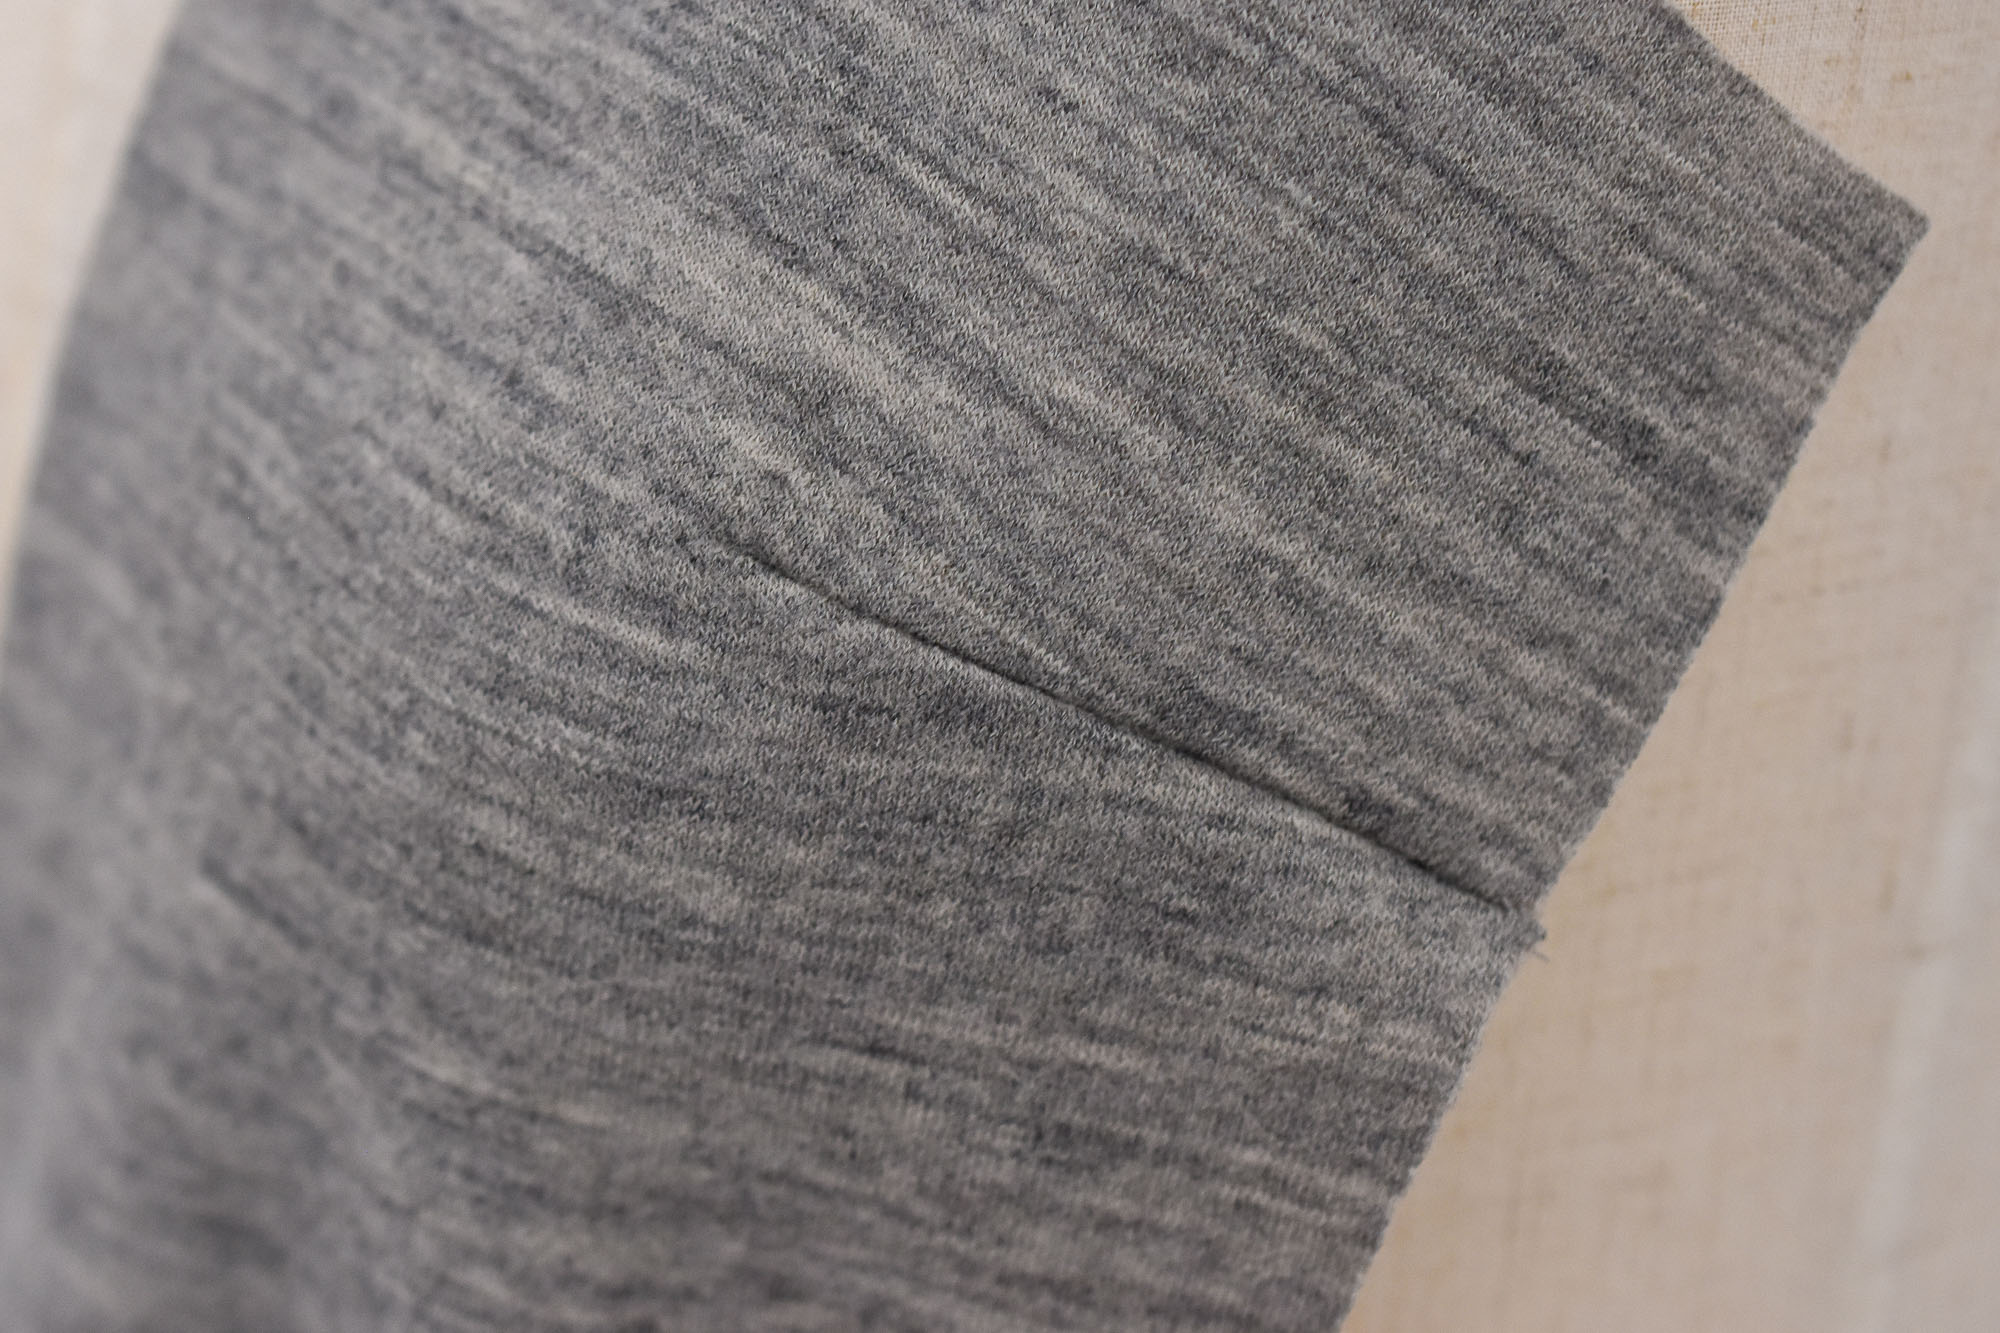
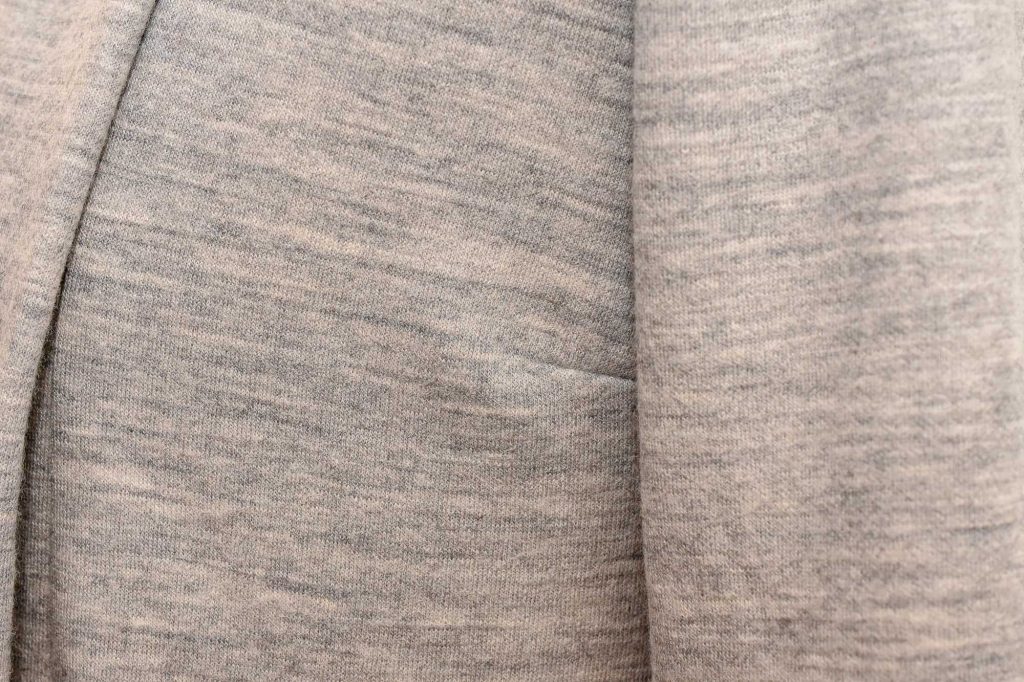
The finished dart
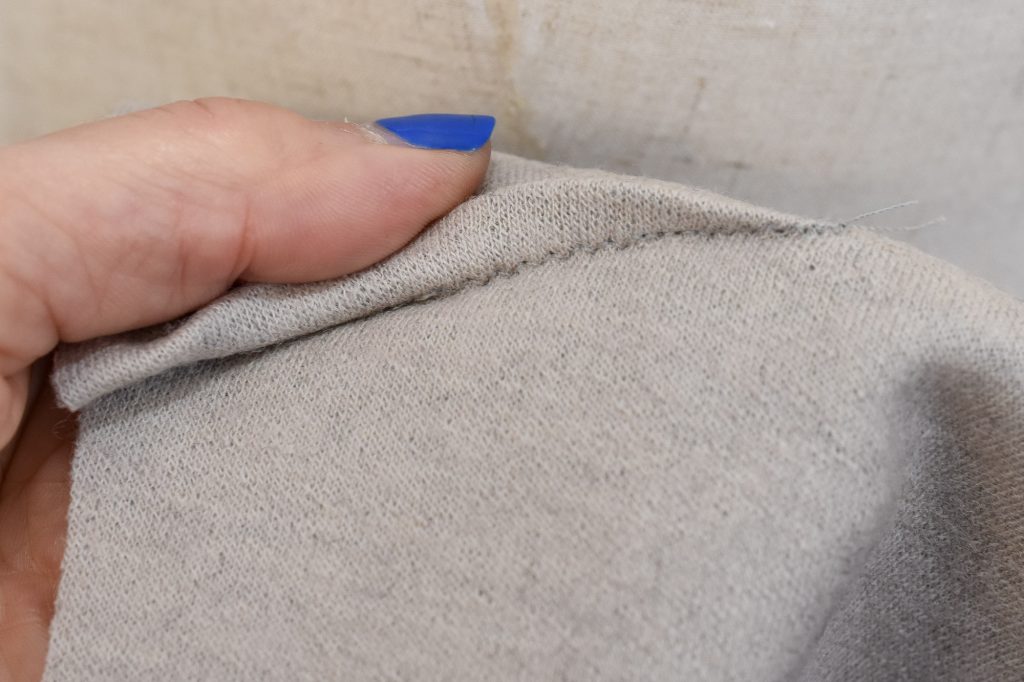
As you can see this dart looks perfectly smooth without stretched-out fabric, puckerings or dimples. And due to the narrow zigzag stitch, the dart still has some stretch.
And don’t forget to grab your free guide to full bust and small bust adjustments on knits.


1 Comment
Comments are closed.