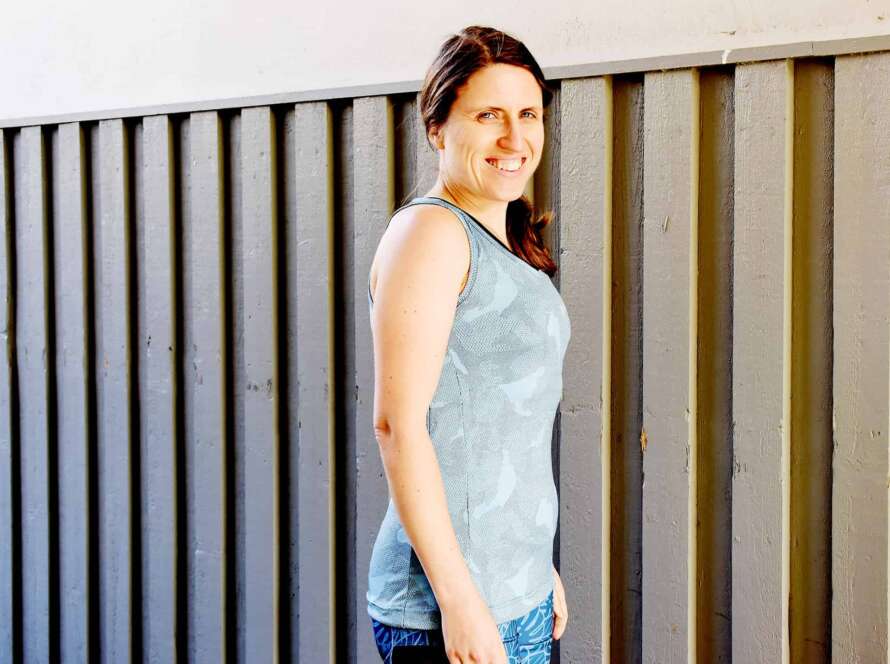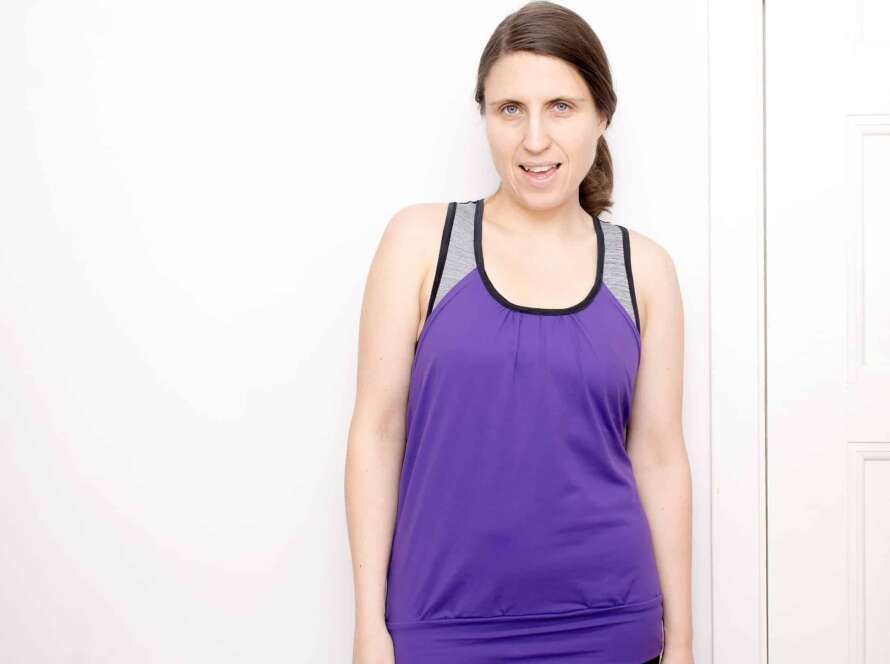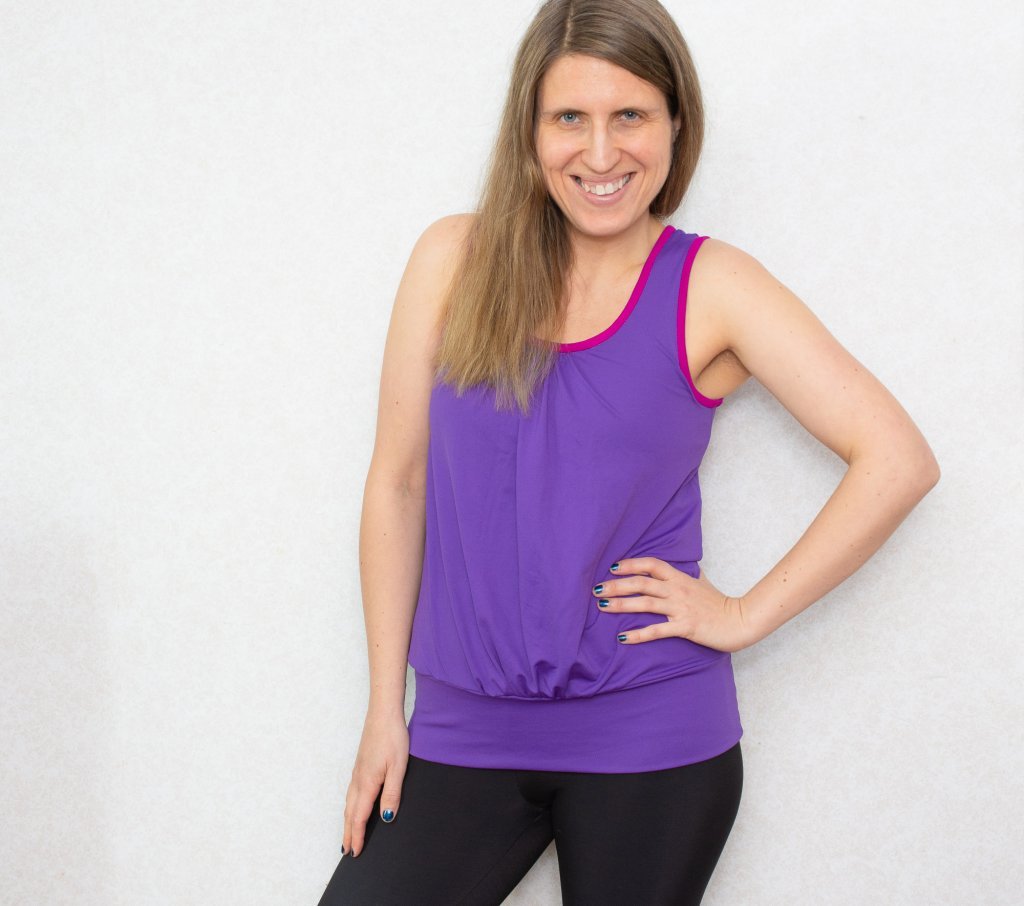
Here is the second piece of activewear that I made for the #stitchactivewear sew-along in March. It’s is an updated version of a top I made back in 2012 (and blogged about in 2015, because after I took the photos I ended up taking a long, unplanned blog break).

The main reason why I love this design so much is that it’s both super comfortable, practical and looks really nice too. The gathers at the neckline and waistband add a lot of extra room, but the top doesn’t feel bulky since the waistband cuff keeps the width in place and I also made the top quite fitted around the shoulder area and back area.


Inside the top, there is a built-in bra, which is something I often add to my me-made activewear tops. For extra support, I also added a layer of power-net inside the bra. Normally I would also add a lining over the net, for a smoother to skin situation, but since the top was getting so bulky with three layers of material. plus the gathers, I knew that putting binding over it all would be a massive struggle.
I’ve done two tutorials on how I add built-in-bras to my workout tops. The first one (How to sew a built-in-bra ) shows an assembly method that is similar to the one I used for this top. the second one (How to sew a sports bra with net lining ) shows how you can use mesh and power net to stabilise the bra)

The gathers on the top are created on the serger, which I highly recommend that you try if you have a serger. It really creates nice even gathers that are easy to adjust, in fact, the serger does a much better job creating gathers on knits than the traditional sewing machine straight stitch method.
The trick? Increase the needle tension and/or differential feed until you achieve the perfect amount of gathers. My Babylock Imagine doesn’t have manual tension, so I was only able to use the differential feed (set to the max) but I’m still happy with the outcome.

I’ve also done a tutorial on how to sew gathers with a serger using different settings, this tutorial was done when I still had a serger where I could alter the needle tensions, so it shows more options than my current set-up has.

So let’s talk about the hardest part. i.e. the binding. I used a super soft Meryl fabric for the top, and sewing binding with these type of flimsy, slippery workout fabrics is no walk in the park. So don’t beat yourself over if you can’t make it look super pretty and neat. It IS hard, and while I have a lot of experience in this area, the finishing on this top has some wonky spots fur sure.


If you have a sharp eye, and I’m sure you do, you might have noticed by now that there is no stitching on the outer side of the binding. But look closely and you’ll see tiny purple stitching just below the binding. That is a narrow zigzag stitch that I sewed below the binding, almost like the stitch in the ditch method. You can see how it works in the upper picture, the binding overlaps on the reverse side, so there is plenty of room for the stitch to catch that layer.

The reason for this method is that there is no domestic coverstitch machine or sewing machine in the world that would be able to sew over this much bulk without uneven feeding, draglines and/or skipped stitches. So I am rather safe than sorry, which is why I’m using this method.
I also serged the edges of the binding, since it prevents the fabric from rolling and also creates a neat, non-bulky finish. Now, since I’m using bright contrasting fabrics, the stitching is visible, but if I would have used, say, navy or black, this method would have looked really neat I think!

In hindsight, I should have added a bit more width in the back, but I drafted this whole pattern in about two hours, so I forgot to check some key measurements. I also made the bra a bit too short for the same reason, i.e. not checking the length before I cut and sewed. Oh, well, lesson learned (hopefully!)

So that was my second and last make for the #stitchactivewear sew-along. The first make was a new pair of Aila leggings and while I’m wearing another pair of the Ailas in these photos, I’m happy to report that my two March activewear makes goes together wonderfully!
BTW, if you want to see the somewhat messy process of adding the binding sing a tone of basting + here about some other lessons learned, you can check out the live stream I did recently where I talk more about the making of this top.