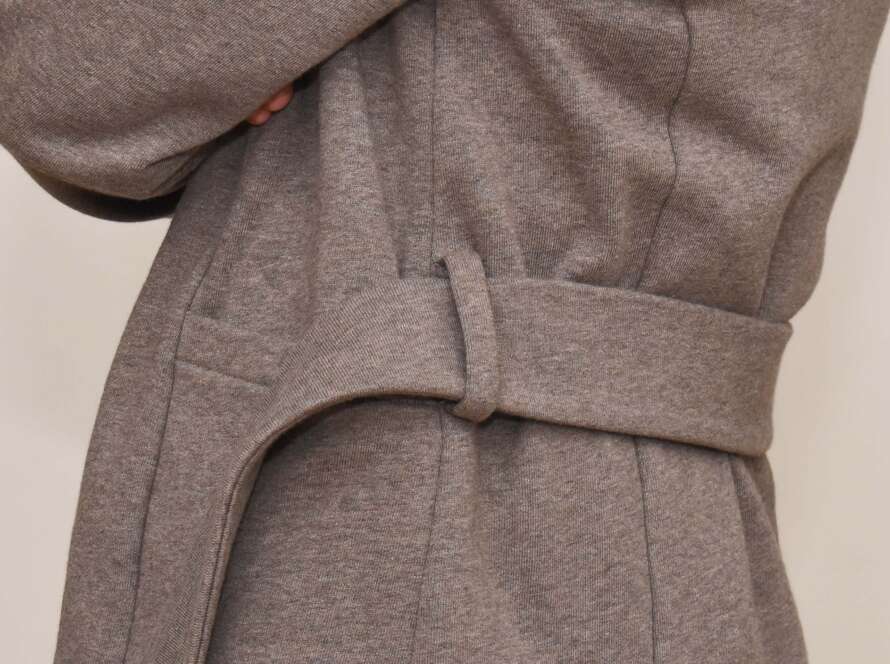
Are the pockets of the Eivy Cardigan too wide for your liking? Since the pockets are attached inside the seams, the pocket gets bigger with each size. But you can easily customise the width by following the instructions in this simple tutorial.

To make the pocket more narrow, it will be trimmed and topstitched on one side and attached inside the sideseam at the other side, so that you can easily adjust the pocket size to your preference.

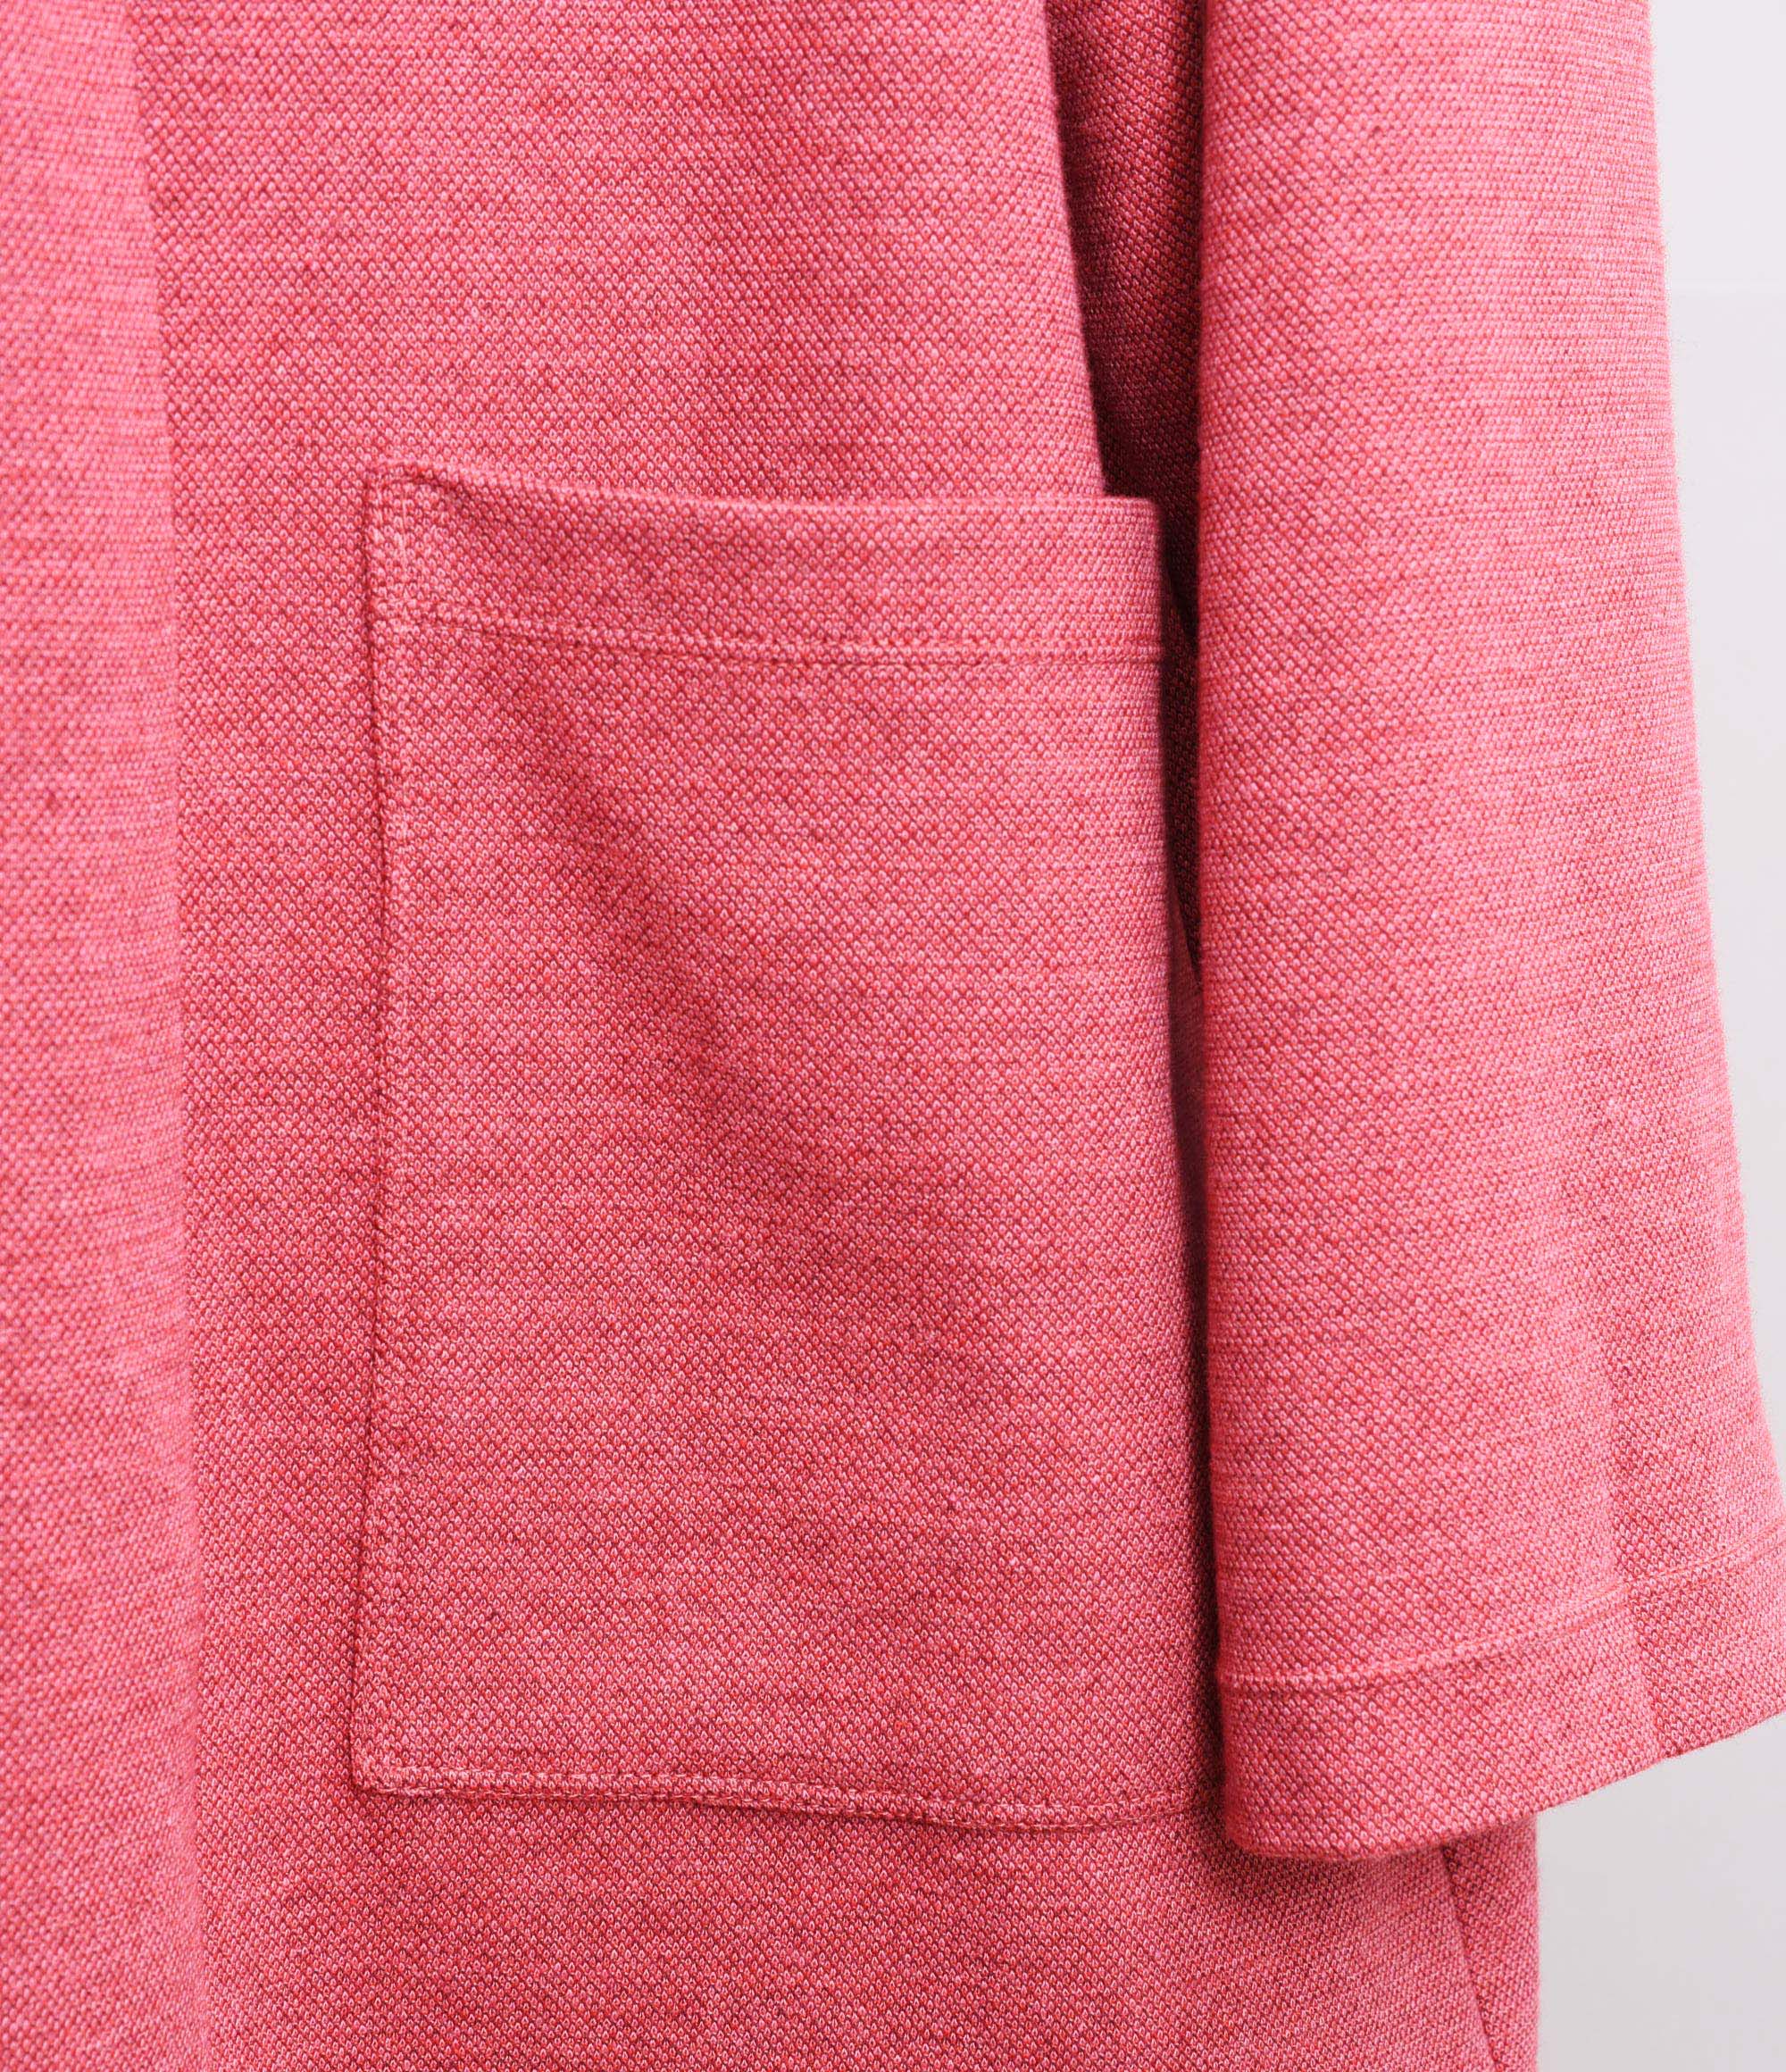
This is how the pocket will look like using the method shown in this tutorial.

1. Reduce the pocket width
Shorten the width of the pocket to your liking on the side that is facing the front piece. But keep 1 cm (⅜“) extra, this is for the seam allowance that will be folded in.

2. Stitch the pocket opening
Just fold the interfaced pocket opening to the reverse side and topstitch. This step is the same as for the regular pocket method.
3. Fold in the seam allowance

Fold and press the seam allowances to the reverse side, the seam allowance is 1 cm (⅜“). If you are sewing the long or midi length cardigan, start by pressing in the bottom seam allowance. Then fold in the trimmed side.

If you are sewing the short pocket version, just fold in the trimmed side (image above)
Super Tip: How to get crisp folds on knit fabrics

Press in the fabric against a piece of firm card stock, you could use a box of cerial for instance for this purpose. Draw a line with a pencil that is 1 cm (⅜”) away from the edge and use that line to help you press the fold evenly.
This method is honestly magic and will change your pressing life, I promise!
4. Attach the pocket to the side-front piece

In this tutorial we are using the midi/long pocket version to demonstrate, which means that the bottom will be topstitched too.

I strongly recommend basting the pocket to the fabric, especially if doing the narrow pocket version or using softer knit fabrics with more stretch. Knits can be slippery and this is a situation where you need to keep the fabric in check to avoid stretched out, wobbly pocket seams.

Another option is to use Wonder-Tape (Amazon affiliate link) , which will disappear after washing. Wonder-Tape is extremely helpful when sewing pockets on knits, it keeps everything still and crisp.
But I would not iron over the pocket afterwards if using Wonder-Tape, just to make sure there will be no sticky residue left on the fabric.
5. Stitch the pocket

Start sewing the bottom of the pocket (if doing the midi or long pocket option). Sew close to the edge. Here I’m using a twin-needle and it’s actually very beneficial to use two row of stitches for the pockets. The first row will keep the pocket bottom edge firmly attached to the garment and the second row will keep the edges of the seam allowance in place.

Pivot once you reach the end of the bottom to sew along the trimmed vertical side.


To make the pocket super durable, stitch a triangle tack the pocket opening. Since I was using a twin-needle I had to switch needles to do this, but totally worth the extra hassle if you ask me.

Here is the finished pocket. Doesn’t it look super crisp and sharp? If you use the tips I have shown in this tutorial you will get such nicely shaped patch pockets, even on stretchier knits!

1 Comment
Comments are closed.