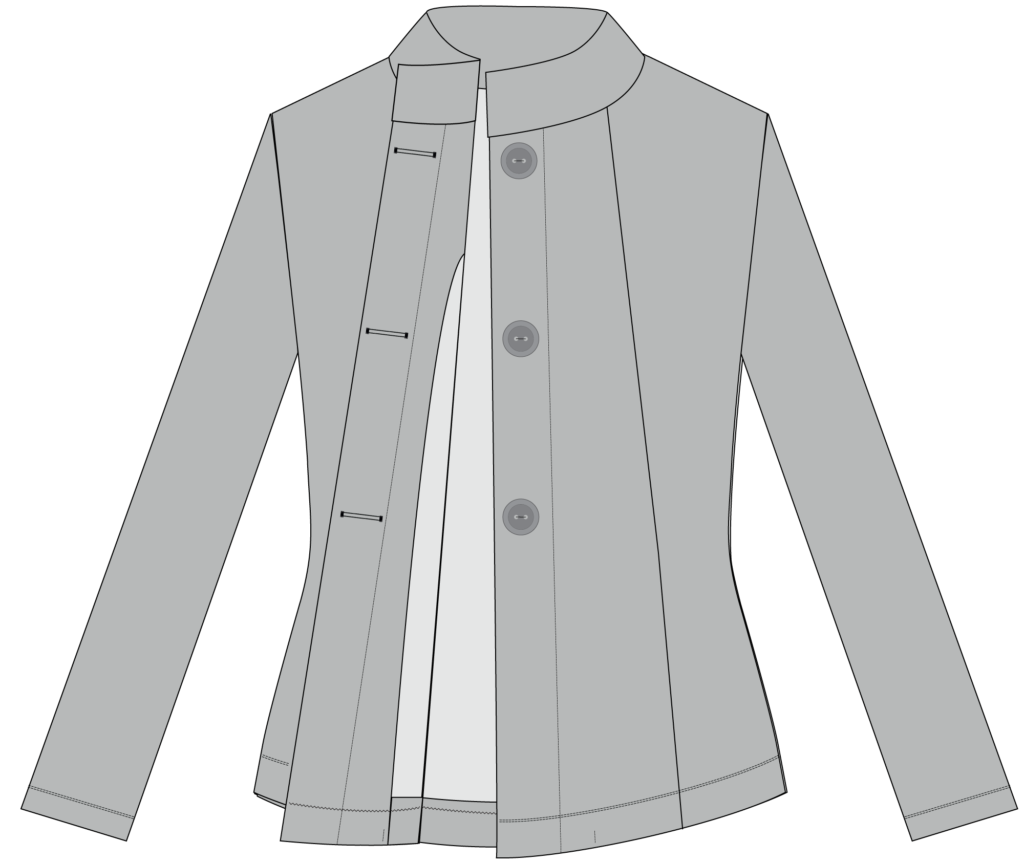
In this part of the Eivy Cardigan Sew-Along Series, we will go through the best methods for hemming the Eivy Cardigan, including lots of bonus tips that can be used for any project that involves sewing the hems ión stretchy knit fabrics.
Hemming knits can sometimes be tricky since stretchy fabrics have a tendency to stretch out and expand during sewing. And sometimes it is hard to restore the hem after this has happened. So before we start the actual step-by-step tutorial below it is a good idea to talk about how to prevent this from happening.
How to prevent knit hems from expanding during sewing
Interface the hems
Using stretch interfacing on the hem allowances is a very effective way to prevent wavy, stretched out hems. Just make sure the interfacing is lightweight with some cross-wise stretch and always do a sample before attaching the interfacing to the actual garment. To learn more about fusible stretch interfacing, read the Complete Guide to Stretch Interfacings.
Feed the upper layer evenly
When sewing knits on a regular sewing machine, the feeding might get uneven. Meaning that the upper layer is pushed forward, while the lower layer stays intact.
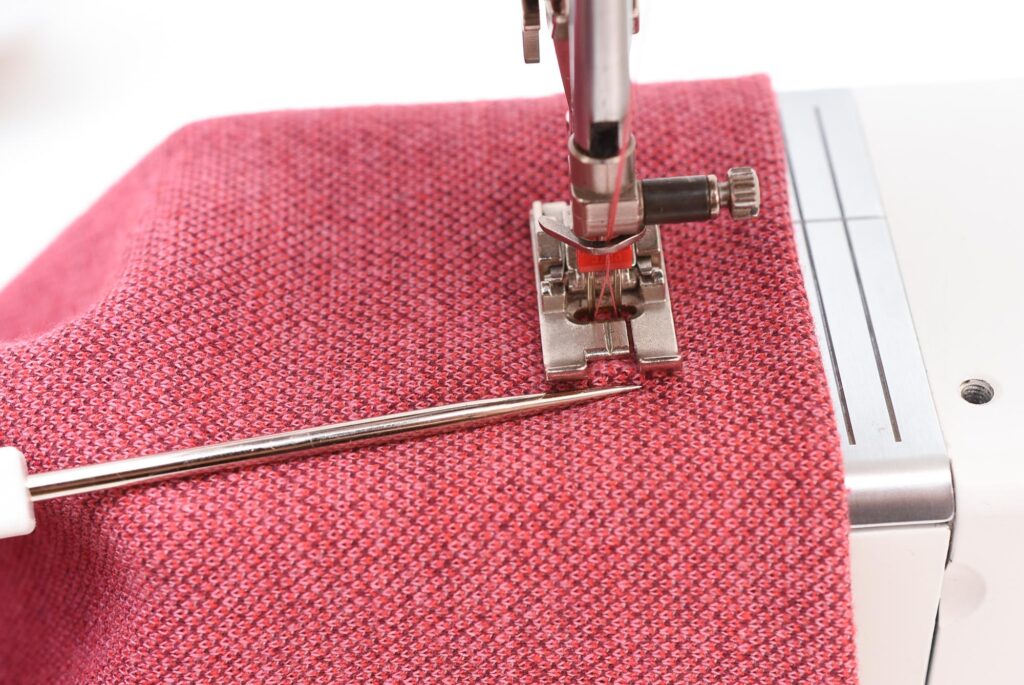
If it’s only the upper layer that is stretching out, feed the upper layer of the fabric towards the presser foot using an awl or a similar pointed tool. Feed the fabric in a slow, rhythmic motion.
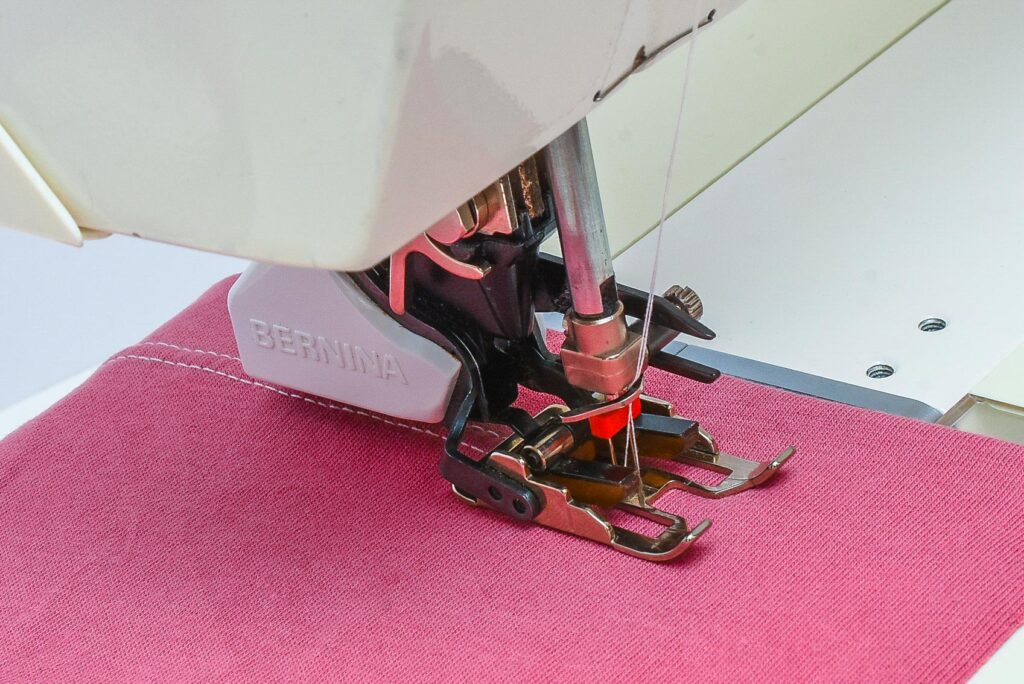
Using a walking foot can achieve the same effect and is a great option when hemming knits.
Shrink back the hem allowance
If the lower edge (i.e the folded hem) has stretched out, you can use the finger press ease stitch method to shrink back the fabric into its original size.
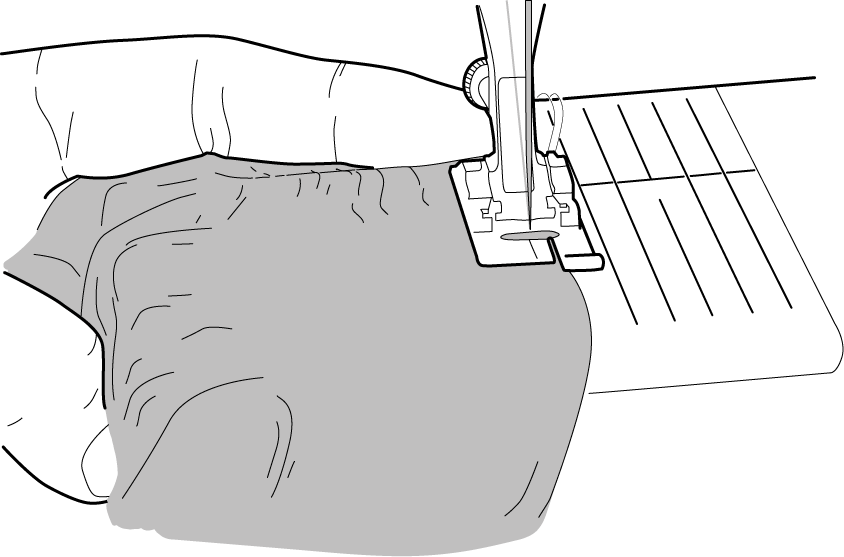
Press a small fold of fabric between your index finger and the back of the presser foot. Start sewing, keep pressing the fabric and the fold will grow bigger. Release the fold once it has built up and repeat. This will ease (shrink) back the fabric into shape.
Another option, if you have a serger, is to overcast the edges with an overlock seam and crank up the differential feed to max or near max. This will pull the fabric together as well.
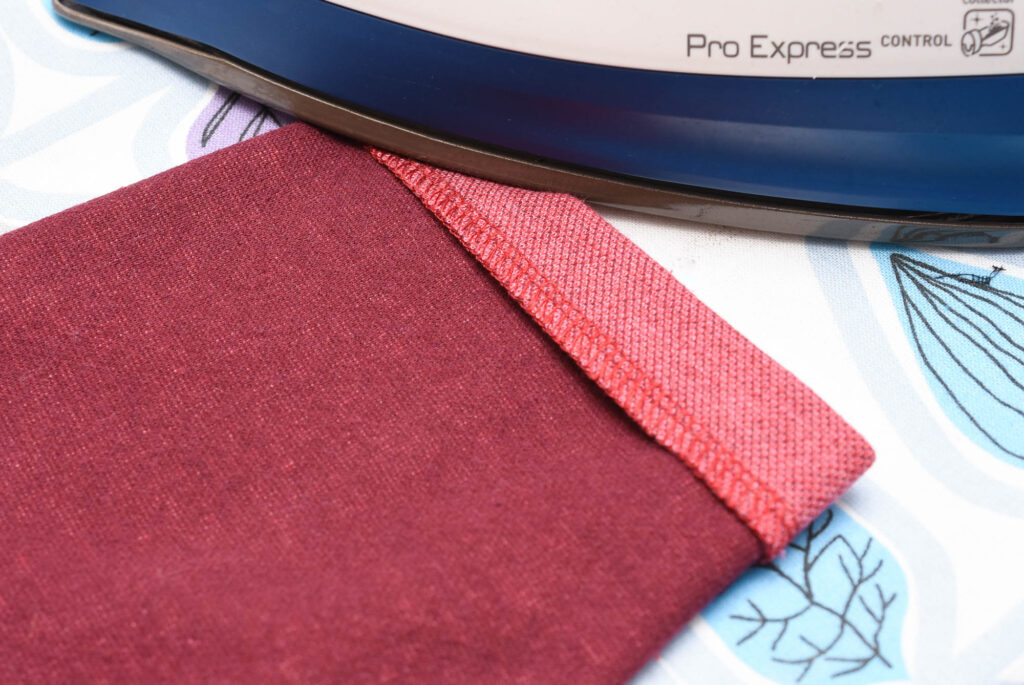
Soak or steam the fabric
Sometimes soaking the fabric in water, or steaming the fabric, using an iron, can also help reshape the fabric.
Stitches for hemming the Eivy Cardigan
When hemming knits there are several options to choose from and luckily I have already created in-depth tutorials for each method, that you can check out if you want to make an informed decision.
Twin-Needle Hemming
The method we are using in this tutorial. A great choice when working with stable knits such as sweater knits, french terry and jacquard.
Machine Blind Hemming
This stitch will be pretty much invisible on the outside of the garment (when done right). Pretty much every sewing machine will have this stitch and it can also be done on a serger.
Machine Blind-Hemming Tutorial
Coverstitch hemming
A coverstitch will work well too for hemming the Eivy Cardigan unless the fabric is very thick, then you might run into some feeding issues.
How to hem using a coverstitch machine
You can also use a regular zigzag stitch to hem the cardigan.
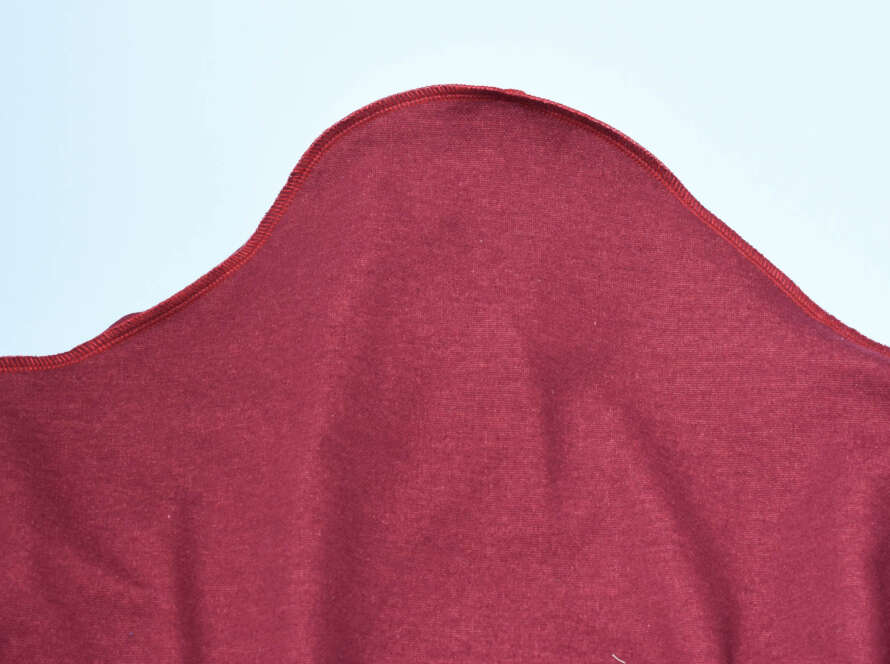
Hem the sleeves
1. Fold and press the hem seam allowance
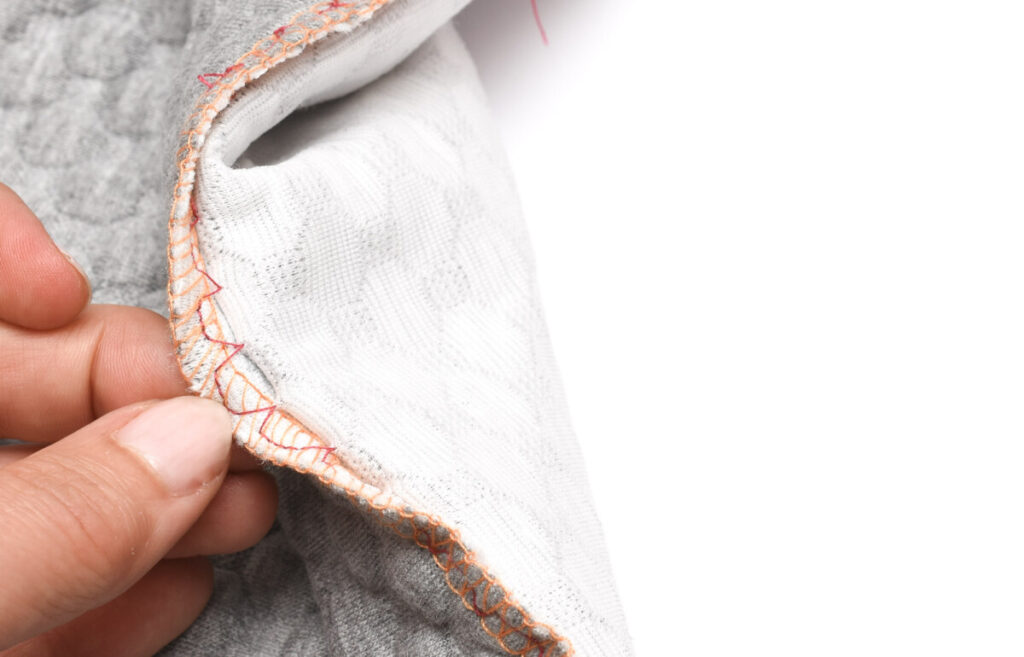
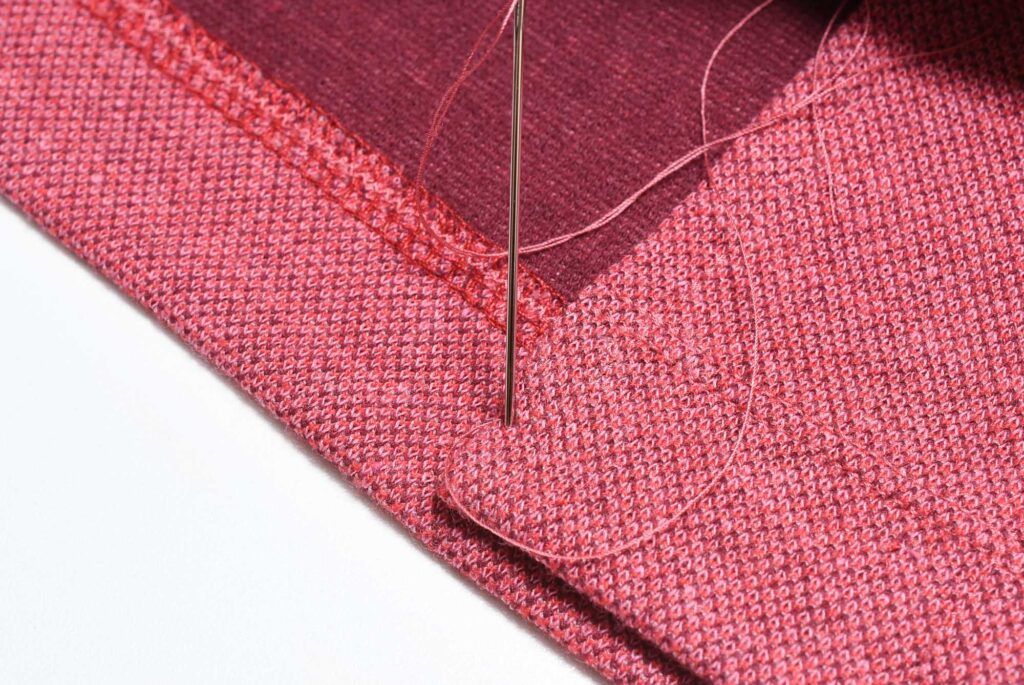
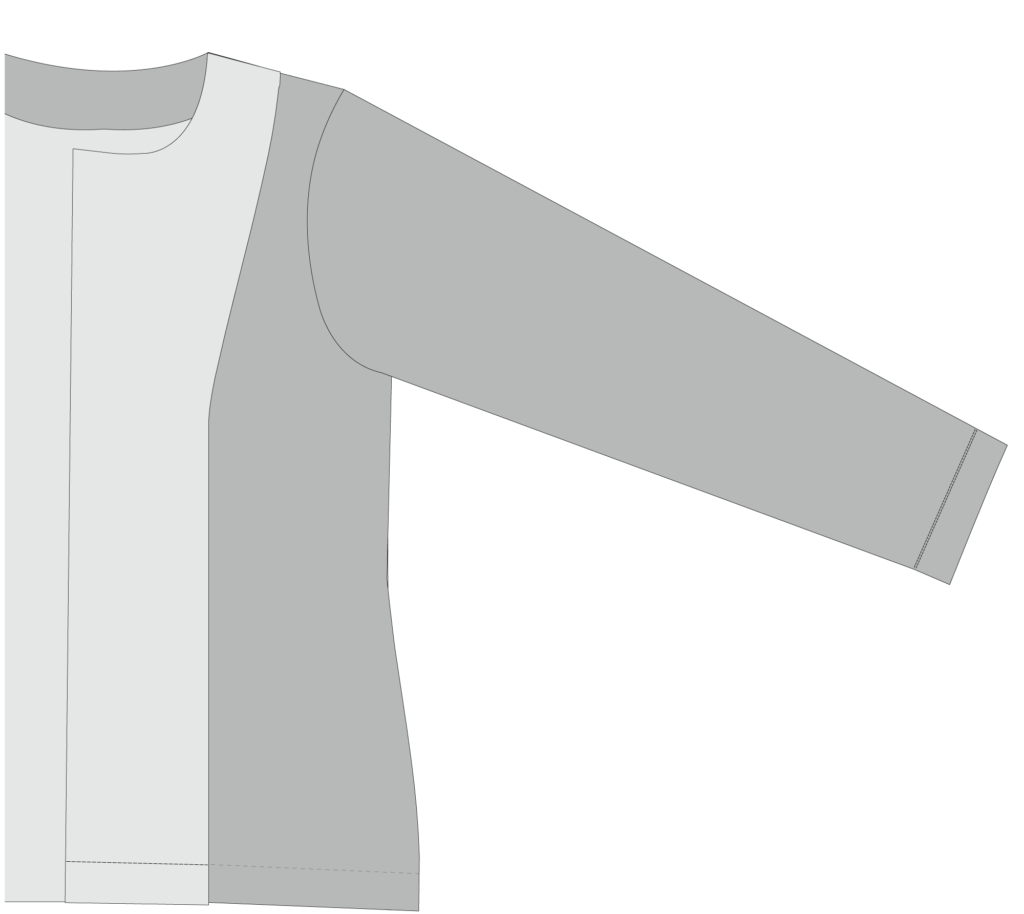
For a flatter hem, clip tiny notches in the seam allowance and fold the allowance in the hem in the opposite direction (i.e. to the front of the sleeve) (fig 1) Pin or baste in place. Make sure that the clip is tiny so that the seam doesn’t break.
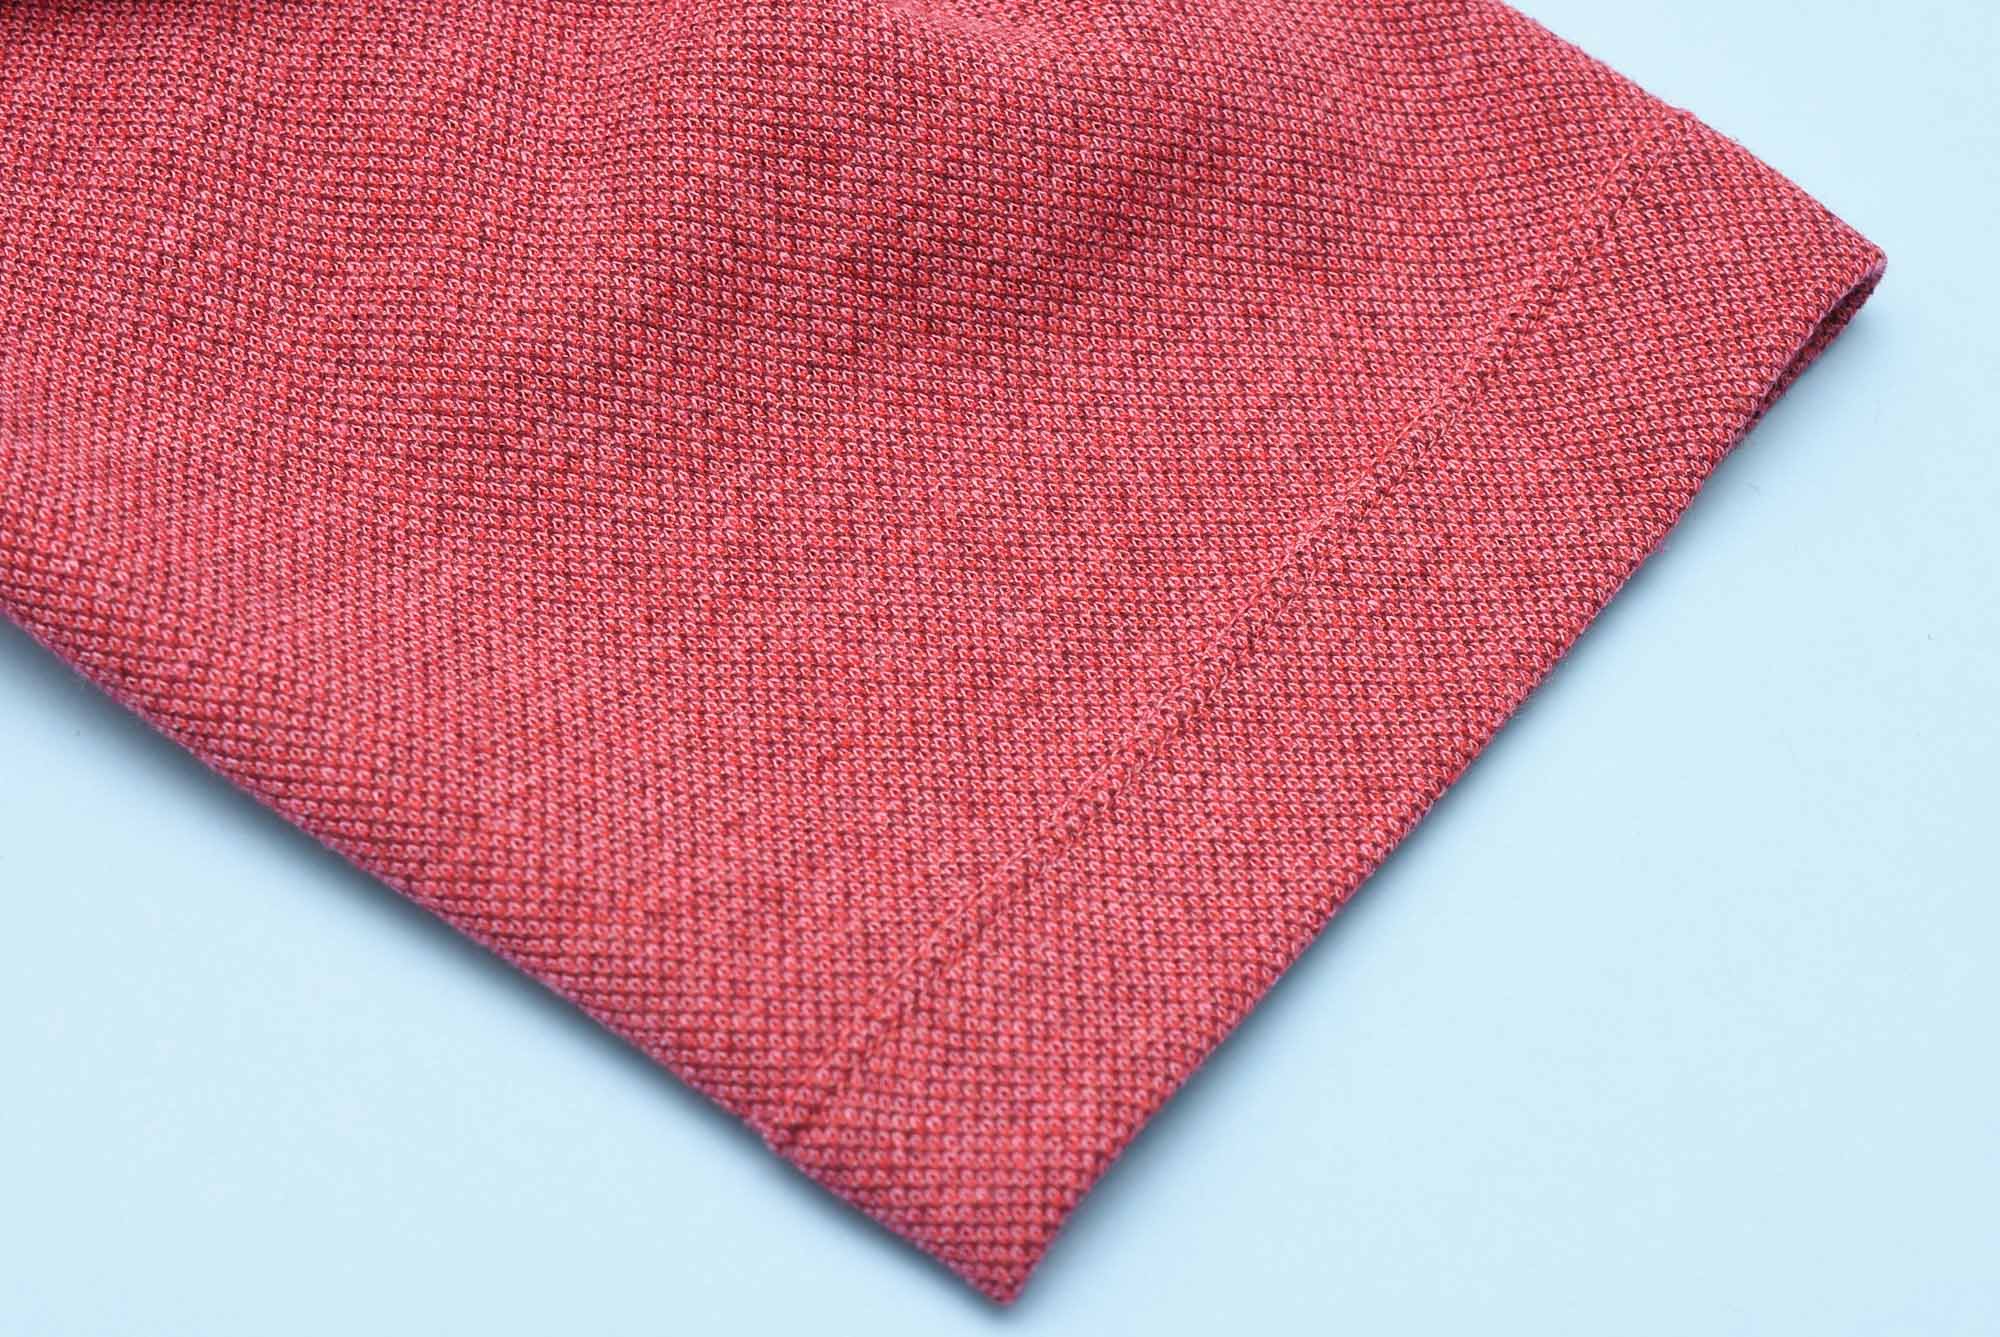
2. Hem the sleeves
Sew carefully and rotate the sleeves gently. Make sure you don’t stretch out the sleeve opening while sewing and refer to the tips at the beginning of this tutorial on how to prevent and fix this issue.
Hem the bodice
Hemming Option 1
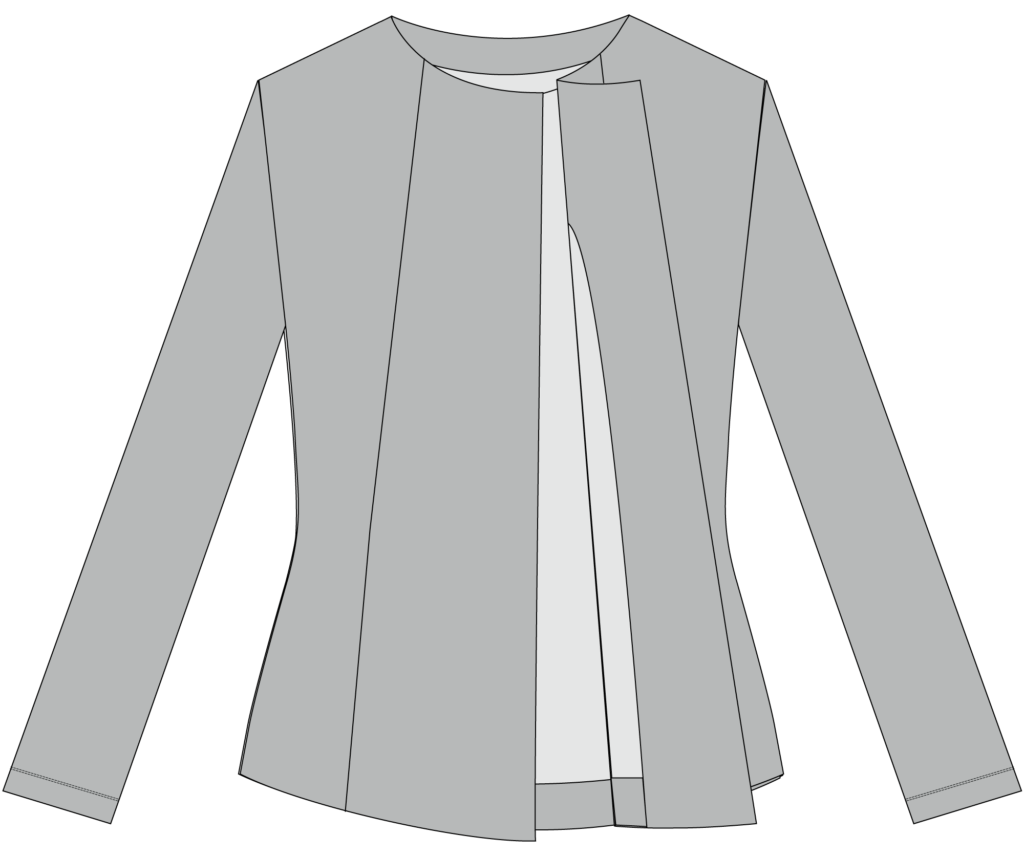
With this option, the hem is sewn with the facing open, and not folded. After hemming the facing is folded back and attached with a tack stitch and or topstitching. This method creates a very sharp lower corner but might look slightly less neat since the facing is not hidden inside the seam.
1. Fold and press in the hem allowance of the cardigan bodice.
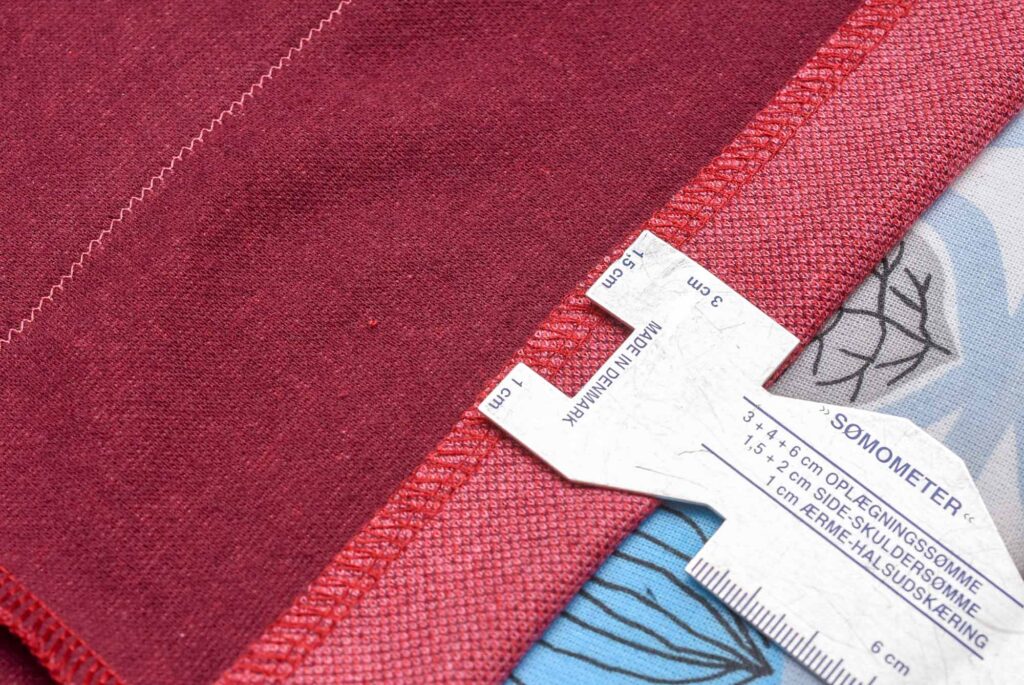
The hem allowance is 3 cm (1 ¼”).
Clip the seam allowance just like with the sleeves for a flatter hem.
Tip: Make the hem fold slightly higher at the ends of the bodice. This will ensure that the facing will not drop below the hem.

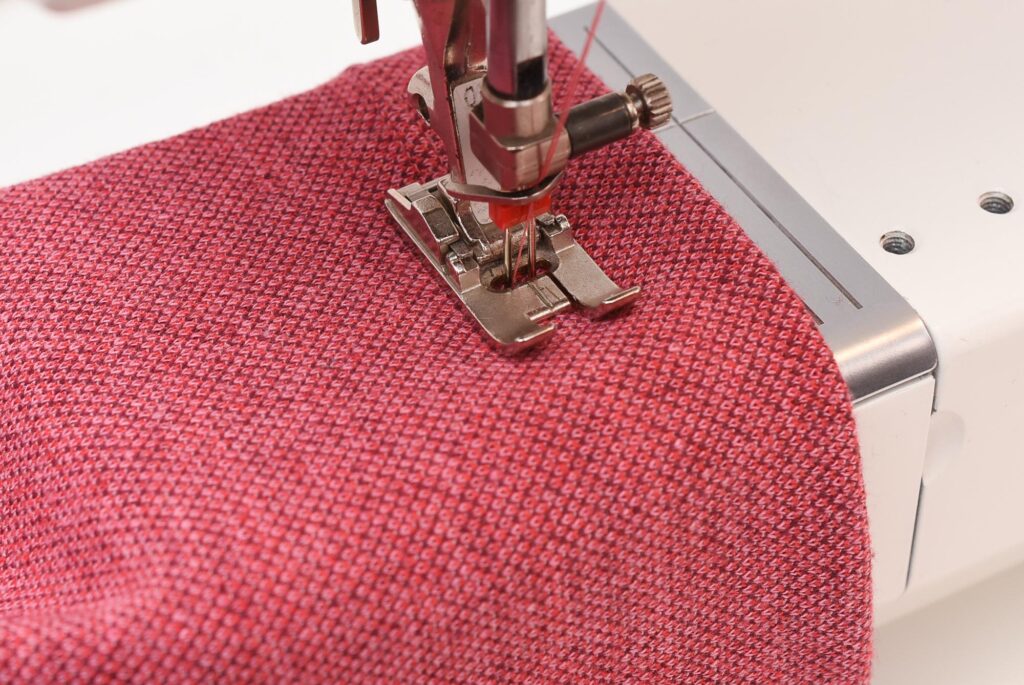
2. Stitch the hem
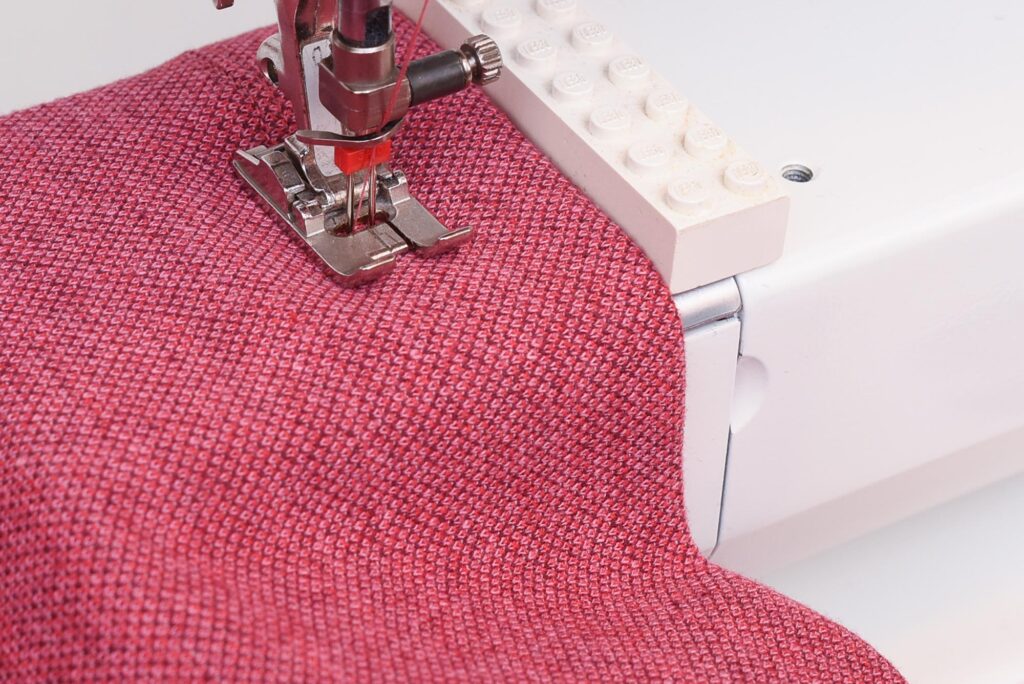
Tip: Use a piece of Lego attached with blue-tac to make sure the seam is sewn evenly.
3. Fold back the facing and secure
Attach the edge of the facing to the folded hem either with a few machine straight tack stitches or by hand using a sewing needle and thread.
Hemming Option 2
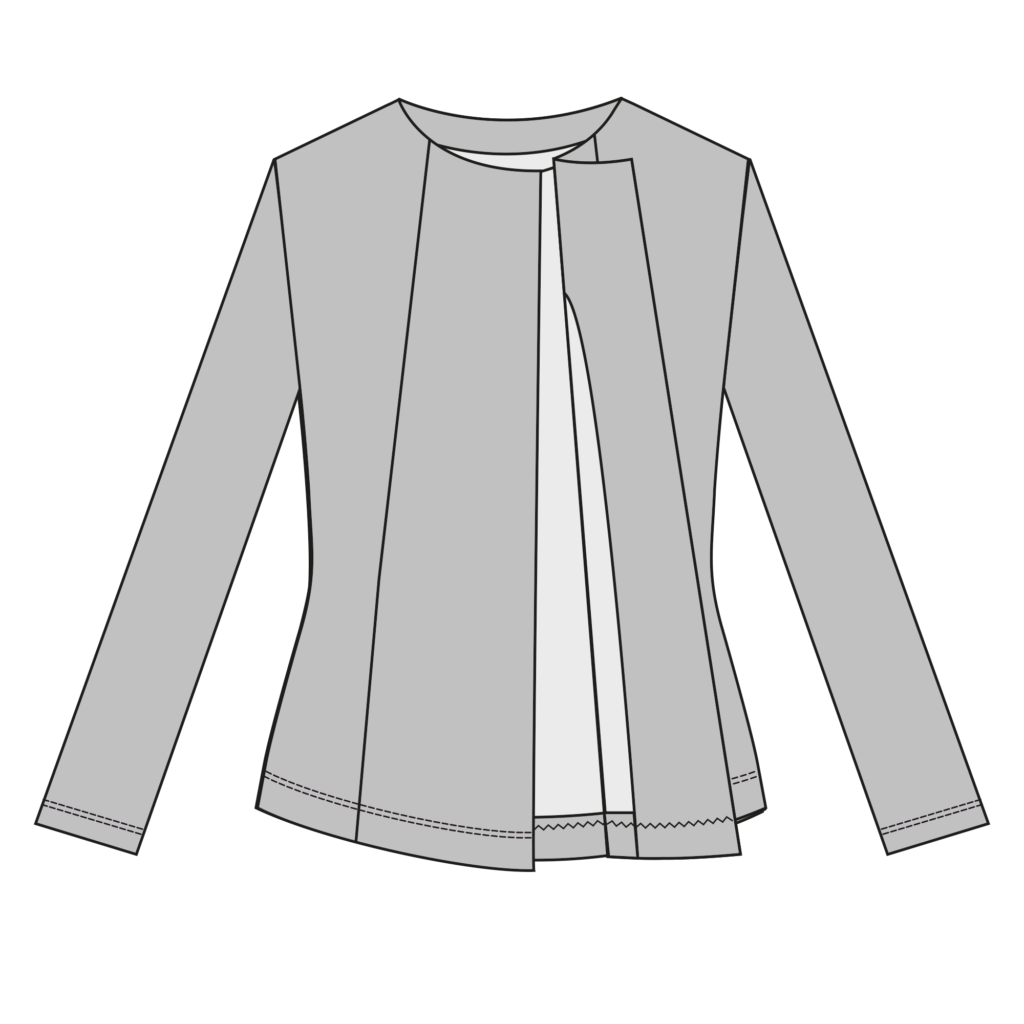
This option encloses the lower edges of the facing and placket, creating a very neat finish. The only downside is that it can sometimes be a little harder to achieve a sharp 90-degree corner using this method.
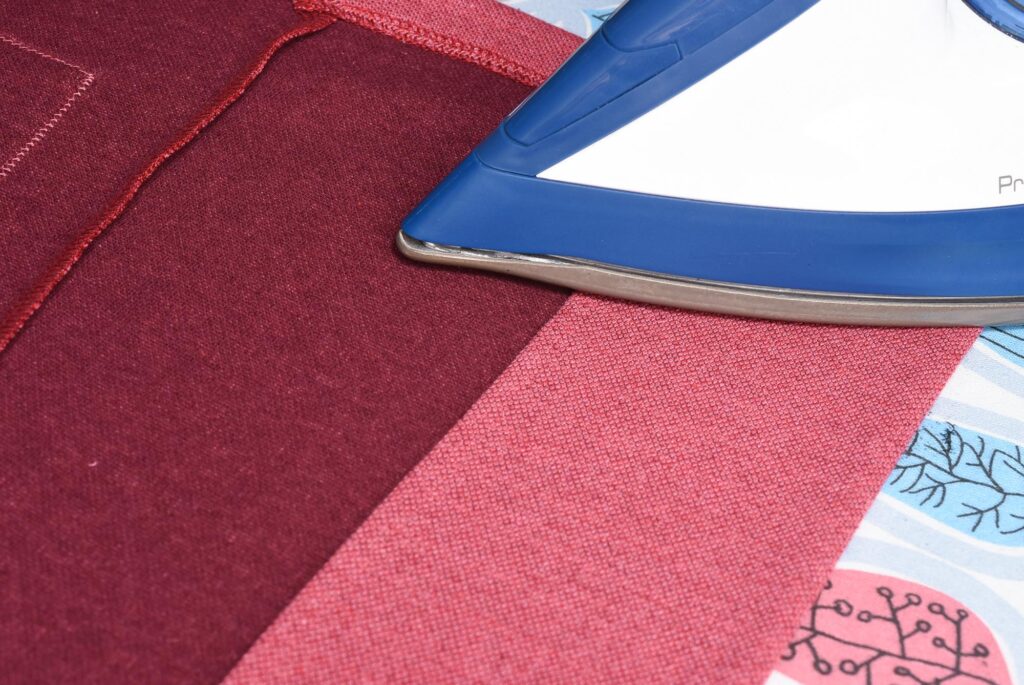
1. Fold and press up hem allowance
This is essentially the same process as in option 1.
1. Fold over the front facings
Open up the pressed hem fold. Fold both facings towards the front, right sides facing.
2. Stitch over the facing area
Stitch only over the facing and the front to join both sides. Stitch in the fold ridge, 3 cm in from the (same as the hem fold line).
3. Fold back the facing
The facing hem allowance is now enclosed. Press to shape the fold. Repeat on both sides. Tip: If the lower corner is too bulky after you’ve folded back the facing again, clip the corners and fold and press the seam allowances to shape a 90-degree corner, before turning the cardigan.
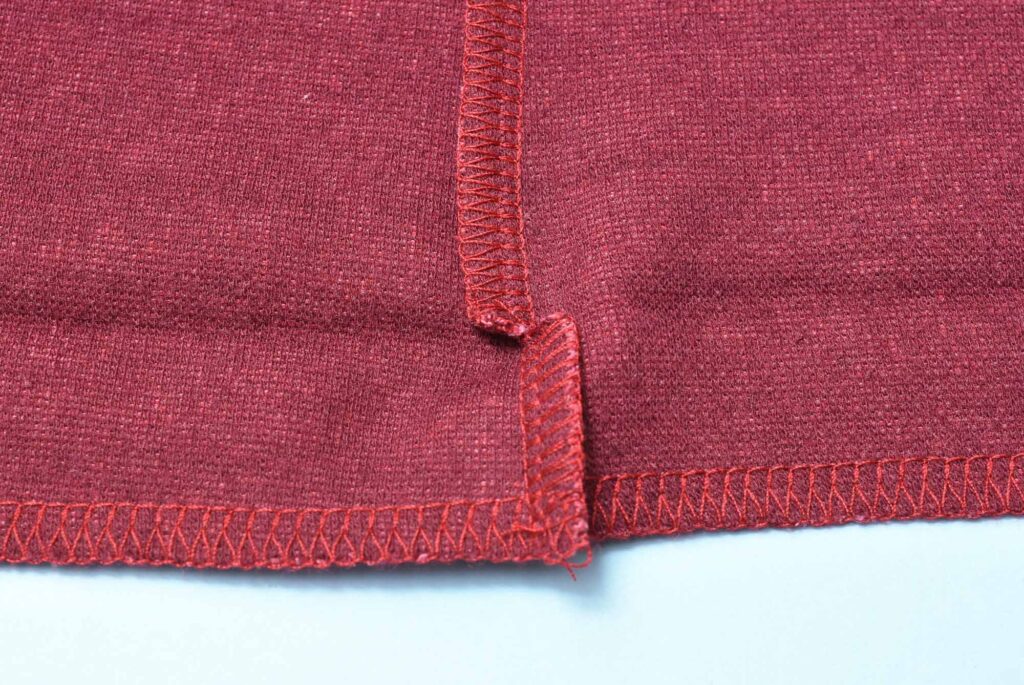
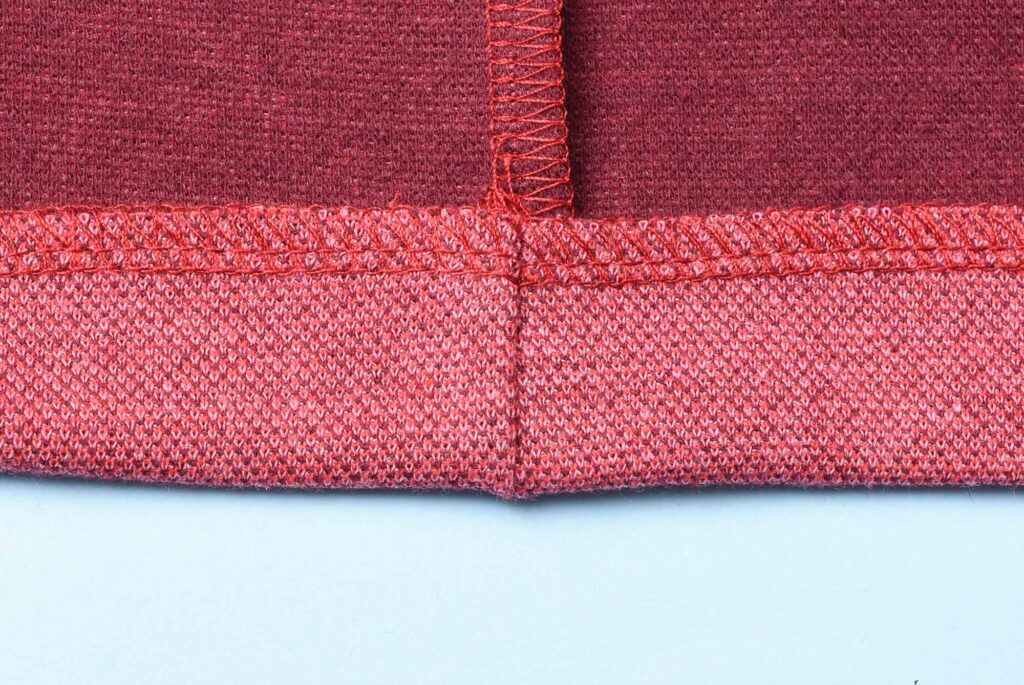
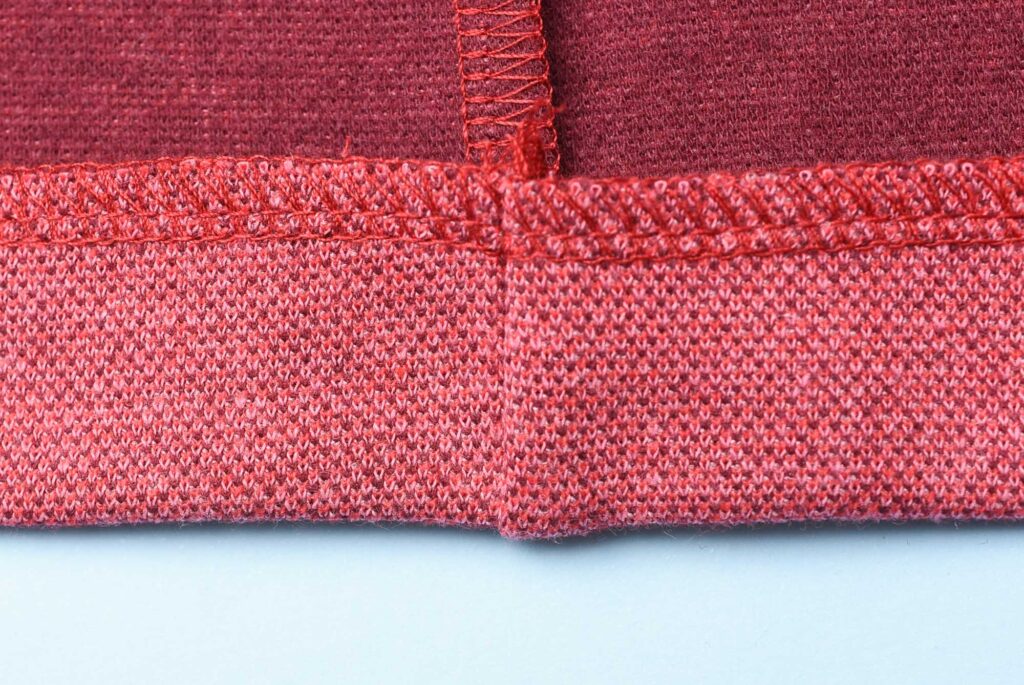
4. Hem the cardigan
Hem the cardigan using the techniques and stitches described previously in this tutorial.
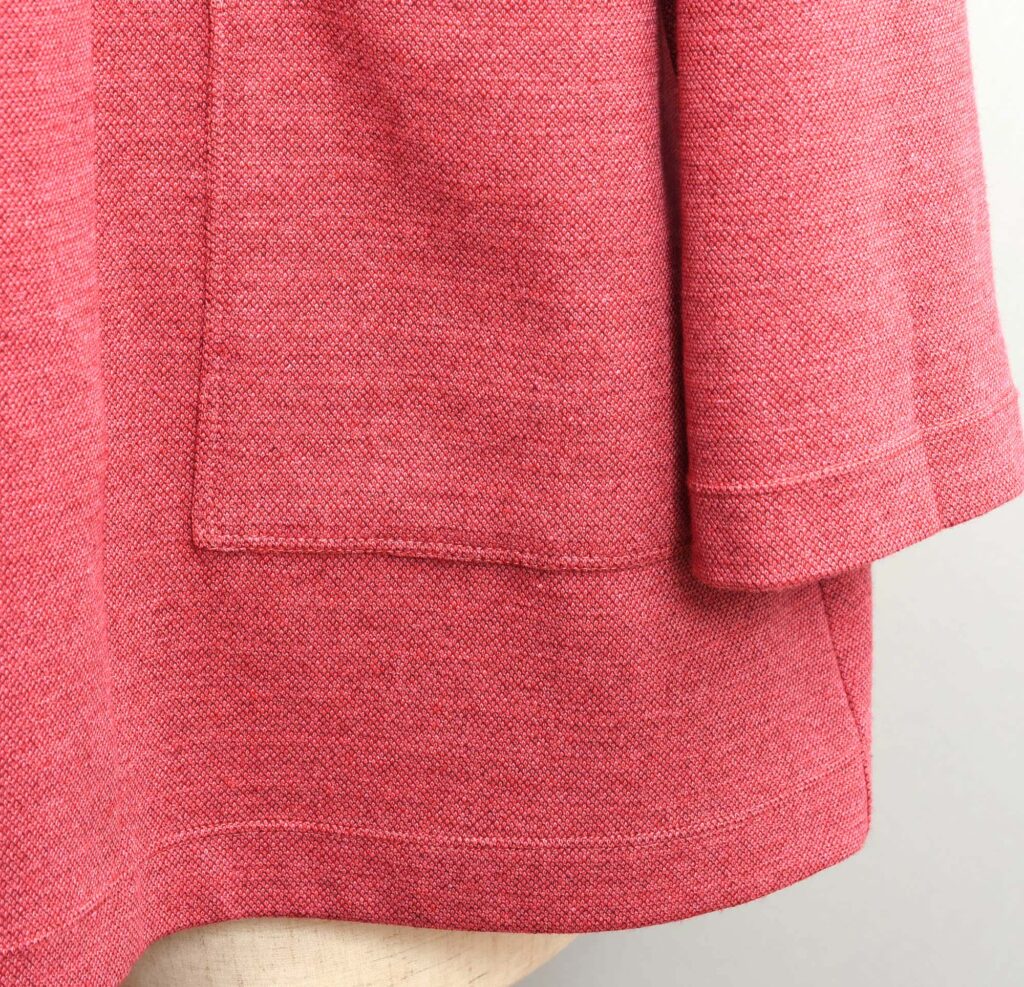
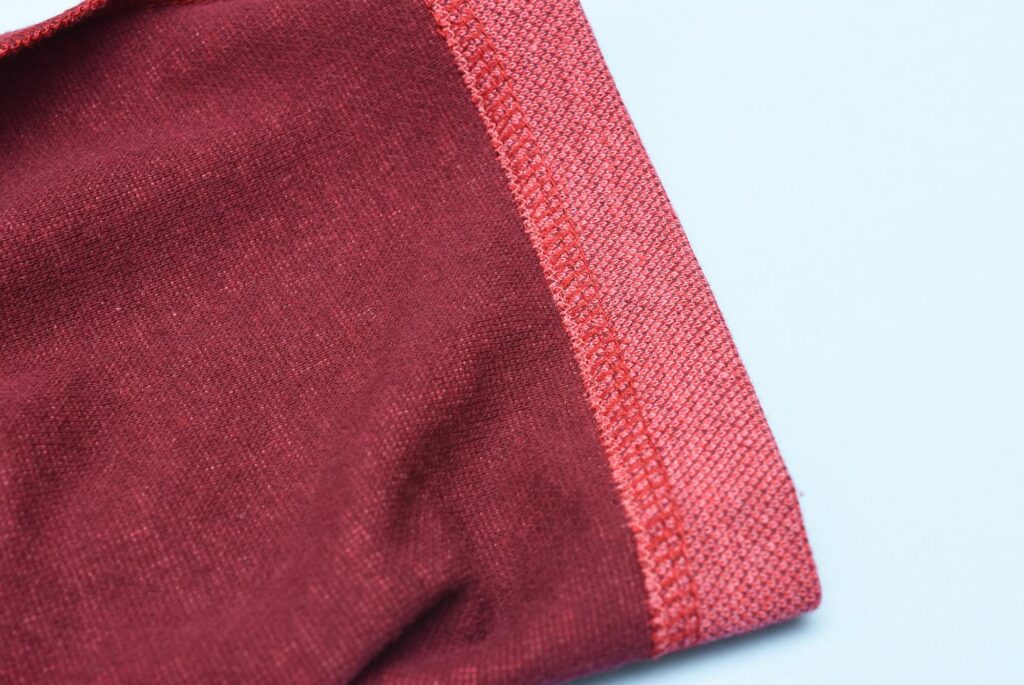
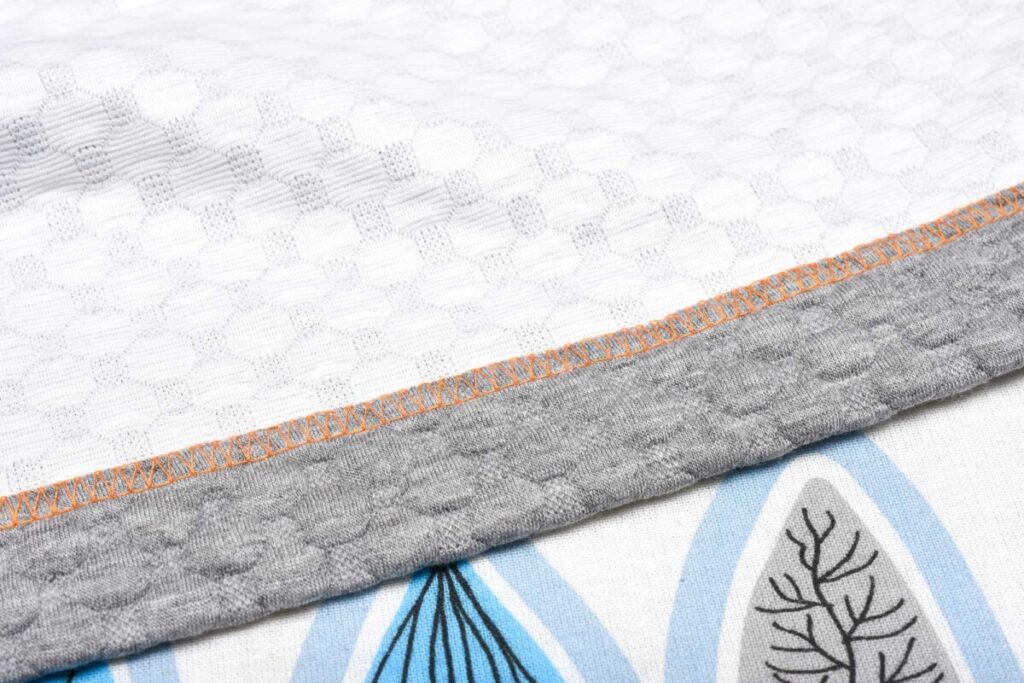
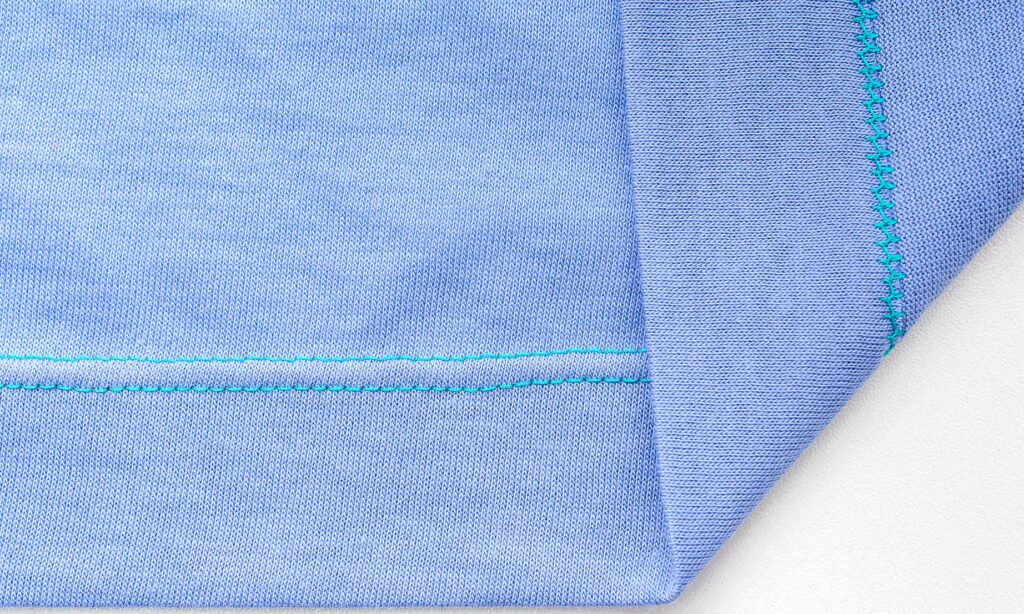
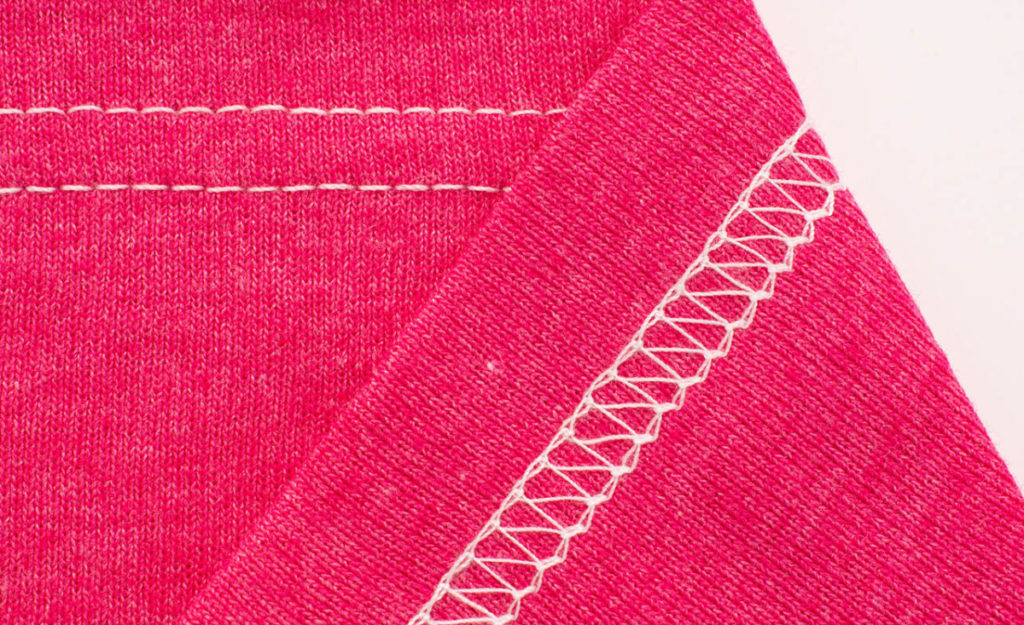
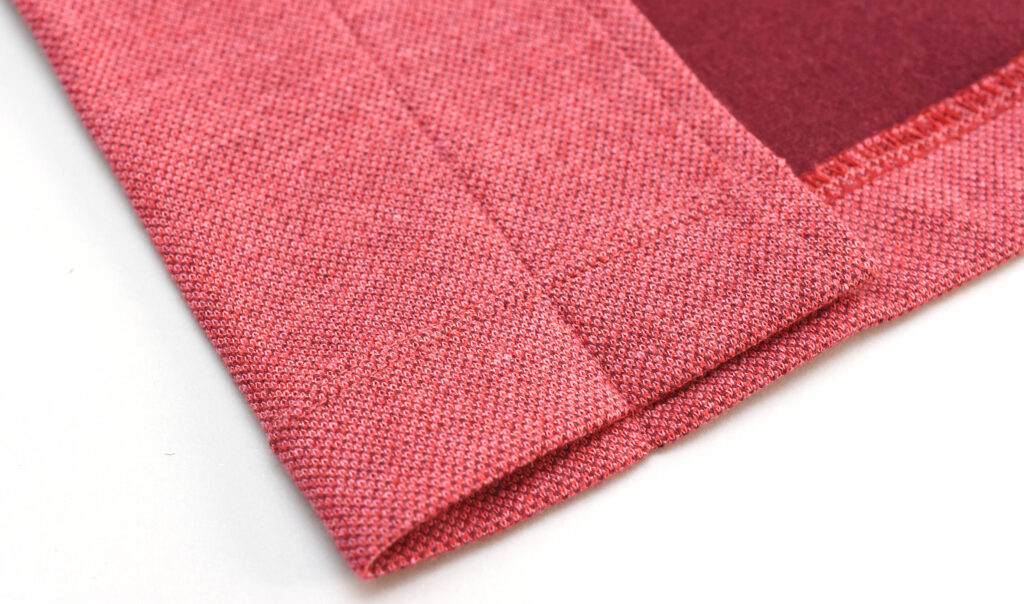
The finished hem up-close. In this tutorial, a twin-needle was used to hem the cardigan.
Hope you got a few good extra tips for hemming your Eivy Cardigan in this tutorial. Also, check out all the other tutorials in the Eivy Cardigan Sew-Along Series.