Sleeves and sideseams are usually sewn differently on knit fabrics compared to garments made with woven fabrics. Traditionally you start by sewing the side seams and then insert the sleeves into the armhole. On knit garments, the process is somewhat reversed to better suit the properties of knit fabrics.
The process is done in two steps:
- First, the sleeves are attached to the armhole on the flat, before the side seams are sewn.
- Then the bodice side seams and the sleeve seam are sewn together in one continuous sequence.
So in this instalment of the Eivy Cardigan Sew-Along Series, we will go through the best methods for inserting sleeves and sewing the sides seams on the Eivy Cardigan.
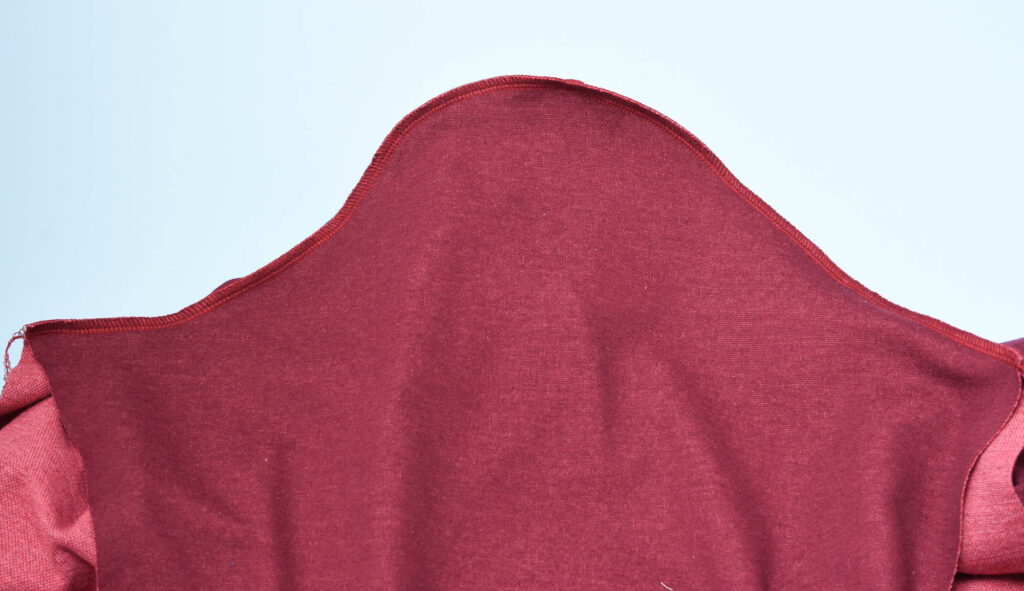
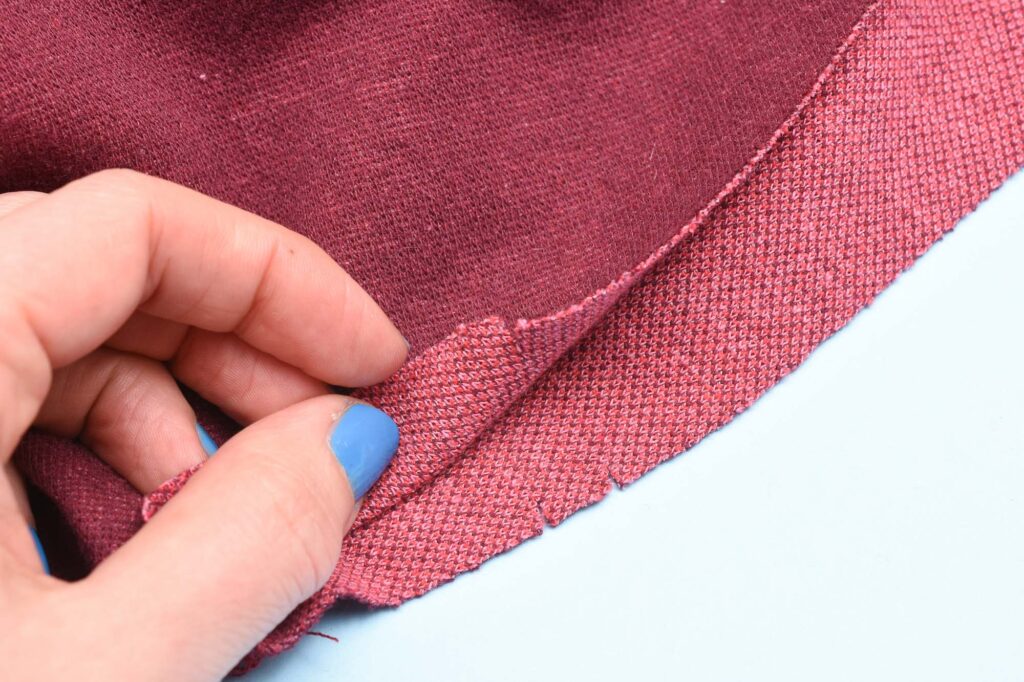
1. Press the shoulder seam to the back
Make sure the shoulder seams are folded towards the back piece before attaching the sleeves, especially if using an overlock seam to sew the cardigan. When using an overlock stitch the shoulder seam can’t be pressed open to lie flat. But folding the seam towards the back will make the bulky seam allowance less conspicuous.
2. Fold and press the sleeve hem allowances
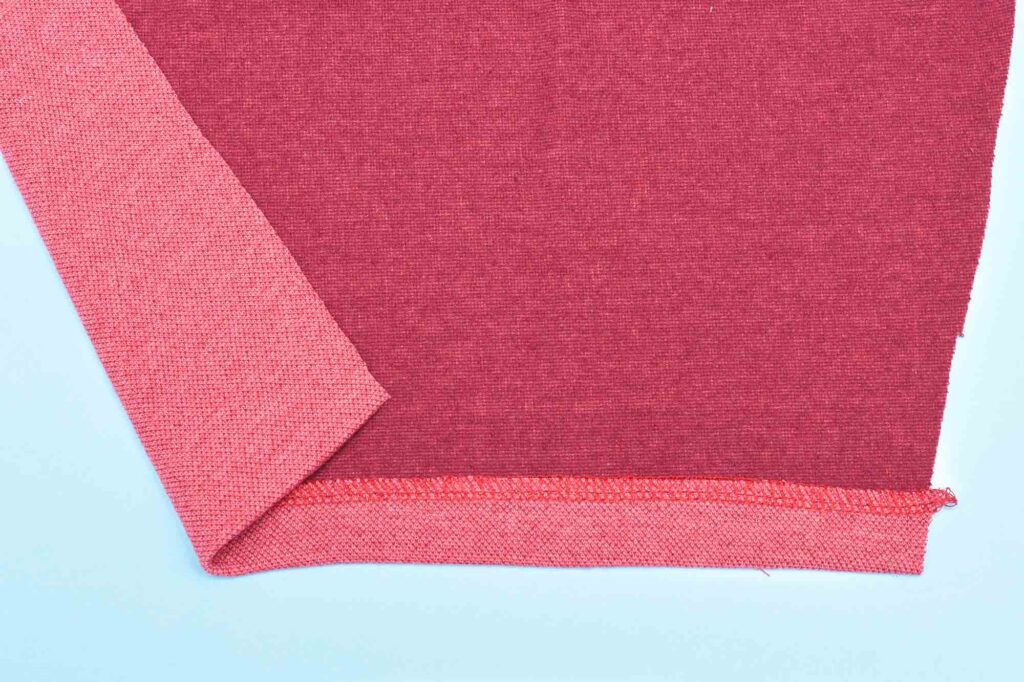
To make hemming easier it’s a good idea to fold and press the hem allowance before sewing the sleeves. Working on the flat rather than on the round will allow for more control and makes exact measuring easier too.
3. Attach the sleeves
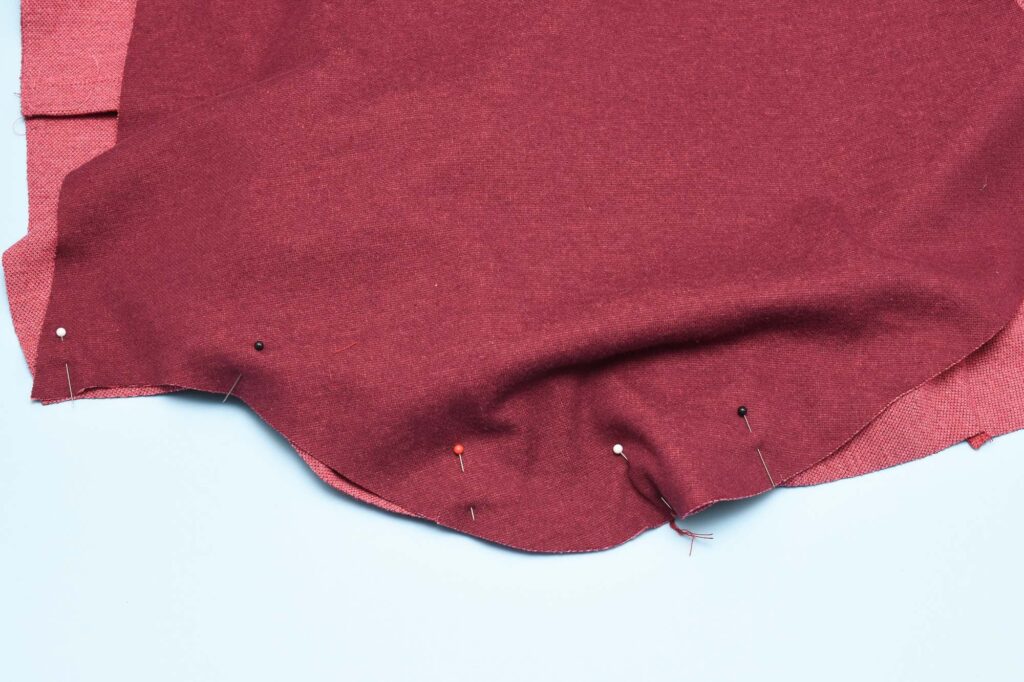
Place the open sleeve cap over the armhole, right sides facing, matching the front, back and shoulder seam notches on the sleeve piece and armhole.
Use only a few pins or wonder-clips (Amazon affiliate link) to keep the sleeves, since over pinning can distort the fabric when sewing knits.
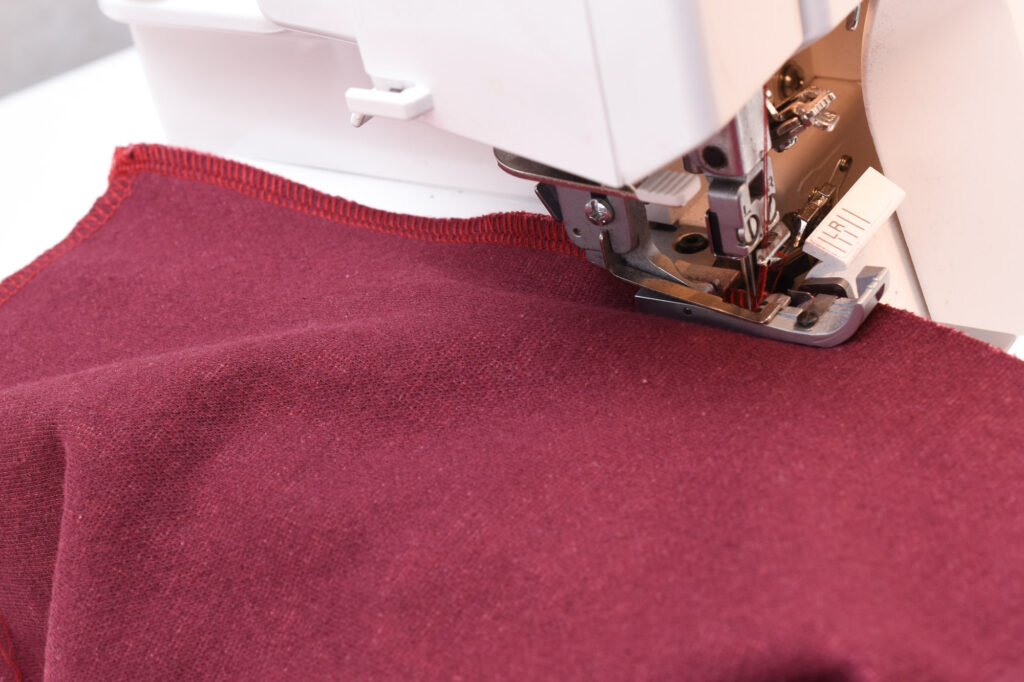
4. Sew the sleeve cap to the armhole
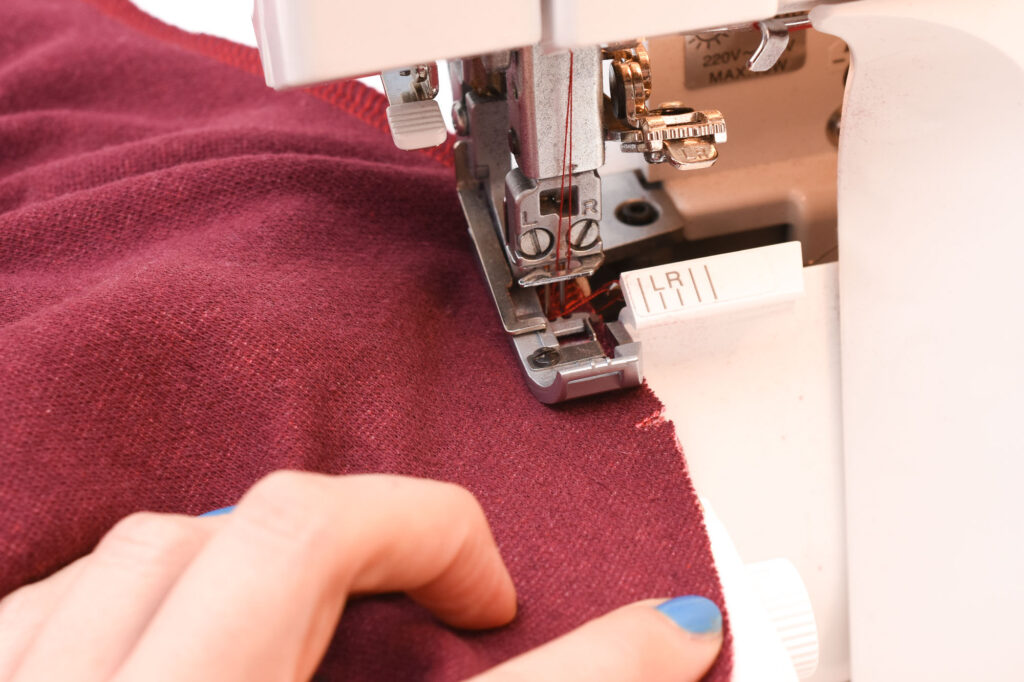
When attaching the sleeve cap, always have the sleeve piece on top, facing towards you. The sleeve cap needs to be controlled and gently shaped to fit the armhole, and that will be difficult if the sleeve is underneath the armhole when the sleeves are sewn.
Stitch carefully and adjust the sleeve as you sew. Gently adjust the sleeve cap with your fingers, so that the notches still align.
Tip: When reaching the top crown area of the cap, stop and realign the sleeve so that it still follows the curve of the armhole and the seamline.
Negative ease on knit sleeve caps
The sleeve cap on the Eivy cardigan has negative ease, meaning that the cap needs to be stretched out slightly between the notches to fit the armhole.
Generally speaking, the sleeve cap length is actually slightly shorter than the armhole length on patterns made for knit fabrics. So there is no need to ease in any excess fabric into the armhole, unlike many patterns that are made for wovens.
5. Prepare for sewing the side seams
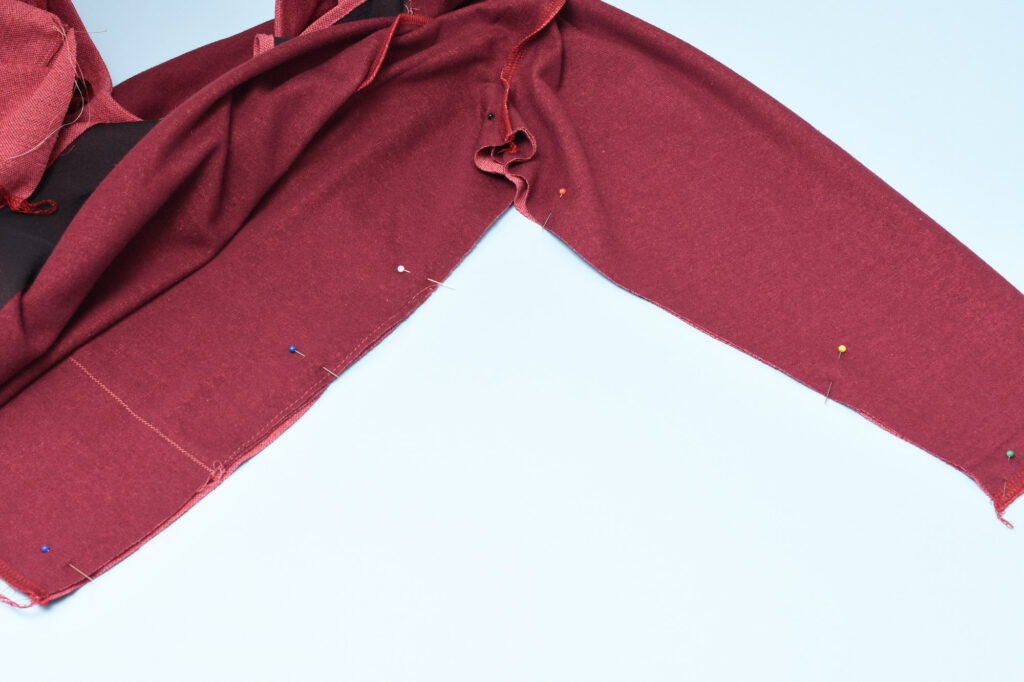
Right sides facing, wrong sides up, pin or baste front and back, starting from the hem of the bodice all the way to the sleeve hem. Make sure the notches and the sleeve cap seams align. The side seams will be sewn as one continuous seam, so it’s very important that one layer doesn’t slip.
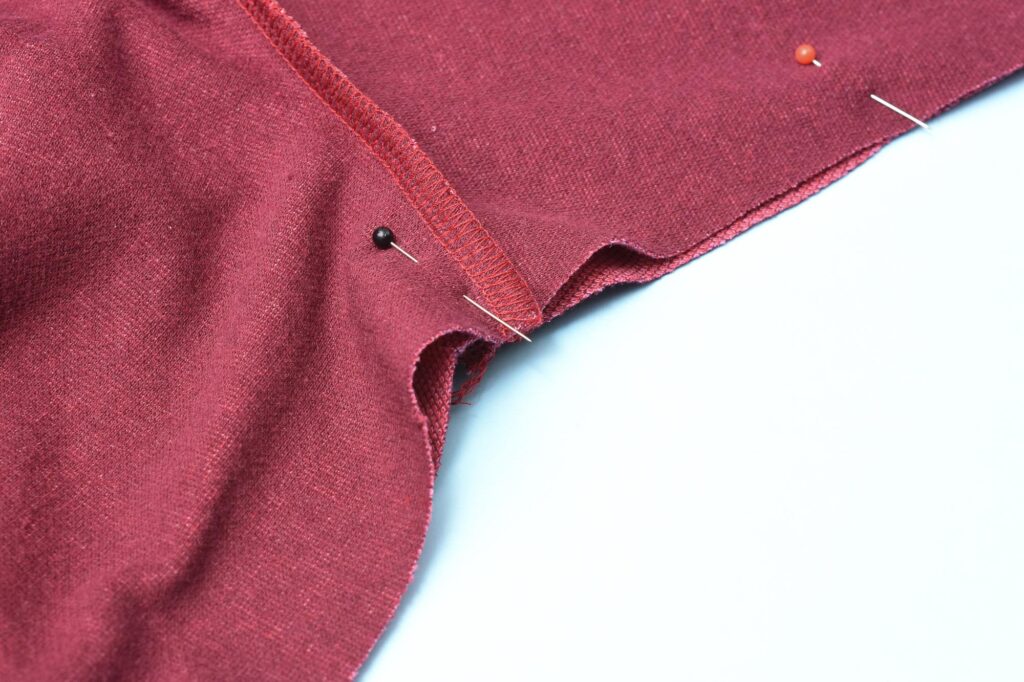
Fold the seam allowance of the sleeve cap seam towards the sleeve hem, and place a pin to make sure the seam aligns on both sides.
6. Sew the side seams
Start from the lower edge of the bodice, sew along the side seam.
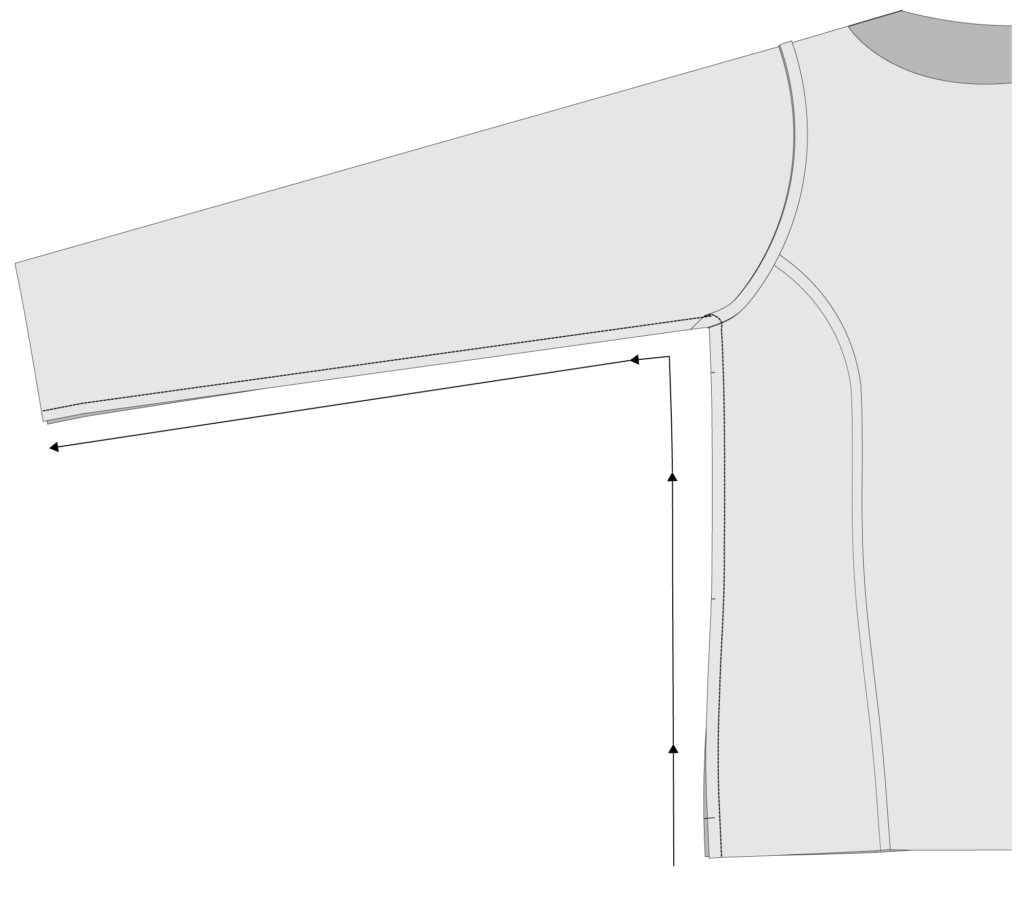
Since the seam cap seam allowance should be folded towards the sleeve hem on most knit tops, it is easier if you start from the bottom since there is less risk that the seam allowance gets flipped if sew along with it and not against it.

When reaching the sleeve area, have the sleeve seam allowance folded towards the sleeve, keep sewing, making sure the sleeve cap seam aligns on both sides.
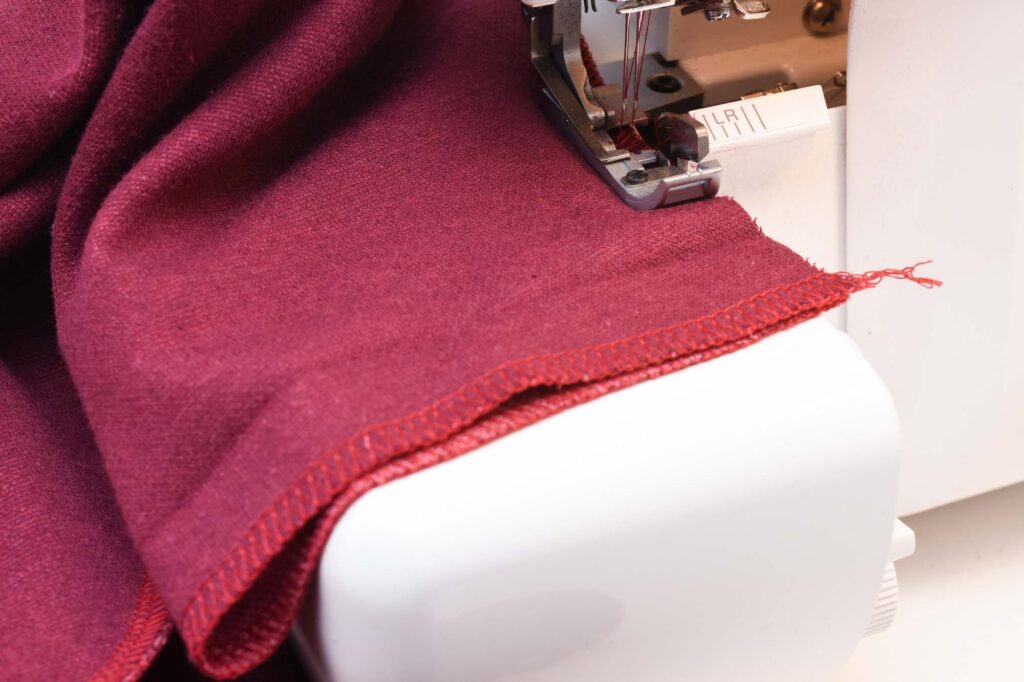
Sew until you reach the edge of the sleeves.
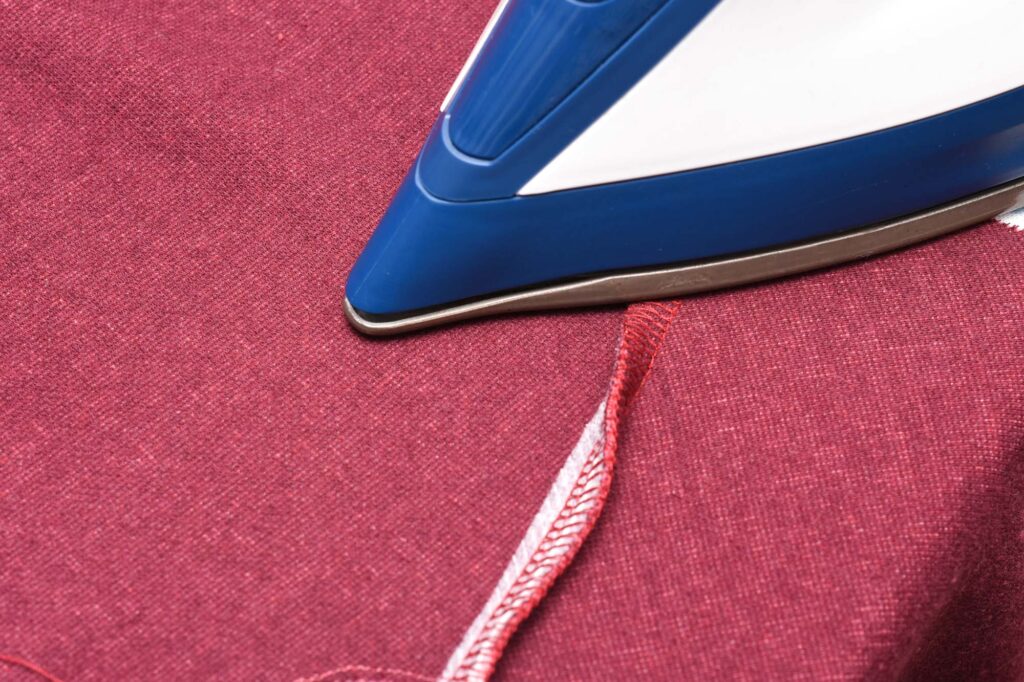
7. Press the seam allowances towards the back
Press the side seam allowances towards the back. Now the side seams and sleeves are done. The next step is hemming the cardigan.
Hope you found this tutorial useful for sewing your Eivy Cardigan. Also, check out all the other tutorials in the Eivy Cardigan Sew-Along Series.