
The Gurli Top Pattern has gathered puff sleeves, but you can easily turn the gathers into pleats instead for a more streamlined look. So in this tutorial, we will go through how to adapt the pattern and sew the pleated sleeves.
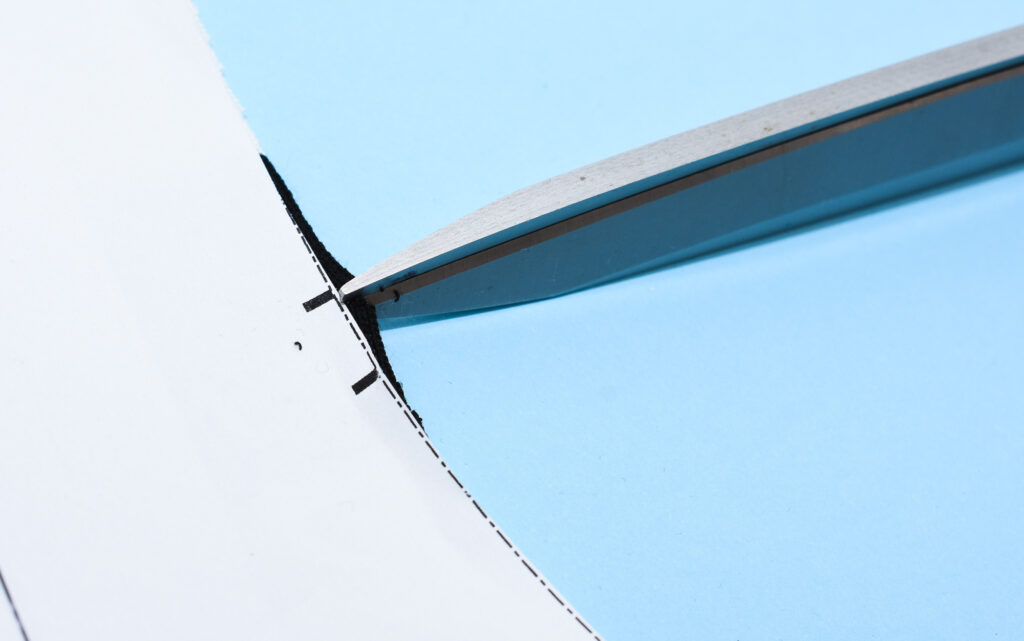
1. Mark the seamline on the sleeve cap
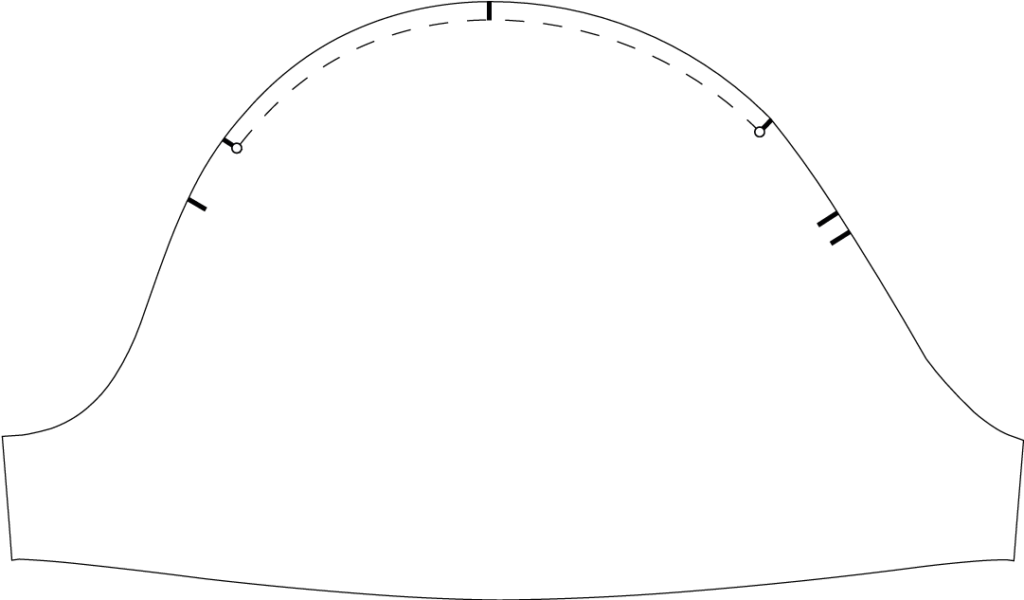
The pleat measurements are based on the seamline (the dashed line) and not the fabric edge, which will be slightly longer. So it’s best to draw a seamline, which should be parallel to the fabric edge, 6 mm (1/4″) in, equal to the seam allowance.
2. Mark the pleats
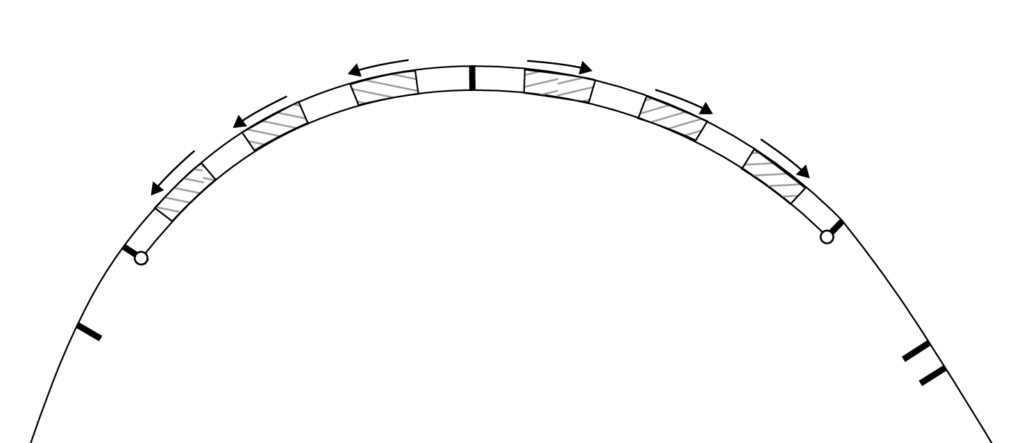
The total amount of extra ease on the sleeve cap is approximately 12 cm (4.72″) for all sizes. 6 cm (2.36″) on each side. To ensure that you get the exact number for your size, do measure the seamline, just in case.
The next step is to remove that amount using the pleats. Here we are adding three pleats on each side, in total six pleats.
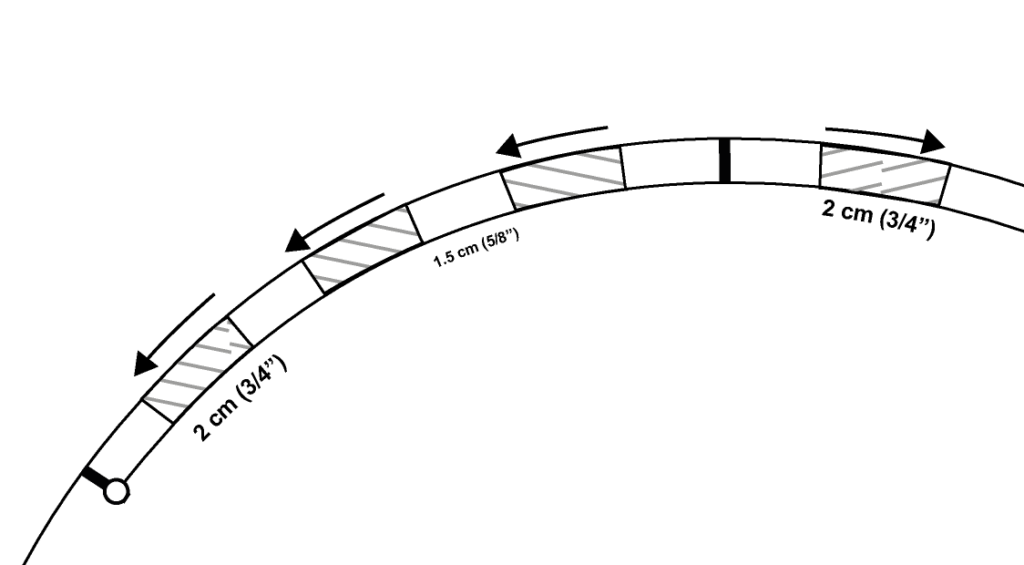
Pleat markings measurements
Pleat size: Approx. 2 cm (3/4″)
Space between pleats: Approx. 1.5 cm (5/8″) (half the width of the pleats)
3. Fold the pleats on the sleeve head
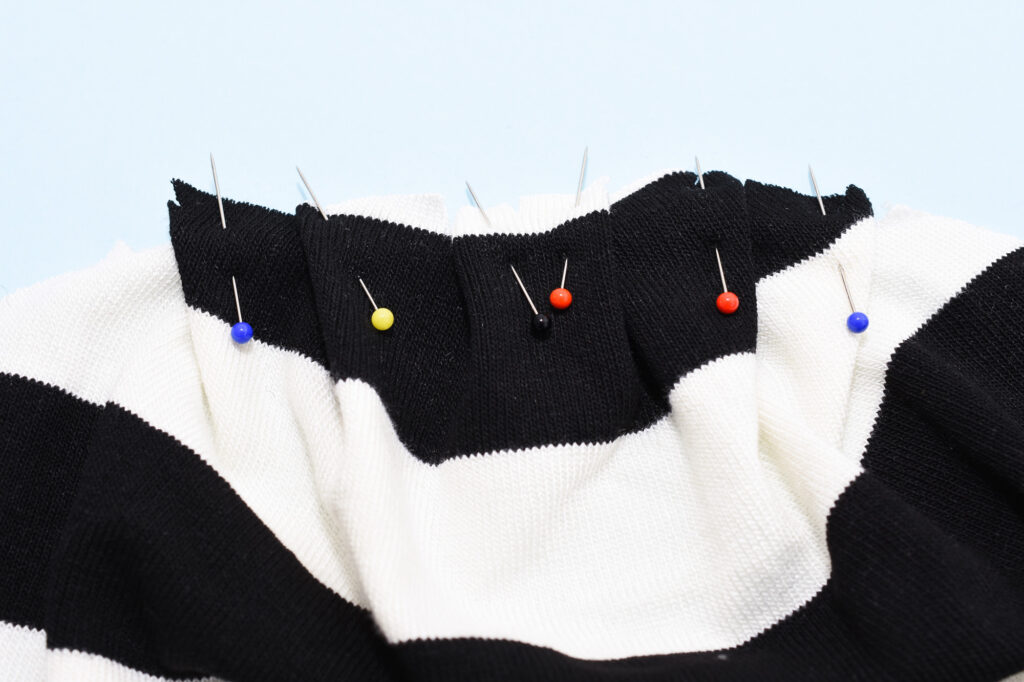
After cutting and marking the sleeves, pleat and pin the sleeve heads.
Tip: Mark the pleats and notches by cutting tiny snips, this is the fastest way to mark on fabric. Just make sure the cuts are shorter than the seam allowance (6 mm)
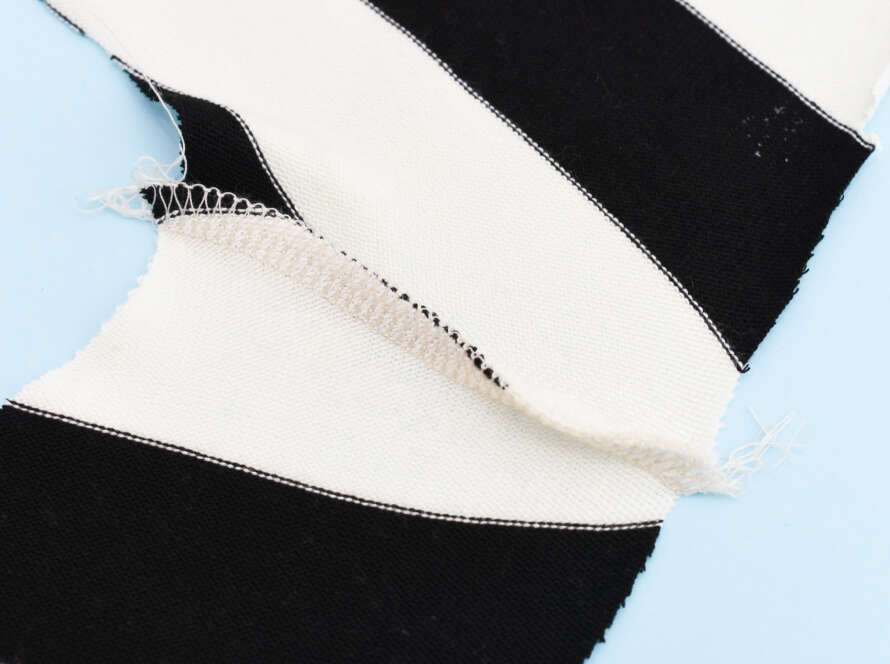
4. Baste and press the pleats

To keep the pleats in place, either hand-baste or use a long straight sewing machine stitch. Basting before sewing will make a big difference when it comes to precise sewing.
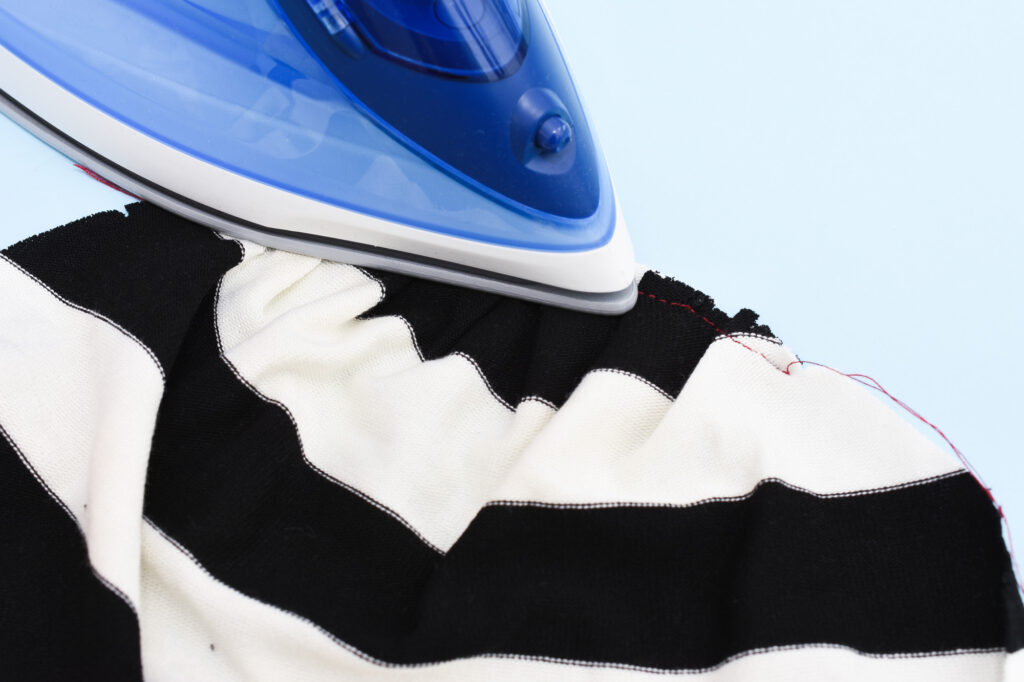
For crisper pleats, also do a light pressing on the reverse side, using an iron set on low heat.
5. Pin the sleeve head to the sleeve opening
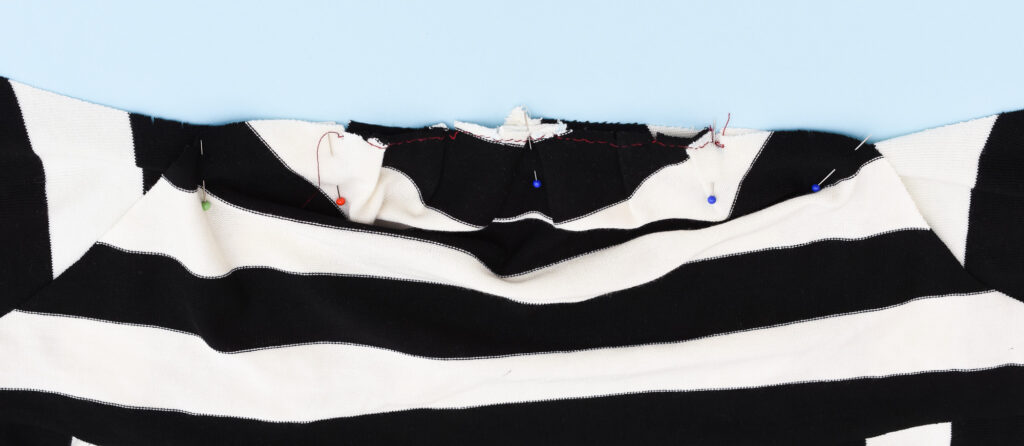
Place the sleeves on the sleeve opening, right sides facing. Start by attaching the pleated sleeve head, matching the notches.

Then attach the rest of the sleeve head, again making sure the notches align.
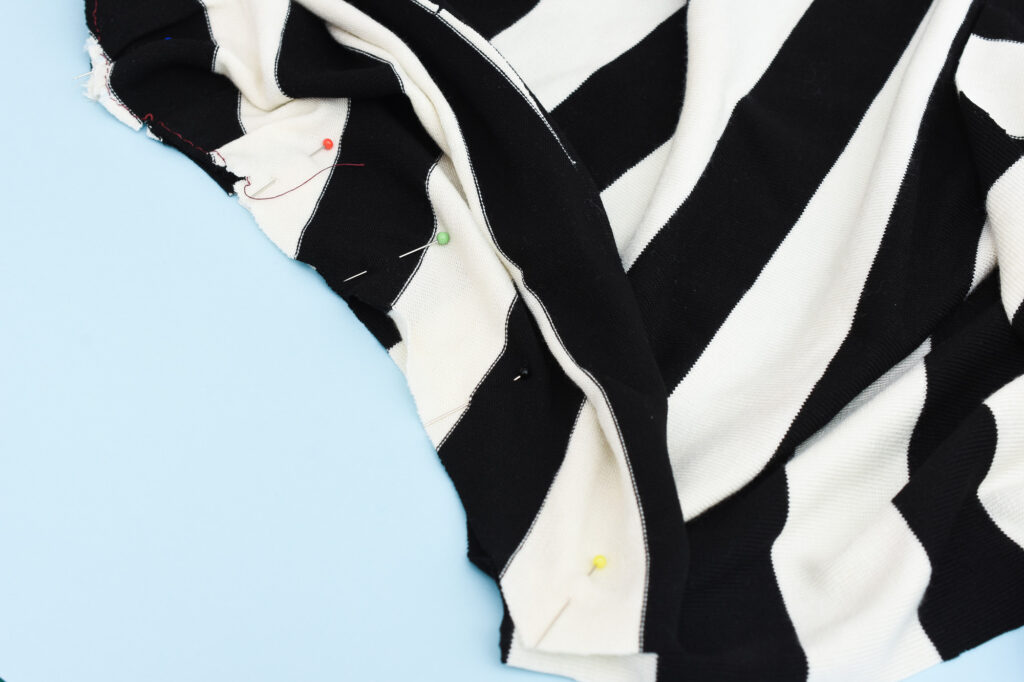
The pinned sleeve head. Do not over-pin when attaching sleeves, as this can distort the fabric. I like to use 3-4 pins max, on each side and then remove one at a time during sewing before the needle reaches the pin (very important!).
6. Stitch the sleeves
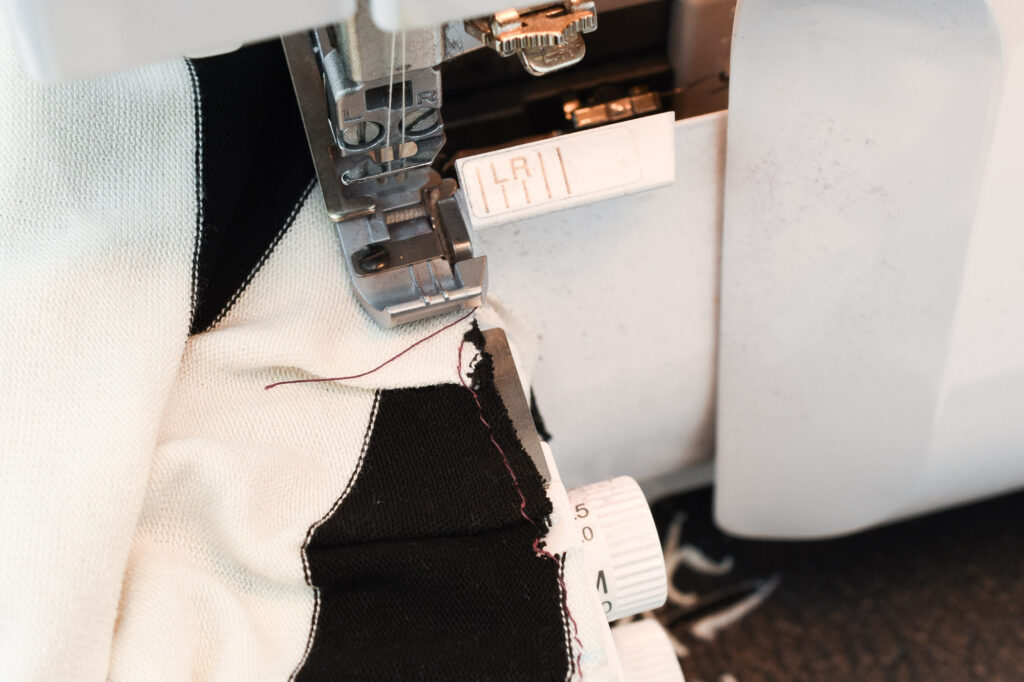
Stitch the sleeves with the sleeve cap facing up, towards you. Go slow and adjust the sleeve cap to fit the armhole.
The sleeve cap on the Gurli Top is slightly shorter than the armhole (i.e. negative ease) for optimal fit and should be stretched out gently during the sewing. The important thing is to match the notches.
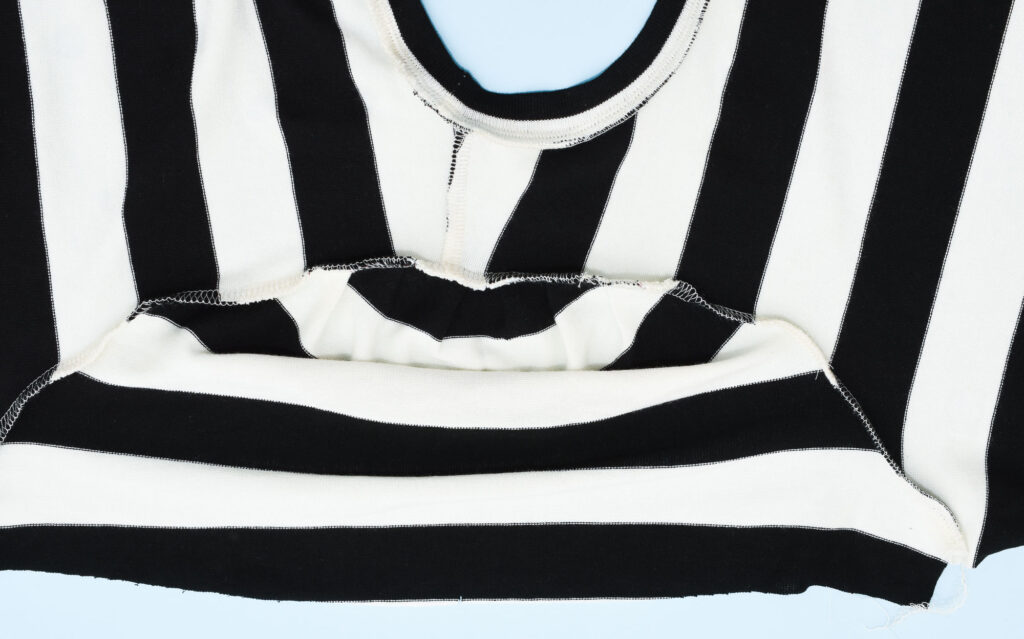
The finished sleeve. Knit set-in sleeves should generally be sewn on the flat, before sewing the sides seams.
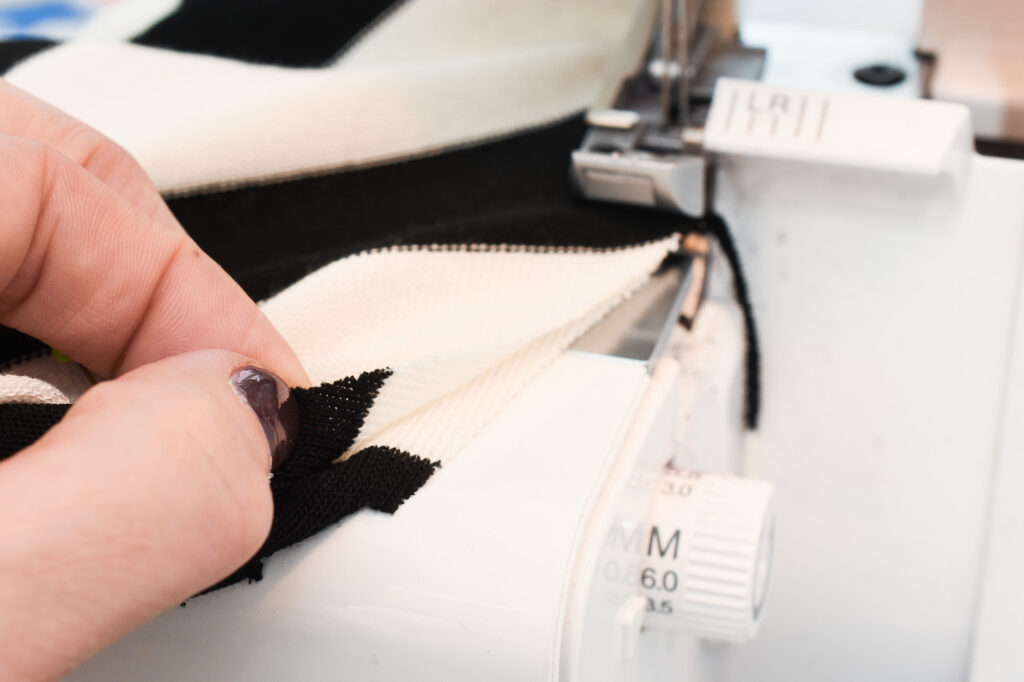
7. Press the sleeves
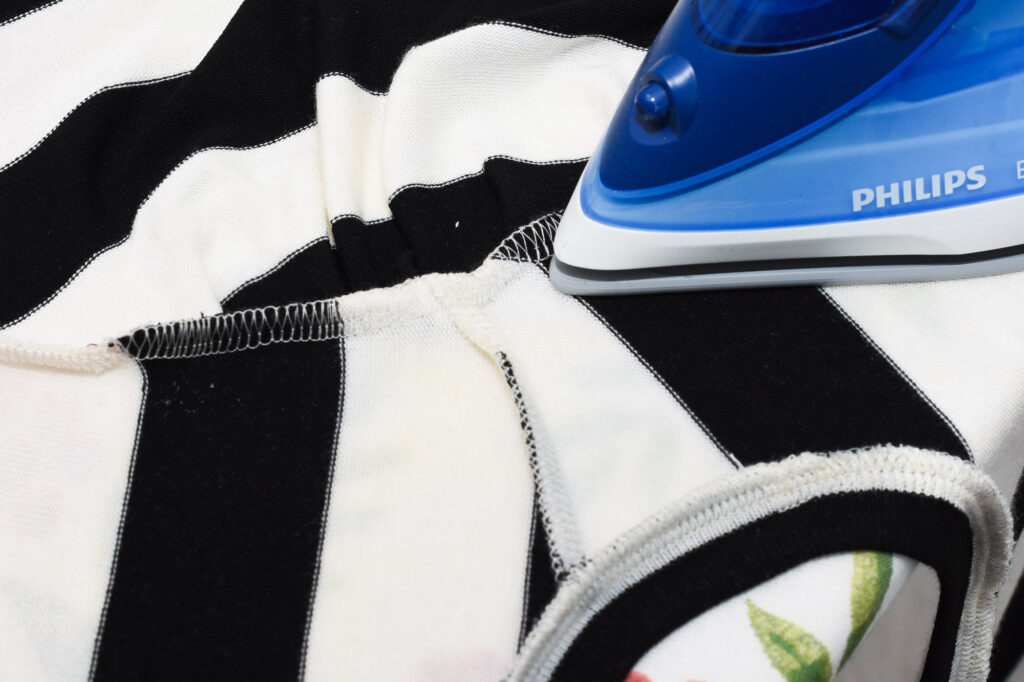
Press the sleeve cap seams from the reverse side. The seam allowance should be pressed towards the sleeves. This will also help “lift” the pleated cap area.
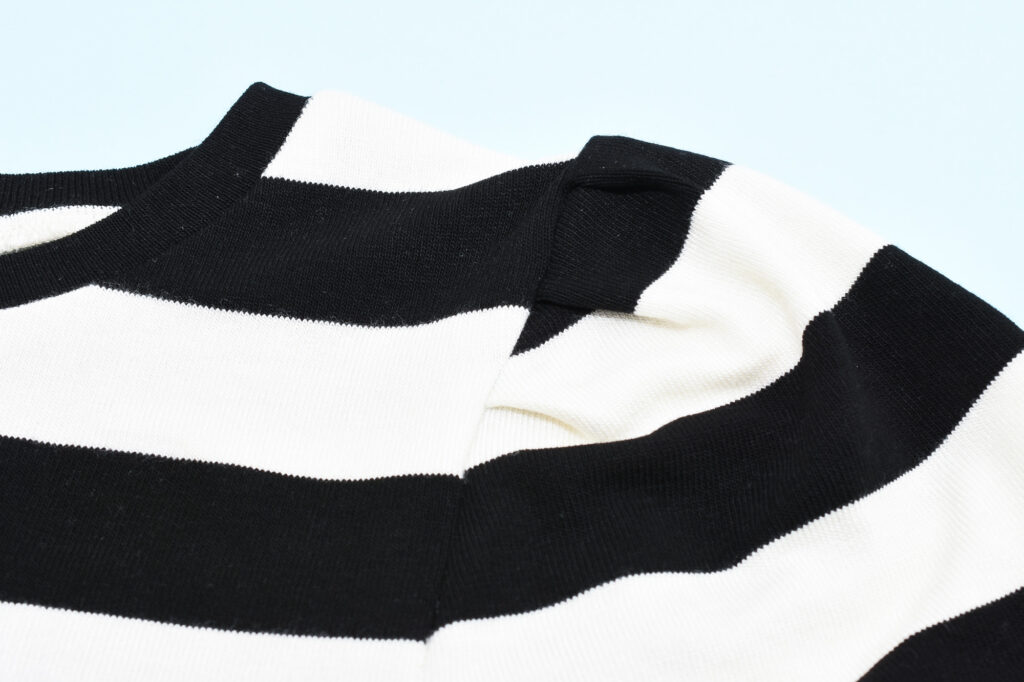
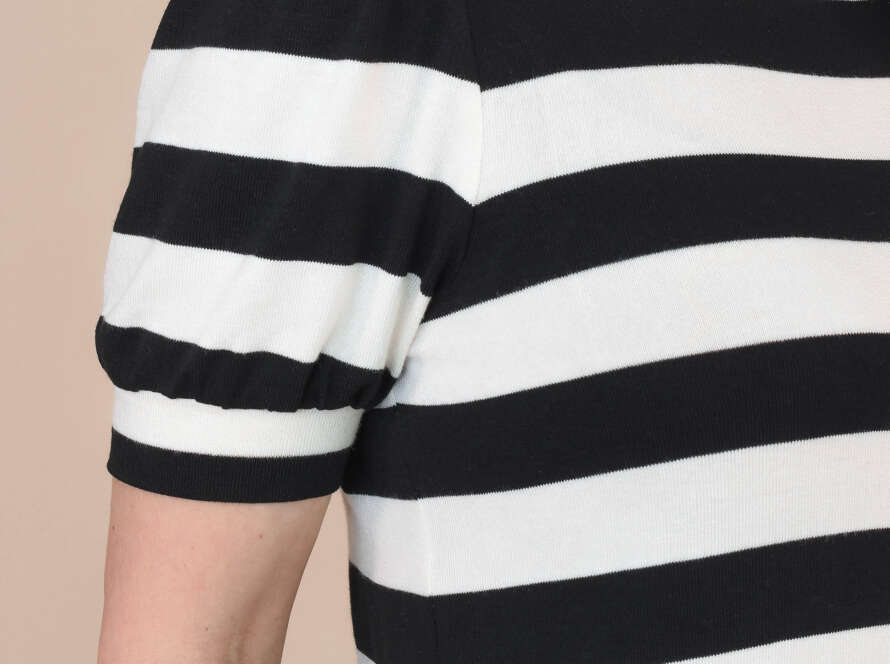
The finished pleated sleeves
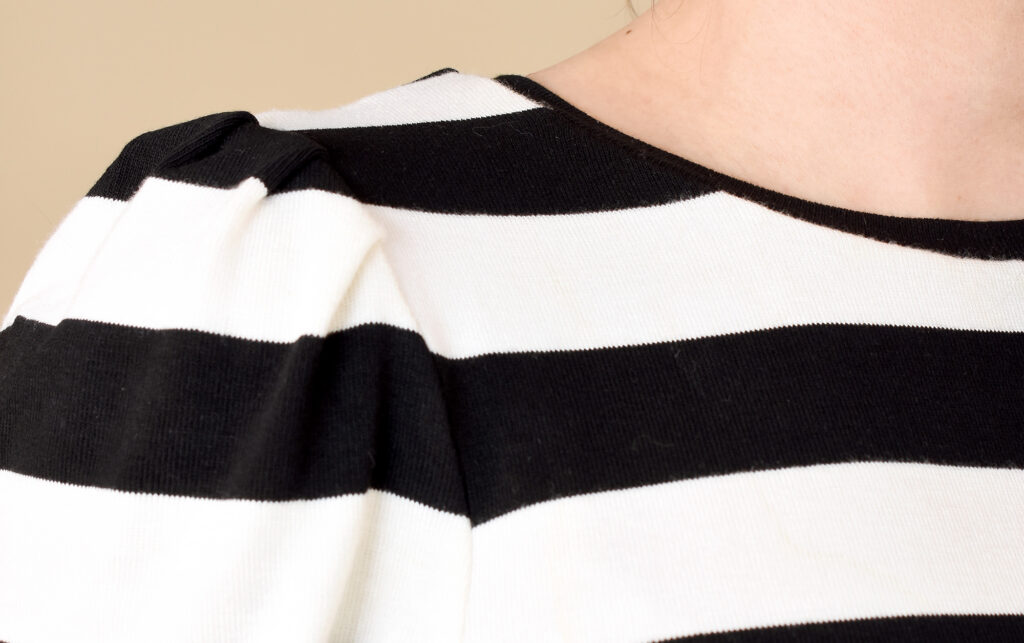
Replacing the gathers with pleats is such a nice way to change the look of a puff sleeve, and as you can see it requires very little extra effort using this simple tutorial. Check out the Gurli Top to learn more about this versatile knit top sewing pattern.
1 Comment
Comments are closed.