
A properly sewn shoulder seam is crucial for a well-made knit top. Stretched-out seams, puckering and other common issues are quite common, but easy to avoid if you follow the methods shown in this tutorial for the Gurli Knit Top Sewing Pattern.
Want to learn more on how to sew knit tops like a pro? Check out the other knit top tutorials in the Gurli Knit Top Sew-Along.
Stabilising shoulder seams
Since the knit fabrics that are suitable for the Gurli Knit Top Pattern are stretchy, the shoulder seams should be stabilised to prevent them from expanding permanently when sewn and worn. The stabilising material should have some stretch, unless the knit used is very stable. You don’t want a tight-fitting top sewn in a 4-way Spandex knit to have stiff shoulder seams, as it will feel rigid and uncomfortable to wear.
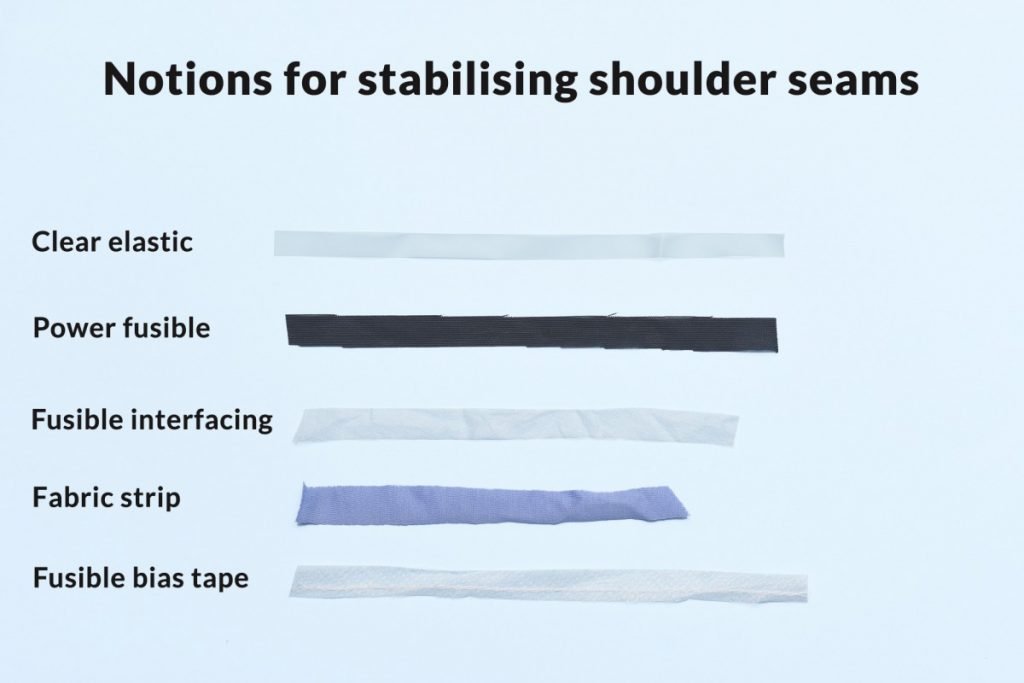
To learn the best materials for stabilising shoulder seams on knits, check out the tutorial How To Stabilise Shoulder Seams on Knits.
How to sew shoulder seams on knit tops
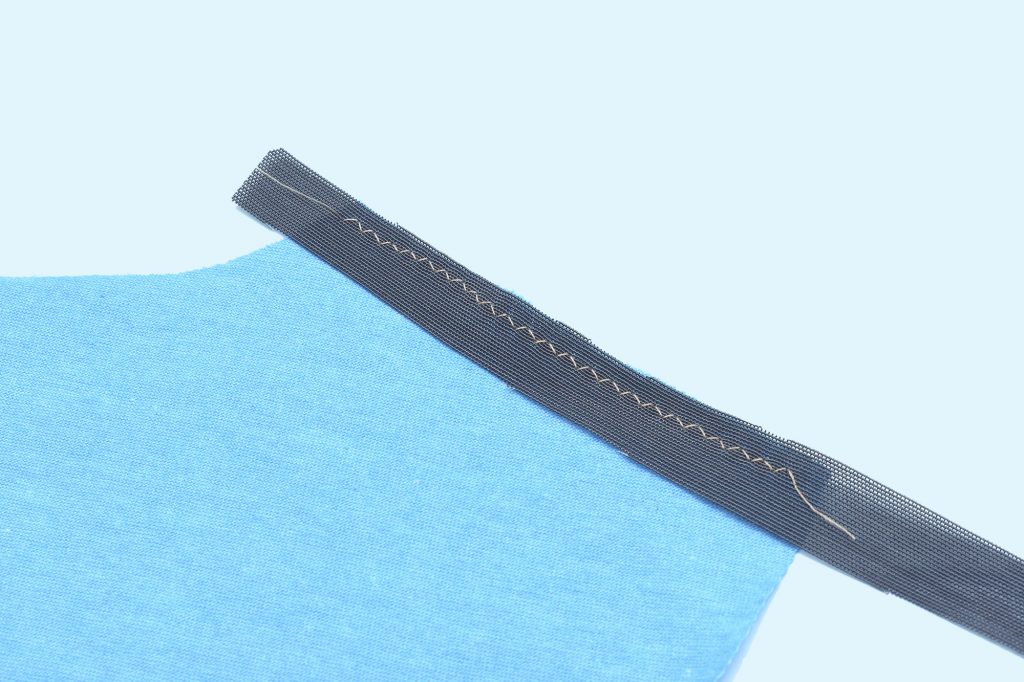
1. Add stabilising strips to the shoulders
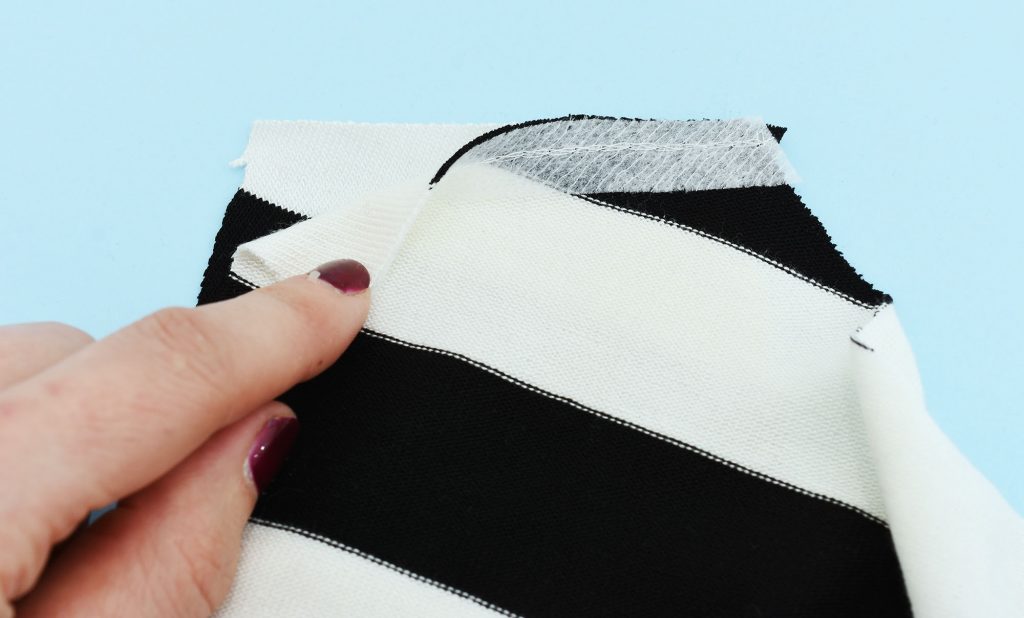
Place the strips on the wrong side of the top, along the fabric edge. The stabilising strips can be placed either on the front or back shoulders, depending on the material used to stabilise the fabric.
Light-weight and narrow strips with the same width as the seam allowance are usually placed on the back piece. Whereas thicker and wider strips are more suited on the front piece as they will prevent bulk at the shoulder when the seam is folded towards the back.
In this tutorial a lightweight narrow fusible stretch tape is used (Amazon affiliate link), which is why I have placed it on the back piece. After sewing, the seam allowance is folded towards the back and will hide the strip.
2. Attach the strips to the fabric
- Fuse the strips on low heat if using iron-on interfacing.
- Baste, pre-stitch or glue baste the strips onto the fabric if using non-adhesive stabilisers.
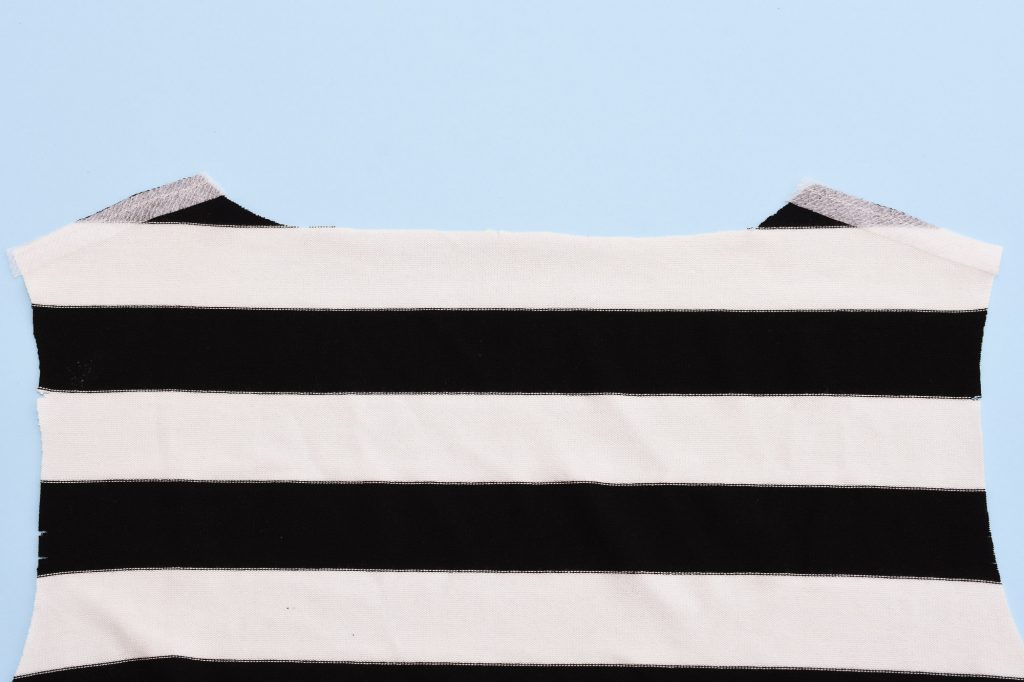
3. Place the front and back pieces together
Right sides facing, wrong sides up. You can pin or hand-baste the pieces to prevent the pieces from slipping during sewing. This can be especially helpful if you are new to sewing knits.
4. Stitch the shoulder seams
Sew together the shoulder seams, sewing with the reinforced piece facing up towards you to prevent the fabric from expanding during sewing.
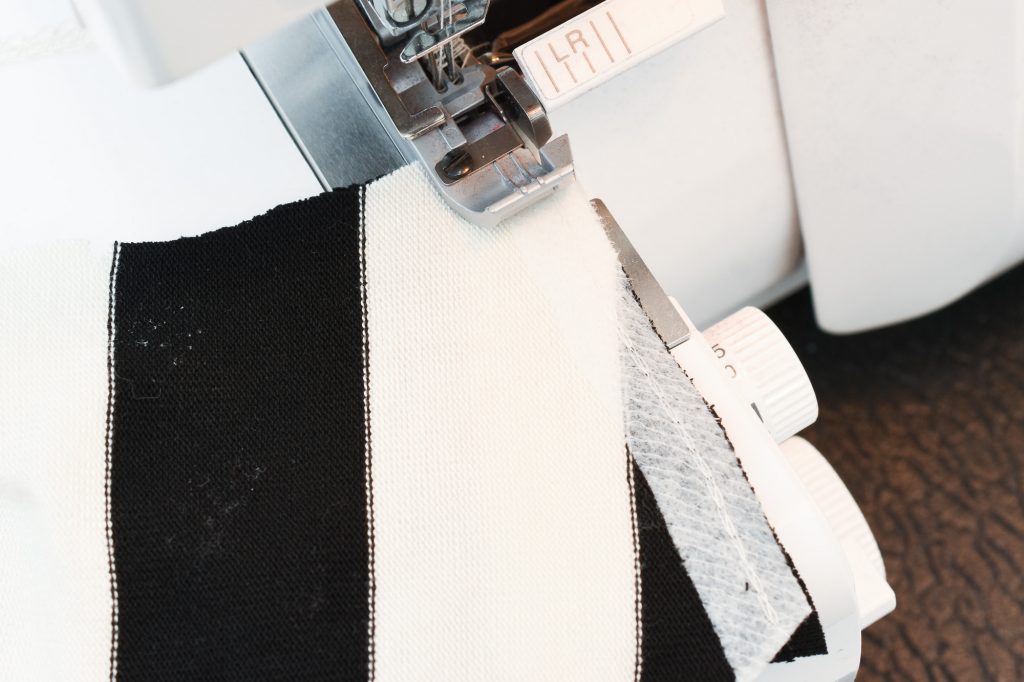
Time-saving tip: Serge both shoulders without stopping

If you are using a serger to sew the Gurli Top, you can sew both shoulder seams in one go. Just start from one outer shoulder point, sew over the neckline edge and then keep sewing until you reach the other shoulder point. Then just clip the thread tail in the middle.
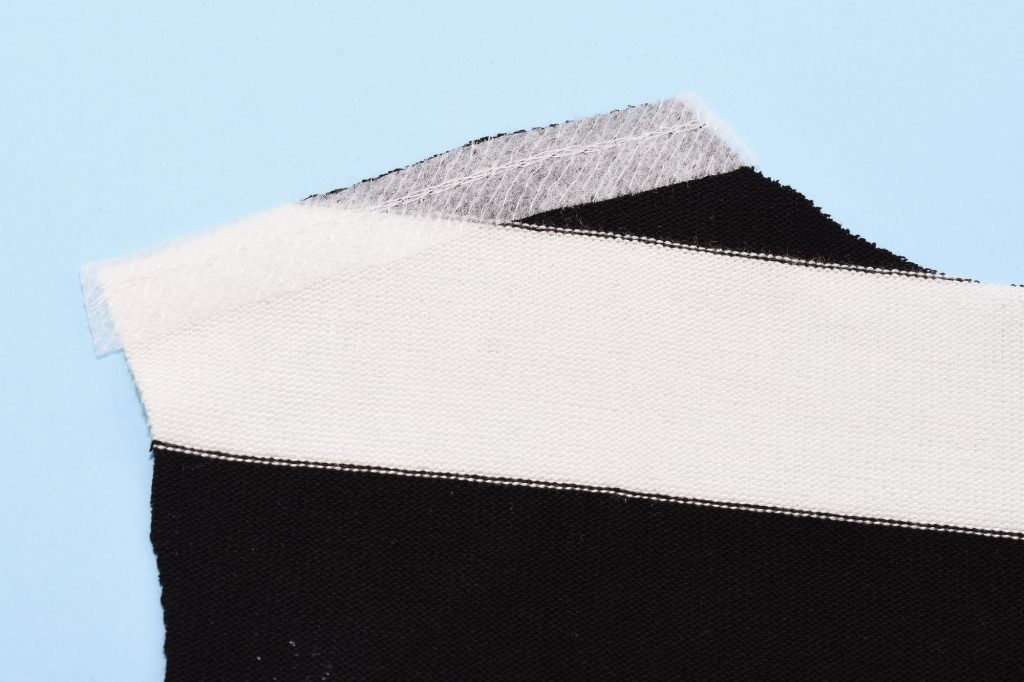
5. Fold the shoulder seams towards the back piece

Press the folded seam allowance with an iron set on low heat, on the reverse side.
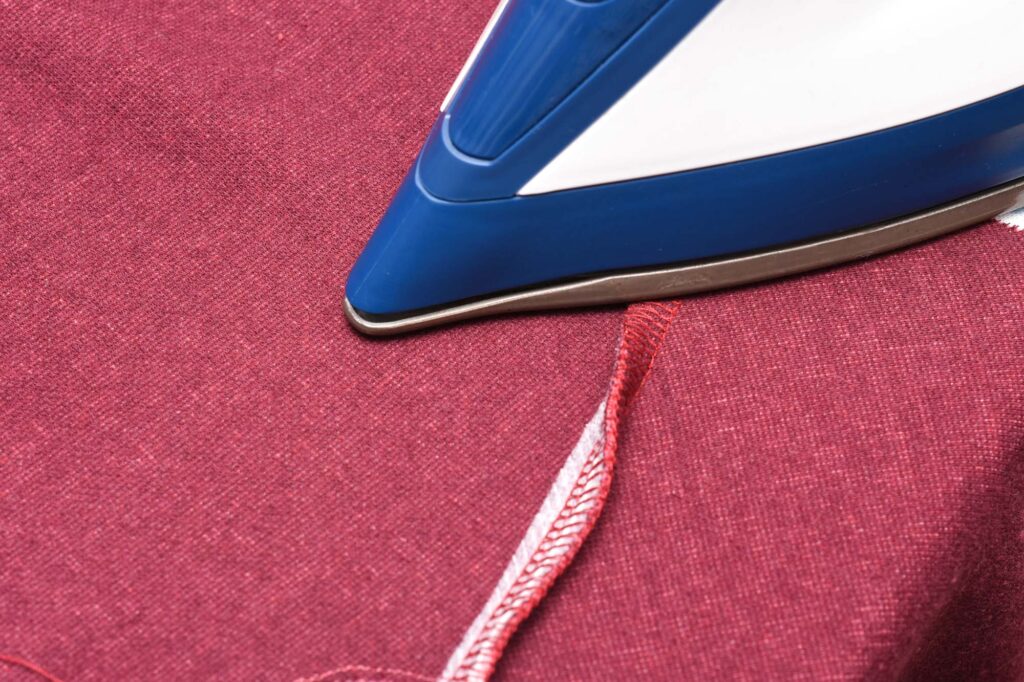
If more pressing is required, press gently on the outside of the garment using a pressing cloth to protect the fabric and prevent iron marks.
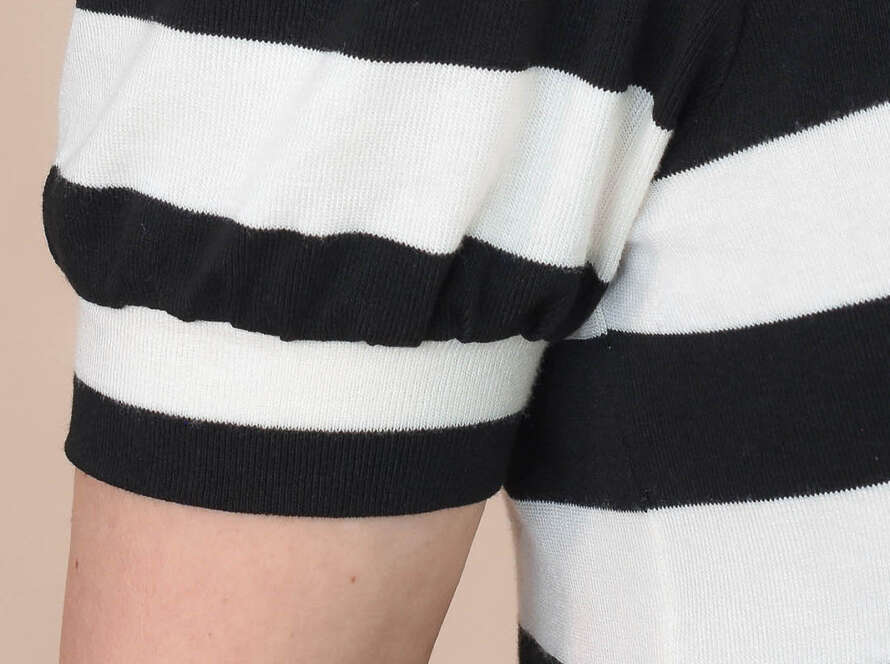
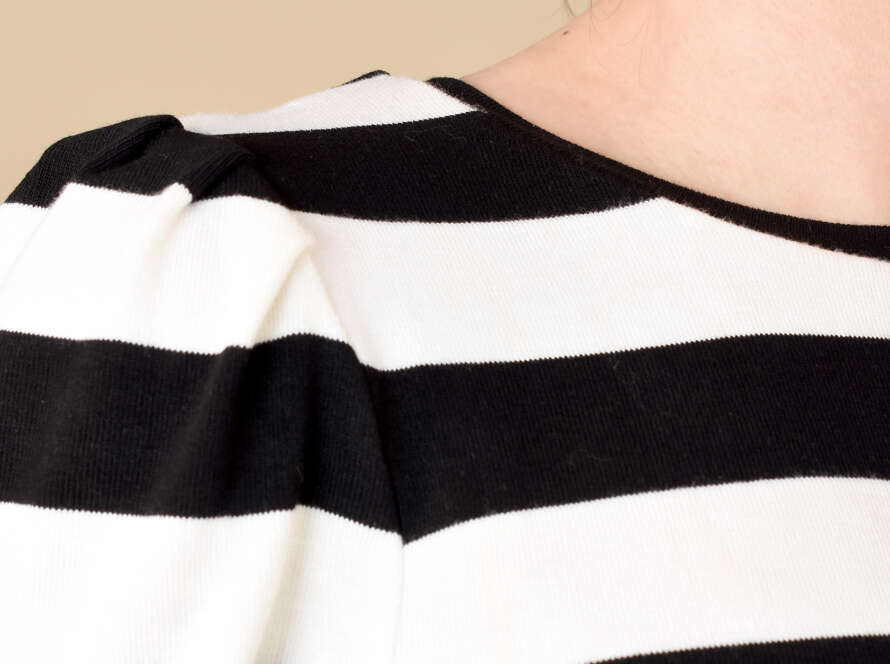
Now the shoulders are sewn. If you follow these simple steps, the shoulder seams will end up looking beautiful, even if you are new to sewing knits.
Watch a video to learn even more tips
More of a visual learner? Watch my video on the best methods for sewing shoulder seams on knits:
Also, remember to check out the other instalments in the Gurli Knit Top Sew-Along series. And of course the super cute Gurli Knit Top Sewing Pattern.

1 Comment
Comments are closed.