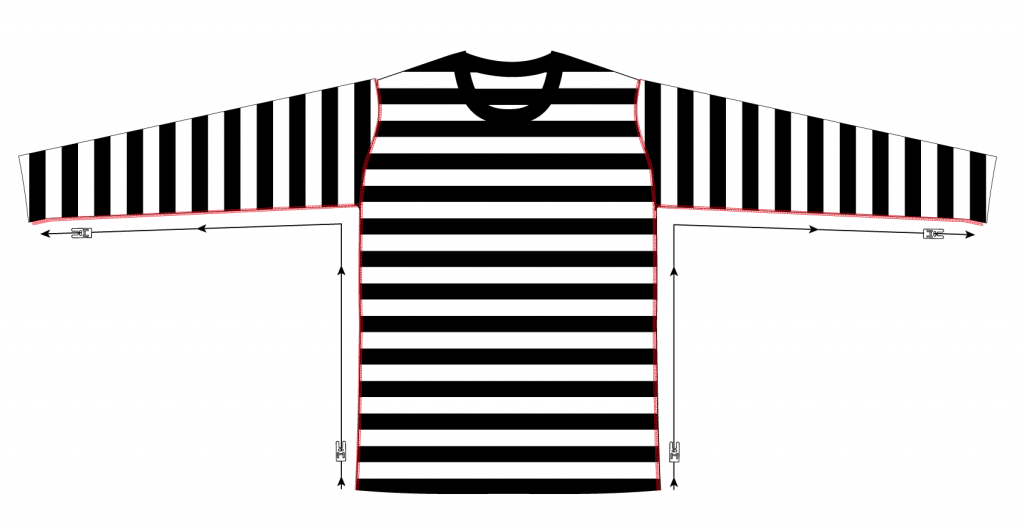
Sewing the side seams is generally one of the quickest and easiest steps when making knit tops. The reason is that the sleeves are already inserted on the flat so all you have to do is to sew the sides and sleeve seams as one continious seam:
When sewing knit tops I recommend starting from the hem and sew towards the sleeves. The seam allowances of the sleeve cap seams are usually folded towards the sleeve, so when using this direction, you don’t have to push against the seam allowance.
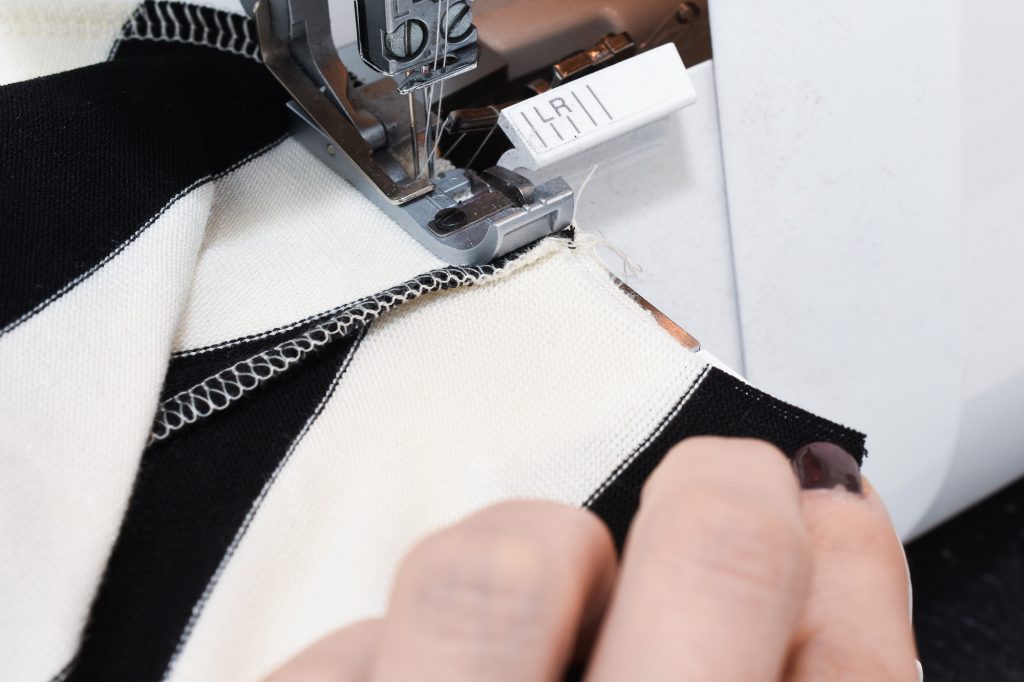
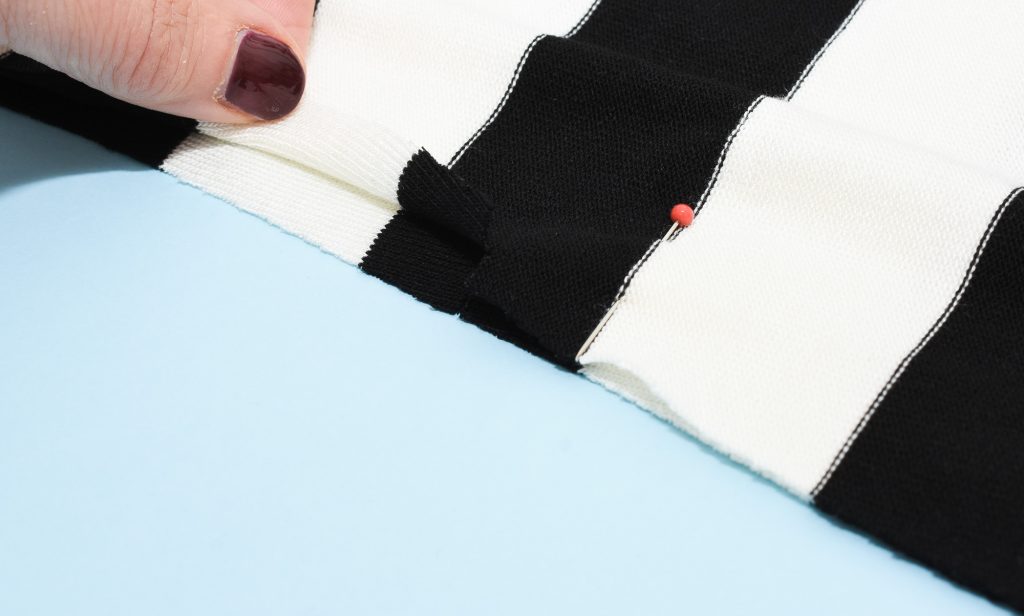
Notice how the sleeve cap seam allowance is folded towards the sleeve. It’s easier sewing in the same direction as the fold rather than against it.
The methods shown in this tutorial are for the Gurli Knit Top Sewing Pattern. Want to learn more on how to sew knit tops like a pro? Check out the other knit top tutorials in the Gurli Knit Top Sew-Along.
1. Prepare to sew the side seams
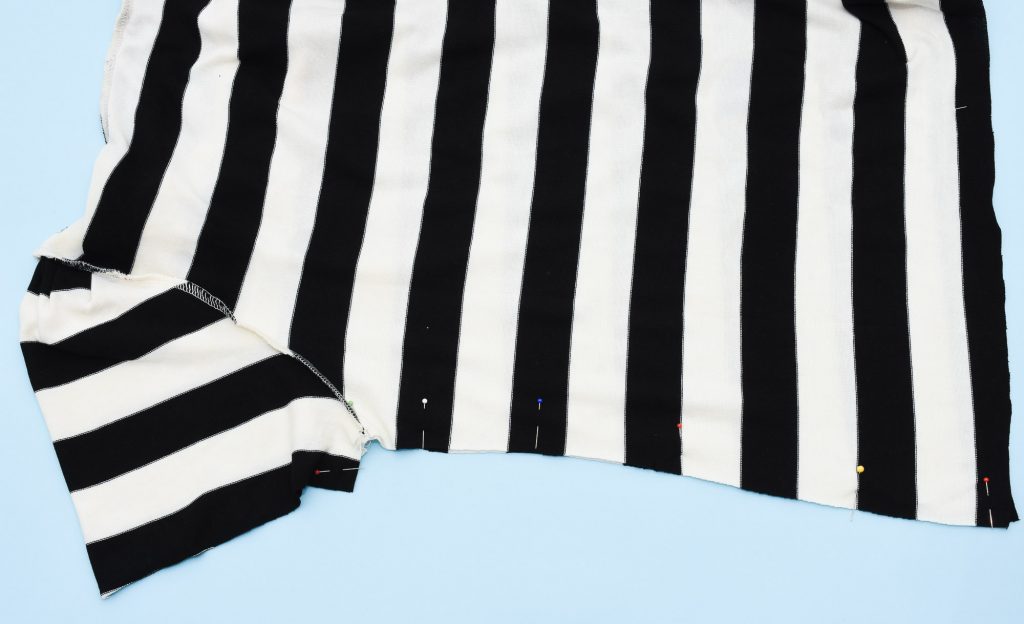
Right sides facing, wrong sides up, pin or baste front and back, starting from the hem of the bodice all the way to the sleeve hem.
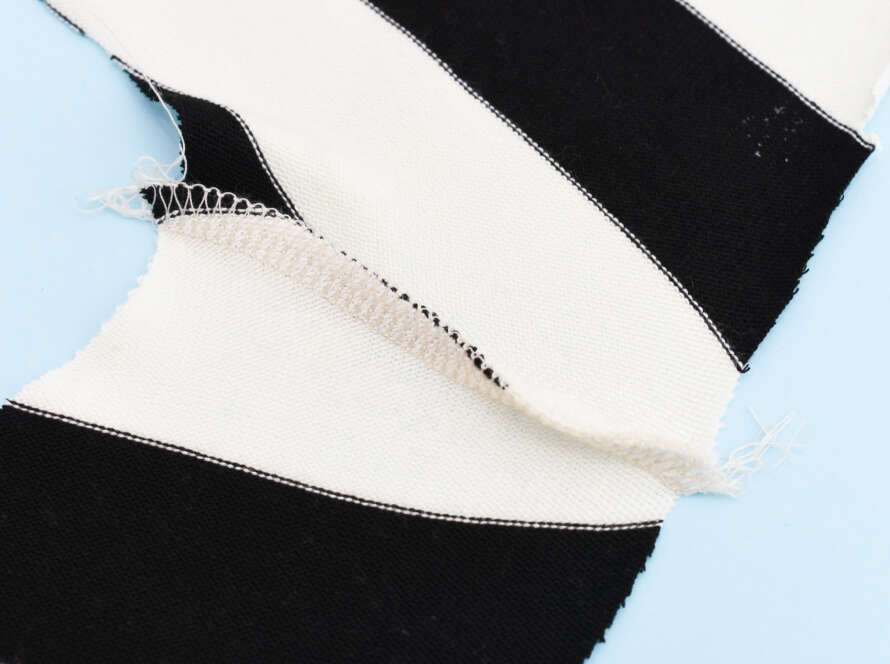
Make sure the notches and the sleeve cap seams align. If you are sewing with a striped fabric, check out the tutorial Cutting and Sewing Stripes on Knits for lots of tips on how to get stripes to align perfectly.
2. Sew the sides seams
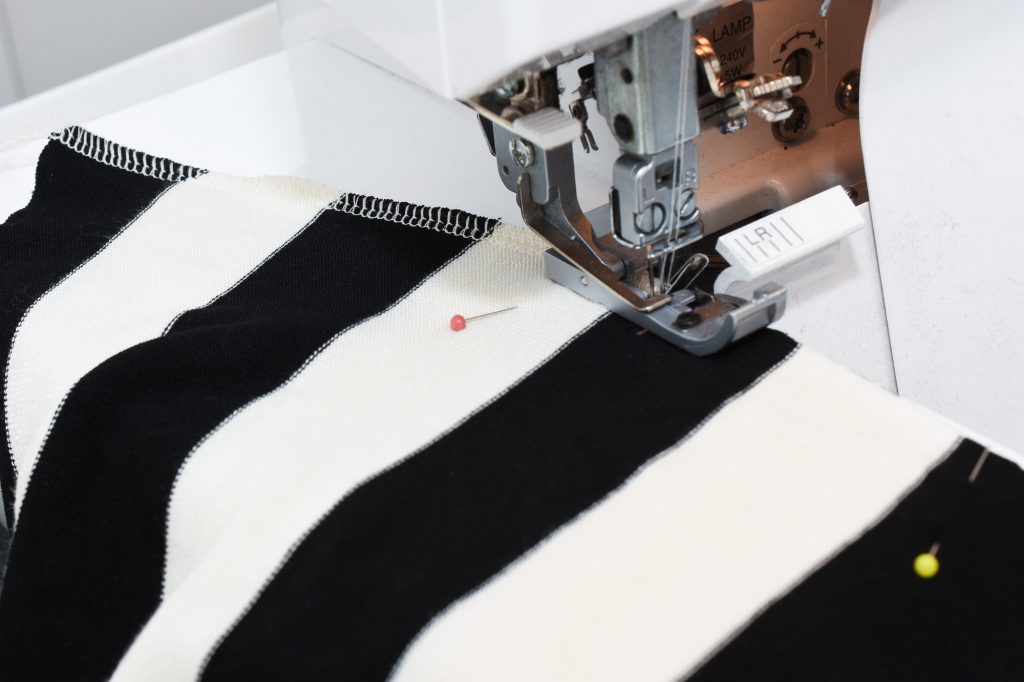
Start from the lower edge of the bodice, and sew along the side seam. You can use a serger overlock, a narrow zigzag stitch or a sewing machine overlock to sew side seams on Gurli Knit Top Sewing Pattern.
Fun fact: Most knits have less stretch lengthwise than crosswise so there is less risk that you will end up with wobbly, stretched-out seams when sewing sides seams, compared to say a neckband or sleeve caps.
3. Fold the sleeve cap seam allowance towards the sleeves
When reaching the sleeve area, fold the seam allowance towards the sleeve, and keep sewing, making sure the sleeve cap seam aligns on both sides.
4. Sew the other side seam
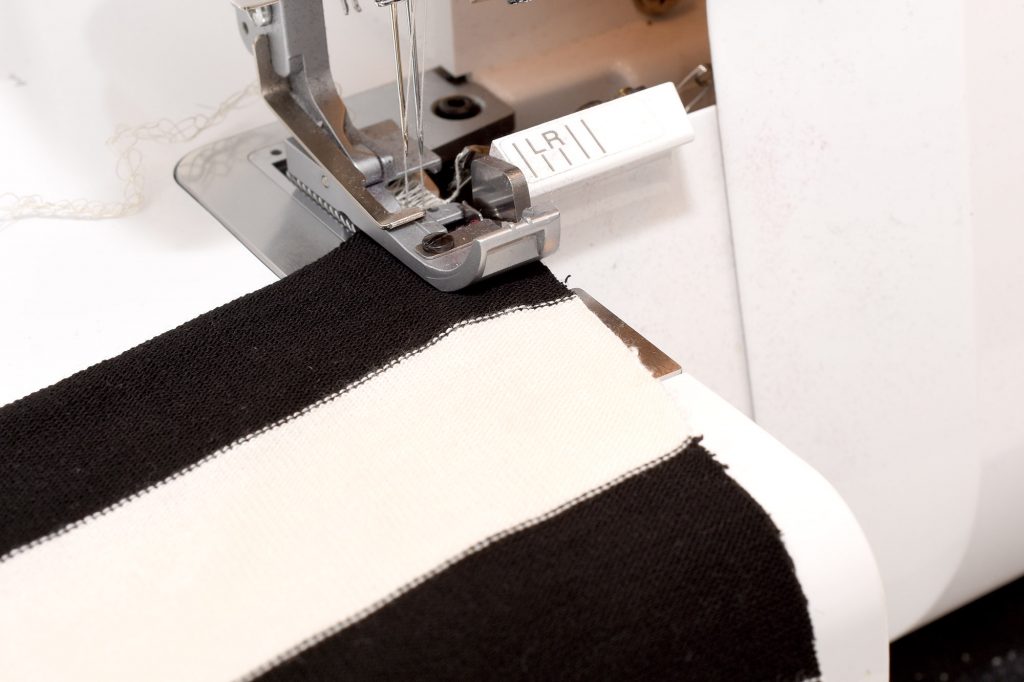
Since you are sewing from the hem towards the sleeve, you’ll have the front bodice facing up when sewing one side and then the back piece will be facing up when sewing the other side seam. This is perfectly fine, just make sure you don’t stretch out the sides unevenly.
5. Fold and press the seam allowances
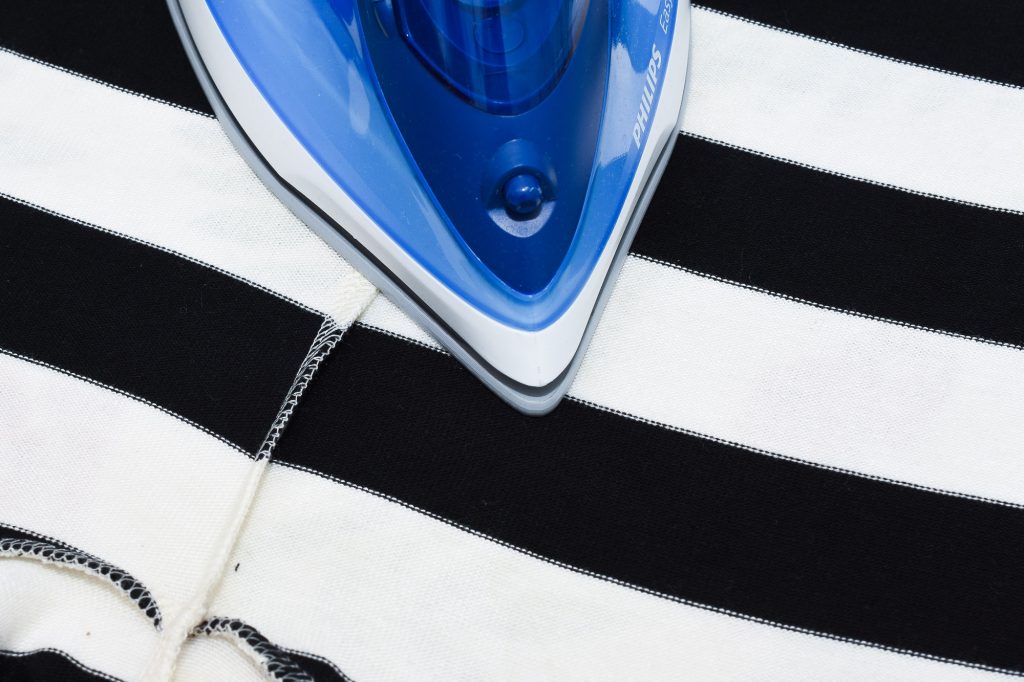
The standard pressing direction on knit tops is to fold the side seams towards the back piece. But some prefer to fold the seam allowances towards the front instead—there is no right or wrong!
Press from the reverse side, using low heat. This will usually be enough on knit tops. If you want a sharper press, iron on the outer side too, but use a pressing cloth since knits can be quite delicate and you don’t want to get visible iron marks on your garment.
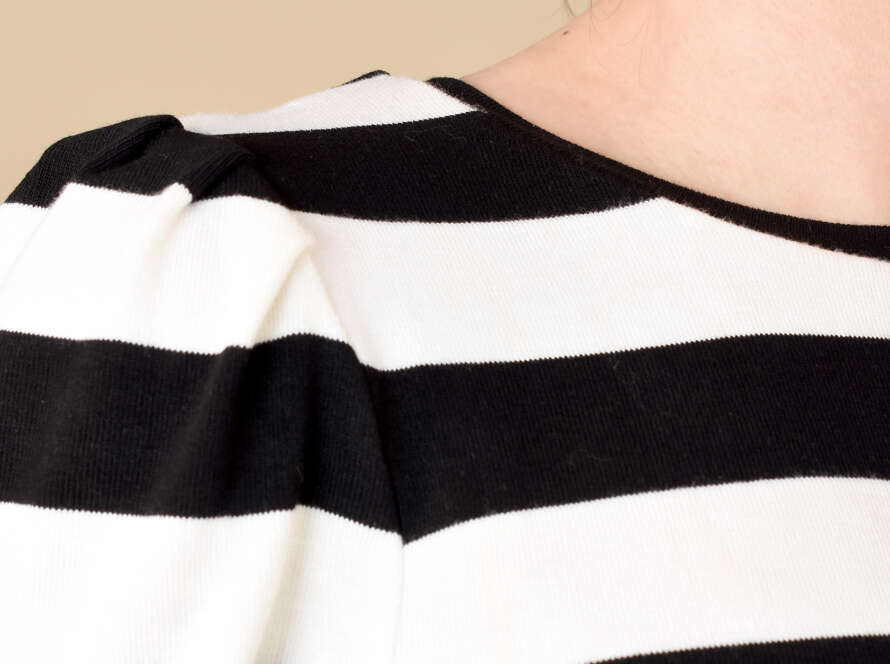
The finished side seam
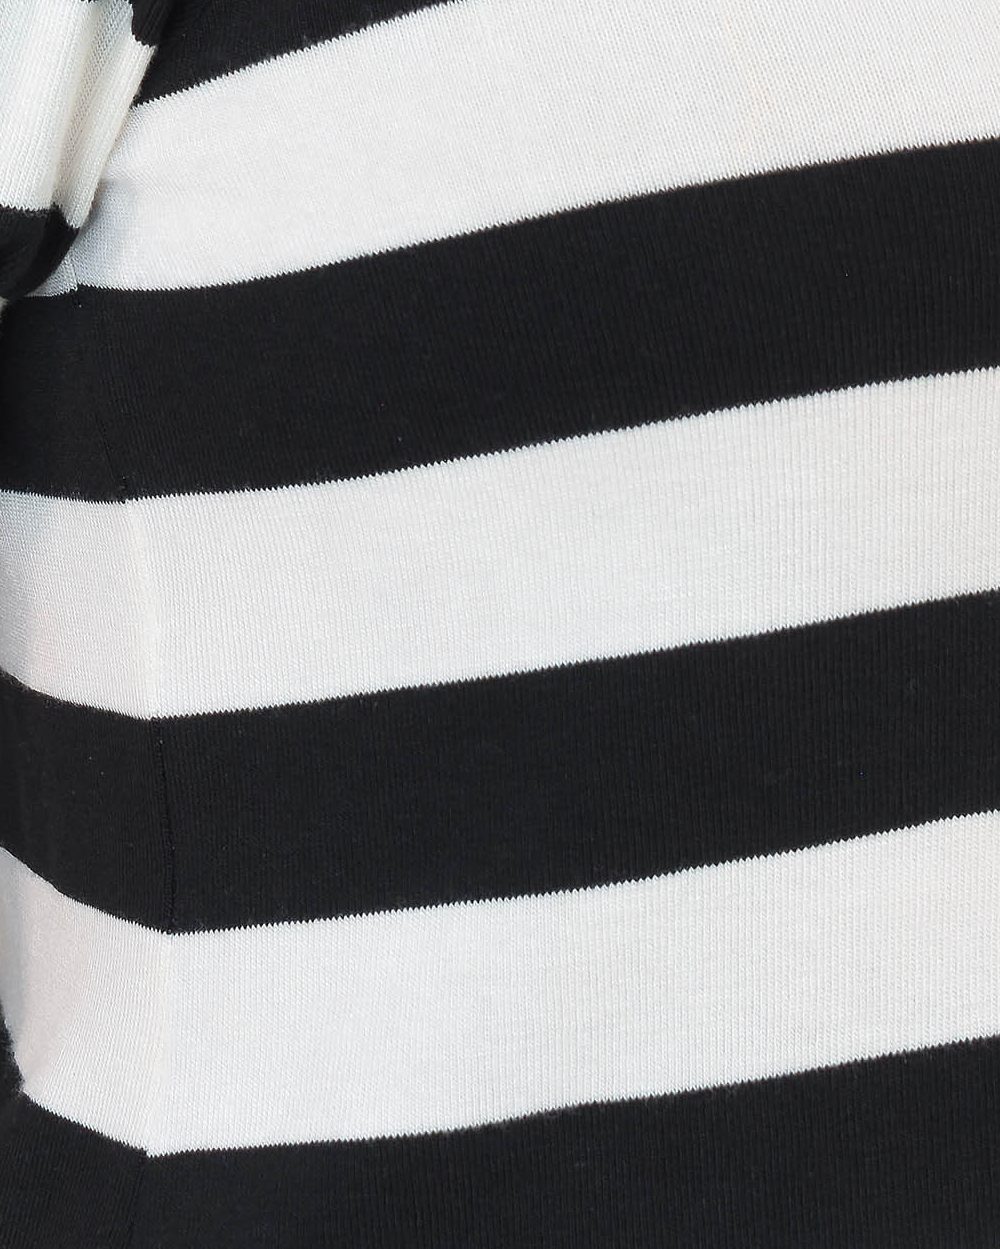
Here you can see the side seam up-close, nice and flat and with pretty decent stripe matching following the methods in the tutorial for Cutting and Sewing Stripes on Knits.

Also, remember to check out the other instalments in the Gurli Knit Top Sew-Along series. And of course the super cute Gurli Knit Top Sewing Pattern.