Want to get better at using your sewing machine? Then follow these simple sewing machine tips that will make a big difference and make your sewing look much more professional.

1. Always release the tension before threading
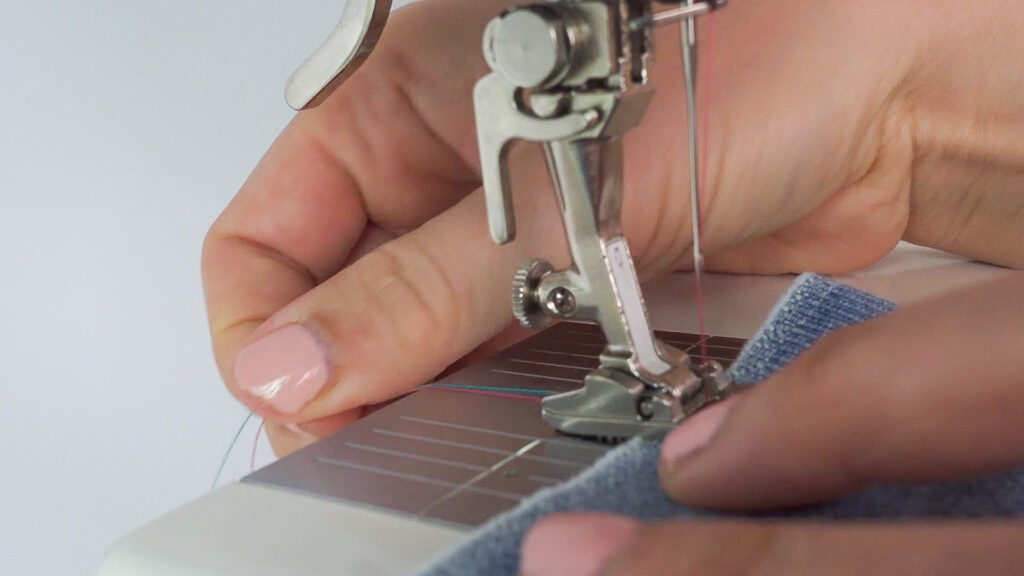
The needle thread runs through tension disks which regulate the tension so that you’ll get a balanced stitch. For this to work it’s crucial that the thread sits all the way down between the disks, otherwise the stitch might look wonky.

To release the tension disks you need to lift the presser foot before threading. This is so important but very easy to forget (we have all done this mistake, so you are not alone). Keep the presser foot up during the threading but you can of course lower the foot before inserting the thread in the needle eye.
On a serger or a coverstitch you also need to lift the foot to release the tension.
2. Pull back the threads before sewing
Before you start sewing, always pull both the needle and the bobbin thread towards the back. This prevents the thread from getting tangled and stuck in the stitch, which is a pretty common sewing machine issue. This beginner sewing tip is something I don’t see talked about enough and it will save you a lot of hassle.
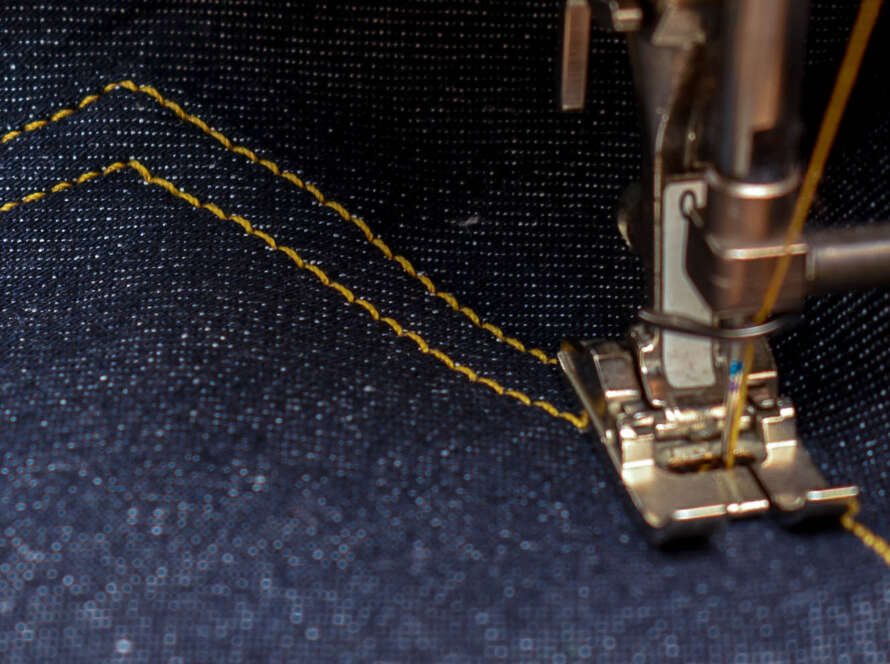
3. Start with the needle down in the fabric
This is another effective way to prevent the threads from forming a knot. Use the handwheel to lower the needle or check if your machine has a function that does this automatically for you. For instance, on my Bernina 1230, I can push down the needle with just a light push on the foot pedal.
Using this method also assures that the needle won’t miss the fabric on the first stitch.

4. Get the stitch length and width right
Most sewing machine manuals will have suggestions on the best settings for each stitch and many machines have auto settings, but it’s still important to understand how to manually adjust the settings and understand how different settings affect the result.
Stitch length settings

Straight stitch
A length around 2–2.5 mm is great for seams. A good rule of thumb is to use a shorter length for lighter fabrics and those under a lot of duress, and a slightly longer stitch length for heavier fabrics, which will help the feeding. But remember that a longer stitch length means less durability.
For topstitching increase the length to 3 or 3.5. Again the actual length will depend on the fabric and how many layers you are sewing over, so experiment on samples to figure out the sweet spot.
Learn more: How to Perfect Topstitching
Zigzag stitch
Opt for a higher setting means that the spacing between the ends of the V will increase. This means there will be less thread covering the raw edges, which can cause fraying of the fabric. A good zigzag length for overcasting is around 1.5 to 2 mm.
Stitch width

Straight stitch
The width is of course zero, so no need to change the settings.
Zigzag stitch
On a zigzag stitch and other wide stitches, you need to adjust the width too. For a regular zigzag made for overcasting raw edges, opt for a width around 2.5 to 3 mm. But you can go a bit higher too.

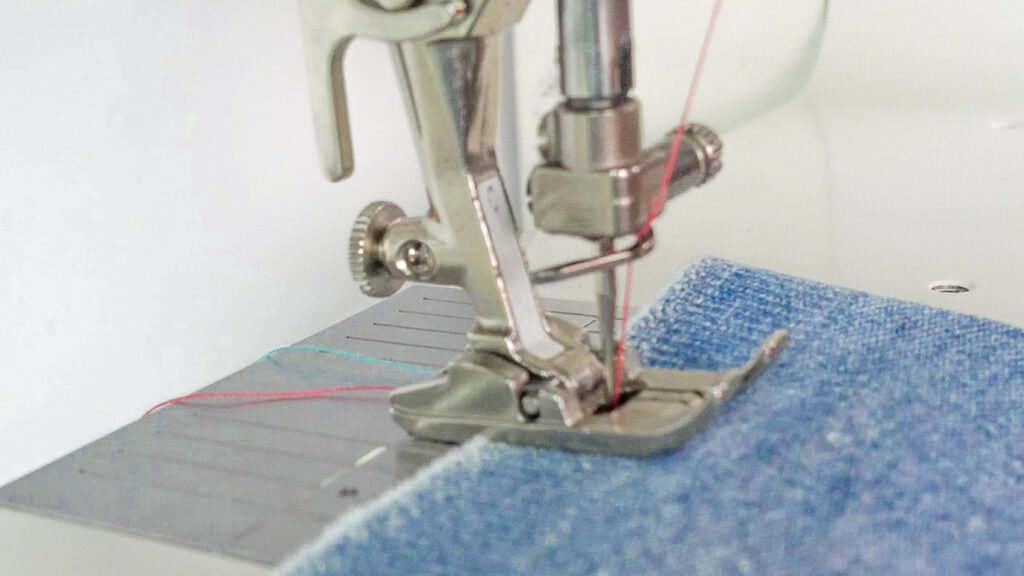
5. Balance the tension
The mark of a beautiful stitch is balanced tension. Balanced tension means that the needle thread is not visible on the reverse side, nor is the bobbin thread visible on the right side of the fabric.
Many machines have auto tension, but you might still need to adjust the needle tension at times, in particular, if the fabric and or thread is heavier or lighter than average. Since many things will factor in, I can’t give you any hard fast rules on best settings. Instead, you need to do a sample with your chosen thread, fabric and needle and to see what works best.
Tip: Use different colour threads in the bobbin and needle to figure out the best settings.
Needle tension is too loose

This causes the needle thread to form loops on the reverse side.
Needle tension is too high

The tell-tale sign is the red dots of bobbin thread showing on the right side.
Balanced tension
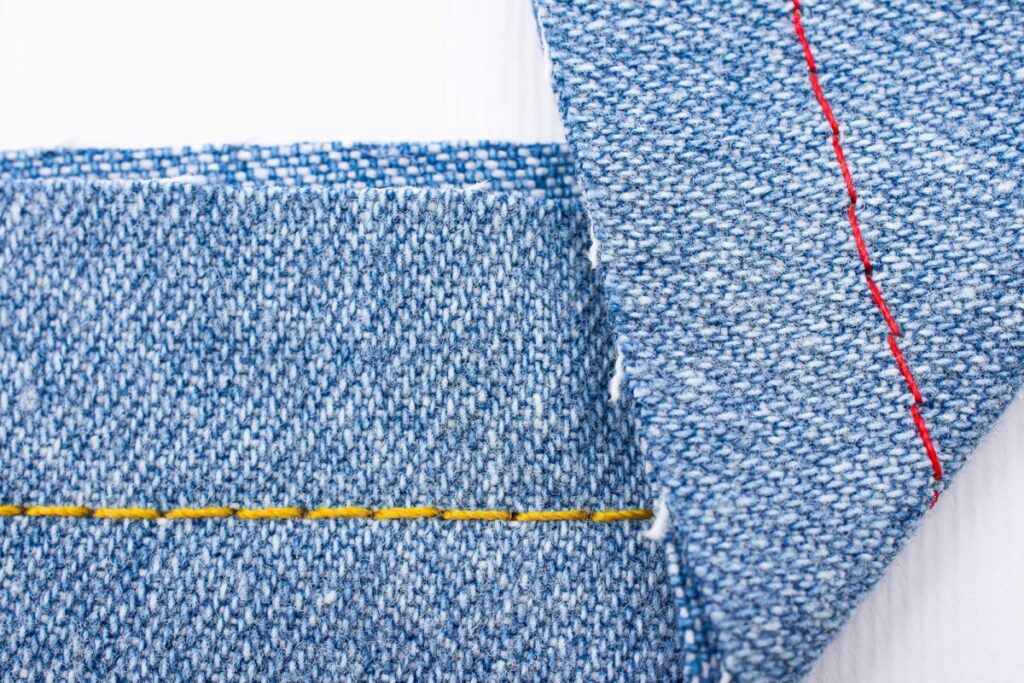
And finally, here is an example of balanced tension. Nothing is peeking through on the other side.
6. Get help to sew straight
If the guides on the plate are not enough, use a raised seam guide to help you sew straight.
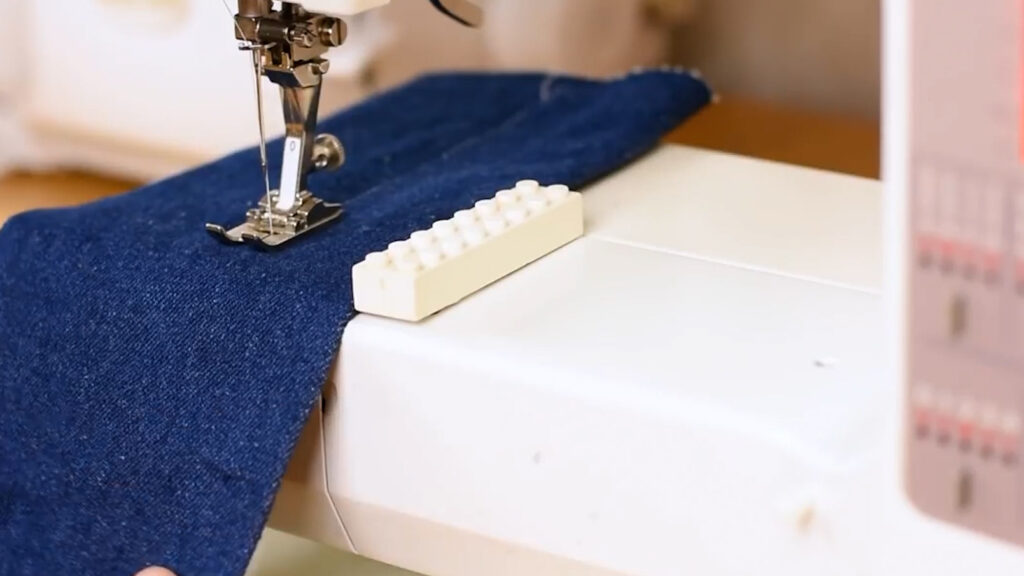
A stack of post-it notes or a piece of lego attached with blue-tac are both great options if you don’t have a machine seam guide
To learn more ways to sew straight, check out our sewing straight video tutorial on the best tools for how to do this.
Learn more: Best Sewing Tools for Under $10
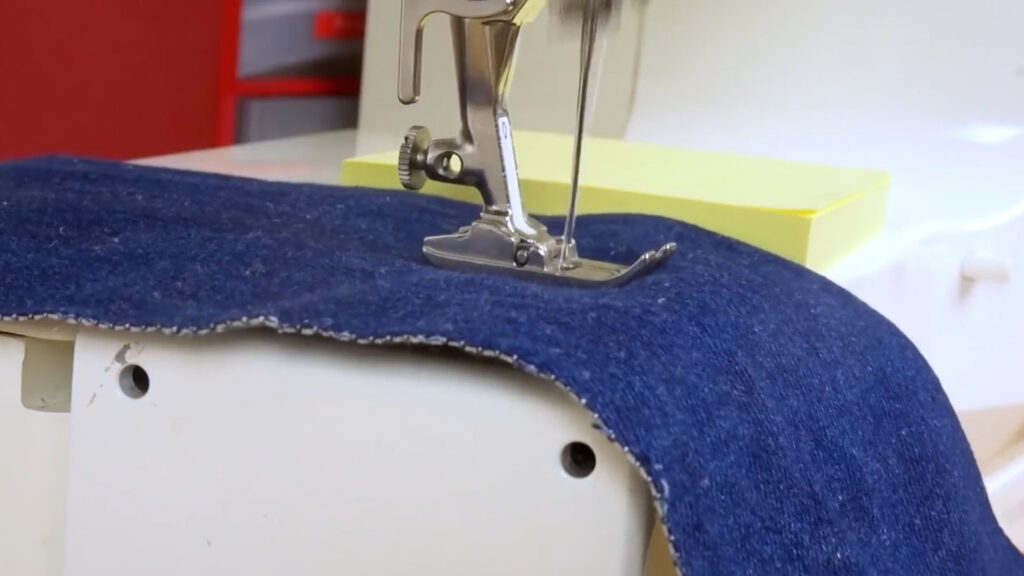
7. Guide the fabric gently
Another trick for sewing straight is to guide the fabric with your hands. Softly pinch the fabric edge with your right-hand thumb and index finger and gently guide the fabric with your left hand. Never pull or force the fabric, let the rhythm of the sewing machine decide your movements.
Want to learn even tips and tricks for your sewing machine? Then check out this video:
You’ll be amazed how big a difference these beginner-friendly sewing machine techniques and tips will make for your sewing. Now enjoy your machine, and remember that with practice and the right techniques you’ll improve your skills in no time!

5 Comments
Gloria Horsey
I’m starting over again after a long hiatus, Johanna. This is a wonderful refresher course to me. Thank you soooo much. Gloria Horsey
Annette Bollig
Great tips. Thank you
Antonia Tzakis
Hi I just purchased the new baby lock euphoria and also purchased your book cover stitch. Was wondering could you -please do some more tutorials on what to make with cover stitch machine. Thanks for all your fabulous tutorials I’m from Australia and we only got the euphoria in 29th July 2021.
James Walter
These are excellent fundamental tips that will really help beginners get better results. Things like proper threading, tension adjustments, and fabric guidance are so crucial but often overlooked basics. I appreciate the practical examples given, like using different colored thread to check tension. Tips that demonstrate issues visually are really helpful for new sewers. These nitty gritty machine techniques that can unlock a beginner’s potential are sometimes left unsaid. Mastering fundamentals in an accessible way empowers sewers to feel confident in their craft. Following these tips will surely lead to success and enjoyment.
Comments are closed.