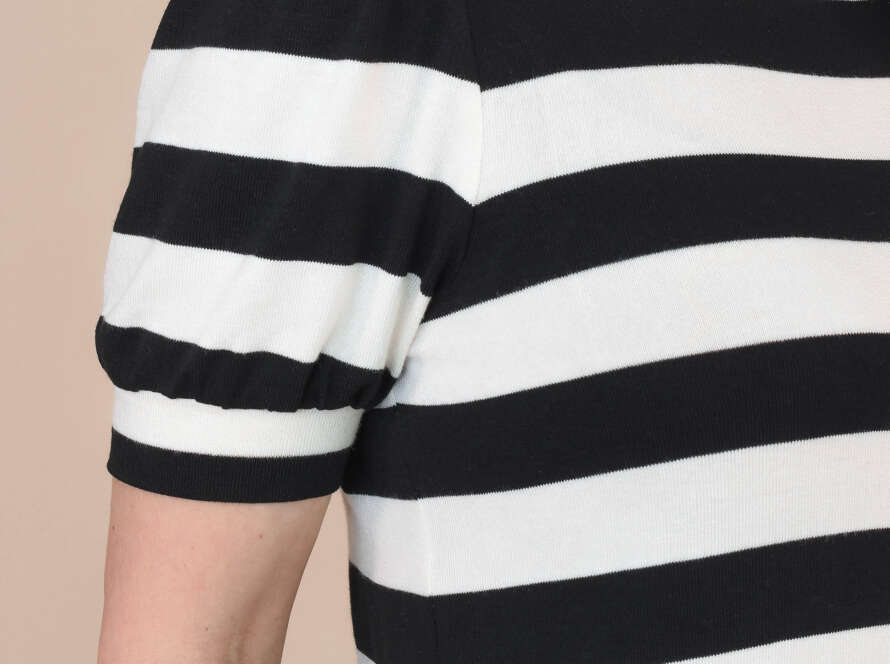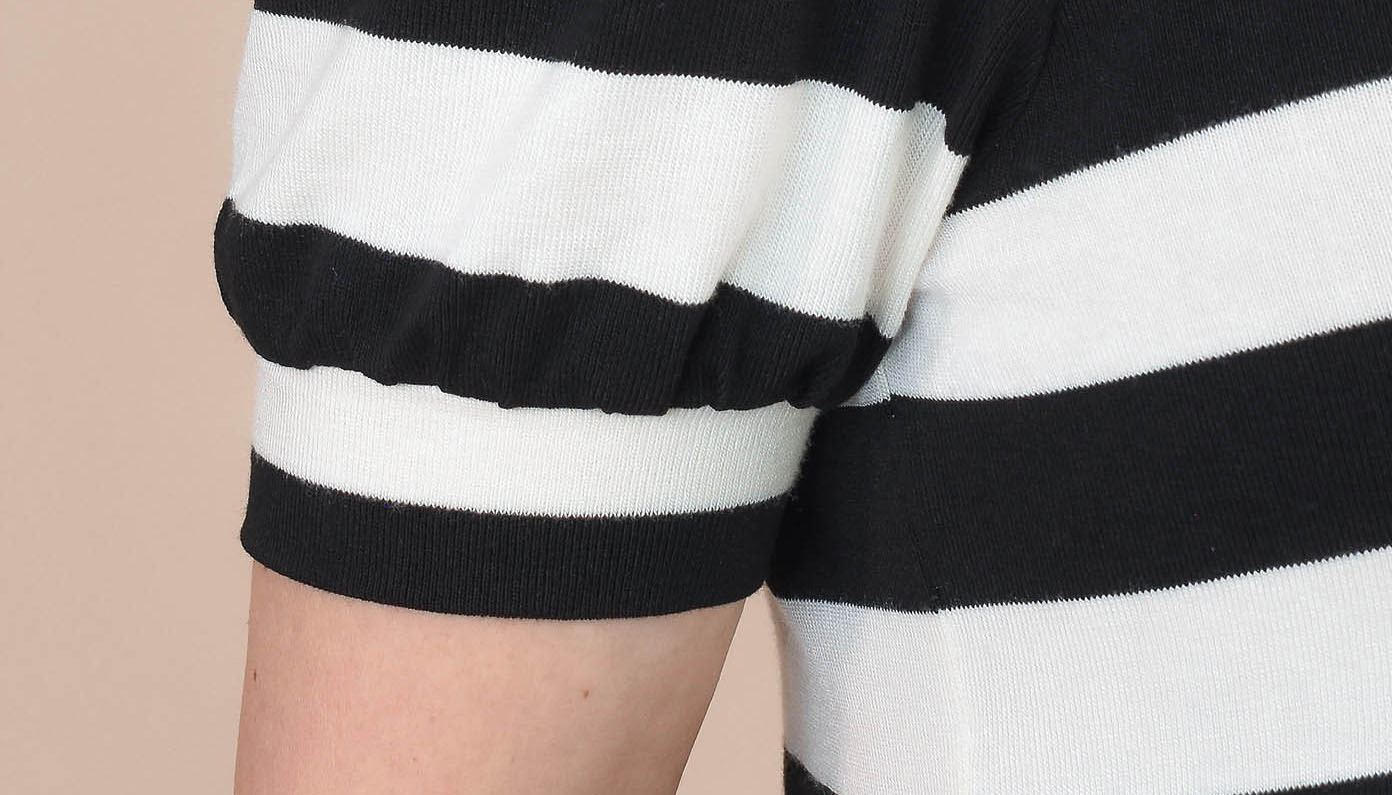

One of my favourite things about the Gurli Knit Top Sewing Pattern is the sleeve cuffs with the gathered hem. On the long-sleeve version, the cuffs are also longer with a nice overhang for a dressier look.

The steps and bonus tips shown in this tutorial are for the short-sleeve cuff version, but you’ll use the exact same method for sewing the long-sleeve cuffs.
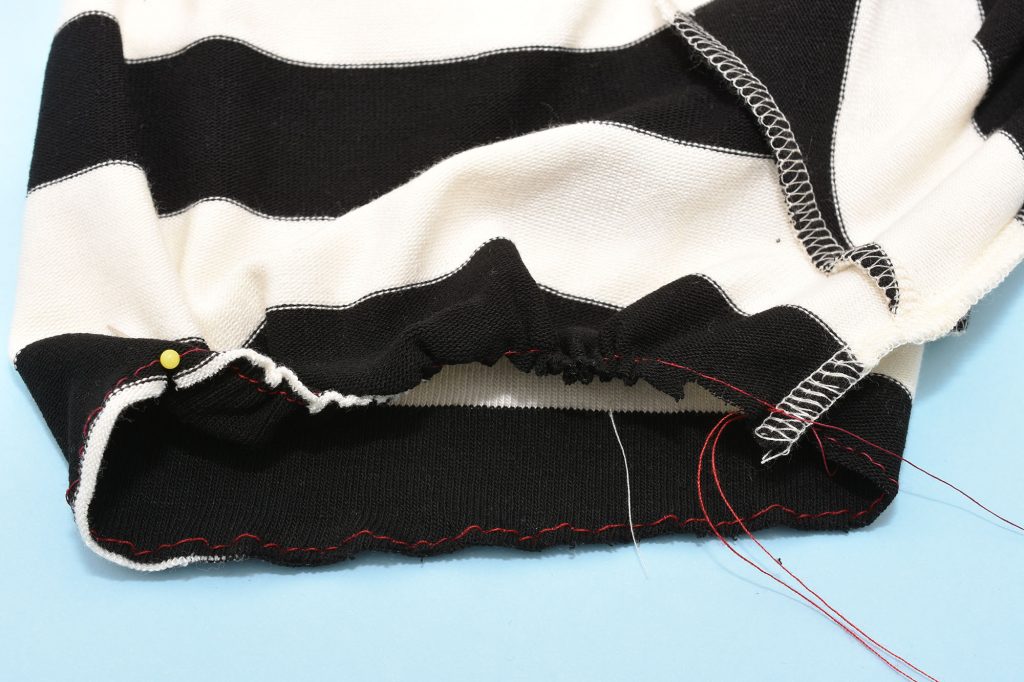
1. Sew the gathering stitches
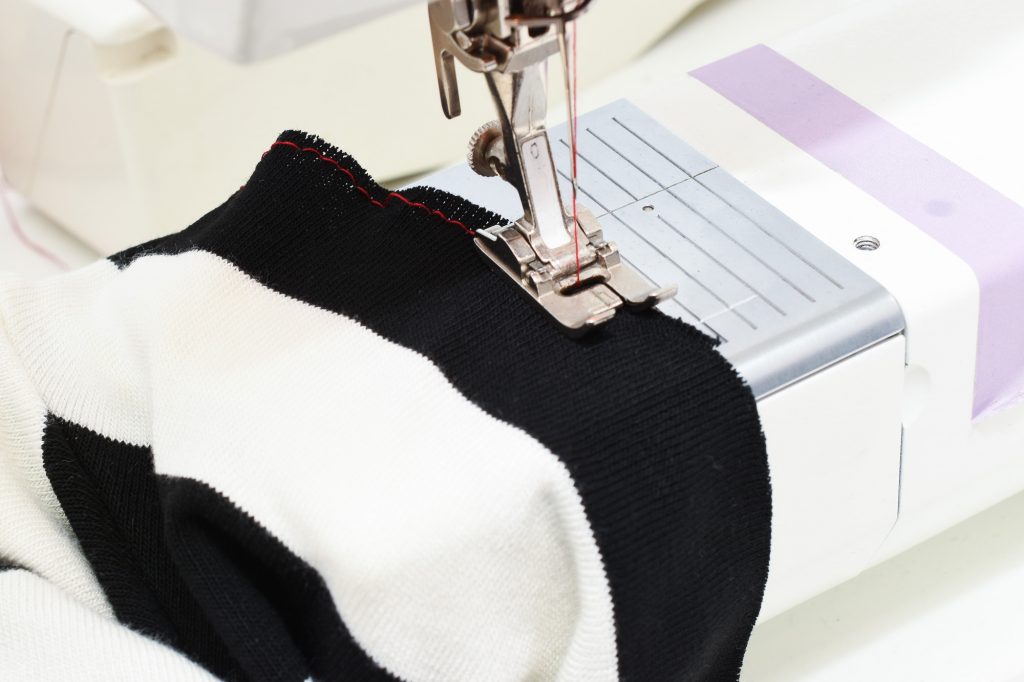
To gather, use a straight stitch with a longer stitch length (3 – 5 mm) and loosen the needle tension slightly. Tip: Use a contrasting colour thread when sewing the gathering stitches, this makes removing the threads easier afterwards.
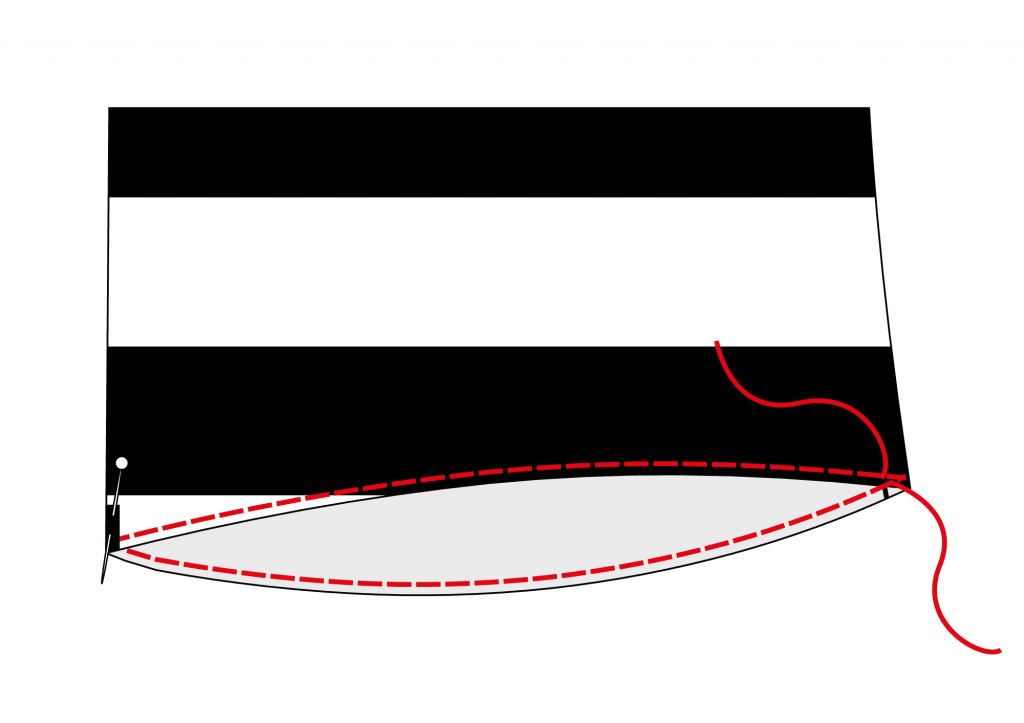
Sew a row of gathering stitches between the gather notches on the sleeve hem. Stitch with the right side of the fabric facing up. Sew close to the edge, on the seam allowance.
Mark the mid-sleeve notch with a pin.
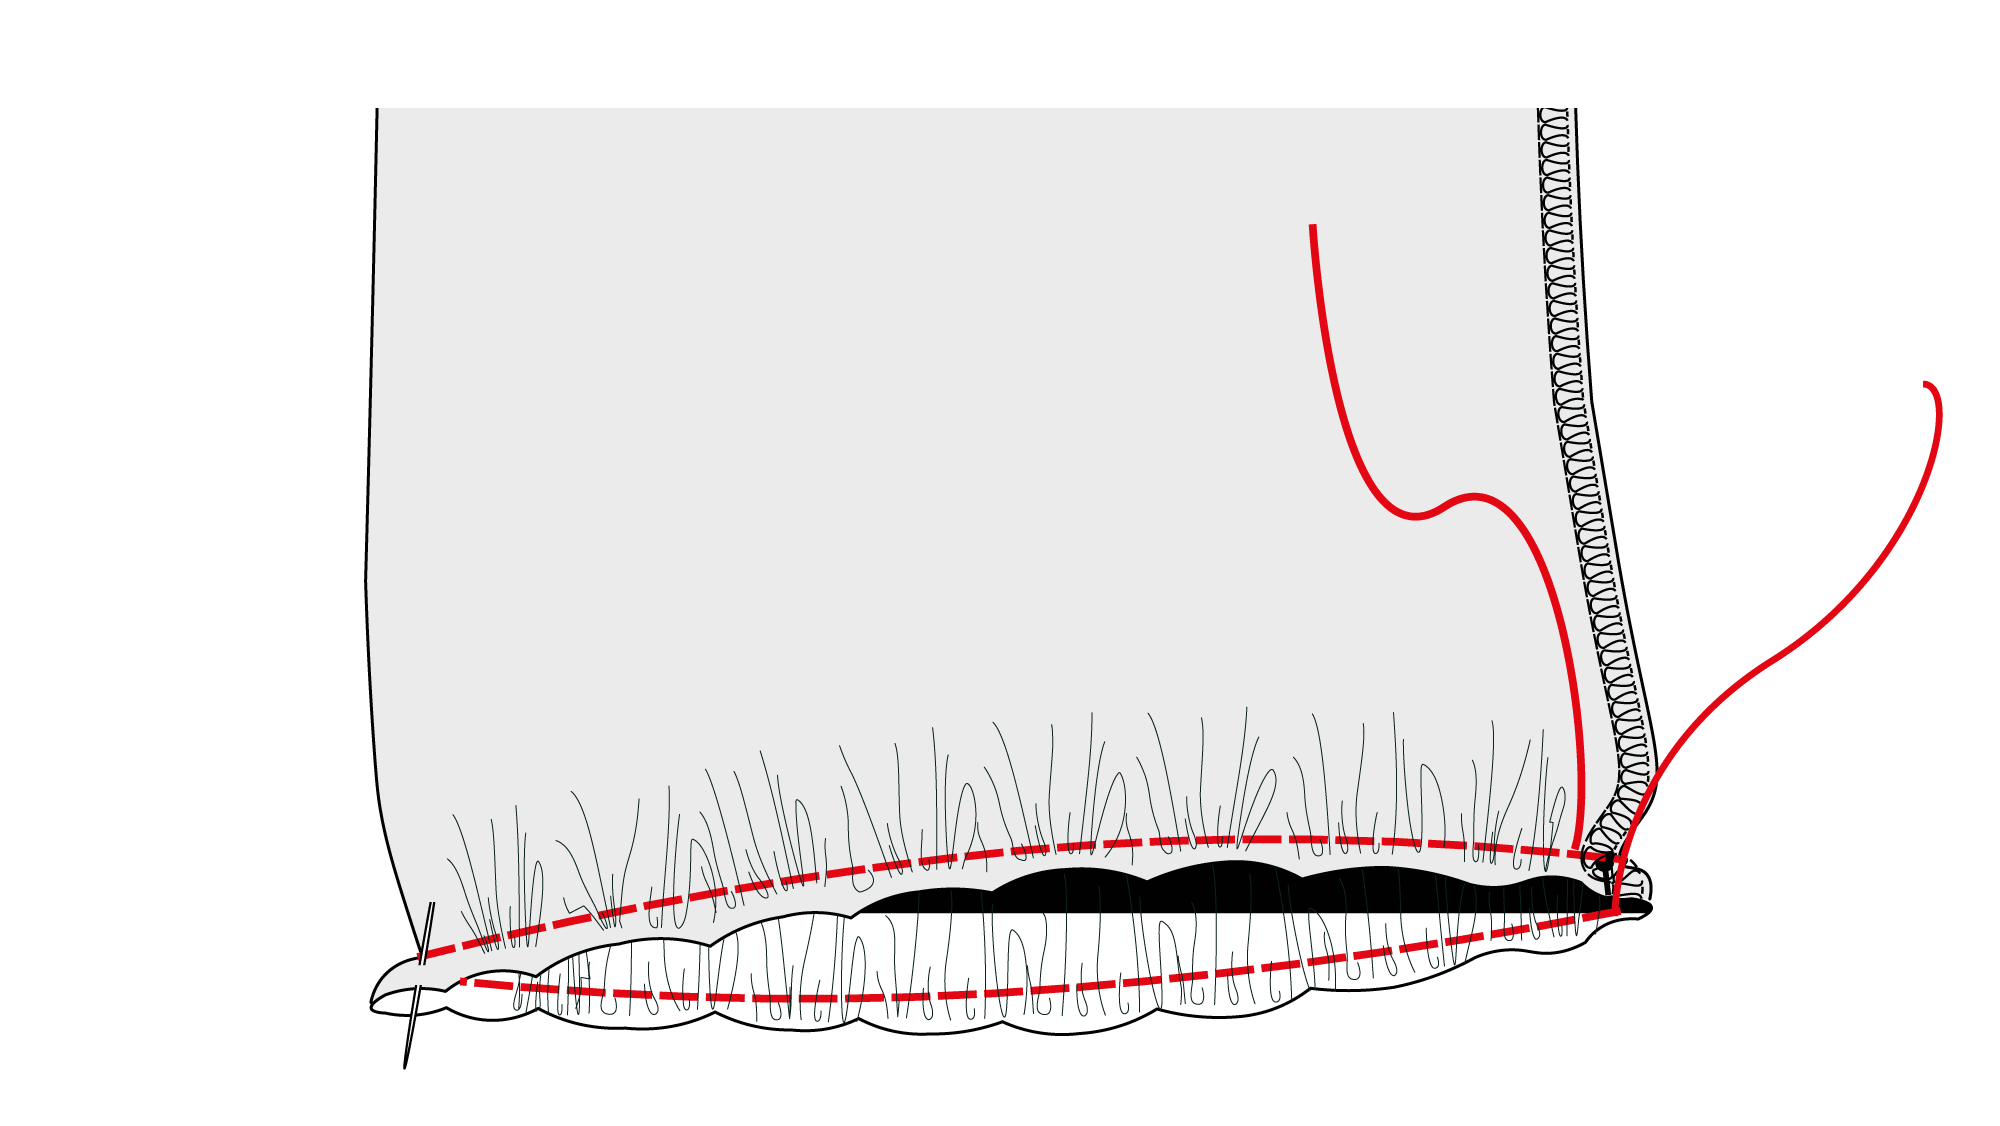
2. Gather the sleeve hem
Pull the gathering stitches on the sleeve hem until the gathered section is the length of the finished cuff. Fasten the thread ends with a knot. Repeat on both sleeves.
3. Fold and press the cuffs
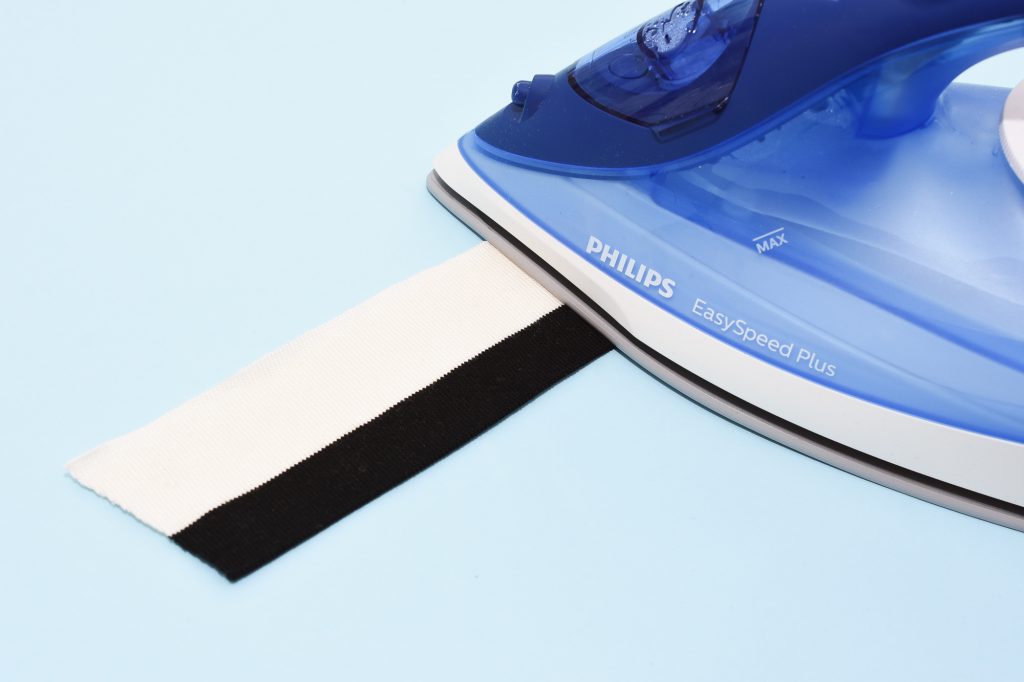
Fold the cuffs lengthwise, wrong sides facing. Press with an iron set on low heat.
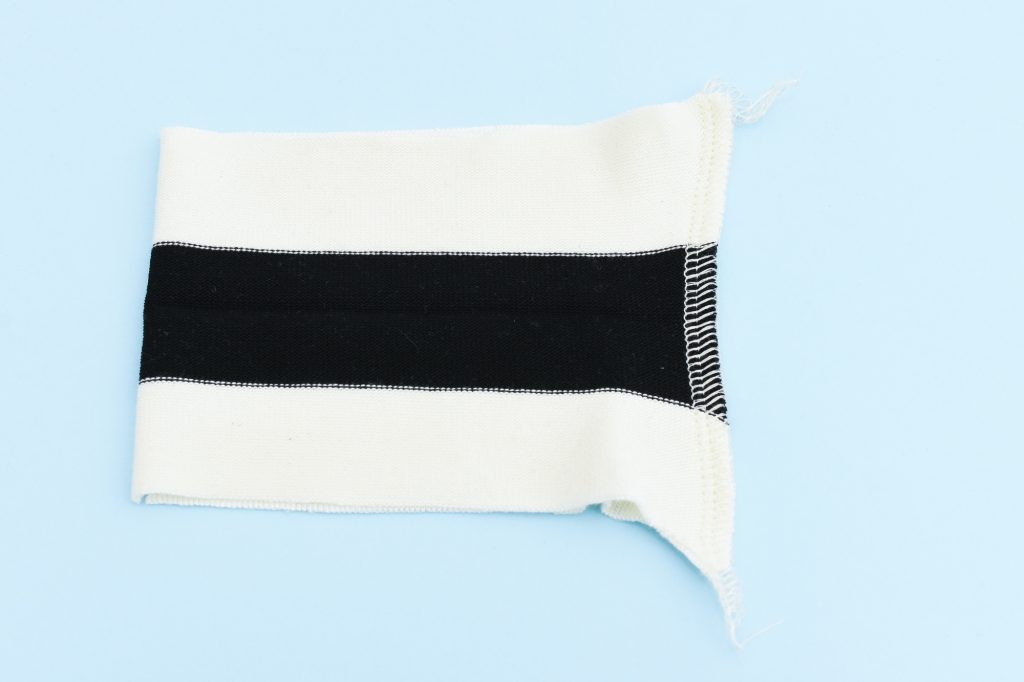
4. Sew the cuffs
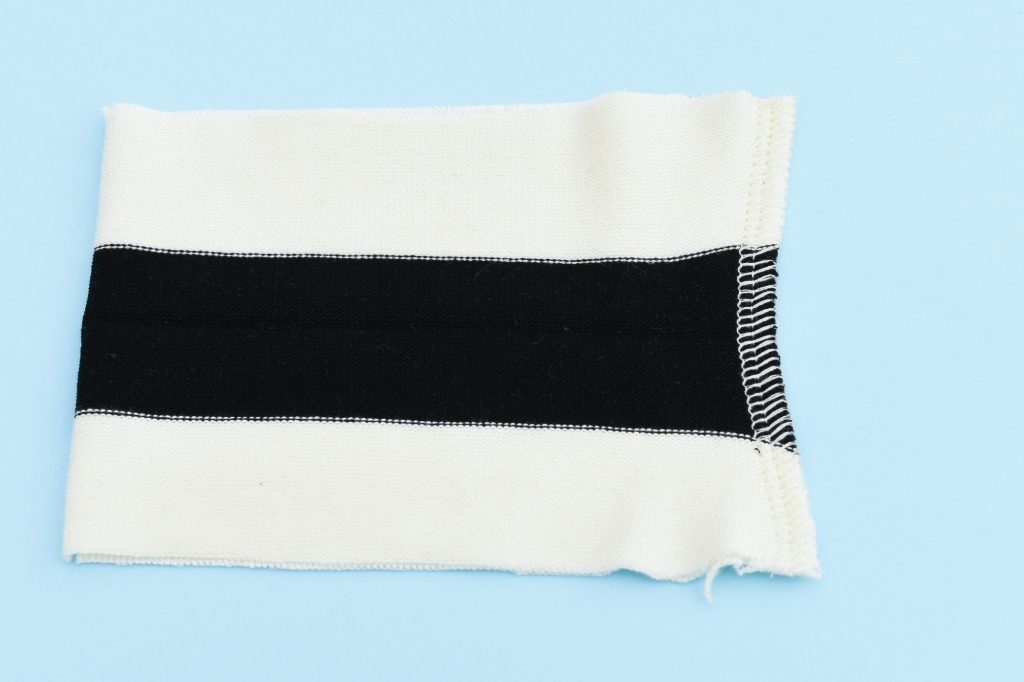
Open up the cuffs and instead fold them crosswise, right sides facing. Stitch along the edge. Use either an overlock seam or use a narrow zigzag.
5. Trim the cuff tips, if the seam is stretched out
When sewing knit cuffs and neckbands, it’s pretty common to get stretched-out tips at the edges. If you don’t trim the stretched-out tips, there might be an unsightly “peak” at the seam when you attach the cuffs to the sleeve.
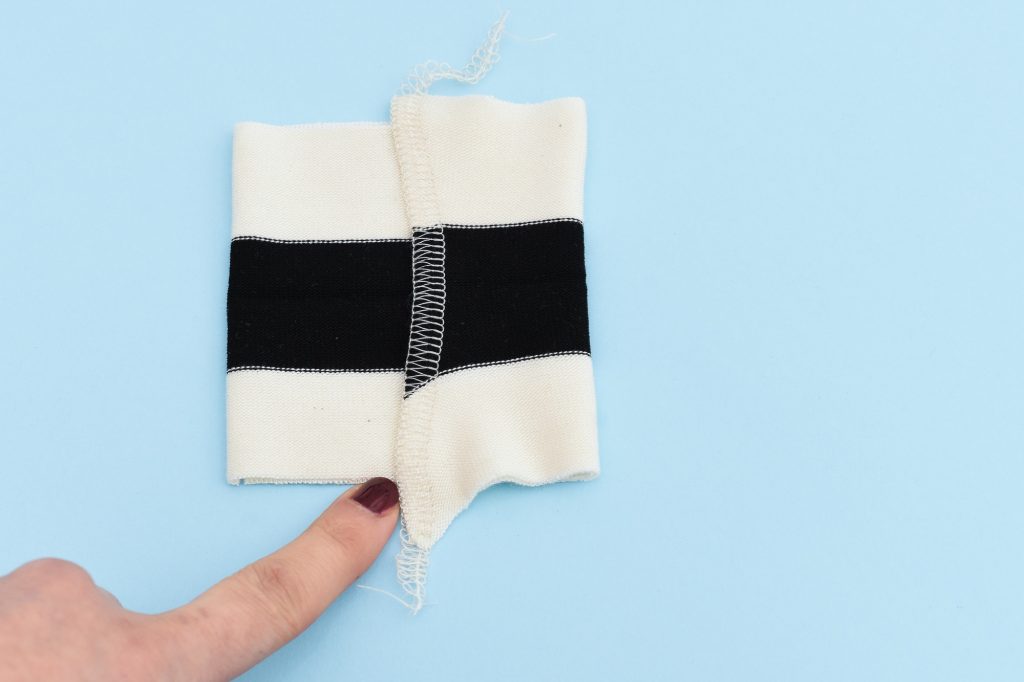
Before trimming, check how much to remove. The finished cuff should have an even length all around.
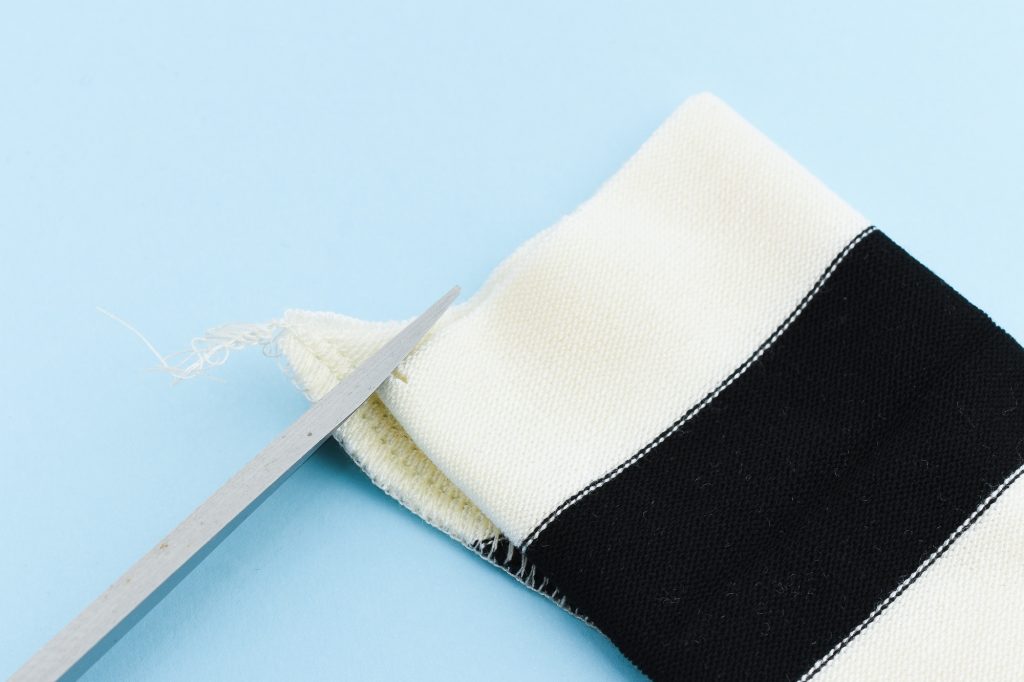
Then cut away any extended tip.
6. Fold over the trimmed and sewn cuff
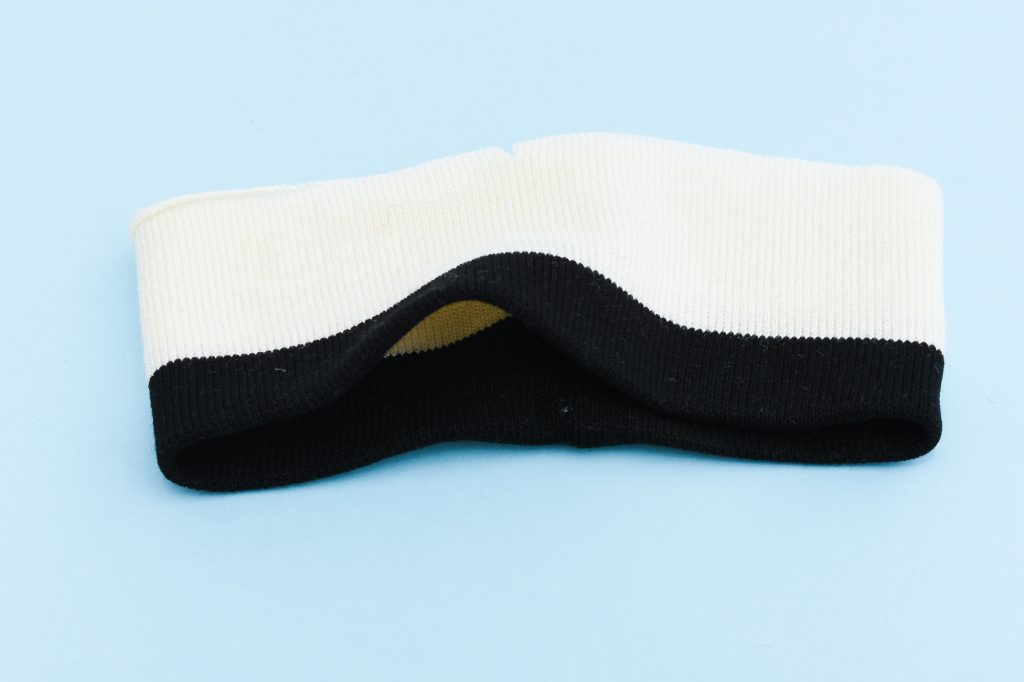
Fold the cuffs in half lengthwise, wrong sides facing. You can press the cuffs again with an iron to get that sharp fold and pressed seam allowance.
7. Attach the cuffs to the sleeve
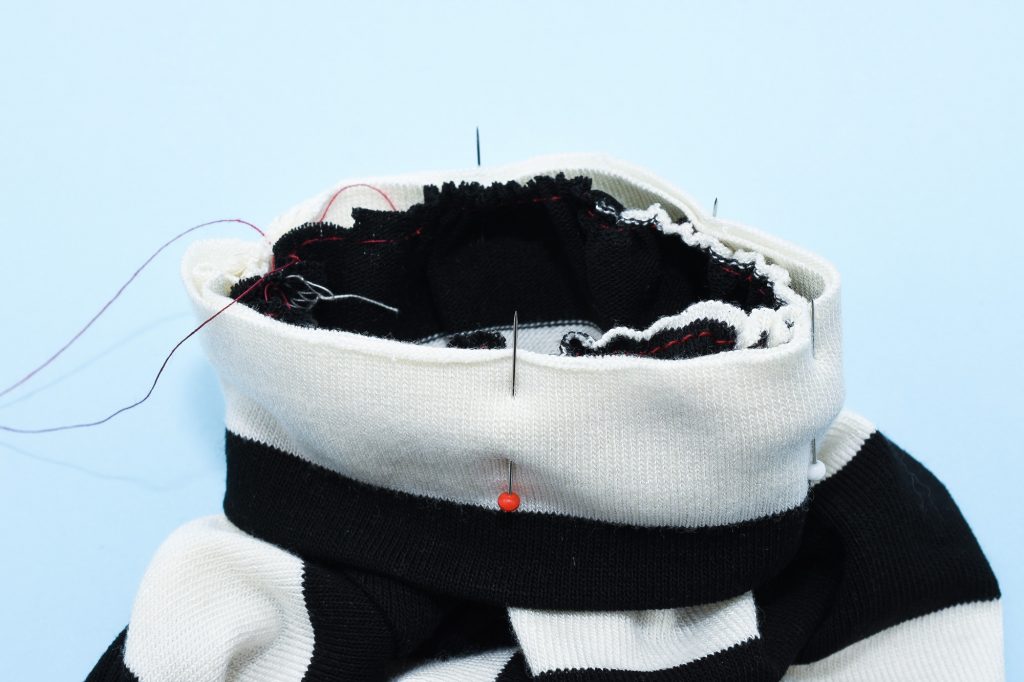
Pin the cuffs to the hem, right sides facing. The cuff seam should align with the sleeve seam. The mid-point notches on the cuff and sleeve should also match. Tip: Fold the cuff and sleeve seam allowance in opposite directions to reduce bulk.
8. Stitch the cuffs to the sleeve hem
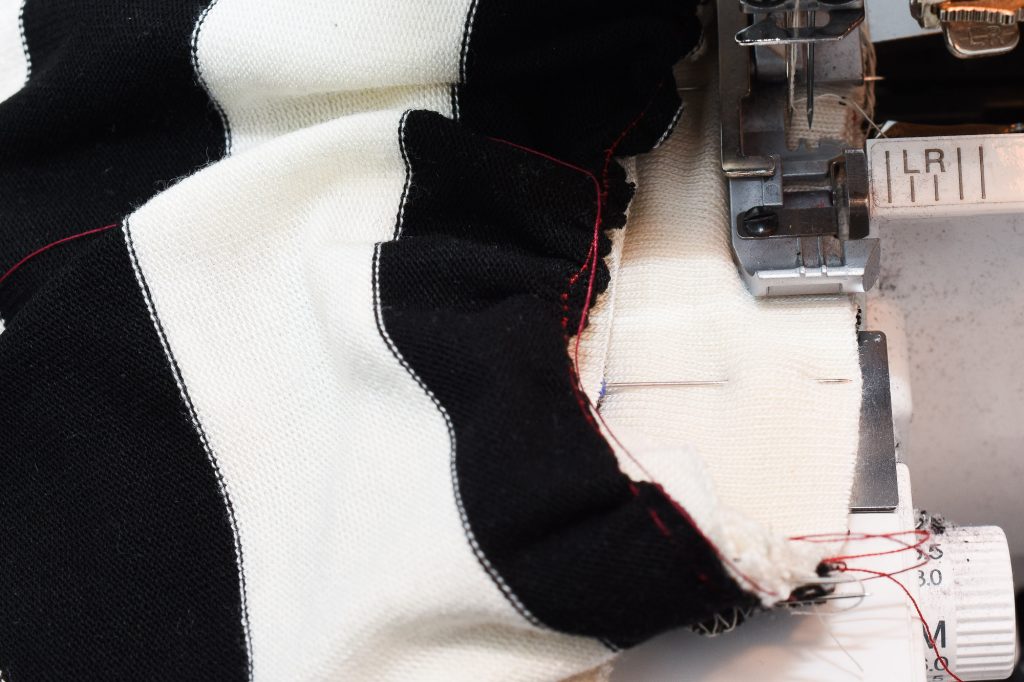
Stitch along the edge to attach it to the sleeves. Repeat on the other sleeve.
9. Remove the gathering stitches

Pull away the gathering thread after attaching the cuffs. This will be easier if you use a contrasting thread. Don’t worry if you can’t get rid of every bit of the thread, it won’t affect the end result.
10. Press the cuff seam

Press the seam allowance on the reverse side, towards the sleeve.
The Gurli Top is almost done! Only hemming remains. Check out my Twin-Needle Hemming Tutorial if you are using a sewing machine to hem the top. And if own a coverstitch machine, follow the steps in the Coverstitch Hemming Tutorial.
Want to learn more on how to sew knit tops like a pro? Check out the other knit top tutorials in the Gurli Knit Top Sew-Along.