Sewing pants can be overwhelming, and sometimes disappointing too. But many common problems can be avoided if you use the right techniques. Those methods aren’t always shown in sewing instructions but are standard practice in the garment industry. So let’s look at some pro tips that will elevate your pants sewing skills.
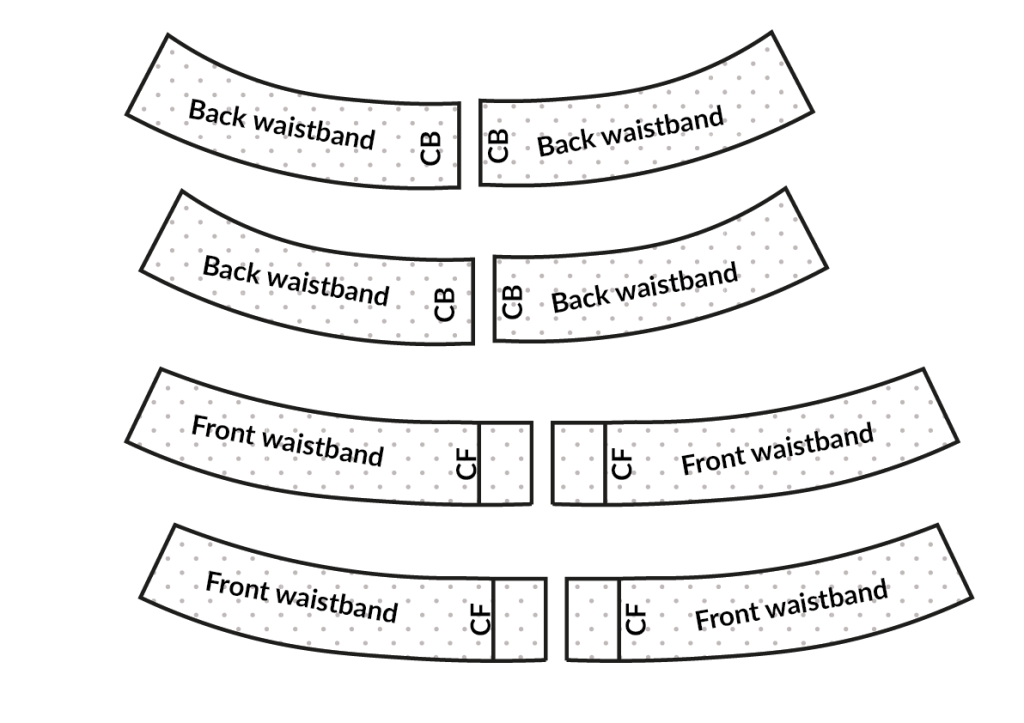
1. Interface both sides of the waistband

Interface both the outside and inside waistband piece. This is standard practice in the garment industry and something we home sewists should do as well. This gives you better control and makes stitching the waistband much easier.
Don’t use thick, rigid interfacing. You don’t need this as you are adding two layers. I recommend the Vlieseline H250 (Amazon affiliate link) or a similar medium, but not stiff interfacing.
2. Stitch a folding line
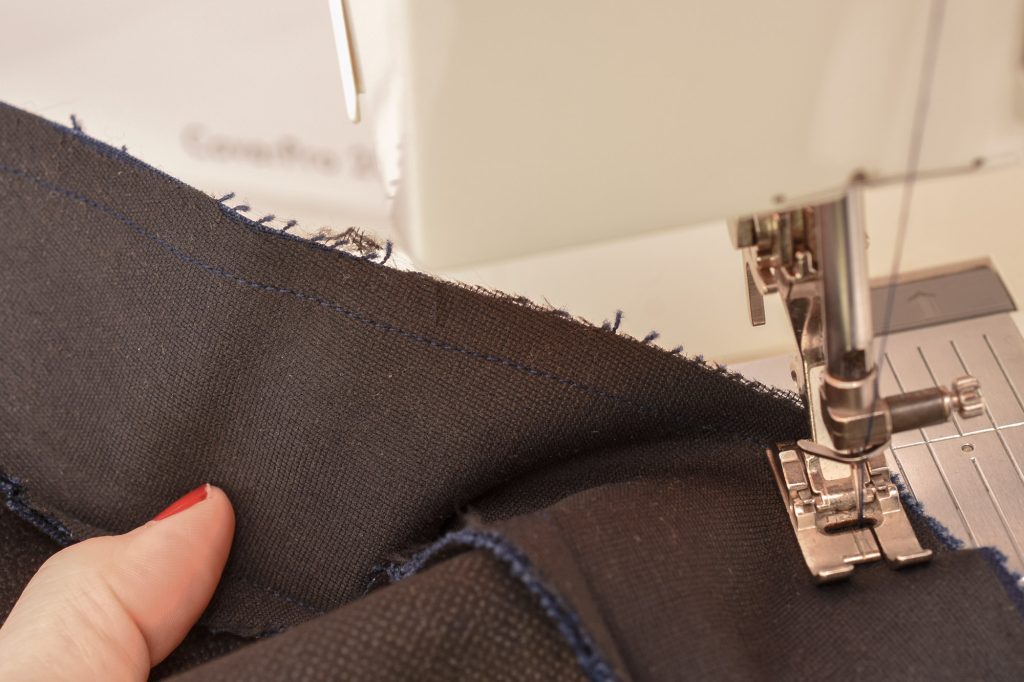
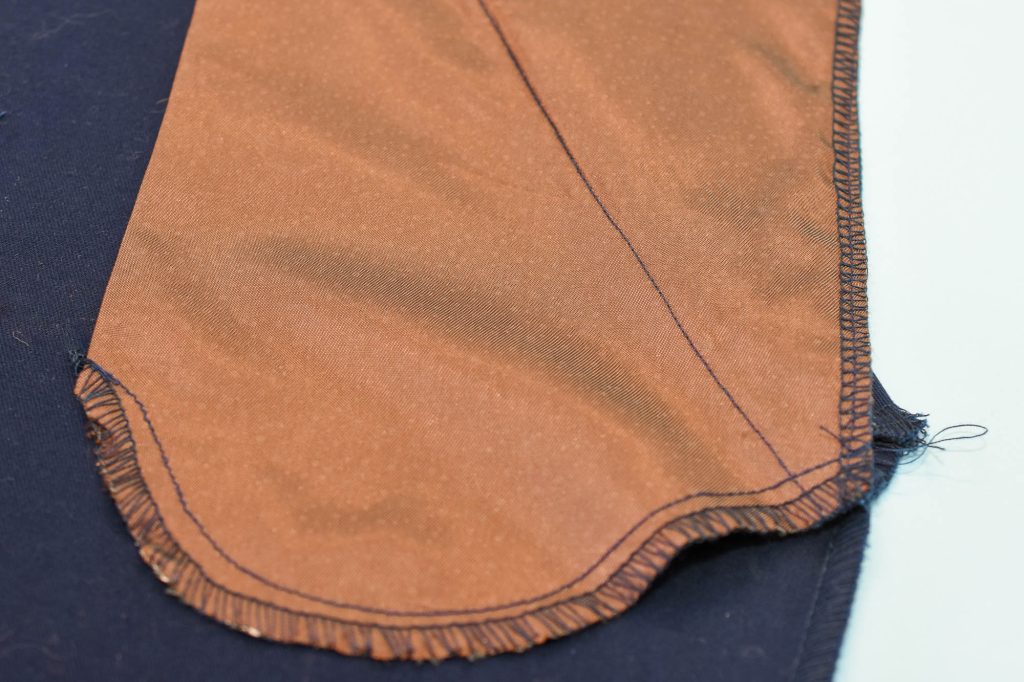
This is the secret to a perfectly shaped inner waistband, probably one of the trickiest bits when sewing waistbands. Stitch a straight line along the seamline or just outside it.

Press along the stitched line towards the inside. This is incredibly accurate and makes stitching the waistband a breeze.
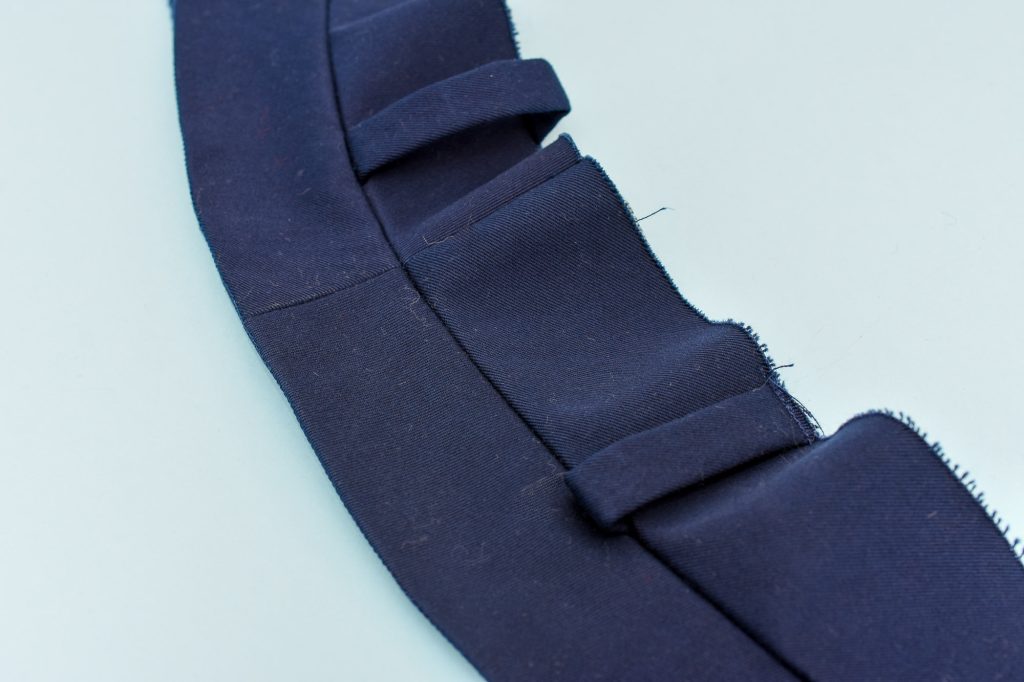
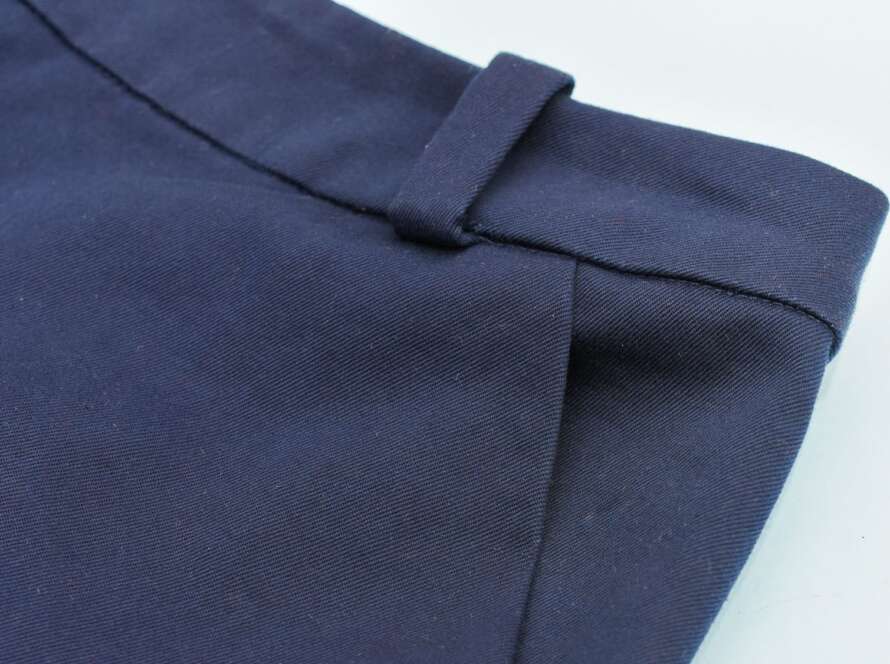
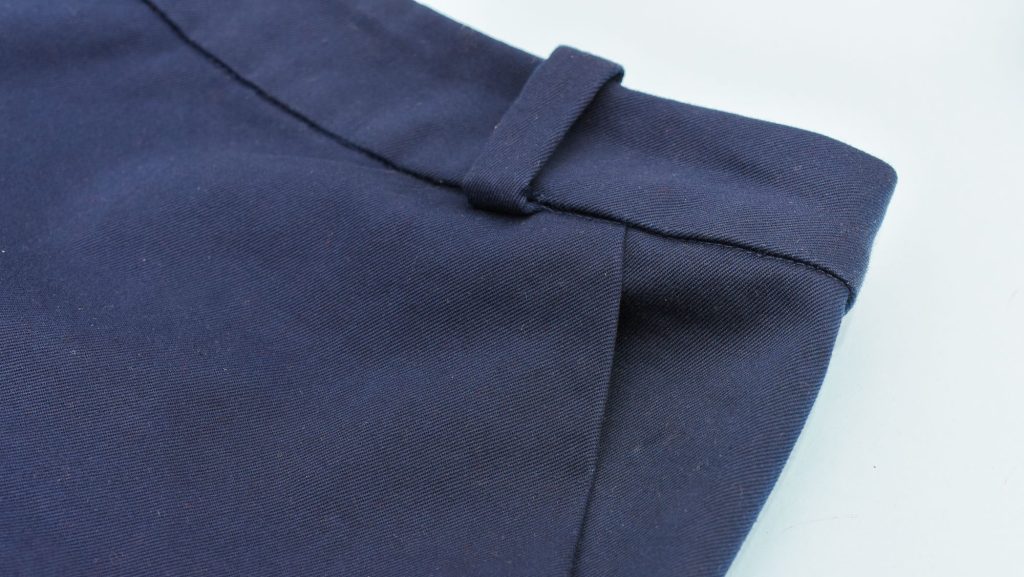
Need more proof? Just look at this beautifully shaped curved waistband. Notice how crisp the fold is.
3. Fold, don’t sew the ends of the waistband
Struggling to get that sharp 90-degree corner on the ends of the waistband? Then fold in the ends, instead of stitching them on the inside.
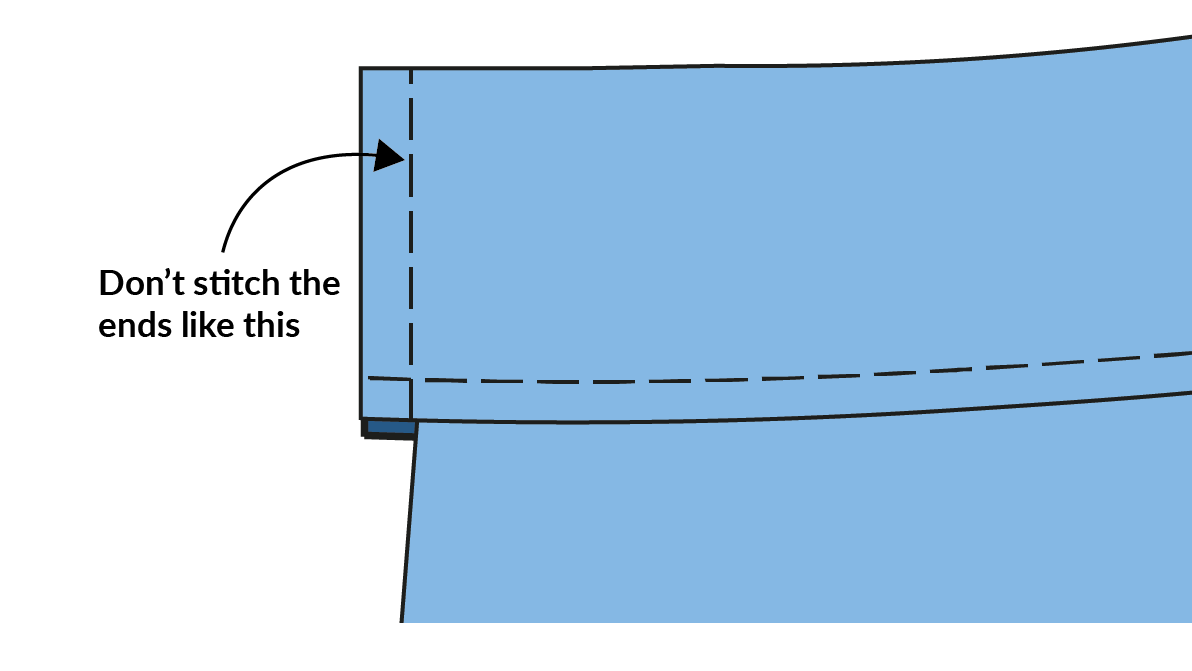
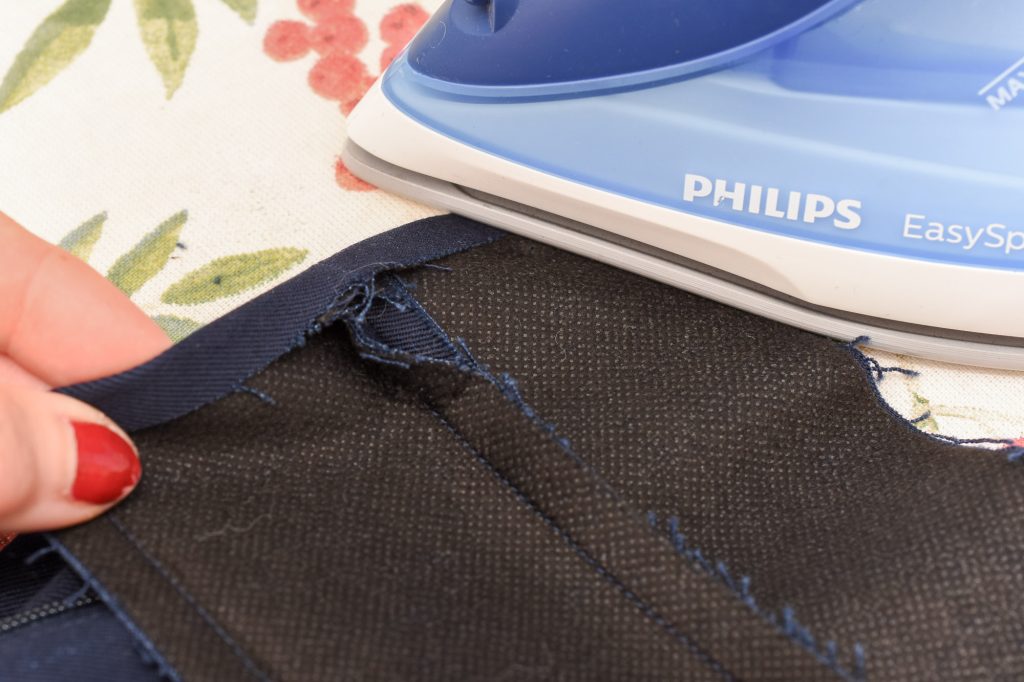
Instead, fold and press in the ends. See my waistband tutorial for more detailed instructions.

Close the ends. You can use slip-stitches.
Or topstitch over the fold, this is the standard method for making a jeans waistband.
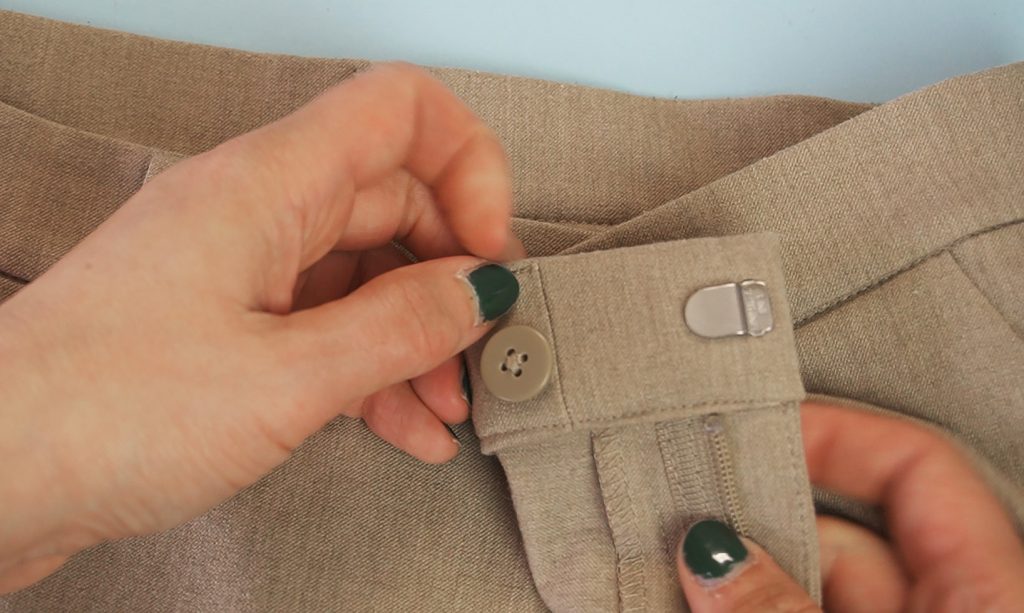
Garment industry pro-tip
In ready-to-wear pants, the outer waistband is often extended so that it ends on the inside. This is probably the easiest method to achieve that crisp, straight 90-degree edge.
Two examples of this method:
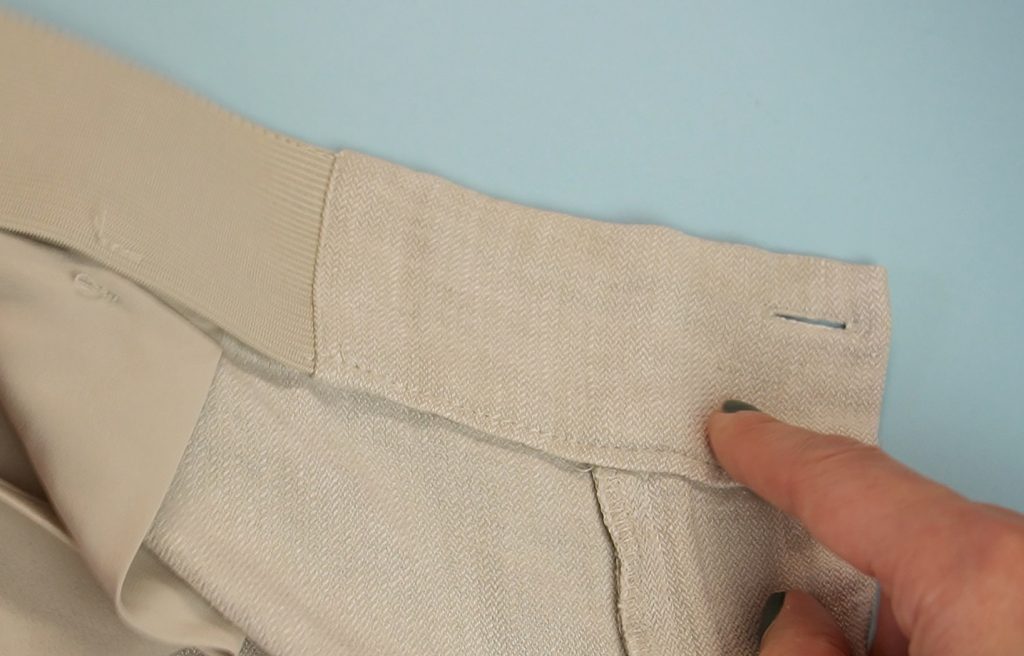
On these Uniqlo pants, the outer waistband extends about 5 cm (2″) on the inside.
On these linen H&M pants, the overlap is almost 10 cm (4″). And instead of a fabric piece, the inner waistband is made of elastic. This is an interesting detail that I will try on my next pair of pants.
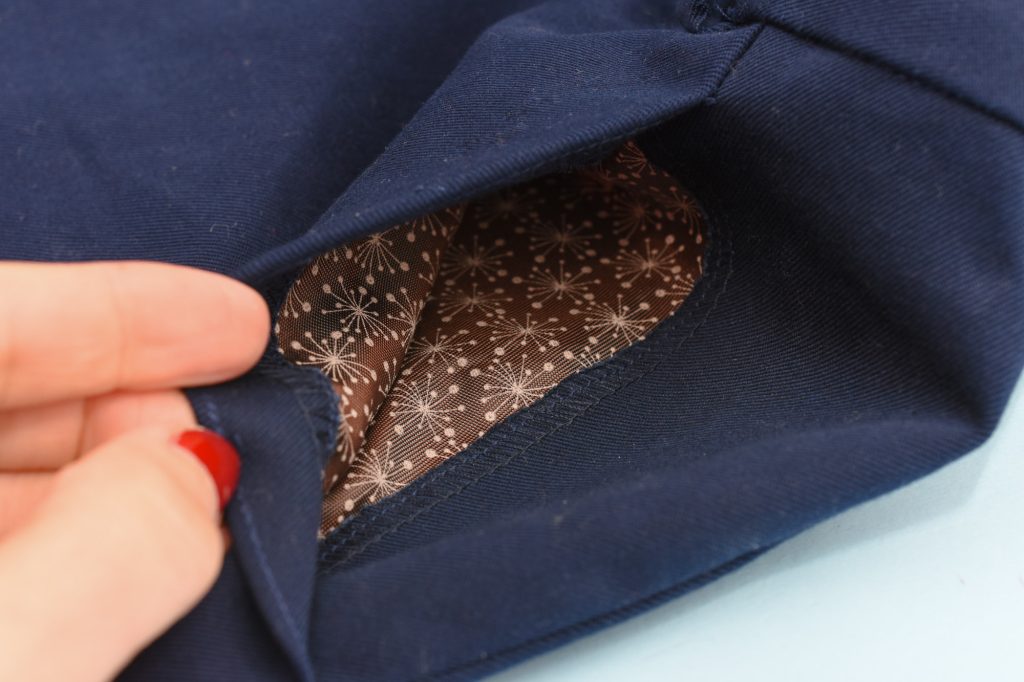
4. Make the pocket lining a single piece
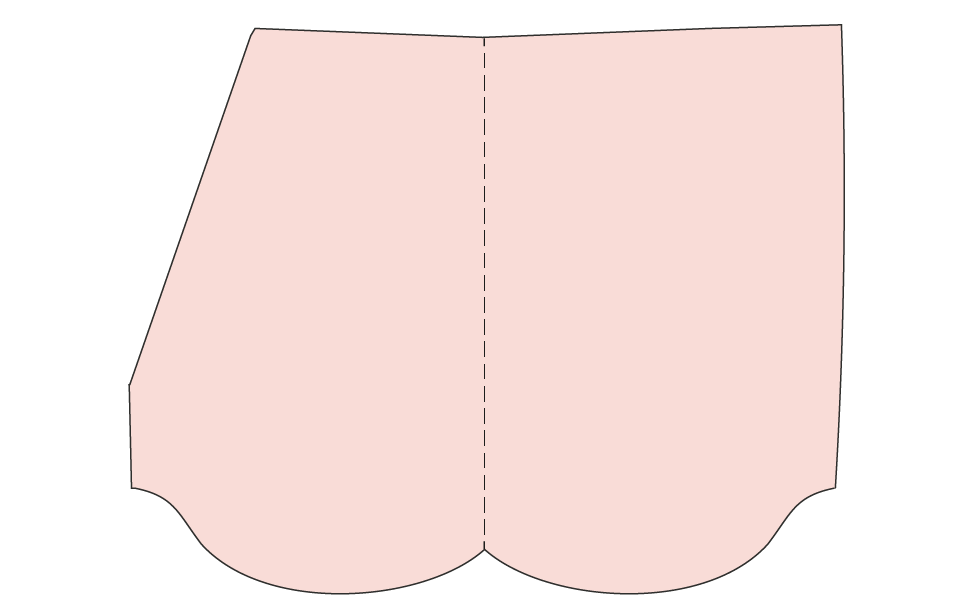
In RTW pants, the pocket lining is often a single piece that’s folded in the middle. This saves both time and fabric in production. Removing the seam also eliminates chafing and you won’t get an unsightly vertical seam peaking through the pants mid-thigh. This is why the method is an interesting option for us home-sewists too.

Regular 2-piece pocket lining.
I often use this method for dressier pants, and for jeans, I always do the single-piece method, see my front pocket jeans tutorial.
5. Use facing to cover the lining
To prevent the front pocket lining from peaking through, add extensions (facings) using the garment fabric. The facing should extend approximately 3–3.5 cm ( 1 1/4″) beyond the opening. Check out my front pockets sewing tutorial for step-by-step instructions.
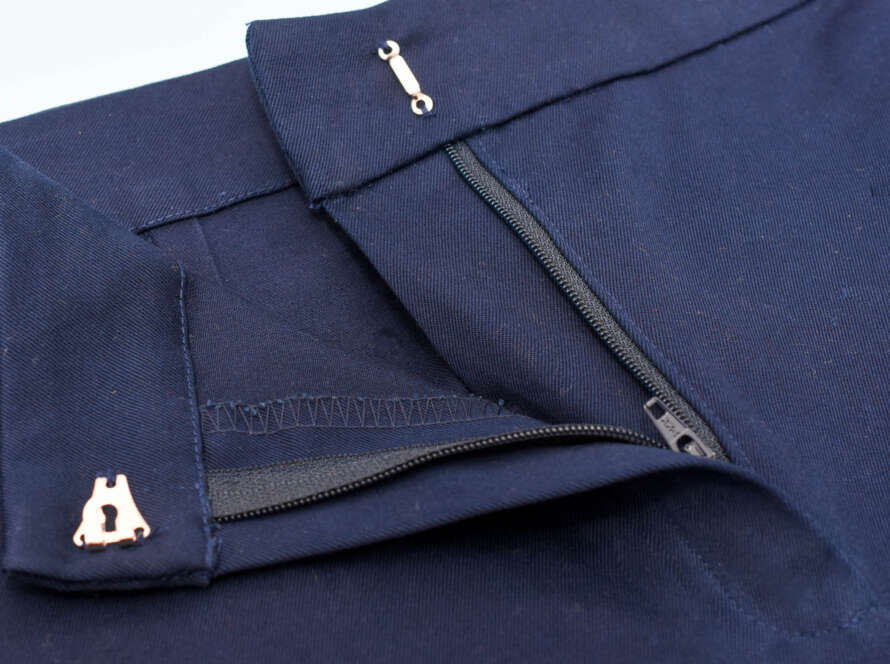
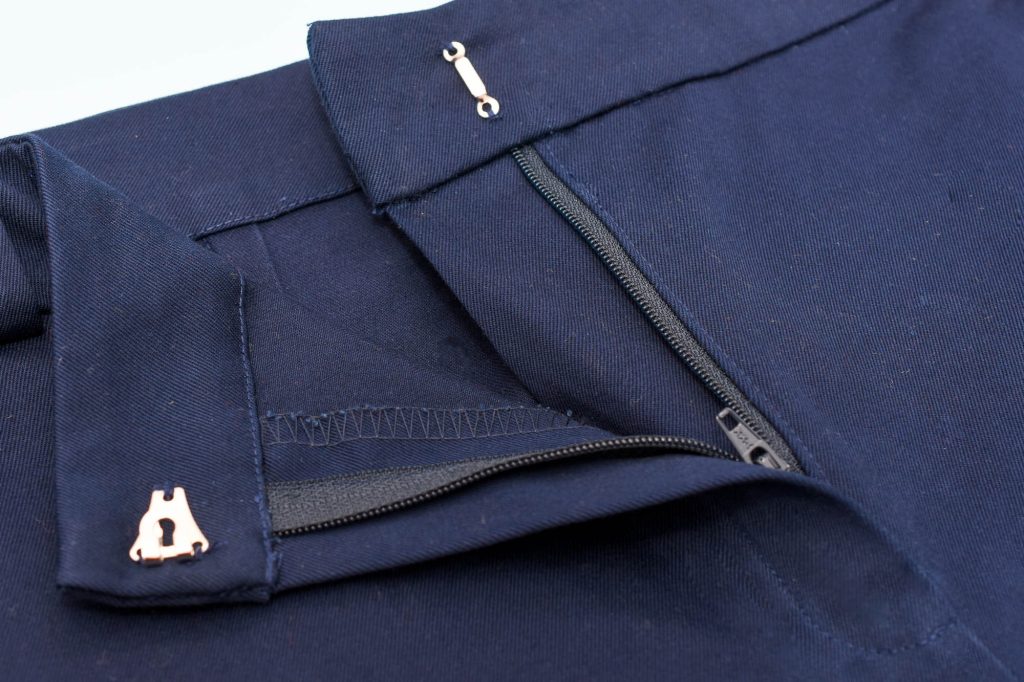
6. Sew the zipper on the flat
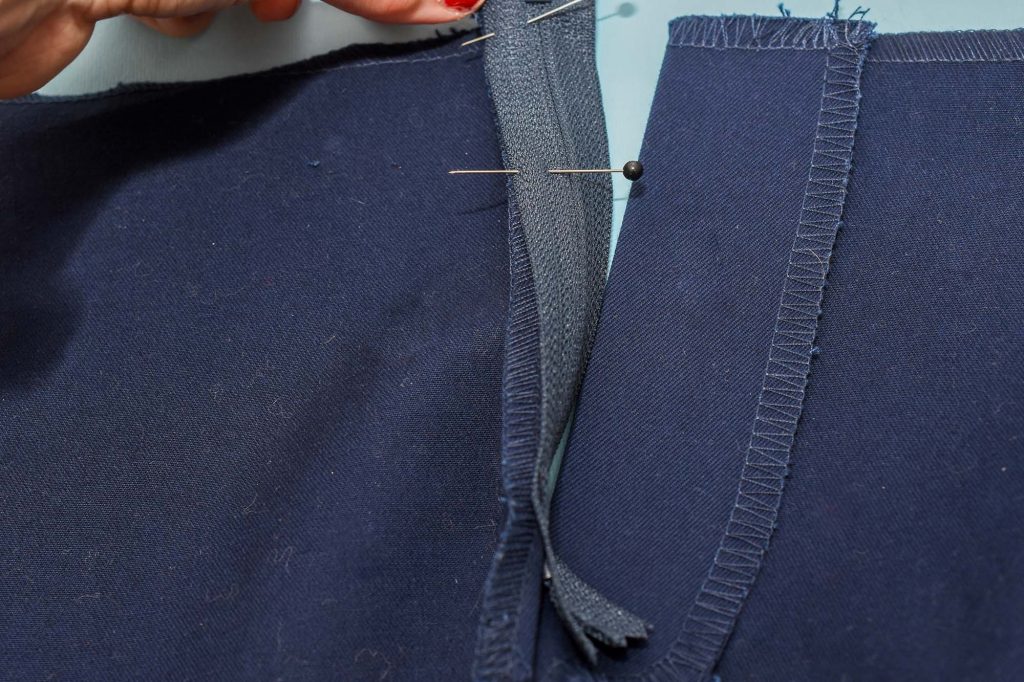
Don’t sew the front and back legs together before adding the zipper. Instead, this method is done on the flat, which makes inserting the zipper so much easier.
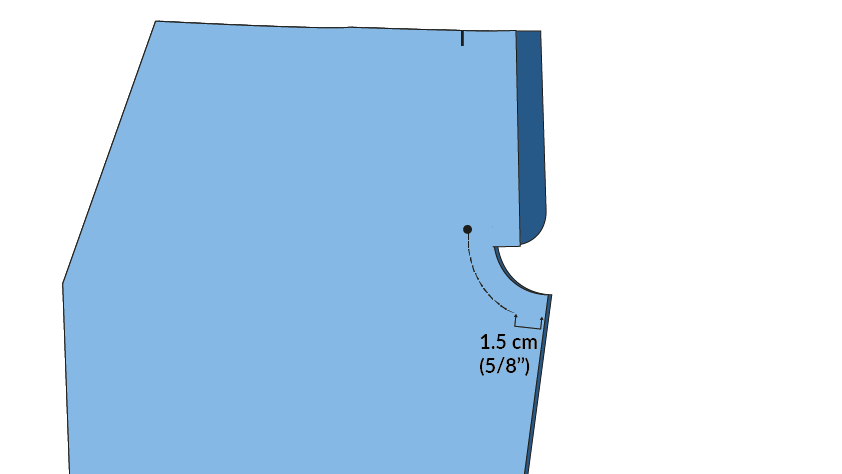
Before installing the zipper, place the front pieces together, right sides facing. Stitch from the inseam to the zipper opening, but start at where the seam allowance ends, usually 1.5 cm (5/8″) away from the fabric edge. Then insert the zipper using my Sew pants zipper like a pro tutorial.
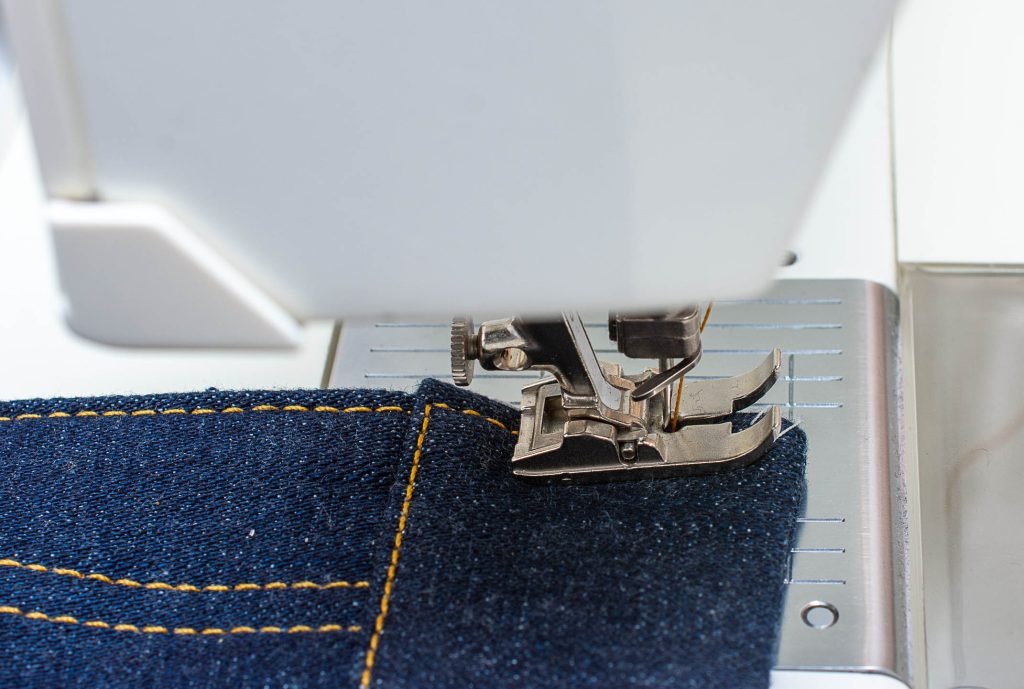
7. Use the machine blind hem stitch
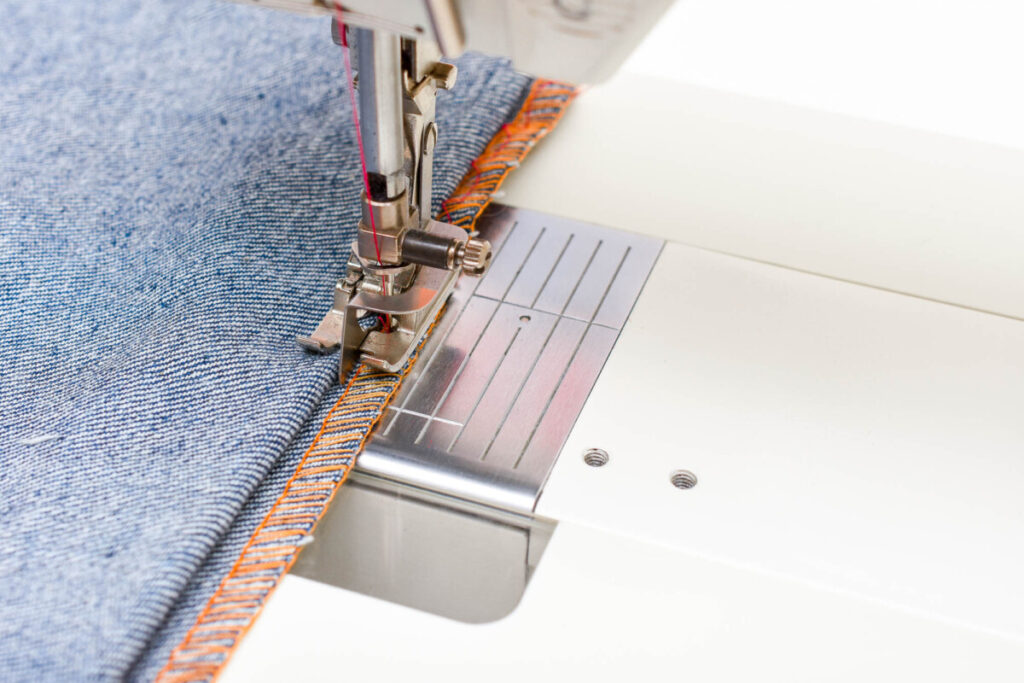
Looking for a durable hemming technique, that is also invisible? Then use the machine’s blind hem stitch on your sewing machine. It can be a bit tricky to get right the first time, but follow my blind hem stitch tutorial to get truly invisible stitching.

Now enjoy your me-made pants!

I used most of these techniques when I made my latest pair of dressier pants (the pattern is from Burdastyle) and I’m very pleased with how they turned out.