Hemming stretchy knits can be a challenge and the narrow leg opening on a pair of leggings makes it even trickier so in this tutorial I will focus on the various ways you can hem your AIla leggings.
Hemming with a sewing machine
This is the option that most sewists will have to resort to when hemming leggings unless you have a coverstitch machine. Now sewing machines are not optimised for this purpose, but with the right settings and some helpful tools and notions, you will be able to sew a hem that looks pretty good. And not break when stretched out either, which is crucial of course. So let’s start with the two stitch options I recommend.
This post contains Amazon affiliate links, meaning that a commission is earned from qualifying purchases.
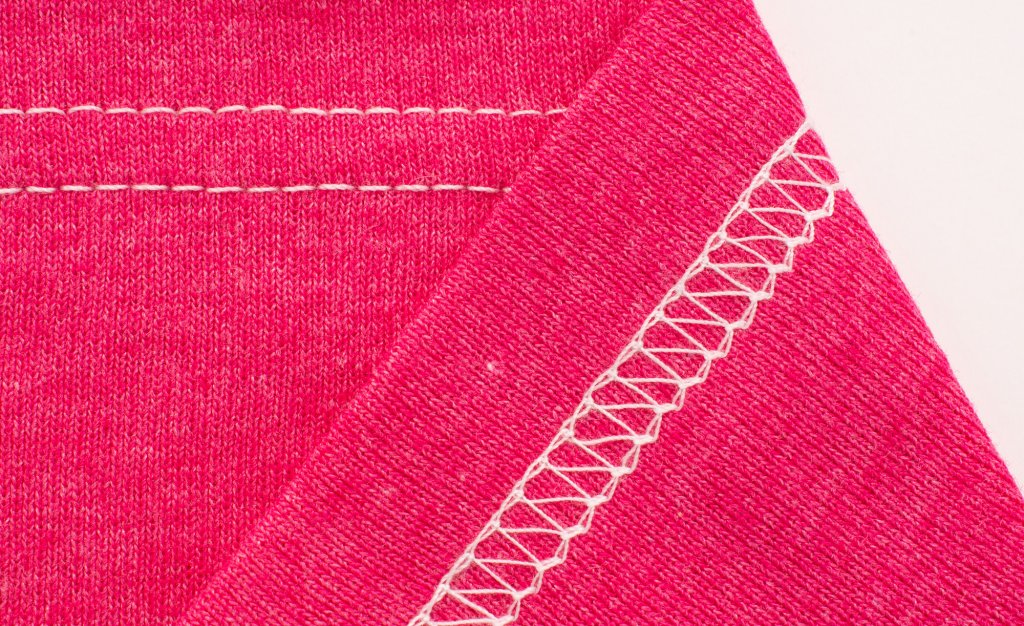
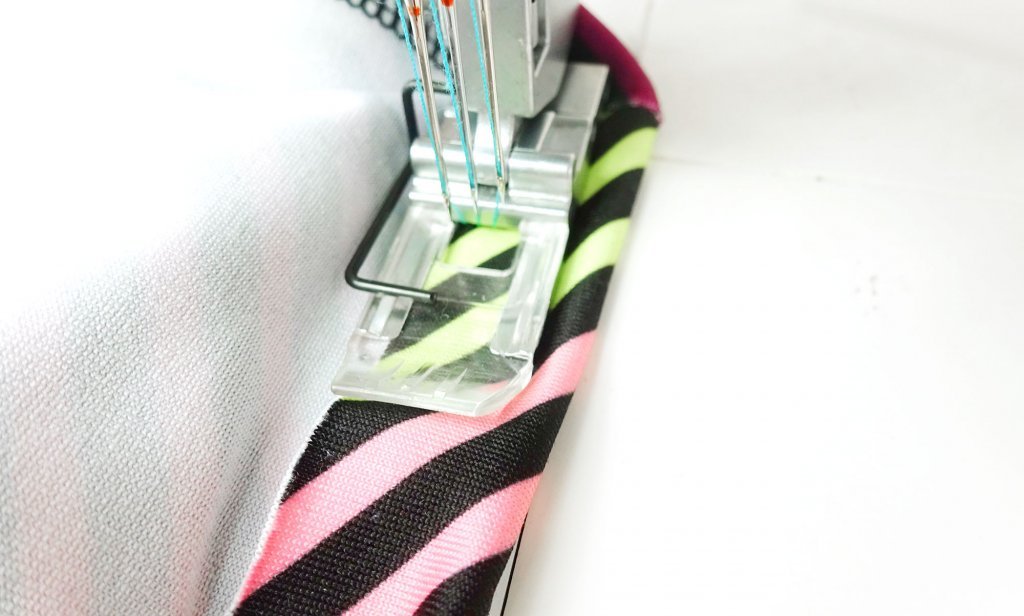
Twin-needle hemming
A twin-needle or double-needle as it’s also called, sew two rows of straight stitches on top and on the reverse side, a zigzag stitch is formed by the bobbin thread.
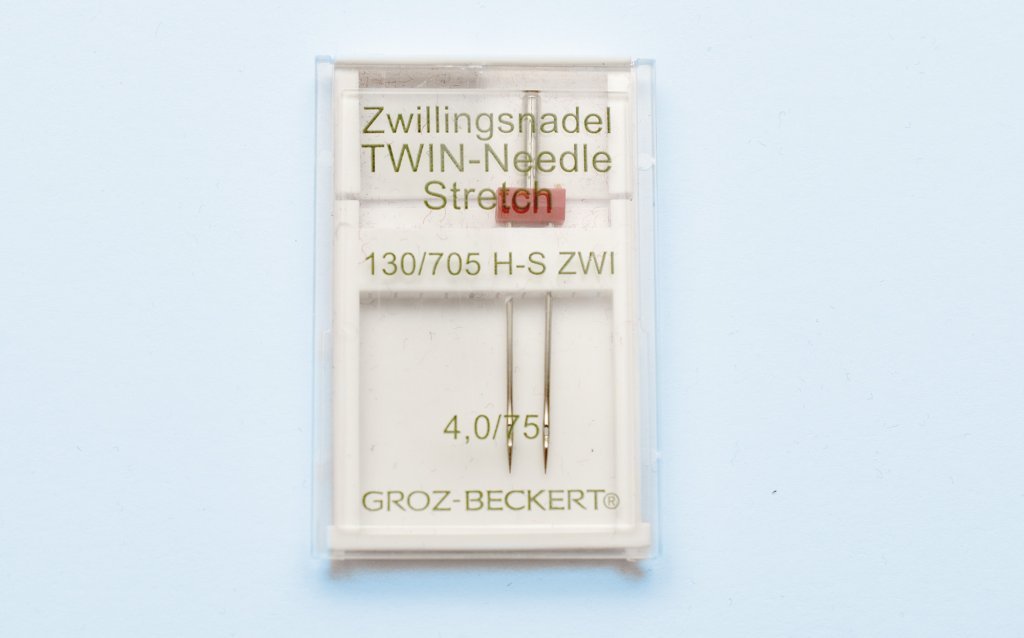
For the Aila leggings, and for sewing stretchy 4-way Lycra/Spandex fabrics, in general, I recommend getting the Stretch Twin-Needle size 4.0/75. The Schmetz Twin Needle Stretch is my fave, but the Groz-Beckert Twin-Needle Stretch (affiliate links) is pretty good too.
The main drawbacks with using a twin-needle are A: Tunnels (ridges) can easily form between the rows of stitching, especially on thinner fabrics and B: If you use too long a stitch length, the seam can pop when stretched out.
You can remove some of the tunnelling by loosening with the bobbin tension, but remember to mark the original tension setting or get a separate bobbin that you only use for experimentation. Another option is to use a water-soluble stabiliser, I’m a big fan of wonder-tape (affiliate link), that will keep the fabric flatter, but a little ridge will come back once you wash the fabric in my experience.
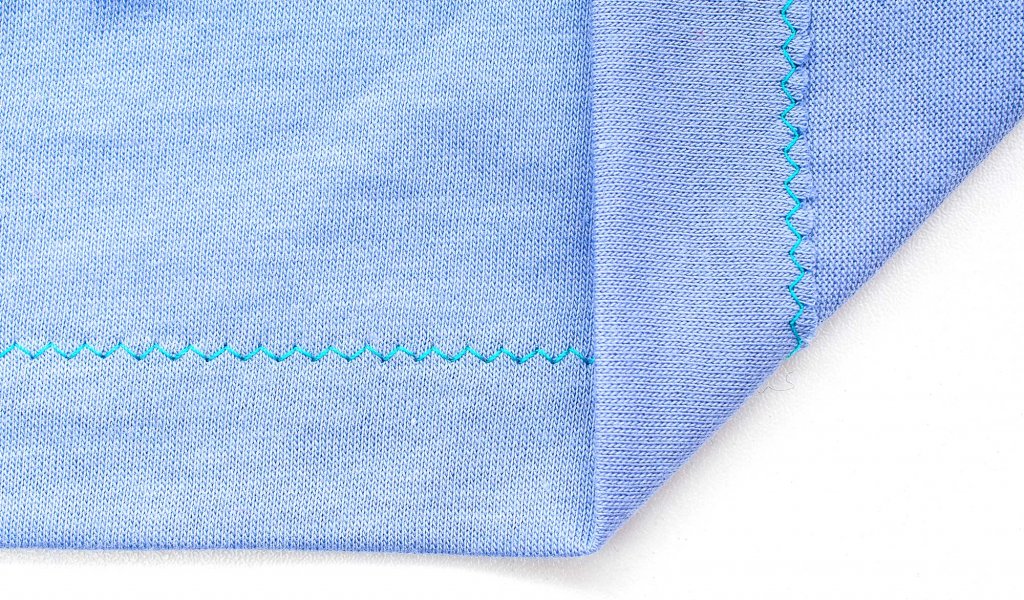
Zigzag hemming
This is an underutilised stitch for knits, which I also talk about in the sewing stretchy seams tutorial. For hemming, it’s actually a pretty awesome option, both when it comes to the stretch factor, ease of sewing and the range of settings you can experiment with. Start with a medium zigzag using a little bit longer stitch length than the default setting (2 up to even 3, depending on how much the fabric will be stretched out).
Test on a fabric scrap to make sure that the seam won’t pop when stretched out. If the seam does pop, just shorten the stitch length a bit or increase the stitch width. For the width, I think 2 to 3 is a good ballpark, but again testing will be your best guide.
Problems with skipped stitches?
If you are getting skipped stitches when hemming knits on a sewing machine, make sure you are using fresh needles of the best kind for sewing synthetic Lycra/Spandex fabrics, I’m a big fan of Stretch by Schmetz and Super Stretch by Organ (affiliate links), they prevent both skipped stitches and holes in knit fabrics.
Watch a video on how to hem knits on a regular sewing machine
If you want to learn even more about hemming knits on a sewing machine, watch the video below, it is short and sweet and packed with tips on how to master sewing stretchy fabrics!
And my book Sewing Activewear also has lots of tips on how to hem stretchy knits on a sewing machine.
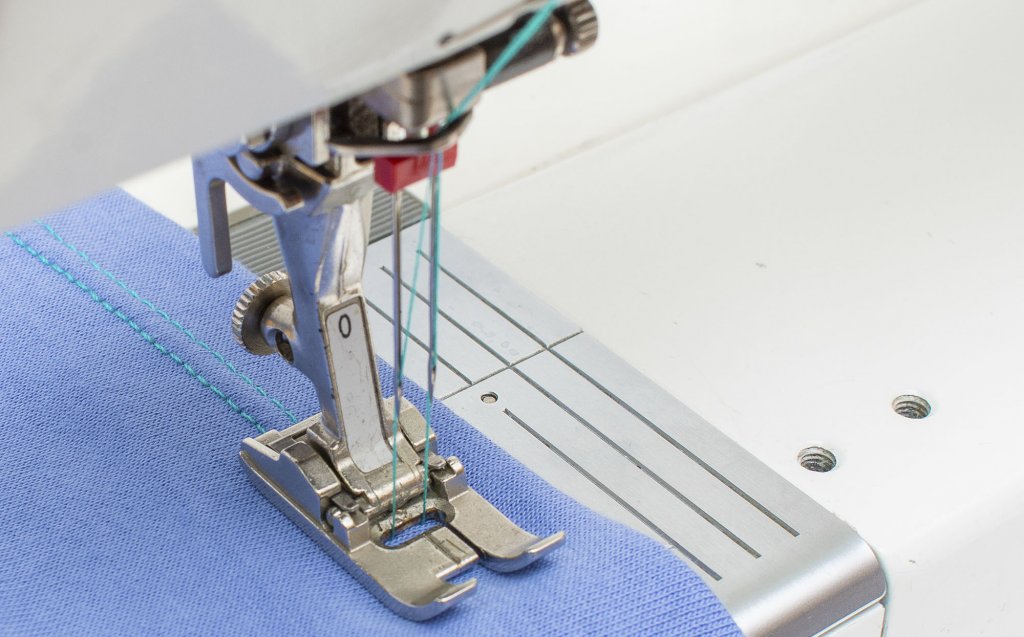
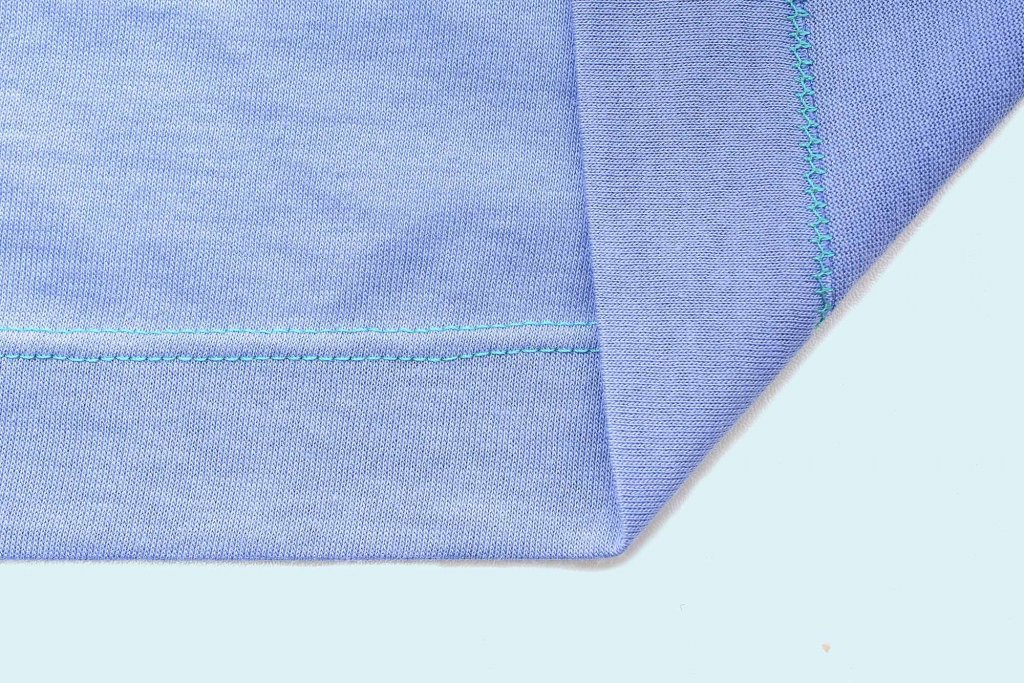
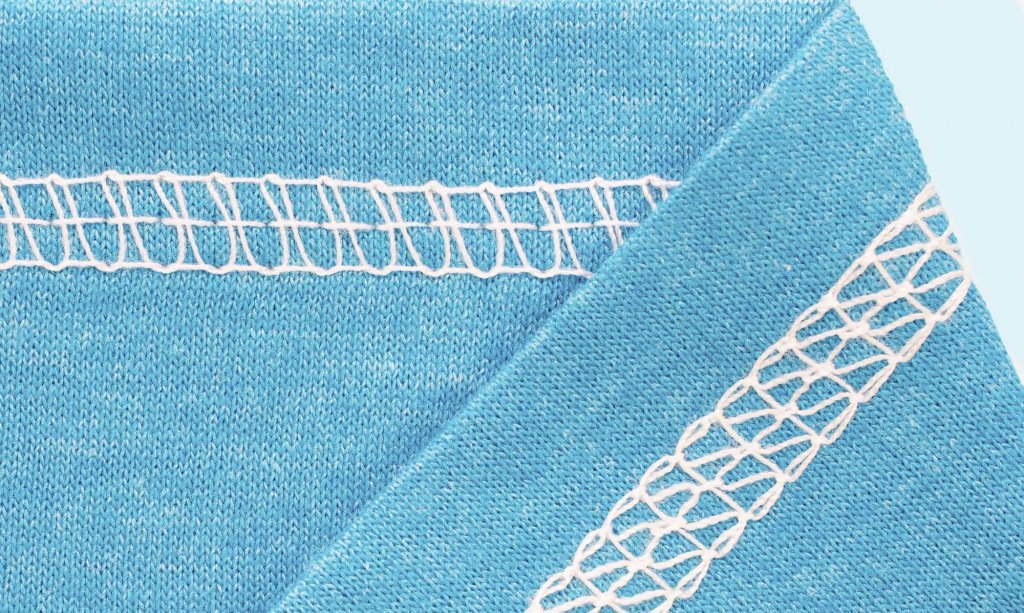
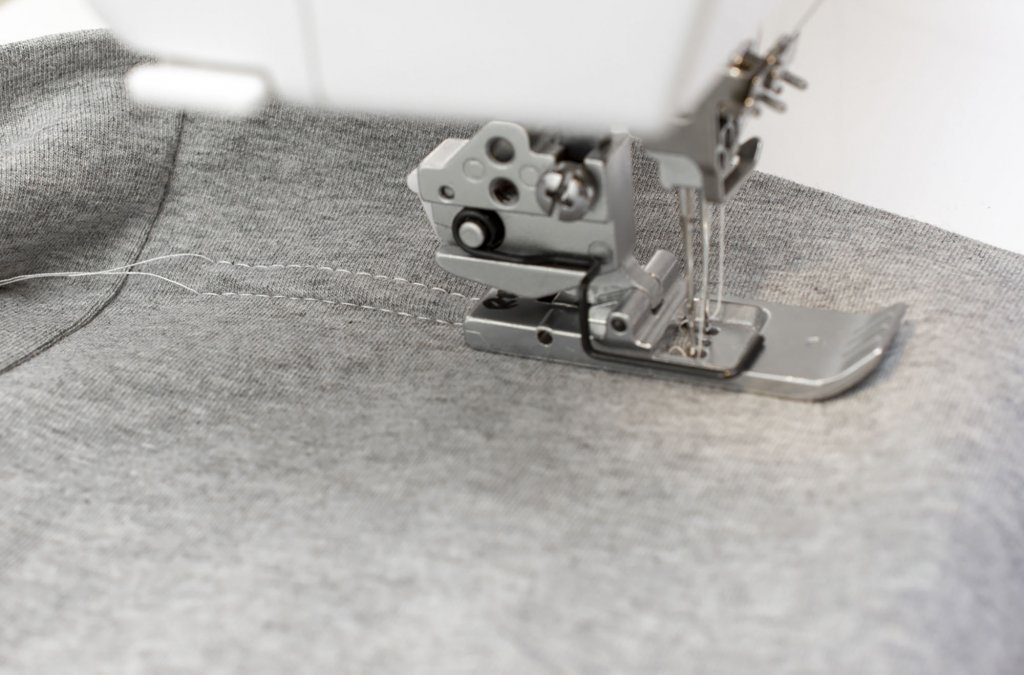
Hemming on a coverstitch machine
A coverstitch machine is the industry standard for hemming stretchy knits. The advantage of using a coverstitch instead of a sewing machine is that the seam will look neater, have more stretch and you can prevent the fabric from stretching out by using the differential feed settings. I have the Janome 2000CPX and it’s pretty good at hemming, albeit with some kinks, which is the case with many coverstitch machines.
For an even cooler hem, with the Brother Coverstitch CV3550 you’ll be able to hem with the drool-worthy top-cover stitch which is the exact same hemming stitch as you’ll find on many RTW activewear these days. I’ve reviewed the Brother CV3550 if you want to learn more about it.
Another option is to do reverse coverstitching, which means that you stitch from the reverse side of the fabric to create decorative stitching on the right side of the garment.
Now, I’ve done countless coverstitch tutorials on my blog and on YouTube too, plus written an entire book about coverstitching so I won’t write an essay on this topic here.
Instead, I will focus on coverstitching narrow leg openings, which can be a struggle when using a coverstitch machine, since they usually lack a free arm which can make hemming on the round a pretty painful experience at times.
Tips for coverstitching a narrow leg opening on the round
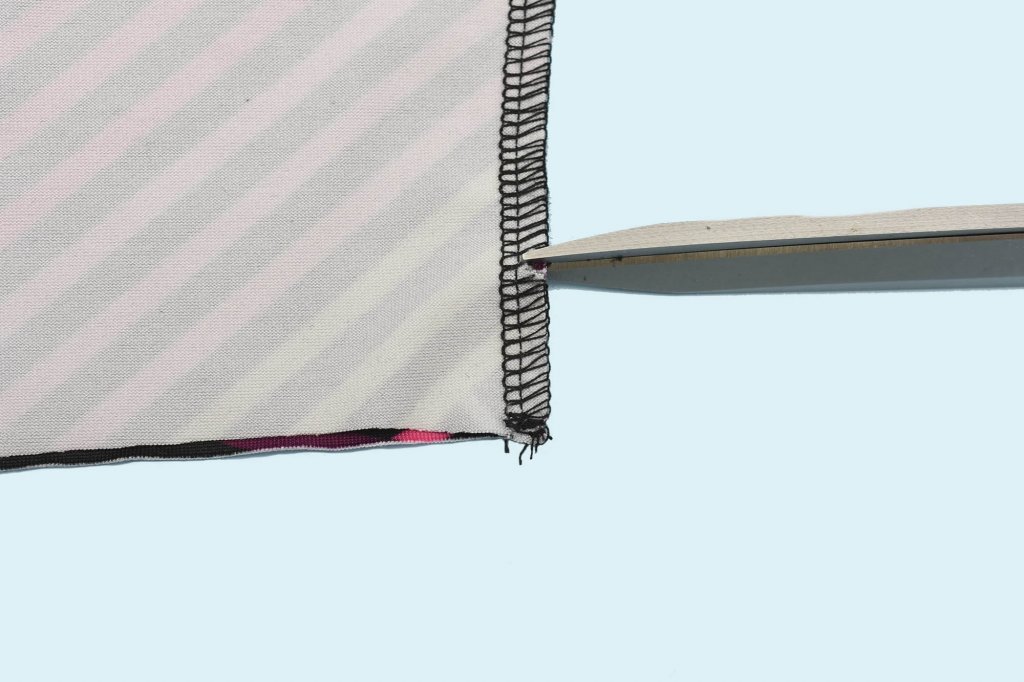
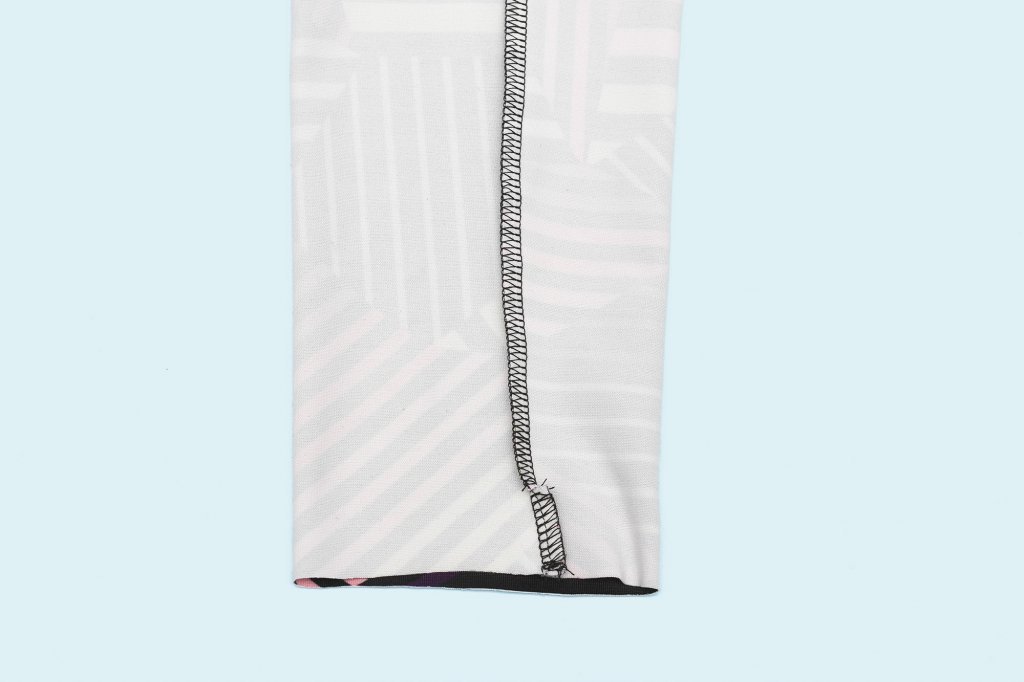
Clip the seam allowance and fold it in opposite directions for less bulk, coverstitch machines hate uneven surfaces, it will mess up the feeding and cause skipped stitches, hence why folding the seam allowance in opposite directions before folding the hem can make a massive difference.
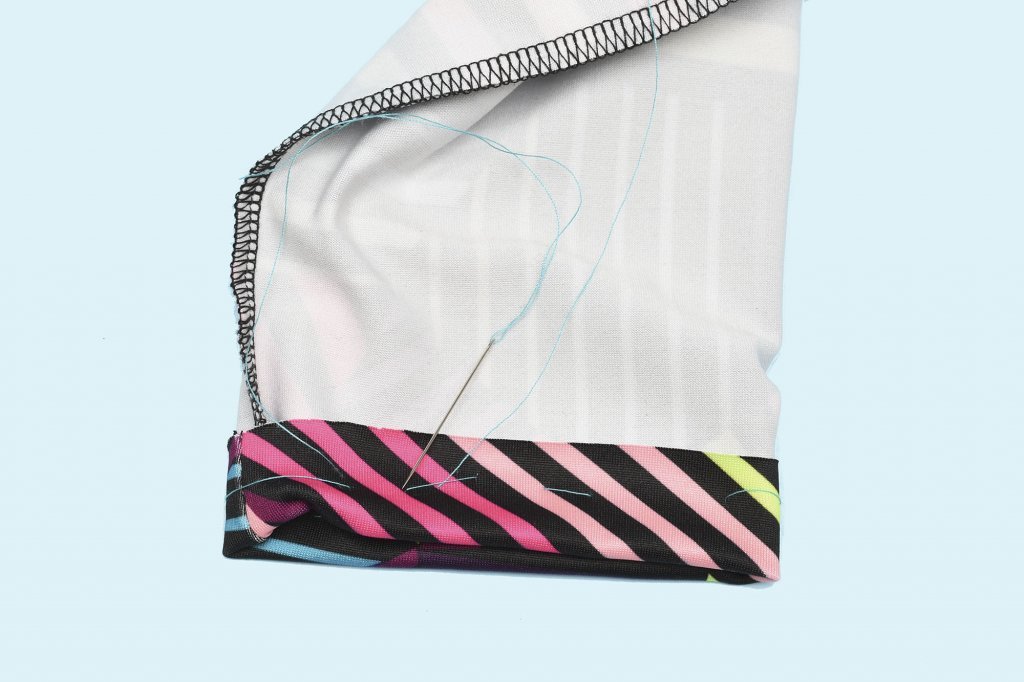
Hand baste the hem with large stitches if you have problems with keeping the folded hem in place (activewear fabrics aren’t always suited for pressing with an iron). Just make sure the basting doesn’t overlap the stitching, to avoid thread snags, I prefer to baste slightly below the planned stitching.
Learn more Video: Sew Your Best Leggings Ever
Turn the leggings inside out for better control, but you still sew from the right side of the fabric of course (unless you are doing reverse coverstitching)
Opt for a stitch length around 3 or less, otherwise, you might lose some of the stretch abilities.
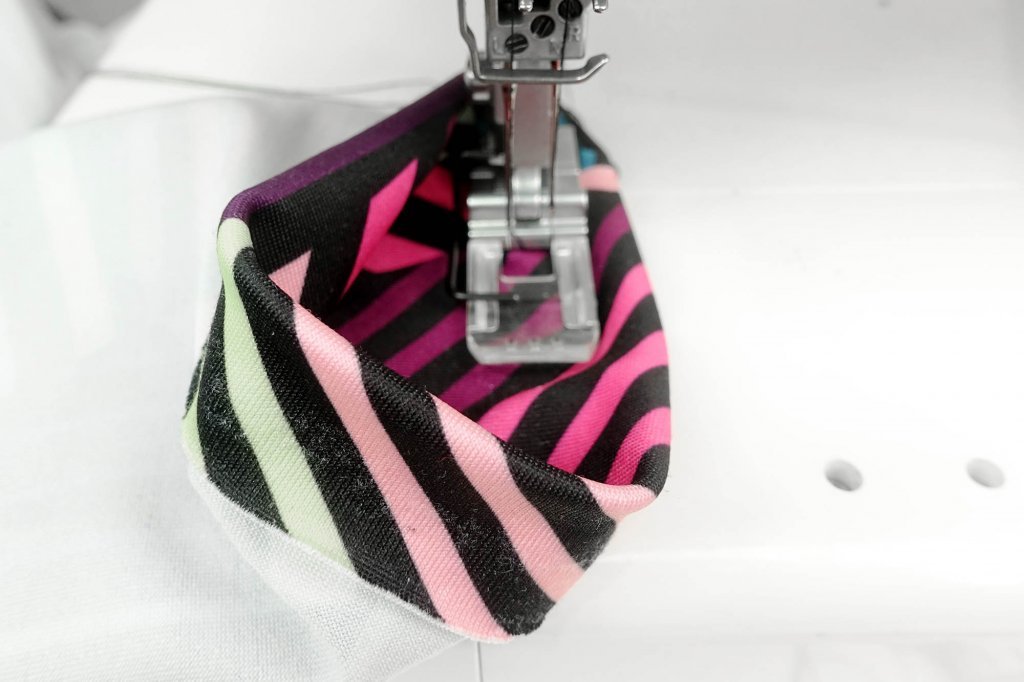
Start stitching on the inside of the leg, I like to start just after the inseam as I find that starting on top of the seam can mess up the initial feeding sometimes, but I guess it depends on the machine
If the hem stretches out when doing coverstitching on the round, try increasing the differential feed setting to remedy that. Also, make sure you don’t pull the hem while sewing.
Learn More: Best Fabric Choices for Workout Leggings: Aila Sew-Along

Overlap the stitches for a couple of centimetres (around half an inch or so). I like to pull the starting needle threads out to the side as a guide to where I began the stitch.
Then secure the seam using the pull method (watch the video below to learn how to do it)
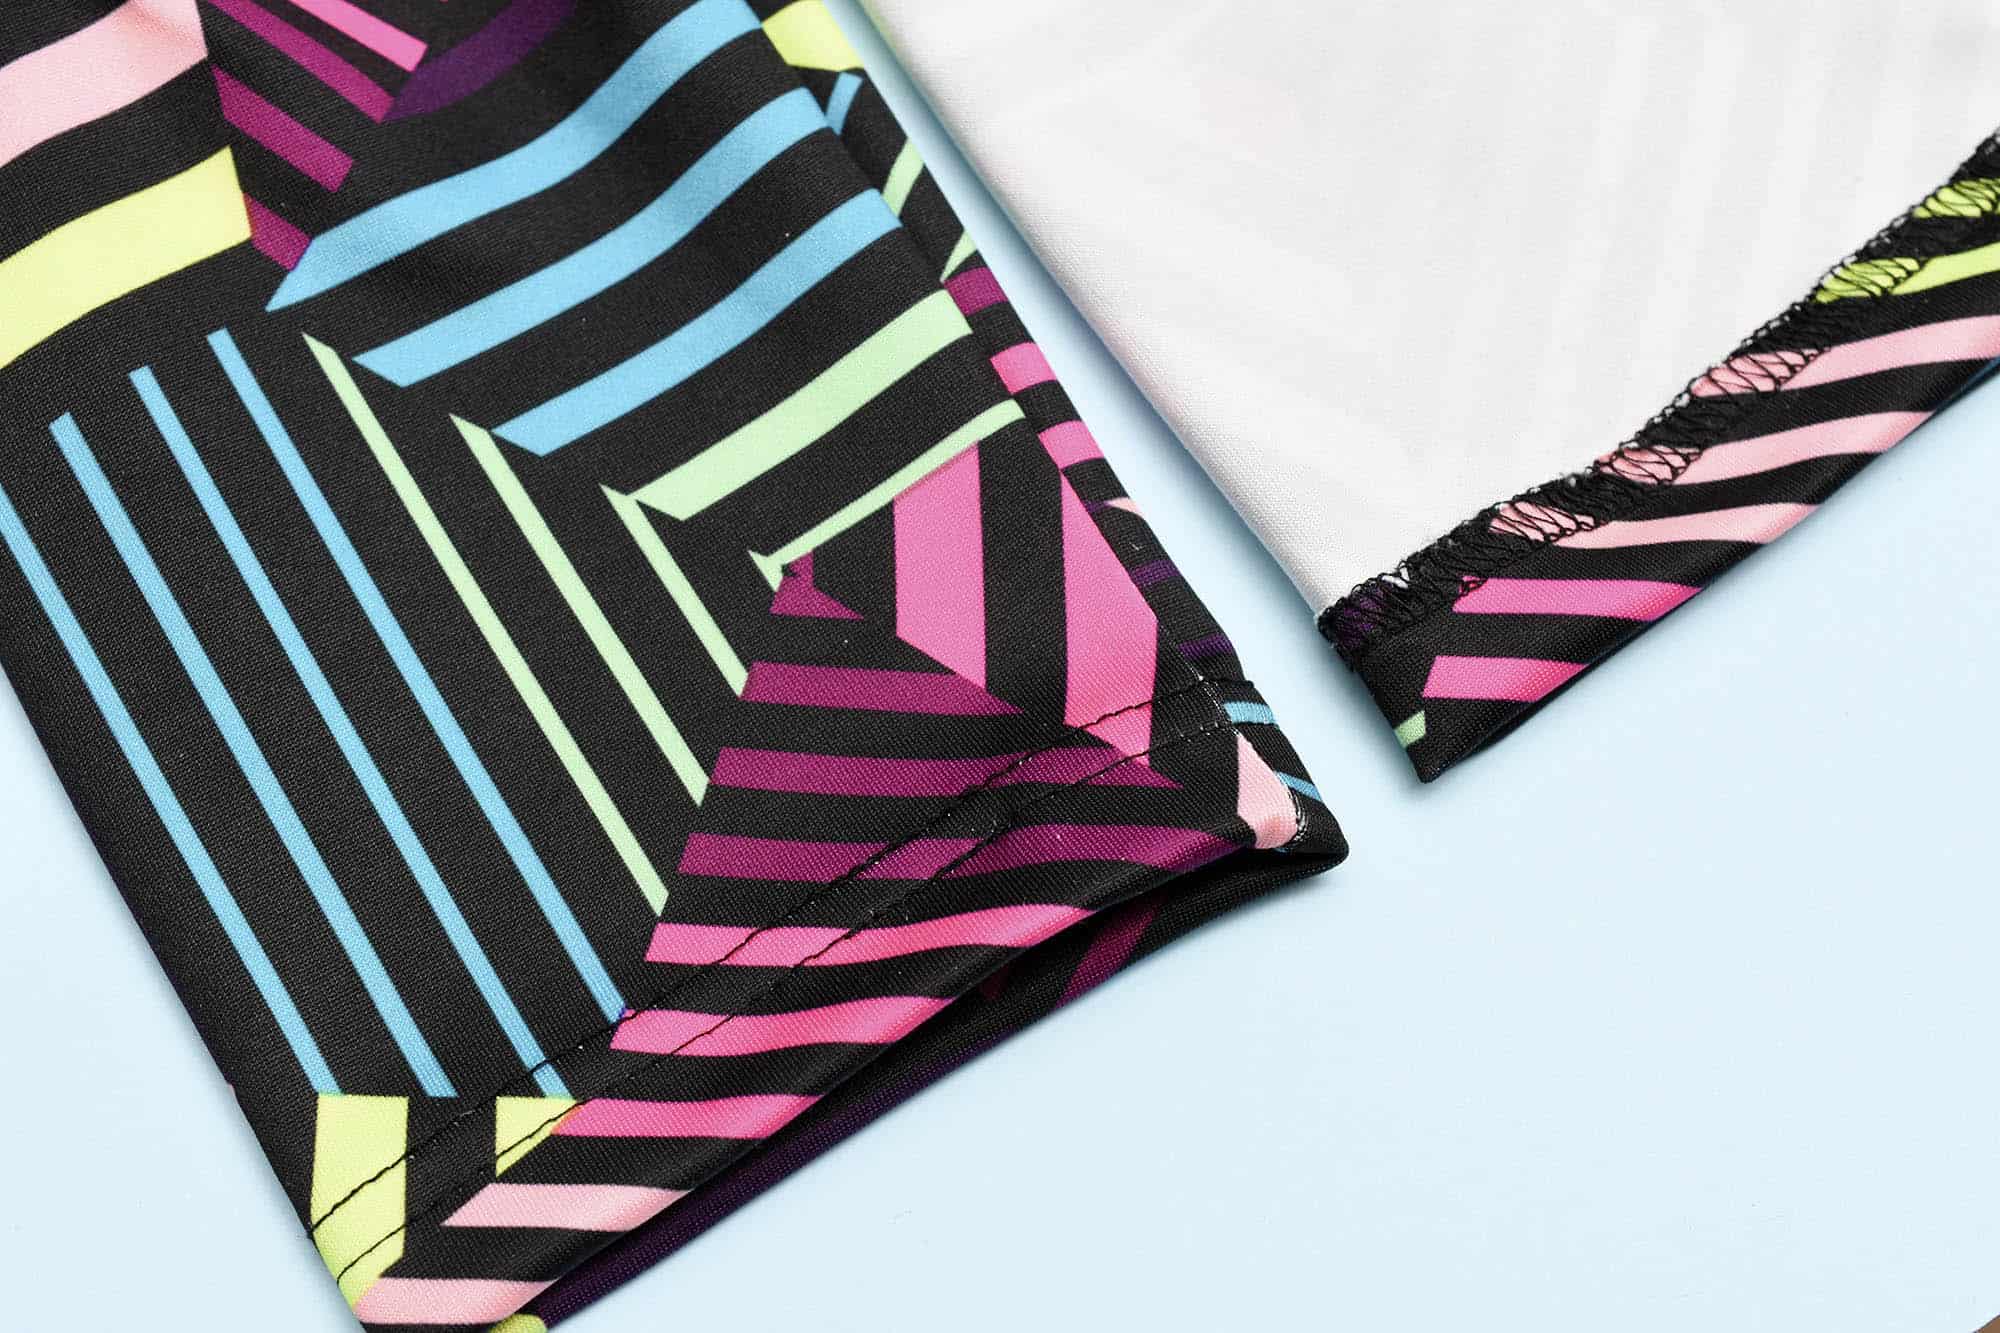
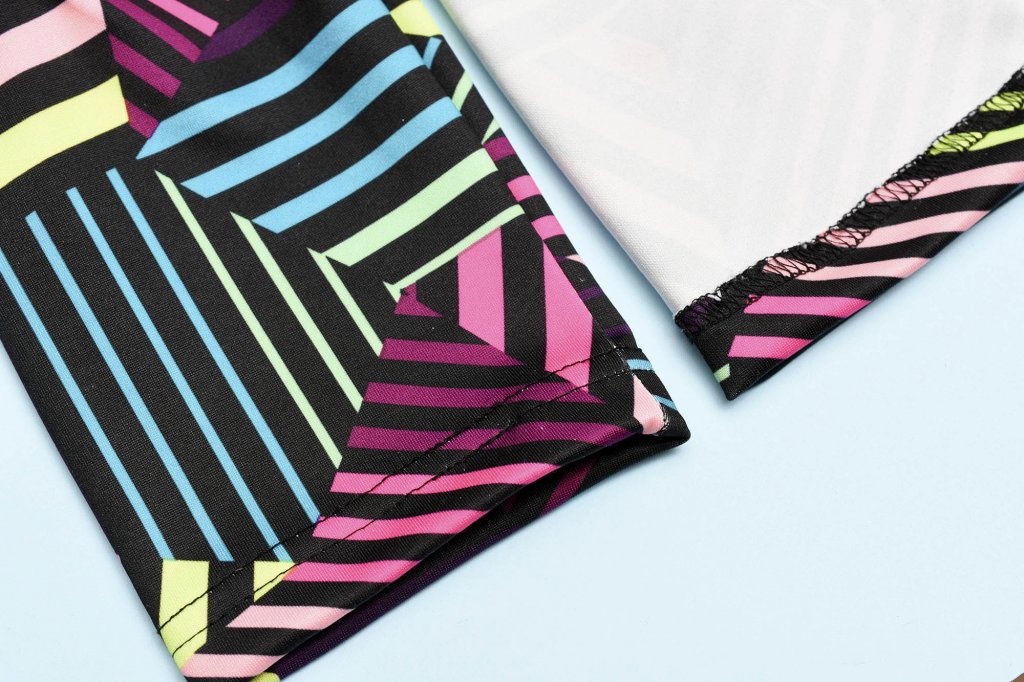
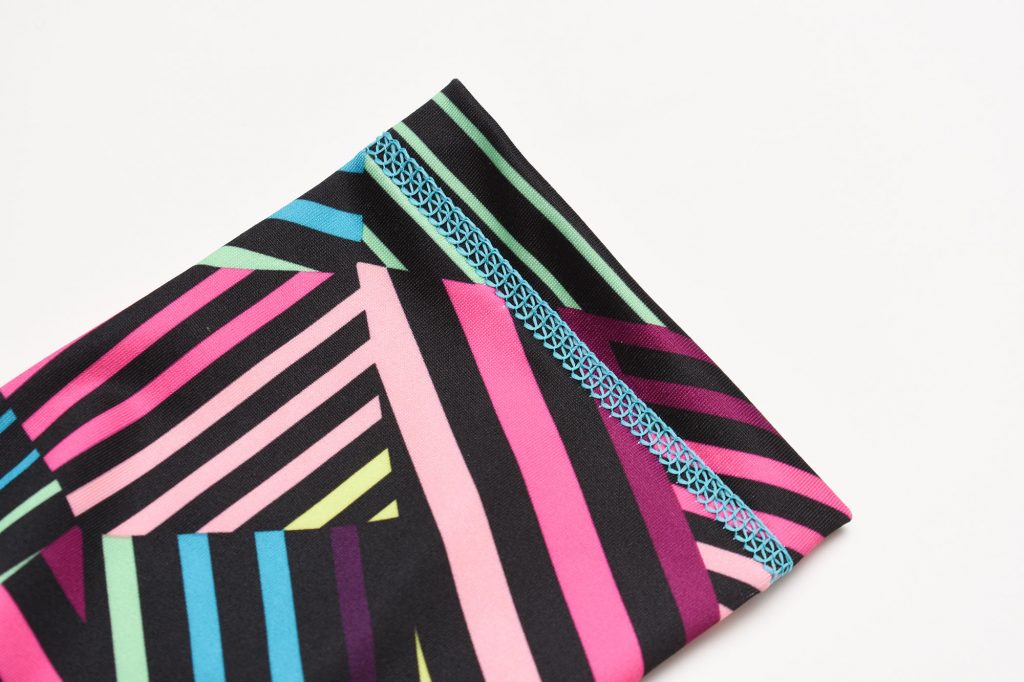
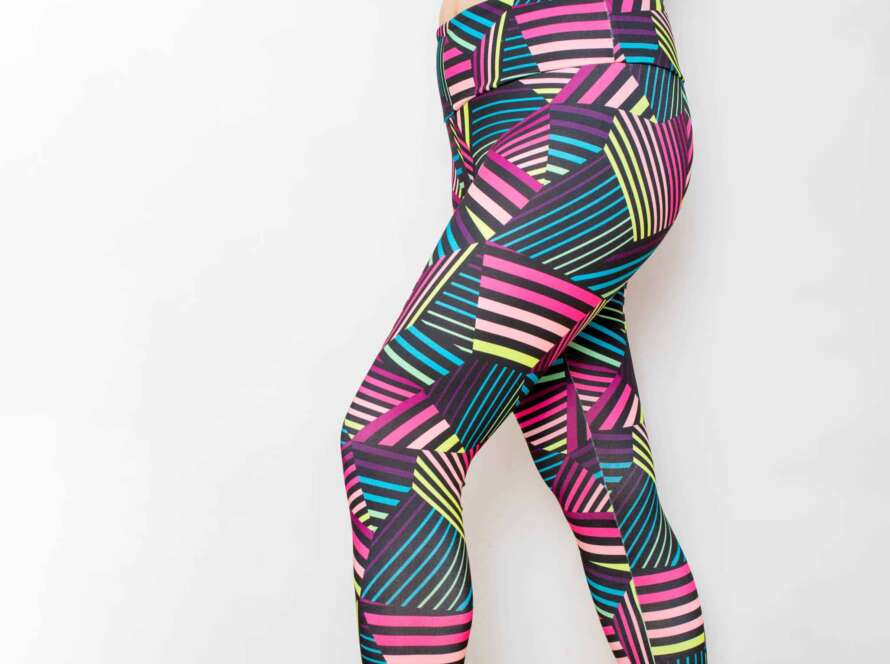
The finished hem
I used the 2-needle wide coverstitch to hem this version of the Aila leggings, but as I said above, you have several options at your disposal when it comes to hemming.
So pat yourself on the back for finishing the Aila leggings! I hope that you have enjoyed the sew-along series and hopefully picked up some tips that will be useful for sewing other stretchy knit projects as well.
Share your finished leggings on Instagram using the hashtag #ailaleggings and #stitchactivewear so that we can see what you are doing for this activewear challenge. BTW, I’m @laststitch if you want to tag me on the Insta!
Aila Leggings Sew Along
- Join the March #stitchactivewear sew-along!
- Video: Sewing Activewear Plans + Join My #stitchactivewear Sew-Along
- Best Fabric Choices for Workout Leggings: Aila Sew-Along
- Watch the replay: Live – How to Sew Activewear
- Sewing the Crotch and Inseam on Leggings: Aila Sew-Along
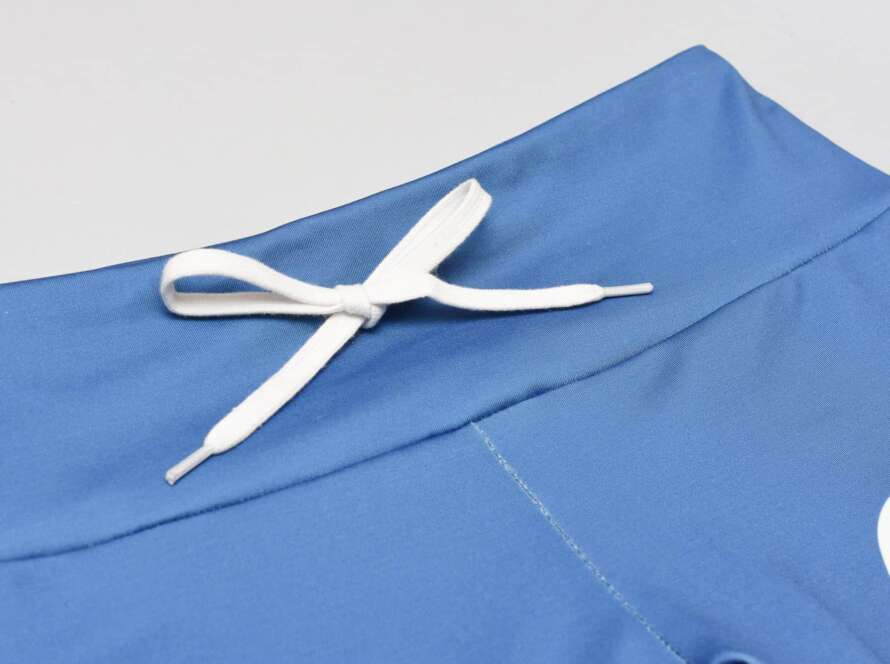
- Sewing the Leggings Waistband: Aila Sew-Along
- Video: Sew Your Best Leggings Ever
This post contains Amazon affiliate links, meaning that a commission is earned from qualifying purchases.
4 Comments
Corey
I really appreciate the sewing tips for both a regular sewing machine and serger/coverstitch machine. Thank-you so much.
Comments are closed.