Want to learn how to sew a buff really quick and easy, and without any chafing seams? Then this tutorial is for you. All you need is your regular sewing machine, using a combination of a regular zigzag stitch and a decorative stitch for a professional finish.
Best fabrics for a buff
To sew a buff you need a soft, lightweight and stretchy knit that is kind to the skin. Here are some excellent choices for sewing a tubular scarf.
- Cotton knit
- Wool knit
- Rayon jersey
- Soft breathable synthetic knits
Opt for a knit that has at least 40% to 50% stretch across the fabric, since you want your buff to fit snugly, but not being constricting.
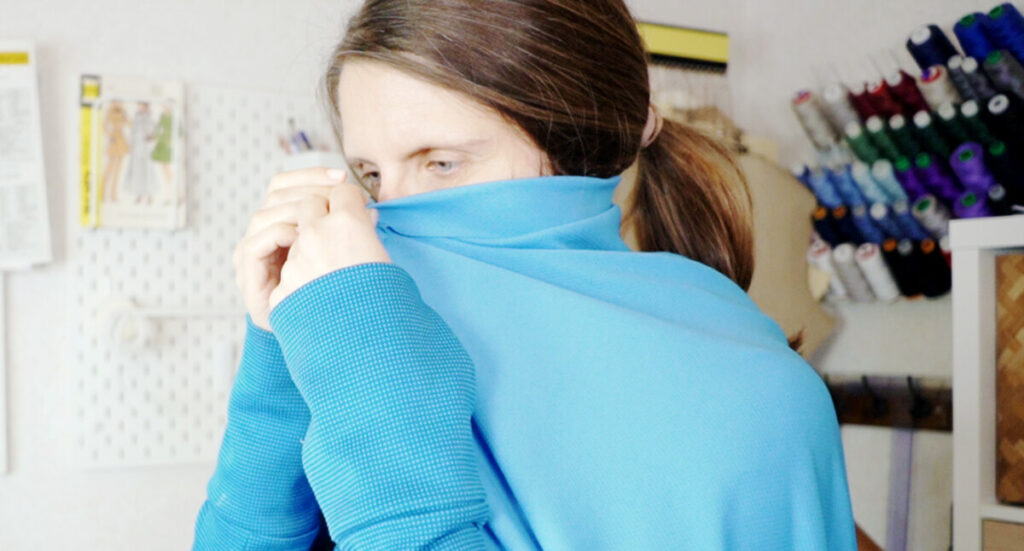
To test the stretch, take a 10 cm 4 inch piece of fabric and stretch it out to see how much it expands.
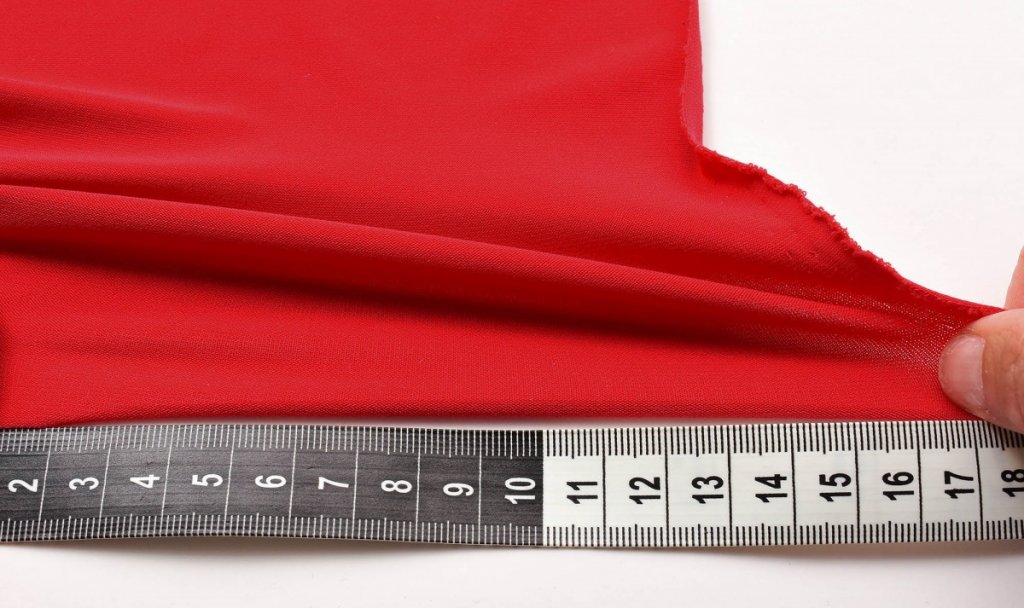
Ideally, the fabric should not stretch as much in the opposite direction, because the seam might become stretched out and wobbly when sewn in that direction on a regular sewing machine.
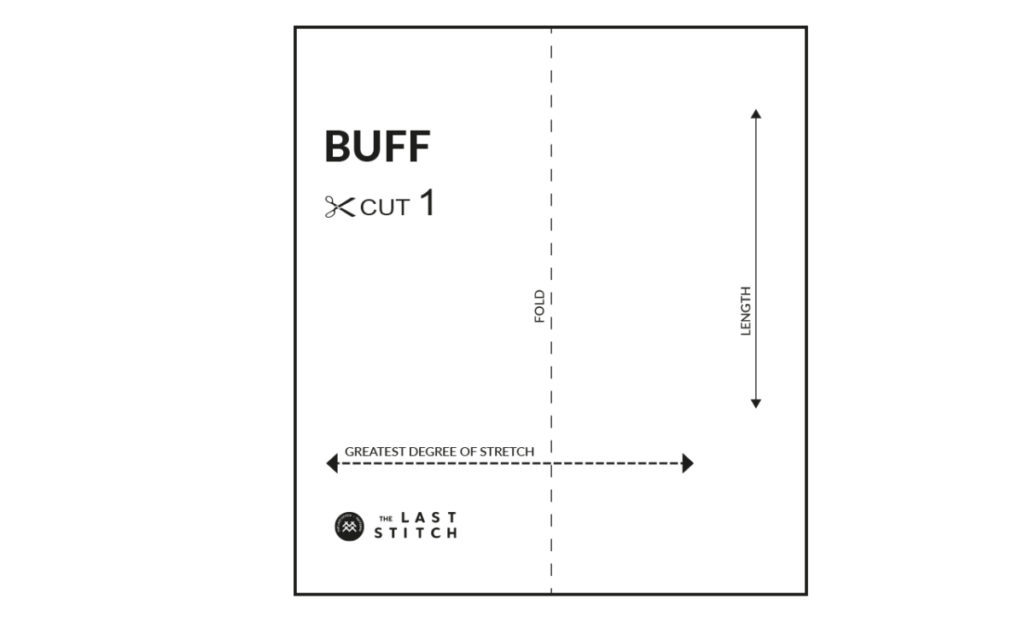
Creating the buff pattern
You are basically creating a simple rectangular sewing pattern, where the size depends on both the head circumferance and the fabric you are using.
Here are some measurement suggestions for a long buff pattern.
Child
Width: 40 cm (15 ¾”)
Height: 48 cm (19”)
Adult Small
Width: 46 cm (18”)
Height: 50 cm (19 ½”)
Adult Large
Width: 50 cm (19 ½”)
Height: 52 cm (20 ½”)
A seam allowance of 6 mm (¼ inches) is included
Note: Remember that the amount of stretch will affect the size of the pattern. If you are using a fabric with a lot of stretch, I recommend making the buff pattern smaller.
You can also wrap the fabric around the head and pin it where it feels good to you. Use the direction with the most stretch when testing this.
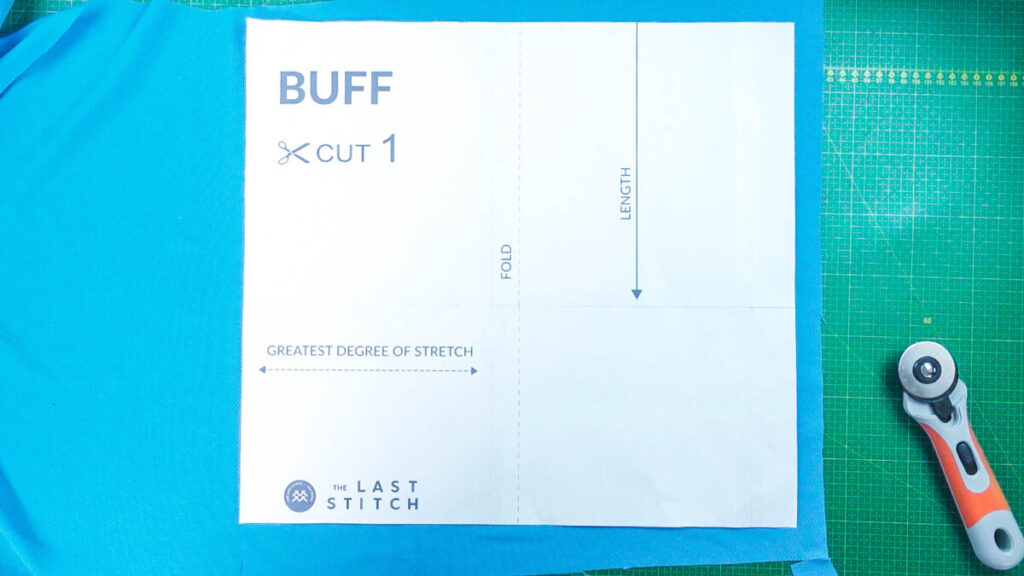
Now let’s cut the buff. The width should have the same direction as the direction with most stretch on the fabric. I like to use a rotary cutter and mat since it makes the edges nice and even, but a sharp pair of scissors works too of course.
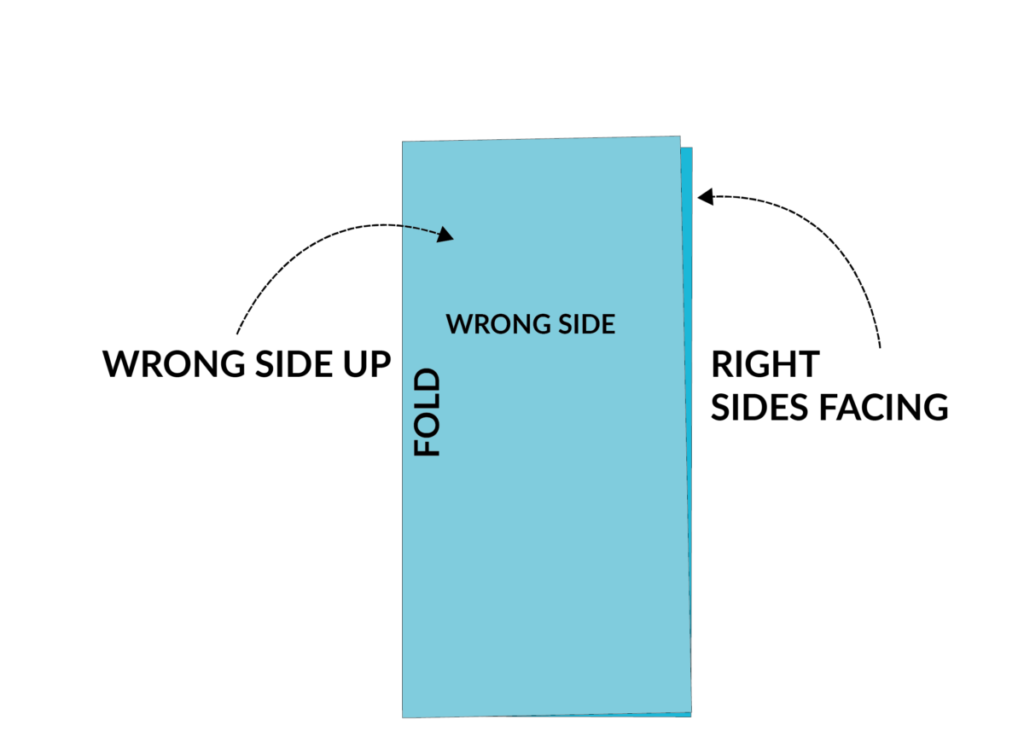
Fold the buff, right sides facing, wrong side up.
Sew the buff
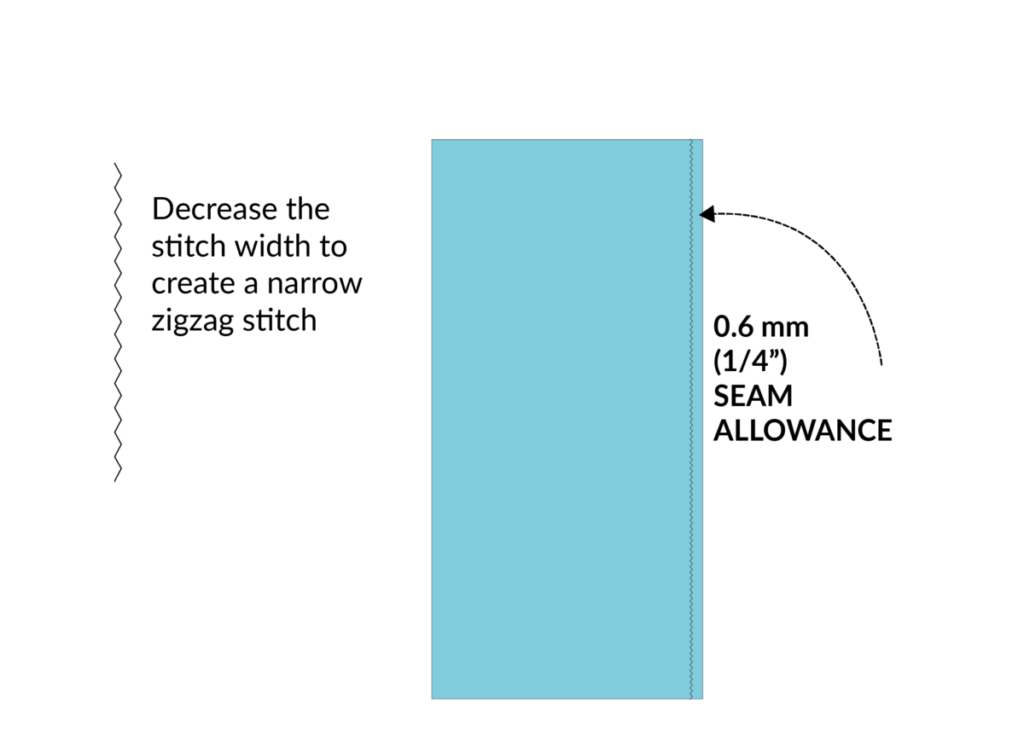
Use a narrow zigzag stitch
Set your machine on a narrow zigzag stitch, which means that you decrease the stitch width. A narrow zigzag stitch should like something like this:

Do a sample to make sure it works and still has some stretch. If you feel that there are some gaping areas between the stitches, decrease the stitch length slightly.
Use stretch needles
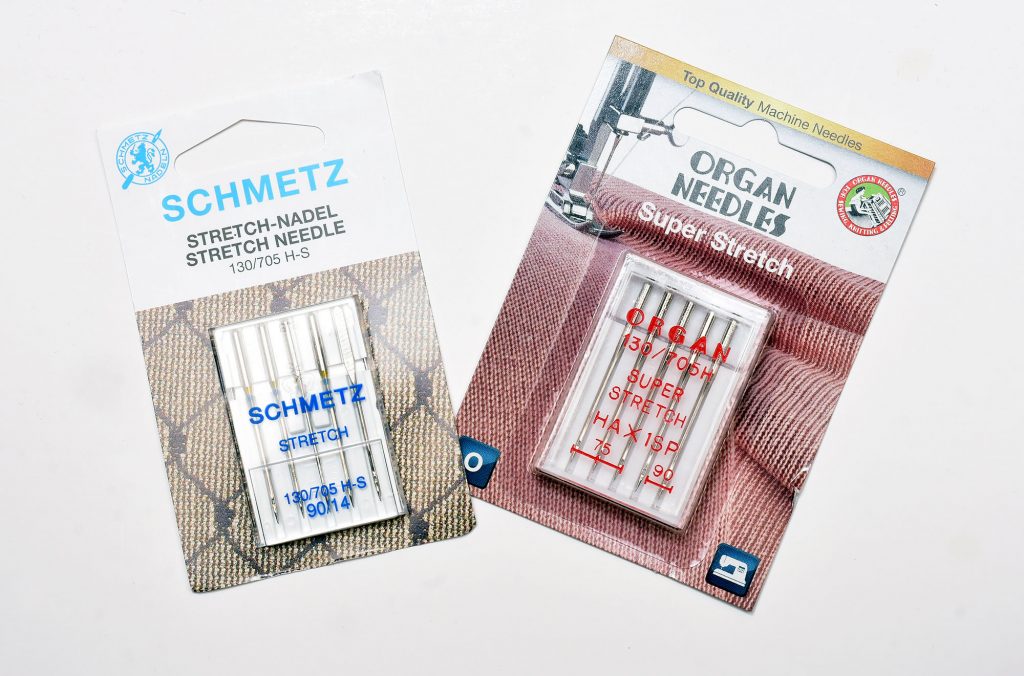
Ideally use a stretch needle to avoid skipped stitches and holes in the fabric, but a regular universal needle can work too. Check out my guide to sewing machine needles for knits to learn more about which needles to use and why when sewing with knit fabrics.
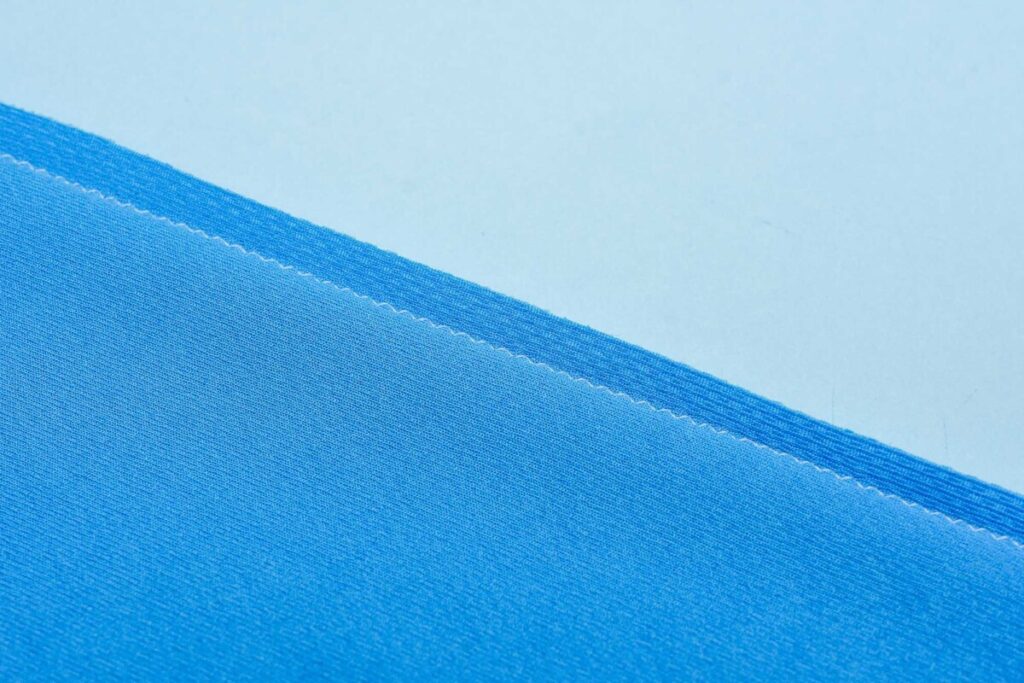
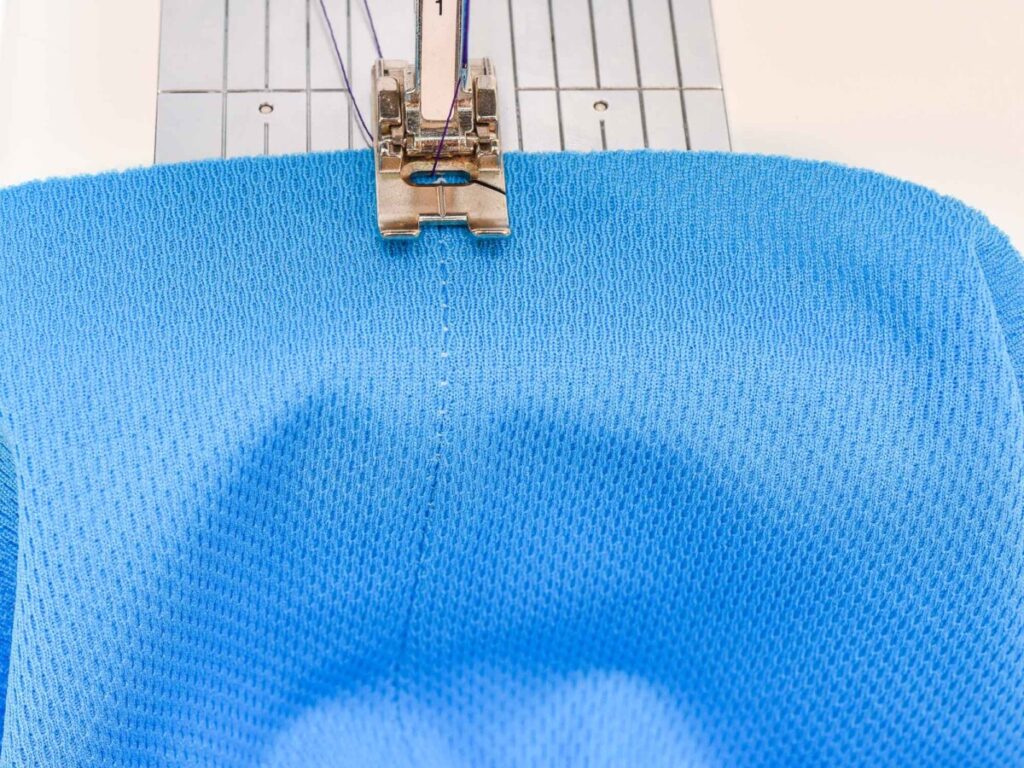
Stitch the buff
Stitch the buff to create a tube. Remember that the seam allowance is 6 mm (¼ inches) cm.
Tip: Using the edge of the presser foot is a great way to make sewing straight easy when using a narrow seam allowance.
Ideally use a thread that matches the fabric, I’m only using contrasting thread here to make the tutorial clearer to follow, but that also causes some of the white thread through.
Turn the buff and you are done! No need to overcast the raw edges since these type of knit fabric doesn’t ravel.
Add a non-chafing flat-lock seam

For a non-chafing, flat seam and a more professional finish, you can press open the seam allowances and stitch down the seam using a stretchy decorative seam on your sewing machine.
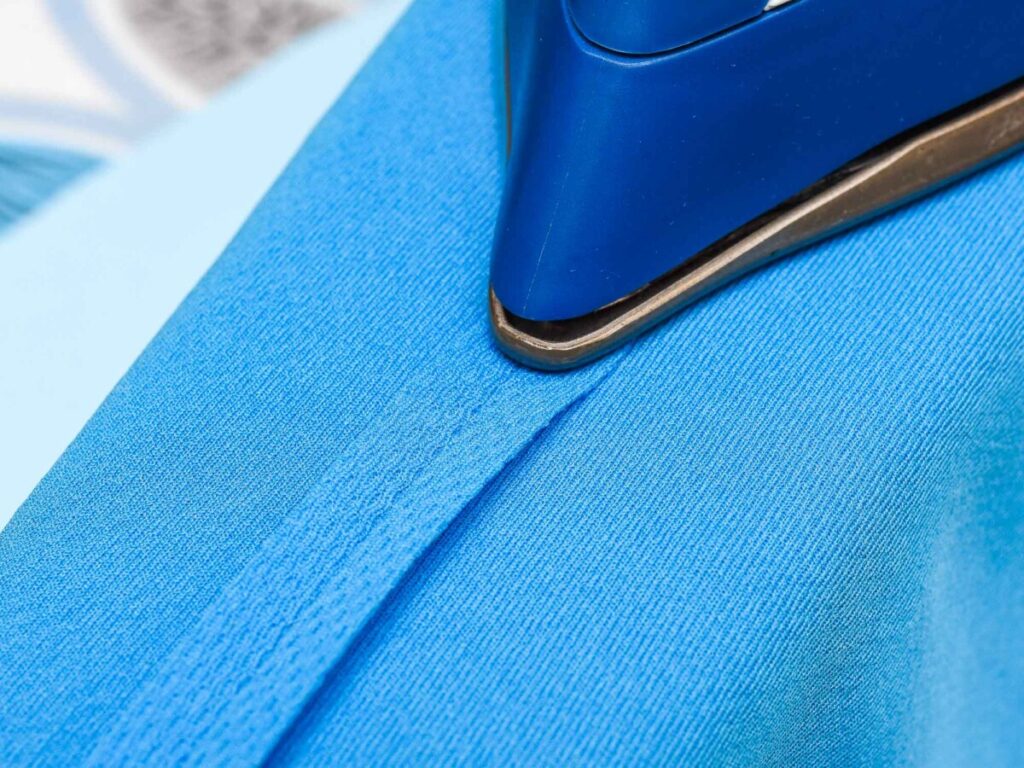
Press open the seam
Press the seam allowance open. Remember to use low heat when pressing knit fabrics.
Turn the buff to the right side. You are now going stitch over the seam and seam allowance to keep it flat.
Use a decorative stitch
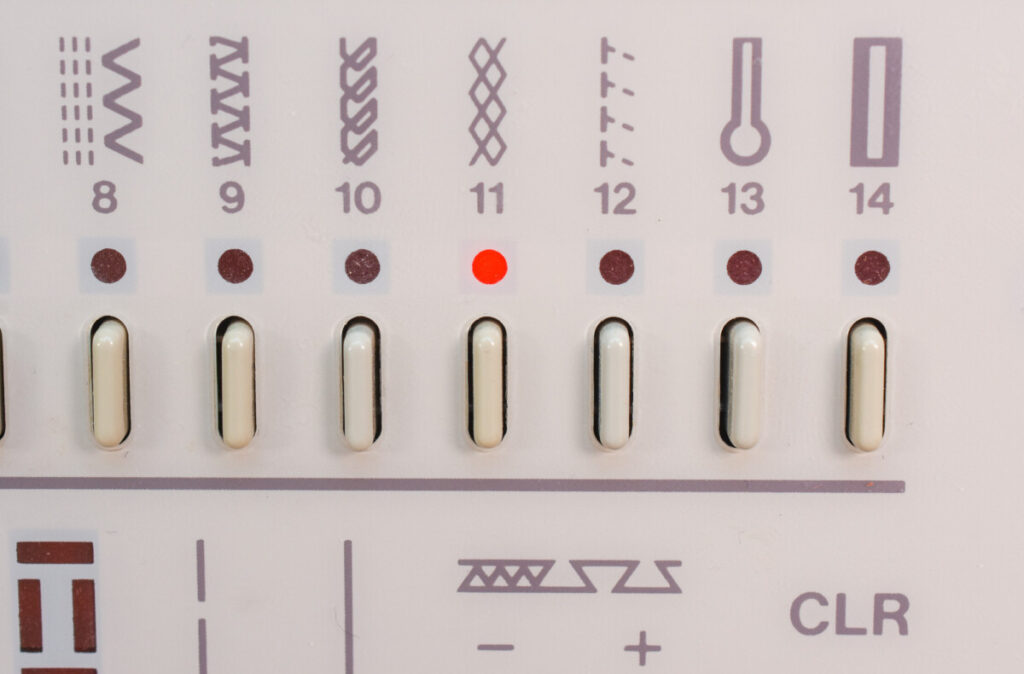
Pick a decorative stitch that also has some stretch, such as a honeycomb stitch.
Stitch over the seam
From the right side, align the presser foot so that the seam ditch is in the middle of the presser foot.

Sew over the seam with the decorative stitch. Don’t rush this step or pull the fabric, just make sure the stitch covers the seam and go slow and steady.
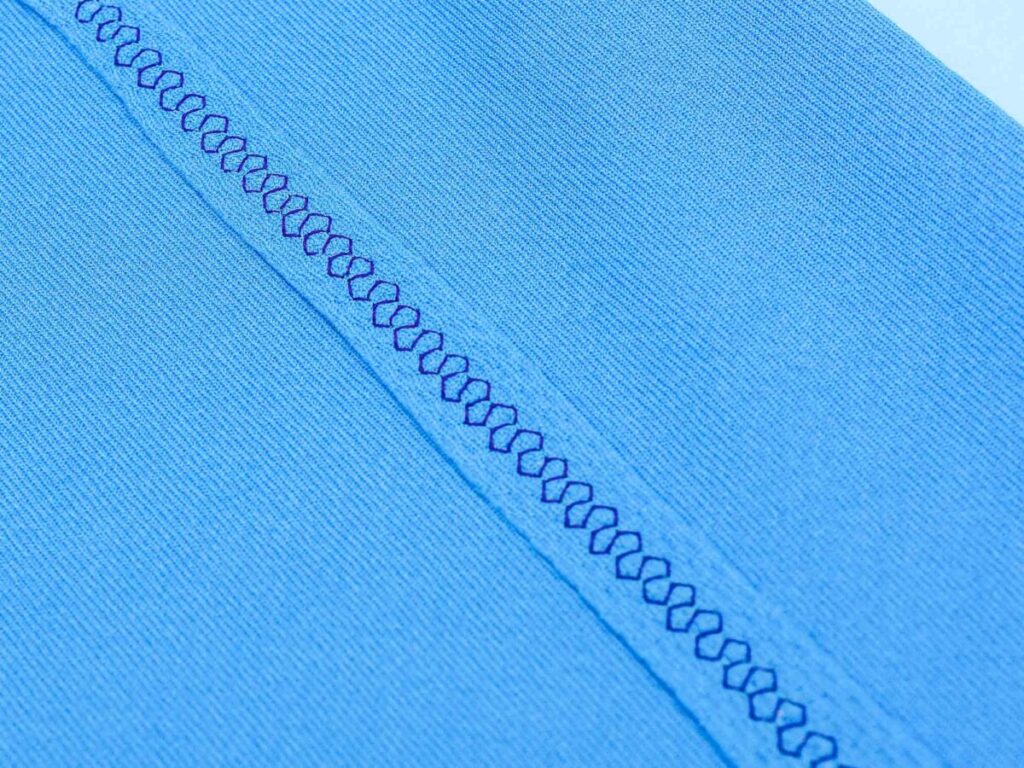
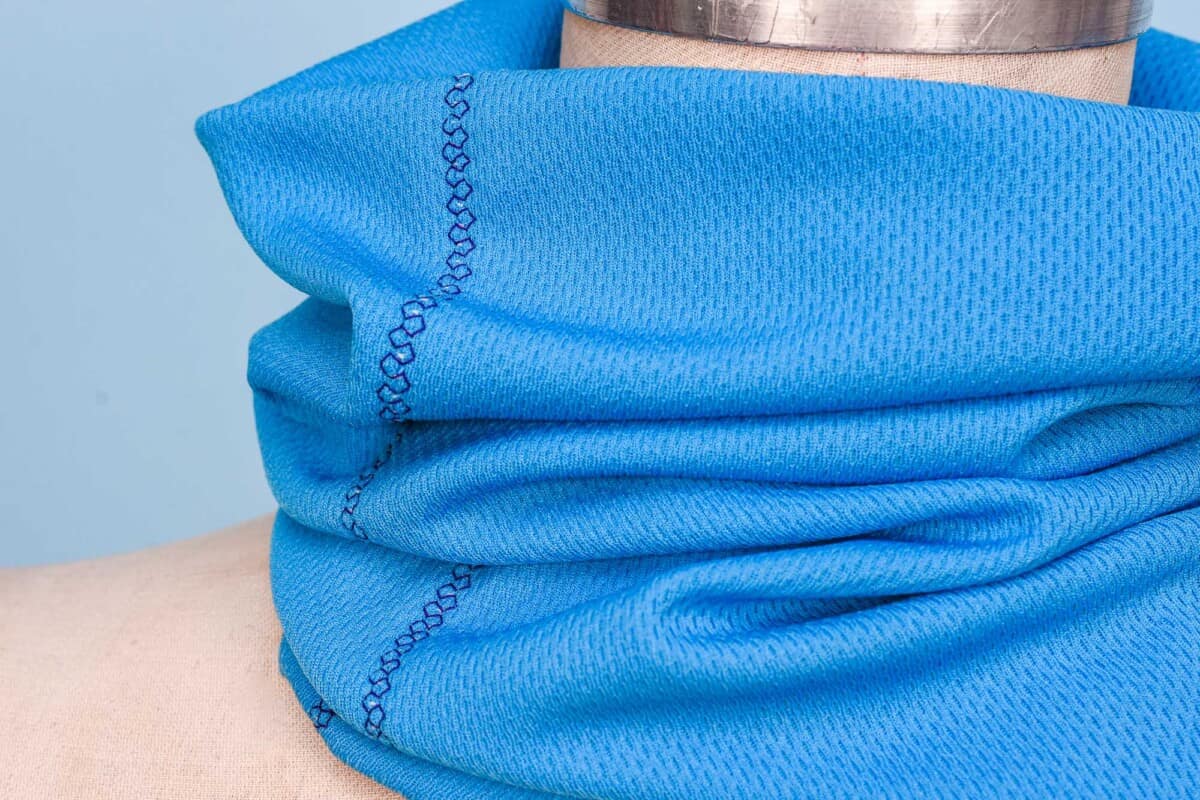
This is how the stitch looks on the inside. Of course, you can use a thread that matches the fabric, I’m only using contrasting thread here to make the tutorial clearer to follow.
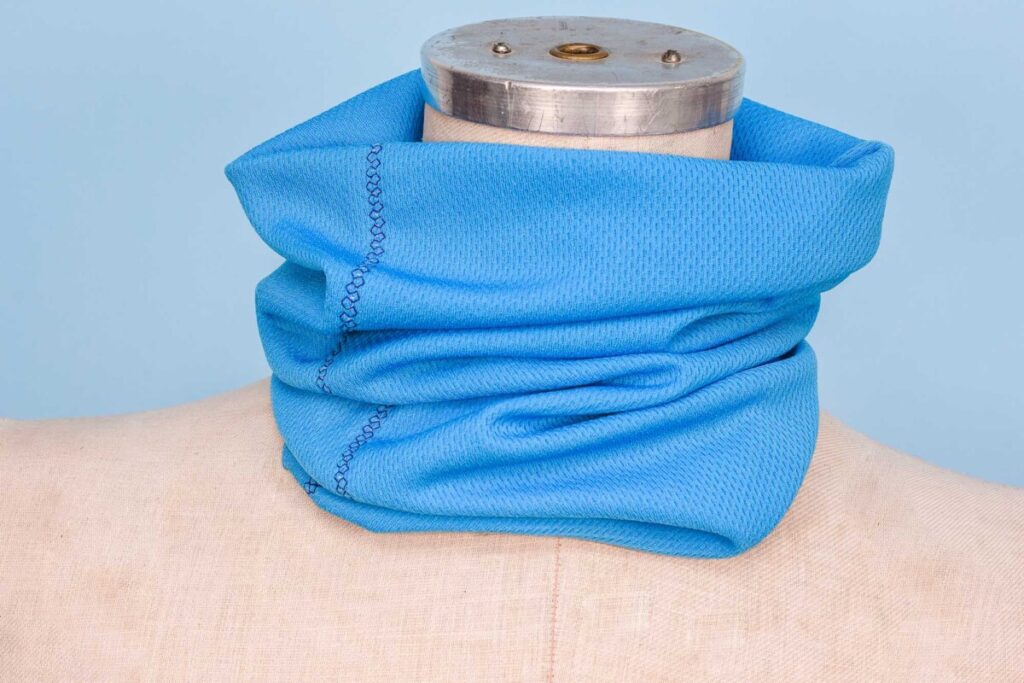
Here is the finished buff, with the extra step of doing a mock-flat lock seam. This versatile tubular scarf is super easy and quick to make, and if you add the flat stitching you’ll get an even more comfortable buff.
You can also check out this step-by-step video tutorial on how to sew a buff with a sewing machine
3 Comments
Teta Iba
Thank you and Merry Christmas!
Johanna Lundström
Thank you, and Happy Holidays to you too!
SherryV
Hi Johanna,
So the top and bottom edges of the buff are left raw?
Comments are closed.